72 duster Build progress
well, today was a "warm" day.....got up to around 50 but has been raining.....now it is calling for snow for most of the rest of week.
our durango had some abs wire that were cut once before so I fixed them a few weeks ago and then just yesterday they rubbed on the wheel again and got cut and shorted out and now even after fixing them again ....the ABS and brake lights stay on so I have been screwing around with that.
ANYHOW, I did take some time to mess with the duster today and I finished the metal work on the fender patch I made up (check the page before this one on the thread to catch pictures and info on how I have done it).
so I pretty much just did a bunch of tack welds and then ran short beads of welded in between tacks.....and after every weld I would cool it off with a wet rag. then in all the factory spot weld holes that I had to drill out ...I pooled welds in there....the patch is very sturdy and is not going anywhere!.
then I took a grinding disc and went over all my welds and smoothed them out and then took a egg shaped carbide bit and used it to grind away all the welds in the contours of the inner fender around where the headlight sits and what not.
after getting it all cleaned up, I then busted the welder out again and welded back over and spots where there were still gaps between my welds and filled them in.....and then i repeated the grinding process again.
there are still a few little pin holes in my welds but no biggy.
I need to get some paint stripper and remove all the old paint from the fender and then I will take some body filler and put a light smear over the fender and get it all nice and straight and smooth (all depends on what the weather is like and how cold).
anyways, thats where the progress is at.......here are some pictures for you all!
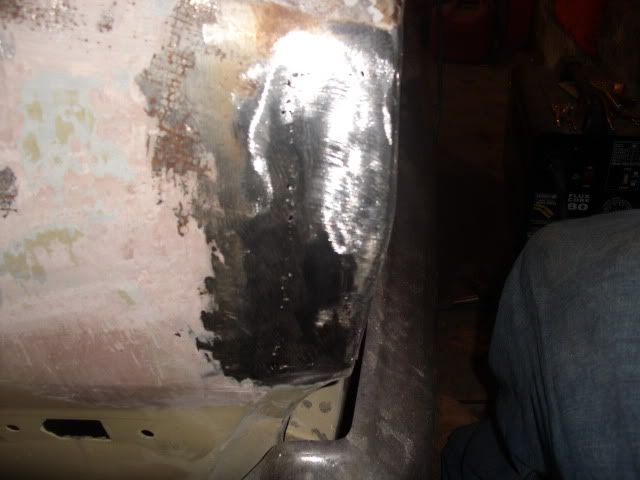
Here is just after welding

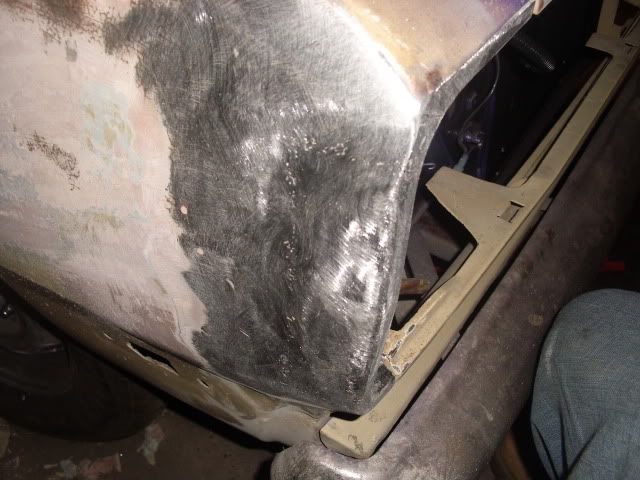
Here is just after the first grinding

here is after welding in a few of the pinholes and resanding

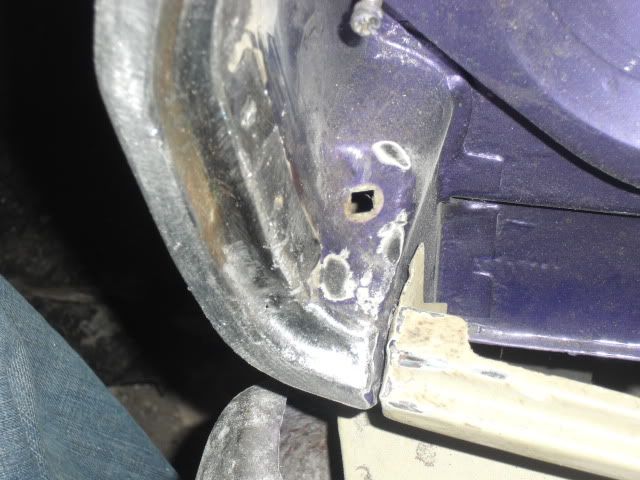
A picture of the inside lip after I smoothed off all the contours (still a couple little imperfections but body filler will take care of the final finish)

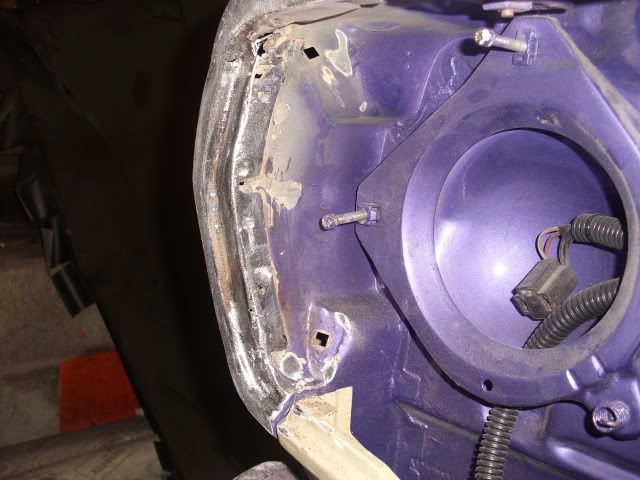
Here you can see the inner lip again and you can also see where I took my carbide bit and ground into my welds so they will look like the factory divots left from the factory spot welds

well, today was a "warm" day.....got up to around 50 but has been raining.....now it is calling for snow for most of the rest of week.
our durango had some abs wire that were cut once before so I fixed them a few weeks ago and then just yesterday they rubbed on the wheel again and got cut and shorted out and now even after fixing them again ....the ABS and brake lights stay on so I have been screwing around with that.
ANYHOW, I did take some time to mess with the duster today and I finished the metal work on the fender patch I made up (check the page before this one on the thread to catch pictures and info on how I have done it).
so I pretty much just did a bunch of tack welds and then ran short beads of welded in between tacks.....and after every weld I would cool it off with a wet rag. then in all the factory spot weld holes that I had to drill out ...I pooled welds in there....the patch is very sturdy and is not going anywhere!.
then I took a grinding disc and went over all my welds and smoothed them out and then took a egg shaped carbide bit and used it to grind away all the welds in the contours of the inner fender around where the headlight sits and what not.
after getting it all cleaned up, I then busted the welder out again and welded back over and spots where there were still gaps between my welds and filled them in.....and then i repeated the grinding process again.
there are still a few little pin holes in my welds but no biggy.
I need to get some paint stripper and remove all the old paint from the fender and then I will take some body filler and put a light smear over the fender and get it all nice and straight and smooth (all depends on what the weather is like and how cold).
anyways, thats where the progress is at.......here are some pictures for you all!
Here is just after welding

Here is just after the first grinding

here is after welding in a few of the pinholes and resanding

A picture of the inside lip after I smoothed off all the contours (still a couple little imperfections but body filler will take care of the final finish)

Here you can see the inner lip again and you can also see where I took my carbide bit and ground into my welds so they will look like the factory divots left from the factory spot welds
