I am trying to separate the two posts - I have the 4.25 post and now i'll be updating this with my build
Here was the original post :
http://www.forabodiesonly.com/mopar/showthread.php?t=128845
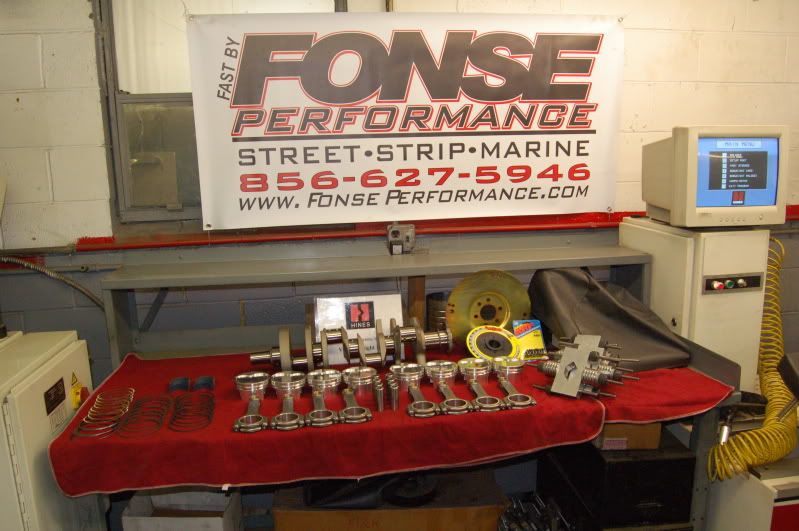
Here is the foundation of the build :
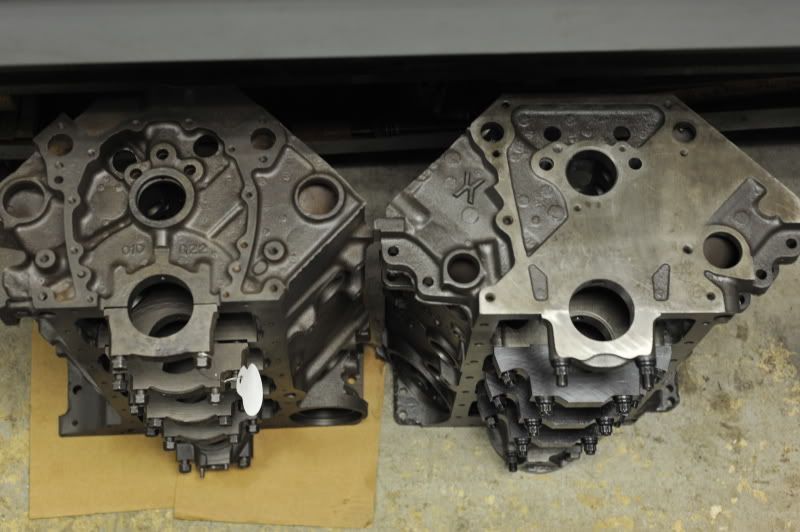
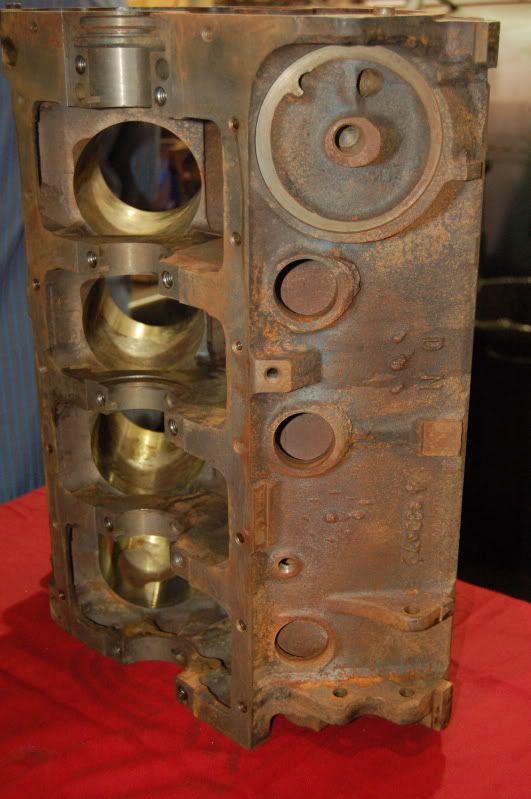
a 1979 X block I got about 8 years ago for 100 bux - It was laying around after being built and was never ran. It was clearanced for a 3.79" stroke , aluminum rods, and had w2 heads - i never got the rods, pistons or heads.
Got my rotating assembly together -
BPE's pistons with a -17cc dish for an approx 10.25:1 with a .039 fel pro 1008 head gasket.
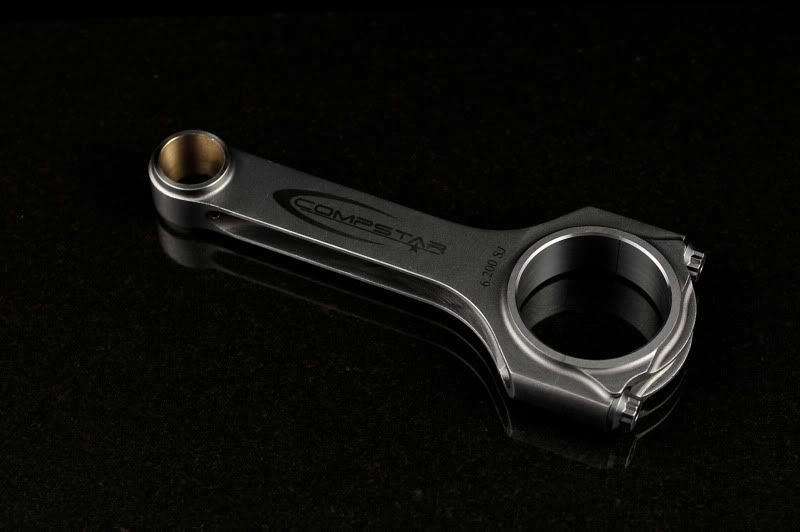
the rods are 6.200 long Callies Compstar rods - they have 2" journals and .927 pins - they are nice and light ( 595 grams ) and are plenty strong for my build.
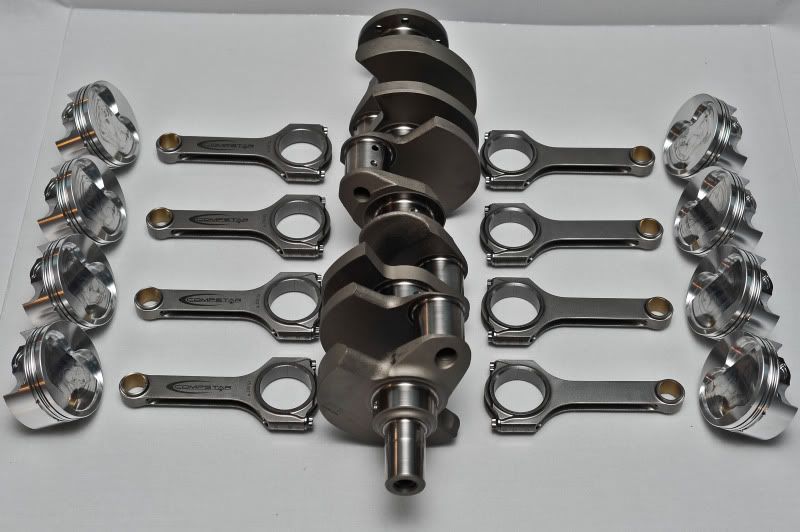
the compstar's are nice - arp 2000 screws and have already been stretched 3 times - the length of the rod has already been polished
like i said they come in at 595 grams +/- 1 gram so they didnt need ot be cleaned up for balancing and the K1 variety is alot heavier at 627 grams
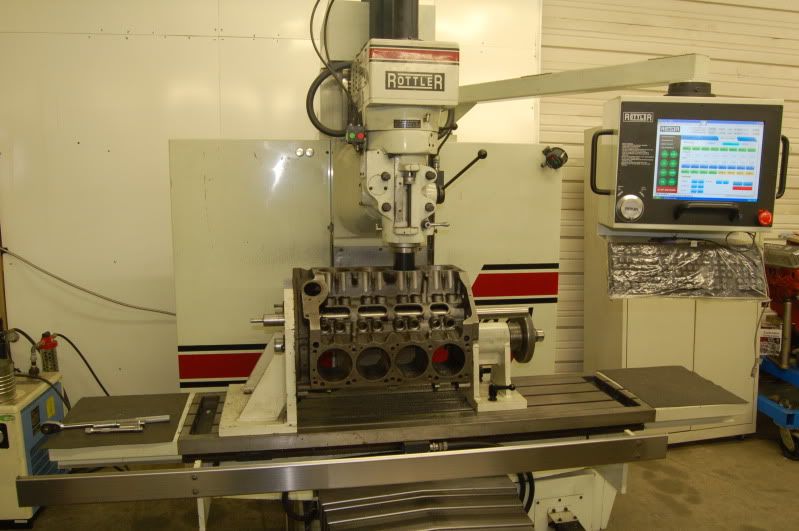
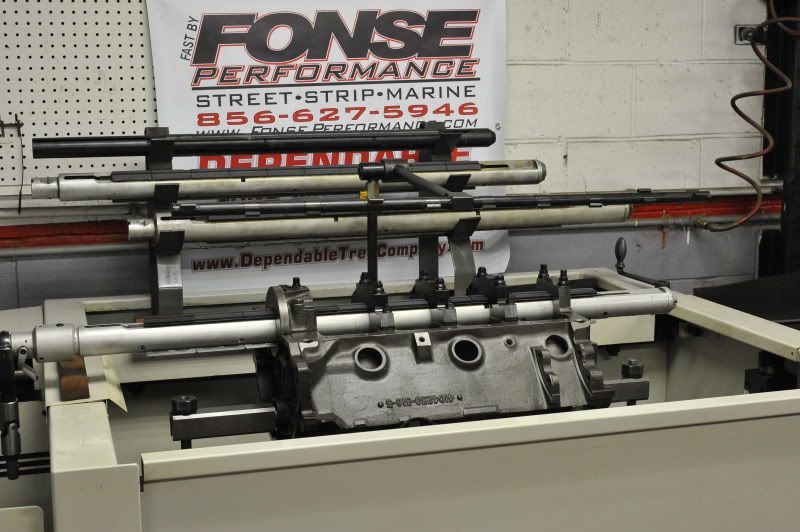
got the parts to the machine shop and started the long process
before -
after shot blasting
On to the Crank -
We checked a number of things to determine the overall quality and condition of the crank. - all measurements were taken at 62 degrees F
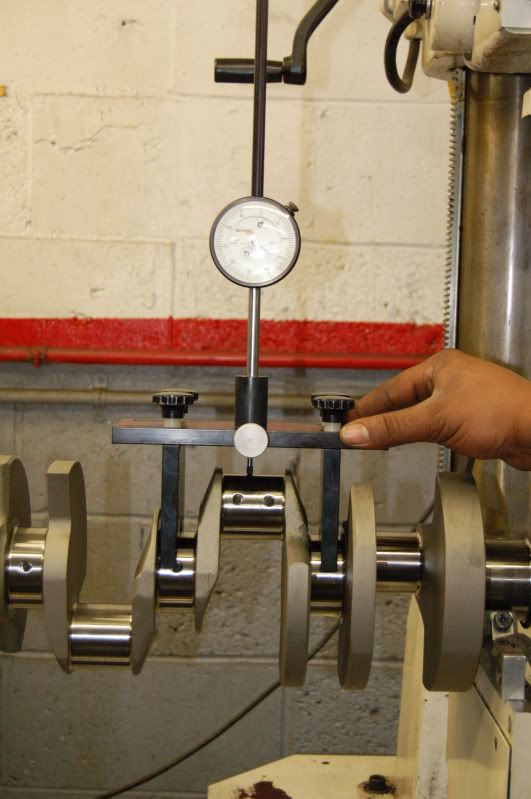
1 - straightness - .001
2 - OD of the Mains - 2.4998
3 - OD of the rod journals - 1.9995
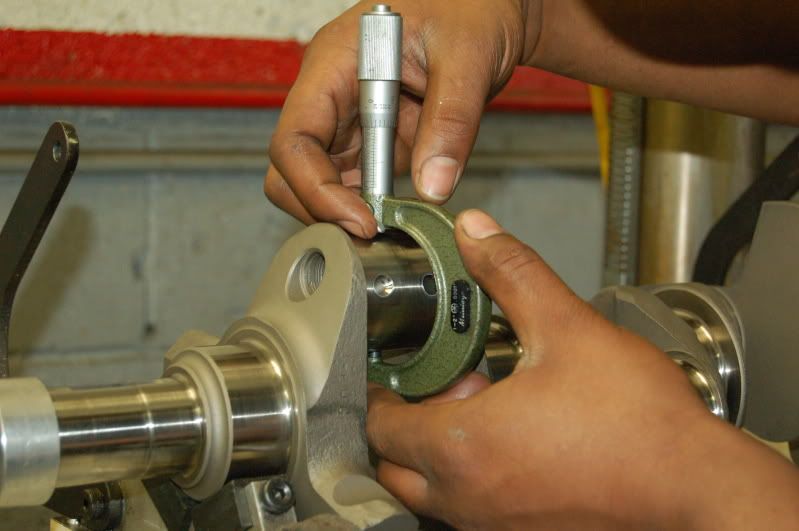
4 - Taper of rods and mains - ( worst one ) .0002
5 - Out of round - NA
6 - OD of the snout ( to fit balancer later ) 1.532
7 - Stroke - we came up with 4.125" for all throws except one - that was the 3,4 journal and it was 4.126"
Just another thought when i got home last night I went to callies site and looked at the $1100 dragonslayer crank specs and what they guarantee their cranks to spec out at - here is the quote -
Last thing we checked for was the oiling holes were indeed drilled all the way - and they were!
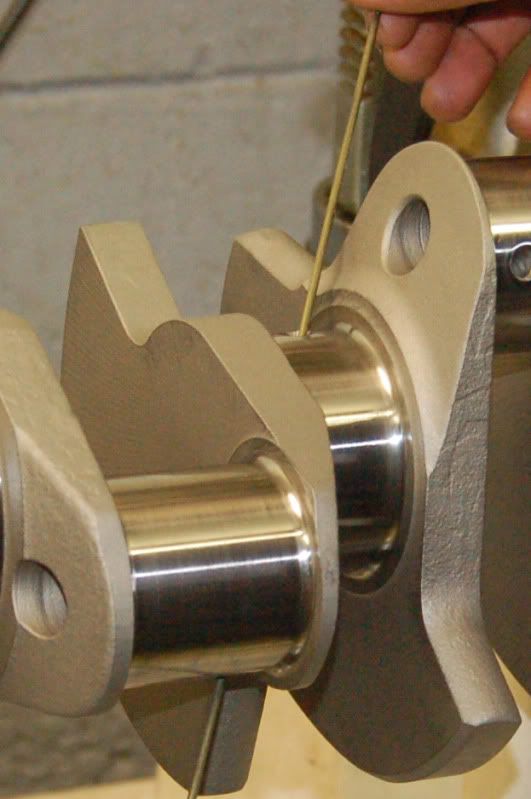
Didnt want to leave any stone unturned with a new part and have an issue later.
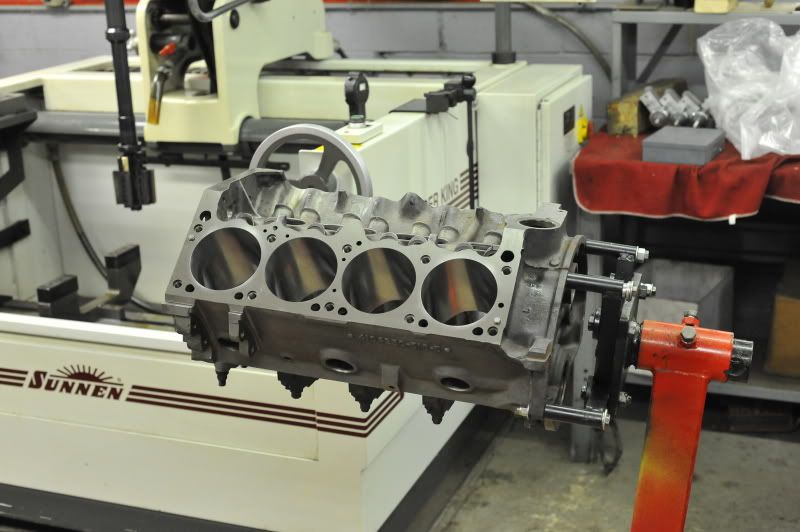
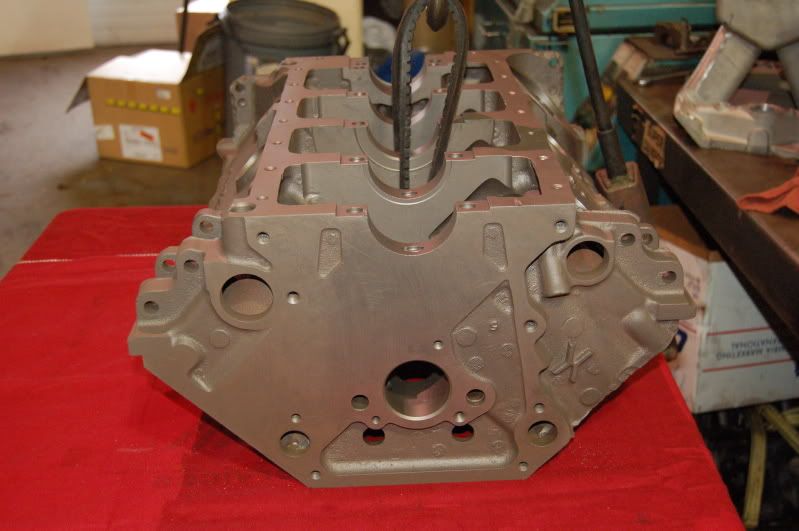
the deck was a mess when we put it on the ROTTLER CNC machine - 12 thousands off on the drivers side and 10 thousands off on the passenger side.
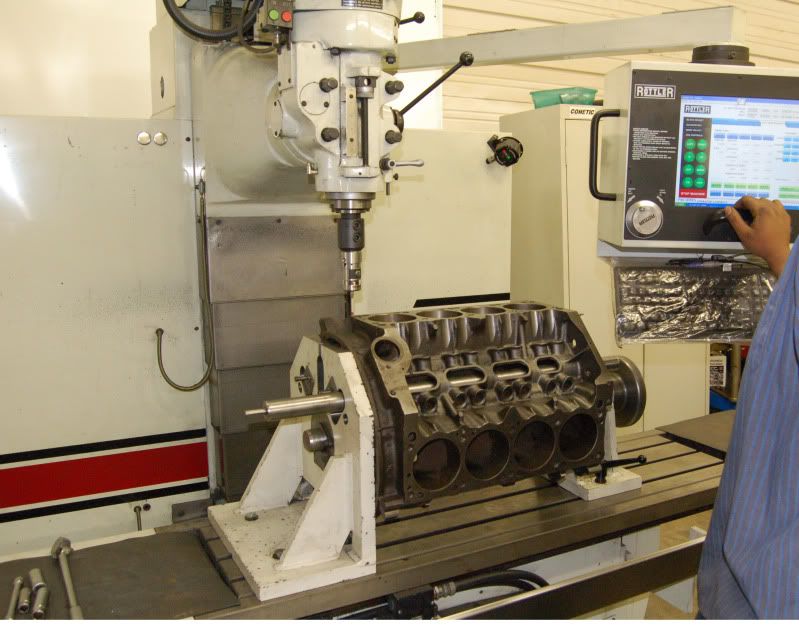
While the deck was flat - and this block was machined at a very reputable shop in the 80's the machinery of today has brought inconsistencies like this to the forefront of modern engine building.
so I had a flat, crooked deck on this sucker. But it will clean up within spec for the rotating assembly.
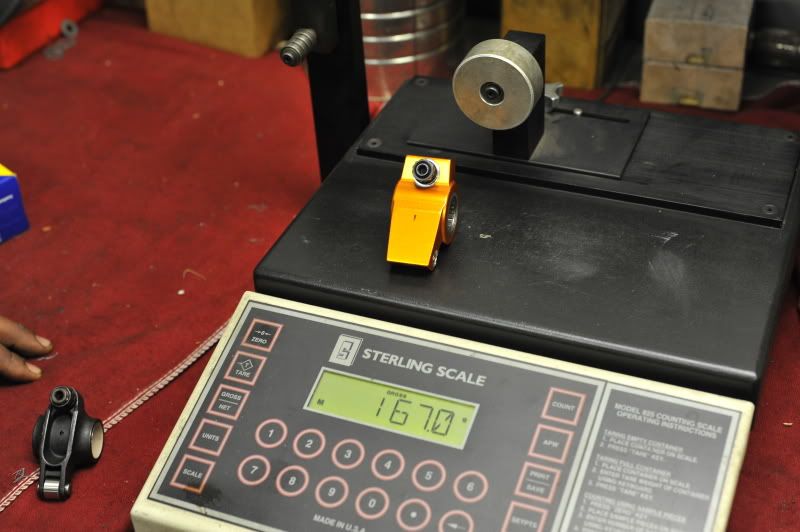
Speaking about the rotating assembly - It measured out to 1794.6 grams for the bobweight - nice and light!
Weights were consistent for everything :
Rods: +/- 2 grams - 599-601
pistons - +/- 1 gram - 471-472
Just out of curiosity - does anyone know the stock 340 rotating assembly bobweight?
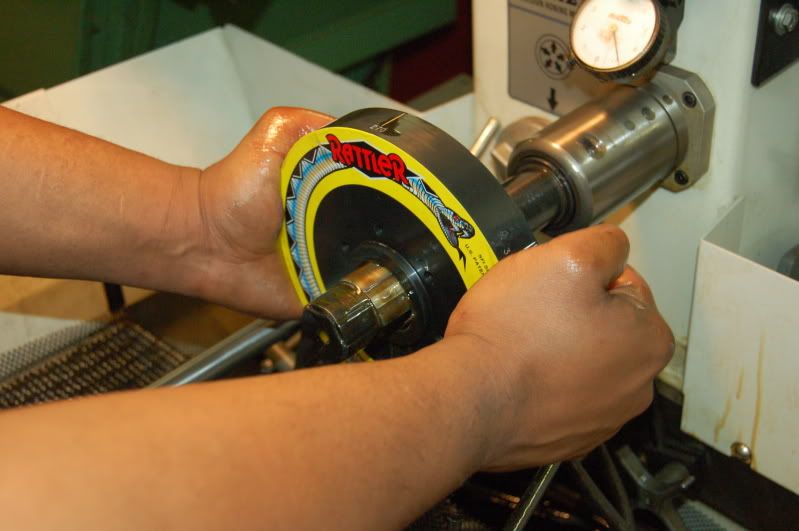
The TCI Rattler had to be fitted to the crank which was 1.532" and the balancer was 2 1/2 thousands smaller - It was honed to fit with a 1 1/2 thou press fit.
The bore centers were checked and while some were not centered correctly the CNC machine bores to where it was supposed to be centered. I think the worst cylinder was 2 thousands off from center to center
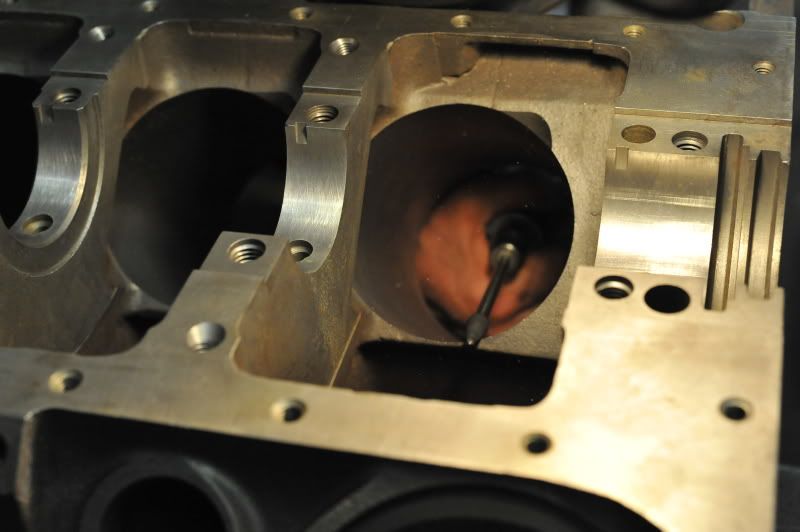
After all the cylinders were punched out we decked the block.
Remember I said earlier that the deck was flat - but not square to the deck? well after the first cut you can actually see the difference in out of square...
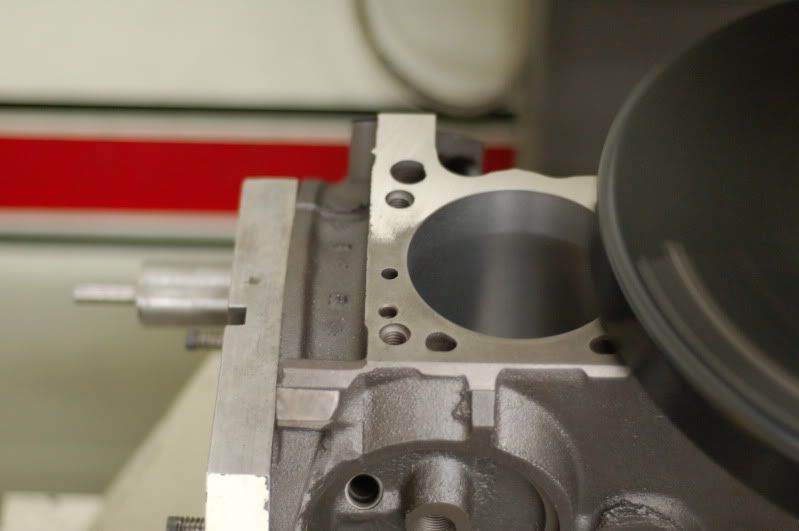
This shot was taken as the second pass was being made on the deck. - you can clearly see the top of the deck was taller then the bottom, and not it is square to the cylinders.
some chevy guys were asking if this setup cleared the counterweight - apparently in chev land this is a problem...
not in mopar world -
you need .060 clear from the skirt to the counterweight... we have 1.060 miles..lol
last update for now - till saturday -
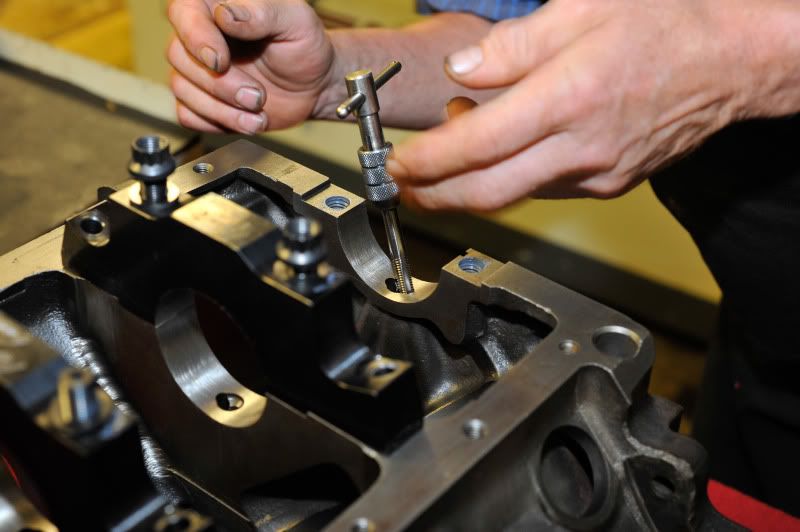
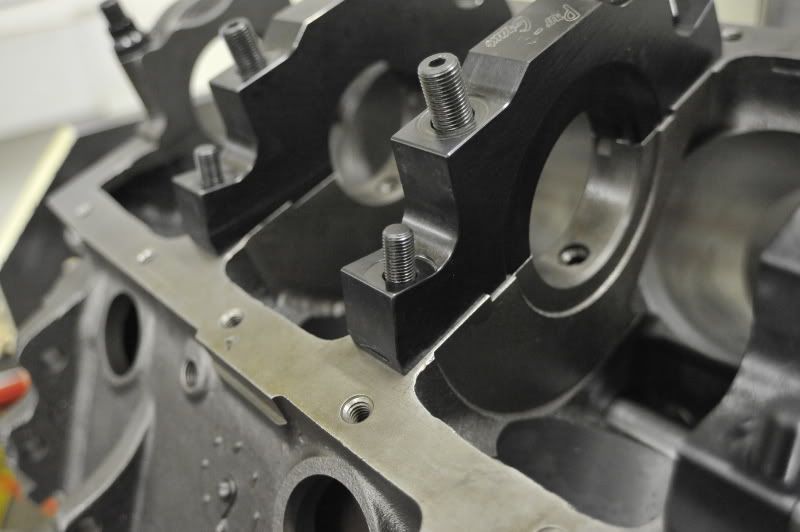
we are fitting the main caps up and drilled them
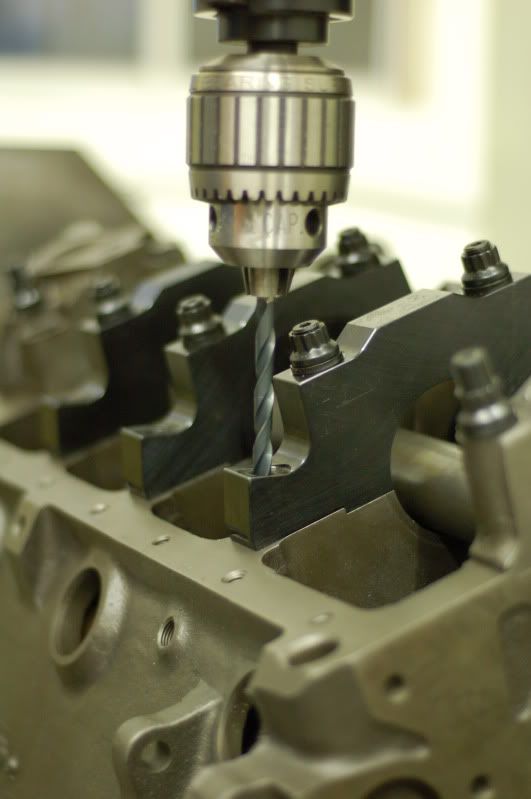
these suckers take a long time to fit up perfectly and man are they alot meatier then the standard cap.
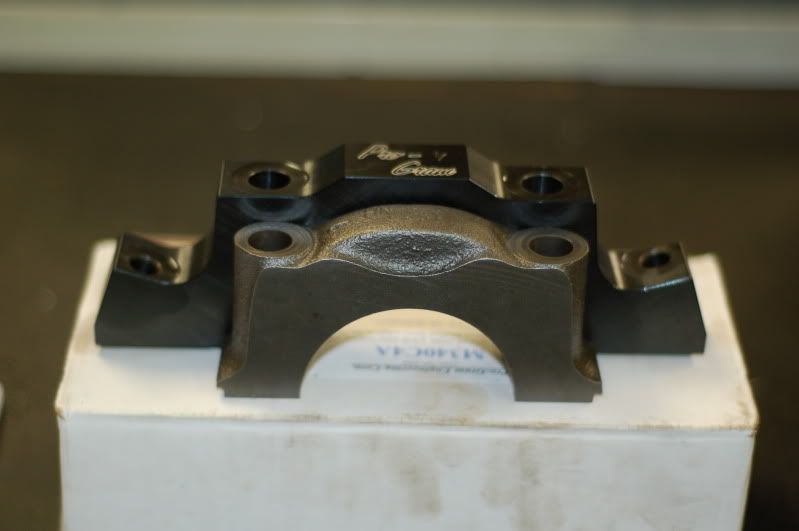
the 4 bolts are possible in the x block since the pan rails are filled in that area where they are not in the stock block,.
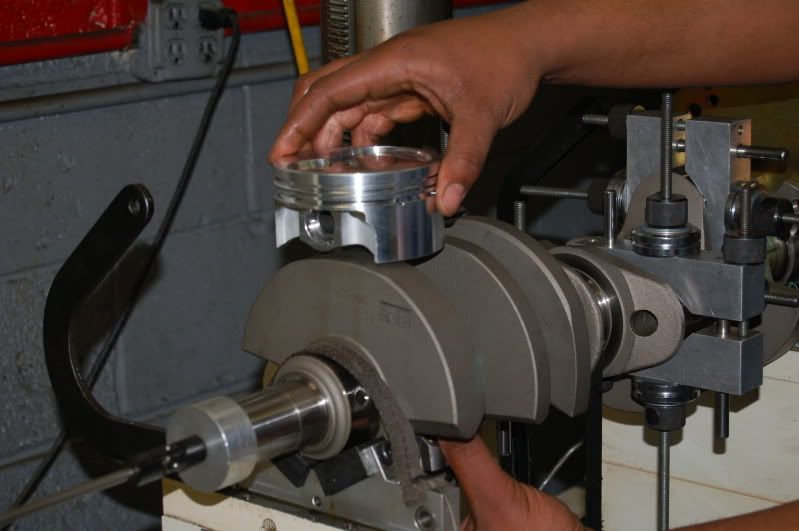
we mocked up the rotating assembly to see if everything cleared - it did by a mile thanks to the 2" journal.
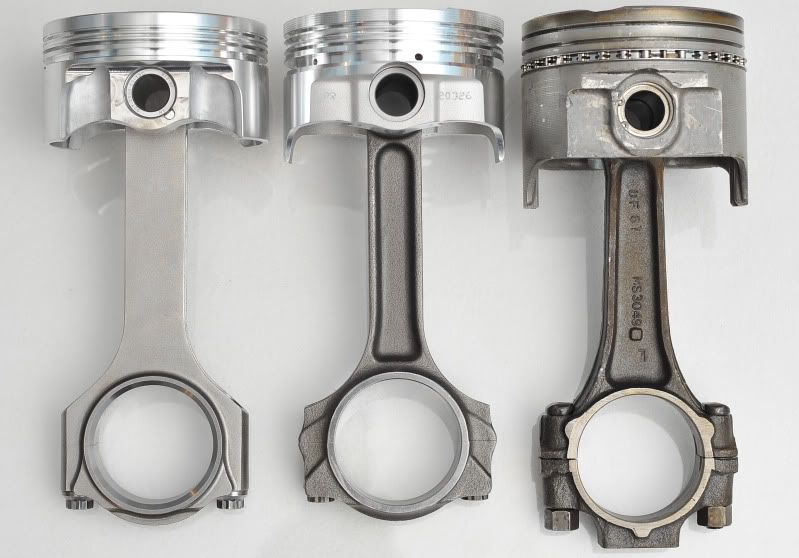
From left to right :
4.125" Stroke setup - BPE Piston - .927 pin - Compstar 6.200 Rod w/ 2" journal - total weight - 1186g - Total Bobweight - 1749g
4" Cast Stroke setup - KB Piston - .984 pin - SCAT 6.125 rod w/ 2.125" journal - total weight - 1216g - Total Bobweight - 1799 G
3.31" Stroke Setup - Stock Piston - .984 pin - Stock rod - total weight - 1508 - Total Bobweight? over 2000 G I assume?
Anyone know?
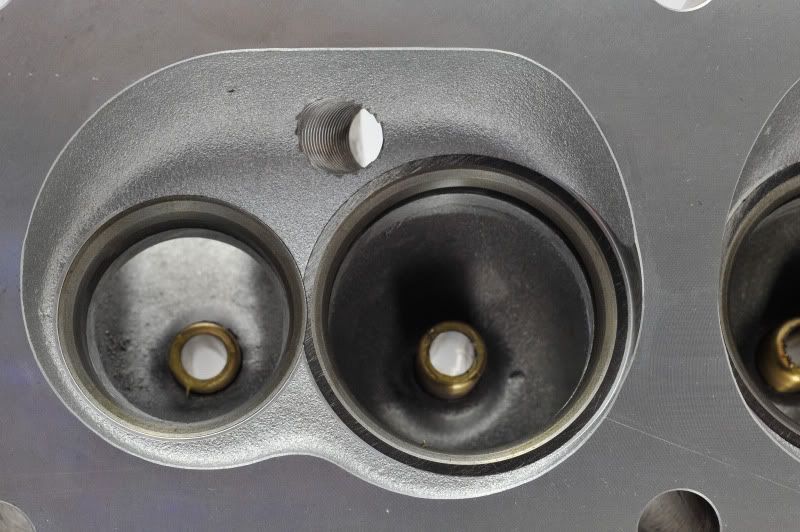
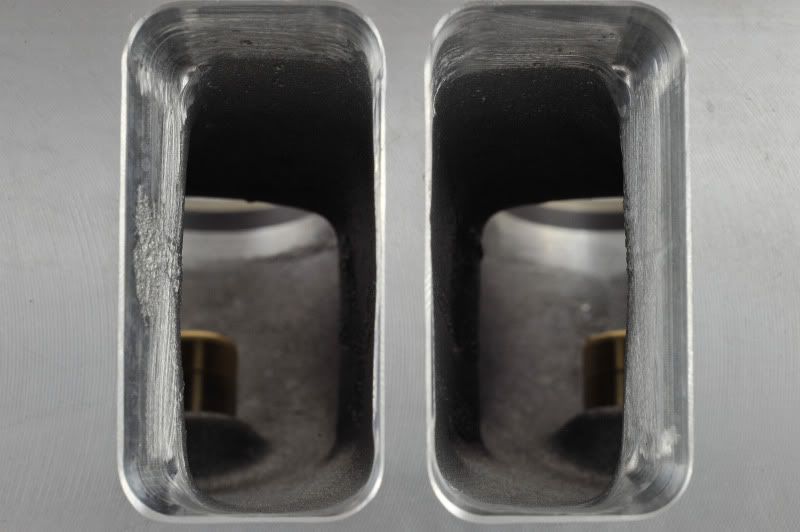
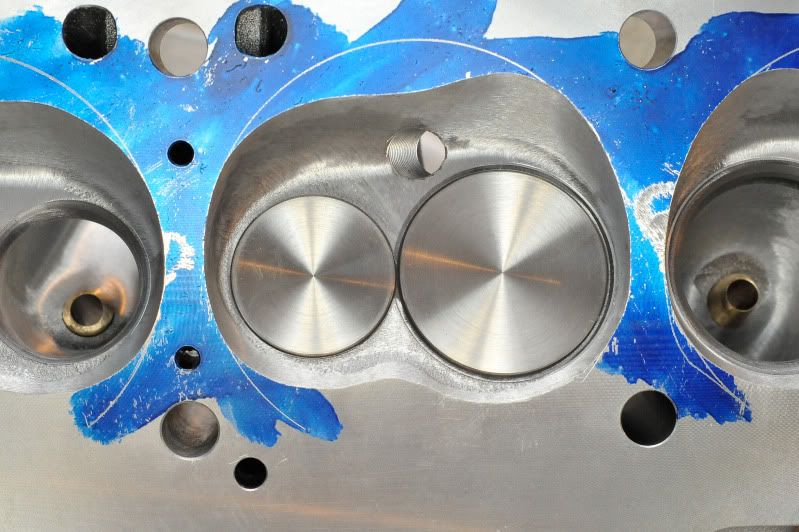
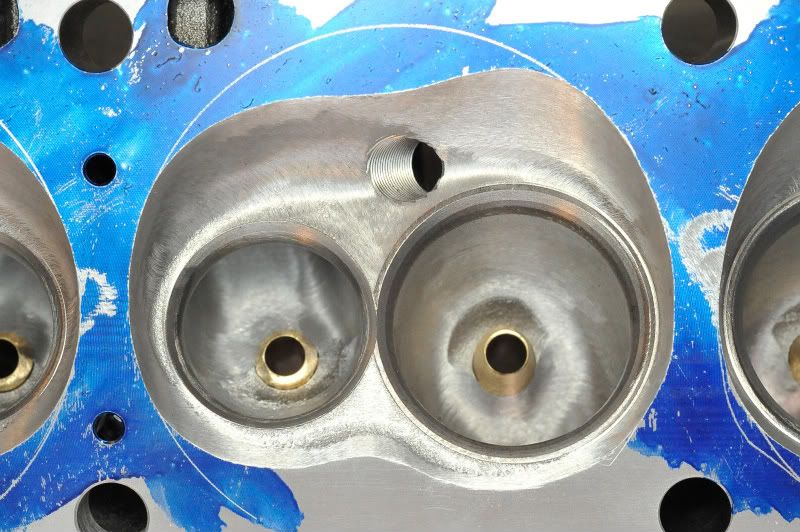
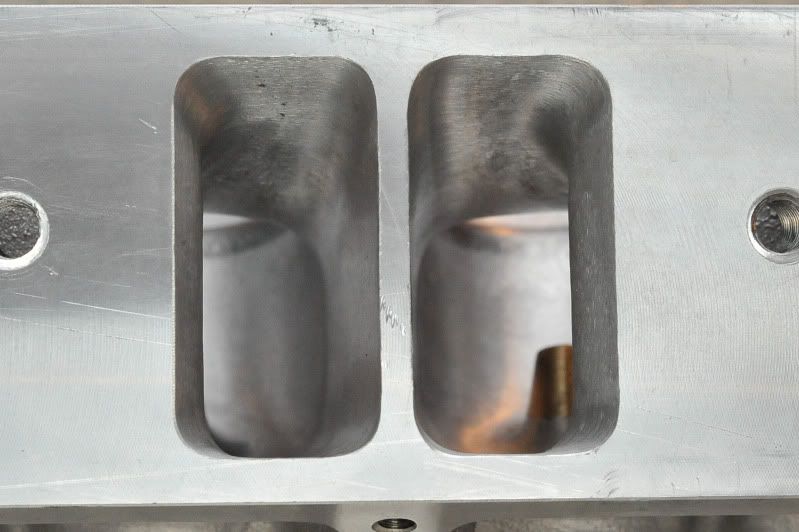
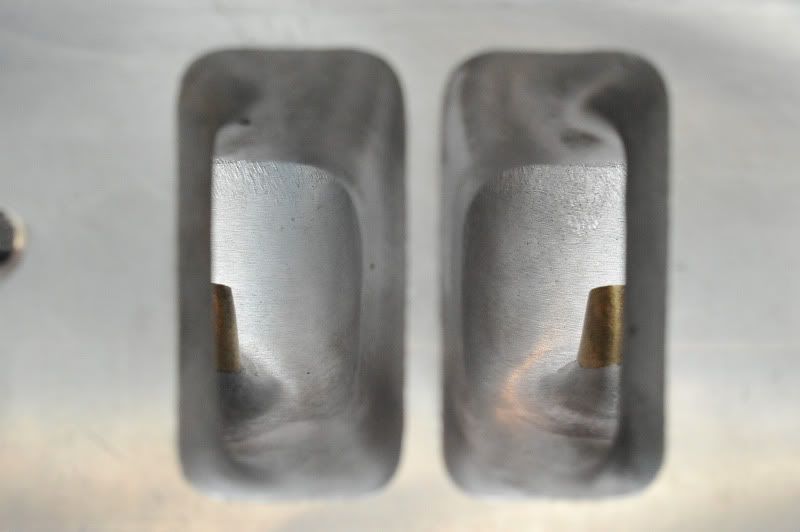
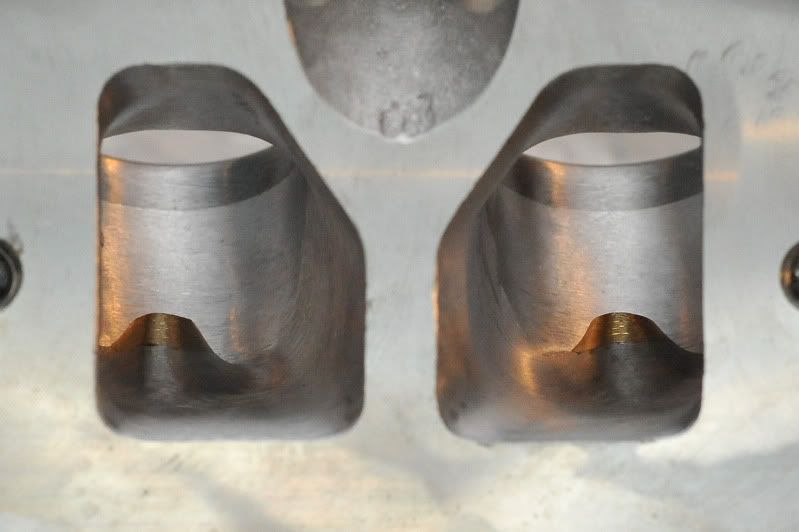
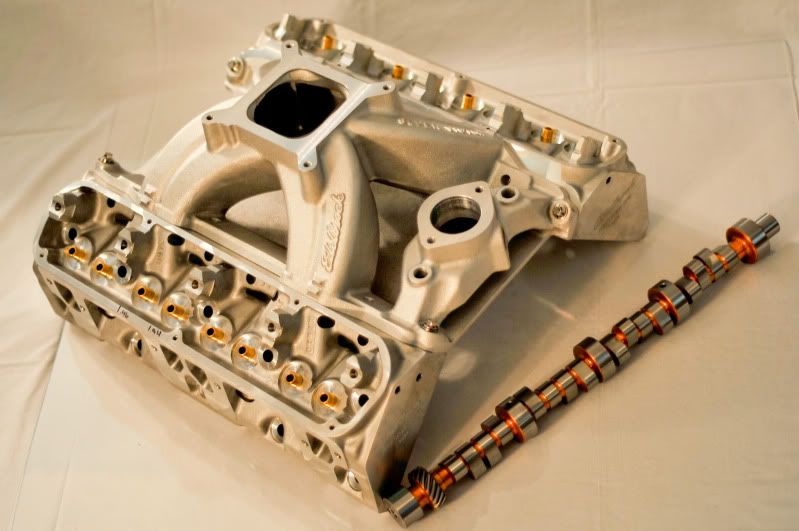
OK - a few updates - the heads are at Shady Dell Speed Shop to get the port work done.
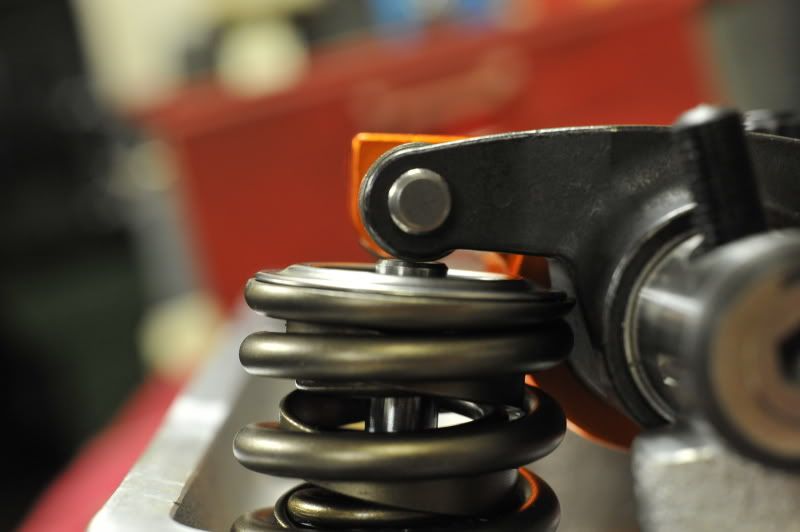
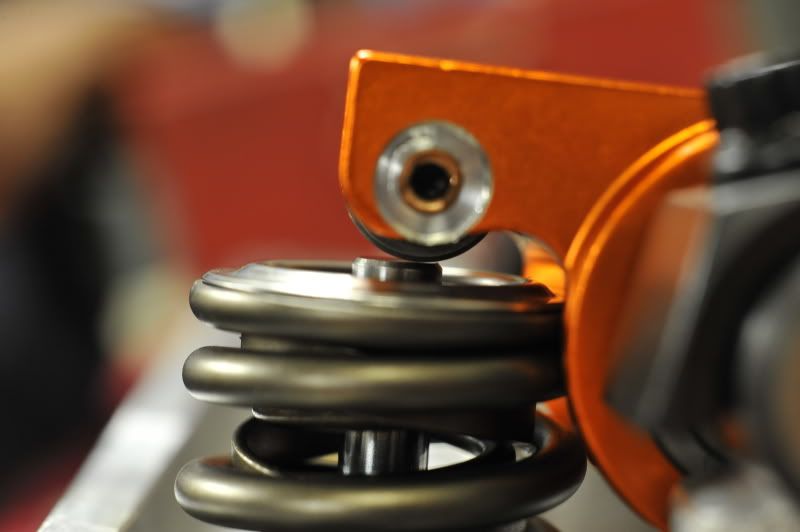
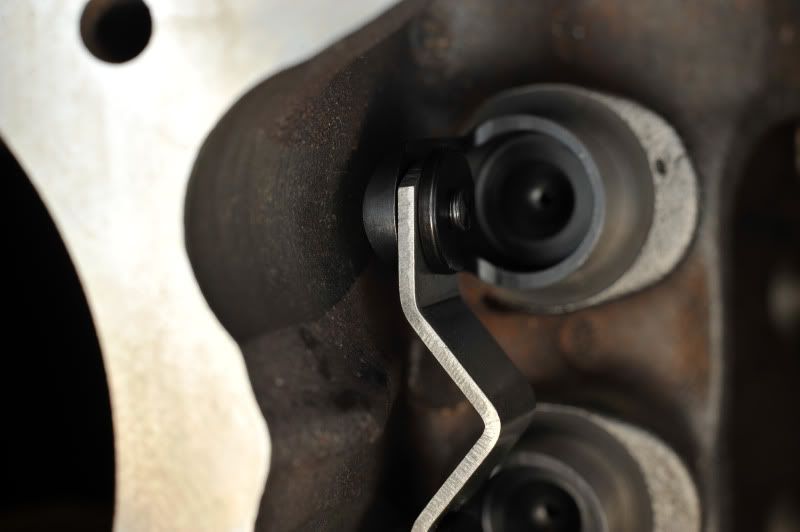
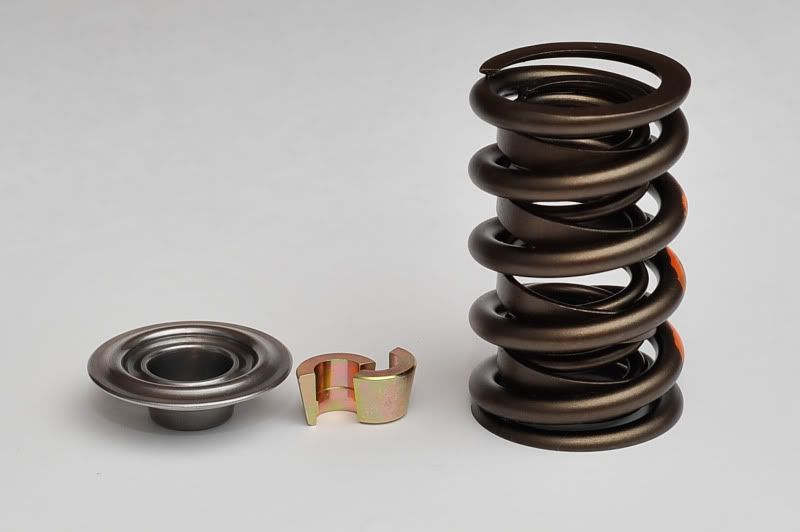
The cam selected will require a 954 spring ( double with damper ). This required a tool steel retainer and super 10 degree lock.
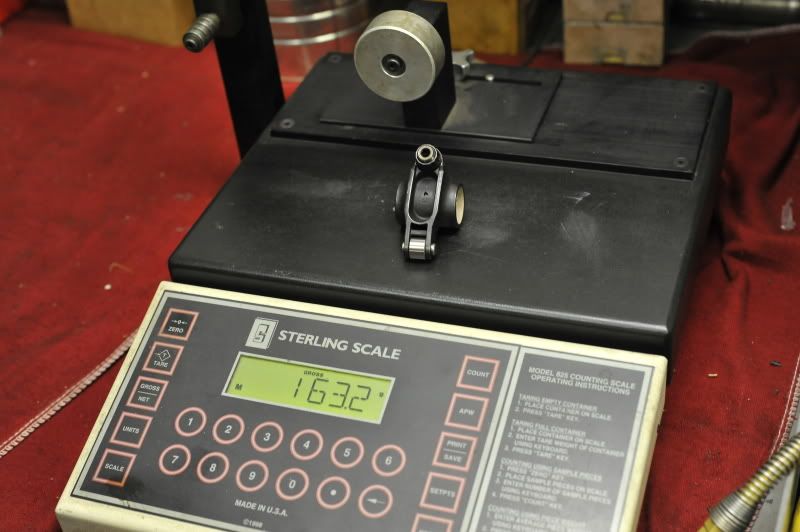
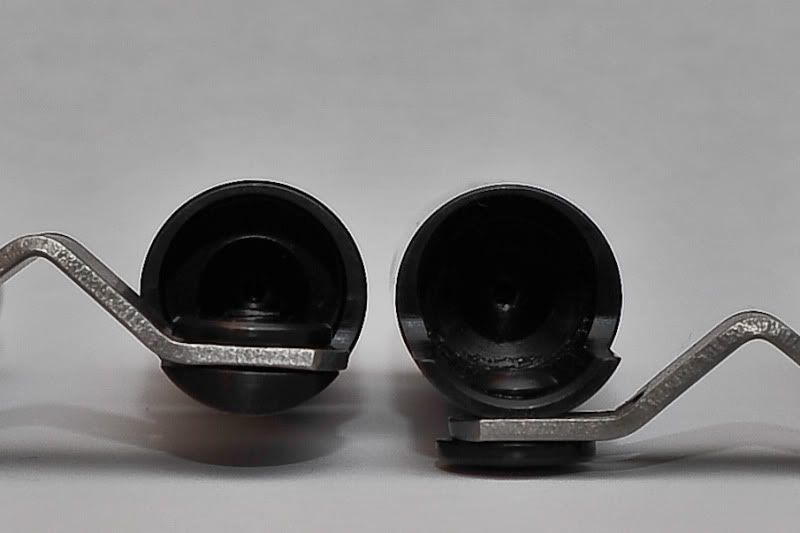
The lifters are the COMP 8043 lifters that have the link bars in the front as opposed to the older style 828 lifters. These should require no grinding on the block and since the block is tubed the ability of the lifter to pushrod oil is not going to be used.
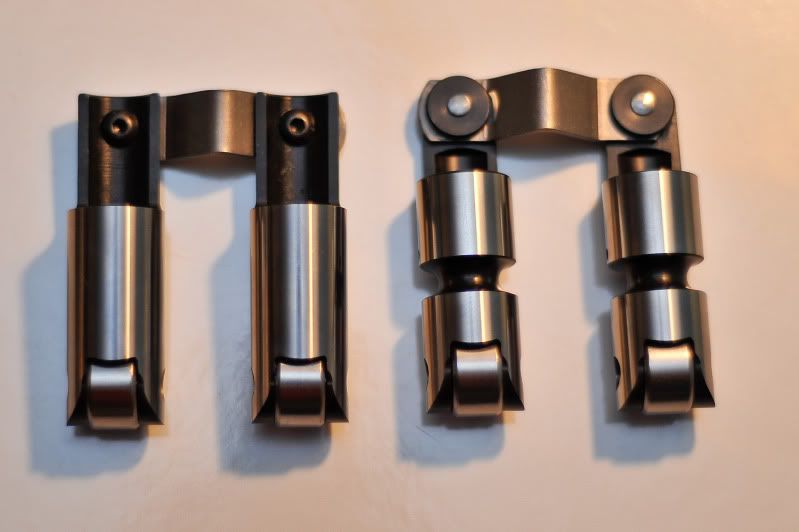
Side shot of the lifters.
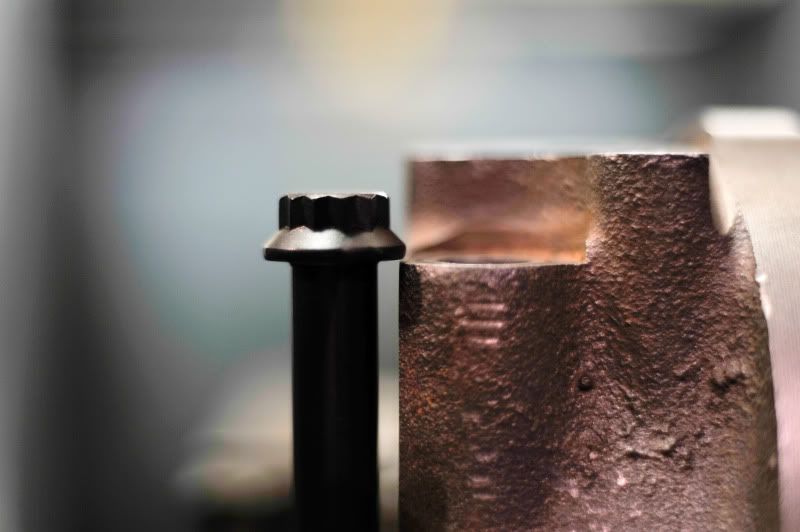
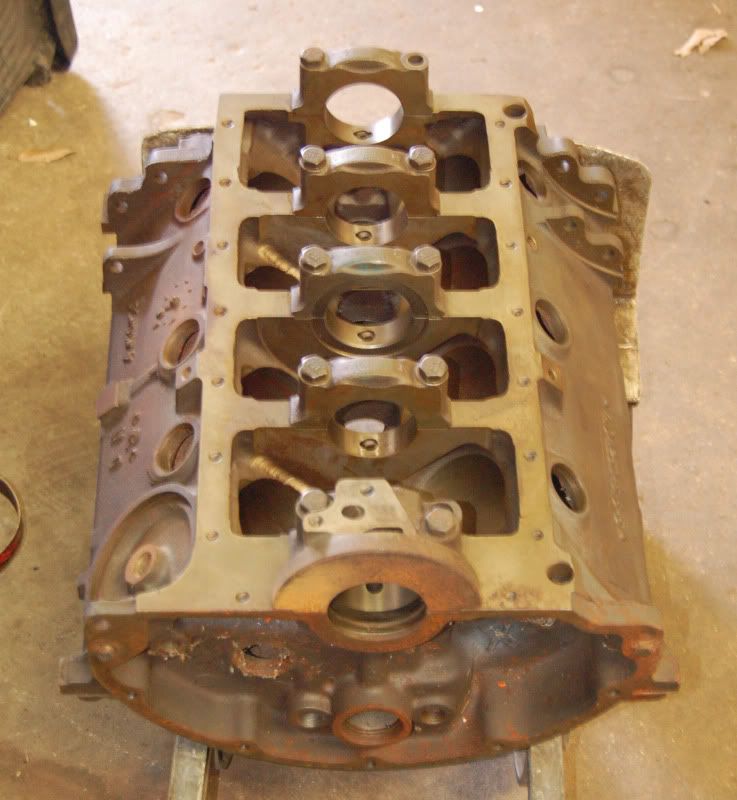
Have not had much time lately, so not much to update - I have been collecting parts but as far as the bock goes - the 4 bolt mains are done.
The only PIA is the pro-gram supplied studs - if they had been setup for an allen head to run them down like the main studs it would save alot of time.
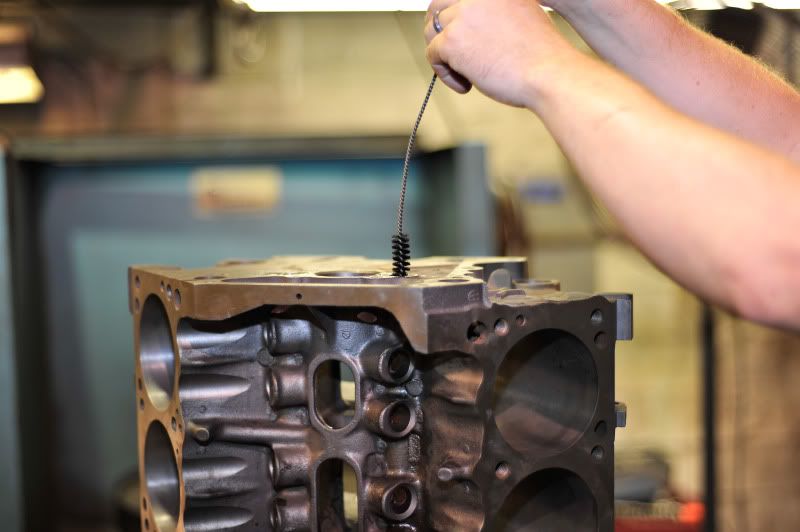
Had some time for the build this weekend - Got the block one step closer to finished!
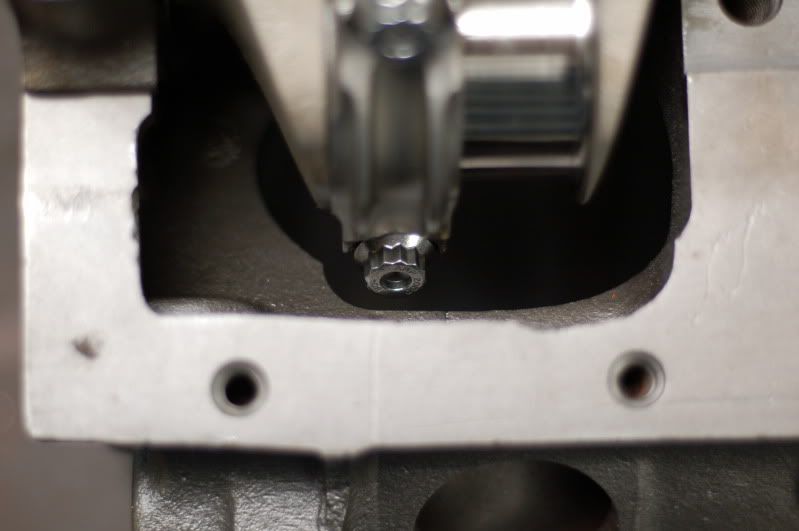
We line bored with the CNC machine - and this is setting the cutter up.
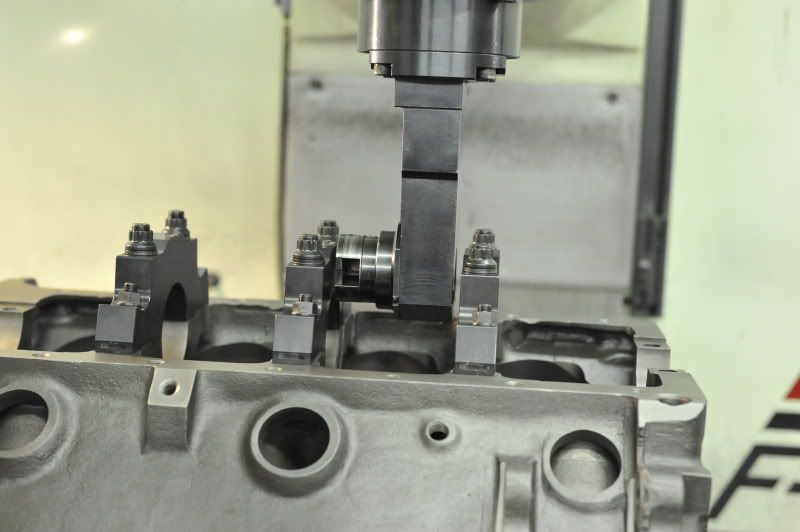
Next it was line honed - taking the last bit out of the new caps and set the oil clearances.
We got to work on some other things, but this was the majority of the work that got done this weekend.
Here was the original post :
http://www.forabodiesonly.com/mopar/showthread.php?t=128845
Here is the foundation of the build :
a 1979 X block I got about 8 years ago for 100 bux - It was laying around after being built and was never ran. It was clearanced for a 3.79" stroke , aluminum rods, and had w2 heads - i never got the rods, pistons or heads.
Got my rotating assembly together -
BPE's pistons with a -17cc dish for an approx 10.25:1 with a .039 fel pro 1008 head gasket.
the rods are 6.200 long Callies Compstar rods - they have 2" journals and .927 pins - they are nice and light ( 595 grams ) and are plenty strong for my build.
the compstar's are nice - arp 2000 screws and have already been stretched 3 times - the length of the rod has already been polished
like i said they come in at 595 grams +/- 1 gram so they didnt need ot be cleaned up for balancing and the K1 variety is alot heavier at 627 grams
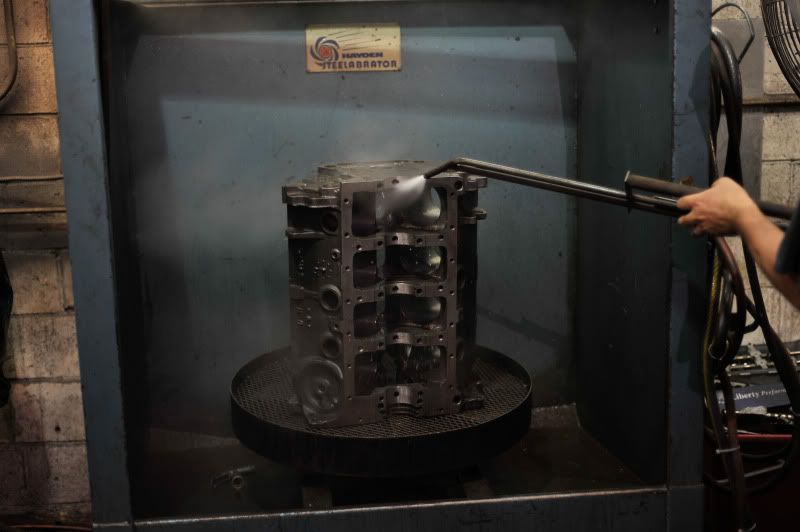
got the parts to the machine shop and started the long process
before -
after shot blasting
On to the Crank -
We checked a number of things to determine the overall quality and condition of the crank. - all measurements were taken at 62 degrees F
1 - straightness - .001
2 - OD of the Mains - 2.4998
3 - OD of the rod journals - 1.9995
4 - Taper of rods and mains - ( worst one ) .0002
5 - Out of round - NA
6 - OD of the snout ( to fit balancer later ) 1.532
7 - Stroke - we came up with 4.125" for all throws except one - that was the 3,4 journal and it was 4.126"
Just another thought when i got home last night I went to callies site and looked at the $1100 dragonslayer crank specs and what they guarantee their cranks to spec out at - here is the quote -
So for half the price I got a crank within the spec of the Callies Dragonslayer - not bad in my opinion!These shafts are machined to the tolerances demanded by today’s high performance engine builder. Roundness and taper are held to less than .0003 on all rod and main journal diameters. Our final polishing procedures produce excellent load carrying surfaces that ensure extended bearing life and trouble free operation.
Last thing we checked for was the oiling holes were indeed drilled all the way - and they were!
Didnt want to leave any stone unturned with a new part and have an issue later.
the deck was a mess when we put it on the ROTTLER CNC machine - 12 thousands off on the drivers side and 10 thousands off on the passenger side.
While the deck was flat - and this block was machined at a very reputable shop in the 80's the machinery of today has brought inconsistencies like this to the forefront of modern engine building.
so I had a flat, crooked deck on this sucker. But it will clean up within spec for the rotating assembly.
Speaking about the rotating assembly - It measured out to 1794.6 grams for the bobweight - nice and light!
Weights were consistent for everything :
Rods: +/- 2 grams - 599-601
pistons - +/- 1 gram - 471-472
Just out of curiosity - does anyone know the stock 340 rotating assembly bobweight?
The TCI Rattler had to be fitted to the crank which was 1.532" and the balancer was 2 1/2 thousands smaller - It was honed to fit with a 1 1/2 thou press fit.
The bore centers were checked and while some were not centered correctly the CNC machine bores to where it was supposed to be centered. I think the worst cylinder was 2 thousands off from center to center
After all the cylinders were punched out we decked the block.
Remember I said earlier that the deck was flat - but not square to the deck? well after the first cut you can actually see the difference in out of square...
This shot was taken as the second pass was being made on the deck. - you can clearly see the top of the deck was taller then the bottom, and not it is square to the cylinders.
some chevy guys were asking if this setup cleared the counterweight - apparently in chev land this is a problem...
not in mopar world -
you need .060 clear from the skirt to the counterweight... we have 1.060 miles..lol
last update for now - till saturday -
we are fitting the main caps up and drilled them
these suckers take a long time to fit up perfectly and man are they alot meatier then the standard cap.
the 4 bolts are possible in the x block since the pan rails are filled in that area where they are not in the stock block,.
we mocked up the rotating assembly to see if everything cleared - it did by a mile thanks to the 2" journal.
From left to right :
4.125" Stroke setup - BPE Piston - .927 pin - Compstar 6.200 Rod w/ 2" journal - total weight - 1186g - Total Bobweight - 1749g
4" Cast Stroke setup - KB Piston - .984 pin - SCAT 6.125 rod w/ 2.125" journal - total weight - 1216g - Total Bobweight - 1799 G
3.31" Stroke Setup - Stock Piston - .984 pin - Stock rod - total weight - 1508 - Total Bobweight? over 2000 G I assume?
Anyone know?
OK - a few updates - the heads are at Shady Dell Speed Shop to get the port work done.
The cam selected will require a 954 spring ( double with damper ). This required a tool steel retainer and super 10 degree lock.
The lifters are the COMP 8043 lifters that have the link bars in the front as opposed to the older style 828 lifters. These should require no grinding on the block and since the block is tubed the ability of the lifter to pushrod oil is not going to be used.
Side shot of the lifters.
Have not had much time lately, so not much to update - I have been collecting parts but as far as the bock goes - the 4 bolt mains are done.
The only PIA is the pro-gram supplied studs - if they had been setup for an allen head to run them down like the main studs it would save alot of time.
Had some time for the build this weekend - Got the block one step closer to finished!
We line bored with the CNC machine - and this is setting the cutter up.
Next it was line honed - taking the last bit out of the new caps and set the oil clearances.
We got to work on some other things, but this was the majority of the work that got done this weekend.