The Other 68 Dart Resto Project
This a continuation of the bodywork I started a few weeks ago by stripping all the old filler down to the metal. I have to add, this is the first major bodywork I have ever done, before it had been limited to door dings and a little bit of painting, so if you see me doing something wrong, let me know.
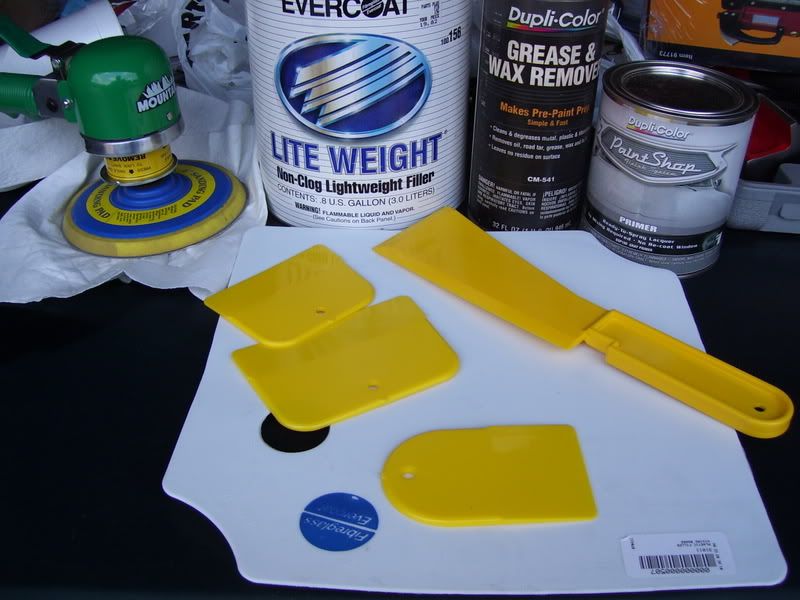
Just enough tools to make me dangerous. I have my D/A sander, a 17" air board sander, a 17" hand board sander, a 6" block sander, a grater for shaping bodywork, Evercoat filler, mixing board and an assortment of speaders.
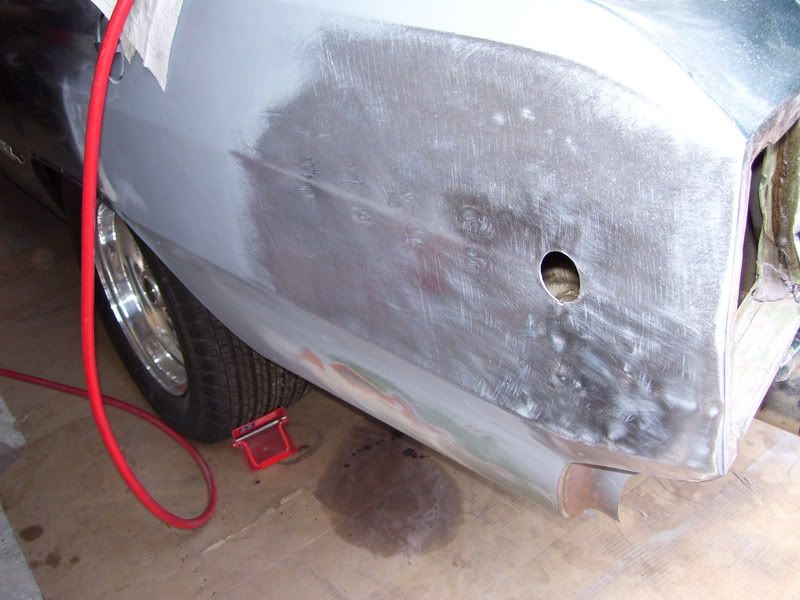
Here is the uglyness I found under the filler, in retrospect I could have left it alone, but I just didn't know what was going on underneath, plus the rear body crease was pretty soft, I wanted to sharpen it up a bit. All the holes are being welded up, I started with the rear quarter. I also knocked down most of the high spots with a hammer and dolly (I still missed a few).
The start of the filler, I started with the lower half, I was concerned that the creases would be soft so I paid the most attention to them. I already made a pass with the D/A to knock down the first layer. Its a ***** getting the hardener to filler ratio just right, you will see by all the different colors of the filler.
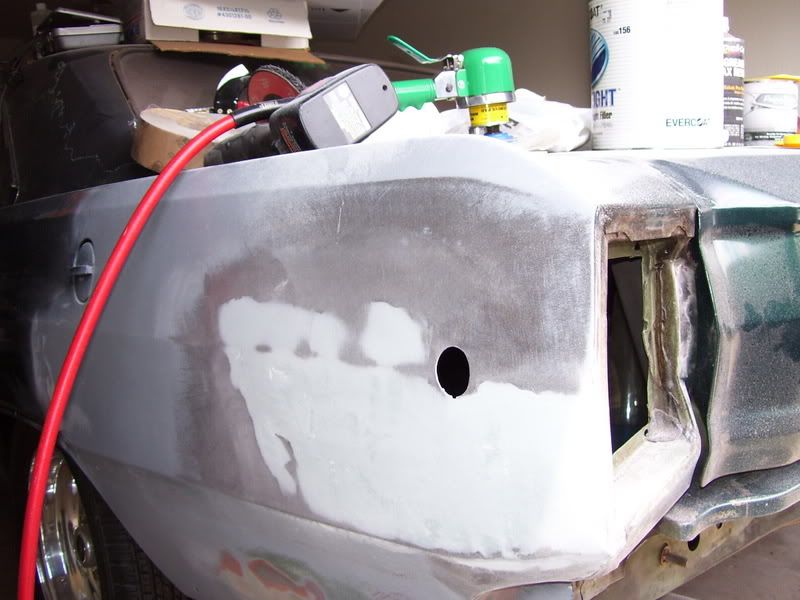
This is the second coat, knocked down with the grater.
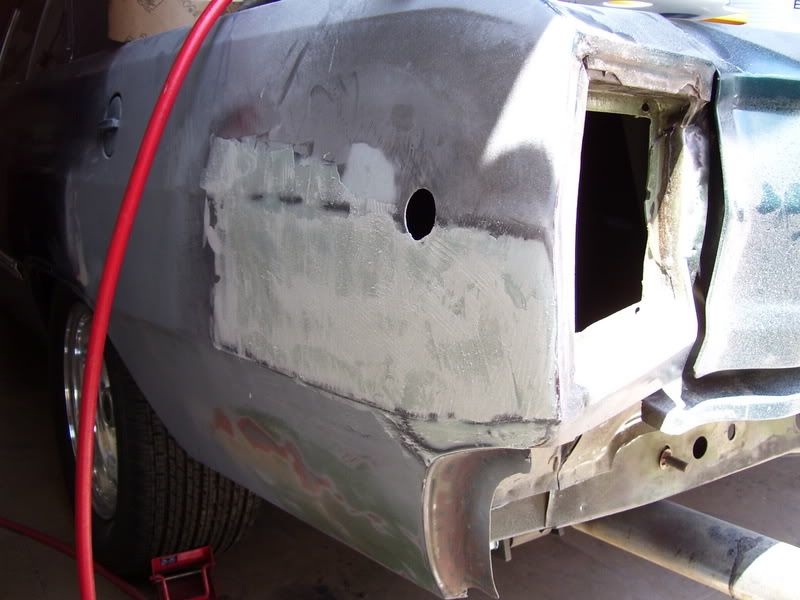
Coat number 3, filling in the low spots.
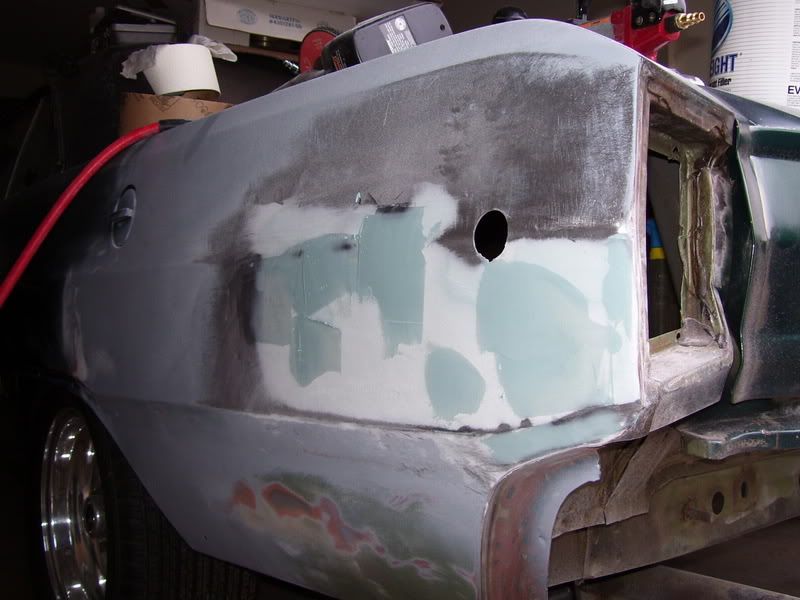
Sanded down with the D/A, I then hit all the bare metal with etching primer.
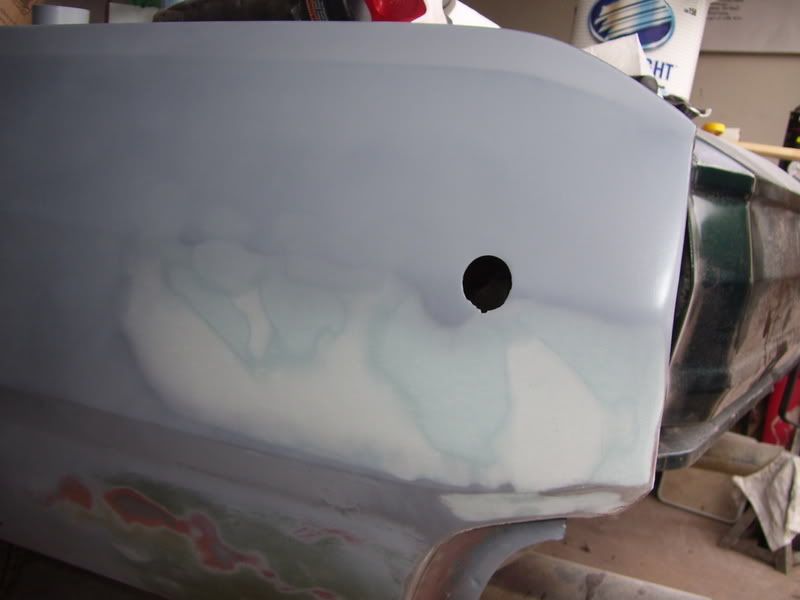
The next day, I did the top half, now I am applying a layer of glazing putty, I built up the center crease so when I sand it down I can get a nice shap line.
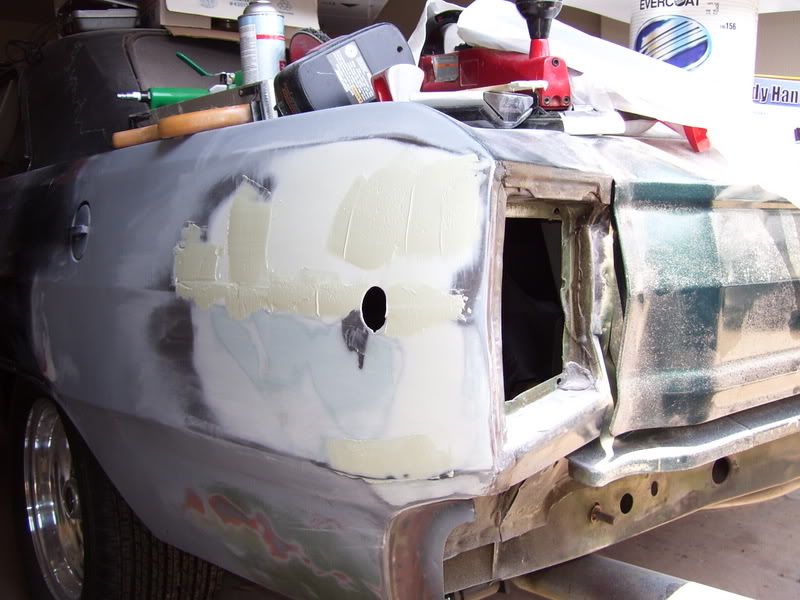
Here is my first coat of primer over the intitial filler work, look at that nice sharp crease!
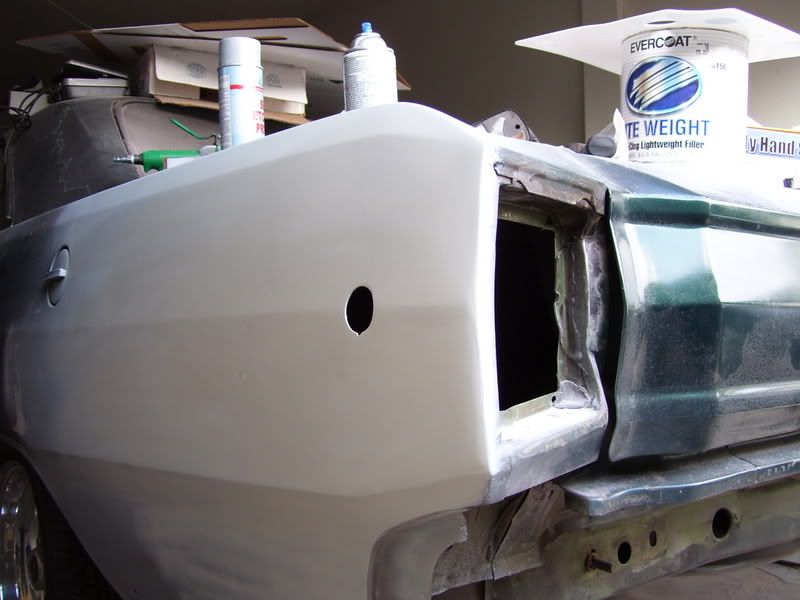
Here is another look at the crease, straight as an arrow! I love it when a plan comes together.
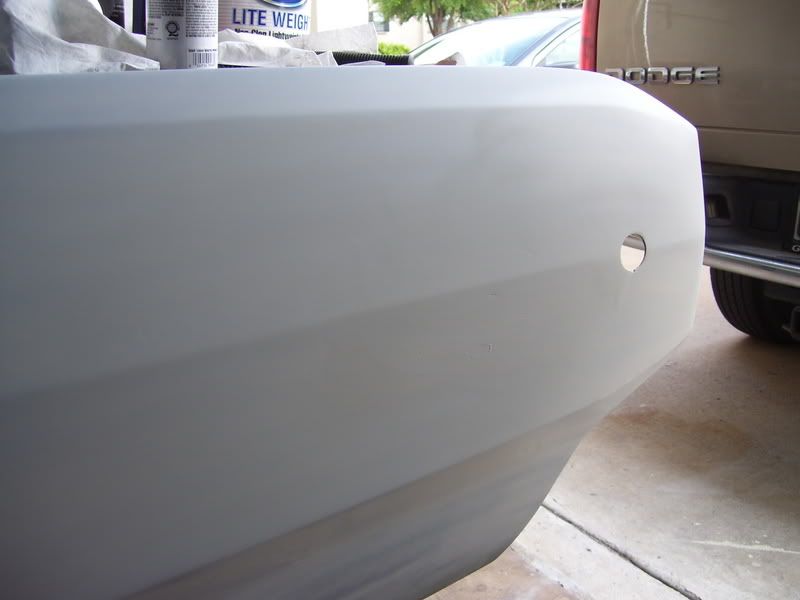
To find the low spots, I sprayed a light coat of black primer.
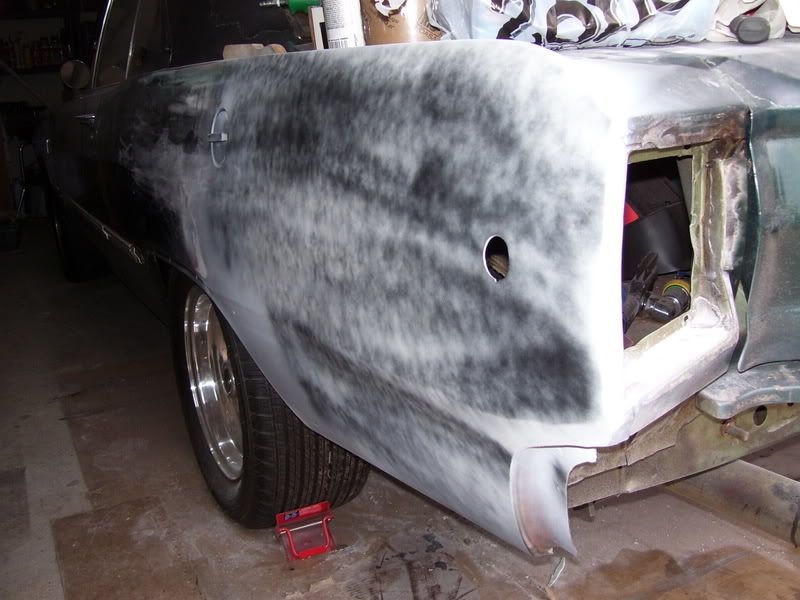
I then blocked it to find all the high and low spots, still needs some work, I found a few high spots I need to knock down some more.
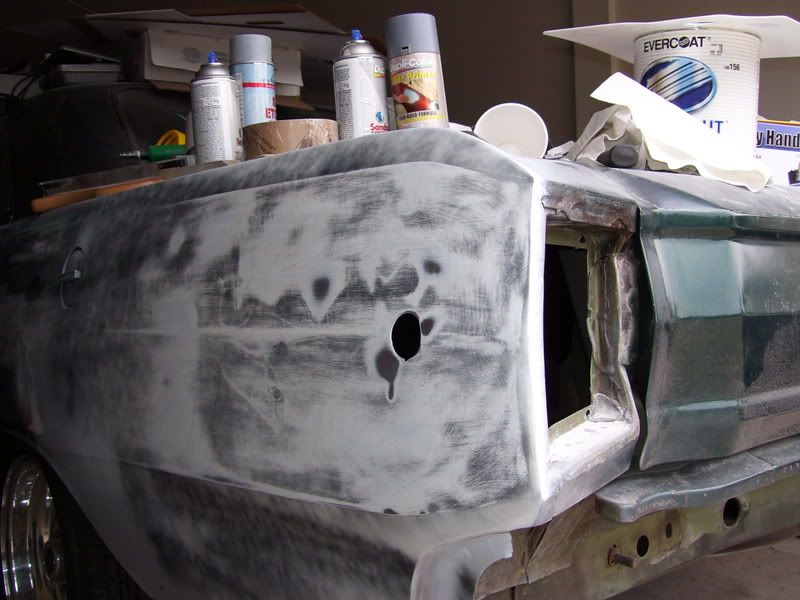
Afterwards I put down several coats of high build primer, I am going to block it one more time, if I still have high spots, I am going to knock them down, them I am going to fill in the low spots with some glazing putty.
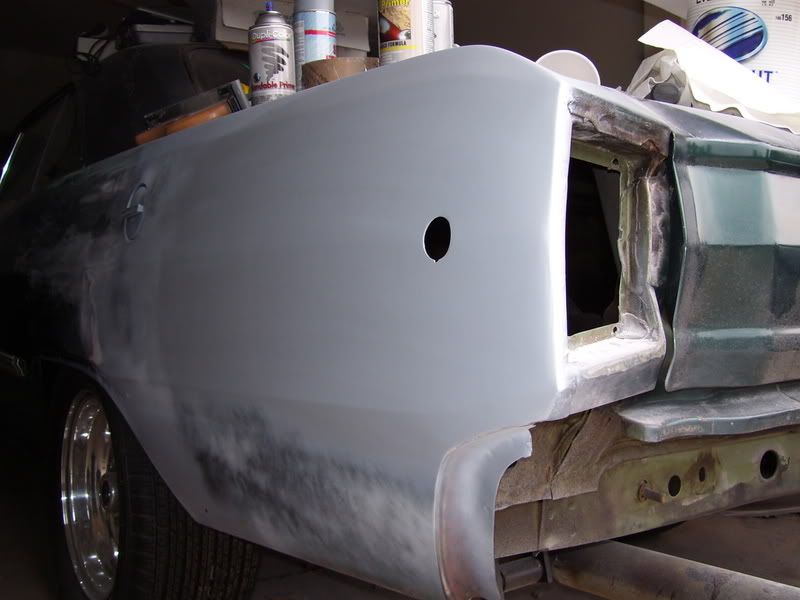
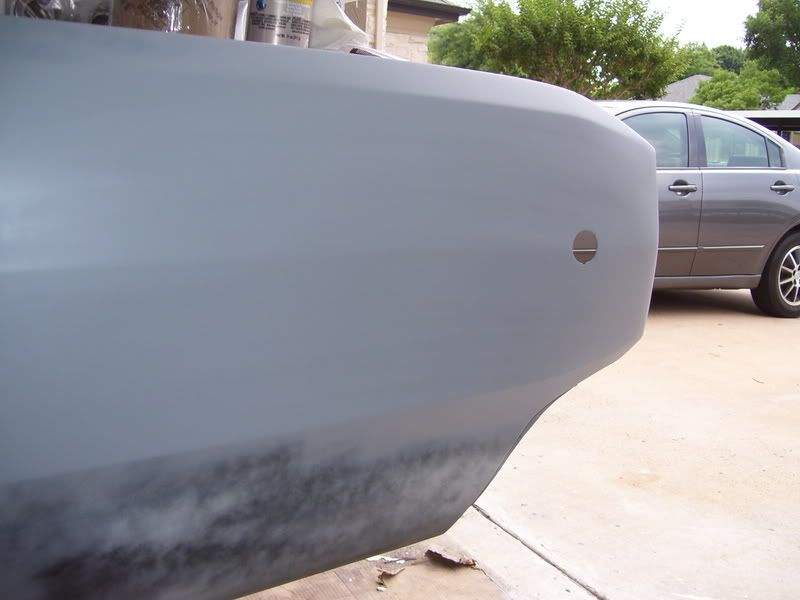
Another angle of the work. I think its starting to look better. The streaking is actually from the high build primer still being wet.
More to come next weekend...
This a continuation of the bodywork I started a few weeks ago by stripping all the old filler down to the metal. I have to add, this is the first major bodywork I have ever done, before it had been limited to door dings and a little bit of painting, so if you see me doing something wrong, let me know.
Just enough tools to make me dangerous. I have my D/A sander, a 17" air board sander, a 17" hand board sander, a 6" block sander, a grater for shaping bodywork, Evercoat filler, mixing board and an assortment of speaders.

Here is the uglyness I found under the filler, in retrospect I could have left it alone, but I just didn't know what was going on underneath, plus the rear body crease was pretty soft, I wanted to sharpen it up a bit. All the holes are being welded up, I started with the rear quarter. I also knocked down most of the high spots with a hammer and dolly (I still missed a few).

The start of the filler, I started with the lower half, I was concerned that the creases would be soft so I paid the most attention to them. I already made a pass with the D/A to knock down the first layer. Its a ***** getting the hardener to filler ratio just right, you will see by all the different colors of the filler.

This is the second coat, knocked down with the grater.

Coat number 3, filling in the low spots.

Sanded down with the D/A, I then hit all the bare metal with etching primer.

The next day, I did the top half, now I am applying a layer of glazing putty, I built up the center crease so when I sand it down I can get a nice shap line.

Here is my first coat of primer over the intitial filler work, look at that nice sharp crease!

Here is another look at the crease, straight as an arrow! I love it when a plan comes together.

To find the low spots, I sprayed a light coat of black primer.

I then blocked it to find all the high and low spots, still needs some work, I found a few high spots I need to knock down some more.

Afterwards I put down several coats of high build primer, I am going to block it one more time, if I still have high spots, I am going to knock them down, them I am going to fill in the low spots with some glazing putty.

Another angle of the work. I think its starting to look better. The streaking is actually from the high build primer still being wet.

More to come next weekend...