The I'm-Learning-As-I-Go 1965 Valiant Post
Small update.
Decided to forgo all the Chinese crap from O'Reillys. I'm figuring that I only really want to do this suspension upgrade once, and not have high-stress areas catastrophically fail on me. Getting anything to Hawaii becomes a bit of a beast when it needs to be shipped, and luckily, Amazon offered free shipping on US made Timken bearings, Raybesto flex-line hoses, and MOOG offset bushings.
You have to be real careful because some of the O'Reilly stuff is labeled MOOG, but is made in China. So anyway, on to the update.
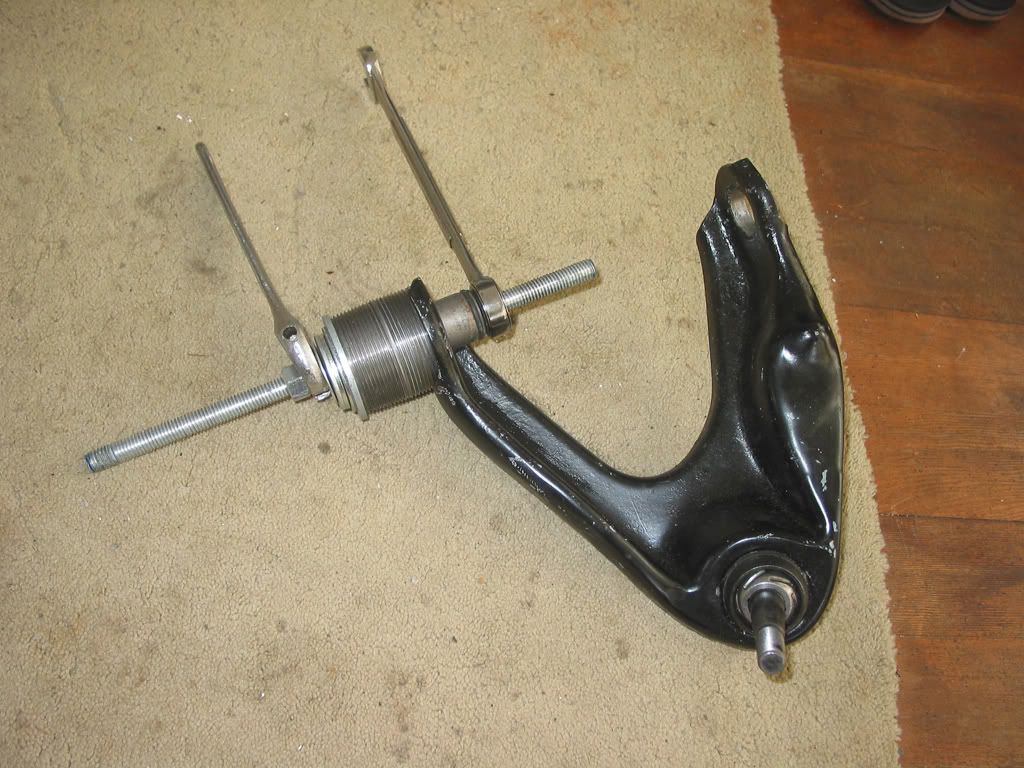
I made a new press to push out the standard UCA bushings.

Needed a larger diameter pipe to accommodate the extra wide flange on the outside of the bushing. Used the same concept to put it in to push it back out, needed to buy a few extra large diameter washers. Total carnage at Home Depot, $5.21.
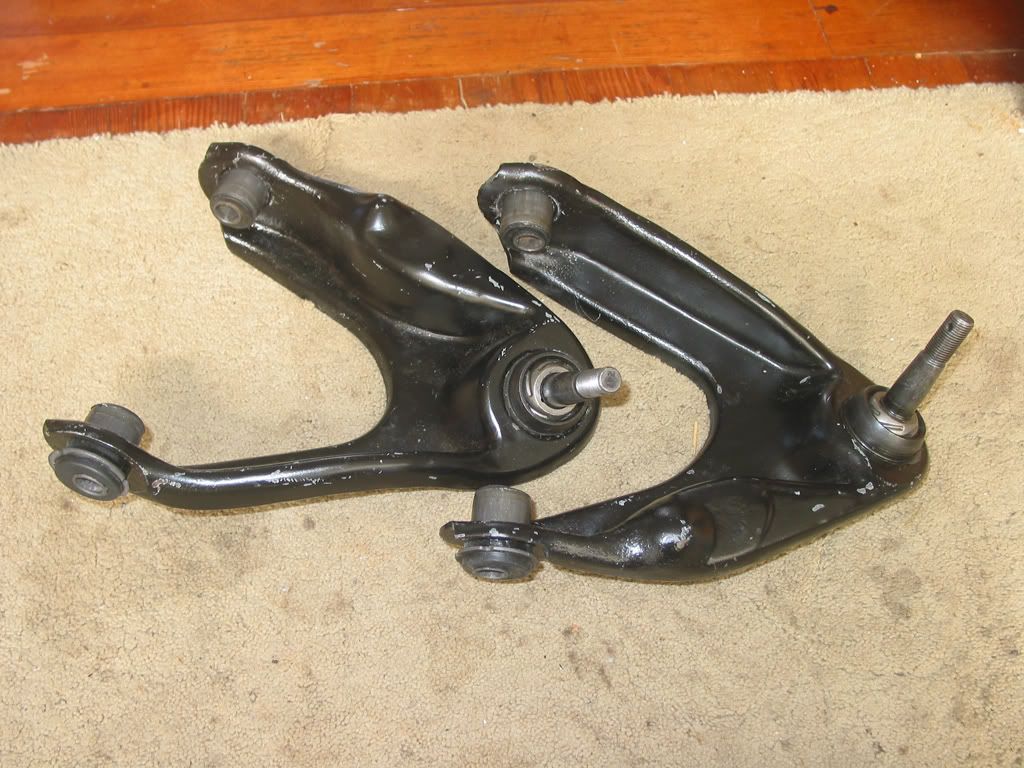
I laid both arms flat on the ground and marked a line where they met, to give me a rough reference line where to aim the arrows.

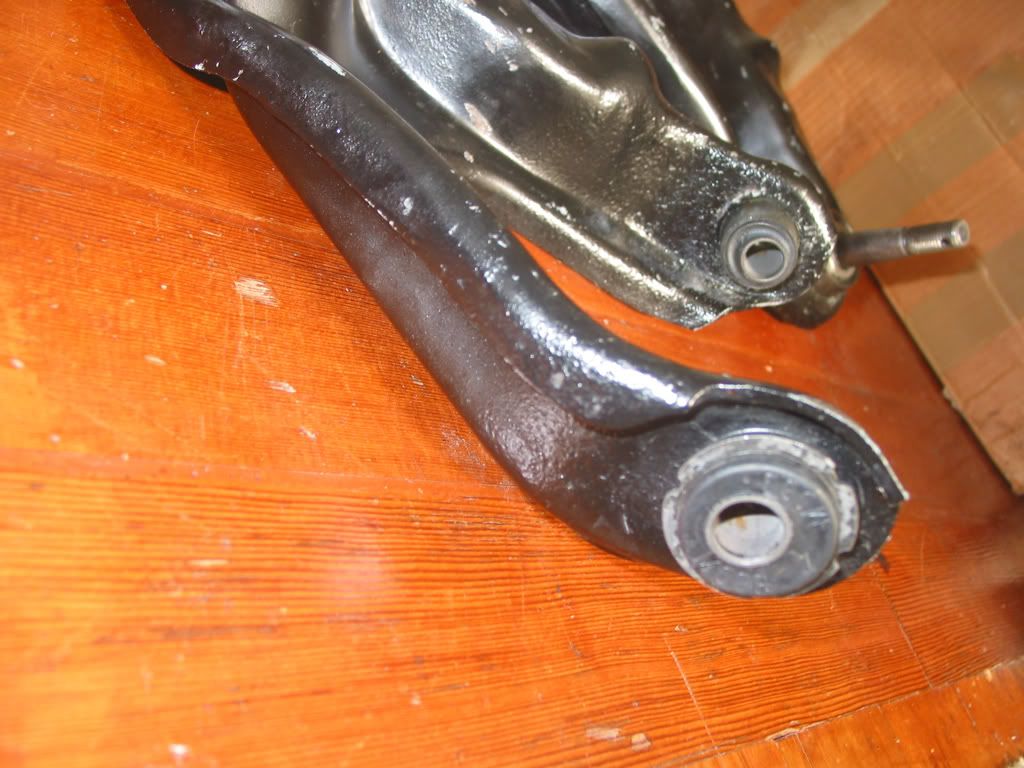
Front bushings, arrow away from the car.
Rear bushings, arrow toward the car.
Dimples on the UCA mark the front.

Aaand they're in! Definitely a lot easier to push them out and put them back in now that I have a good method and process to do it.
So now that the major pieces are together, I started to unbolt the passenger front suspension today.
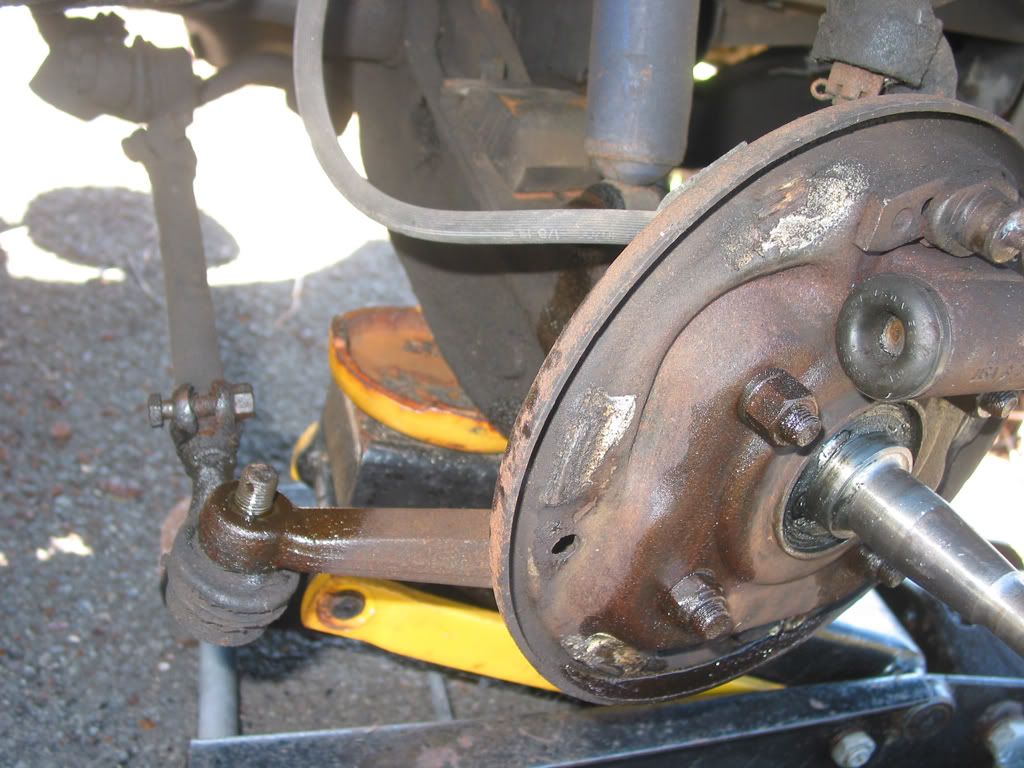
Started by taking off all tension on the torsion bars and removed the shock. Used the floor jack to support the whole assembly. Removed the drum brakes except the backing plate (nuts were a little stubborn, so got a good soaking of PB Blaster). Loosened, but did not remove, the UCA cam bolts. Swung the tie rod out of the way and tried to take the nut off the strut rod where it meets the LCA...

...and it all came to a grinding halt. Various leverage devices were attempted. Breaker bar felt close to snapping.
It's days like this I wish I could afford a 1/2" impact wrench.
Small update.
Decided to forgo all the Chinese crap from O'Reillys. I'm figuring that I only really want to do this suspension upgrade once, and not have high-stress areas catastrophically fail on me. Getting anything to Hawaii becomes a bit of a beast when it needs to be shipped, and luckily, Amazon offered free shipping on US made Timken bearings, Raybesto flex-line hoses, and MOOG offset bushings.
You have to be real careful because some of the O'Reilly stuff is labeled MOOG, but is made in China. So anyway, on to the update.
I made a new press to push out the standard UCA bushings.

Needed a larger diameter pipe to accommodate the extra wide flange on the outside of the bushing. Used the same concept to put it in to push it back out, needed to buy a few extra large diameter washers. Total carnage at Home Depot, $5.21.
I laid both arms flat on the ground and marked a line where they met, to give me a rough reference line where to aim the arrows.

Front bushings, arrow away from the car.
Rear bushings, arrow toward the car.
Dimples on the UCA mark the front.

Aaand they're in! Definitely a lot easier to push them out and put them back in now that I have a good method and process to do it.
So now that the major pieces are together, I started to unbolt the passenger front suspension today.
Started by taking off all tension on the torsion bars and removed the shock. Used the floor jack to support the whole assembly. Removed the drum brakes except the backing plate (nuts were a little stubborn, so got a good soaking of PB Blaster). Loosened, but did not remove, the UCA cam bolts. Swung the tie rod out of the way and tried to take the nut off the strut rod where it meets the LCA...

...and it all came to a grinding halt. Various leverage devices were attempted. Breaker bar felt close to snapping.
It's days like this I wish I could afford a 1/2" impact wrench.