The I'm-Learning-As-I-Go 1965 Valiant Post
Onto the master cylinder!
I salvaged the old pushrod out of the single pot drum master, stretched new rubber grommet over the end of the pushrod and snapped it into place on the new piston. Incidentally, removing the old pushrod was a ***** - I ended up hacksawing and pliering (is that even a word?) the aluminum piston to ****.
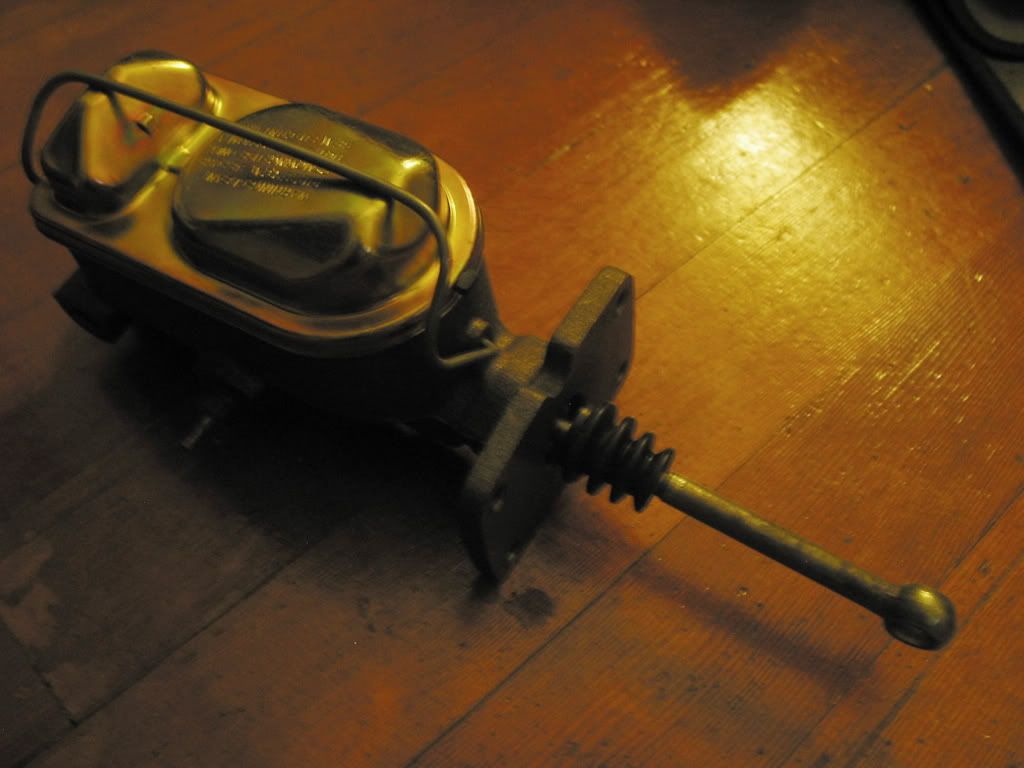
When I test fit the master, I noticed that the mounting plate has less surface area than the original master because the later masters don't have the bracket that ensures the piston stays in the master where it belongs. So there's this big gaping hole in the firewall above the new master. I wasn't too keen on all kinds of hot gasses coming into the car via the hole in the firewall.
Condran suggests tapping two new holes so you can fasten the old piston-retaining bracket to the back of the new master; however, I didn't have a way of tapping new holes, and even if I did, it presents a couple of problems:
(1) You can't position the bracket the same way as the original (as to cover the hole in the firewall) because there's literally no material to tap, and
(2) If you reposition the bracket then you have the big hole in the firewall.
I didn't like either solution, so I came up with another idea. I'd make a secondary backing plate that would mount to the firewall, with a slot cut in the center just large enough to allow the pushrod to pass through, but prevent the piston from backing completely out should the snap ring retainer decide to come out.
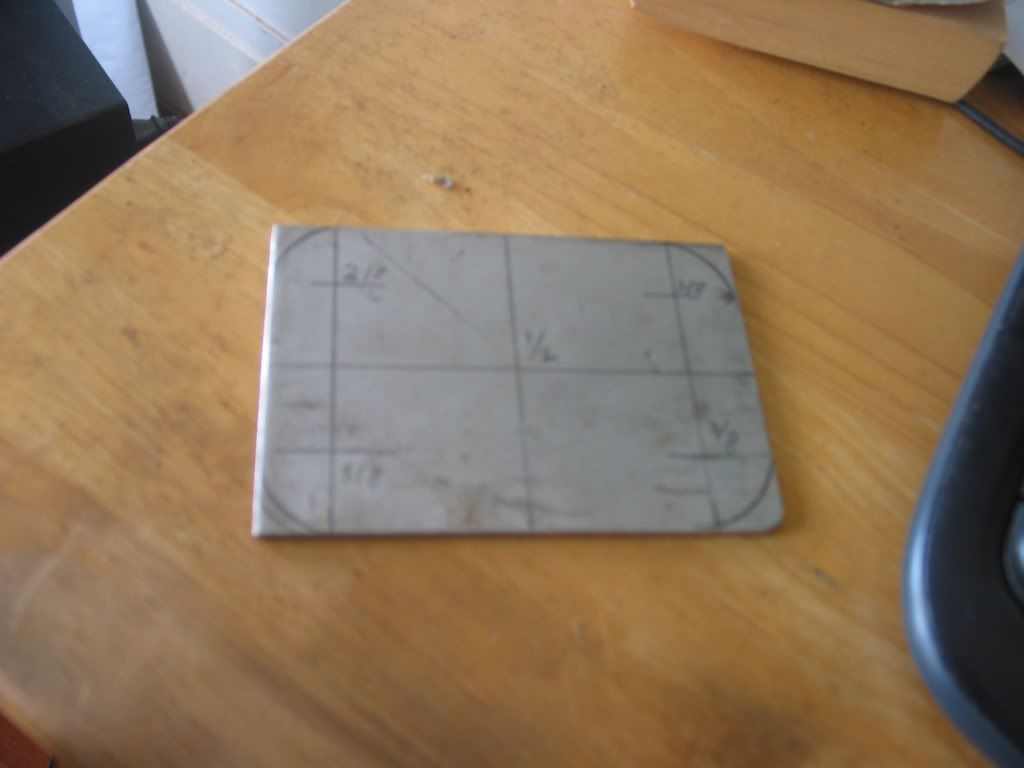
So got a piece of 1/8" stainless steel plate that a friend donated to my cause (Thank you Dave!) and traced the following design:
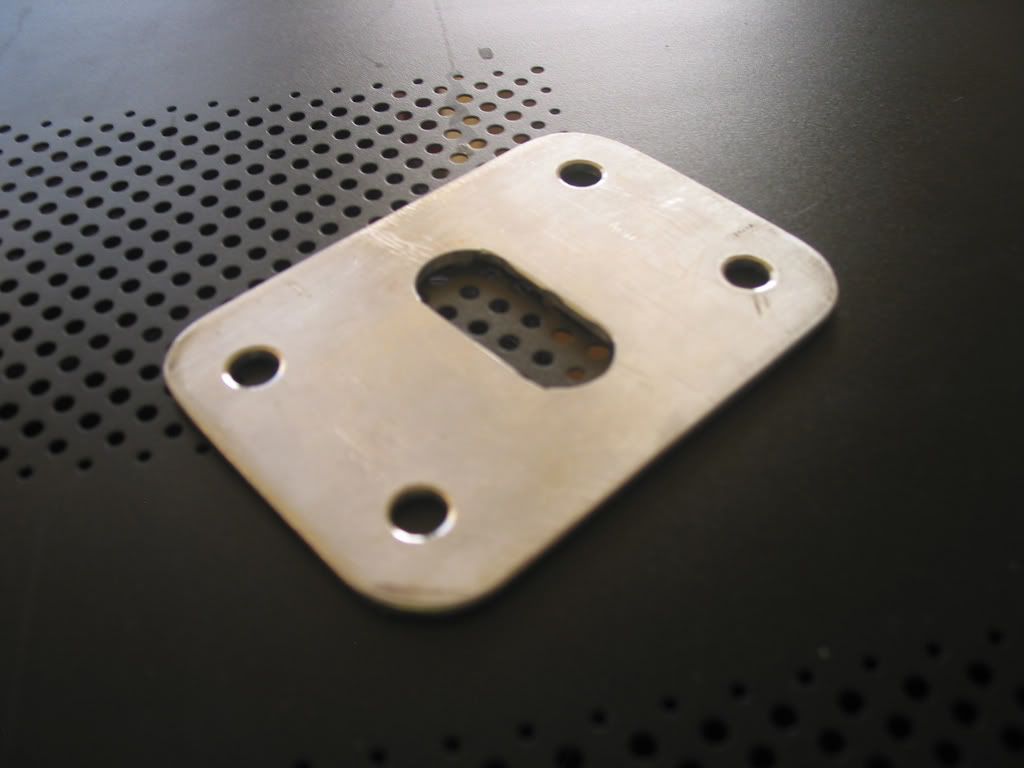
And using some cobalt steel bits, a metal working step drill bit (pricey!), a buttload of oil, a bench grinder, various metal files, and a ton of patience, crudely fabricated the backing plate:
(Definitely one of the perks of working in a tool store - discounts up the wazoo)
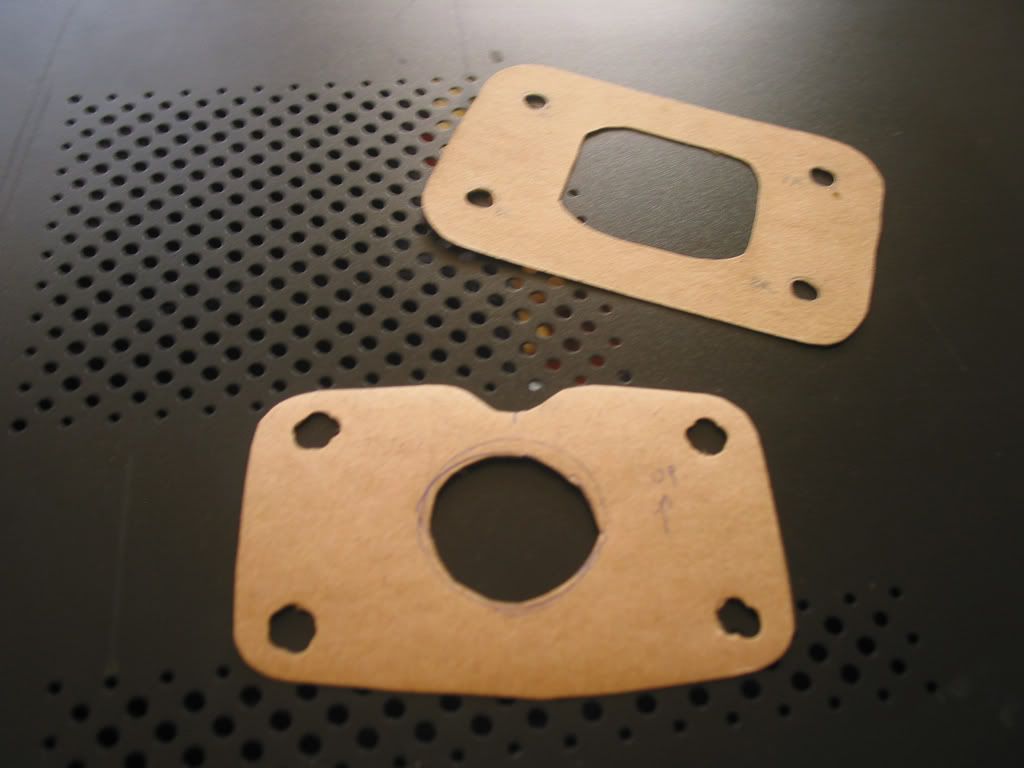
And made some custom gaskets out of gasket material:
Put it all together...
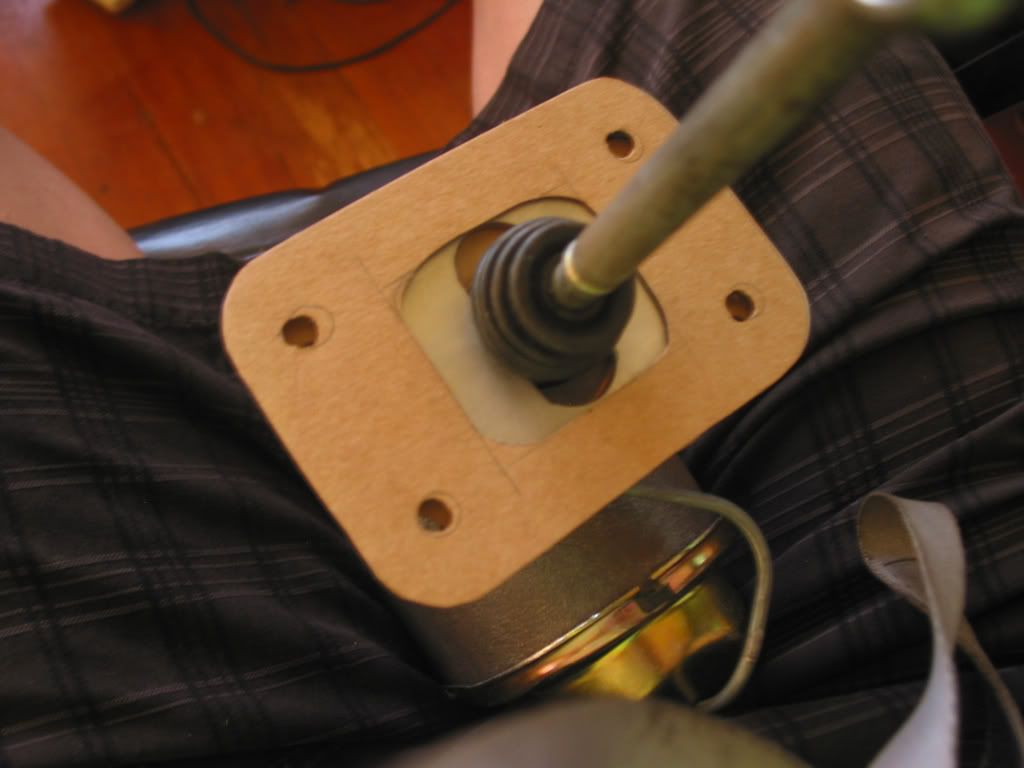
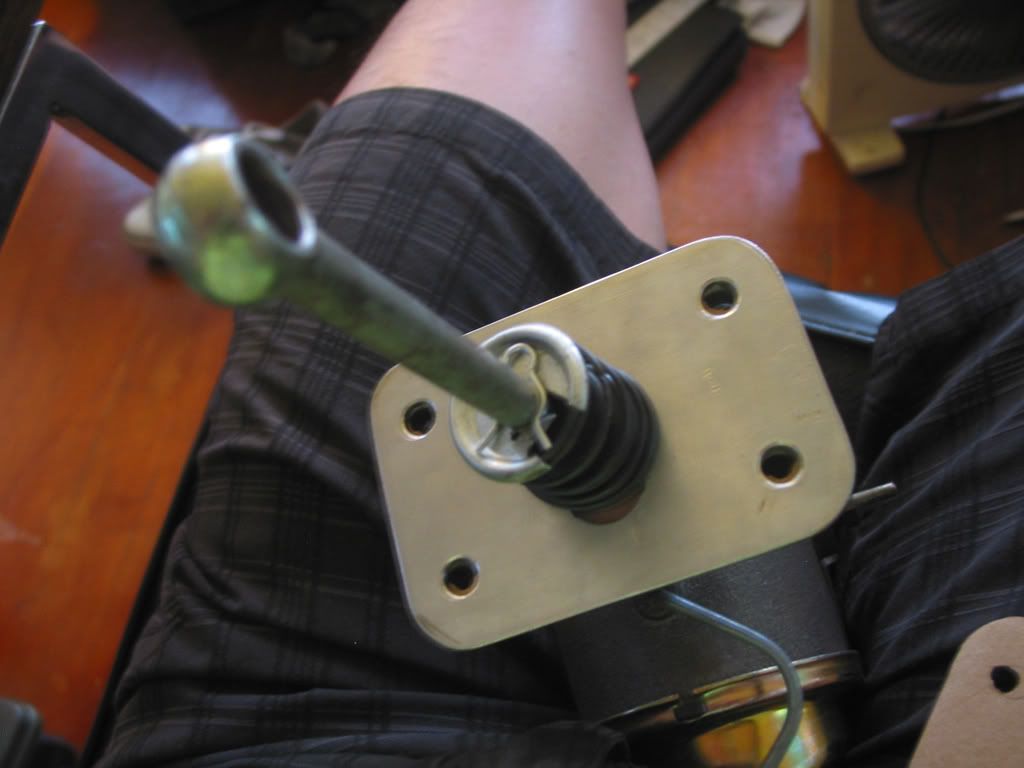
Put the spring, rubber boot, and spring retainer on. Did not like the way the spring retainer only had the bendable tab that keeps it "locked" on end of the pushrod, so I added a small locking pin that fits right in the groove to keep everything nice and seated.
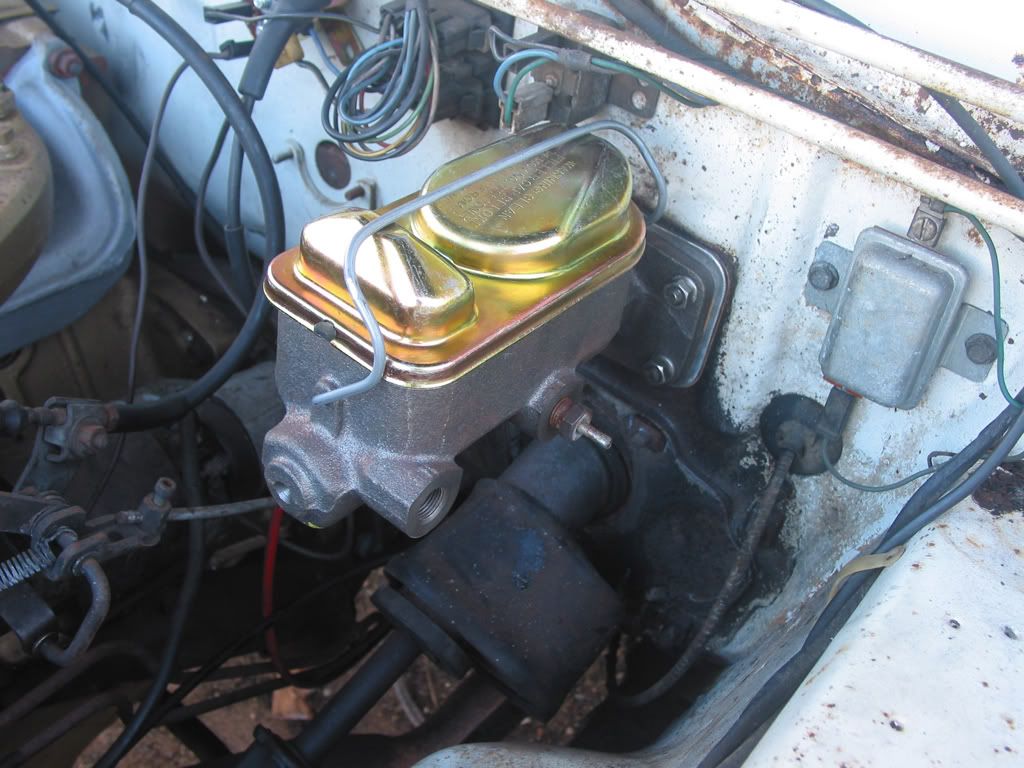
It's in!
Onto the master cylinder!
I salvaged the old pushrod out of the single pot drum master, stretched new rubber grommet over the end of the pushrod and snapped it into place on the new piston. Incidentally, removing the old pushrod was a ***** - I ended up hacksawing and pliering (is that even a word?) the aluminum piston to ****.

When I test fit the master, I noticed that the mounting plate has less surface area than the original master because the later masters don't have the bracket that ensures the piston stays in the master where it belongs. So there's this big gaping hole in the firewall above the new master. I wasn't too keen on all kinds of hot gasses coming into the car via the hole in the firewall.
Condran suggests tapping two new holes so you can fasten the old piston-retaining bracket to the back of the new master; however, I didn't have a way of tapping new holes, and even if I did, it presents a couple of problems:
(1) You can't position the bracket the same way as the original (as to cover the hole in the firewall) because there's literally no material to tap, and
(2) If you reposition the bracket then you have the big hole in the firewall.
I didn't like either solution, so I came up with another idea. I'd make a secondary backing plate that would mount to the firewall, with a slot cut in the center just large enough to allow the pushrod to pass through, but prevent the piston from backing completely out should the snap ring retainer decide to come out.
So got a piece of 1/8" stainless steel plate that a friend donated to my cause (Thank you Dave!) and traced the following design:

And using some cobalt steel bits, a metal working step drill bit (pricey!), a buttload of oil, a bench grinder, various metal files, and a ton of patience, crudely fabricated the backing plate:

(Definitely one of the perks of working in a tool store - discounts up the wazoo)
And made some custom gaskets out of gasket material:

Put it all together...

Put the spring, rubber boot, and spring retainer on. Did not like the way the spring retainer only had the bendable tab that keeps it "locked" on end of the pushrod, so I added a small locking pin that fits right in the groove to keep everything nice and seated.

It's in!
