The Great Pumpkin - '71 Duster
Moving along with the front of the car. I finally finished the install of the aluminum bumper brackets I got back in March. I had done the left right when I got them but not the right until yesterday.
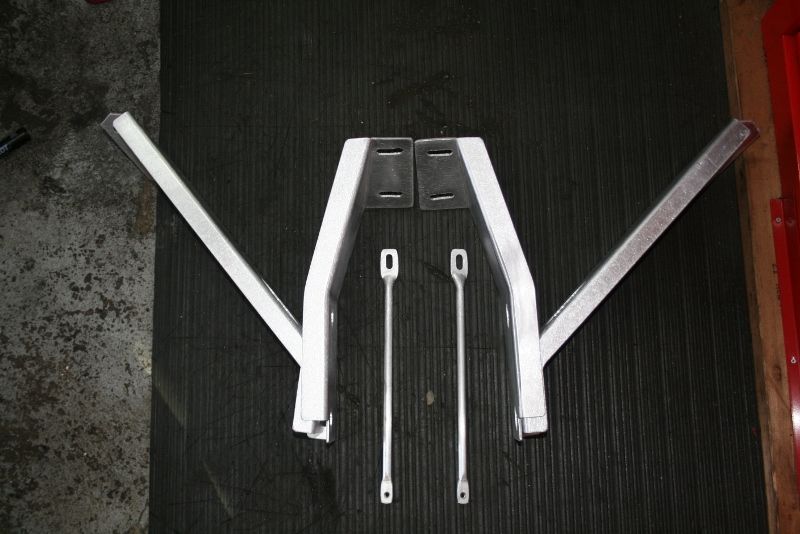
I got the brackets from a racer out in MI named Jody Babcock who goes by jbmopars on here. He is a fabricator and he made these up for his own project. I guess he had a spare set on hand so he put 'em up for sale and I picked 'em up. They are really cool parts and per him save around 8 -9 lbs on the front of the car. They bolt right up like the stock pieces.
They took a little doing to put in but nothing real major. I knew I had to do one side at a time to keep the position of the bumper in relatively the same spot. Plus, the outside bracket was not drilled for the fender support rod so I needed to verify correct positioning before final assembly.
Before I removed the original ones, I measured the distance of the lower fender lip to the inner frame rail for reference. I also scribed reference lines where the edge of the brackets were so they would wind up back in the same spot. Once the new brackets were in and they looked OK, I drilled the hole for the support rod where I thought it should go. The procedure worked like a charm and the fender lip was in the same spot.
Once the job had begun, I noticed the bumper looked a little crooked. I measured the distance from the back of the bumper to the character line on the front of the fender and they were in fact off side-to-side a little. After the swap, the bumper actually ended up tucked a little closer to the filler panel and slightly more even from side to side. I'm still not 100% sure if it's right though but its close. I think it might have to be adjusted again when it's back on all four wheels and sitting at ride height.
Here's the brackets as received from Jody.
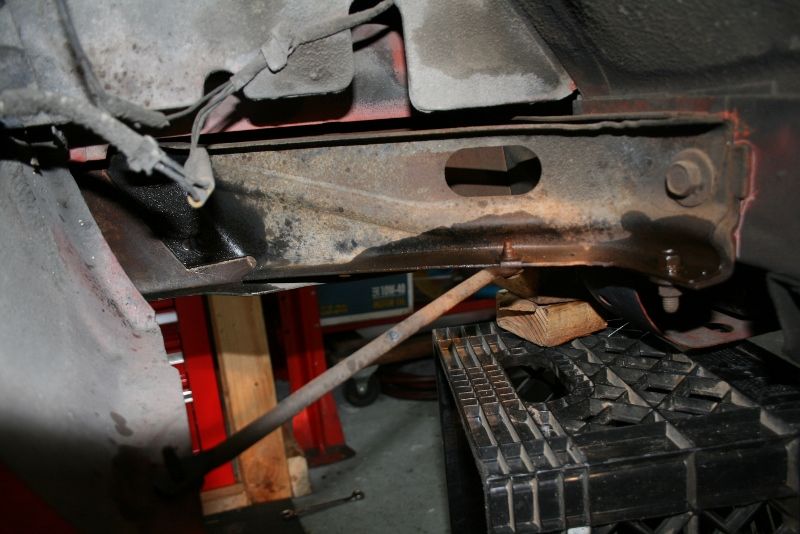
Here's the original bumper brackets in place before removal. You can kind of see where I scribed the lines for positioning. The milk crate and wood blocks were for support and to keep the bumper in relatively the same place while the new brackets were installed.
The wetness you see are the fasteners being soaked with PB Blaster prior to taking them out. Before they are reinstalled, they were subjected to the rigorous Great Pumpkin 4 step fastener restoration process; remove, wire wheel loose grease/dirt/scale/, dump in Evaporust overnight, rinse with water, wire wheel again, coat with ECS Rust Prevention Magic and re-install. Takes forever but looks nice.
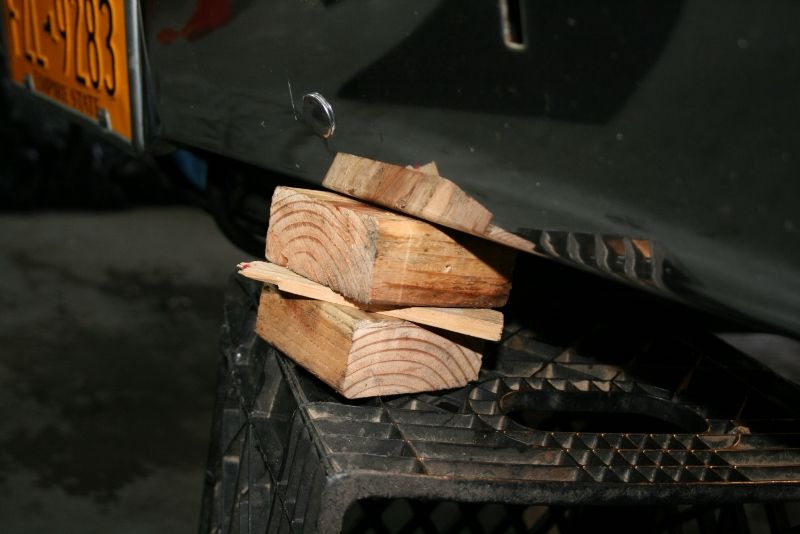
Support for the bumper while the brackets are out.
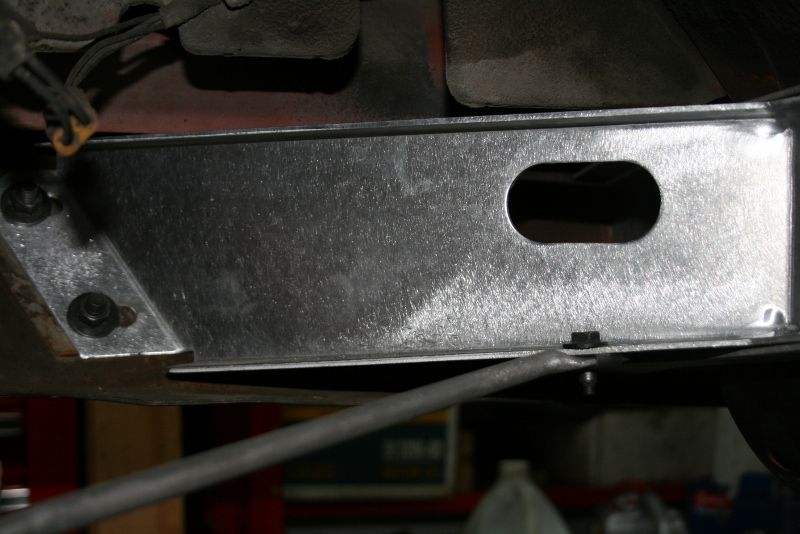
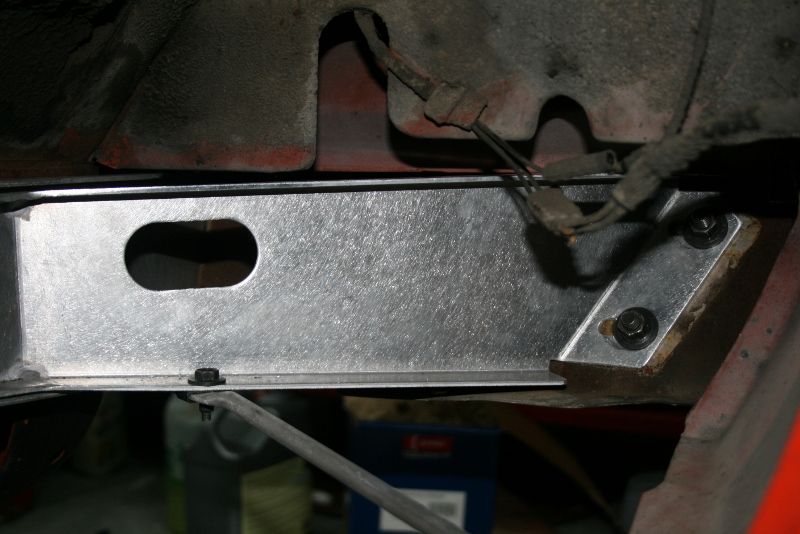
Here's the aluminum bracket installed on the left side. This is after the fender support rod position was finalized.
Here's the right side. If you look at this pic and the previous one, you can see the witness mark where the bracket bolts to the back of the bumper; that's where the old ones were and why the aluminum ones needed to be adjusted. This is also why you can't drill the support rod hole until you get the bumper sitting where you want it. The right fender ended up slightly further out than the left. Again, I may have to re-adjust when I get the car back on the ground but it's close enough for now.
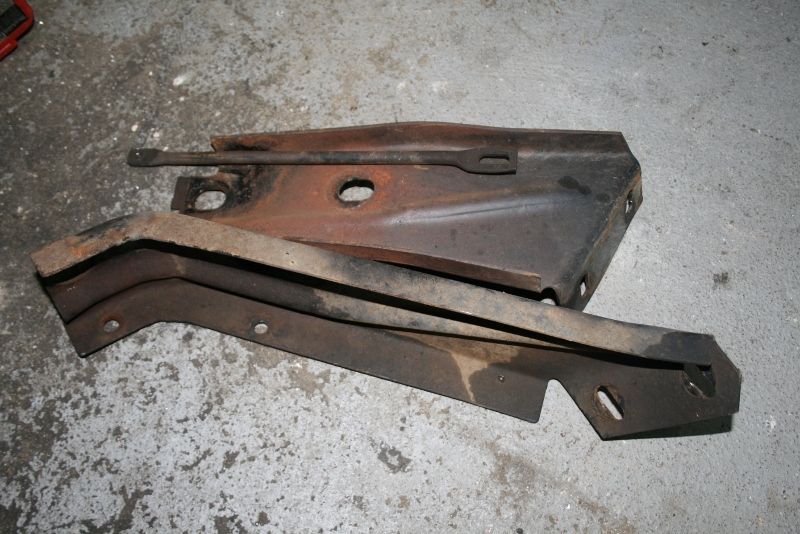
Here's the old stamped steel clunkers.
More to come.
Moving along with the front of the car. I finally finished the install of the aluminum bumper brackets I got back in March. I had done the left right when I got them but not the right until yesterday.
I got the brackets from a racer out in MI named Jody Babcock who goes by jbmopars on here. He is a fabricator and he made these up for his own project. I guess he had a spare set on hand so he put 'em up for sale and I picked 'em up. They are really cool parts and per him save around 8 -9 lbs on the front of the car. They bolt right up like the stock pieces.
They took a little doing to put in but nothing real major. I knew I had to do one side at a time to keep the position of the bumper in relatively the same spot. Plus, the outside bracket was not drilled for the fender support rod so I needed to verify correct positioning before final assembly.
Before I removed the original ones, I measured the distance of the lower fender lip to the inner frame rail for reference. I also scribed reference lines where the edge of the brackets were so they would wind up back in the same spot. Once the new brackets were in and they looked OK, I drilled the hole for the support rod where I thought it should go. The procedure worked like a charm and the fender lip was in the same spot.
Once the job had begun, I noticed the bumper looked a little crooked. I measured the distance from the back of the bumper to the character line on the front of the fender and they were in fact off side-to-side a little. After the swap, the bumper actually ended up tucked a little closer to the filler panel and slightly more even from side to side. I'm still not 100% sure if it's right though but its close. I think it might have to be adjusted again when it's back on all four wheels and sitting at ride height.
Here's the brackets as received from Jody.

Here's the original bumper brackets in place before removal. You can kind of see where I scribed the lines for positioning. The milk crate and wood blocks were for support and to keep the bumper in relatively the same place while the new brackets were installed.
The wetness you see are the fasteners being soaked with PB Blaster prior to taking them out. Before they are reinstalled, they were subjected to the rigorous Great Pumpkin 4 step fastener restoration process; remove, wire wheel loose grease/dirt/scale/, dump in Evaporust overnight, rinse with water, wire wheel again, coat with ECS Rust Prevention Magic and re-install. Takes forever but looks nice.

Support for the bumper while the brackets are out.

Here's the aluminum bracket installed on the left side. This is after the fender support rod position was finalized.

Here's the right side. If you look at this pic and the previous one, you can see the witness mark where the bracket bolts to the back of the bumper; that's where the old ones were and why the aluminum ones needed to be adjusted. This is also why you can't drill the support rod hole until you get the bumper sitting where you want it. The right fender ended up slightly further out than the left. Again, I may have to re-adjust when I get the car back on the ground but it's close enough for now.

Here's the old stamped steel clunkers.

More to come.