DIY small radiator Shroud
I did have time to glass it today, so here's the next bit.
First, ensure you have a face mask, a towel, a shirt collar stretched over your mouth and nose, or something because chop mat likes to fly everywhere. Get goggles or glasses too if you can, and wear latex gloves or something to keep the sticky shards of death off you.
Ensure your fabric is secure, use more tape or make sure the staples are still holding
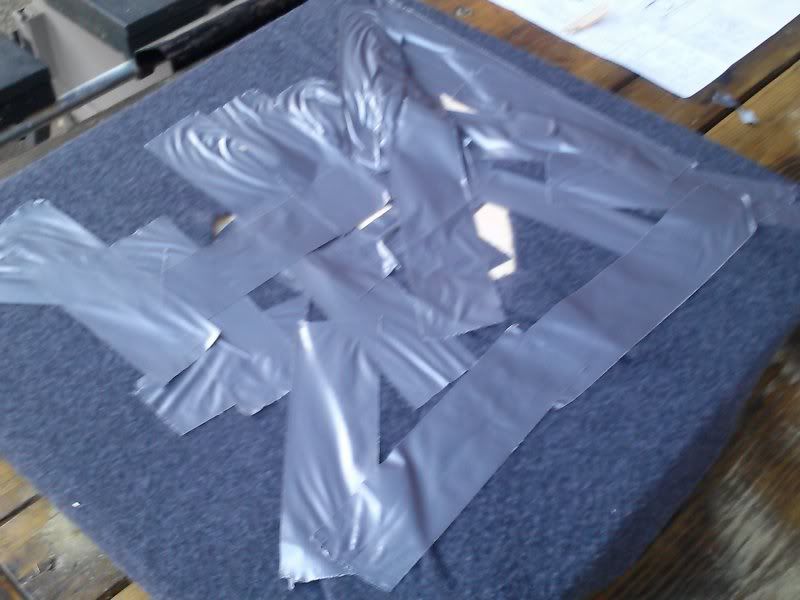
Set your mold on two pieces of scrap something, or elevate it above your table somehow. You do not want to accidentally glass the piece to the table.
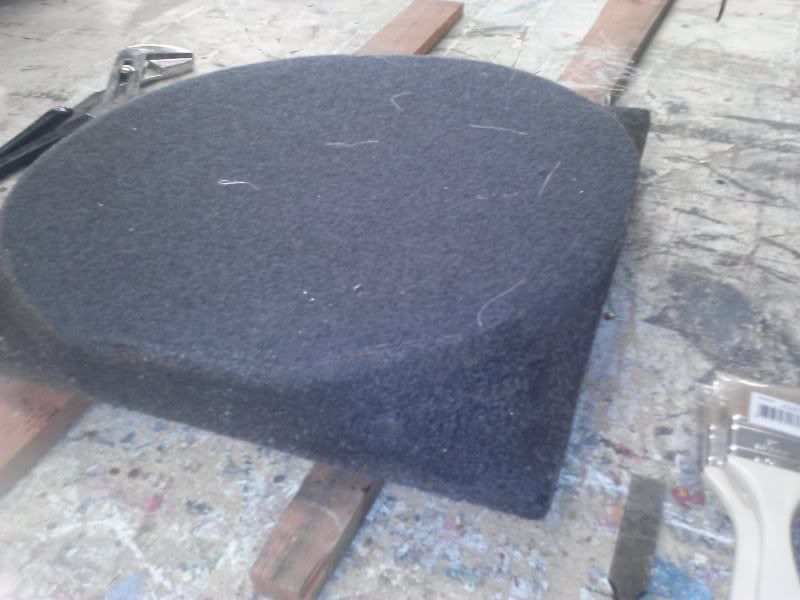
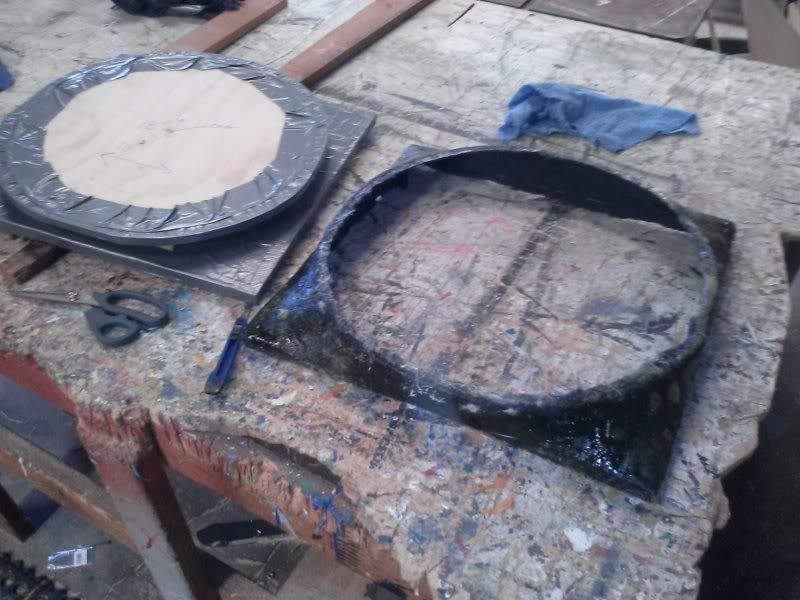
Mix some resin according to the instructions per the can, or mix it a little "hot" if you're impatient. Use a brush to coat the outer edge of your form with resin. DO NOT go resining all over the top of the circle, just a little bit over the top edge. This is hard to see, but the darker area has been coated in resin.
Tear off small pieces of your chop mat and tap them onto the wet resin, then using your brush, dab the top of the pieces with more resin, and then push the brush down hard so the pieces of chop mat look almost invisible. The less you can see the mat, the better you are doing at pushing it down. Go all the way around with it one time. Then layer more mat on as you need to. If you start to see the glass lifting off the piece with your brush, the mixture is too hot. Let the layer dry, and then start more layers later.
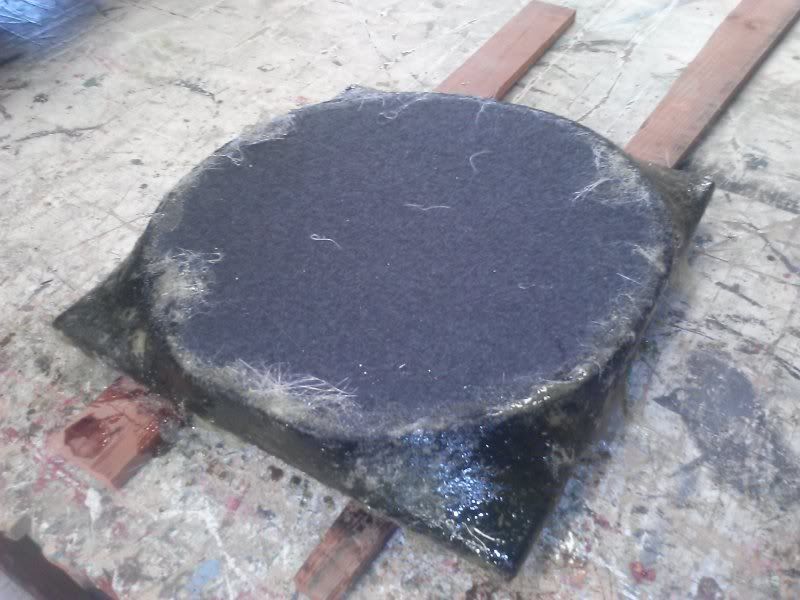
See how i just barely overlap the top of the circle? That's the idea here. Cover the sides completely at the base, as they are necessary for mounting later, and help hold the shape.
I got a couple raises in the glass, but that can be fixed at the finishing stage if you are going for a completely finished look (which I am)
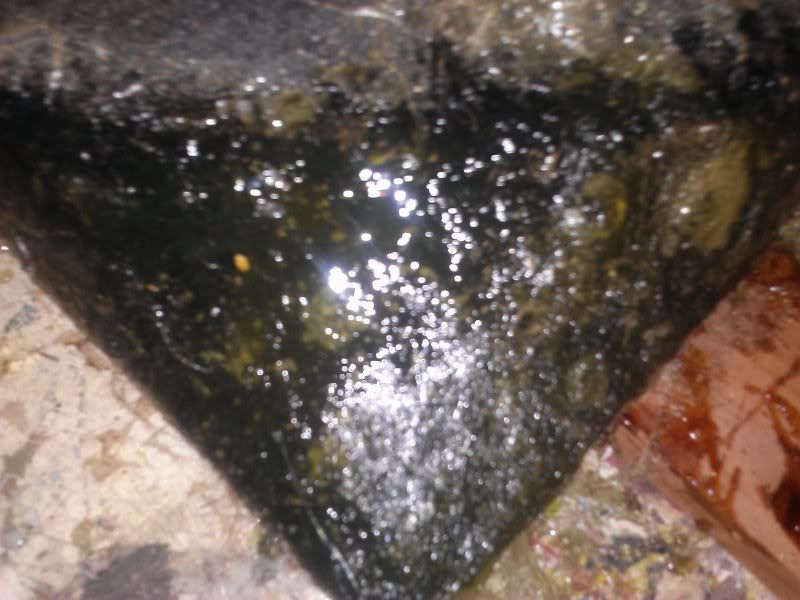
See where the glass looks yellow? That means you can see airspace underneath it. If it was all the way down, it would just look grey like the fabric, but have a tint of yellow to it (if that makes sense).
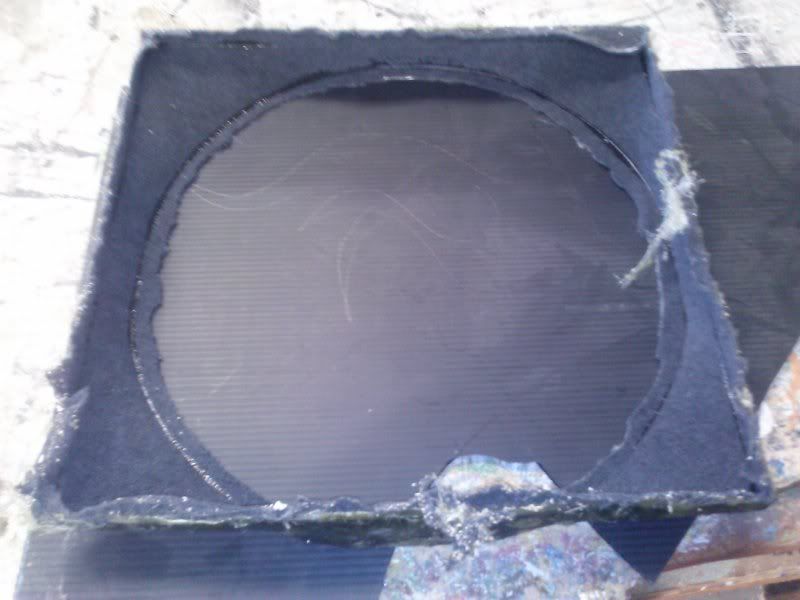
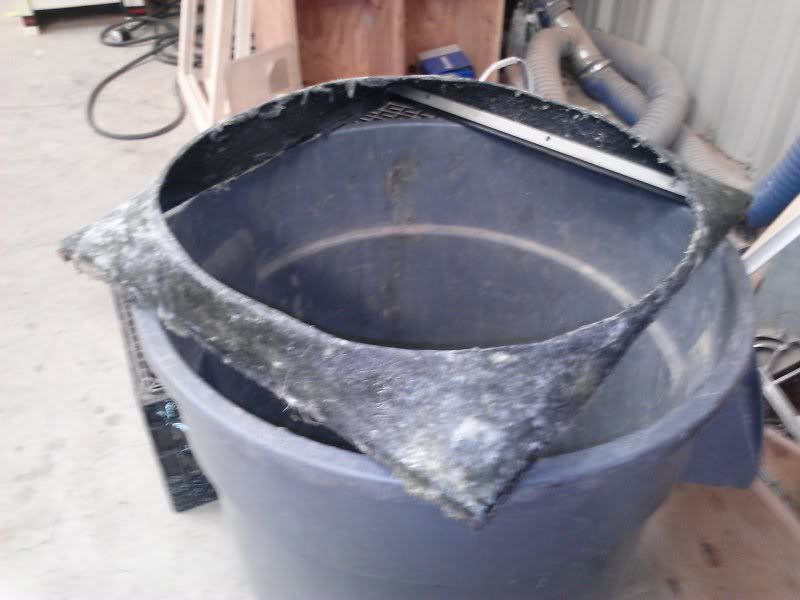
Give it about 2 hours if you mixed it hot, a day if you did not - and then cut off all the fabric from the front and back that does not have fiberglass on it. Don't worry if you miss some - we'll get it later. We're just trying to release the mold here. Once it's all cut, fgrab the back sides of the mold and pull upwards. Do this in multiple locations, you will feel the part lift off the mold. Eventually it will pop free, leaving your mold looking virtually untouched.
IF it's dry enough, take a pair sharp scissors, or tin snips and get rid of the sharp points hanging off of the piece everywhere. These will stab you, and I am not kidding about that - get rid of them.
You're not at the home stretch yet. If you layered the fiberglass enough your part will feel tough and sturdy in your hands, but have a little bit of play to it. That's alright - we're not done yet. Flip it over, and you'll see the problem - the fabric is not saturated all the way through (usually).
Go ahead and cover it with resin; do not add fiberglass to this side as it is an exact measurment, and adding more thickness will shrink your dimensions. If the part is not as sturdy as you'd like - add layers to the front, but always coat the back with resin.
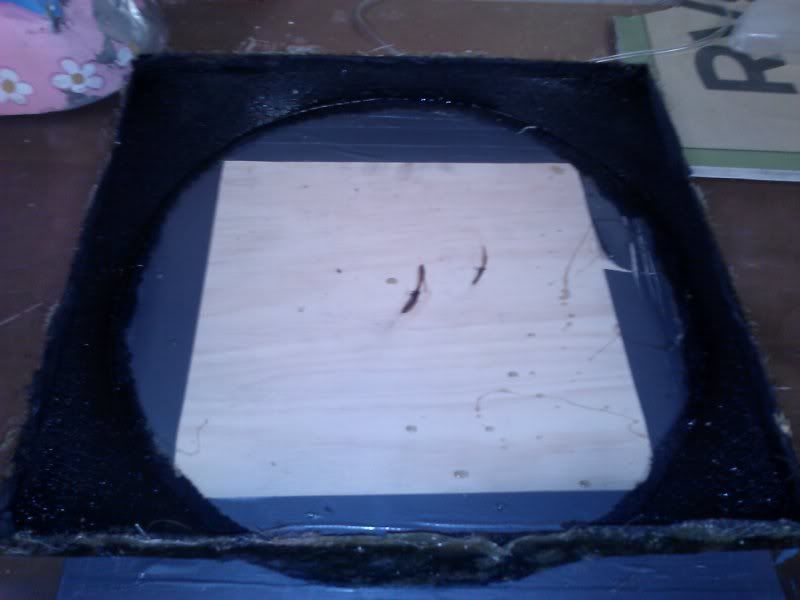
Ensure at that step you have it sitting on something it won't stick to - like the bottom of your mold.
Once your part's dry, you can sand off more of the excess material, and start shaping it as your mounting needs demand.
And this is where I stop for today. Stay tuned tomorrow. Questions and comments welcomed.
I did have time to glass it today, so here's the next bit.
First, ensure you have a face mask, a towel, a shirt collar stretched over your mouth and nose, or something because chop mat likes to fly everywhere. Get goggles or glasses too if you can, and wear latex gloves or something to keep the sticky shards of death off you.
Ensure your fabric is secure, use more tape or make sure the staples are still holding

Set your mold on two pieces of scrap something, or elevate it above your table somehow. You do not want to accidentally glass the piece to the table.

Mix some resin according to the instructions per the can, or mix it a little "hot" if you're impatient. Use a brush to coat the outer edge of your form with resin. DO NOT go resining all over the top of the circle, just a little bit over the top edge. This is hard to see, but the darker area has been coated in resin.
Tear off small pieces of your chop mat and tap them onto the wet resin, then using your brush, dab the top of the pieces with more resin, and then push the brush down hard so the pieces of chop mat look almost invisible. The less you can see the mat, the better you are doing at pushing it down. Go all the way around with it one time. Then layer more mat on as you need to. If you start to see the glass lifting off the piece with your brush, the mixture is too hot. Let the layer dry, and then start more layers later.

See how i just barely overlap the top of the circle? That's the idea here. Cover the sides completely at the base, as they are necessary for mounting later, and help hold the shape.
I got a couple raises in the glass, but that can be fixed at the finishing stage if you are going for a completely finished look (which I am)

See where the glass looks yellow? That means you can see airspace underneath it. If it was all the way down, it would just look grey like the fabric, but have a tint of yellow to it (if that makes sense).
Give it about 2 hours if you mixed it hot, a day if you did not - and then cut off all the fabric from the front and back that does not have fiberglass on it. Don't worry if you miss some - we'll get it later. We're just trying to release the mold here. Once it's all cut, fgrab the back sides of the mold and pull upwards. Do this in multiple locations, you will feel the part lift off the mold. Eventually it will pop free, leaving your mold looking virtually untouched.

IF it's dry enough, take a pair sharp scissors, or tin snips and get rid of the sharp points hanging off of the piece everywhere. These will stab you, and I am not kidding about that - get rid of them.
You're not at the home stretch yet. If you layered the fiberglass enough your part will feel tough and sturdy in your hands, but have a little bit of play to it. That's alright - we're not done yet. Flip it over, and you'll see the problem - the fabric is not saturated all the way through (usually).

Go ahead and cover it with resin; do not add fiberglass to this side as it is an exact measurment, and adding more thickness will shrink your dimensions. If the part is not as sturdy as you'd like - add layers to the front, but always coat the back with resin.

Ensure at that step you have it sitting on something it won't stick to - like the bottom of your mold.
Once your part's dry, you can sand off more of the excess material, and start shaping it as your mounting needs demand.

And this is where I stop for today. Stay tuned tomorrow. Questions and comments welcomed.