67 Dart 270...Project Old School
Hello all,
Lets just start by saying things have been busy at work. He is some more information for someone who is looking to swap in a Flaming River quick ratio manual box. My 67 Dart has manual steering from the factory, so the swap should be straight forward. My Dart also has Summit Racing, long tube headers that will prove to complicate things a bit. I already had the drag link out of the car for a rear main seal replacement. You will need to get the drag link out of the car. I didn't have to pull the pitman arm off the old box to get it out, but it did require raising the engine a bit to be able to snake it past the headers.
Speaking of headers, you can leave the driver's side header on if you remove the steering column from the car. After the drag link is out of the way, the next step is to remove the retaining pin from the steering column.
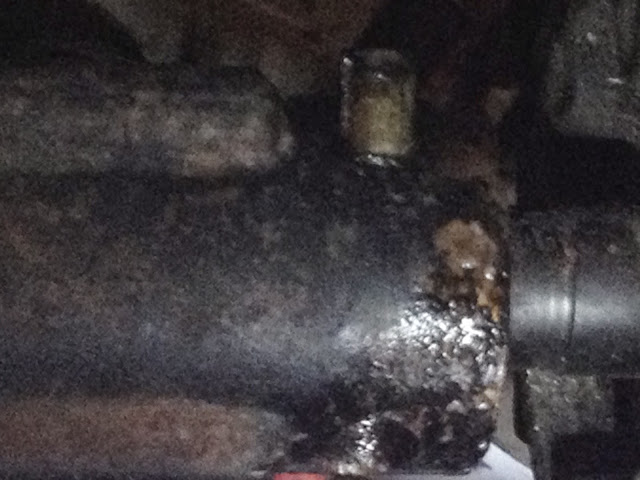
You can drive it out with a screw driver and hammer, but the thing you have to watch out for is the column doesn't lock on a 67. You will need to use a set of vice grips to hold the column still while you drive out the pin.
Inside the car you need to disconnect the main steering column harness and also the reverse light switch plug near the firewall. You can now unbolt the steering column from the dash. The object is to slide the coupler off the steering box so you can pull the steering column out of the car. Here is a shot of the coupler as you work it off the steering box.
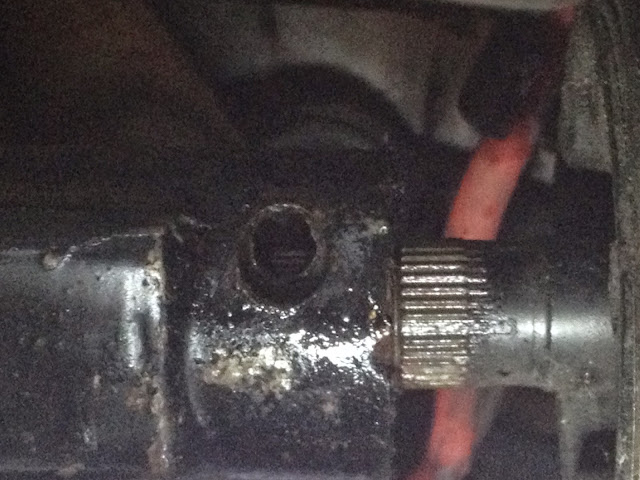
Once you have the coupler disconnected, carefully remove the column from the car and set it in a safe place.
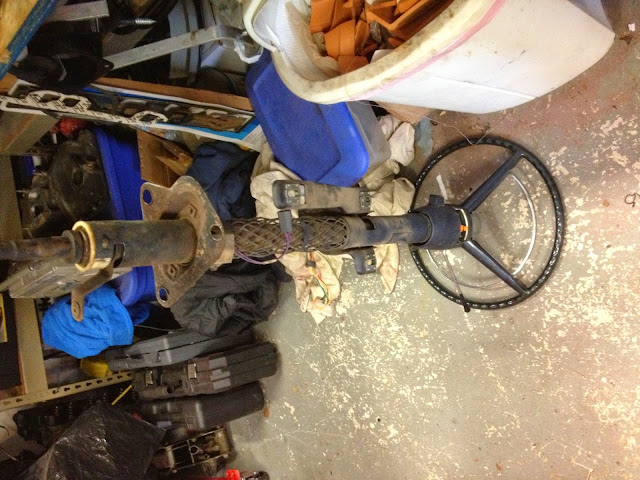
I have already installed a floor shifter and console in my car, so I have additional plans for the column. One of the things I needed to do was connect my shifter so the backup lights would come on. This meant I needed to pirate the wiring plug from the reverse light switch on the column.
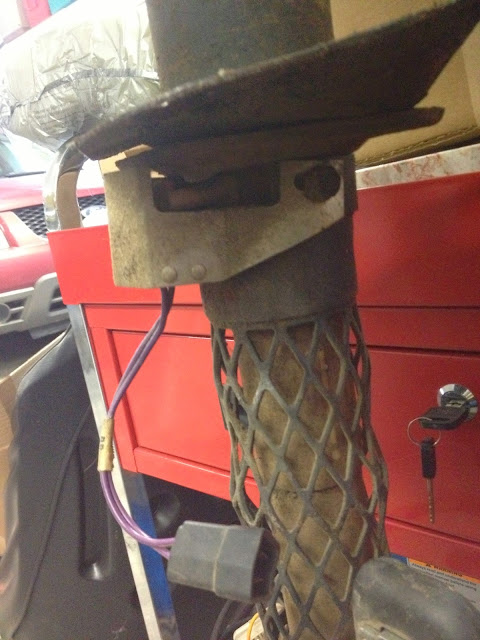
I removed the reverse light swtich from the column and I will use the wires and plug to connect it to my floor shifter. Since I have a floor shifter I don't need the column shifter or gear indicator on the column. Using a very thin cut off wheel in my Dremel tool, I cut these off flush with the column housing.
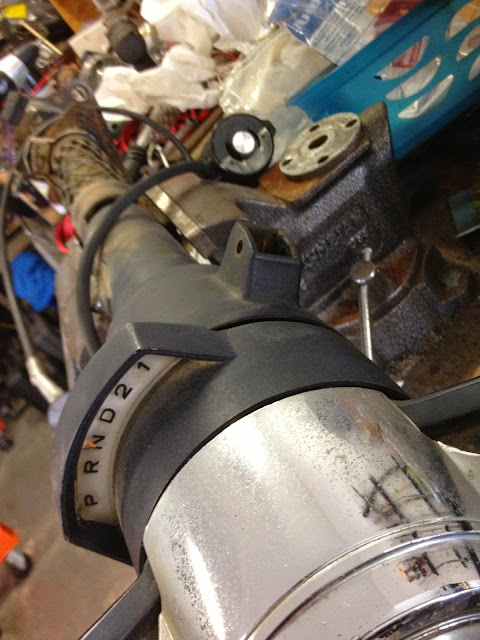
So I went from the picture above to the picture below...

All that was left to do was fill the holes and apply some matching paint.

I used some two-part epoxy to fill the hole and some high build primer to fill the scratches. I then applied some matching paint.
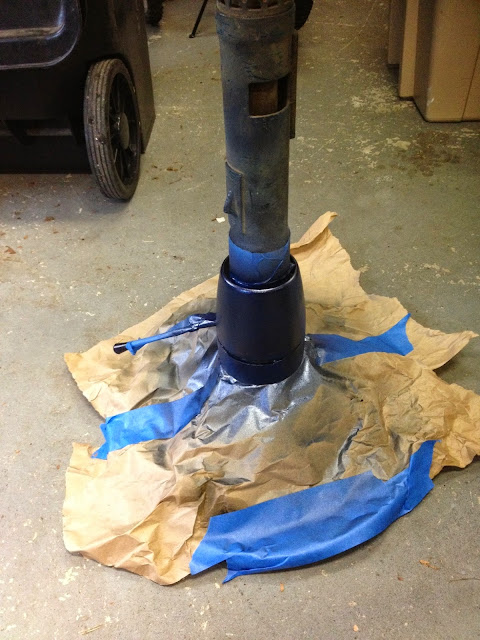
With the column out of the car I was almost able to fully bolt down the new Flaming River box. I ended up having to loosen the driver side header to get the bolts tighted down on the box. I installed my new pitman arm and hooked up the drag link and tie rod ends so I could verify where my steering was centered.
I reinstalled the steering column and ran the steering lock to lock and back to center to ensure the steering wheel was lined up. Now it is time to reinstall the coupler pin. I carefully tapped it back into place.
Seems very straight forward and not complicated at all. It was...for the most part, except for the headers. Headers are a gift that keeps on giving. As I was getting everything hooked back up I noticed this when I climbed under the car:

The extra thick casting in this location was hitting the header. My advice if you have headers is to take a die grinder and knock the corner off the casting before you install it. The other option is to try to bend the header away or dent the header. You can image it would be a lot easier to do before installing the box in the car.
Speaking of beefy casting, the Flaming River box is very robust and cast out of iron. As a result it weighs 5-10 lbs more then the aluminum case box it replaced.
Hello all,
Lets just start by saying things have been busy at work. He is some more information for someone who is looking to swap in a Flaming River quick ratio manual box. My 67 Dart has manual steering from the factory, so the swap should be straight forward. My Dart also has Summit Racing, long tube headers that will prove to complicate things a bit. I already had the drag link out of the car for a rear main seal replacement. You will need to get the drag link out of the car. I didn't have to pull the pitman arm off the old box to get it out, but it did require raising the engine a bit to be able to snake it past the headers.
Speaking of headers, you can leave the driver's side header on if you remove the steering column from the car. After the drag link is out of the way, the next step is to remove the retaining pin from the steering column.

You can drive it out with a screw driver and hammer, but the thing you have to watch out for is the column doesn't lock on a 67. You will need to use a set of vice grips to hold the column still while you drive out the pin.
Inside the car you need to disconnect the main steering column harness and also the reverse light switch plug near the firewall. You can now unbolt the steering column from the dash. The object is to slide the coupler off the steering box so you can pull the steering column out of the car. Here is a shot of the coupler as you work it off the steering box.

Once you have the coupler disconnected, carefully remove the column from the car and set it in a safe place.

I have already installed a floor shifter and console in my car, so I have additional plans for the column. One of the things I needed to do was connect my shifter so the backup lights would come on. This meant I needed to pirate the wiring plug from the reverse light switch on the column.

I removed the reverse light swtich from the column and I will use the wires and plug to connect it to my floor shifter. Since I have a floor shifter I don't need the column shifter or gear indicator on the column. Using a very thin cut off wheel in my Dremel tool, I cut these off flush with the column housing.

So I went from the picture above to the picture below...

All that was left to do was fill the holes and apply some matching paint.

I used some two-part epoxy to fill the hole and some high build primer to fill the scratches. I then applied some matching paint.

With the column out of the car I was almost able to fully bolt down the new Flaming River box. I ended up having to loosen the driver side header to get the bolts tighted down on the box. I installed my new pitman arm and hooked up the drag link and tie rod ends so I could verify where my steering was centered.
I reinstalled the steering column and ran the steering lock to lock and back to center to ensure the steering wheel was lined up. Now it is time to reinstall the coupler pin. I carefully tapped it back into place.

Seems very straight forward and not complicated at all. It was...for the most part, except for the headers. Headers are a gift that keeps on giving. As I was getting everything hooked back up I noticed this when I climbed under the car:

The extra thick casting in this location was hitting the header. My advice if you have headers is to take a die grinder and knock the corner off the casting before you install it. The other option is to try to bend the header away or dent the header. You can image it would be a lot easier to do before installing the box in the car.
Speaking of beefy casting, the Flaming River box is very robust and cast out of iron. As a result it weighs 5-10 lbs more then the aluminum case box it replaced.