Miller high frequency arc start
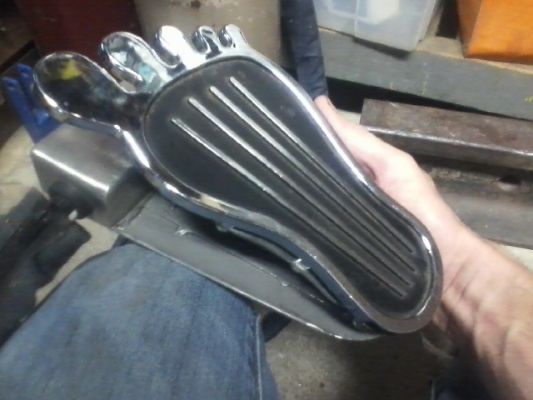
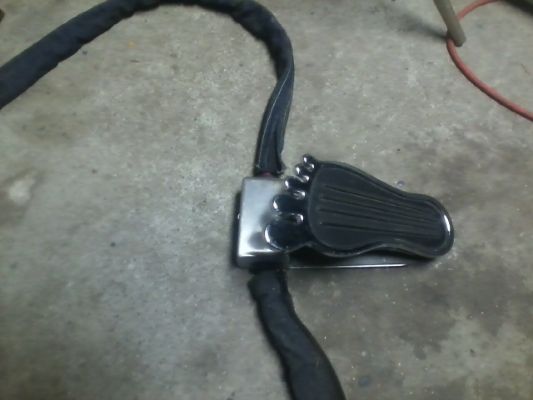
The "Hang 10 " pedal,is gorgeous, the spur/rack gear ,ingenious. Wowzers.I did make my own pedal.
It's a bit overkill in design, but I wanted a few features that other pedals didn't offer.
So now, I have all of my lines running into the front casing of the pedal and the torch whip out of the pedal, with the ability to add a plug on the pedal for the trigger.
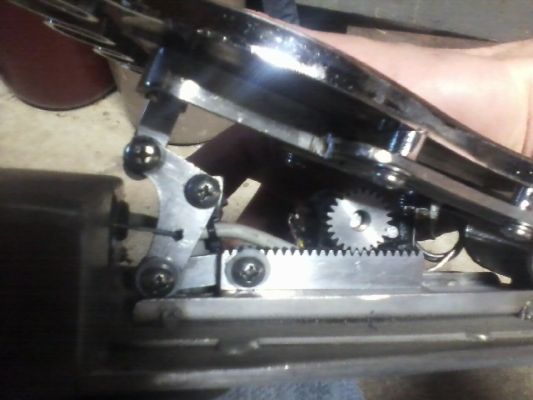
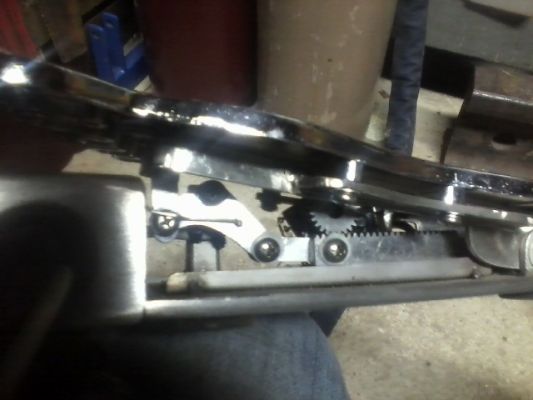
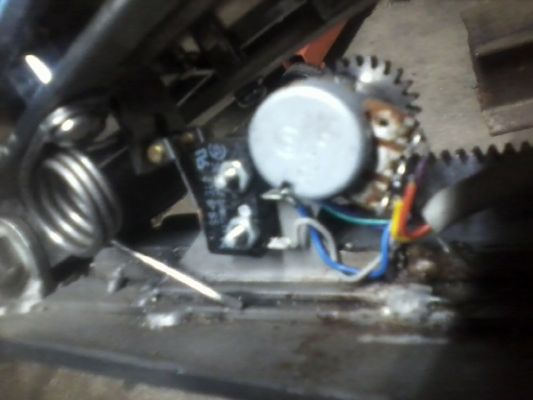
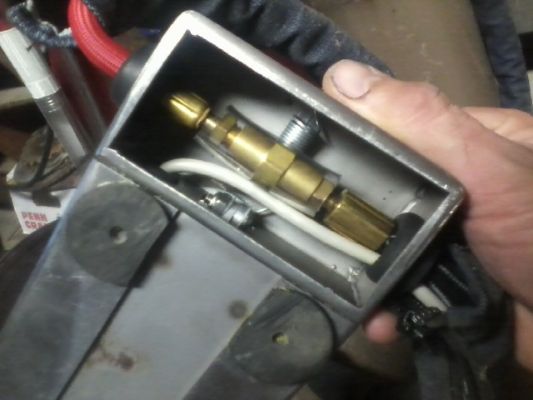
The welder that I have doesn't show amps on the machine, when a pedal is plugged into it, so I incorporated a microswitch on a roller to connect it to the machine, followed immediately by another microswitch that actuates the torch, followed by the potentiometer that moves the amps up and down.
What the amp readout on the machine gives you, when the pedal is plugged in without any auxilary switch (like mine), is the active amp output, so when you are not on the pedal and its plugged in, it will display the lowest amp setting.
So, having a pedal that "plugs itself in" when you touch the pedal, before it engages the arc switch and begins moving up in amps, gives you the ability to glance at the machine and see the maximum set amps. The moment you touch the pedal, it displays the active amp output.
One way around this is to simply select the stick mode on the toggle switch on the machine to set your max amps with the dial, then flip it to tig mode. This way, it doesn't engage the gas and HF arc as you try to set it. My pedal bridges 6-7 pins when you touch the pedal, so when you are off of it, it doesn't detect the pedal and shows you the max amp setting.
The machine comes with a pinout for the pedal in the operator's manual and they have a really good support forum. There are seven pins, but you only need three plus a jumper from 6-7 if you don't want it switched like I made mine.
The weld quality coming from a tig has just as much to do with technique as it does its settings.
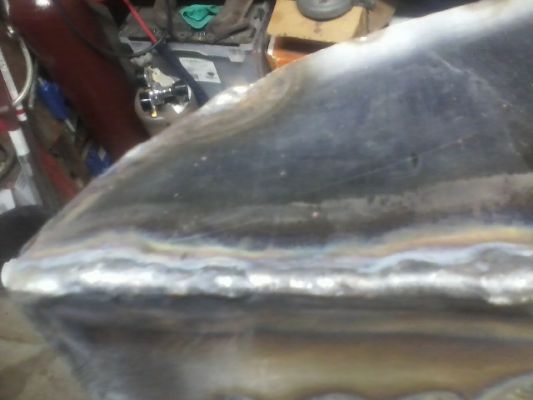
I tried welding an outside corner joint on .034" stainless sheet to make a tank and botched the first one. I found a number of problems with my attempt, based on what I researched. My speed was ok, but I was moving the filler rod too far away from the torch head, when I wasn't dipping it, allowing the rod end to oxidize and contaminate the weld. It still welded sound, it was functional but looked ugly;
So I started over and made some minor adjustments to my technique, increased the torch gas nozzle size, reduced tungsten stickout length, increased gas flow and those few things ended up making a world of difference on the appearance, consistancy and quality of the weld;
Every material and the type of weld joint requires some research, but it is well worth the effort in practice. If it produces lousy welds, there is usually something to be done, usually minor changes made to something to get the best results and correct the deficiency.
I've found that running practice beads on a sheet of aluminum, with or without weld rod is a great way to get in good control practice with pedal pulse/ puddle bead width control, speed consistency, keeping in front of the heat and line control. I've probably run through a tank of gas just practicing on junk metal that I cleaned up a little and it made a lot of difference.
If I'm unsure about a material or joint type, I'll mock one up in scrap and try different things, research different techniques and practice them on the scrap until I am satisfied with the results on the scrap.
Tig welders love clean joints. no grinding/ cutoff flash, undercoat on the back side, etc. super clean welds come from tight fit up/ zero gap and good cleaning.