Captainkirk's Duster project
Well, thanks to you forum guys giving me some great advice (and a boot in the ***...thanks, Rusty!) I decided to see if this piston was junk, or if it was all in my head. I'm happy to say it's working out just fine, thank you very much!
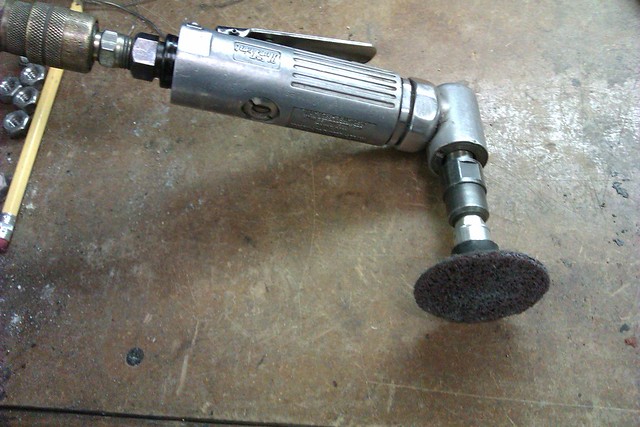
I chucked said piston in a vise (between two cardboard cushions, of course!) and having it cinched down as such, dragged out the grinder with a fine grit RoLoc disc....
Close-up of the, ummm...implement
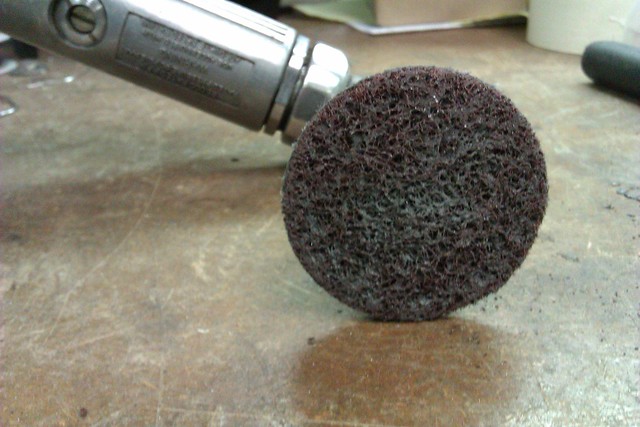
Throwing caution to the wind, I turned the disk on edge and started 'hogging out' out the suspect area across the crown and down the valve relief cutout...
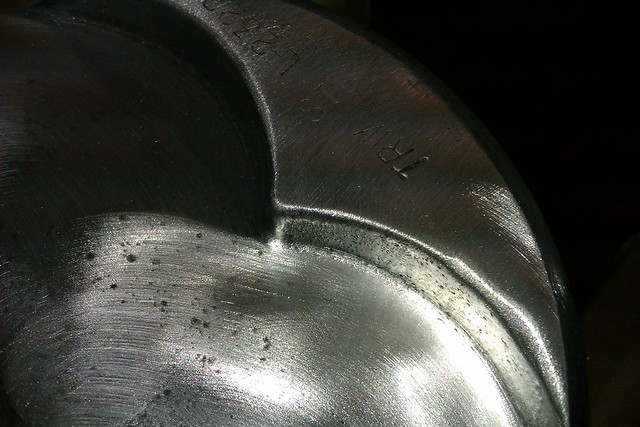
....and then tapered the edge of the cutout to blend it...
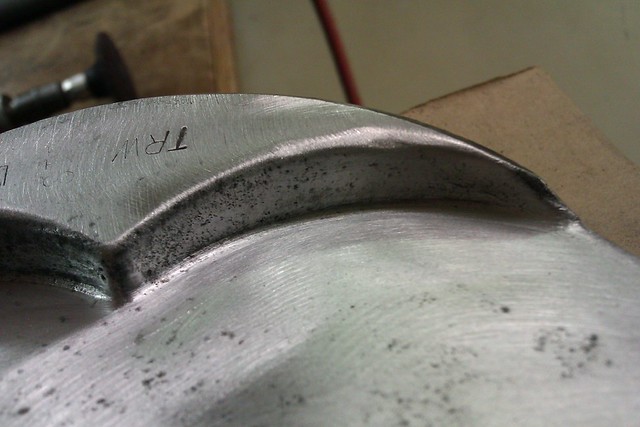
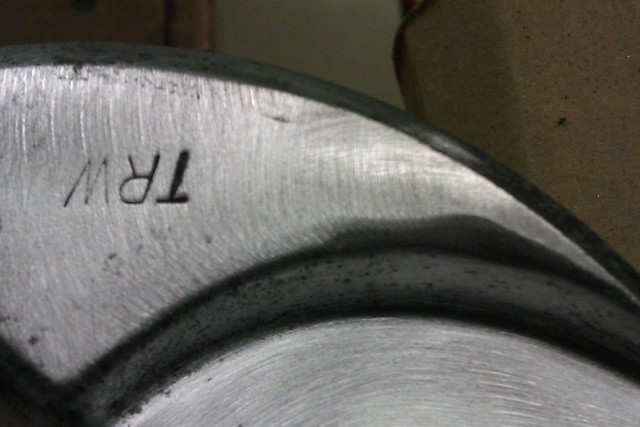
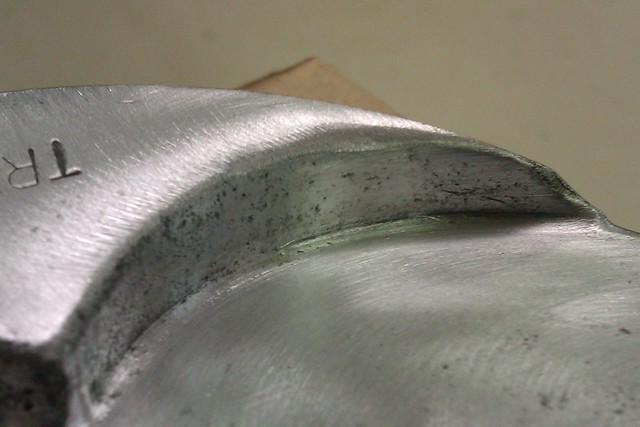
....followed up by a trip to the deep-sink with some running water and 220 wet-or-dry to smooth the tooling marks...
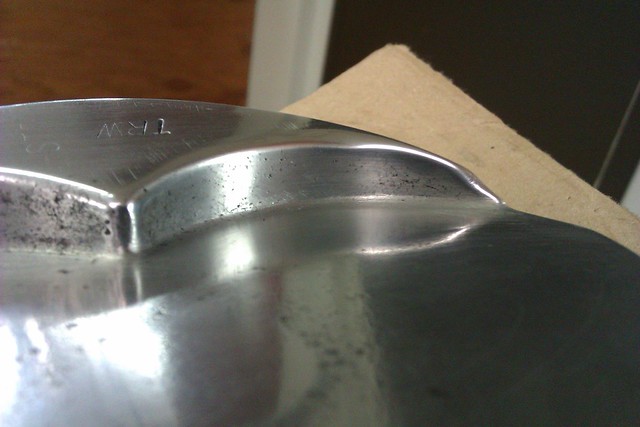
....and finally, a hit with the polishing wheel.
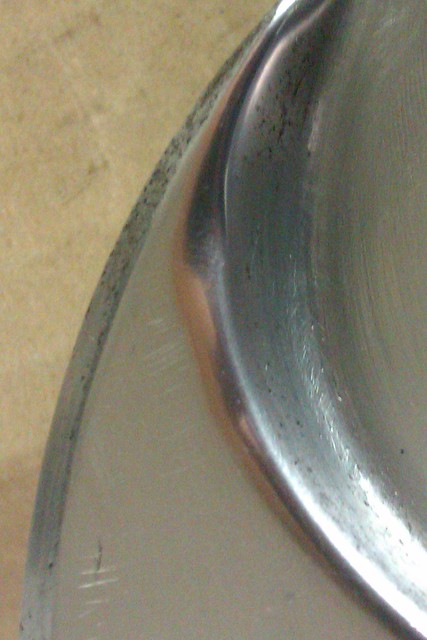
As you can see in this final photo, there is still a hint of the flaw on the face of the valve relief....
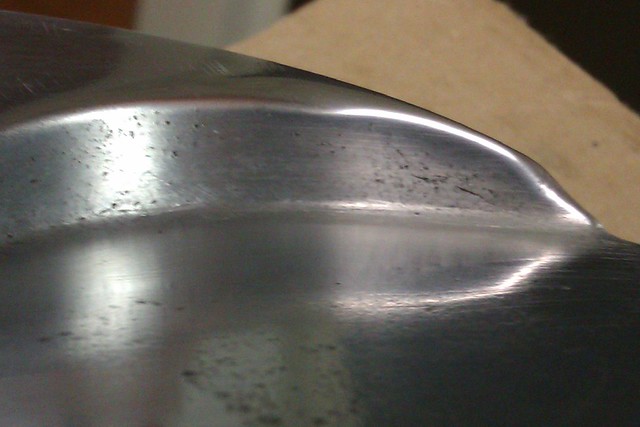
...but not any more! I stopped taking pictures at this point, but hit the pocket again until the like is virtually invisible. Then I went to work on the other valve pocket and dome. If not for the craters, this thing would look like a new piston dome! I will show you some pictures when I'm finished.
Suffice it to say I'm extremely pleased! There was, and is, PLENTY of meat on these domes.
I'm not done yet, and still have 7 other pistons to clean and polish yet...who knows what might turn up on those?
But for a quick half-hour's work, I think it came out pretty nice.....
Crack? What crack?:cheers:
Well, thanks to you forum guys giving me some great advice (and a boot in the ***...thanks, Rusty!) I decided to see if this piston was junk, or if it was all in my head. I'm happy to say it's working out just fine, thank you very much!
I chucked said piston in a vise (between two cardboard cushions, of course!) and having it cinched down as such, dragged out the grinder with a fine grit RoLoc disc....

Close-up of the, ummm...implement

Throwing caution to the wind, I turned the disk on edge and started 'hogging out' out the suspect area across the crown and down the valve relief cutout...

....and then tapered the edge of the cutout to blend it...


....followed up by a trip to the deep-sink with some running water and 220 wet-or-dry to smooth the tooling marks...

....and finally, a hit with the polishing wheel.

As you can see in this final photo, there is still a hint of the flaw on the face of the valve relief....

...but not any more! I stopped taking pictures at this point, but hit the pocket again until the like is virtually invisible. Then I went to work on the other valve pocket and dome. If not for the craters, this thing would look like a new piston dome! I will show you some pictures when I'm finished.
Suffice it to say I'm extremely pleased! There was, and is, PLENTY of meat on these domes.
I'm not done yet, and still have 7 other pistons to clean and polish yet...who knows what might turn up on those?
But for a quick half-hour's work, I think it came out pretty nice.....
Crack? What crack?:cheers: