1970 Swinger 340 Hemi Orange 4 speed
Thanks!! Hopefully it helps people out on there restorations. Your guys comments help me stay motivated. This is going to be one long thread by the time this car is completed!
Thanks for the compliment!
Thanks, I am using Glasurit base/clear. I believe the base coat is the 55 line. It's solvent based and very pricey, but has excellent coverage and is probably the most accurate to the original EV2 colour when it comes to solvent now. There are some other brands thru The dupont distributor here that have solvent (forget the name) but that line doesn't even carry the paint code. I will be using all glasurit products on this car including primer when I get to that point just because I like to stick with the same brand and using good quality paints, primers and sealers really shows especially long term, since I only plan on doing this car once. I used to use DuPont chroma-premier but you can't get it in solvent anymore, so I switched to BASF line and I like it more anyways.
Yes the entire car will be skim coated with evercoat rage lightweight filler and blocked out with all the panels on. This way it will ensure nice sharp lines and no transitions between panels. When applying the filler I will use masking tape across the body lines and apply the filler to that point and repeat this process across every panel, then it will be blocked out by hand with a long board and be primed and sanded until perfect. Then it'll come all back apart again for paint. It's alot more work doing it this method but will ensure perfect alignment when it gets re assembled after paint.
I put AMD door skins on the car.. It's quite a few pages back now, but I showed the entire process. The passenger door has no filler in it yet, but took a lot of work to get right. I had to weld a 1/8" welding rod all along the door edge where it meets the quarter because the gap was to big. I still have to fix a couple spots on the doors with the welding rod to make it right, but I'll do that later on when I re align everything.
Hope this helps!
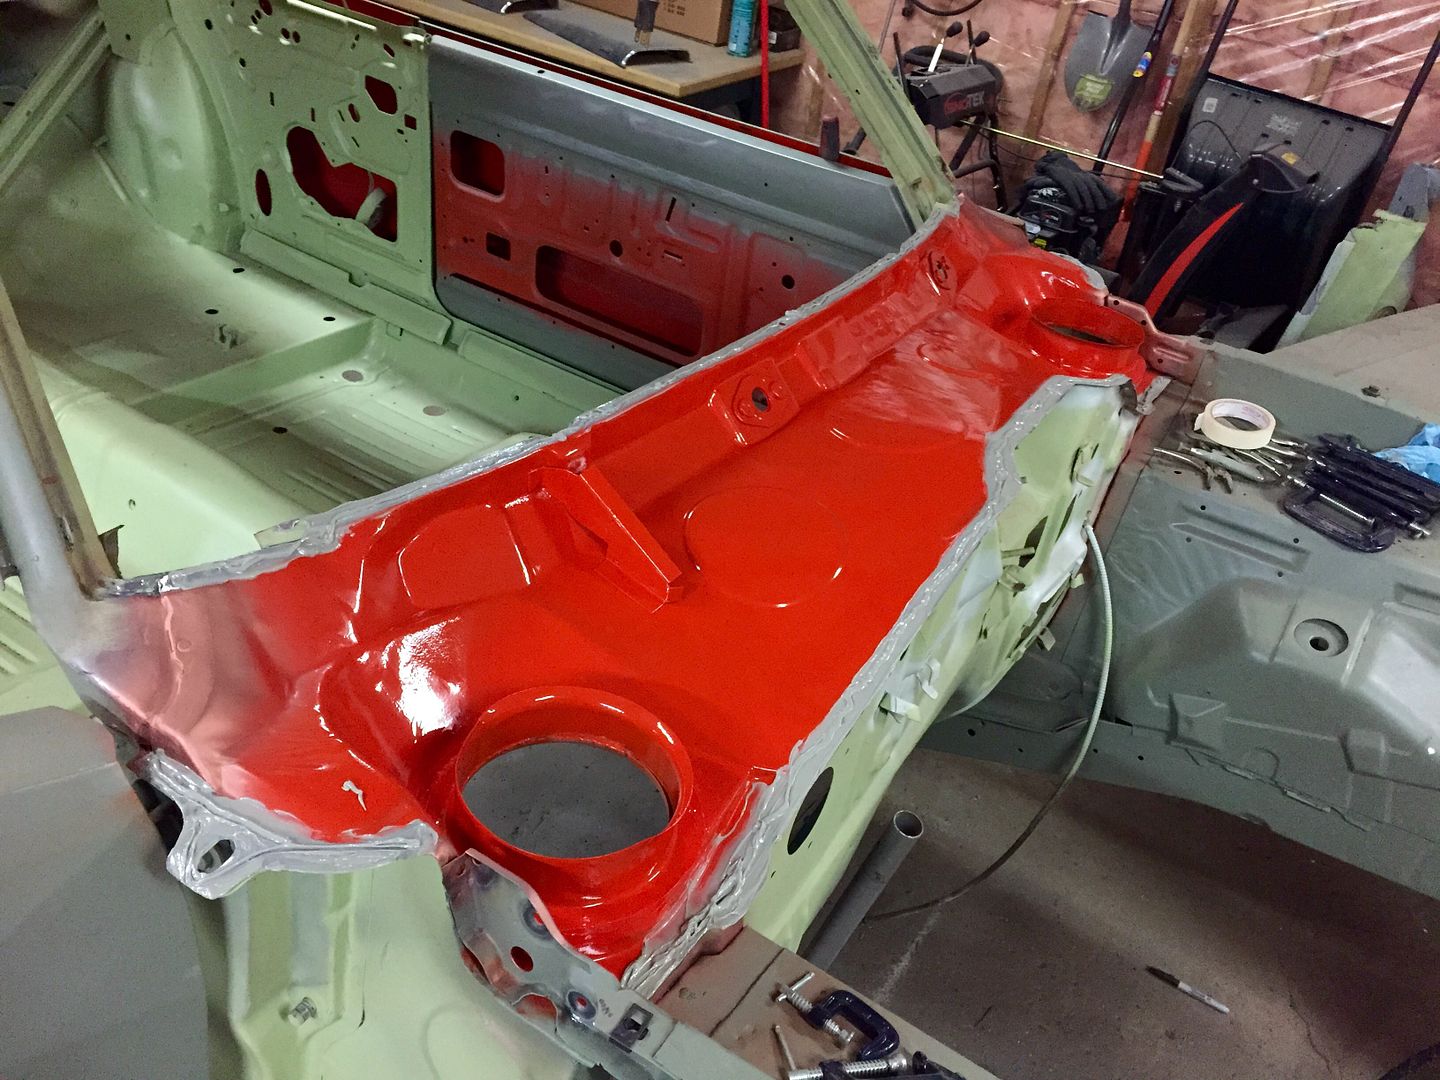
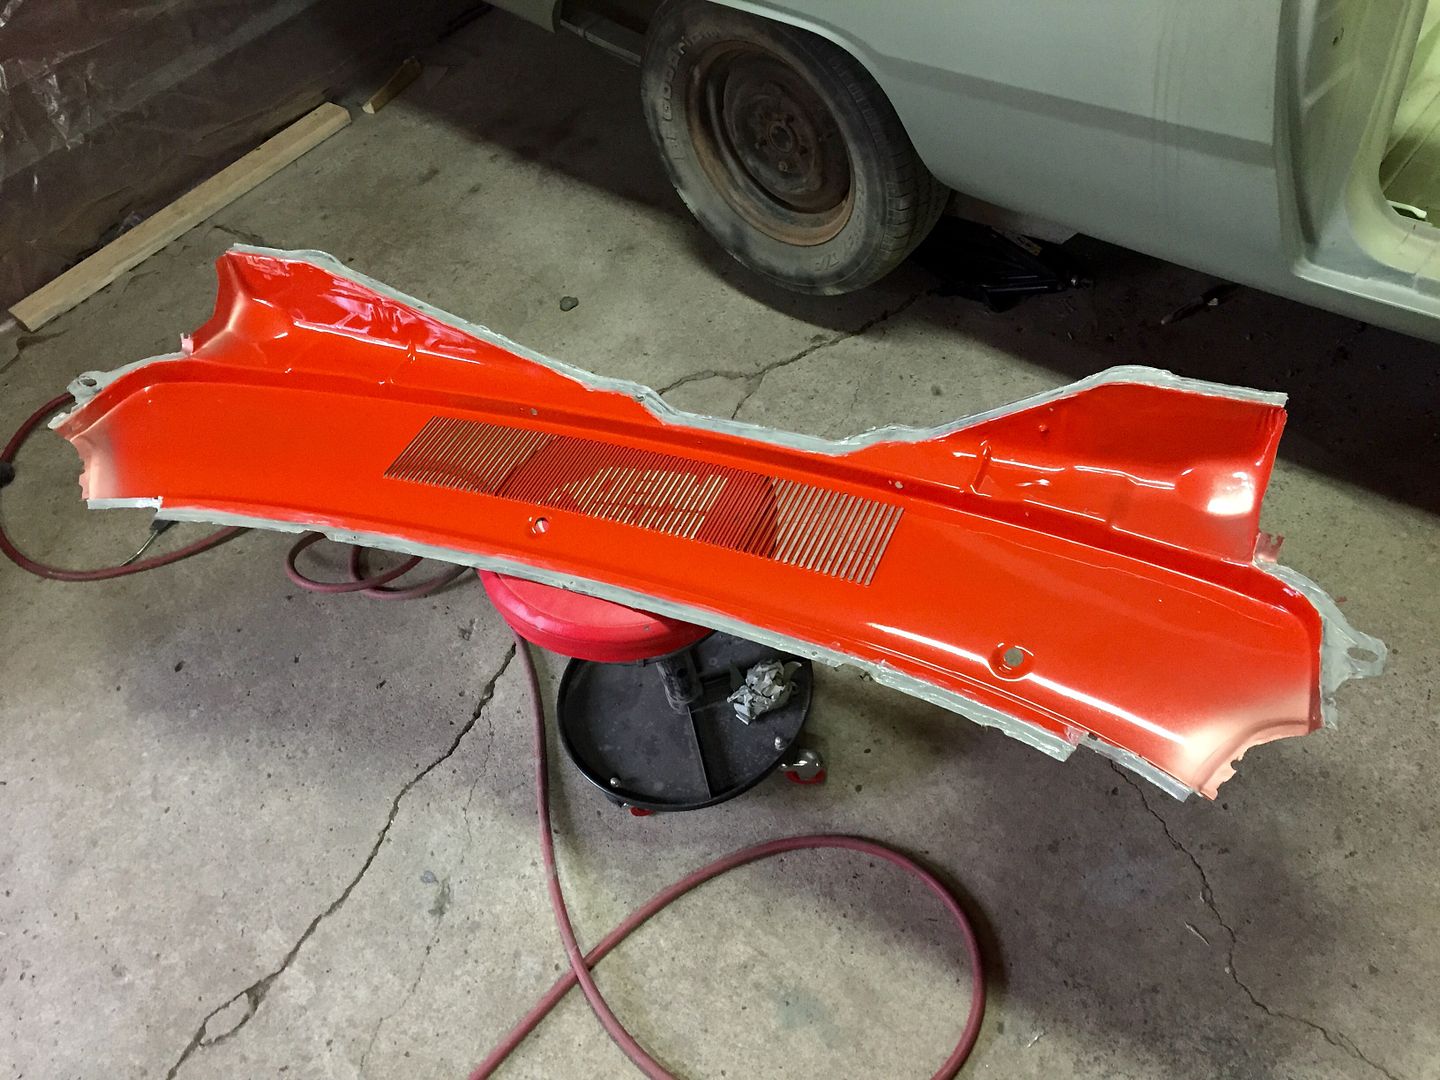
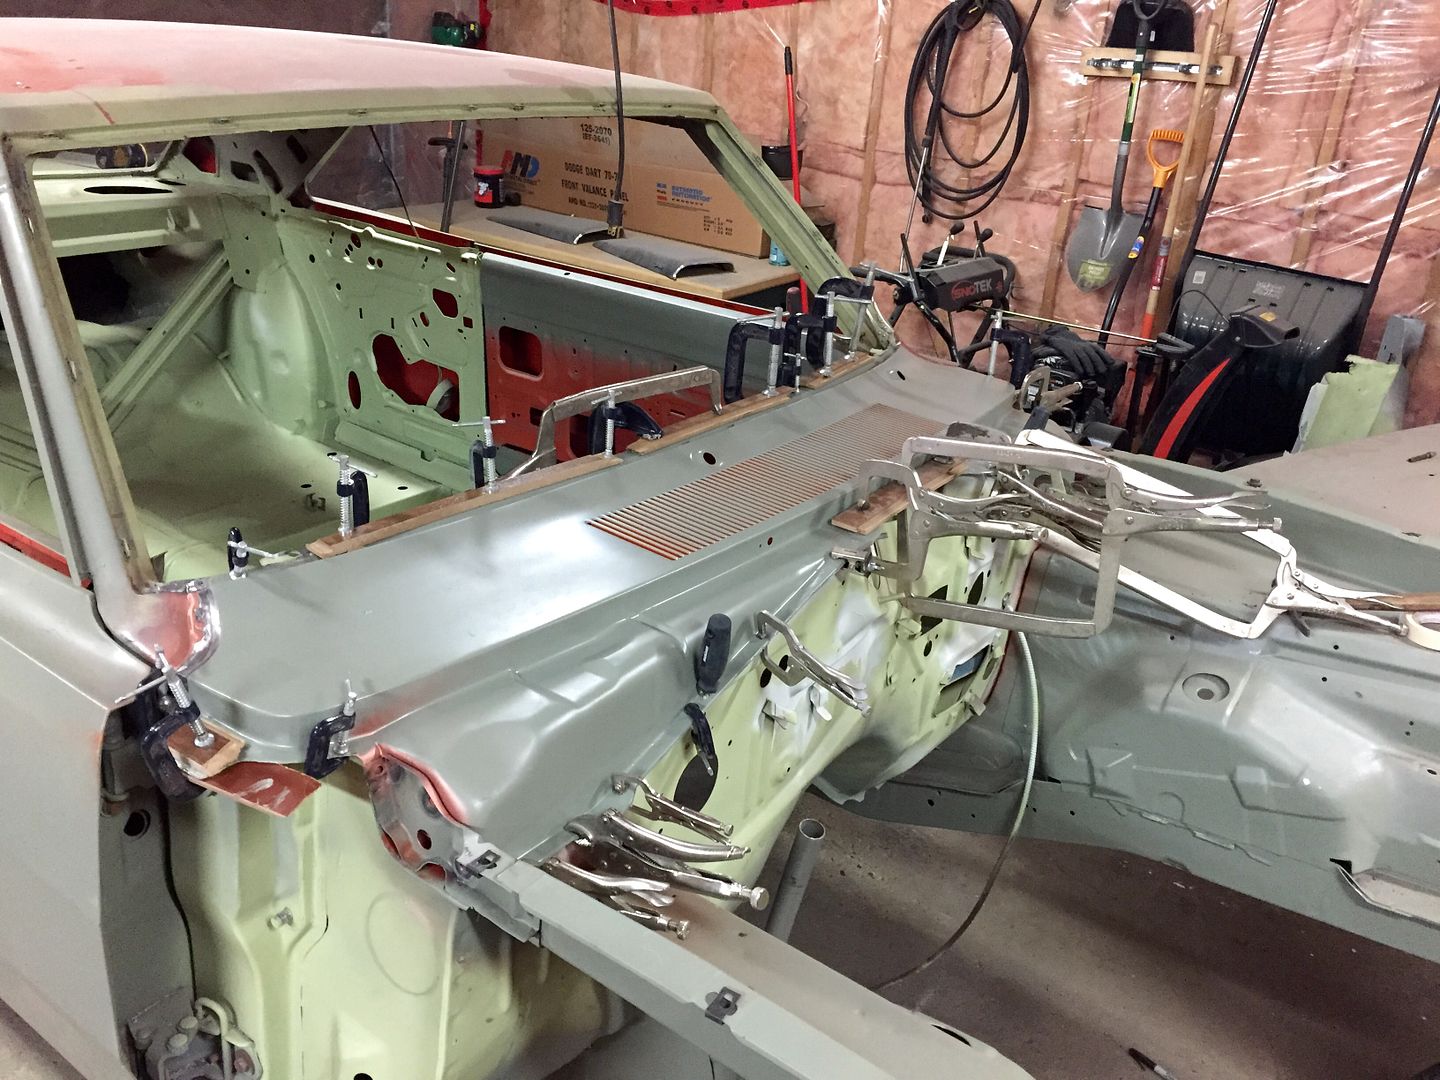
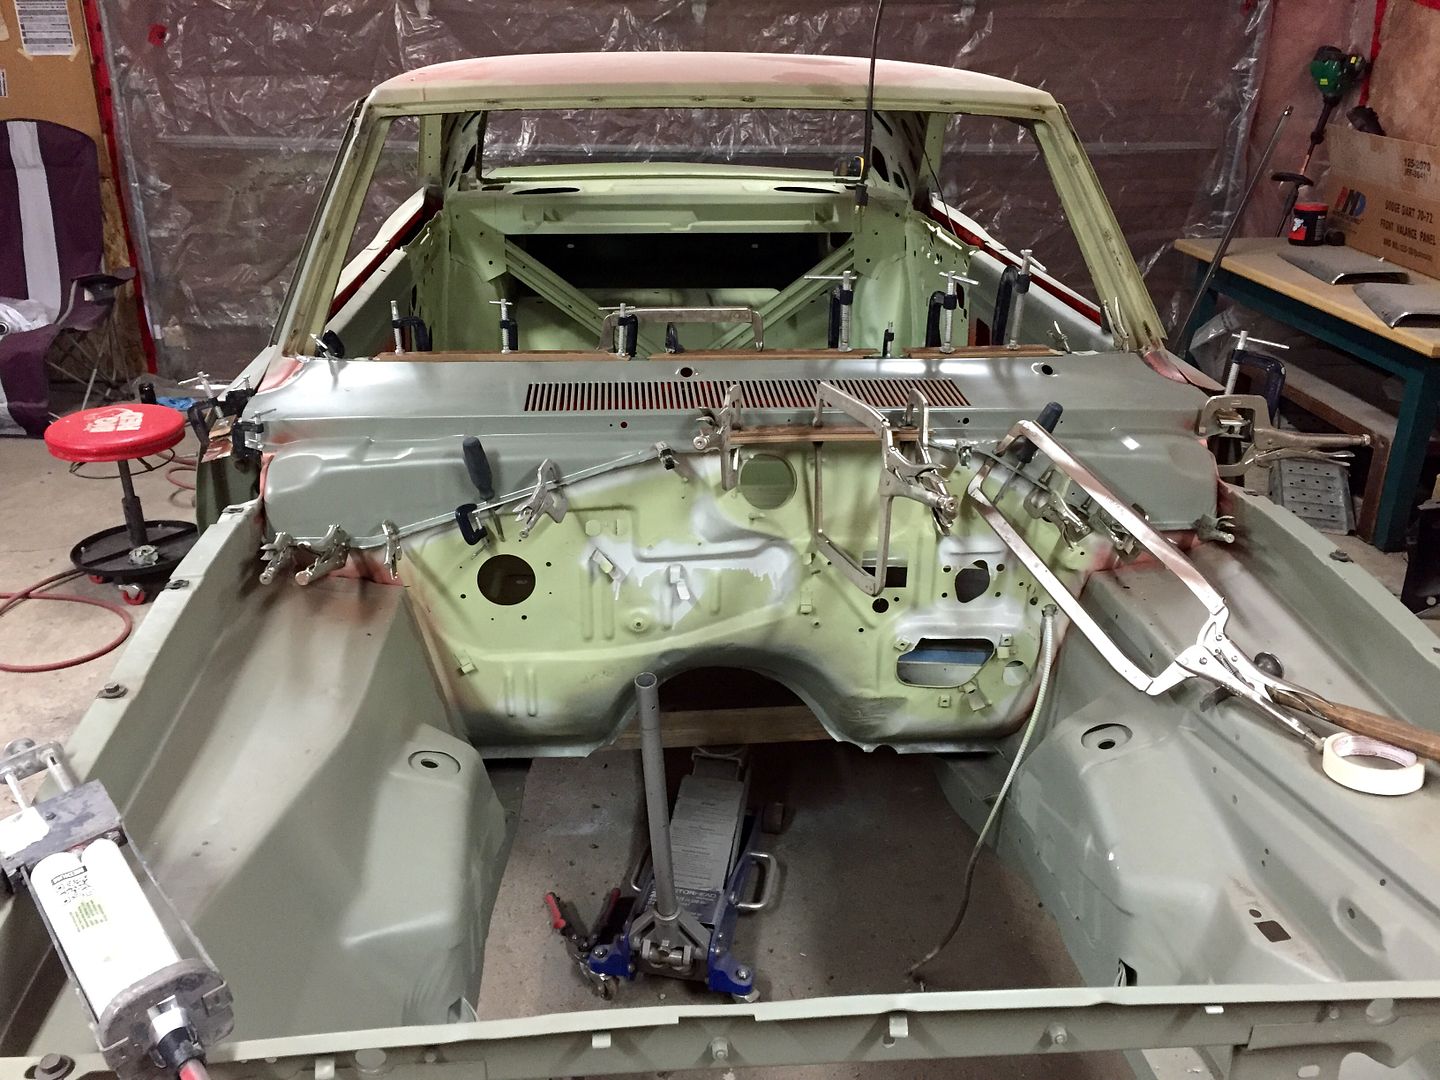
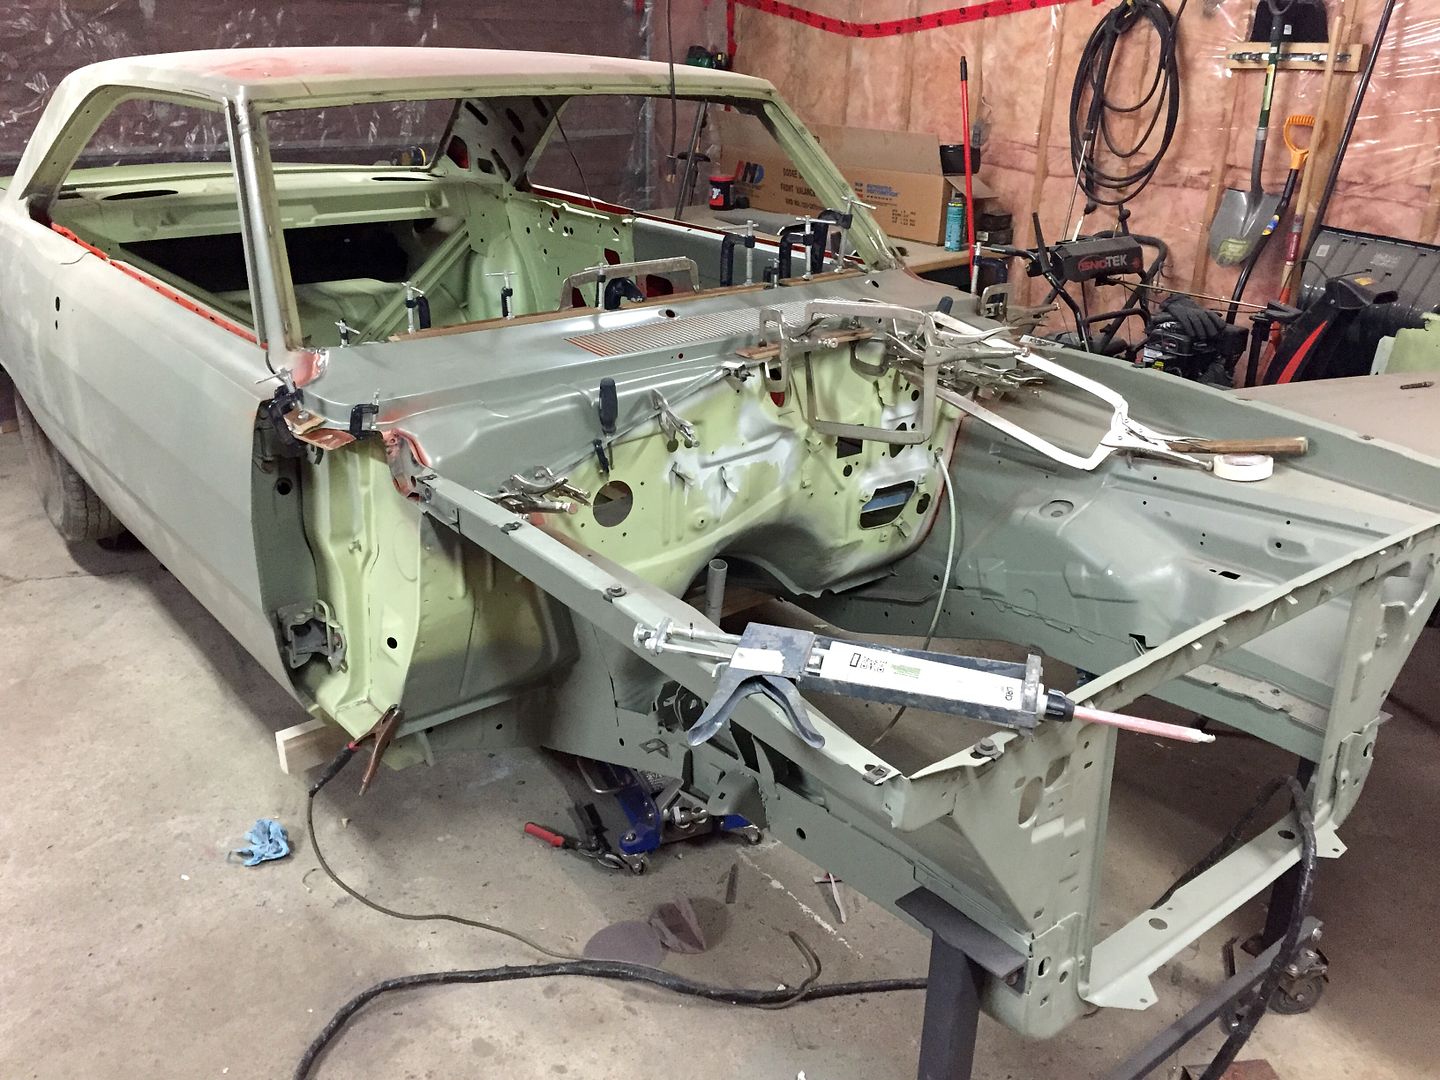
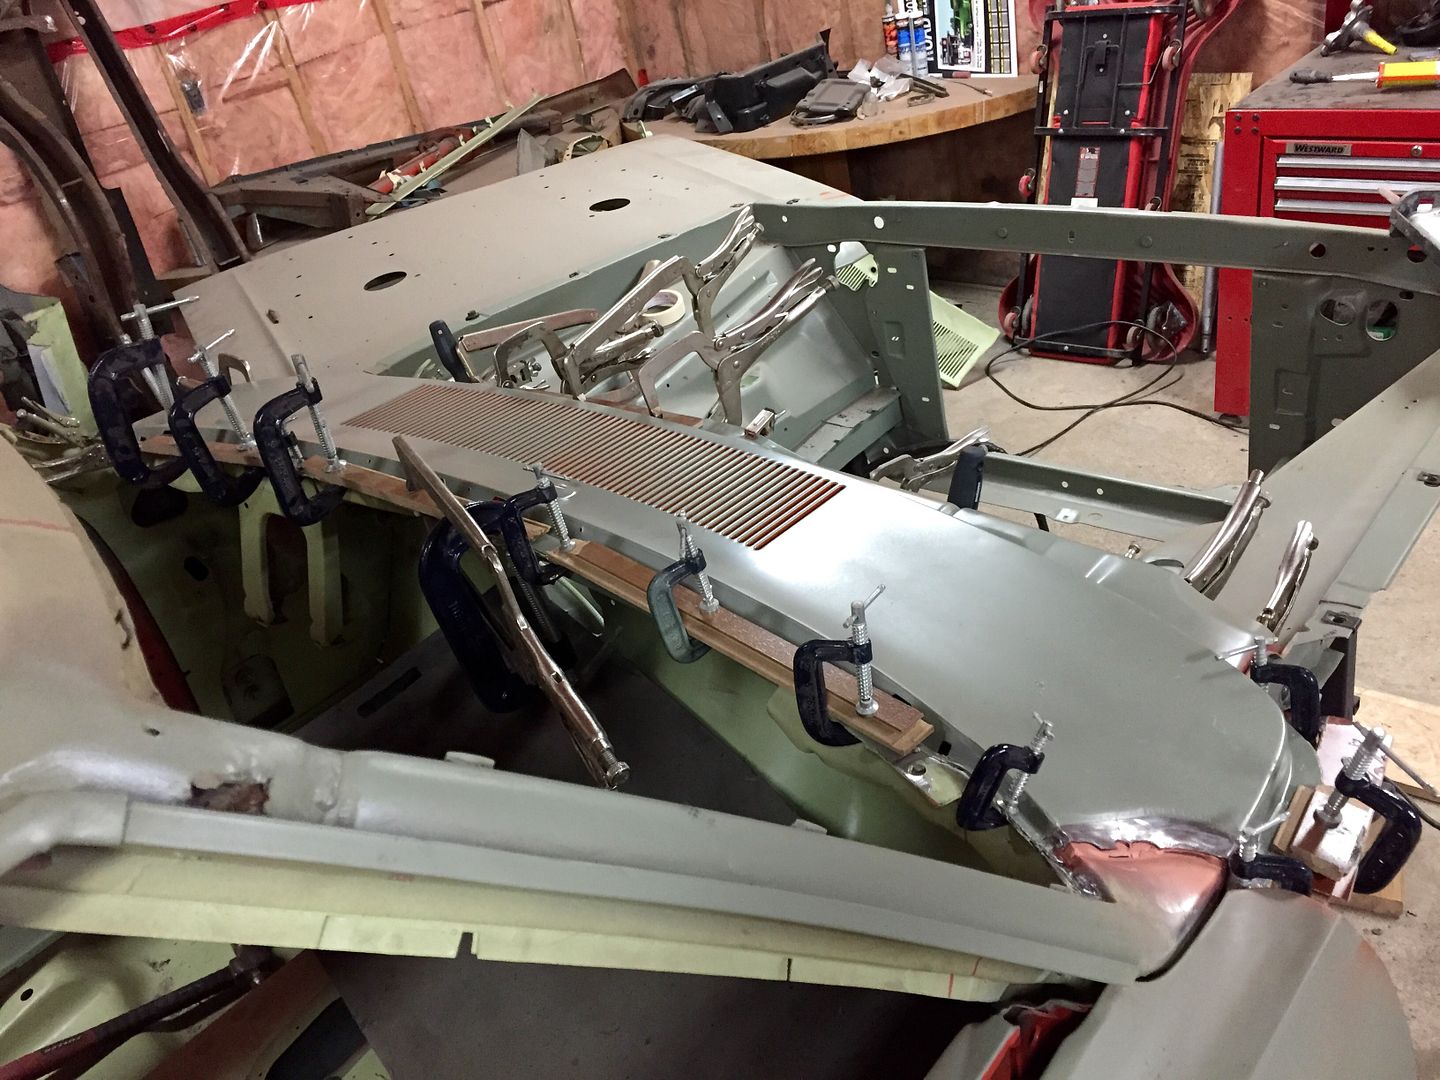
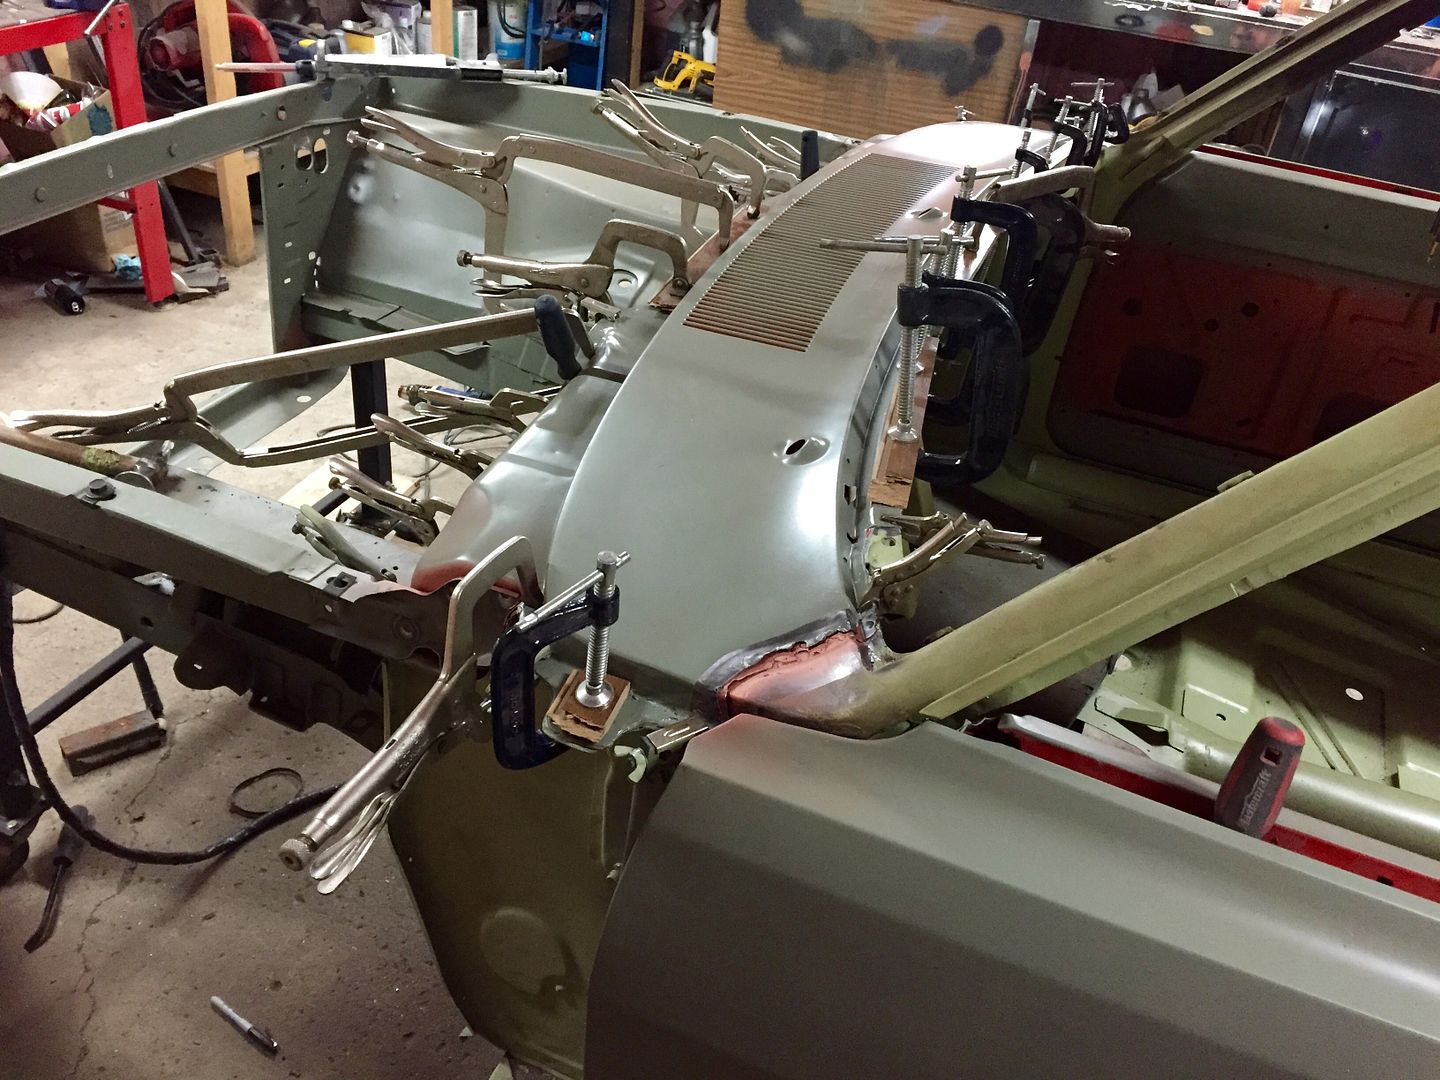
I got the cowl glued on! I also welded the lead seams solid and started welding the inner fender to cowl extensions on, but it was to stinky in the garage to continue, so I stopped (that fusor glue stinks!) as you can see I got a lot of clamps and pieces of wood holding it down, the glue has already set now and is rock solid and watertight! I covered all the bare steel with the glue and then added an additional bead so there wasn't any chance of bare metal.


