DIY Classic Looking Roof Rack
Well, since we finally made a decision as to where the 1974 4-door dart was going - one of the ideas that kept coming up was to make it kind of a beach-cruiser car, and keep some of the old styling of the 70s with it. I opted to give it a cheap $62.00 rustoleum roller paint job, and it took several hours AFTER painting it just to knock the paint down, smooth it out, and buff it.
Since this is my fiancee's car, everything gets run by her, and she hasn't really liked any of the ideas I've had, didn't want a stripe on it, etc... till I came up with this style for the overall look. So for those who like watching me build stuff, like the center console I made a while back, this is the thread for you - to see some more of my strange ideas, and a really really simple project...
I am building a roof rack - with a wood main body, and it will have bike mounts on it, for full functionality.
So, let's start with the style of this car - to make this work - It looked like this not just a couple weeks ago.
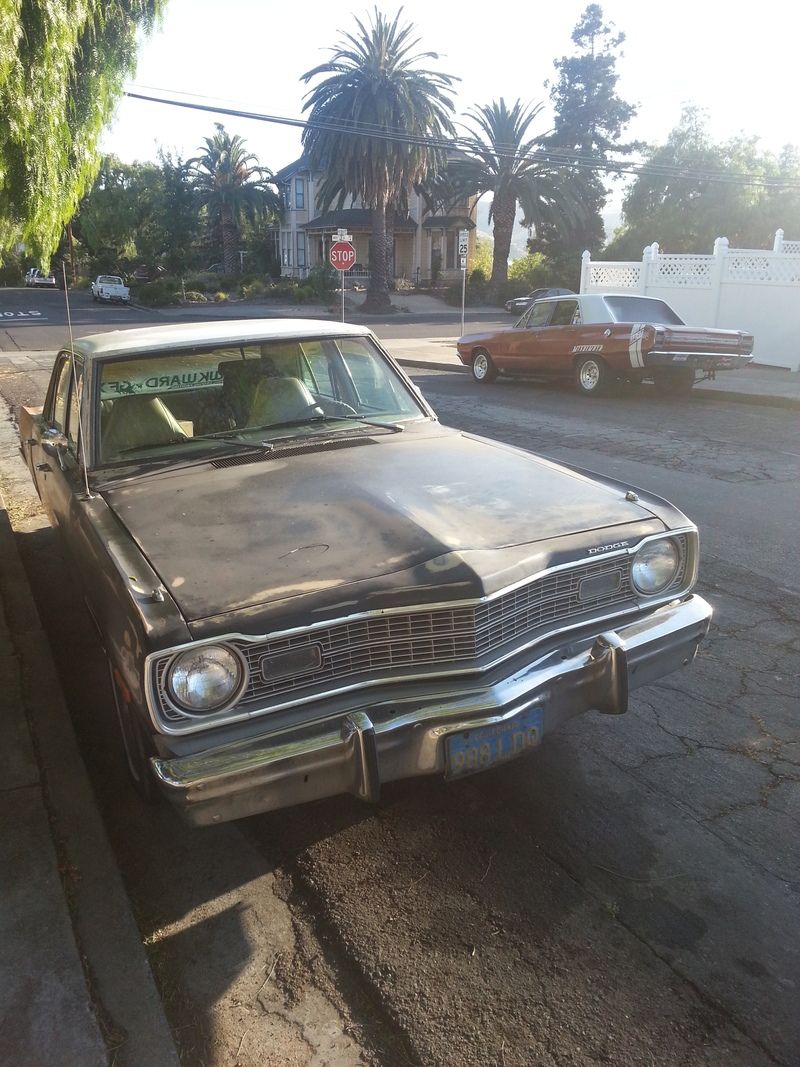
Then paint happened.
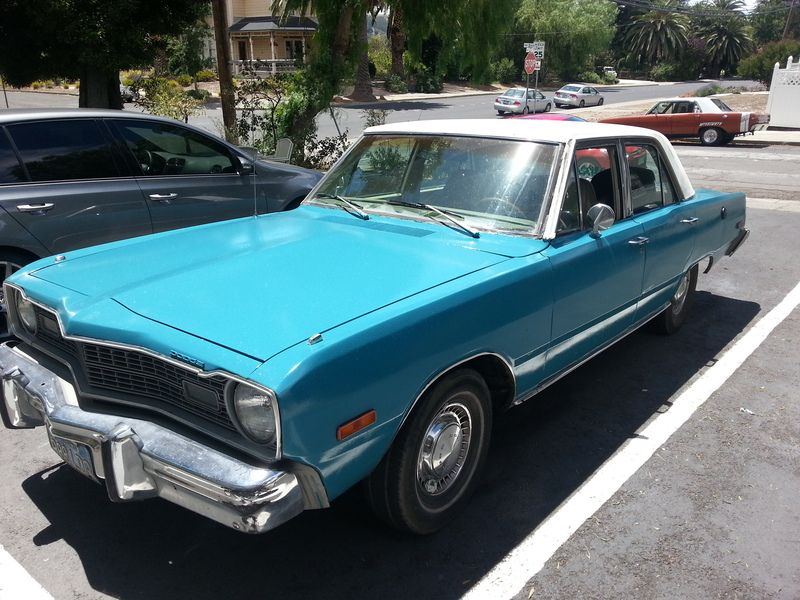
Just a roller, some custom mixed paint, a lot of wet sanding, a lot of polishing, sanding, polishing, and just time and work in general.
The roof is still yet to be painted - it will still be white, just fresher paint.
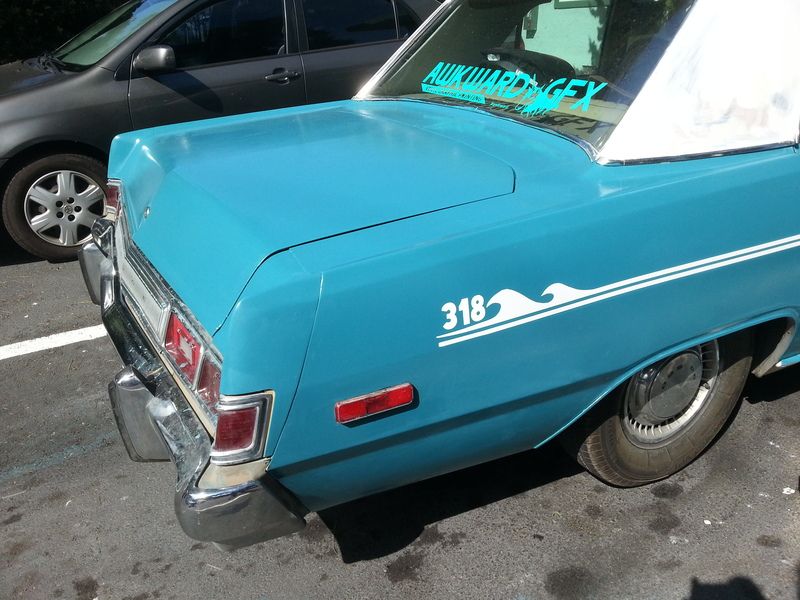
Me and my fiancee' do vinyl printing out of the house, so I drew up a custom stripe for the side of the car - based on the Dart "Hang 10" styling. I still have to draw the front of the stripe, but this is what we have so far.
Soooooo....
The project.
I hunted through a bunch of wood at the shop and found a few pieces of what I thought would make an interesting roof rack - Bird's Eye Maple. It's tough, kind of hard, and definitely interesting. I feel like it would look pretty neat. I'm not sure what it's left over from, but it's not a material we use in boats ever - maybe a cabinet we built in the past - oh well - it's here, and so it shall be used.
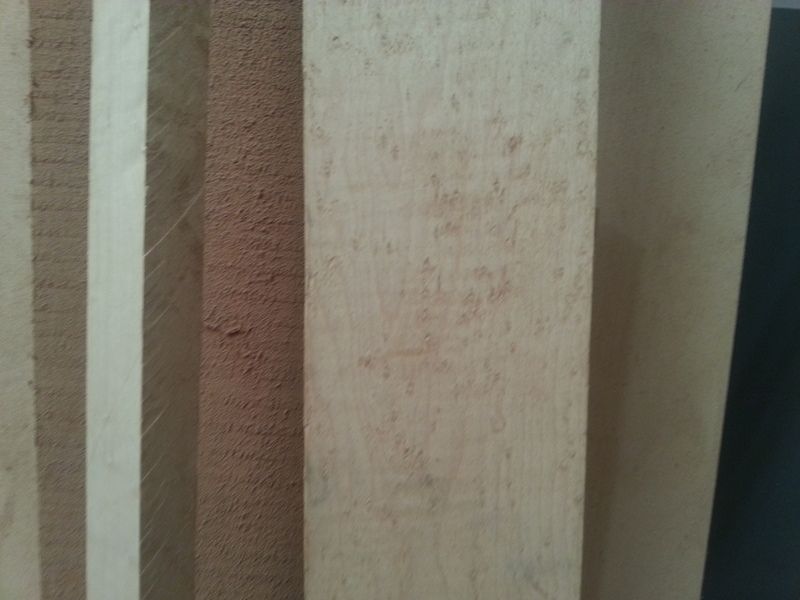
I planed the couple planks we had to 3/4" thick.
Then I ripped them on the table saw to about 7/8" and then planed them down to 3/4" on that dimension as well. Then I cut all those sticks to 40" long each. I made 10 sticks total. That's all the maple I had.
So 10 sticks, 3/4" x 3/4" x 40"
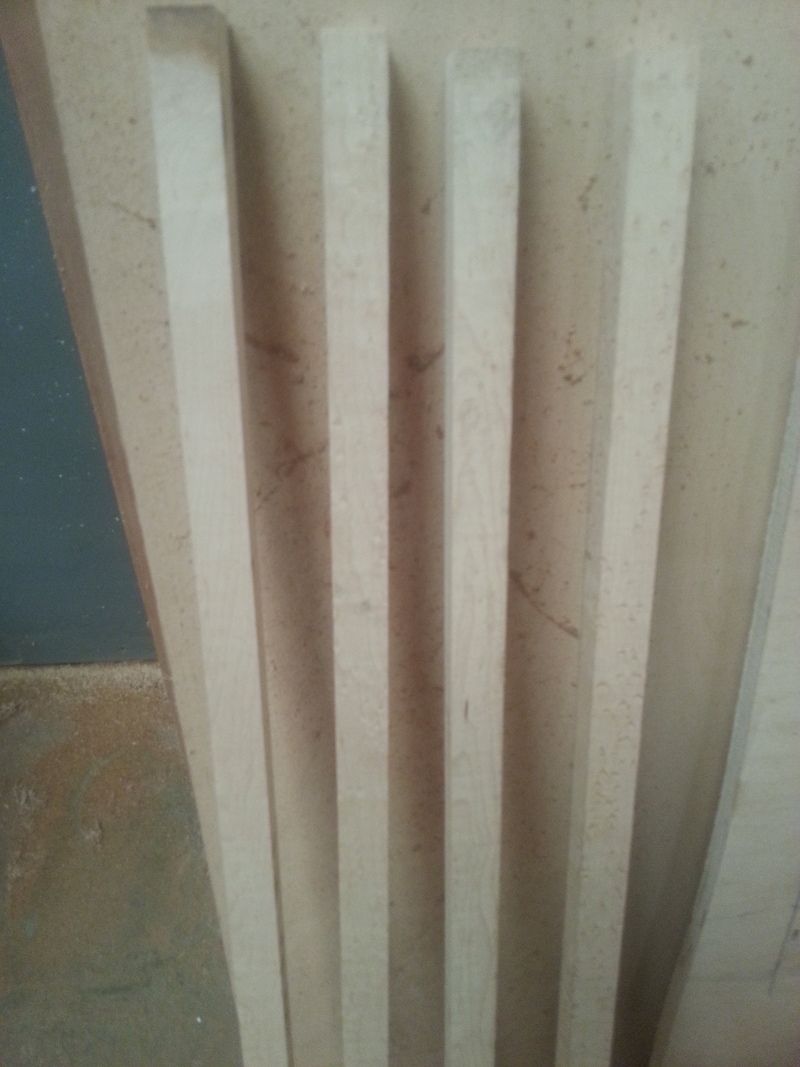
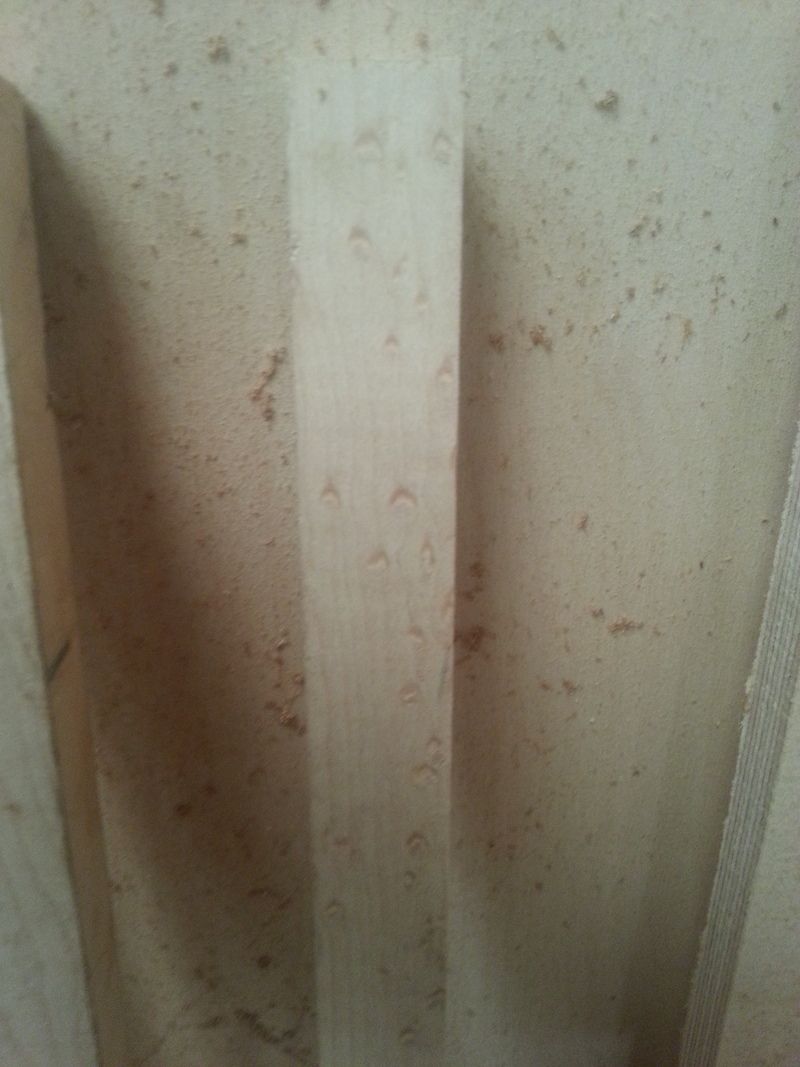
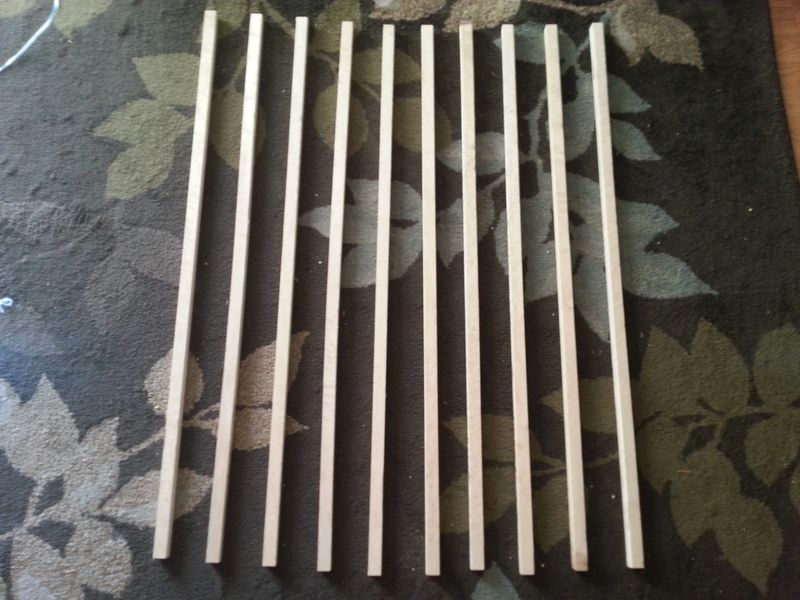
I took them home to see what natural maple looked like against the roof of the car... and it wasn't that good. So, since maple is - well maple, it'll take a variety of colors pretty well. I mixed up some orange 1shot, with some pink, and thinned it out a lot, and came up with a peach-orange stain, and put it on all the sticks. It came out similar to a really really light gunstock color if anyone is familiar with stain.
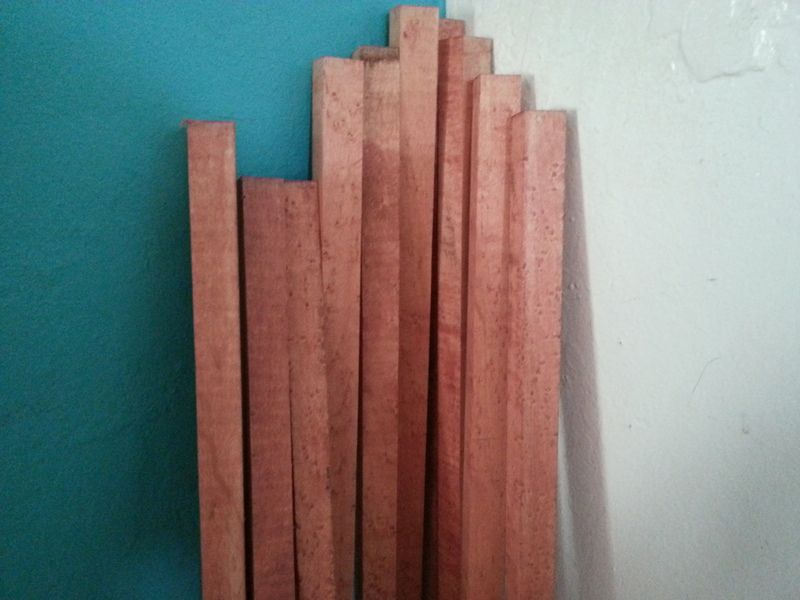
Then I sorted through a few ideas I had to actually get the sticks on a rack, and mount it to the car - my first idea was 1/2" water pipe, and then pull the galvinization off of them and polish it, then bolt them to 90* elbows and bolt it to the roof of the car. My next and more favorable idea was to get two pre-made cross-bars with feet already attached, long enough to reach the rain gutters on the roof. And I found just that on Ebay for $50. So I went for it. I've had the same rack before, but just used it to bolt a bike holder to. This one should be significantly stronger, since the wood center section will be bolted to it as well.
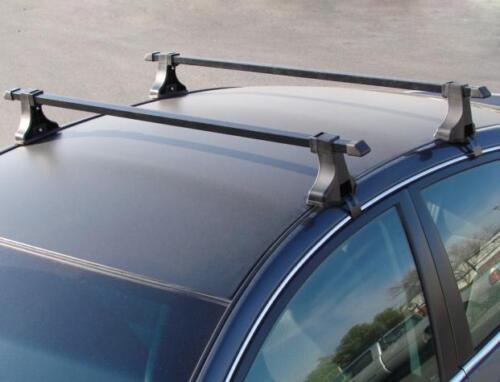
The cross-bars are rectangular so they will be way easier to drill holes into to bolt the rack. Then on either side of the wood rack will be one of these:

This will allow us to ship all the bikes to the state park for our ride instead of just being able to carry one.
So back to the rack...
Now that i had my idea of what is going to happen, I went ahead with assembling the sticks, but wanted a center section to bolt them together, and add a little stability. The roof rails will be 36" apart to the maximum ends. So the sticks will overhang 2" on both sides. The bike holders will extend further.
For the center bars, I made two pieces of African Mahogany, which was also laying around in the shop, these were leftovers from an old boat project, and I planed and cut them to 3/8" thick, 2 1/2" wide, and 48" long.
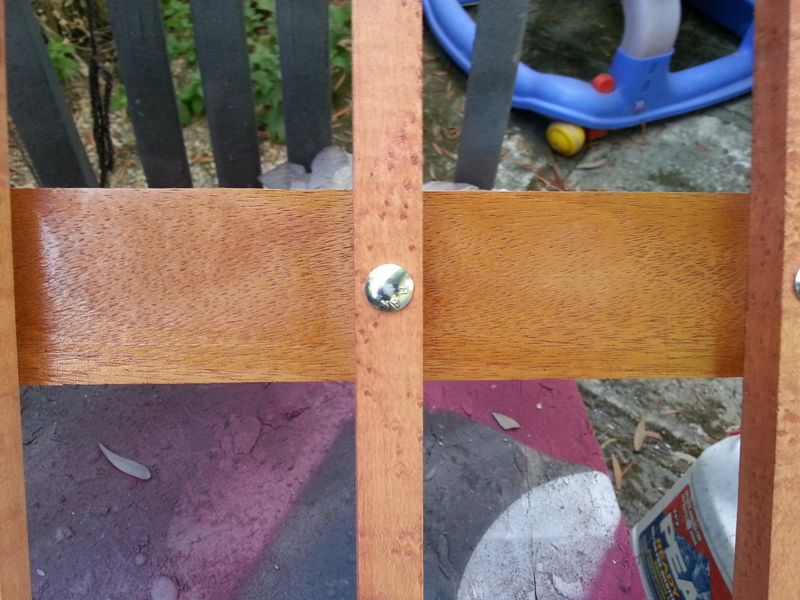
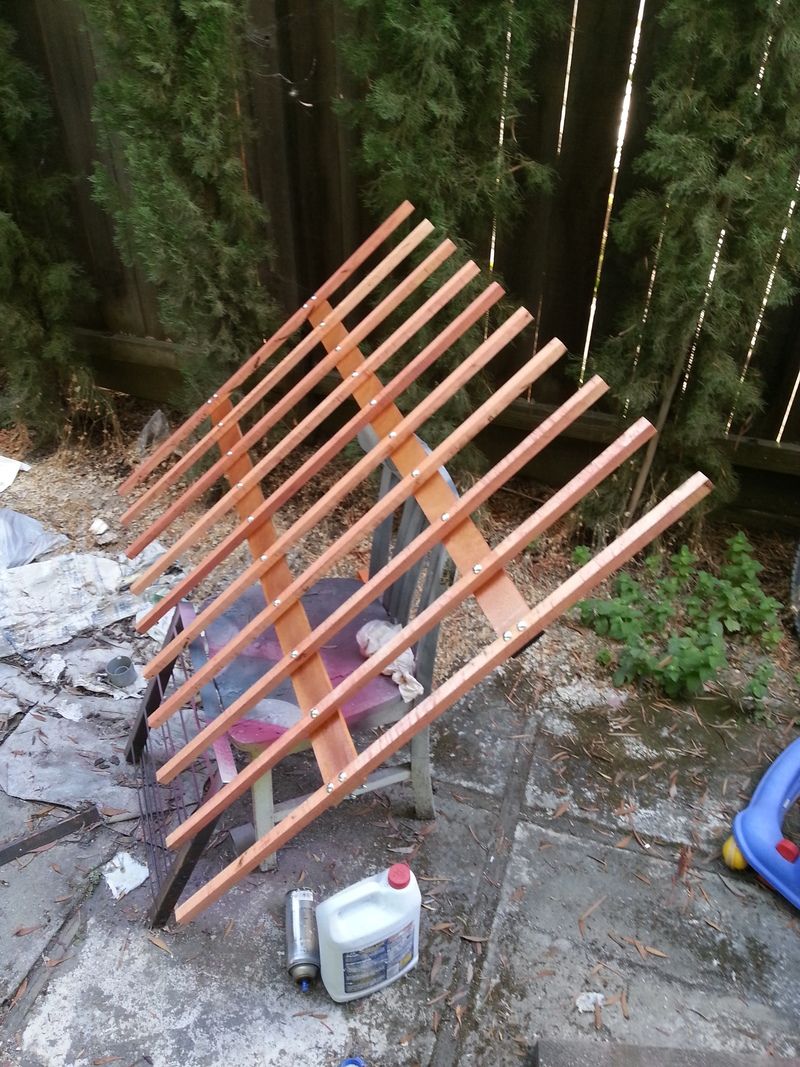
I laid out the whole assembly and glued and carriage bolted it together. The glue is to mostly keep moisture out from between the pieces so I didn't have to stain them at that junction.
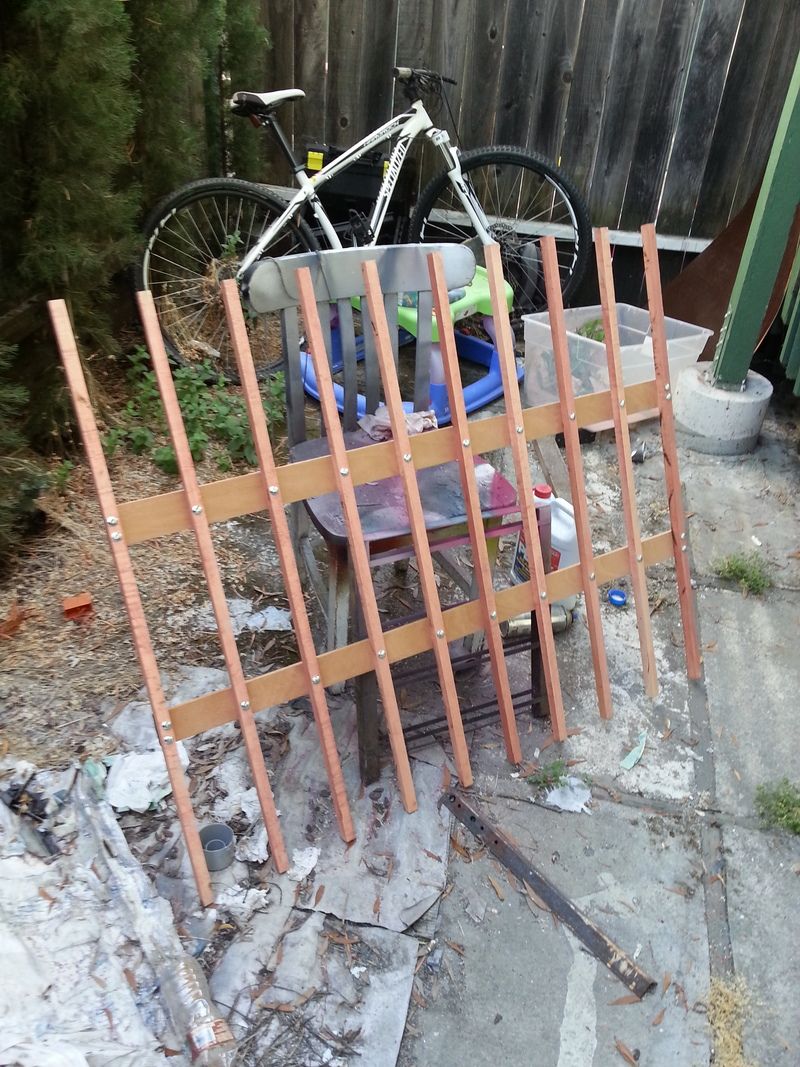
Then I used spar urethane over the whole assembly, and put on about 2 total coats of it, and it's good there I think. I'll recoat it tomorrow and call it a good seal.
And that's where I'm at so far...
Well, since we finally made a decision as to where the 1974 4-door dart was going - one of the ideas that kept coming up was to make it kind of a beach-cruiser car, and keep some of the old styling of the 70s with it. I opted to give it a cheap $62.00 rustoleum roller paint job, and it took several hours AFTER painting it just to knock the paint down, smooth it out, and buff it.
Since this is my fiancee's car, everything gets run by her, and she hasn't really liked any of the ideas I've had, didn't want a stripe on it, etc... till I came up with this style for the overall look. So for those who like watching me build stuff, like the center console I made a while back, this is the thread for you - to see some more of my strange ideas, and a really really simple project...
I am building a roof rack - with a wood main body, and it will have bike mounts on it, for full functionality.
So, let's start with the style of this car - to make this work - It looked like this not just a couple weeks ago.

Then paint happened.

Just a roller, some custom mixed paint, a lot of wet sanding, a lot of polishing, sanding, polishing, and just time and work in general.
The roof is still yet to be painted - it will still be white, just fresher paint.
Me and my fiancee' do vinyl printing out of the house, so I drew up a custom stripe for the side of the car - based on the Dart "Hang 10" styling. I still have to draw the front of the stripe, but this is what we have so far.

Soooooo....
The project.
I hunted through a bunch of wood at the shop and found a few pieces of what I thought would make an interesting roof rack - Bird's Eye Maple. It's tough, kind of hard, and definitely interesting. I feel like it would look pretty neat. I'm not sure what it's left over from, but it's not a material we use in boats ever - maybe a cabinet we built in the past - oh well - it's here, and so it shall be used.

I planed the couple planks we had to 3/4" thick.
Then I ripped them on the table saw to about 7/8" and then planed them down to 3/4" on that dimension as well. Then I cut all those sticks to 40" long each. I made 10 sticks total. That's all the maple I had.
So 10 sticks, 3/4" x 3/4" x 40"


I took them home to see what natural maple looked like against the roof of the car... and it wasn't that good. So, since maple is - well maple, it'll take a variety of colors pretty well. I mixed up some orange 1shot, with some pink, and thinned it out a lot, and came up with a peach-orange stain, and put it on all the sticks. It came out similar to a really really light gunstock color if anyone is familiar with stain.

Then I sorted through a few ideas I had to actually get the sticks on a rack, and mount it to the car - my first idea was 1/2" water pipe, and then pull the galvinization off of them and polish it, then bolt them to 90* elbows and bolt it to the roof of the car. My next and more favorable idea was to get two pre-made cross-bars with feet already attached, long enough to reach the rain gutters on the roof. And I found just that on Ebay for $50. So I went for it. I've had the same rack before, but just used it to bolt a bike holder to. This one should be significantly stronger, since the wood center section will be bolted to it as well.
The cross-bars are rectangular so they will be way easier to drill holes into to bolt the rack. Then on either side of the wood rack will be one of these:
This will allow us to ship all the bikes to the state park for our ride instead of just being able to carry one.
So back to the rack...
Now that i had my idea of what is going to happen, I went ahead with assembling the sticks, but wanted a center section to bolt them together, and add a little stability. The roof rails will be 36" apart to the maximum ends. So the sticks will overhang 2" on both sides. The bike holders will extend further.
For the center bars, I made two pieces of African Mahogany, which was also laying around in the shop, these were leftovers from an old boat project, and I planed and cut them to 3/8" thick, 2 1/2" wide, and 48" long.
I laid out the whole assembly and glued and carriage bolted it together. The glue is to mostly keep moisture out from between the pieces so I didn't have to stain them at that junction.

Then I used spar urethane over the whole assembly, and put on about 2 total coats of it, and it's good there I think. I'll recoat it tomorrow and call it a good seal.
And that's where I'm at so far...

