DIY Classic Looking Roof Rack
Well, maybe this project is not everyone's cup of tea, but to those who are reading, it continues.
I created a custom fairing using 1/4" birch aircraft plywood, and a 1/4" piece of bird's eye maple that I planed.
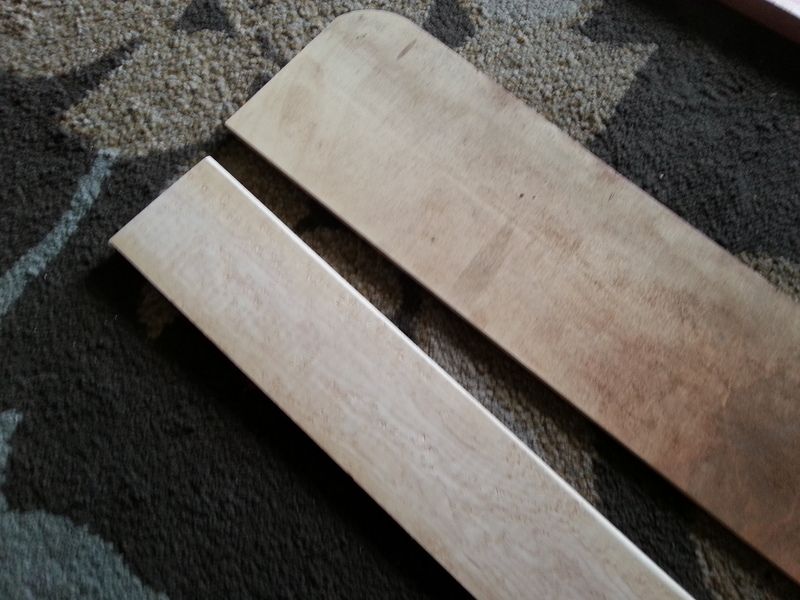
I primed and then painted the plywood the same color as the car, and then sectioned off where the maple sat so I could glue it on. I glued and screwed the maple on from the back with some stainless screws.
The maple was stained similarly to the sticks, and then spar urethane coated before it was glued on.
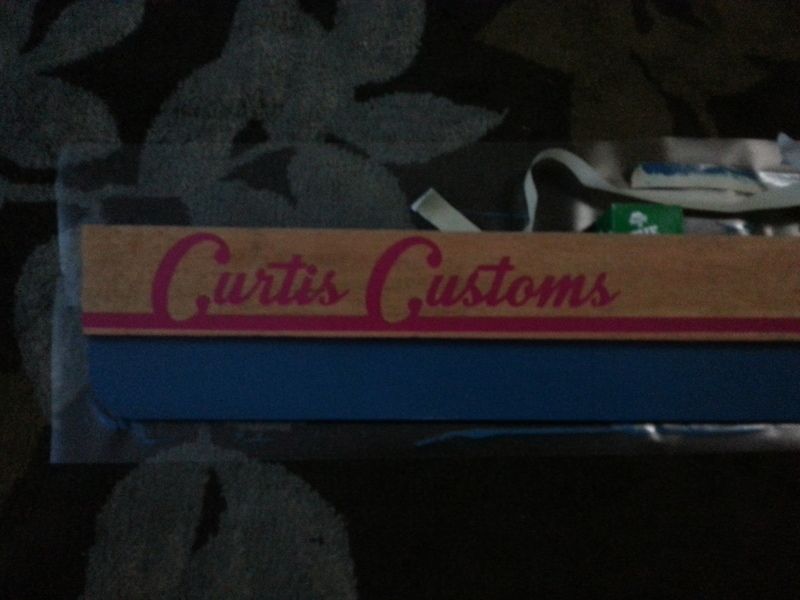
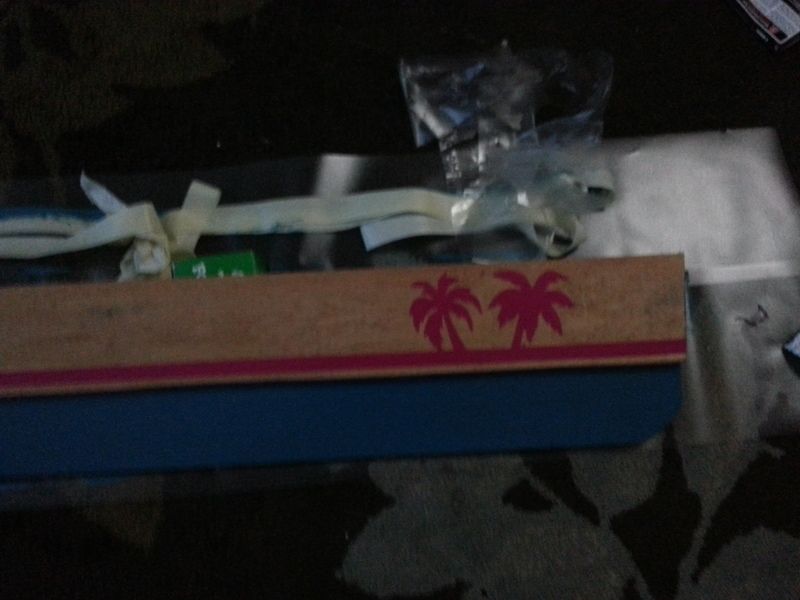
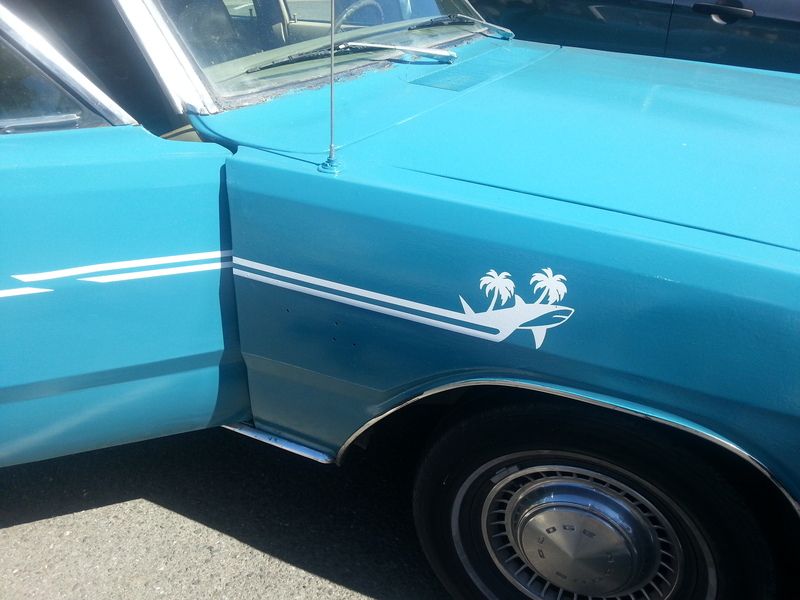
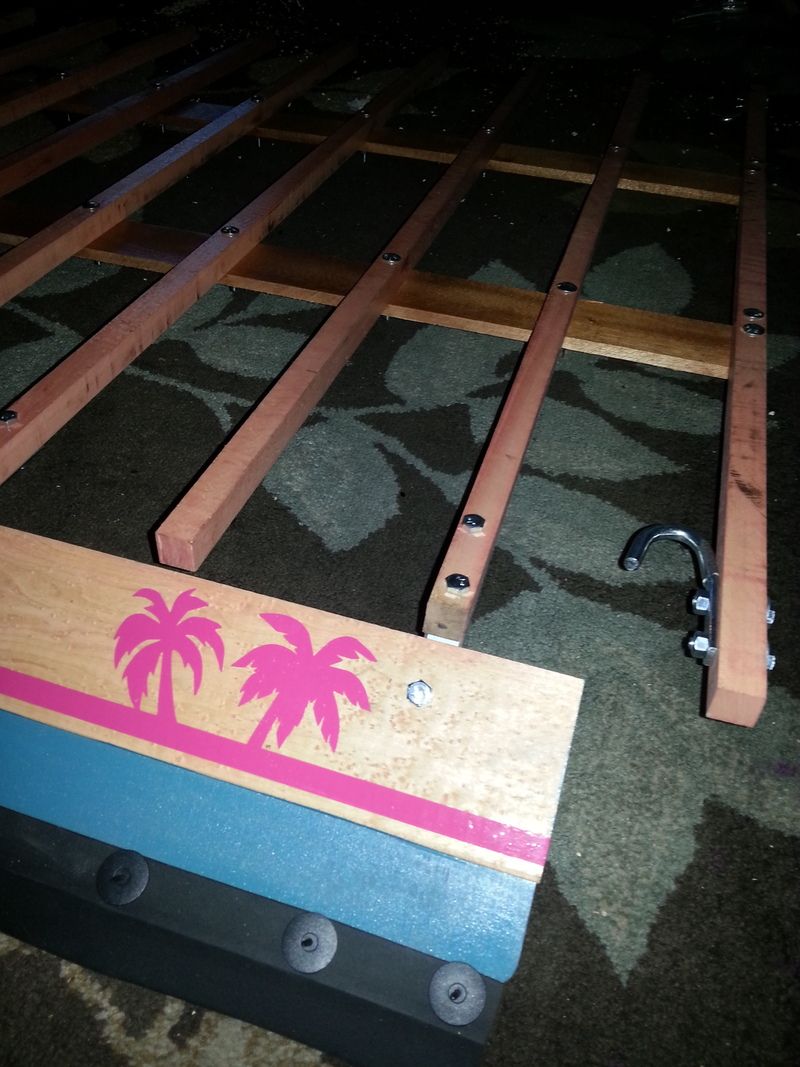
I also did some work and drew up a vinyl stripe, printed out on our vinyl plotter, and I wanted it reminiscent of old surfboard decals. I think it came out just like it should, and the pink vinyl against the maple looks super retro.
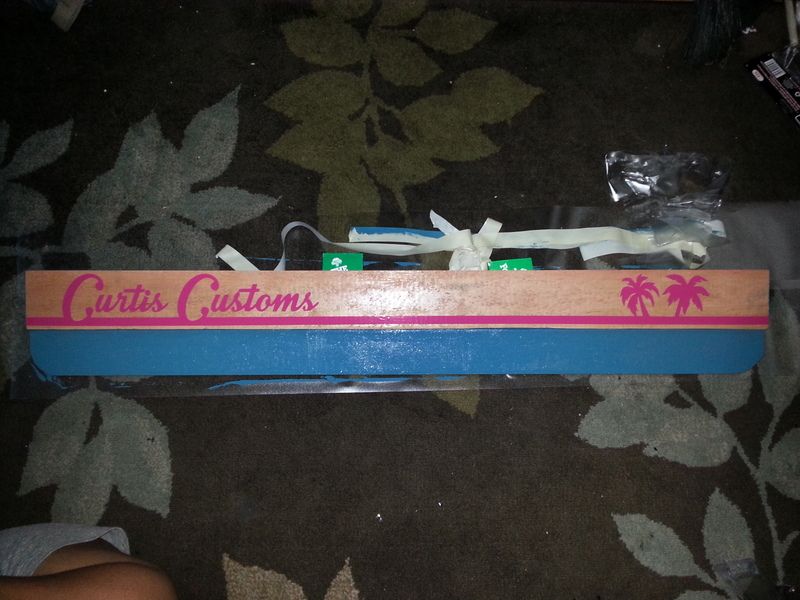
My phone camera does no justice for this piece. It looks great.
Update:
Well, got the front of the stripe done and it looks great.
Then back on the roof rack...
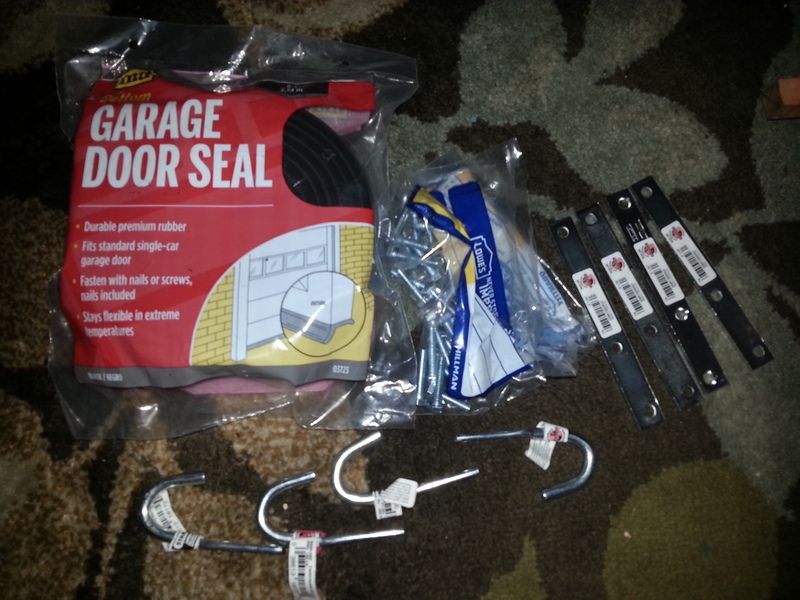
I took a trip to Lowe's for the remaining hardware to mount the fairing to the front of the rack. I was thinking of just some fence post supports, and just my luck they had some that were about 6" long and only 3/4" wide so they would tuck under 4 of the sticks.
I also got an "EZ-Lip" which is commonly sold on Ebay as such, and costs $30.00 to add a front spoiler to any car, or as I like to call it - garage door seal... availabe for $8.00 and comes with the same material. So weird... In fact if you look at the picture on the packaging you can see that someone installed a front spoiler on the garage door for some reason.
This will allow the fairing to sit close to the roof, but not quite touch. The molding will take up the additional space.
Then I got 4 bolt on hooks, I figure for convenience, and they were only $0.79 a piece, then got the rest of my nuts, bolts, hardware etc...
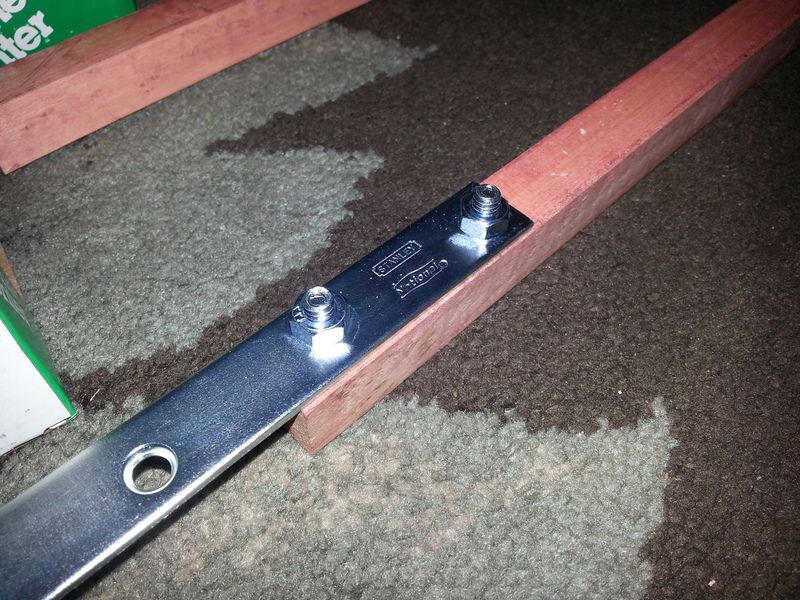
I bolted the straps to the 2nd to last outrigging sticks, and the 4th to last.
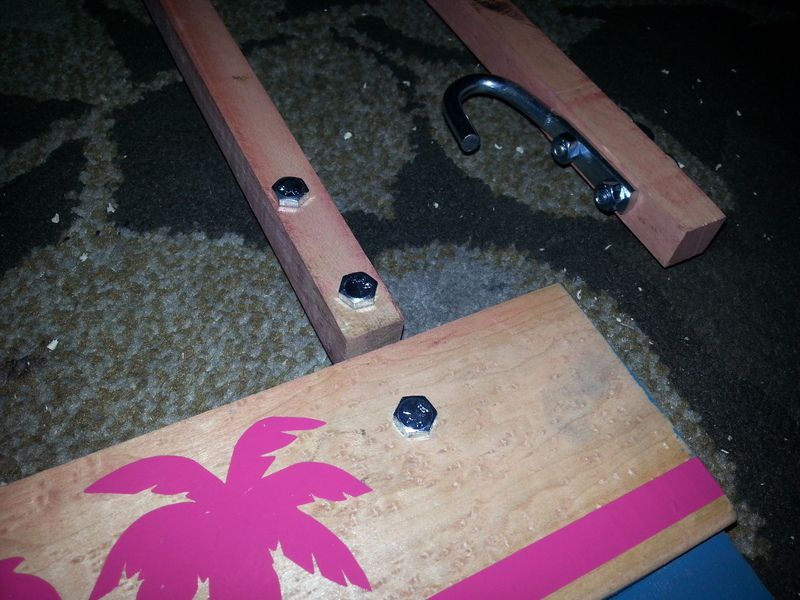
I then bolted the fairing to all of them, and bolted my hooks on to the outlying sticks, one at each corner. This will be a good cargo net or bungee cord location if the need ever arises. The fairing doesn't quite go to the end because the bike carriers will be taking up the remaining space and stick forward of it a little bit. It's not going to be a super functional fairing as much as it is just to finish off the look.
I also put on the garage seal, but the included spike fasteners are not working for this application, so I'll be swapping those out with stainless screws.
Once it was bolted down, I flipped the whole rack upside down and put gradual pressure on each side of the fairing to bend it a little. I'm not sure how much it needs to be bent yet, as I am still waiting on the cross bars to get here, but this is a start and I wanted to see that I could actually bend it to fit, and the answer is - it's not going to be a problem.
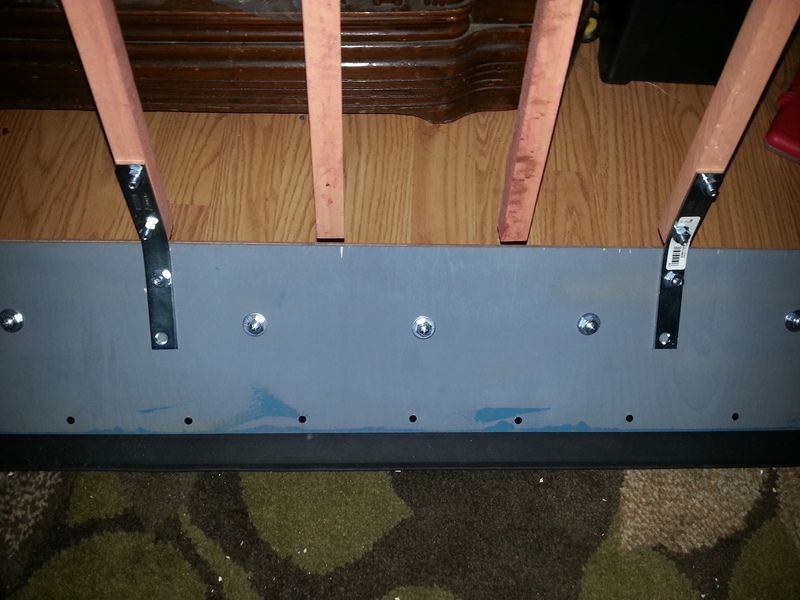
As of right now, I see no real need to put bolts in the 2nd holes of the brackets, as the 4 in it currently are way more than tough enough, and there's no flex of the board away from the bracket.
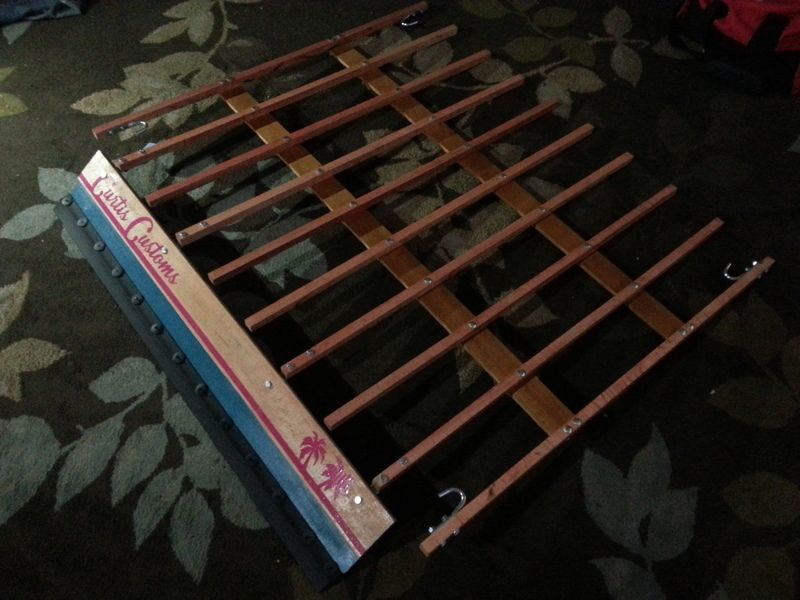
Getting there.
Well, maybe this project is not everyone's cup of tea, but to those who are reading, it continues.
I created a custom fairing using 1/4" birch aircraft plywood, and a 1/4" piece of bird's eye maple that I planed.
I primed and then painted the plywood the same color as the car, and then sectioned off where the maple sat so I could glue it on. I glued and screwed the maple on from the back with some stainless screws.
The maple was stained similarly to the sticks, and then spar urethane coated before it was glued on.
I also did some work and drew up a vinyl stripe, printed out on our vinyl plotter, and I wanted it reminiscent of old surfboard decals. I think it came out just like it should, and the pink vinyl against the maple looks super retro.
My phone camera does no justice for this piece. It looks great.
Update:
Well, got the front of the stripe done and it looks great.
Then back on the roof rack...
I took a trip to Lowe's for the remaining hardware to mount the fairing to the front of the rack. I was thinking of just some fence post supports, and just my luck they had some that were about 6" long and only 3/4" wide so they would tuck under 4 of the sticks.
I also got an "EZ-Lip" which is commonly sold on Ebay as such, and costs $30.00 to add a front spoiler to any car, or as I like to call it - garage door seal... availabe for $8.00 and comes with the same material. So weird... In fact if you look at the picture on the packaging you can see that someone installed a front spoiler on the garage door for some reason.
This will allow the fairing to sit close to the roof, but not quite touch. The molding will take up the additional space.
Then I got 4 bolt on hooks, I figure for convenience, and they were only $0.79 a piece, then got the rest of my nuts, bolts, hardware etc...
I bolted the straps to the 2nd to last outrigging sticks, and the 4th to last.
I then bolted the fairing to all of them, and bolted my hooks on to the outlying sticks, one at each corner. This will be a good cargo net or bungee cord location if the need ever arises. The fairing doesn't quite go to the end because the bike carriers will be taking up the remaining space and stick forward of it a little bit. It's not going to be a super functional fairing as much as it is just to finish off the look.
I also put on the garage seal, but the included spike fasteners are not working for this application, so I'll be swapping those out with stainless screws.
Once it was bolted down, I flipped the whole rack upside down and put gradual pressure on each side of the fairing to bend it a little. I'm not sure how much it needs to be bent yet, as I am still waiting on the cross bars to get here, but this is a start and I wanted to see that I could actually bend it to fit, and the answer is - it's not going to be a problem.
As of right now, I see no real need to put bolts in the 2nd holes of the brackets, as the 4 in it currently are way more than tough enough, and there's no flex of the board away from the bracket.
Getting there.