The Great Pumpkin - '71 Duster
OK, been back at it a little more. Motor is in the final assembly stage so to speak. Oil pump and pan are on, timing cover is on. Heads are torqued down and I'm setting up the valve train for the final time. But of course there's more stupidity to overcome.
Since this combo is going to be pretty robust, I thought it might be a good idea to make sure there's a enough fuel on tap for 'spirited' driving. I went back and forth trying to decide whether to spend the coin on a fancy electric pump but the more I looked into it, I began to realize that it wasn't worth the hassle. I wanted an in-tank Phantom pump which is $440 off the bat. Add to that a new tank, by-pass regulator ($$), material for new lines and making them, all the associated fittings, wiring the thing and on and on.
So I abandoned the electric pump idea and got a new mechanical fuel pump from Clay Smith. This is a gnarly 6 vane type and can support way more horsepower than I will ever have. It's BIG though and takes up a lot of room so there are interference issues. Except for fuel line fittings, I never had a fitment problem with the Carter pump I had previously. I love to make extra work for myself.
So in any event, there's a couple places where the C.S. pump is making contact with other stuff. one spot is where the casting boss sticks out from the bottom of the passenger side of the block and hits the pump body. No big deal, the boss is easily ground down to provide enough room.
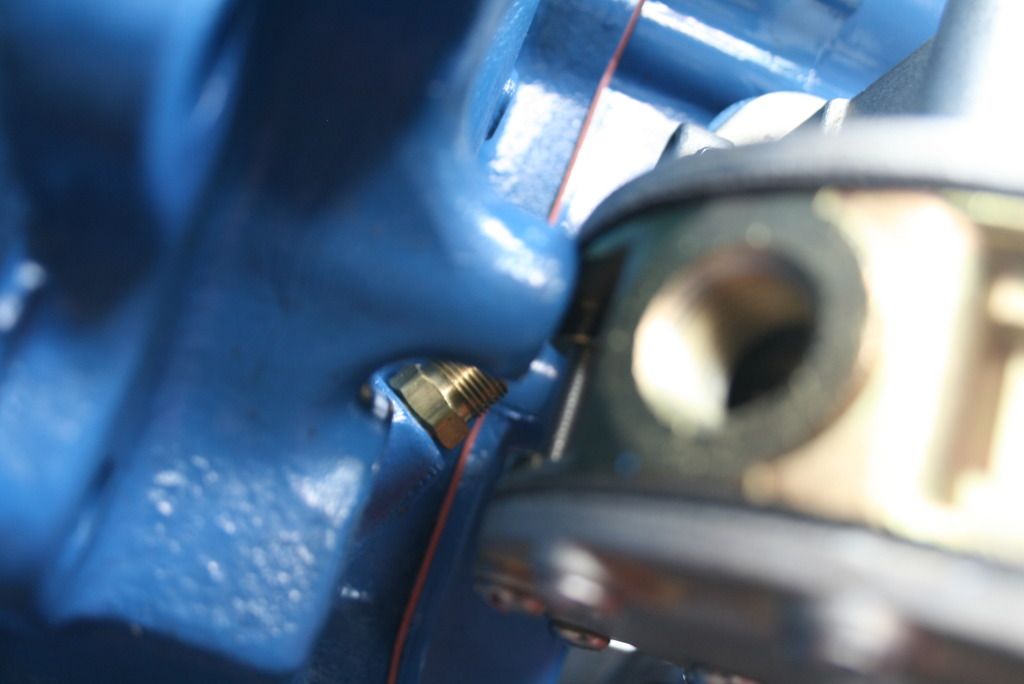
The major issue here is with the water pump inlet. The pump body is large enough that it's right in line with the inlet where it attaches to the lower hose. Unfortunately, the solution is to slice the W.P. inlet, re-clock the lower part and weld it back on to gain clearance. I could get a '70 w.p. housing but my radiator would have the inlet on the wrong side. Guess I'm going to the welder next week to get this done. PITA.
The marks are from me trying to figure out how to cut the lower inlet.
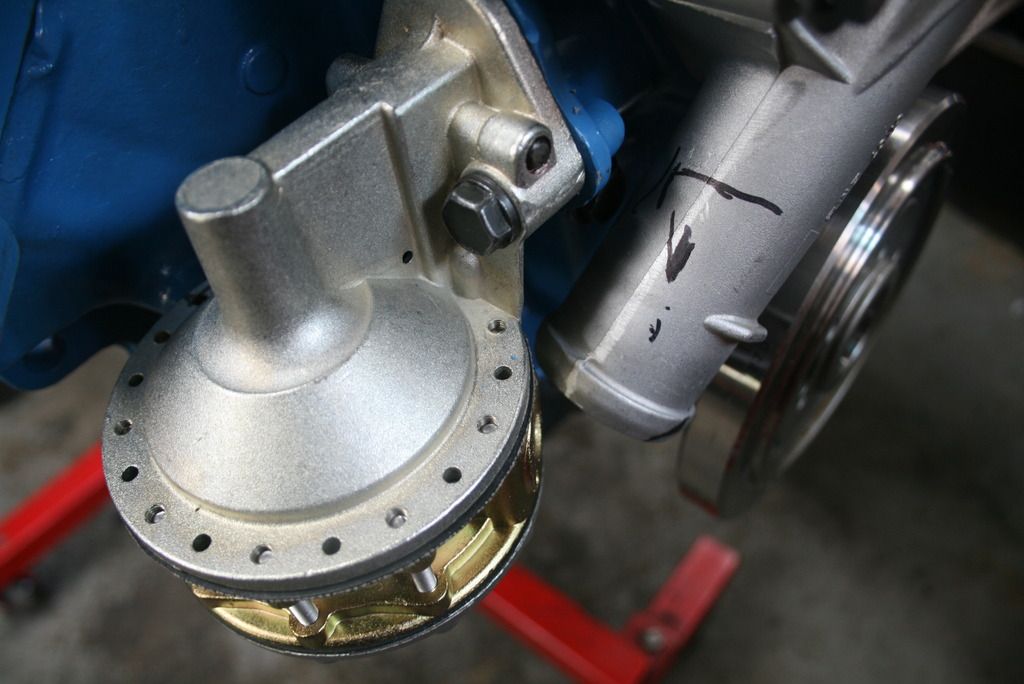
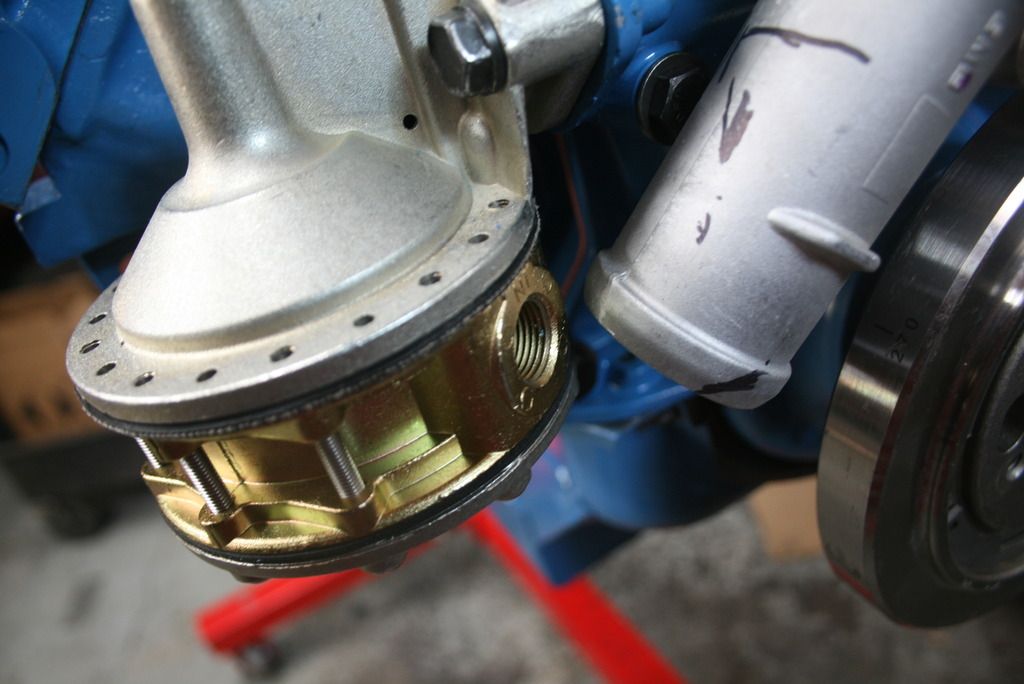
The last issue with this silly pump is the inlet/outlet arrangement. Unlike the Carter which you can clock pretty much any way you want since the inlet/outlet are on two different adjustable levels, this pump has them 180 degrees apart and no matter which way you clock it, they are 180 apart. The solution is the Edelbrock bottom feed plate. This plate will solve the problem of where the lines come out because the plate relocates them under the pump. Might have to get a few more adapter fittings but the plate is a good idea. On the old combo there was slight interference with the fittings coming out of the Carter pump, they were right up against the alternator bracket which I never liked.
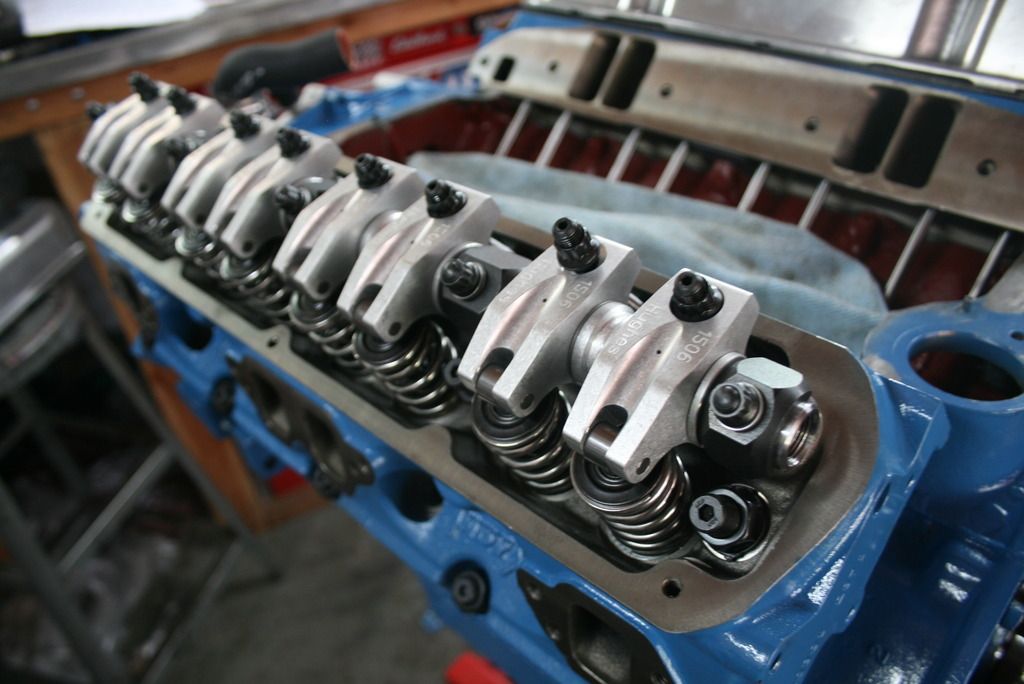
As I mentioned earlier, I am doing the final setup on the valve train. Lifters are clean, lubed up and in. The Hughes rockers I have require some time to set up. They give you spacers and shims to get the rocker tip centered over the valve. It takes some trial and error to get the shims right. I wound up doing two at a time in between the rocker hold downs since it was too difficult trying to do more than that at one time. The hold downs are essentially in a fixed position so the side-to-side adjustment is accomplished with the shims. I would eyeball it first without shims. Then I would move the rocker whichever way it needed to go and add shims accordingly until there was little end play. I believe .010" is what you're looking for, have to go back and check it to make sure.
Just a general pic during the install process.
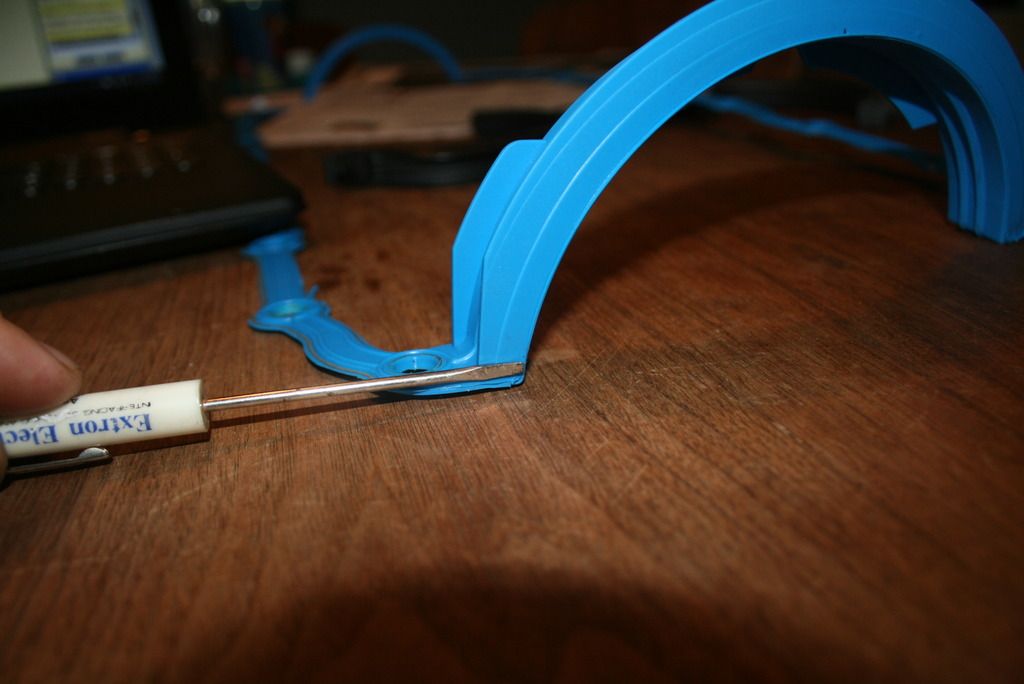
So just a few points on the oil pan. I had thought about using the steel-core pan rails from a 5.2 pan gasket and mating them to the regular 340 end seals to make a one-piece gasket. My theory did not work out so well because the steel-core gaskets are double the thickness of the regular gaskets and won't compress enough leaving a space for leaks. This of course is the opposite of what I was after with this idea so I scrapped it and went with the regular Fel-Pro 4 piece RTV smear mess. I hope this thing does not leak, I am going to FREAK. I hate oil leaks.
The screwdriver tip is pointing to where I wanted to mate the two gaskets together into a one piece but ultimately my idea was not going to work. I might try it on another engine someday.
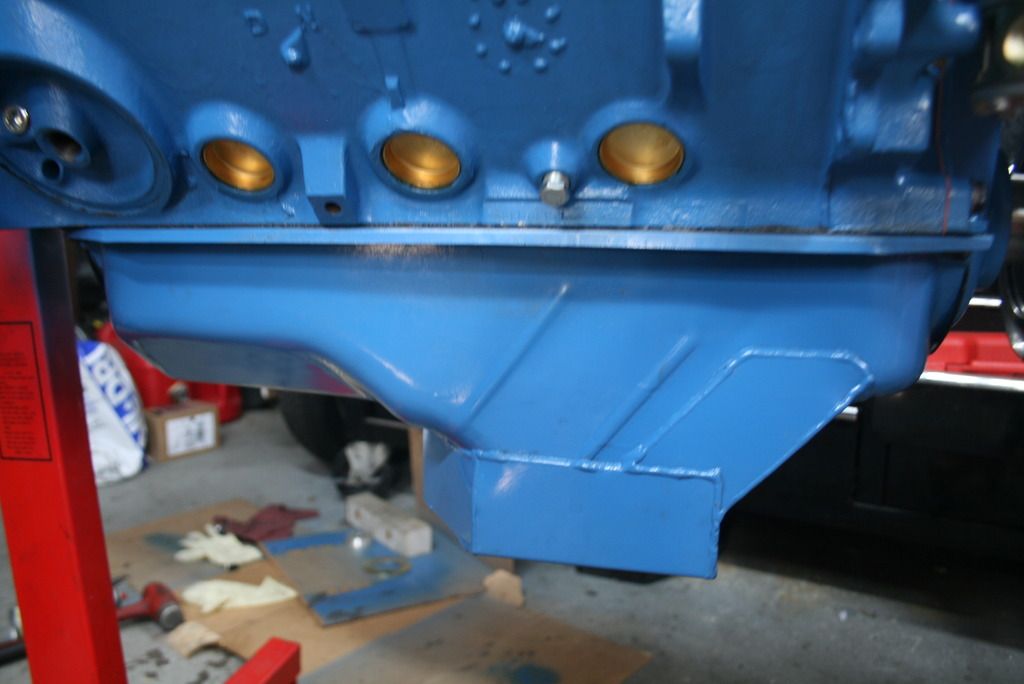
I also had to repaint the oil pan. It came from Kevko with some residue on it which I cleaned up. Unfortunately the cheap paint they use is really thin and it started coming off in some spots so I stripped it down and painted it to match the block and heads. It's a lot of blue, yes.
More to come.
OK, been back at it a little more. Motor is in the final assembly stage so to speak. Oil pump and pan are on, timing cover is on. Heads are torqued down and I'm setting up the valve train for the final time. But of course there's more stupidity to overcome.
Since this combo is going to be pretty robust, I thought it might be a good idea to make sure there's a enough fuel on tap for 'spirited' driving. I went back and forth trying to decide whether to spend the coin on a fancy electric pump but the more I looked into it, I began to realize that it wasn't worth the hassle. I wanted an in-tank Phantom pump which is $440 off the bat. Add to that a new tank, by-pass regulator ($$), material for new lines and making them, all the associated fittings, wiring the thing and on and on.
So I abandoned the electric pump idea and got a new mechanical fuel pump from Clay Smith. This is a gnarly 6 vane type and can support way more horsepower than I will ever have. It's BIG though and takes up a lot of room so there are interference issues. Except for fuel line fittings, I never had a fitment problem with the Carter pump I had previously. I love to make extra work for myself.
So in any event, there's a couple places where the C.S. pump is making contact with other stuff. one spot is where the casting boss sticks out from the bottom of the passenger side of the block and hits the pump body. No big deal, the boss is easily ground down to provide enough room.

The major issue here is with the water pump inlet. The pump body is large enough that it's right in line with the inlet where it attaches to the lower hose. Unfortunately, the solution is to slice the W.P. inlet, re-clock the lower part and weld it back on to gain clearance. I could get a '70 w.p. housing but my radiator would have the inlet on the wrong side. Guess I'm going to the welder next week to get this done. PITA.
The marks are from me trying to figure out how to cut the lower inlet.


The last issue with this silly pump is the inlet/outlet arrangement. Unlike the Carter which you can clock pretty much any way you want since the inlet/outlet are on two different adjustable levels, this pump has them 180 degrees apart and no matter which way you clock it, they are 180 apart. The solution is the Edelbrock bottom feed plate. This plate will solve the problem of where the lines come out because the plate relocates them under the pump. Might have to get a few more adapter fittings but the plate is a good idea. On the old combo there was slight interference with the fittings coming out of the Carter pump, they were right up against the alternator bracket which I never liked.
As I mentioned earlier, I am doing the final setup on the valve train. Lifters are clean, lubed up and in. The Hughes rockers I have require some time to set up. They give you spacers and shims to get the rocker tip centered over the valve. It takes some trial and error to get the shims right. I wound up doing two at a time in between the rocker hold downs since it was too difficult trying to do more than that at one time. The hold downs are essentially in a fixed position so the side-to-side adjustment is accomplished with the shims. I would eyeball it first without shims. Then I would move the rocker whichever way it needed to go and add shims accordingly until there was little end play. I believe .010" is what you're looking for, have to go back and check it to make sure.
Just a general pic during the install process.

So just a few points on the oil pan. I had thought about using the steel-core pan rails from a 5.2 pan gasket and mating them to the regular 340 end seals to make a one-piece gasket. My theory did not work out so well because the steel-core gaskets are double the thickness of the regular gaskets and won't compress enough leaving a space for leaks. This of course is the opposite of what I was after with this idea so I scrapped it and went with the regular Fel-Pro 4 piece RTV smear mess. I hope this thing does not leak, I am going to FREAK. I hate oil leaks.
The screwdriver tip is pointing to where I wanted to mate the two gaskets together into a one piece but ultimately my idea was not going to work. I might try it on another engine someday.

I also had to repaint the oil pan. It came from Kevko with some residue on it which I cleaned up. Unfortunately the cheap paint they use is really thin and it started coming off in some spots so I stripped it down and painted it to match the block and heads. It's a lot of blue, yes.

More to come.