7 1/4 Rebuild on the cheap
Thanks for the compliments and comments :D I like to try to make my own tools before I buy them. I have a bucket full of scrap metal that are often perfect for this kind of tool making.
I drive very carefully so I think this axle will hold up fine :)
After I testet out which spacer and shim I needed to get the correct gear pattern, backlash and carrier bearing preload I was ready to install the carrier for the last time. I think it took me 4-5 times to get it right.
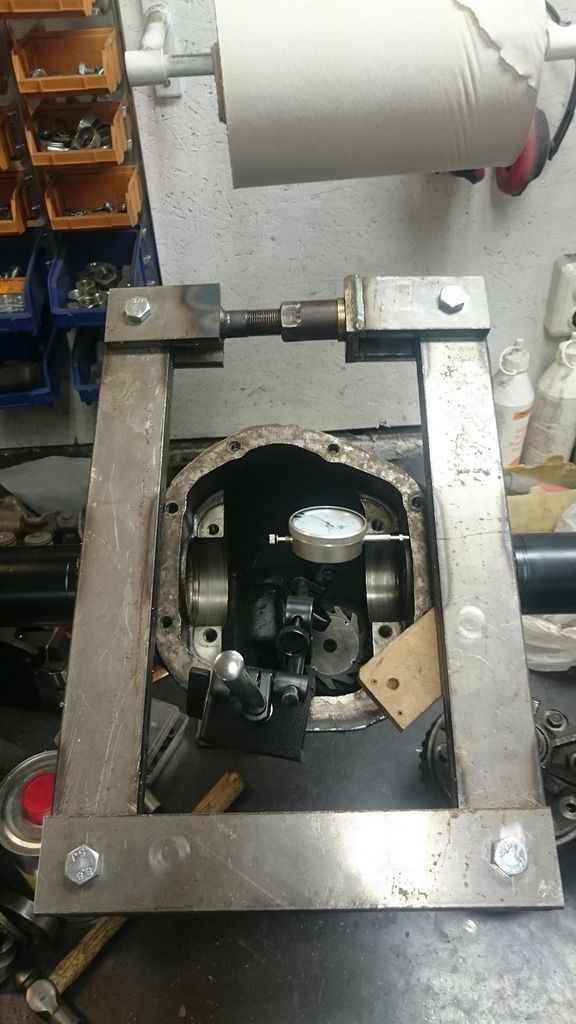
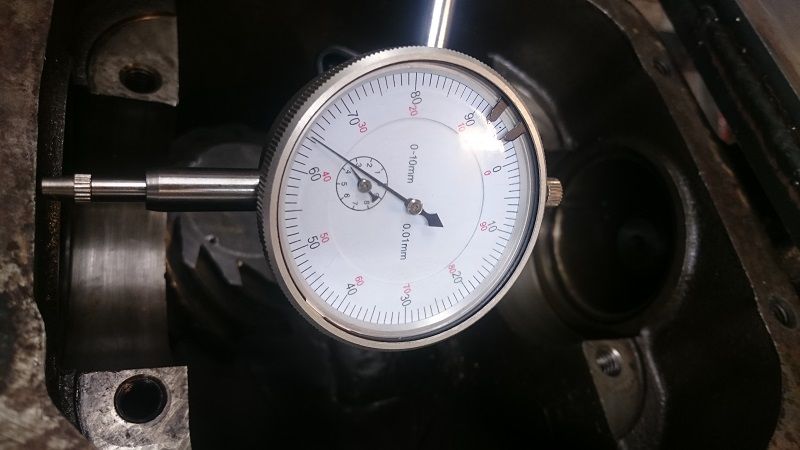
I used the dial indicator so I can measure how much I stretch the housing so I don't overstretch it. You need to stretch the housing enough so the spacer and shims slide in place. In the service manual they say to stretch it between .012" - .015" inch and never go beyond .020" inch.
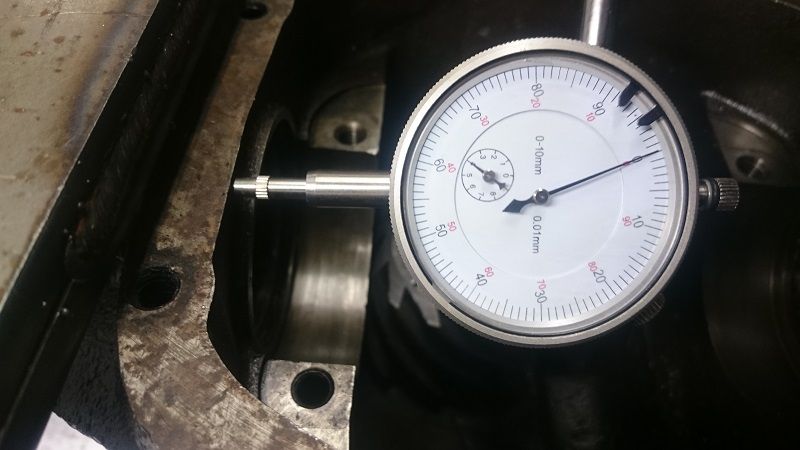
I stretched it to .014" inch, which were enough for me to wiggle everything in.
First I put the shims on each end in the housing, then you need to hold the carrier, both bearing races and the spacer in place as a unit. Then gently drop it in place without bending any shims. It will take some tries to get everything in place because it is so tight. I guess if you only use thicker spacers that you sand down to set the correct carrier bearing preload, backlash and gear pattern then it will be much easier to drop everything in place. It would take time to sand the spacers and if you have shims it will be faster to set everything up correctly. I only had 2 shims so I was lucky to end up like I did.
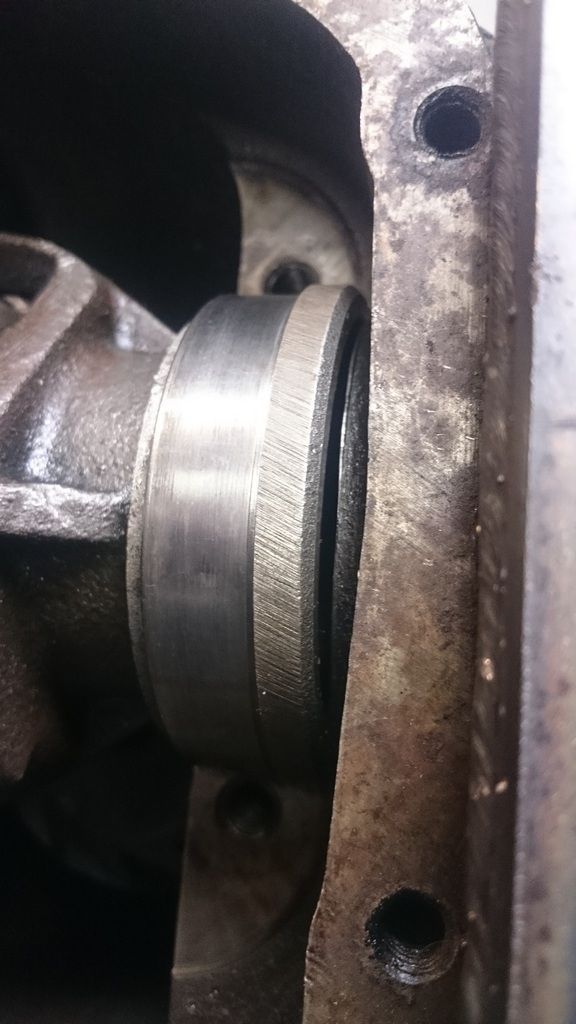
The carrier finally in place.
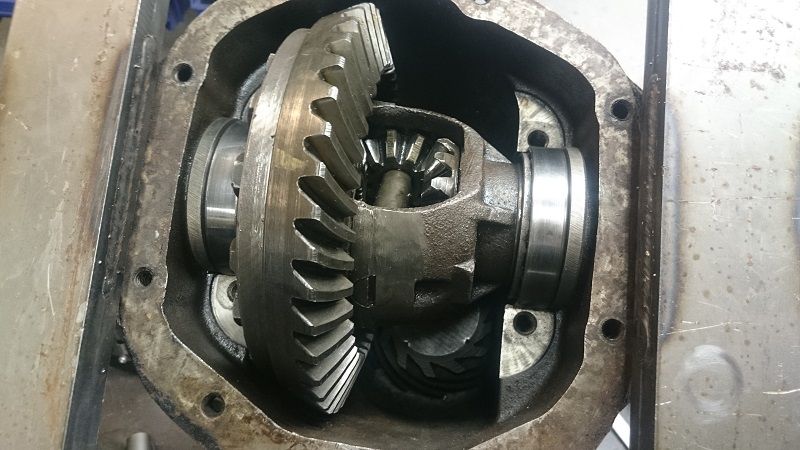
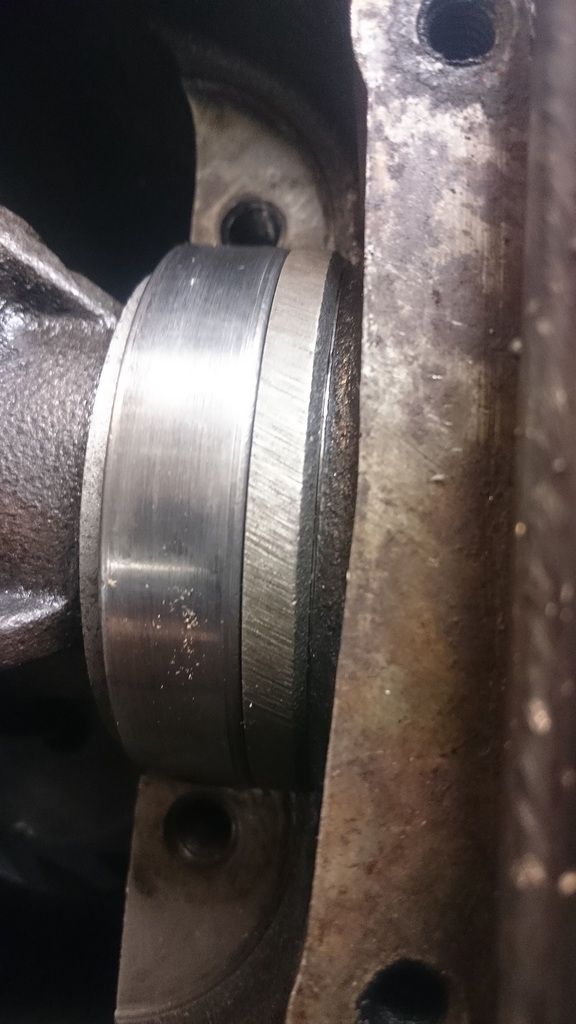
It's tight but the shims seems to be fine.

Thanks for the compliments and comments :D I like to try to make my own tools before I buy them. I have a bucket full of scrap metal that are often perfect for this kind of tool making.
I drive very carefully so I think this axle will hold up fine :)
After I testet out which spacer and shim I needed to get the correct gear pattern, backlash and carrier bearing preload I was ready to install the carrier for the last time. I think it took me 4-5 times to get it right.
I used the dial indicator so I can measure how much I stretch the housing so I don't overstretch it. You need to stretch the housing enough so the spacer and shims slide in place. In the service manual they say to stretch it between .012" - .015" inch and never go beyond .020" inch.
I stretched it to .014" inch, which were enough for me to wiggle everything in.
First I put the shims on each end in the housing, then you need to hold the carrier, both bearing races and the spacer in place as a unit. Then gently drop it in place without bending any shims. It will take some tries to get everything in place because it is so tight. I guess if you only use thicker spacers that you sand down to set the correct carrier bearing preload, backlash and gear pattern then it will be much easier to drop everything in place. It would take time to sand the spacers and if you have shims it will be faster to set everything up correctly. I only had 2 shims so I was lucky to end up like I did.
The carrier finally in place.
It's tight but the shims seems to be fine.