Journey to the center of the dash
Many of you have asked how to remove a dash pad. Well, wonder no more...
Aaron and I did it this weekend, for our third time, so I thought I would show a few pics that might help.
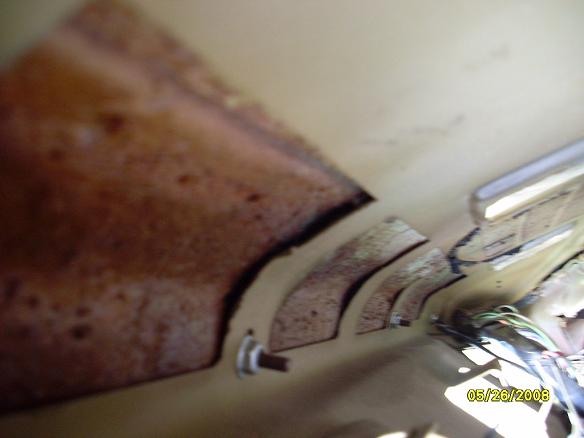
This is a view along the underside of the dash. You can easily see the studs with 3/8" speed nuts which must be removed.
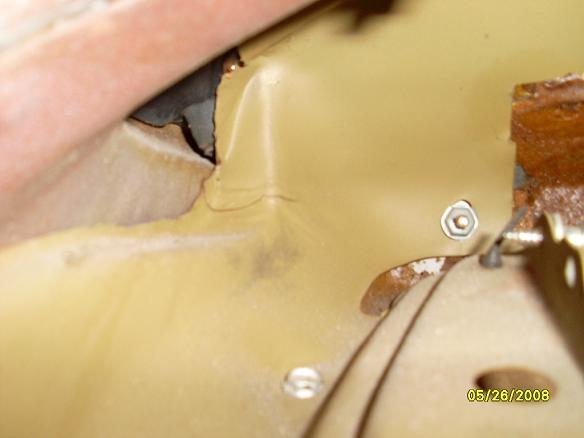
This is looking up into the back of the passenger side corner near the glove box. At the top is another 3/8" speed nut, but the lower one is a 5/16" hex head sheet metal screw. Both are very tough to get to, but a ratchet with short extension will work.
This gives you an idea where to find those last two fasteners I showed you - upper hole and lower right hole.
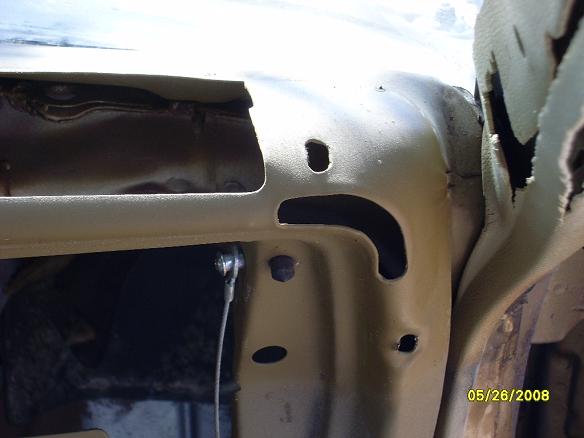
This shows you the locations of three more studs with 3/8" speed nuts to find (small round holes), in addition to the two in the corners of each end.

You will want to drop the instrument panel and remove the glove box to gain access to all of the nuts/screws. And be ready with the Neosporin and Band-Aids. There are plenty of sharp and jagged edges to encounter. I hope your tetanus shot is up-to-date.
Good luck,
Jerry
Many of you have asked how to remove a dash pad. Well, wonder no more...
Aaron and I did it this weekend, for our third time, so I thought I would show a few pics that might help.
This is a view along the underside of the dash. You can easily see the studs with 3/8" speed nuts which must be removed.
This is looking up into the back of the passenger side corner near the glove box. At the top is another 3/8" speed nut, but the lower one is a 5/16" hex head sheet metal screw. Both are very tough to get to, but a ratchet with short extension will work.
This gives you an idea where to find those last two fasteners I showed you - upper hole and lower right hole.
This shows you the locations of three more studs with 3/8" speed nuts to find (small round holes), in addition to the two in the corners of each end.
You will want to drop the instrument panel and remove the glove box to gain access to all of the nuts/screws. And be ready with the Neosporin and Band-Aids. There are plenty of sharp and jagged edges to encounter. I hope your tetanus shot is up-to-date.
Good luck,
Jerry