Plastic repair tips, '69 Bcuda dash mods...
The dash in my '69 Barracuda was trashed. Gauges were junk, speedo junk...worst of all someone had hacksawed it for a CD player. Since it's pretty common to end up with a dash that's junk, I thought I'd pass along some hints on repairing cracked or broken plastic.
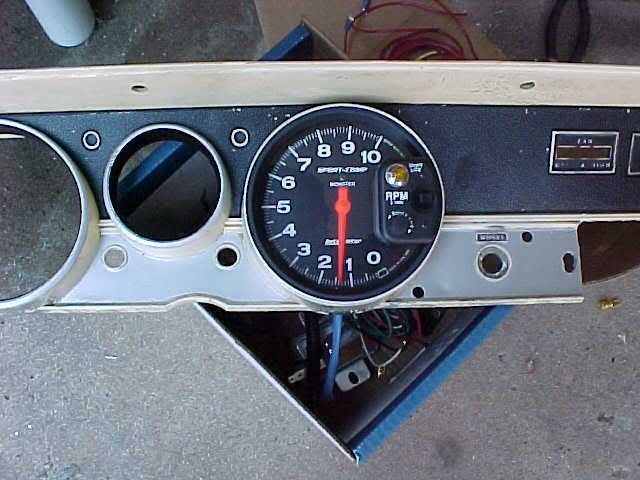
Since my car came with a 5 inch tach mounted (kind of) on top of the dash...and the holes in the dash are about 5 inches, I decided to put it in the dash. I opened it up just a touch with a dremel tool, and cut out the cast aluminum back with a jigsaw for it to fit. I'll get a matching speedometer for the other side. As luck would have it, the center hole is just the right size for a 2-5/8 gas gauge to fit in it, so I'll get that to match, as well.
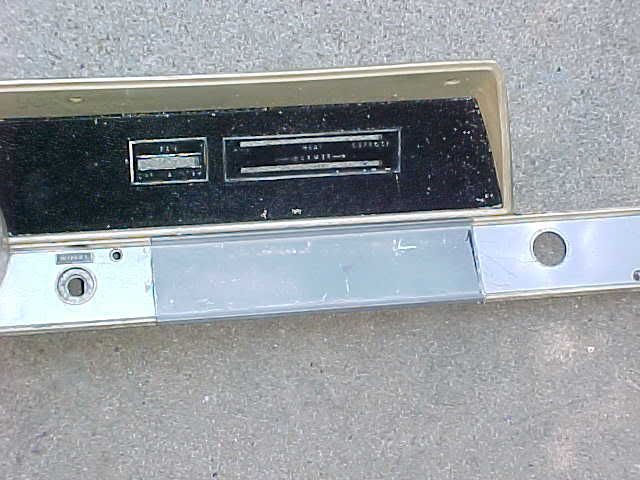
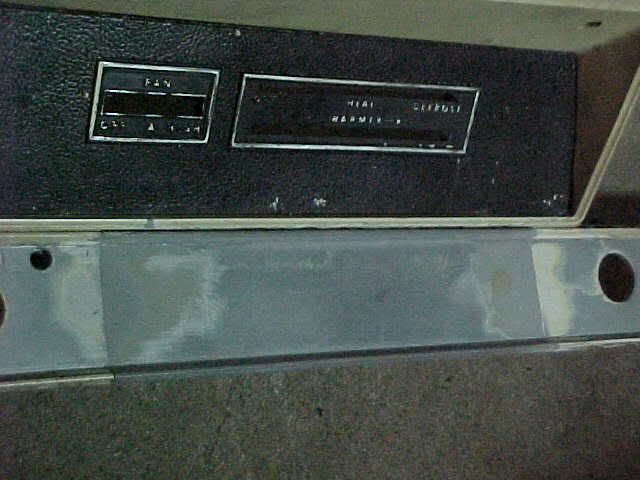
Note the hack job on the radio opening...
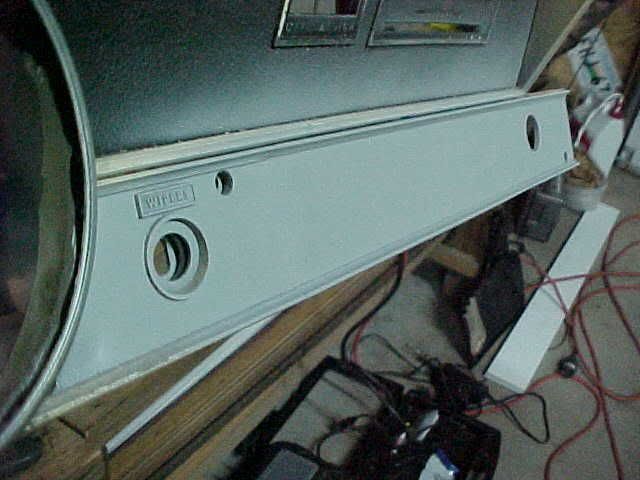
To start, I picked up a pretty well-used glovebox trim at the Nats for $10. Then the radio hole was marked and cut, and the glovebox piece was trimmed to fit. (The little "Barracuda" leftover end piece will be used elsewhere.) Note how little of the original dash is left between the radio hole and the lighter socket hole. That's bound to be a trouble spot if it isn't strengthened.

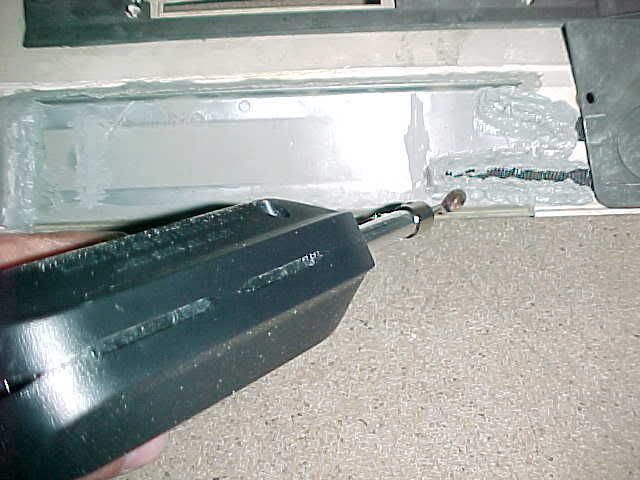
There are a couple of things that come in really handy when you're messing with plastic. The little glue bottle has a small needle tip and contains Methylene Chloride Reagent. I have a friend in the plastics industry who lets me "borrow" a little of it now and then; it works great for fixing small cracks. I don't know where you can buy the stuff, but it's worth searching for! For accurate cutting, and then "welding" the plastic back together, use a 140 watt soldering gun with a cutting tip and a smoothing tip.

Below is how it looked after gluing the edges with the Reagent. It makes a really strong bond, but probably not enough to make the dash stand up to normal use, especially with the small amount of original dash plastic that was left between the radio and lighter socket openings. If you can't find Reagent, you can use another type of plastic cement for this step. You just need to hold the repair in place until it can be "welded".
I had some plastic pieces of a broken '66 Fury dash that I cut into strips with the soldering gun for reinforcements. I bonded them with the Reagent to hold them in place, then used the smoothing tip to "weld" the plastic together around the edges. Be careful not to melt through to the front side, and always make sure there's enough room behind whatever you're working on that it'll still fit when you're done adding extra plastic behind it. This method makes a repair that's stronger than the original dash!
After everything is solid and secure, the seams need to be finished. I used a file to make plastic "dust", and rubbed it over the seams in all directions to fill the voids. Then I dripped just a touch of Reagent on it, which "melted" the dust and filled the cracks. I did this several times on each seam until they were filled, then stole my wife's little "Mouse" detail sander to smooth things up a little.
I hit the area with a little gray primer; from here on out it's just like painting anything else...prime it, sand to find high/low spots, prime again... now it's a "Radio Delete" dash!
I have some other stuff I may try out on it, if I get the time I'll update later.
The dash in my '69 Barracuda was trashed. Gauges were junk, speedo junk...worst of all someone had hacksawed it for a CD player. Since it's pretty common to end up with a dash that's junk, I thought I'd pass along some hints on repairing cracked or broken plastic.
Since my car came with a 5 inch tach mounted (kind of) on top of the dash...and the holes in the dash are about 5 inches, I decided to put it in the dash. I opened it up just a touch with a dremel tool, and cut out the cast aluminum back with a jigsaw for it to fit. I'll get a matching speedometer for the other side. As luck would have it, the center hole is just the right size for a 2-5/8 gas gauge to fit in it, so I'll get that to match, as well.
Note the hack job on the radio opening...
To start, I picked up a pretty well-used glovebox trim at the Nats for $10. Then the radio hole was marked and cut, and the glovebox piece was trimmed to fit. (The little "Barracuda" leftover end piece will be used elsewhere.) Note how little of the original dash is left between the radio hole and the lighter socket hole. That's bound to be a trouble spot if it isn't strengthened.
There are a couple of things that come in really handy when you're messing with plastic. The little glue bottle has a small needle tip and contains Methylene Chloride Reagent. I have a friend in the plastics industry who lets me "borrow" a little of it now and then; it works great for fixing small cracks. I don't know where you can buy the stuff, but it's worth searching for! For accurate cutting, and then "welding" the plastic back together, use a 140 watt soldering gun with a cutting tip and a smoothing tip.
Below is how it looked after gluing the edges with the Reagent. It makes a really strong bond, but probably not enough to make the dash stand up to normal use, especially with the small amount of original dash plastic that was left between the radio and lighter socket openings. If you can't find Reagent, you can use another type of plastic cement for this step. You just need to hold the repair in place until it can be "welded".
I had some plastic pieces of a broken '66 Fury dash that I cut into strips with the soldering gun for reinforcements. I bonded them with the Reagent to hold them in place, then used the smoothing tip to "weld" the plastic together around the edges. Be careful not to melt through to the front side, and always make sure there's enough room behind whatever you're working on that it'll still fit when you're done adding extra plastic behind it. This method makes a repair that's stronger than the original dash!
After everything is solid and secure, the seams need to be finished. I used a file to make plastic "dust", and rubbed it over the seams in all directions to fill the voids. Then I dripped just a touch of Reagent on it, which "melted" the dust and filled the cracks. I did this several times on each seam until they were filled, then stole my wife's little "Mouse" detail sander to smooth things up a little.
I hit the area with a little gray primer; from here on out it's just like painting anything else...prime it, sand to find high/low spots, prime again... now it's a "Radio Delete" dash!
I have some other stuff I may try out on it, if I get the time I'll update later.