72 duster Build progress
BIG UPDATE!!!!
Well.....I went to town on the priming and sanding today....TECHNICALLY my dad and my son helped LOL. (pictures below)
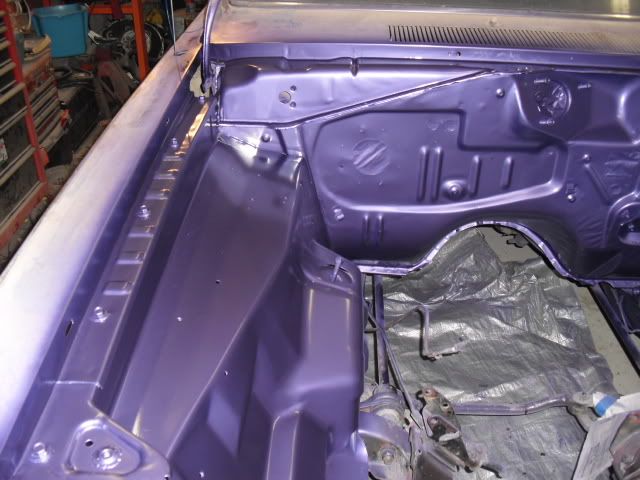
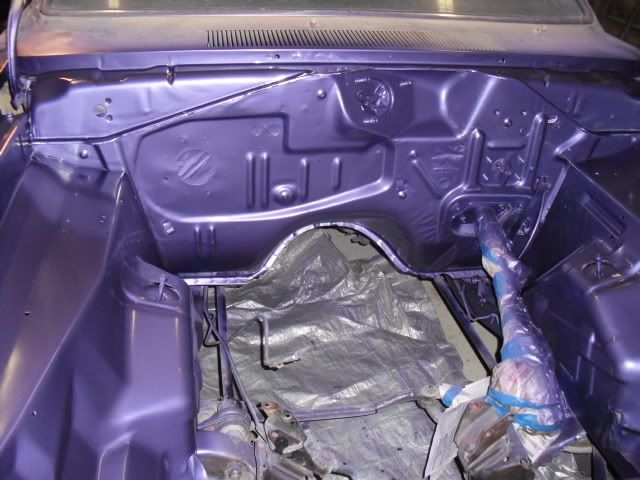
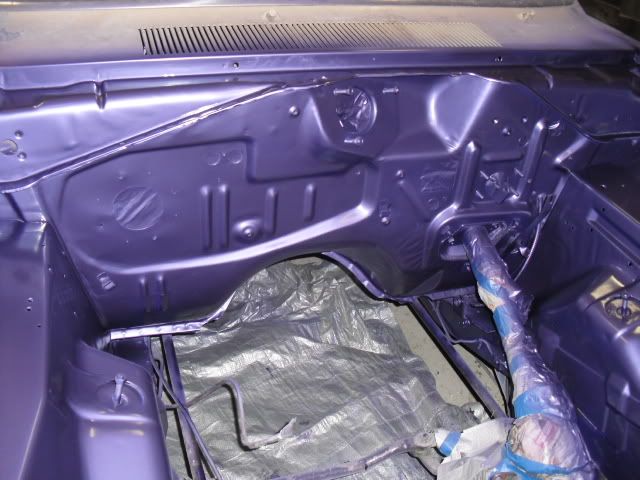
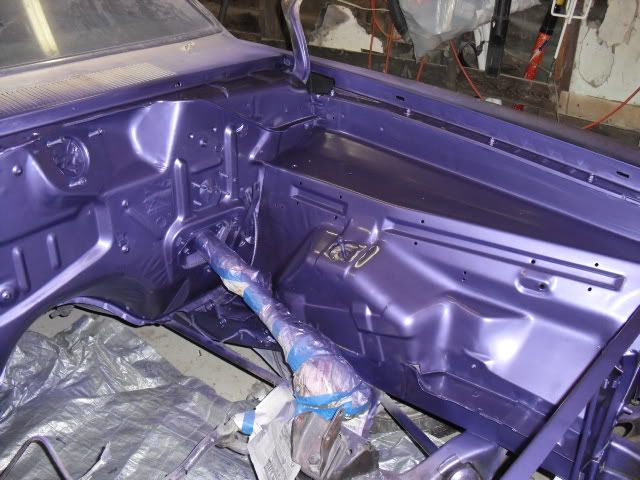
It ended up going like this......used aircraft remover and stripped the hole engine bay,sanded the hole engine bay,hammered out factory bows in the metal and smoothed off factory welds,welded a patch over the batter tray mounting hole,used some body filler in any minor imperfections,primed,sanded,primed,sanded,spot puttied any minor imperfections,sanded,primed,sanded,little more spot putty lol,sanded,primed,prepped the bay,layed 5 coats of color,then 3 coats of clear.......came out like glass with a nice smooth thick looking finish!.
the picture below REALLY do it NO justice just so you know....in person the color is WAY different......my camera made the purple look like a duller purple/blue/gray ....when in person it is a VIBRANT plum crazy PURPLE!.
I will try to get some pictures in the sunlight tomorrow and see if that helps show the true color any better!.
let me know what you guys think of the progress and of the sweet new paint job I pulled off!
3 generations working on the duster! (dad) in the engine bay...(me)working on the inner fender and (Junior) sanding the core support...also has a sticker that says MOPAR on his face cause he was goofing around lol.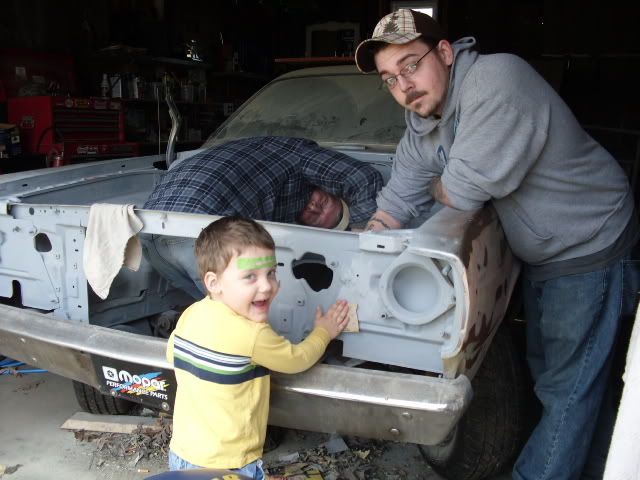
Primed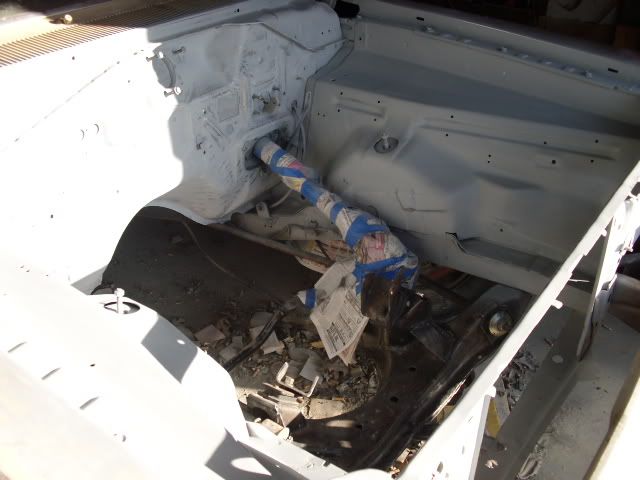
Again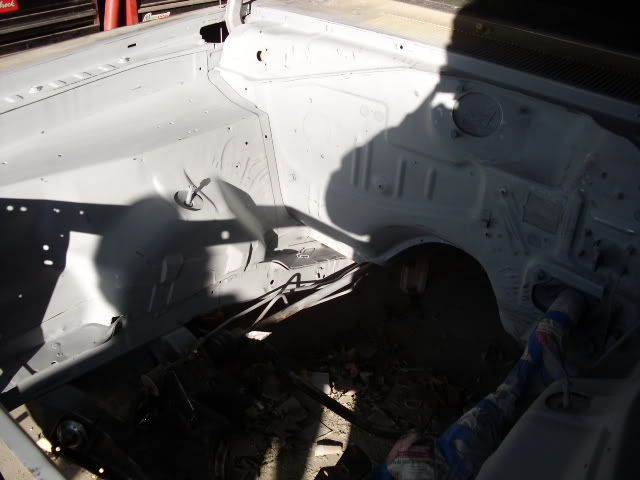
during paint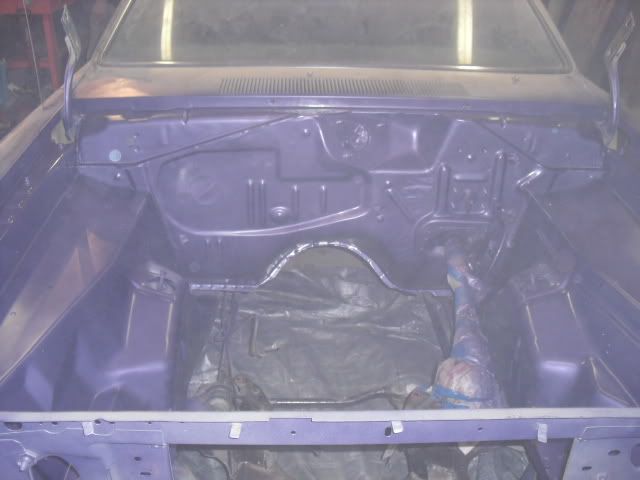
Just after paint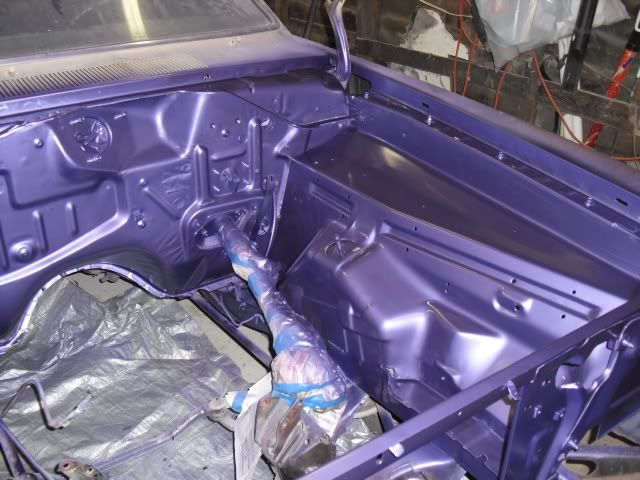
BIG UPDATE!!!!
Well.....I went to town on the priming and sanding today....TECHNICALLY my dad and my son helped LOL. (pictures below)
It ended up going like this......used aircraft remover and stripped the hole engine bay,sanded the hole engine bay,hammered out factory bows in the metal and smoothed off factory welds,welded a patch over the batter tray mounting hole,used some body filler in any minor imperfections,primed,sanded,primed,sanded,spot puttied any minor imperfections,sanded,primed,sanded,little more spot putty lol,sanded,primed,prepped the bay,layed 5 coats of color,then 3 coats of clear.......came out like glass with a nice smooth thick looking finish!.
the picture below REALLY do it NO justice just so you know....in person the color is WAY different......my camera made the purple look like a duller purple/blue/gray ....when in person it is a VIBRANT plum crazy PURPLE!.
I will try to get some pictures in the sunlight tomorrow and see if that helps show the true color any better!.
let me know what you guys think of the progress and of the sweet new paint job I pulled off!
3 generations working on the duster! (dad) in the engine bay...(me)working on the inner fender and (Junior) sanding the core support...also has a sticker that says MOPAR on his face cause he was goofing around lol.

Primed

Again

during paint

Just after paint


