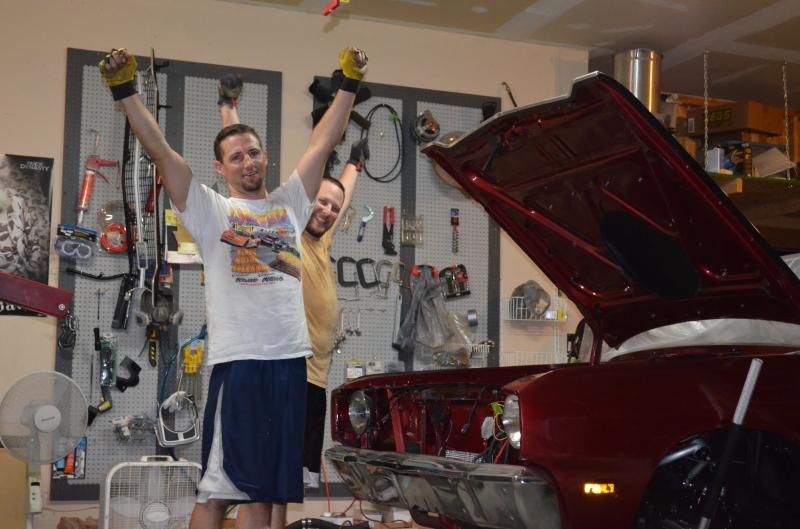
1969 Dart Street/Strip (Re)Build

-
Those gauges are the ****! Sweet!

Yeah I'm liking them so far. Didn't you buy a set yourself???

Thought I was going to get my motor back this week. NOPE! Of course there was another snag. Builder was checking bearing clearances and the outer bearing clearances were perfect. The 3 center bearings were tight and he just couldn't get the proper clearance it needed. He ordered another set of bearings to see if another batch might do the trick. That didn't work either. So he wondered how the heck they made it work with the old bearings. He put the old bearings in and found only .0008" clearance! He said he could tell the way the bearings looked that the engine didn't like it either. So it was probably a good thing that we tore this engine down because those bearings would probably have been toast before long. So he got to measuring the block and the 3 center journals were under the minimum allowed tolerance. How the ends can be perfect and the 3 center be under sized is beyond me if a proper line bore was done (which obviously wasn't). So whoever did the machining and assembling of this engine before I got it didn't check the tolerances at all. So now the block has to be disassembled and brought back to Wichita to line hone those 3 journals to the required tolerance. The PO did us absolutely no favors.
 
Yeah I'm liking them so far. Didn't you buy a set yourself???

I have a Peak Dash - Rocky Mountain Dash?? or whatever set up for Speed Hut Gauges. I have not bought them as of yet. The 67 is on Standby.

On another note my $300.00 Stereo sounds pretty damn good. I got a Video on my Scamp Build but it was missing the 6.5's. They are all in now. Can't beat the gettooo to tunes! Lol

Ah ok. I remember you had the Peak Dash for it but couldn't remember about the gauges.

I had thought about putting 6.5's in the kick panels but I really don't want to mess with the fiberglassing. So thinking I may put pods in like you did so I'm gonna PM you about those.
 
Ah ok. I remember you had the Peak Dash for it but couldn't remember about the gauges.

I had thought about putting 6.5's in the kick panels but I really don't want to mess with the fiberglassing. So thinking I may put pods in like you did so I'm gonna PM you about those.

You can mount a set on the rear portion of your roll bar too for the rears.
 
No doubt. Going to try and eliminate any sharp edges that could cut into the wires as well.

Got my headlight switch in from Haywire. The billet knob should go well with the gauge bezels. It's a 4 position switch so the brights are one pull further out than the dim beams are.


I have the same harness and switch (switched is getting shipped to me) where did you connect what wires on the switch, and how did you tie in the dimmer with this. Thanks
 
Nice work, man. That thing had a lot of rust. Seems crazy that the guy that had it before you A) took it to a body shop with all that rust and B) they just painted the thing without fixing any of it. Good to see it getting taken care of the right way. Looks like you're pretty involved with this thing, gonna be gnarly when it's done.
 
I have the same harness and switch (switched is getting shipped to me) where did you connect what wires on the switch, and how did you tie in the dimmer with this. Thanks

When I get home, I'll try to find the wiring diagram I made. The switch comes with no diagram so I had to call them to find out what was what.
 
Nice work, man. That thing had a lot of rust. Seems crazy that the guy that had it before you A) took it to a body shop with all that rust and B) they just painted the thing without fixing any of it. Good to see it getting taken care of the right way. Looks like you're pretty involved with this thing, gonna be gnarly when it's done.

Yeah talk about learning real quick the hard way. Had I known it would be that bad, I never would have bought it. And at some points I wanted to just part the car out and be rid of the thing but I couldn't give up on it. I've wanted a bad little Dart for 15 years so I knew I had to knuckle up and just make it right even though it meant tearing the whole thing down. I just hope it will all be worth it....
 
Yeah talk about learning real quick the hard way. Had I known it would be that bad, I never would have bought it. And at some points I wanted to just part the car out and be rid of the thing but I couldn't give up on it. I've wanted a bad little Dart for 15 years so I knew I had to knuckle up and just make it right even though it meant tearing the whole thing down. I just hope it will all be worth it....

No turning back now.

I've sold 'better' cars at a loss because I thought they were too big of a project. You're a braver man than me.
 
No turning back now.

I've sold 'better' cars at a loss because I thought they were too big of a project. You're a braver man than me.

I think at this point I couldn't swallow my pride and admit to having been taken on this deal. I sold my 1959 Buick LeSabre because I thought it was too big of a project. It wouldn't have been ANYTHING as big as this project. Too bad because it had been in my family since the 70's. But I really wanted a hot rod anyway and I'll have a decent hot rod when I'm done. I'm sure in 10 or 15 years I'll be looking to get that Buick back. The guy that bought it had it all redone in one year. He busted his arse on it and it looks awesome.
 
thanks for linking the build in your sig.... great story to follow along. I know it's not cheap, and was mentioned previously, but having a tube K, rack, and coil overs on the front made my Duster alot easier to work on. I came from a Mirada which had the "X" bars up front out of the way and didn't realize what a pita those A body torsion bars were! Guess I'm getting that lazy in my old age :)
 
thanks for linking the build in your sig.... great story to follow along. I know it's not cheap, and was mentioned previously, but having a tube K, rack, and coil overs on the front made my Duster alot easier to work on. I came from a Mirada which had the "X" bars up front out of the way and didn't realize what a pita those A body torsion bars were! Guess I'm getting that lazy in my old age :)

Yep maybe one day I can upgrade to a tubular K or something but not for now. This car is about to drown me as it is! I have a bunch of pictures to upload but I just haven't found the time. So much going on I'm barely getting much done right now on the car. But it's getting ever so close to being a running car again. Probably the next time I post in here the car will be running.
 
She's finally home as of yesterday. Assembling the drivetrain to maybe get it running by the end of the week. I doubt it will happen but I'm gonna try.

 
Time for some updated pictures!

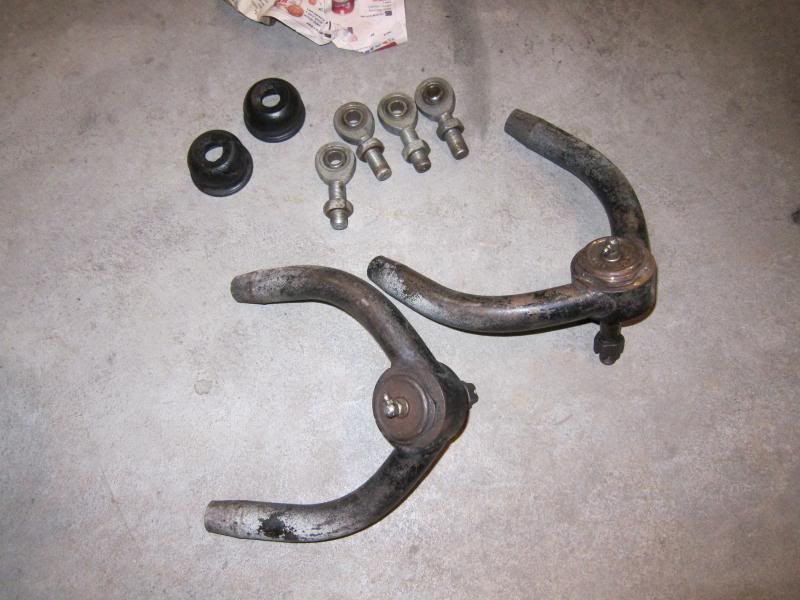
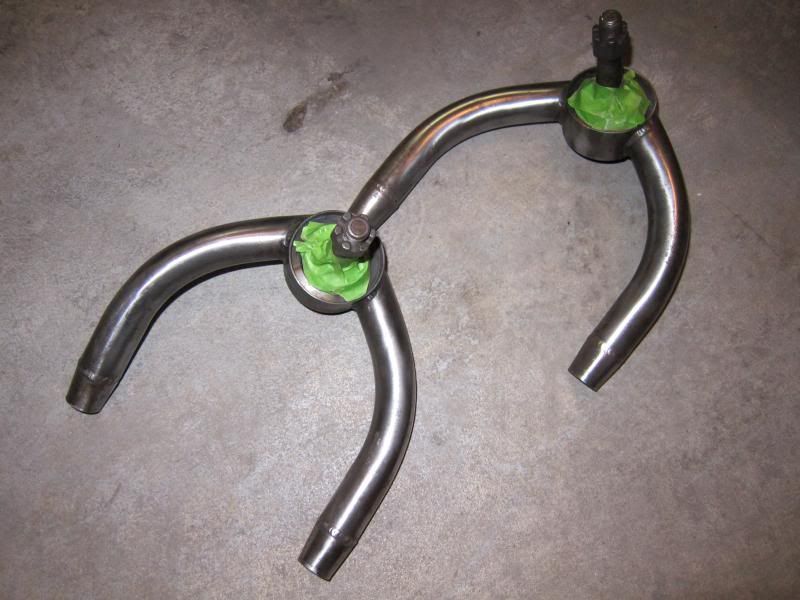
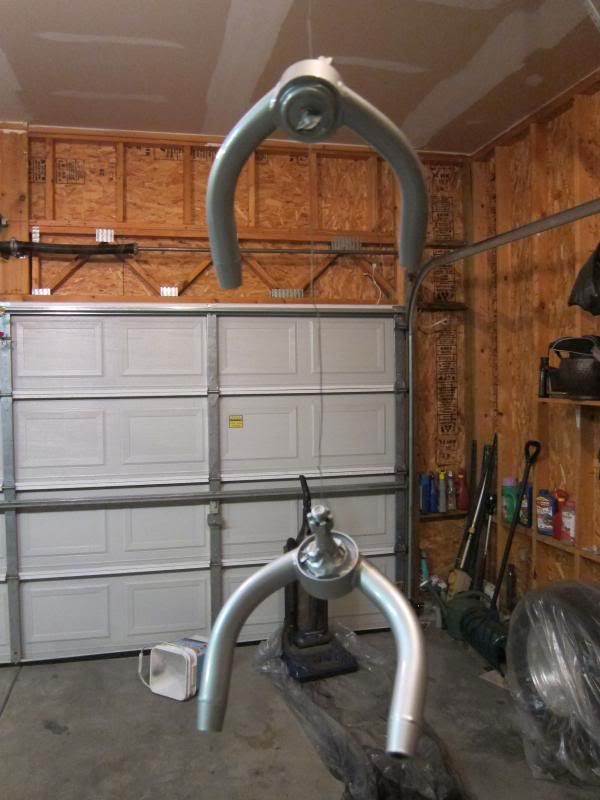
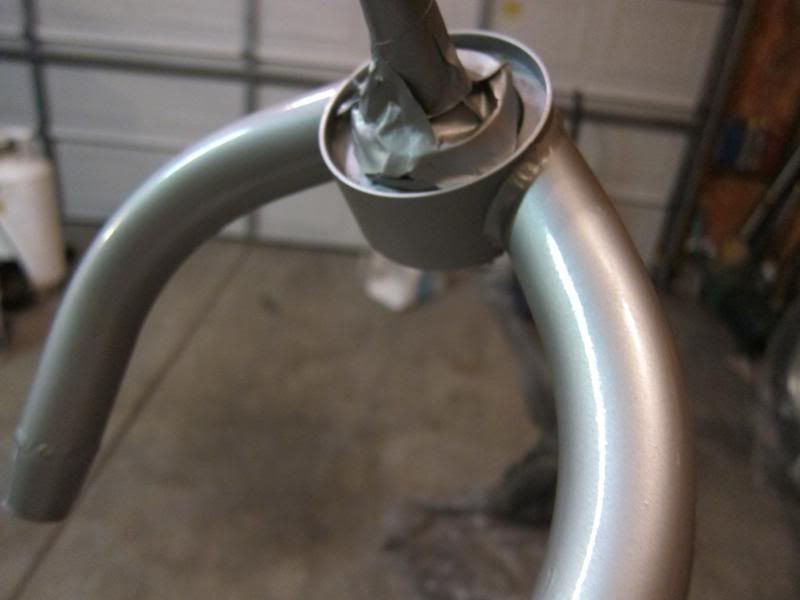
Got some used tubular UCA's from a member long ago so I got them out, cleaned and painted them. Turned out pretty sharp.


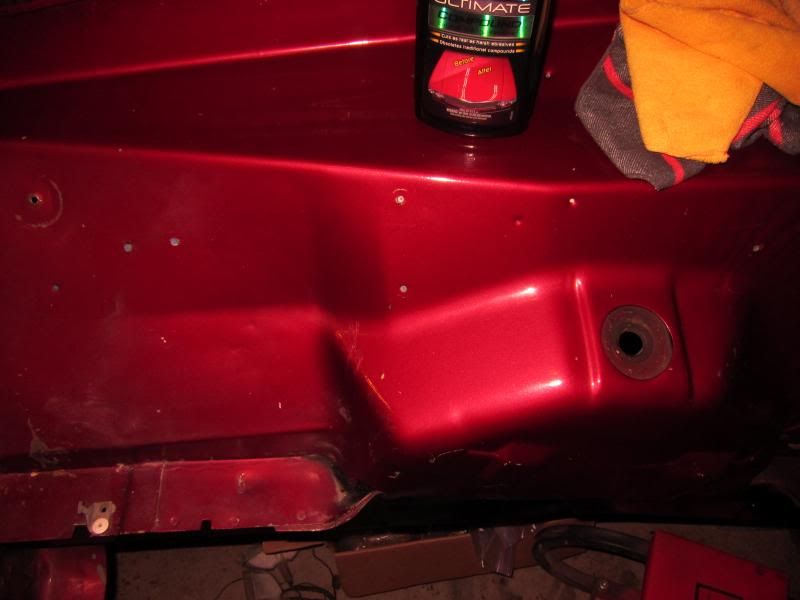
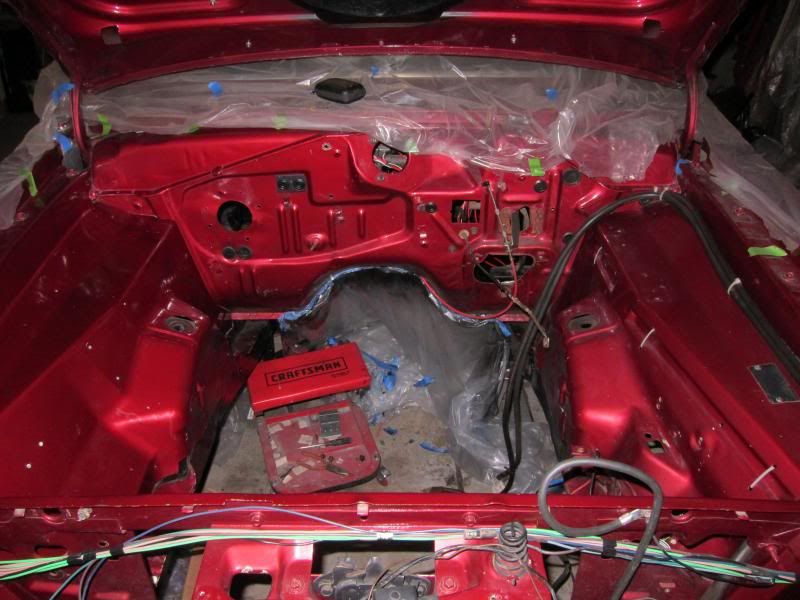
Then I decided that the engine bay paint was far from being nice so I polished it up which took about 6 hours. I used Meguiar's Ultimate Compound for this.

Right side of the pic is polished up, left is not. It's hard to tell in pics but it made a HUGE difference in the luster of the paint.


Passenger side fender done, driver's side is not. Still hard to see the difference it made but I will tell you it was a lot.


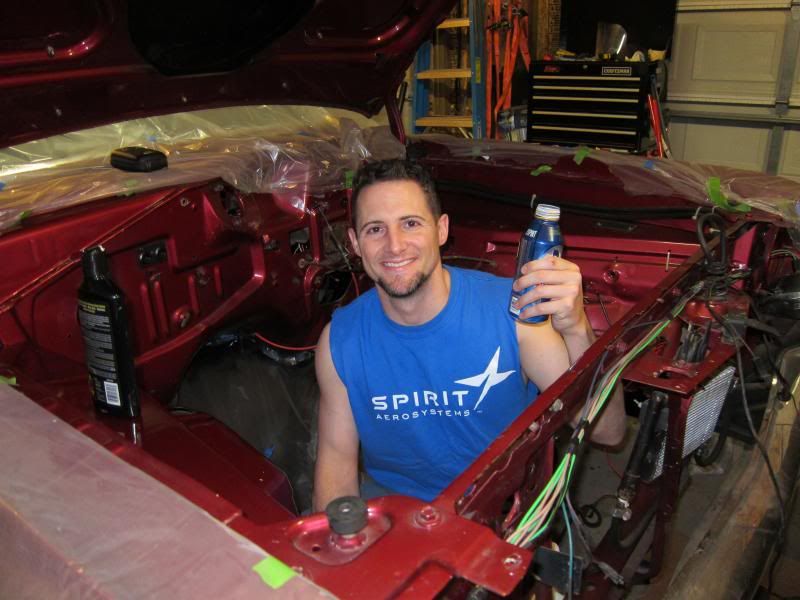
A little blood, sweat, and BEER!


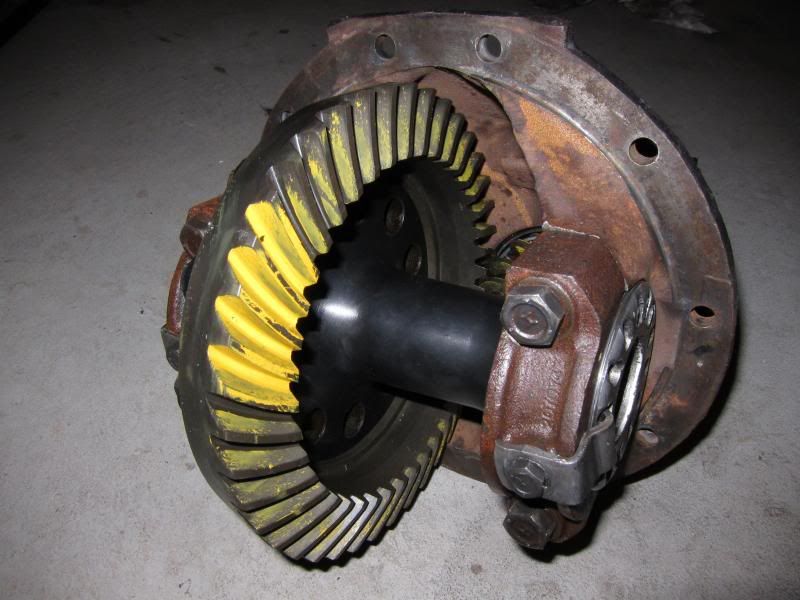
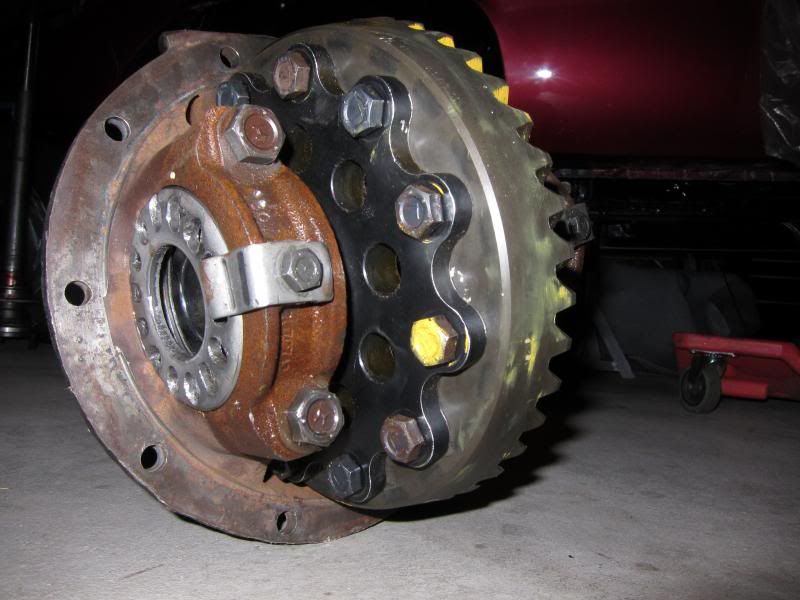
Spool and new Richmond 4.10 gears in the 489 case.


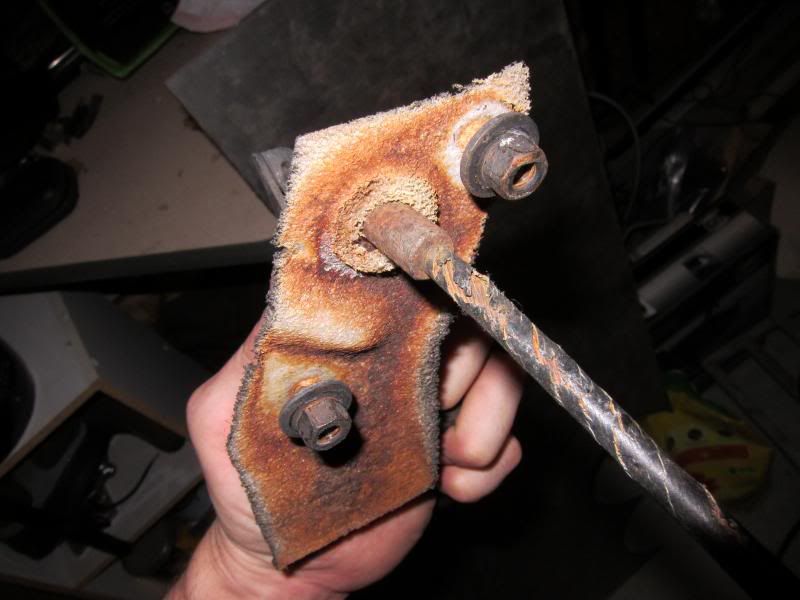
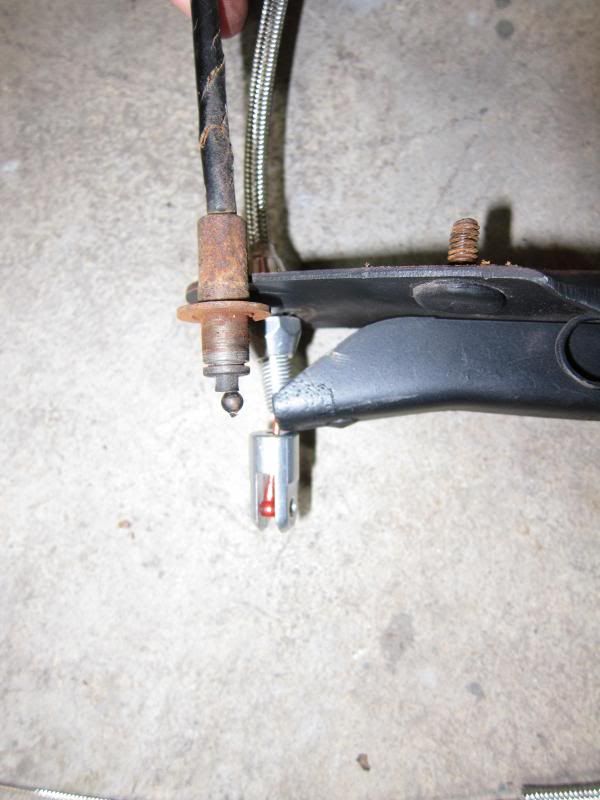
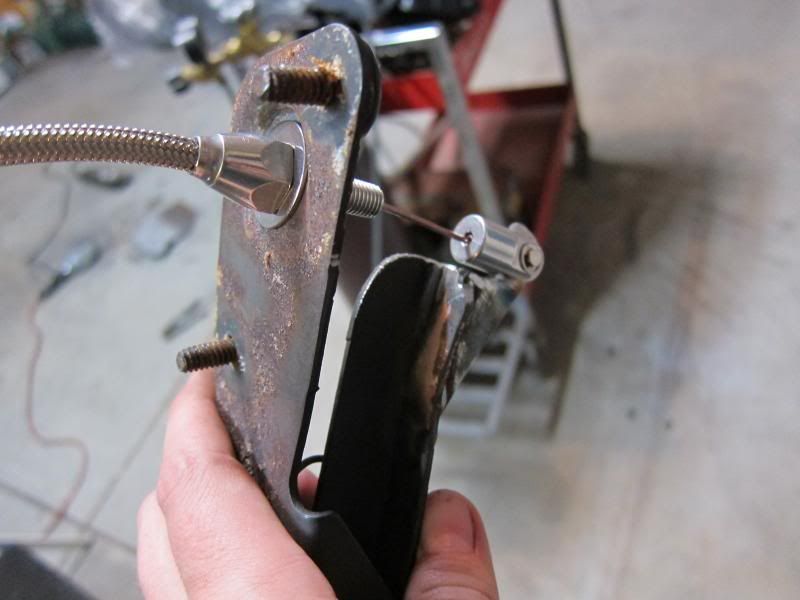
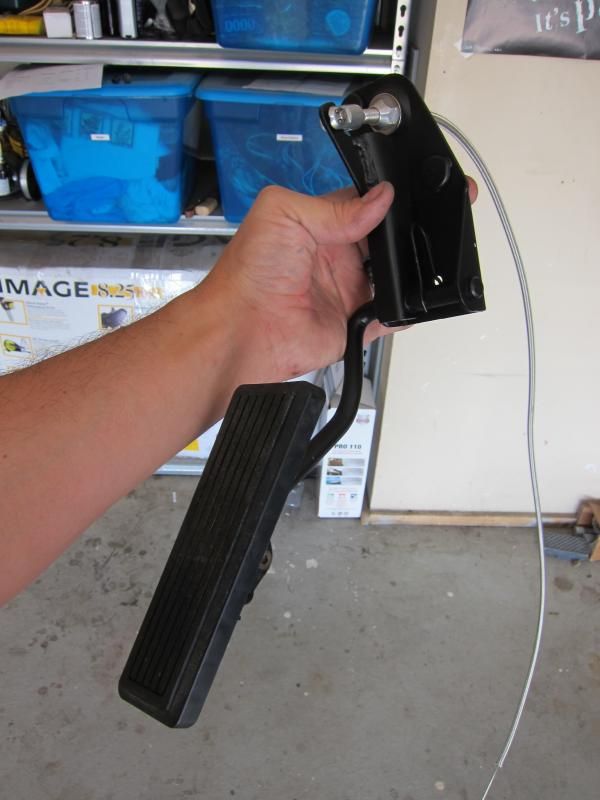
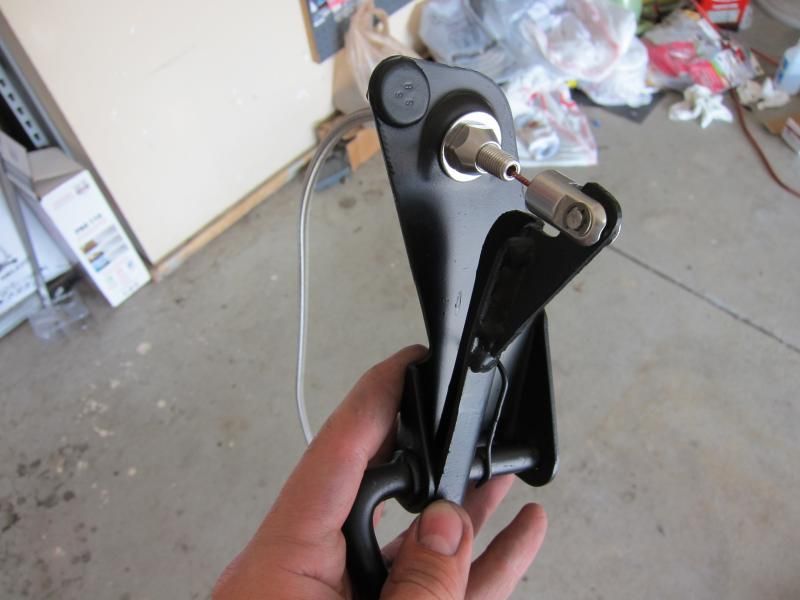
Old cruddy throttle cable had to go. How about a Lokar upgrade!


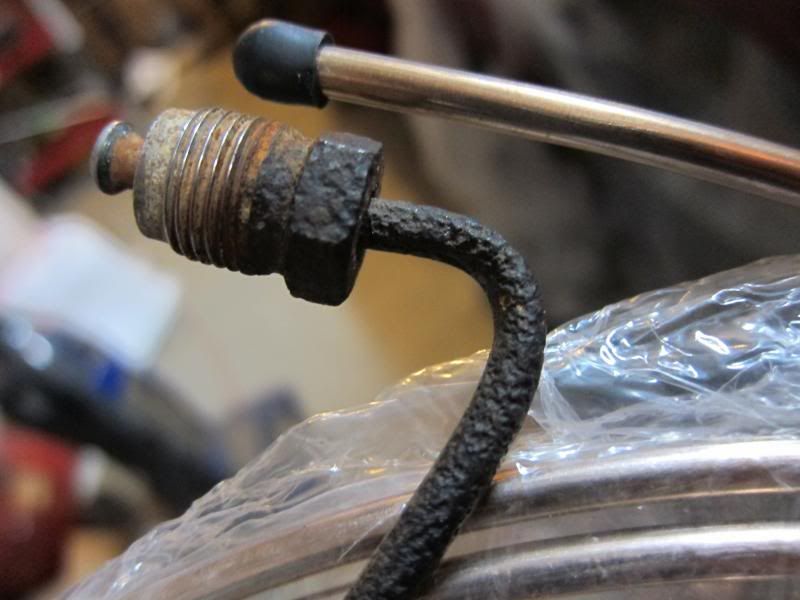
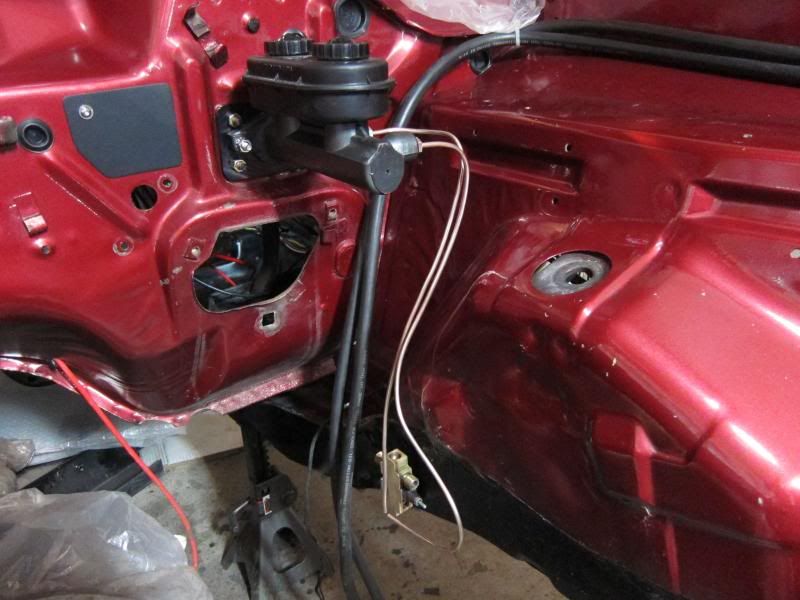
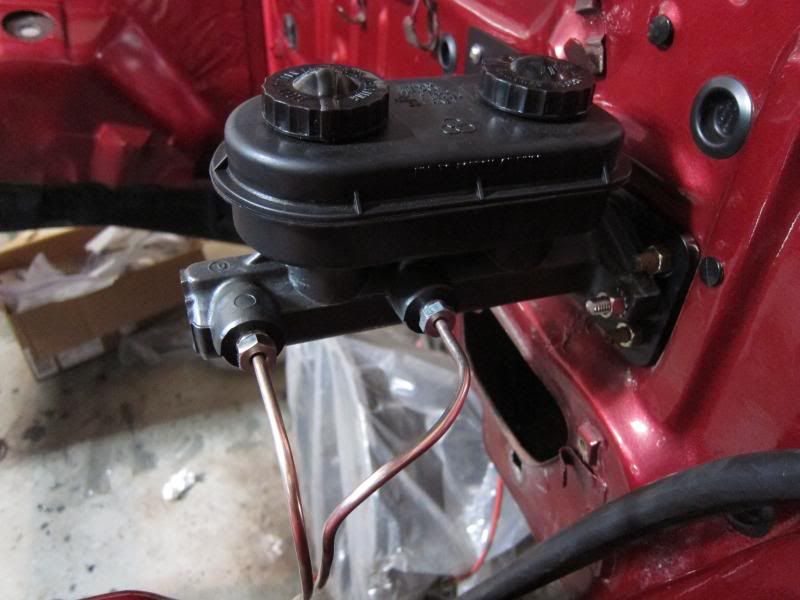
And now the brake lines. Whew these were in bad shape! Look at the corrosion!


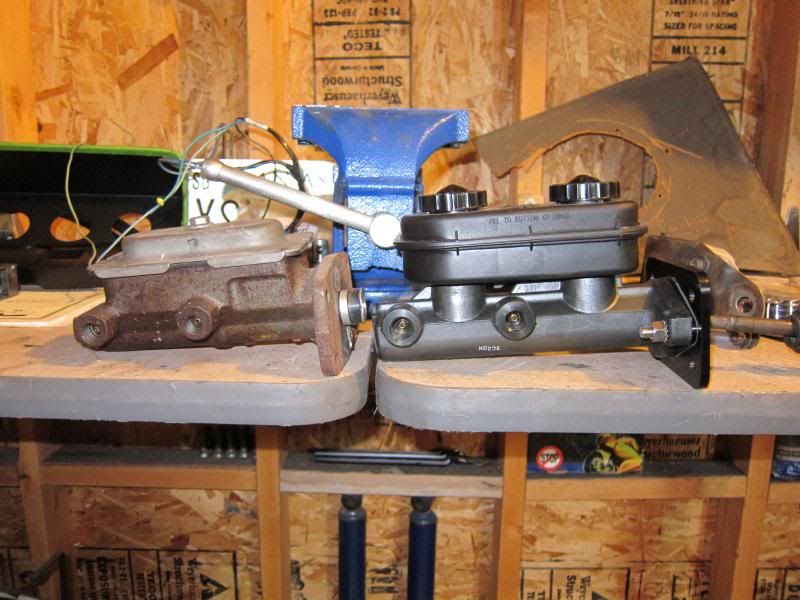
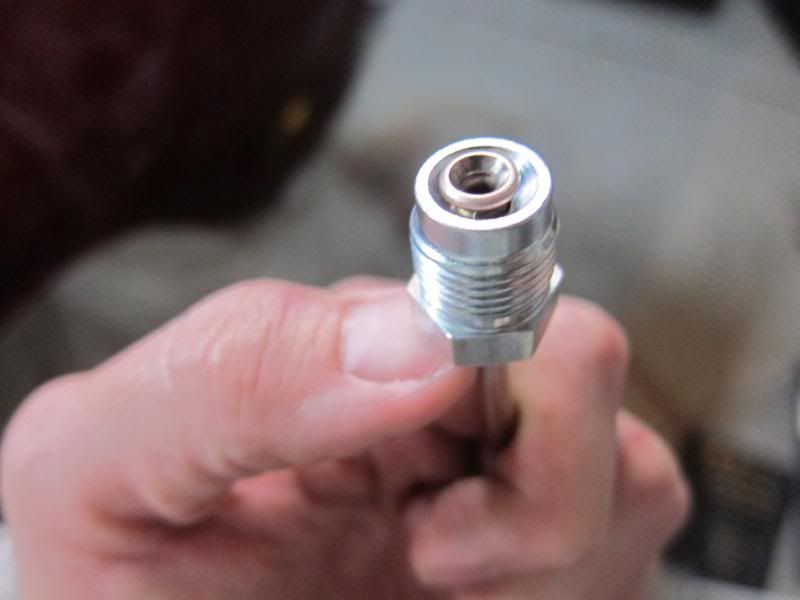
Old cast vs. new aluminum. I think we dropped at least 5 lbs here.


Double flare


For some reason I didn't load the picture of the finished lines but here was some mid point in running them


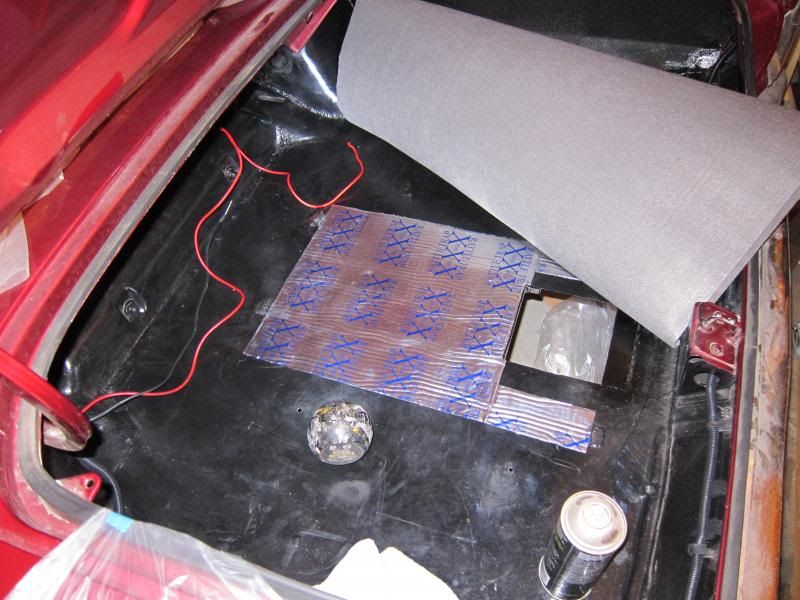
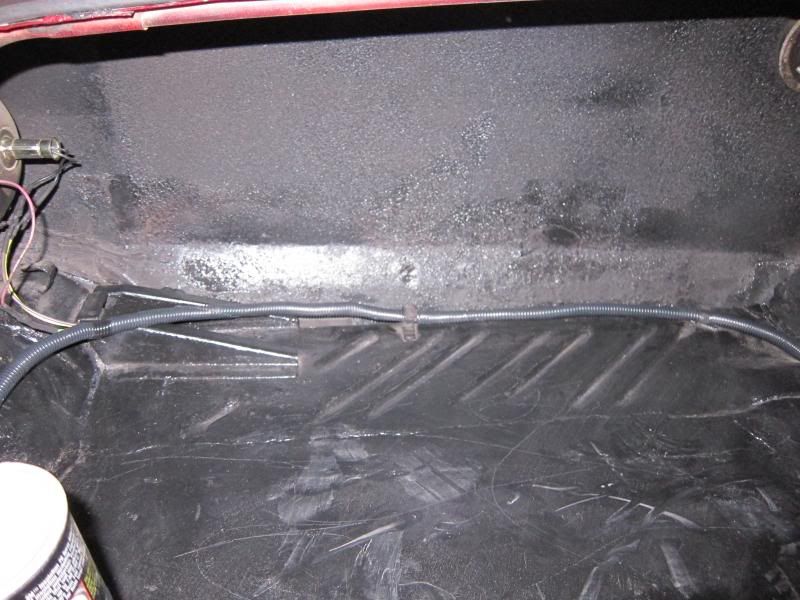
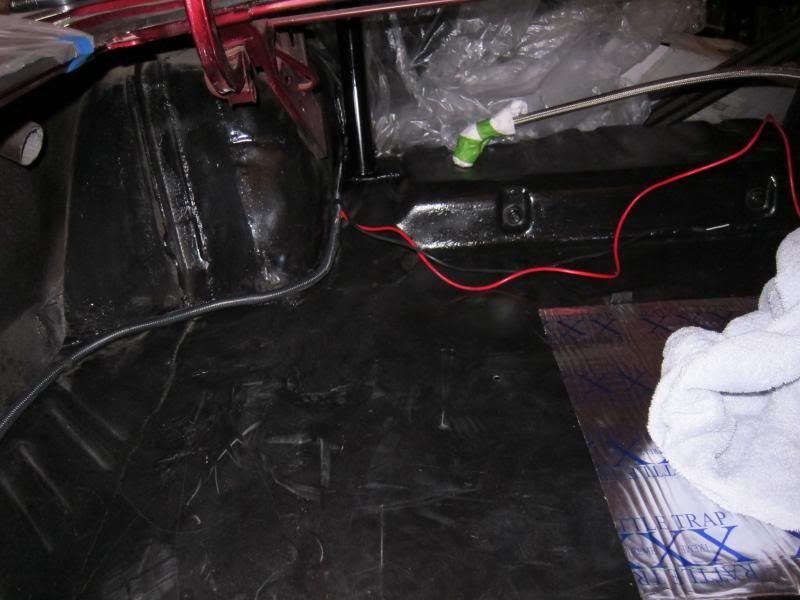
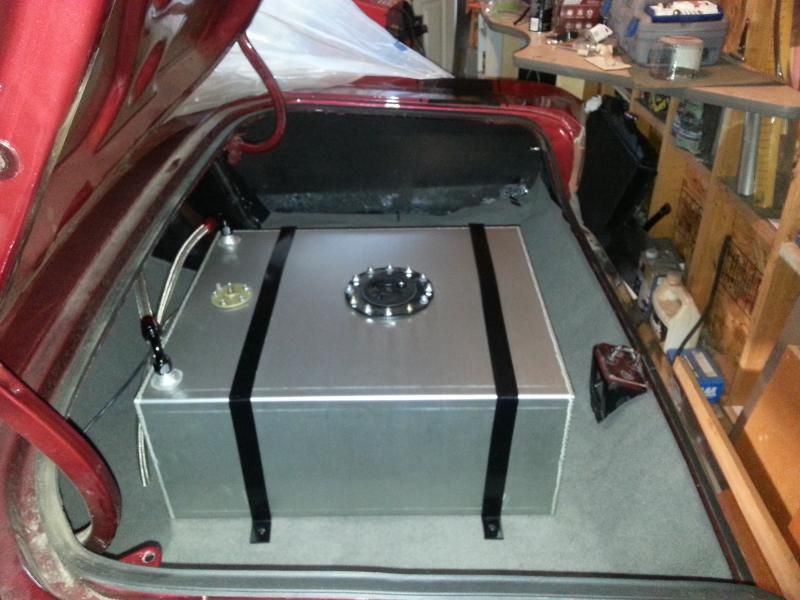
Put in a little bit of fat mat under the fuel cell before I put the carpet down. The wife even helped me with the carpet. I have about $15 in it. Woohoo finally something somewhat cheap!


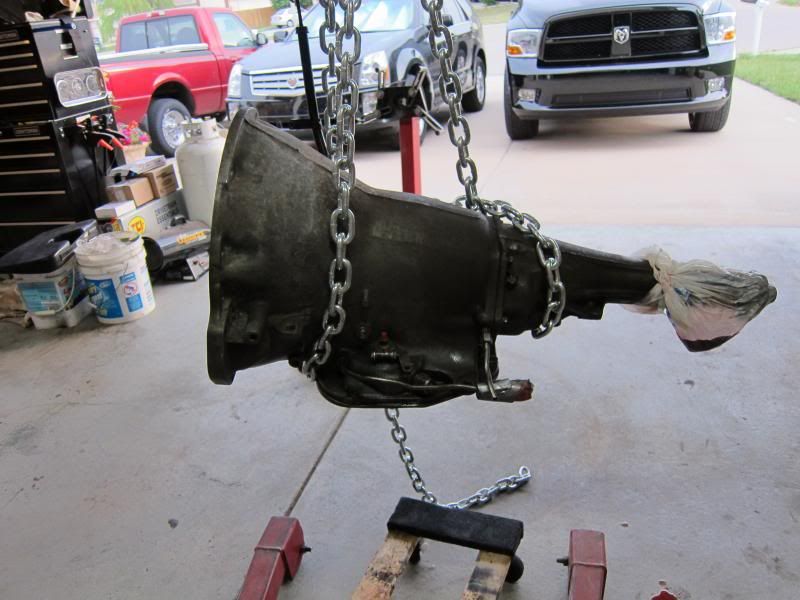
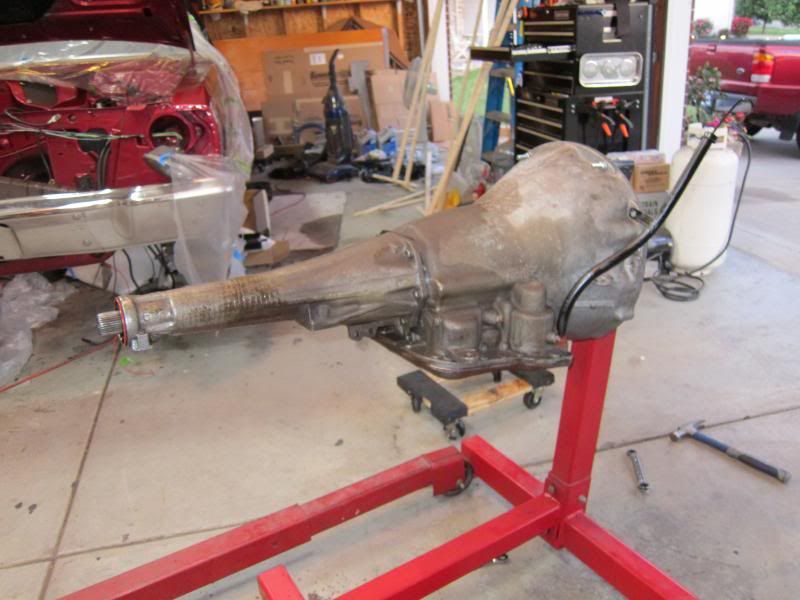
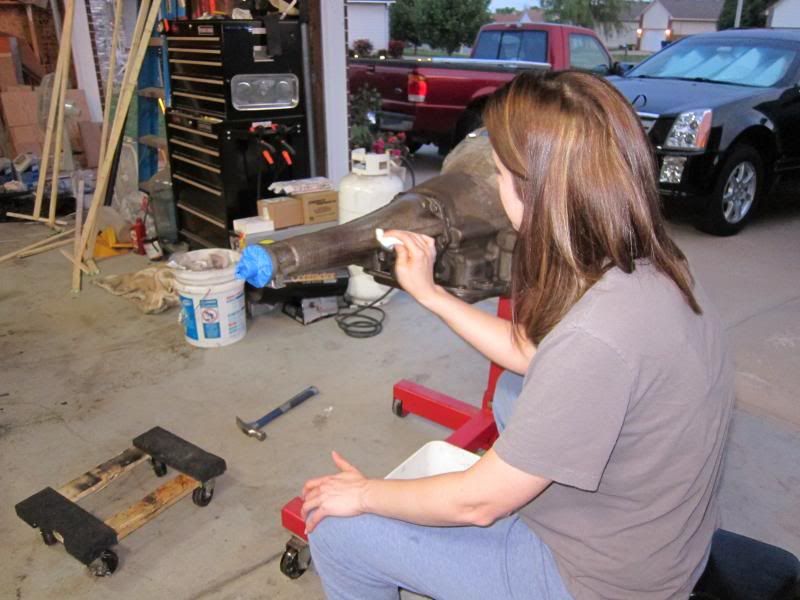
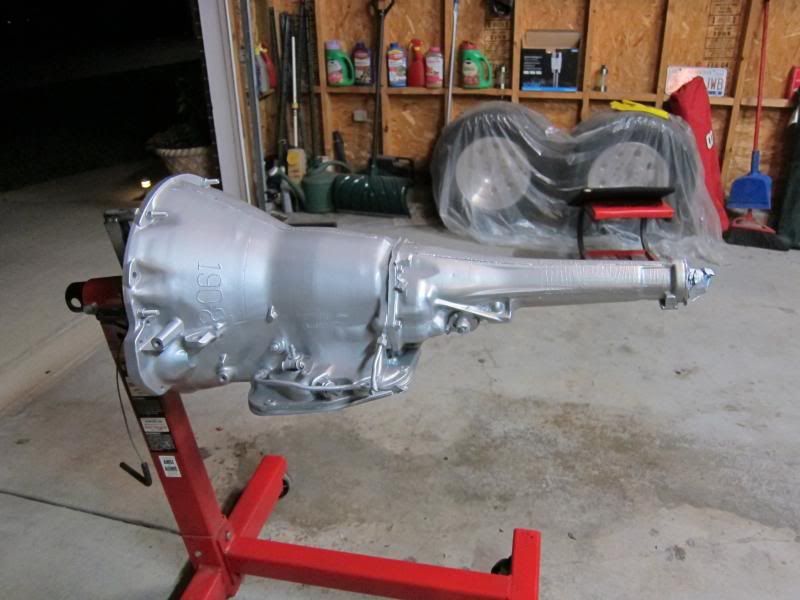
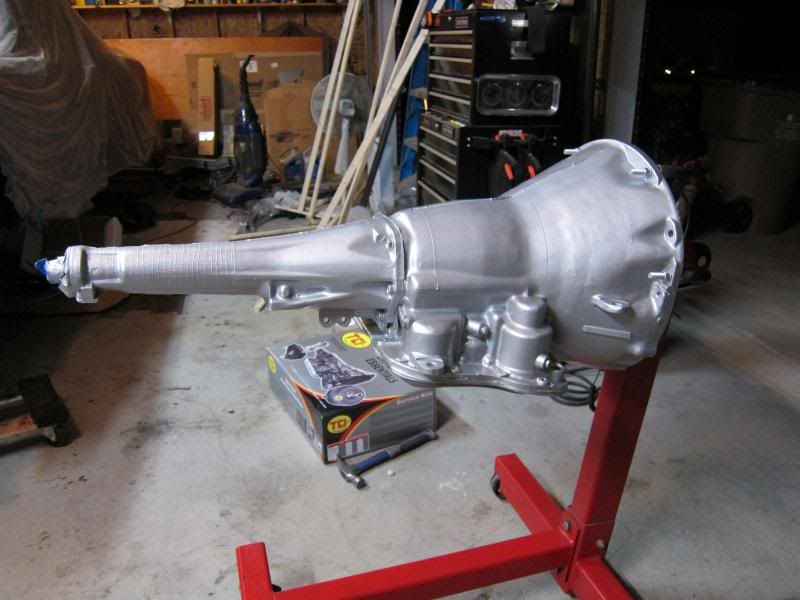
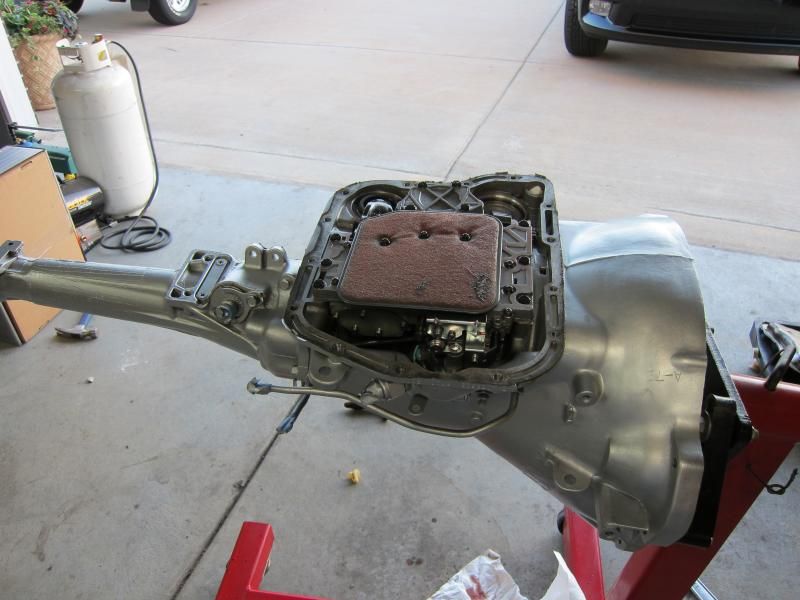
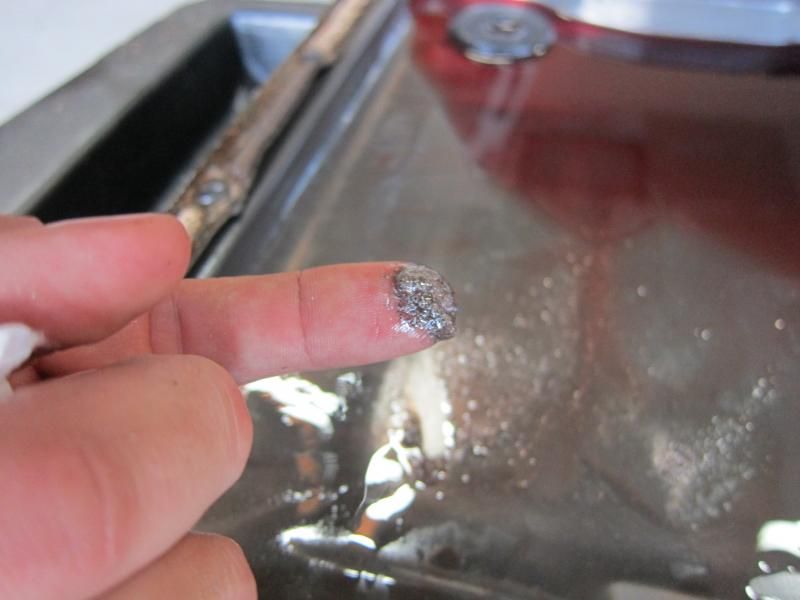
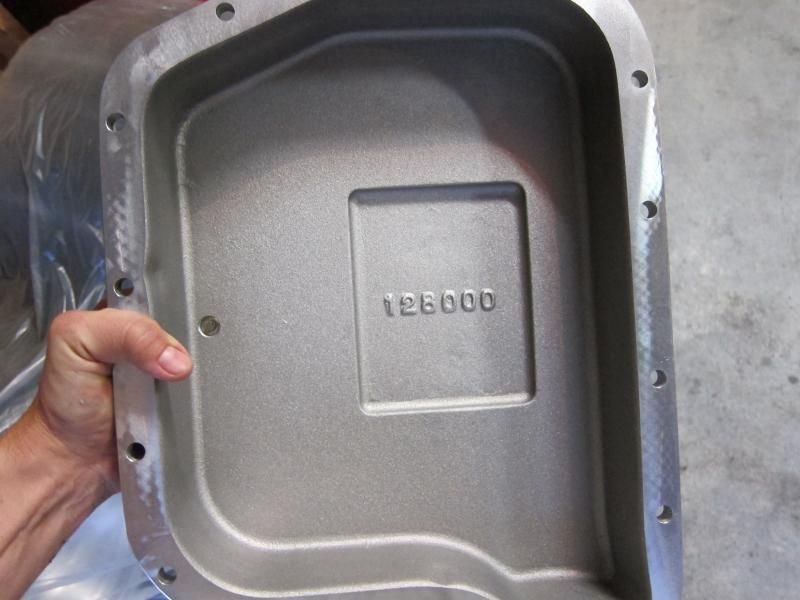
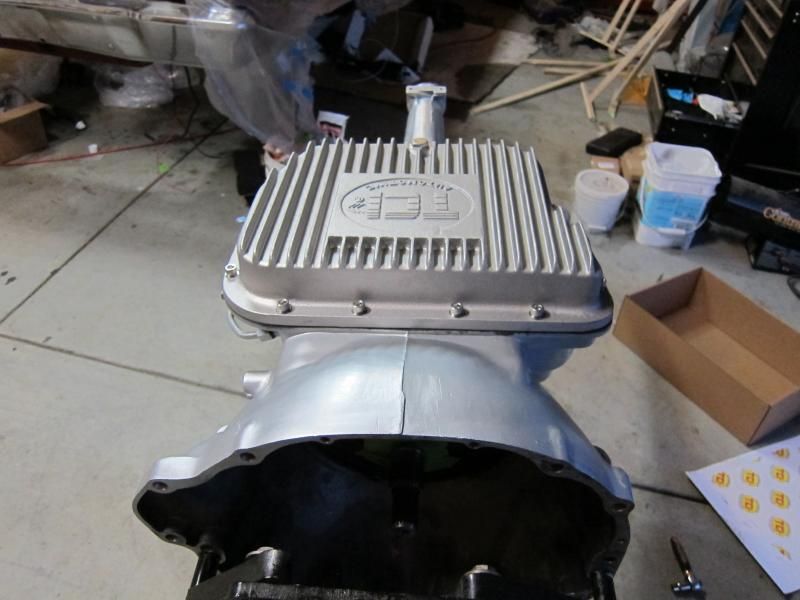
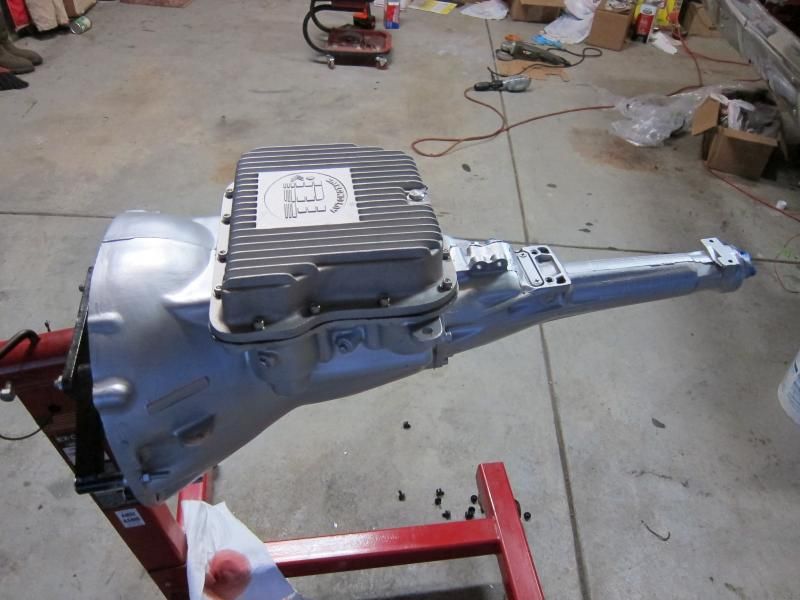
Time for the trans to get cleaned up


Wife getting involved again! :)


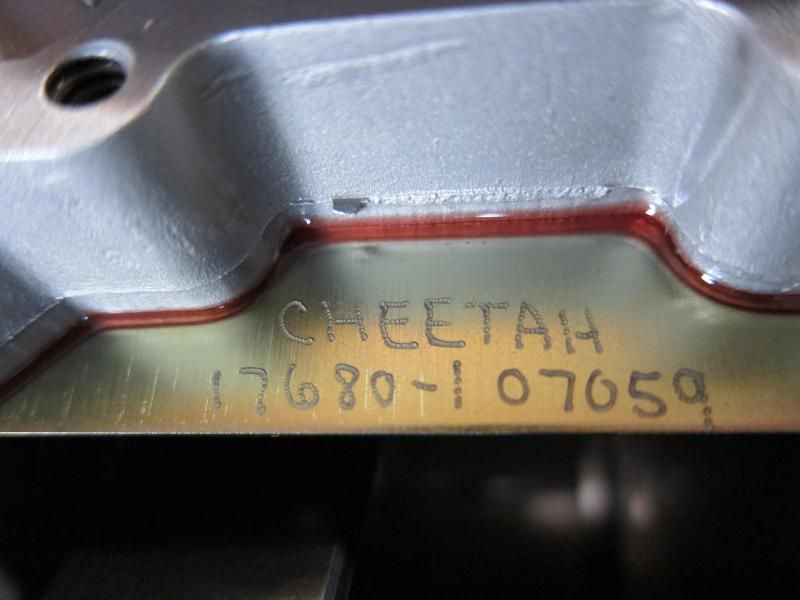
At least I know now what valve body is in the car. I read about it and now it makes sense why the car didn't slow down when I pulled it into first gear from second. This valve body doesn't have engine braking in first. Now I know it's normal.


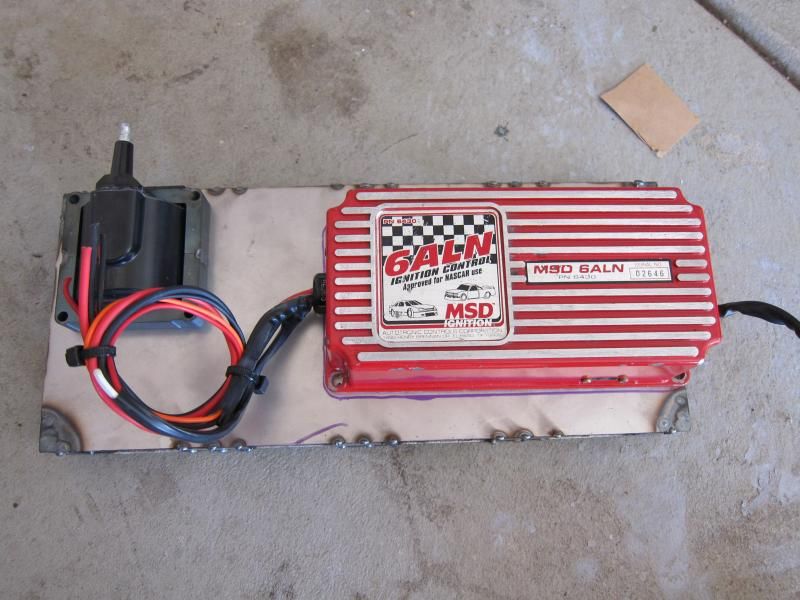
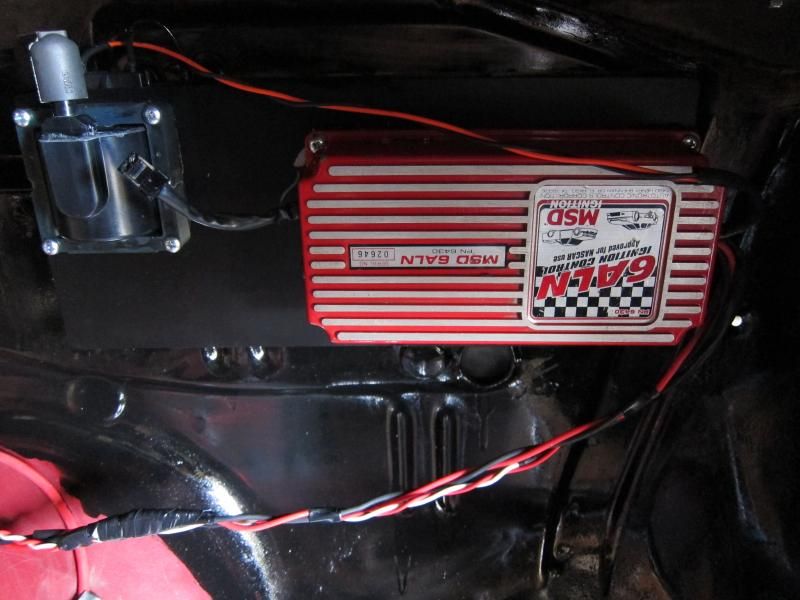
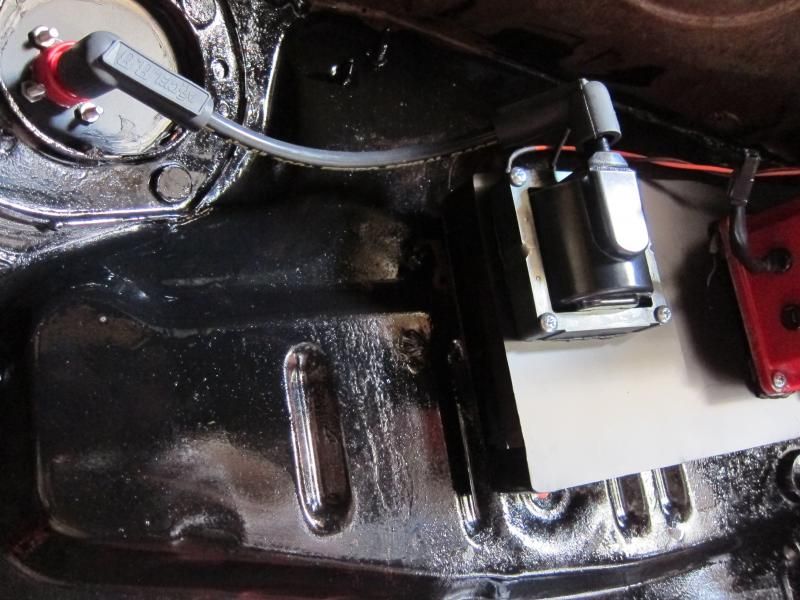
I bought an MSD box from a member here who claimed he gave me a working unit. One of the wires I needed was cut too short so I had to open the box up. Boy am I glad I did because the 90 amp diode was BLOWN! Someone trashed the box badly by either running it too long too hard or they did not have the right coil coupled with the box. I sent it off to get fixed but there were so many issues that I had to end up throwing it away. The member I bought it from blamed me and I called him out on it. I didn't even have a single wire in my stripped down car at the time to even hook the POS up. But finally after 4 months of going back and forth about it, I got my money refunded. So I'm not gonna name drop since he did finally give my money back. But that still left me with no MSD box. I ended up contacting Pat at Tech West Racing. He hooked me up with a used MSD 6ALN box and he added upgraded amplifiers and what not so this box is even hotter than it was from the factory. He also rewired it so that it wires same as a normal 6AL box (without weatherpack connectors). I still got the box and upgrade for less than a new 6AL box too! Woot! He comes highly recommended. He won't rebuild your box with cheapy stuff MSD will put in. He uses higher quality parts in his rebuilds and upgrades.


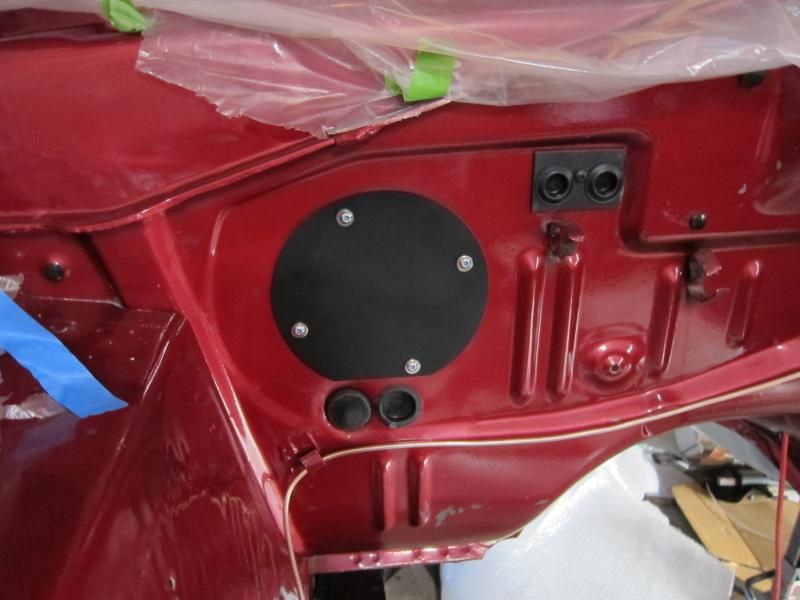
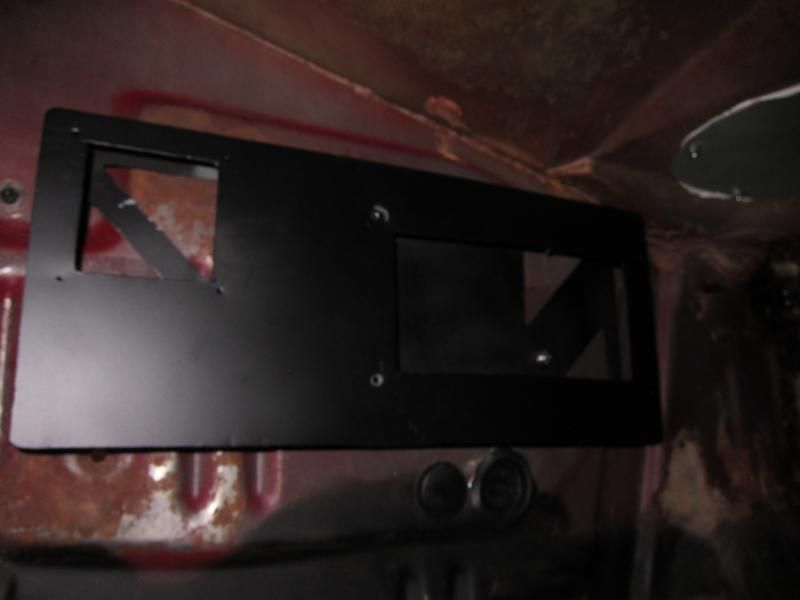
MSD box installed behind this block off plate


Mounting pad if you want to call it that


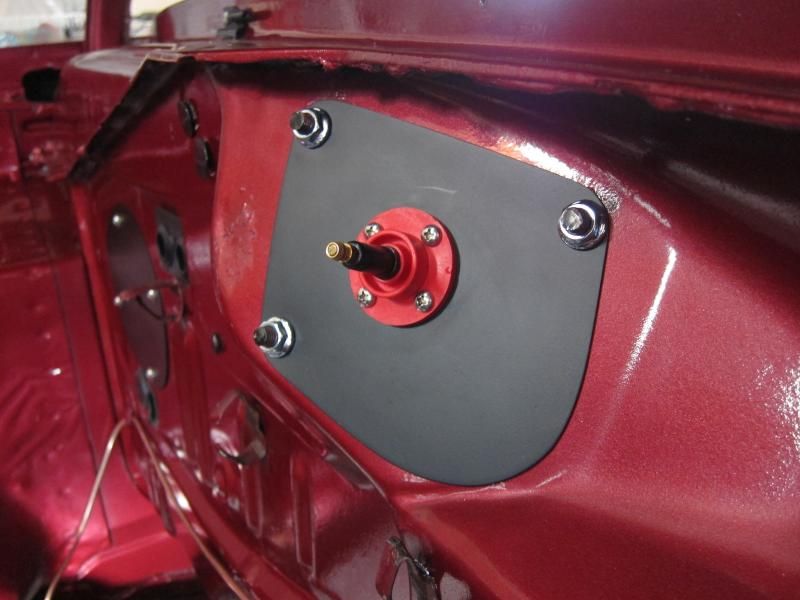
Firewall pass through for the coil
 
Laid some fat mat down. I didn't want to cover ever square inch because I didn't want all the extra weight but I wanted at least some deadening so I did it this way.


A big thanks to mopar79sean for helping me pick out the audio components


Speaker tubes


Tweeters


Woofers
 
Suspension parts partially assembled and painted. Looking way better than what I had before.


Grill needed some treatment so that's what she got


Much much better.


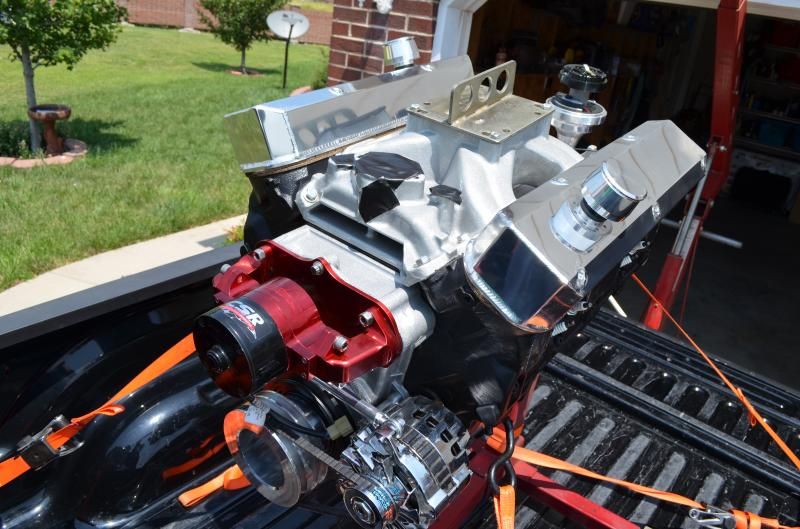
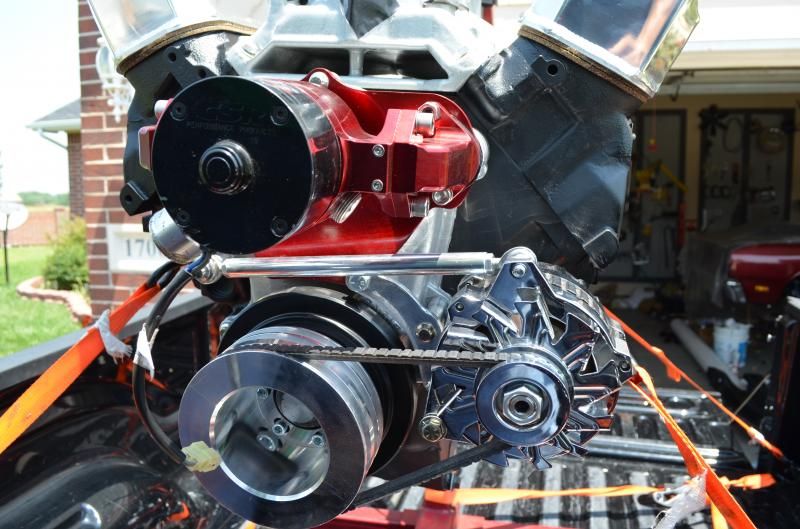
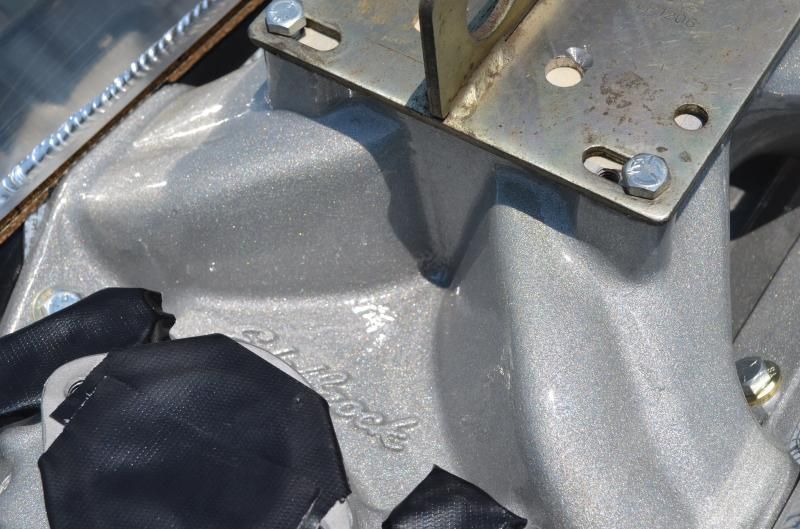
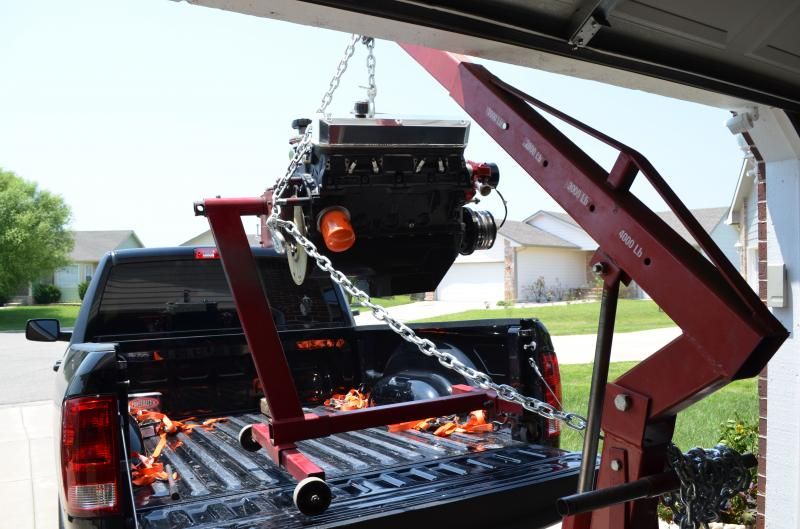
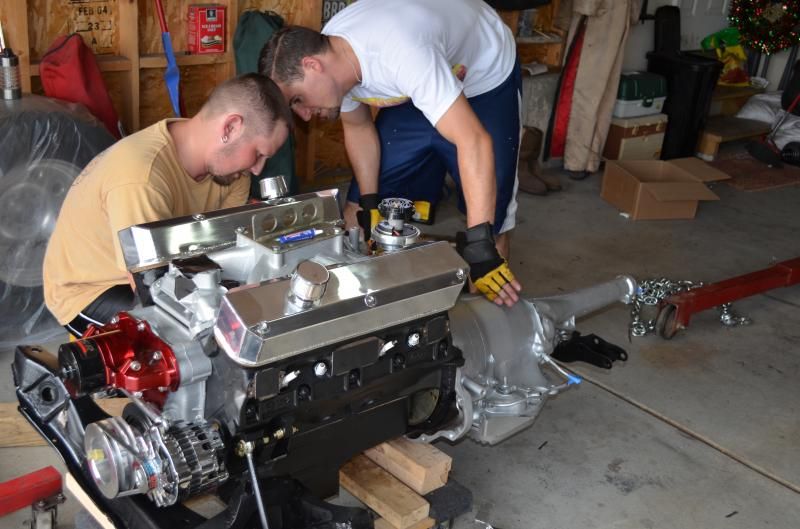
And now I have an engine again. I was unsure that the color combinations I chose were going to look as good as they did in my head but after seeing it all together, I'm extremely happy with it. The builder fixed many issues that the motor had. Mixed head studs with head bolts, worn cam plate, clearanced for pushrods which were rubbing the head before, the center mains on the block were undersized (.0008" on the original bearing clearance!), he opened oil passages where needed and restricted passaged where needed as well so all the righ oiling mods were done, had to heli coil one of the bell housing mounting holes in the block because it was completely stripped out when I took it apart, lots of things like that. We had custom fabricated intake valves made by REV since the low margin shoulders on the valves that were in it were hurting the CFM flow by about 5 CFM across the board, custom made pushrods, custom aluminum alternator bracket, powdercoated intake and timing cover, Cloyes billet timing chain (old one was worn), oil pump shaft was worn badly so a new one with new pump was installed, etc, etc. For a "fresh" motor when I bought it, it sure had some really worn parts which tells me that it really wasn't fresh or he re-used a lot of parts. I'm betting on the re-use of parts is what the guy did but doesn't matter any more. There was lots of things like that that was found but all is corrected and now I feel like I really have a solid motor.


The custom fabricated alternator bracket that my builder made was above and beyond anything I thought it would be. My hat's off to him for that.


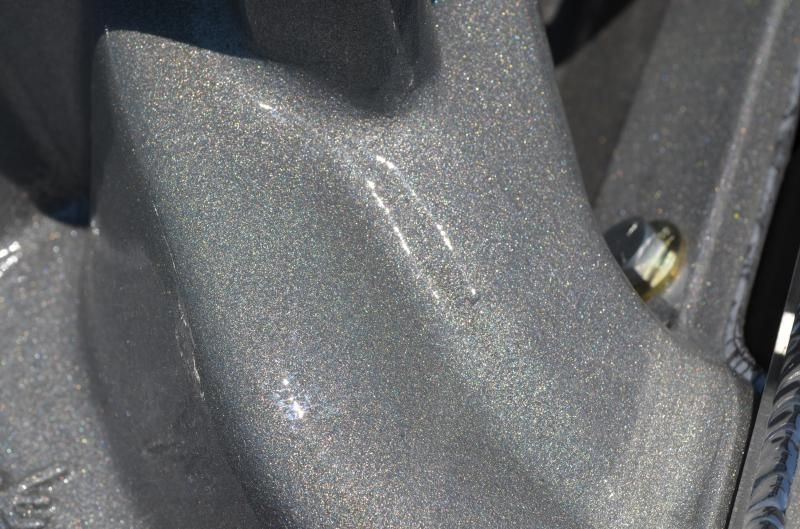
Powdercoating turned out pretty nice


Hard to get to bolt


Installing the Flaming River 16:1 quick ratio manual steering box


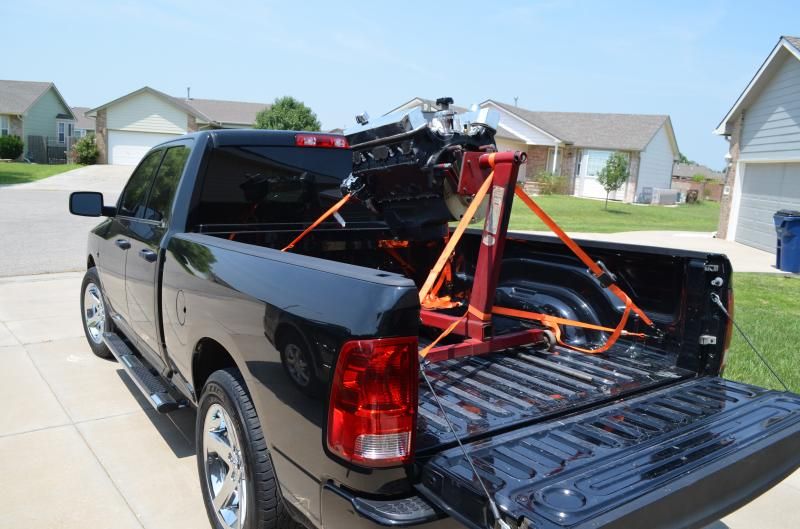
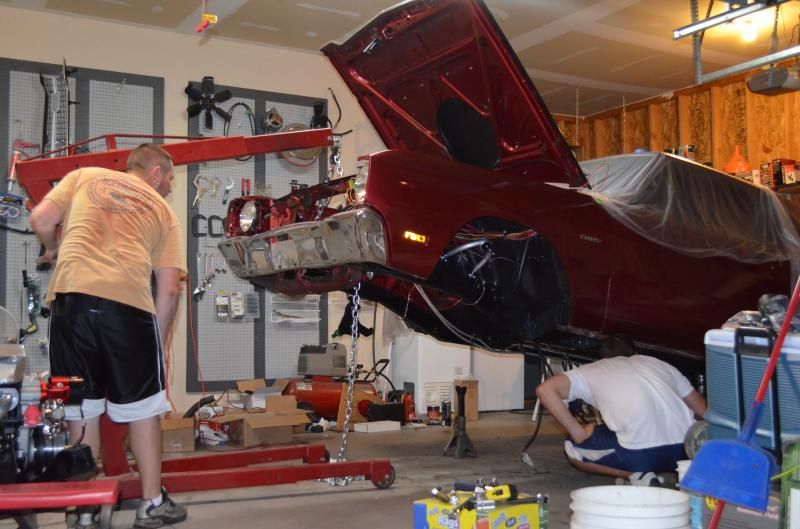
Up up and away we go


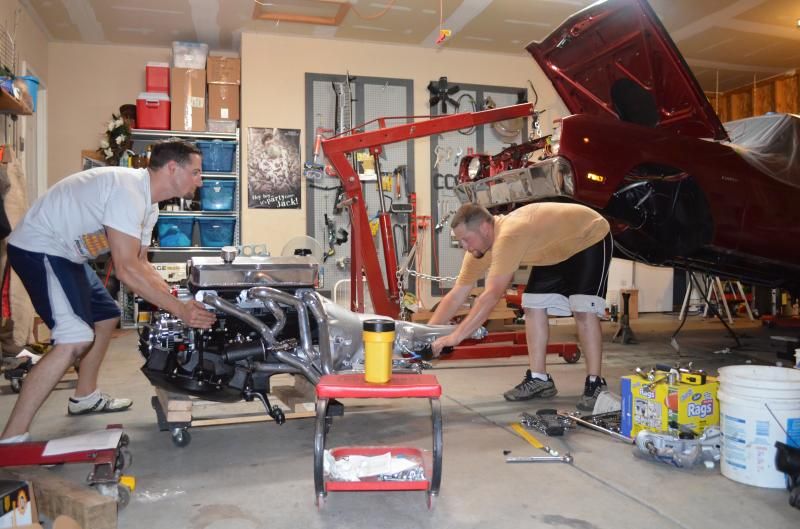
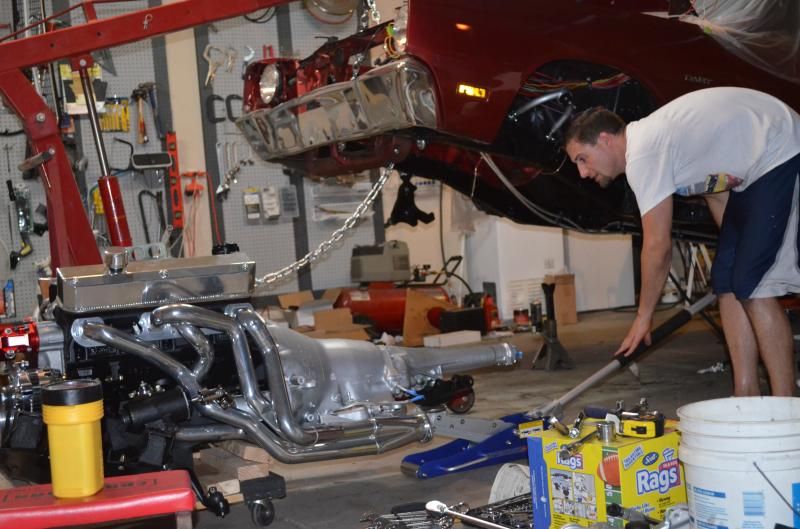
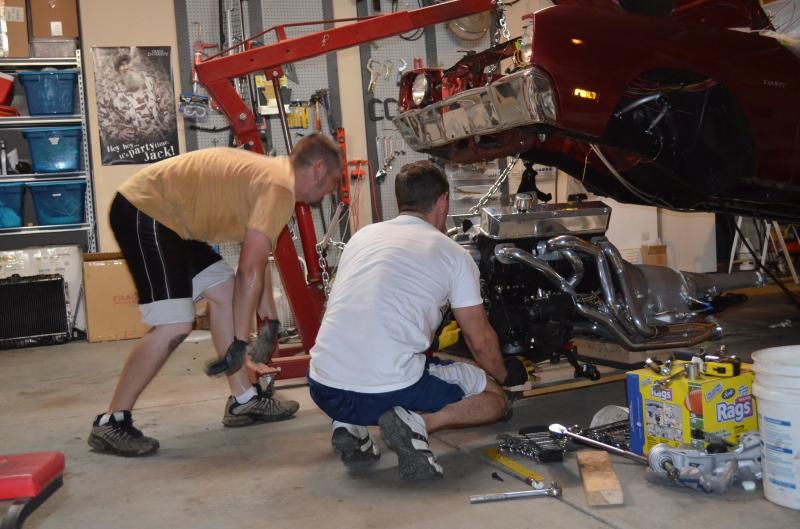
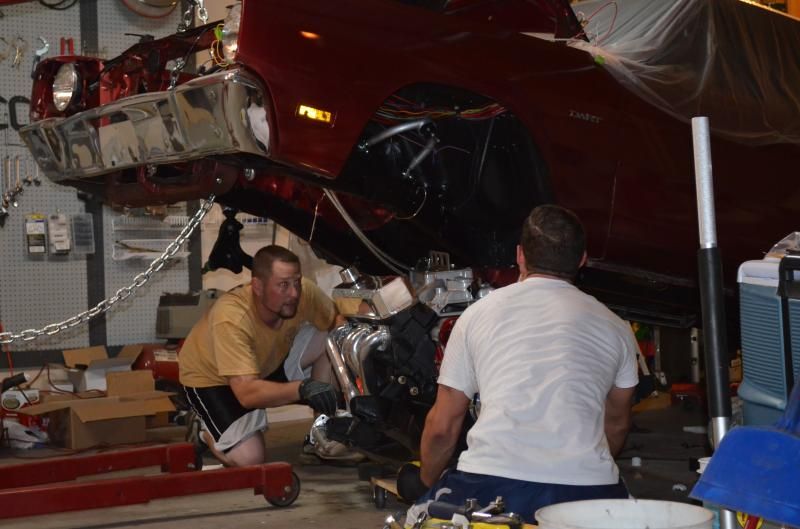
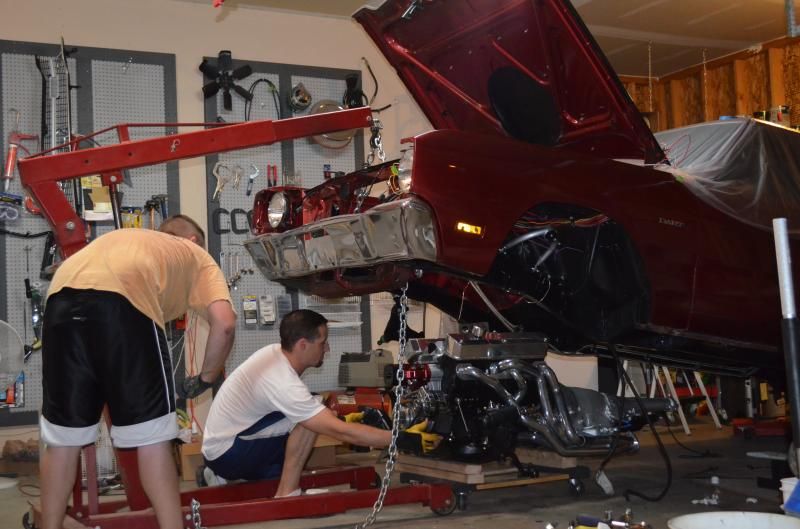
Here's where I got LUCKY! While trying to move the engine/trans to the car, the motor and trans all of a sudden dropped and I heard cracking and breaking wood. I knew the dolly had collapsed on us. Got to looking and fortunately what had happed was that we had pushed the motor/trans off the dolly. What caught the motor was the one stray 2X4 toward the back of the dolly that was just laying there. It caught about 1/4" of the rear of the oil pan. That pan must be tough because it didn't buckle. Headers were hitting the other 2X4's but no damage that was visible. I just hope that we didn't hurt the gasket or anything to keep the headers from leaking. So I jacked up the back of the trans and since the hoist was already in use, my buddy and I lifted the front of the motor while my wife slid the dolly back in place. All was well again and we were pushing by the dolly now.


And finally success! That was a monumental hurdle and a great feeling to get it back in without damaging anything.


-
Back
Top