You are using an out of date browser. It may not display this or other websites correctly.
You should upgrade or use an alternative browser.
You should upgrade or use an alternative browser.
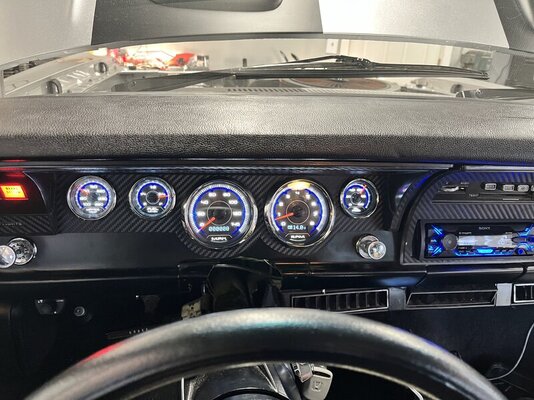
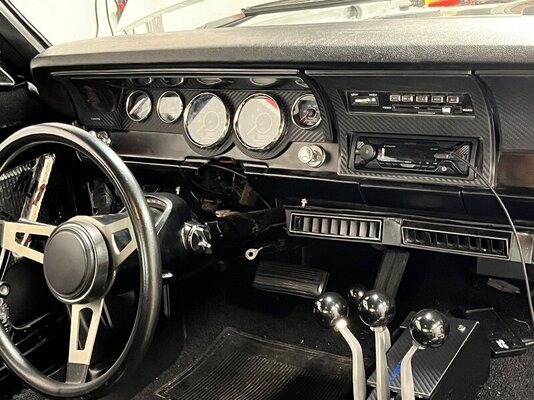
Another DIY gauge cluster
- Thread starter RAVano
- Start date
-
WOW! Exceptionally done! 

jomoper
Mope or Nope
I like it ! This is what hot rodding should be about. Building as much as you can by yourself! VS just buying stuff and your car winds up looking like everybody else’s .
circlepilot
Well-Known Member
Nice! Craftmanship!
Norm
Norm
Kendog 170
Let the boy go !
Hell of a job.
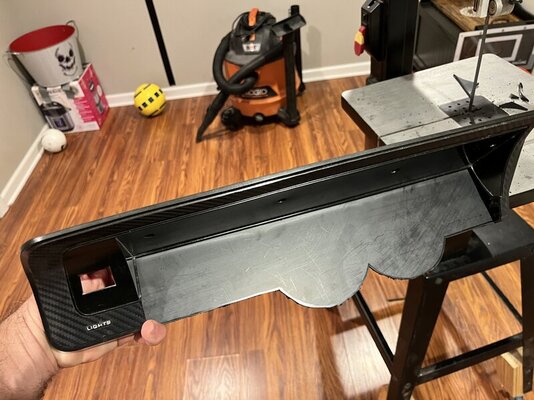
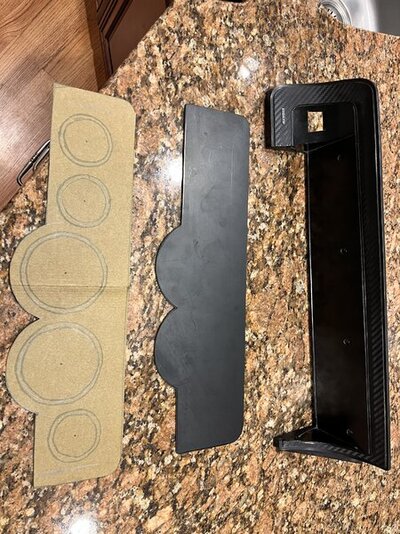
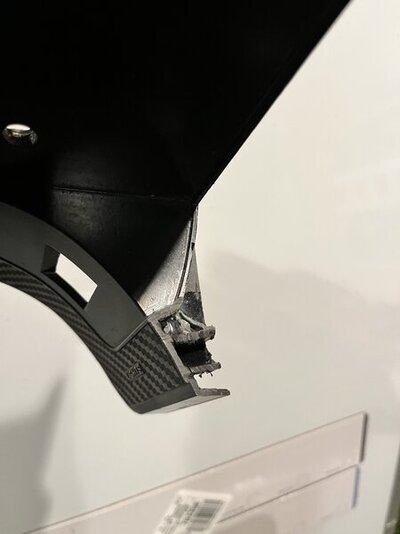
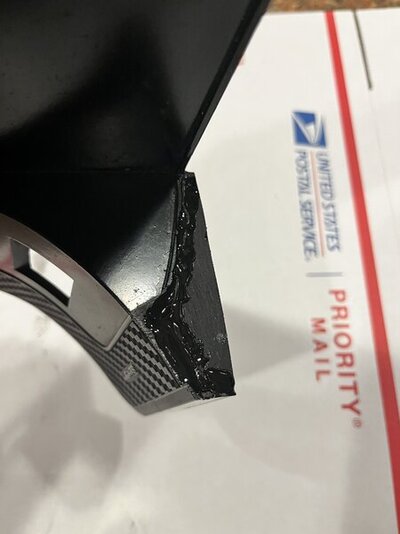
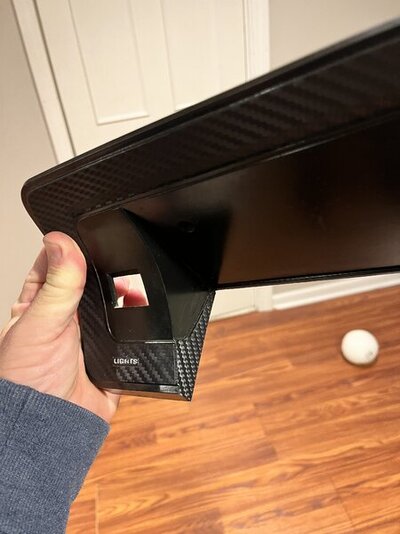
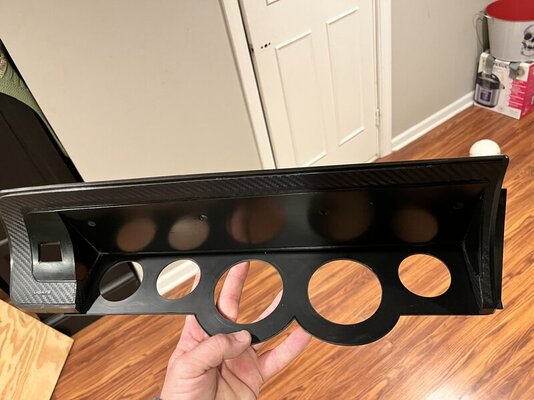
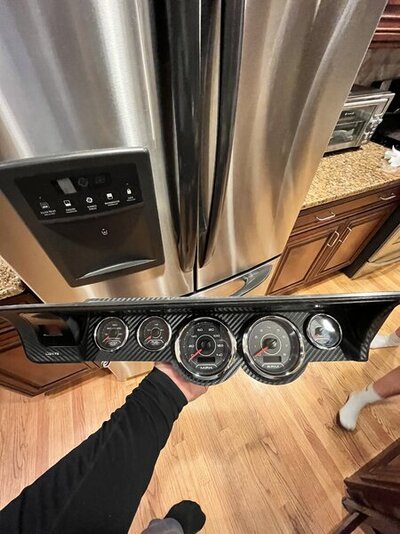
I’m not to good at explaining things. Just some photos of how I did it and what’s involved if anyone wanted to do it themselves. Kind of like IKEA instructions.Nice but I don't understand completely. Can you add some narrative to your photo series?
Last edited:
jomoper
Mope or Nope
Curious what material did you use for the gauge panel ?
ABS plasticCurious what material did you use for the gauge panel ?
That’s beautiful!
question from an old semi blind buzzard with trifocals. did you print out or modify the orig cluster part? i want to do something similar to that except i have 6 gauges. big speedo and tach and small oil, temp, volt and fuel gauges. thanks in advance.
I modified the original cluster. I wasn’t so worried about having 6 gauges because the volts read out on my FiTech handheld and also on the OLED screen of the Tachquestion from an old semi blind buzzard with trifocals. did you print out or modify the orig cluster part? i want to do something similar to that except i have 6 gauges. big speedo and tach and small oil, temp, volt and fuel gauges. thanks in advance.
thank you. looks great. i have white faced equus.
plumkrazee70
Well-Known Member
Really great job. No options in the aftermarket for the long speedo guys. I ended up replacing the dash housing with a 73+ so I could get the dash insert from Autometer. It holds 6.
Agent_Orange
Well-Known Member
Thanks for the creative juices
GURT WILDERS
Active Member
Hello hello. I just did my own DIY dash today on my 72 Dart Swinger. I used a Speedway motors A-body aluminum 6 gauge panel with Autometer Mopar gauges. It cost around 100 bucks for the panel if i remember correctly. The panel took some trimming to make it fit just right. Overall i was really happy with how the project went.
I have my entire dash out right now so it was easy removing the gauge cluster. I stripped it down, treated and painted the rust, and cut the gauge cluster. Once the gauges were separated from the plastic cover panel i mapped out the back of plastic cover with a sharpie and started cutting away material with a die grinder with like a 1.25” cutting wheel. It took about 2 hours to meticulously cut away material. Due to awkward angles of plastic molded bezels, the small cutting wheel i had played a factor with the time. If i had a slightly larger cutting wheel to switch back and forth with it would have made the process easier but i did what i could with what i had. Also heat was a factor, 50 year old plastic melts and smokes a lot easier than you would think. I definitely took my time making sure not to overheat the plastic. I left about 1/4” of material around the border of the original cluster cover to set the new aluminum panel against on the front side of the old cluster border. The aluminum panel did need to be trimmed to make it fit perfectly. I used a belt grinder to shave down the edges nice and evenly. I havent come up with a final solution as to securing the panel to the original cluster plastic but i think i will do a combination of Right Stuff RTV, and possibly some custom aluminum clamps bolted from 3 mounting holes in the panel to the cluster, i think they are like 10/32” holes. Will update once i cross that bridge but heres my progress so far.


I have my entire dash out right now so it was easy removing the gauge cluster. I stripped it down, treated and painted the rust, and cut the gauge cluster. Once the gauges were separated from the plastic cover panel i mapped out the back of plastic cover with a sharpie and started cutting away material with a die grinder with like a 1.25” cutting wheel. It took about 2 hours to meticulously cut away material. Due to awkward angles of plastic molded bezels, the small cutting wheel i had played a factor with the time. If i had a slightly larger cutting wheel to switch back and forth with it would have made the process easier but i did what i could with what i had. Also heat was a factor, 50 year old plastic melts and smokes a lot easier than you would think. I definitely took my time making sure not to overheat the plastic. I left about 1/4” of material around the border of the original cluster cover to set the new aluminum panel against on the front side of the old cluster border. The aluminum panel did need to be trimmed to make it fit perfectly. I used a belt grinder to shave down the edges nice and evenly. I havent come up with a final solution as to securing the panel to the original cluster plastic but i think i will do a combination of Right Stuff RTV, and possibly some custom aluminum clamps bolted from 3 mounting holes in the panel to the cluster, i think they are like 10/32” holes. Will update once i cross that bridge but heres my progress so far.
That’s lookin good!Hello hello. I just did my own DIY dash today on my 72 Dart Swinger. I used a Speedway motors A-body aluminum 6 gauge panel with Autometer Mopar gauges. It cost around 100 bucks for the panel if i remember correctly. The panel took some trimming to make it fit just right. Overall i was really happy with how the project went.
I have my entire dash out right now so it was easy removing the gauge cluster. I stripped it down, treated and painted the rust, and cut the gauge cluster. Once the gauges were separated from the plastic cover panel i mapped out the back of plastic cover with a sharpie and started cutting away material with a die grinder with like a 1.25” cutting wheel. It took about 2 hours to meticulously cut away material. Due to awkward angles of plastic molded bezels, the small cutting wheel i had played a factor with the time. If i had a slightly larger cutting wheel to switch back and forth with it would have made the process easier but i did what i could with what i had. Also heat was a factor, 50 year old plastic melts and smokes a lot easier than you would think. I definitely took my time making sure not to overheat the plastic. I left about 1/4” of material around the border of the original cluster cover to set the new aluminum panel against on the front side of the old cluster border. The aluminum panel did need to be trimmed to make it fit perfectly. I used a belt grinder to shave down the edges nice and evenly. I havent come up with a final solution as to securing the panel to the original cluster plastic but i think i will do a combination of Right Stuff RTV, and possibly some custom aluminum clamps bolted from 3 mounting holes in the panel to the cluster, i think they are like 10/32” holes. Will update once i cross that bridge but heres my progress so far.
View attachment 1716077935
View attachment 1716077939
View attachment 1716077940
View attachment 1716077941
View attachment 1716077942
View attachment 1716077943
View attachment 1716077944
View attachment 1716077945
One tip I’ve heard (but never done yet) is paint the back side of your dash frame white. That way anytime you need to work under there, you can see things a lot better.
Excellent work in both instances.!


GURT WILDERS
Active Member
Ahh I like that idea, I was thinking the exact opposite and was gonna paint everything black haha. I think ill go with white tho thanks for the tip!That’s lookin good!
One tip I’ve heard (but never done yet) is paint the back side of your dash frame white. That way anytime you need to work under there, you can see things a lot better.
GURT WILDERS
Active Member
Thanks!Excellent work in both instances.!

-

