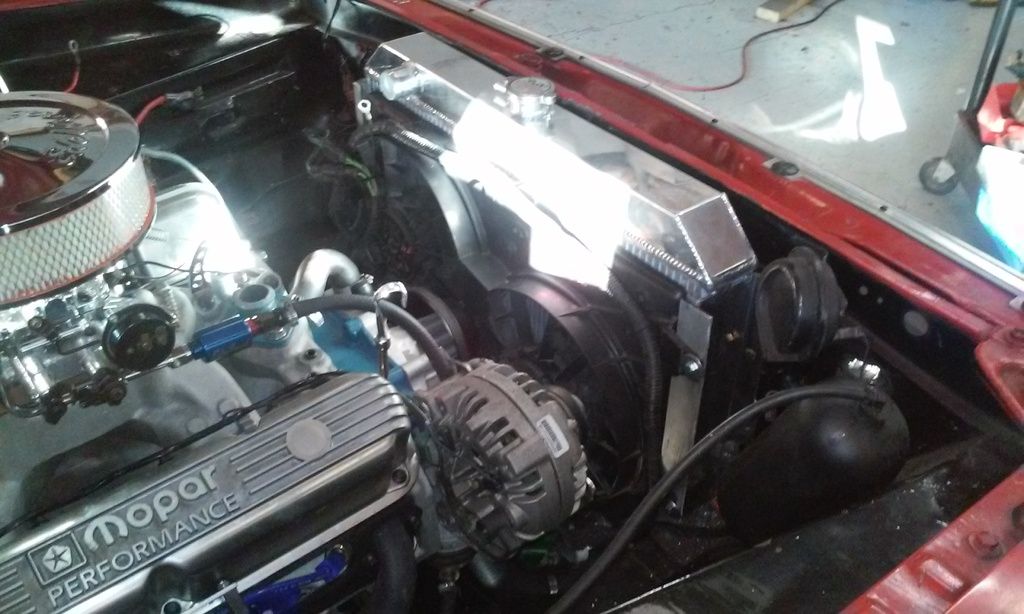
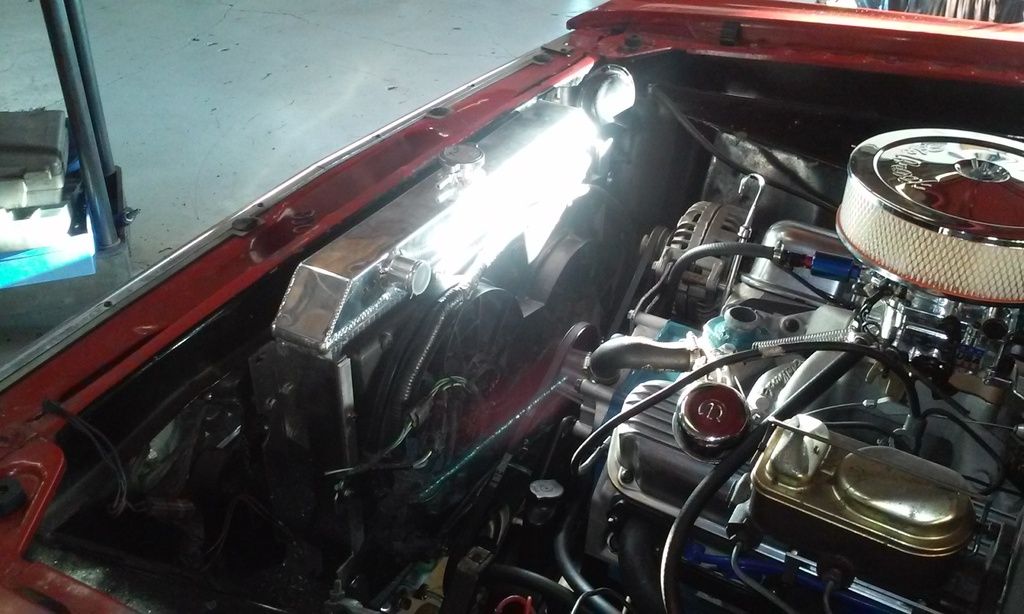
Champion Radiator / Mystique fans / Dakota Digital controller

-

KnuckleDuster

Well-Known Member
Joined
Nov 9, 2005
Messages
1,810
Reaction score
656
Location
Texas
Doing this swap tomorrow with my bud TXDart.

He's done it to his car but I wanted to go over the info, process, and parts list to save running to get something I forgot or backtracking to change wire routing, etc.


Any links to threads, info, pics, cool ideas or things to avoid is much appreciated.

I know this is a popular upgrade, perhaps compiling the whole deal would also help others wanting to do it.

THANKS!
 
Subscribed!

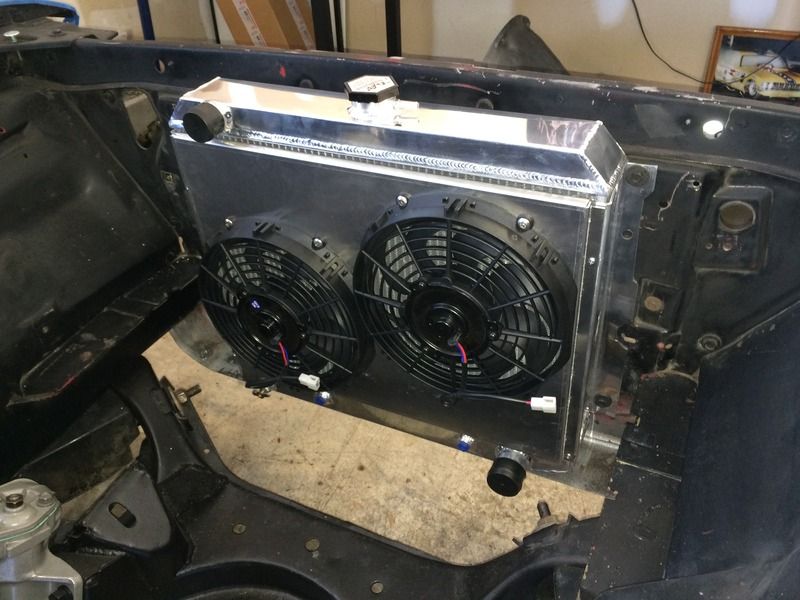
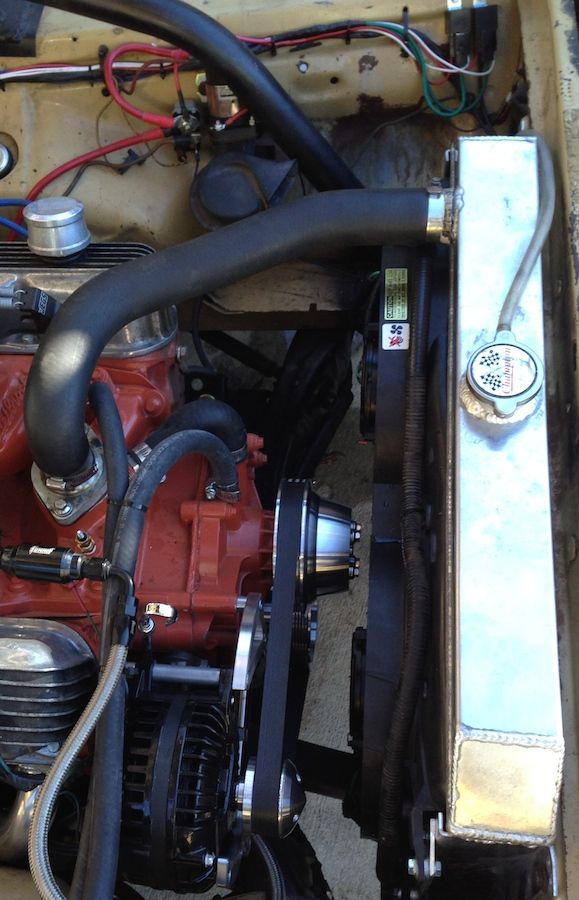
I've got my 3 row Champion radiator in along with their fan and shroud kit. The Dakota controller is sitting on the bench waiting to be installed. I bought another relay (kit comes with one) and temp sender from Dakota also.

Clearance between the fans and the water pump is tight with the 3 row radiator.

84C9BA01-5279-4F91-9FD3-EB68B071846A_zpsxeseo20b.jpg
 
i just finally installed my 26" 3 row champion with their dual fans. I had to make my own shroud because apparantly they discontinued the dual fan shroud. They sent me a single fan shroud but sent me dual fans.
My single fan shroud is sitting in the corner

my 67 dart is wired with ron francis
 
http://www.forabodiesonly.com/mopar/showthread.php?t=245889

Need a 26" radiator for that for sure.

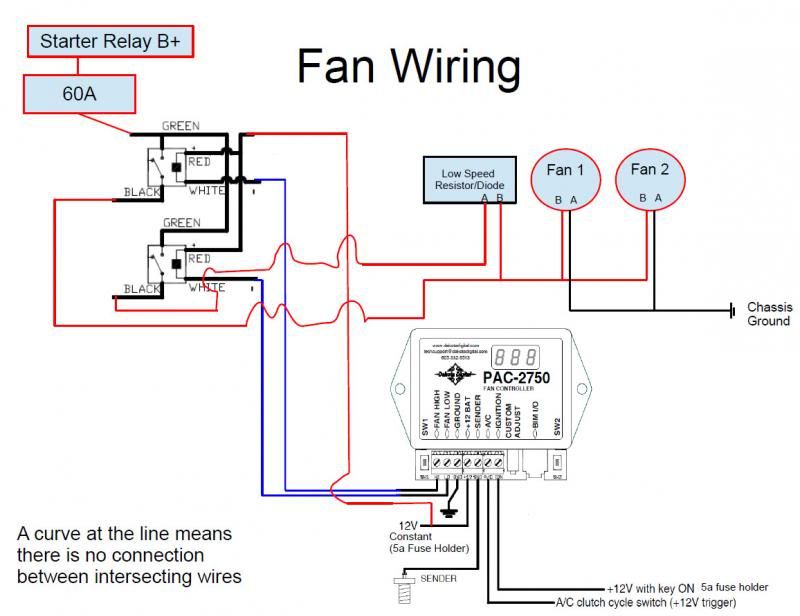
Here's the wiring diagram, use 10 GA


For parts, you'd need whatever aluminum you want to use for mounting, 3x contour fan connectors if you don't have the OEM harness, some 10 GA, 2x 70A relays, the dakota digital controller, a couple of bolts, the fans, and some 10 GA wire for the power/ground, 60A maxi fuse, and some small wire to wire the controller.

 
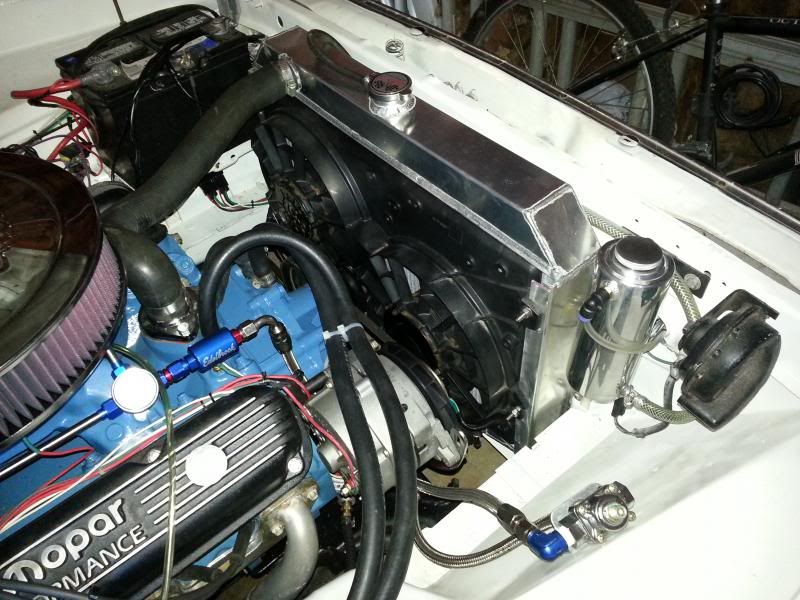
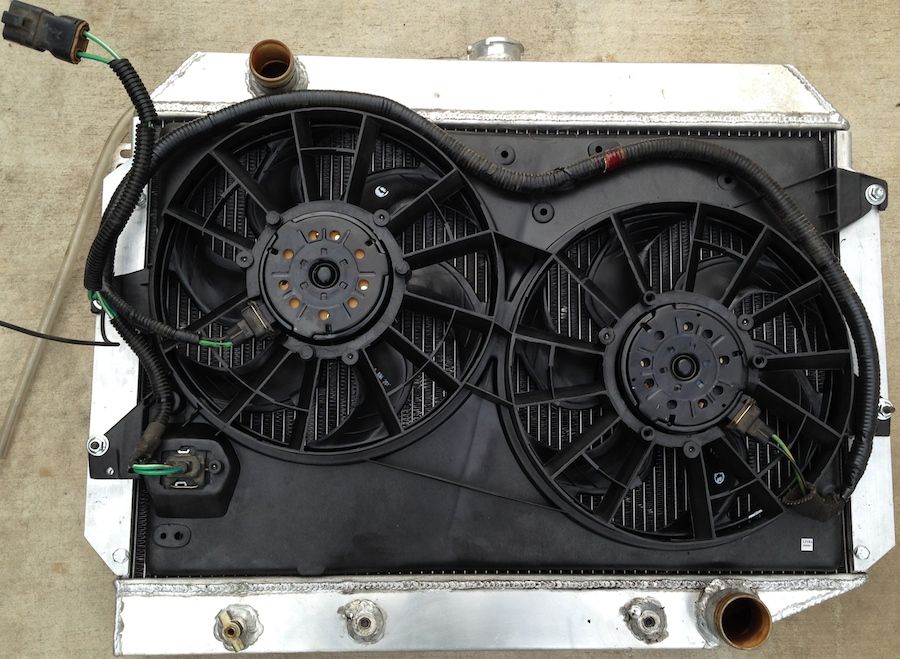
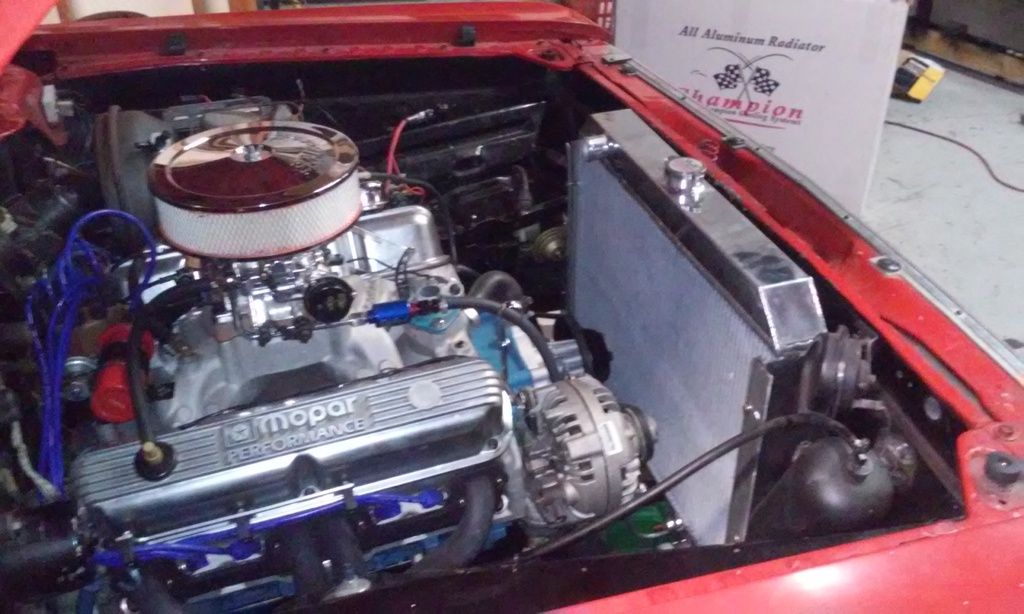
Here's my set up with the Champion 26" radiator and the Contour fans. I pretty much used goldduster318s instructions for installing everything on my car. My fan set up is the Dorman reproduction, but I went out to the local yard and sourced the wiring harness out of a Contour because the OE connectors are pretty expensive.

IMG_1558_zps3b79216a.jpg


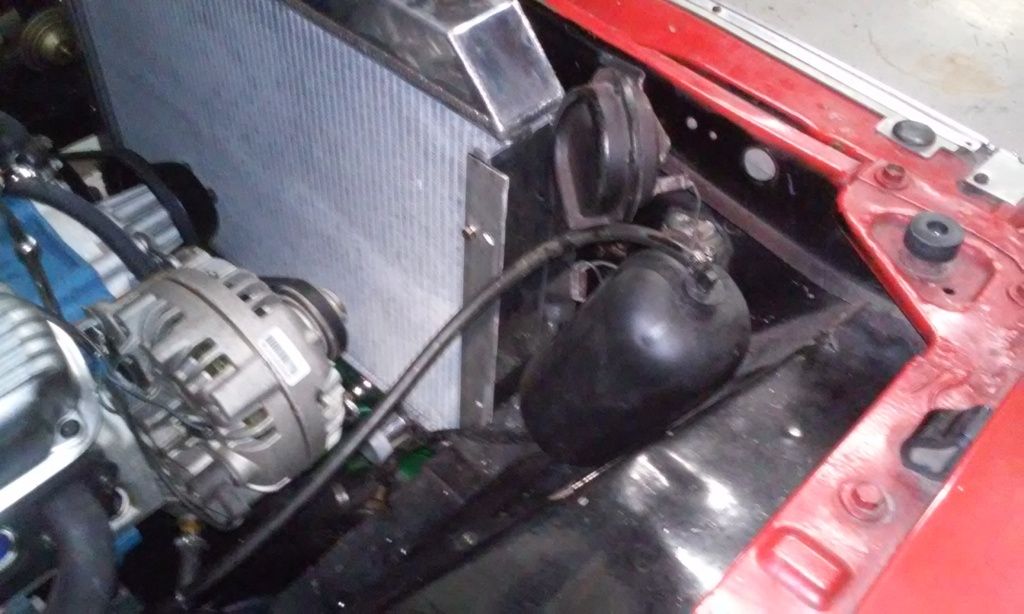
You can see the relays over on the inner fender

IMG_1563_zpsdd343921.jpg
 
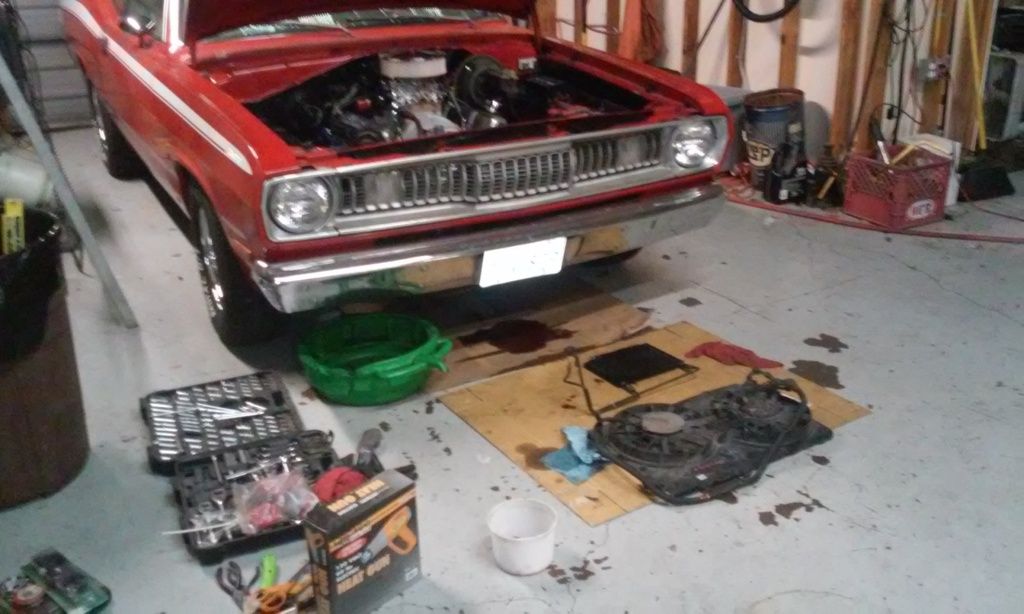
Been working on this the last couple days, it's going ok, but slower than expected. Driving an hour each way, cutting brackets and test fitting, plus trips to the parts store for bolts and crap slowed me down.
So far I have the radiator finally into final position. Had to massage the lower core support, but the top of the cap now sits 1-3/4" above the upper core support.


-
Back
Top