gerahead
Glutton for Punishment
I joined this forum last week after discovering it. Several on the Welcome board asked for pix. I have plenty.............somewhere, but since I worked on it this weekend, I took some "fresh" ones. I have had the car for several years, I bought it from a co-worker who had run out of steam and it seemed like too good a deal to pass up. Remember now that I say this having already had a 65 Olds 4-4-2 and a 71 Mach 1 Mustang in the garage!
What I bought...............
71 Dart Swinger that was originally a 318 car. My co-worker bought it as a complete, drivable car out of Oklahoma. It was originally a metallic gold exterior with a vinyl roof and kind of a baby **** tan interior. It is a very clean car. The body had the fenders, deck lid, hood, interior and engine removed. While lots of disassembly had already taken place, there was little consideration for baggin and taggin anything. I guess he figured that he'd be able to remember! The PO had started on the body work, I have done virtually none yet, so anything that is reflected in the photos has been done previously. The rest of the car departed its former home in three pickup loads. With it, I got a pristine black dash pad, front grille, new dash panel, partially chemically stripped factory ram air hood, two additional front fenders and a partially disassembled 340 engine. Near as I can tell from the inventory that I conducted after I bought the car, everything that I can think of is there, except for a tranny flex plate.
What I have acquired since then.................
Regardless of the exterior color, the plan was to change the interior to black. So I have tracked down door panels, kick panels, head rests, steering wheel and hinge covers for the front seat backs. I found a relatively complete 71 Dart in a boneyard several years back and grabbed just about everything I could get off it that was in good condition. I know that I have dupes of some parts, but better to have too many than not enough, right? I also picked up a manual steering box, new front and rear valences, steering column, front vent window assemblies, a set of small bolt pattern ralleye wheels and caps, 3:25 posi chunk for the 8-3/4 and a boatload of factory attaching hardware.
What I have done since I got it....................
Completely stripped it down to a bare shell. Pulled out all the glass, stripped the dash and everything else from under the dash. I fabbed up a set of struts that I can bolt to the front bumper mounts and the front mounts for the leaf springs so that I can still move it around with the suspension stripped away. cut away the door strike that had been welded to the jamb, fixed the adjusting nut and rewelded the bracket. I also fabbed up some reinforcing plates from aluminum that I intend to polish and then mount behind the strike with recessed chrome machine screws to reinforce it. I found after I had it stripped and sitting on jack stands that the left front had been tweaked. bolted the suspension back under it so I could tow it into a frame shop to get straightened. I figured that since I was going to that effort, I might as well hang the sheet metal on it too, just in case they ran into some issues with alignment. The deck lid didn't fit right either, so they adjusted that as well.
Much time passed after that, I was racing the Olds, the Mustang and then bought a full tilt Mercury Comet race car. I spent lots of time dinking around with them, between fixing broken stuff and just being dumb enough to not leave well enough alone!
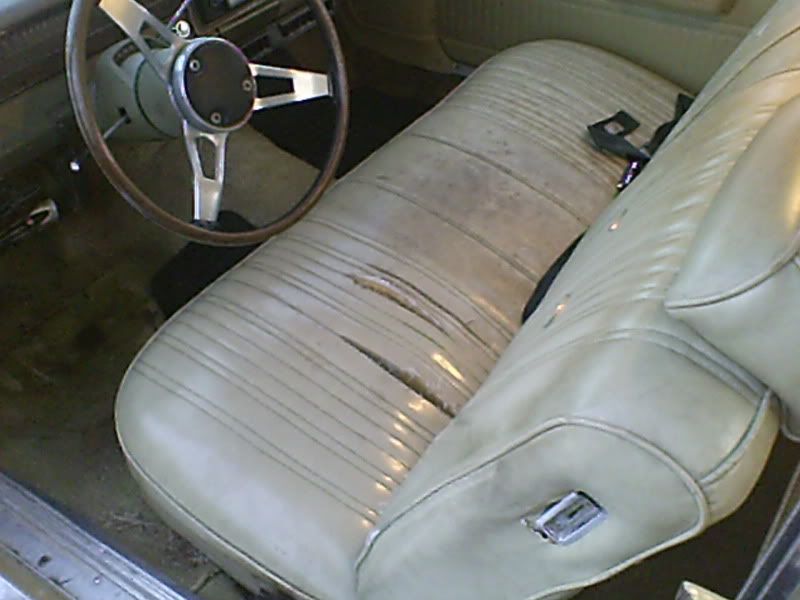
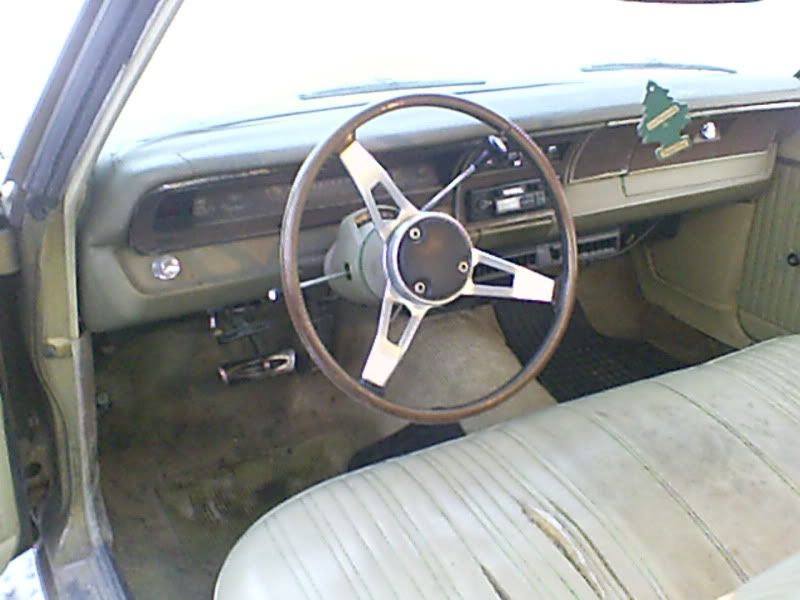
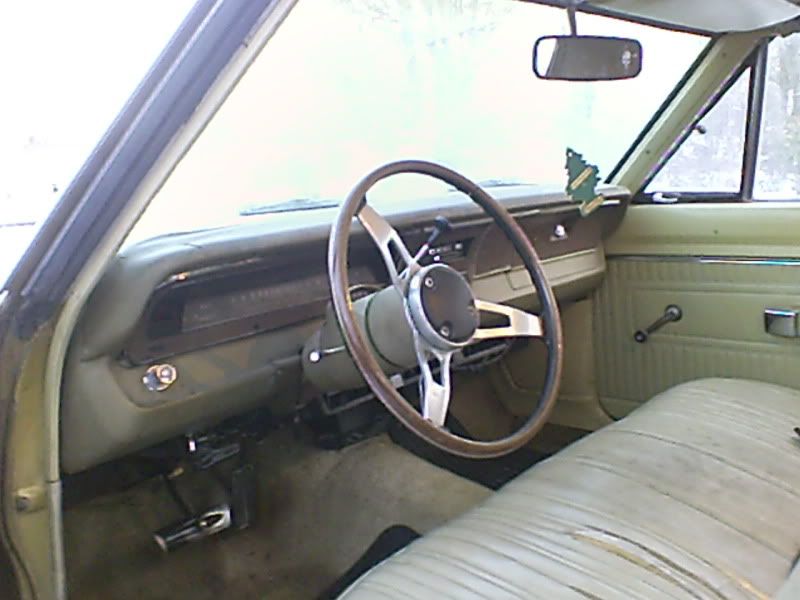
That brings me to date. Over this summer I have started to mock stuff back up to make sure it fits and is properly aligned. It is a good thing 'cuz I have found things I hadn't noticed before. The car has been tagged in the right rear, bent bumper mount, sheet metal bent where it attaches (fixed this weekend), found a bent front bumper mount. I have ID'd several little boo-boos that I intend to fix. I don't plan on this being an award winning show car, but I want it to look really nice when I'm done. As minimum, I want to get the passenger compartment cleaned up; remove all the spray bomb primer, epoxy prime , re-seal the seams and apply the color. After that I will try to get some work done on either the trunk or the underside, depending on how much time I have before the snow flies! Attached below are pictures of what I have sitting in the garage right now. I know that I will be a frequent visitor as I find out more stuff that I don't know, like..................
Is the underside painted the exterior color? Most of what I can see that is untouched, looks to be a blackish colored coating of some sort. Other than under the front apron undercoating, there doesn't appear to be much exterior color under the car at all. What color is the interior sheetmetal? Where I have scraped away the seam sealer, it looks like e-primer. Other than the area just below the rear door panels that is the interior color, what is the rest?
The plan............
As I stated earlier, if you can still remember, is to convert the interior color to black. The exterior is going to be the same bright yellow that you see on Chubby Cavaliers and Cobalts. I am retaining the vinyl top, but it is going to be black as is the *** stripe.


What I bought...............
71 Dart Swinger that was originally a 318 car. My co-worker bought it as a complete, drivable car out of Oklahoma. It was originally a metallic gold exterior with a vinyl roof and kind of a baby **** tan interior. It is a very clean car. The body had the fenders, deck lid, hood, interior and engine removed. While lots of disassembly had already taken place, there was little consideration for baggin and taggin anything. I guess he figured that he'd be able to remember! The PO had started on the body work, I have done virtually none yet, so anything that is reflected in the photos has been done previously. The rest of the car departed its former home in three pickup loads. With it, I got a pristine black dash pad, front grille, new dash panel, partially chemically stripped factory ram air hood, two additional front fenders and a partially disassembled 340 engine. Near as I can tell from the inventory that I conducted after I bought the car, everything that I can think of is there, except for a tranny flex plate.
What I have acquired since then.................
Regardless of the exterior color, the plan was to change the interior to black. So I have tracked down door panels, kick panels, head rests, steering wheel and hinge covers for the front seat backs. I found a relatively complete 71 Dart in a boneyard several years back and grabbed just about everything I could get off it that was in good condition. I know that I have dupes of some parts, but better to have too many than not enough, right? I also picked up a manual steering box, new front and rear valences, steering column, front vent window assemblies, a set of small bolt pattern ralleye wheels and caps, 3:25 posi chunk for the 8-3/4 and a boatload of factory attaching hardware.
What I have done since I got it....................
Completely stripped it down to a bare shell. Pulled out all the glass, stripped the dash and everything else from under the dash. I fabbed up a set of struts that I can bolt to the front bumper mounts and the front mounts for the leaf springs so that I can still move it around with the suspension stripped away. cut away the door strike that had been welded to the jamb, fixed the adjusting nut and rewelded the bracket. I also fabbed up some reinforcing plates from aluminum that I intend to polish and then mount behind the strike with recessed chrome machine screws to reinforce it. I found after I had it stripped and sitting on jack stands that the left front had been tweaked. bolted the suspension back under it so I could tow it into a frame shop to get straightened. I figured that since I was going to that effort, I might as well hang the sheet metal on it too, just in case they ran into some issues with alignment. The deck lid didn't fit right either, so they adjusted that as well.
Much time passed after that, I was racing the Olds, the Mustang and then bought a full tilt Mercury Comet race car. I spent lots of time dinking around with them, between fixing broken stuff and just being dumb enough to not leave well enough alone!
That brings me to date. Over this summer I have started to mock stuff back up to make sure it fits and is properly aligned. It is a good thing 'cuz I have found things I hadn't noticed before. The car has been tagged in the right rear, bent bumper mount, sheet metal bent where it attaches (fixed this weekend), found a bent front bumper mount. I have ID'd several little boo-boos that I intend to fix. I don't plan on this being an award winning show car, but I want it to look really nice when I'm done. As minimum, I want to get the passenger compartment cleaned up; remove all the spray bomb primer, epoxy prime , re-seal the seams and apply the color. After that I will try to get some work done on either the trunk or the underside, depending on how much time I have before the snow flies! Attached below are pictures of what I have sitting in the garage right now. I know that I will be a frequent visitor as I find out more stuff that I don't know, like..................
Is the underside painted the exterior color? Most of what I can see that is untouched, looks to be a blackish colored coating of some sort. Other than under the front apron undercoating, there doesn't appear to be much exterior color under the car at all. What color is the interior sheetmetal? Where I have scraped away the seam sealer, it looks like e-primer. Other than the area just below the rear door panels that is the interior color, what is the rest?
The plan............
As I stated earlier, if you can still remember, is to convert the interior color to black. The exterior is going to be the same bright yellow that you see on Chubby Cavaliers and Cobalts. I am retaining the vinyl top, but it is going to be black as is the *** stripe.