Resurrecting the EvilScamp project

-

EvilScamp

Well-Known Member
Joined
May 22, 2004
Messages
3,224
Reaction score
11
Location
Dalton PA
Now that the Duster is done thought it was time to get back on the Scamp.
A little back history, bought it 11 years ago drove it for 8 did some minor mods. to what it looked like in my sig. pic. It had a 340 auto out of a 69 Dart when i bought(that motor is now in my Duster).
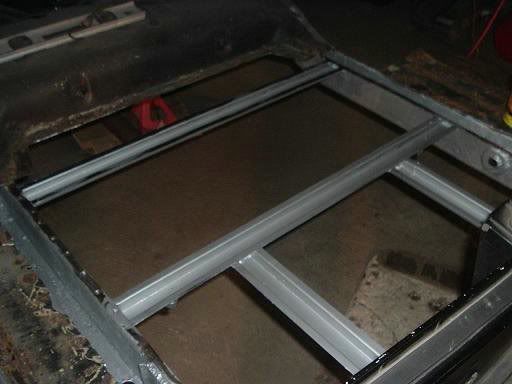
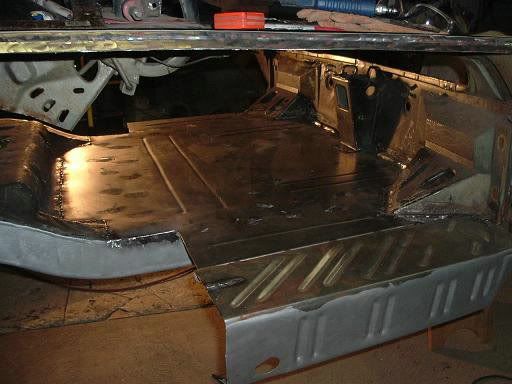
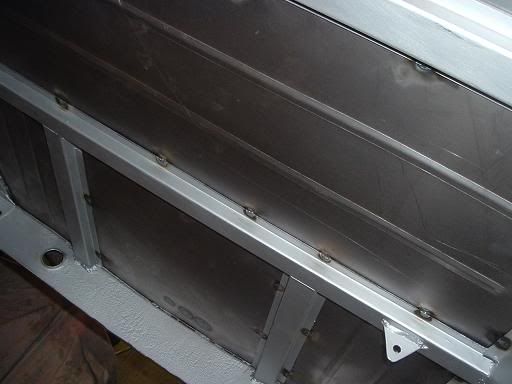
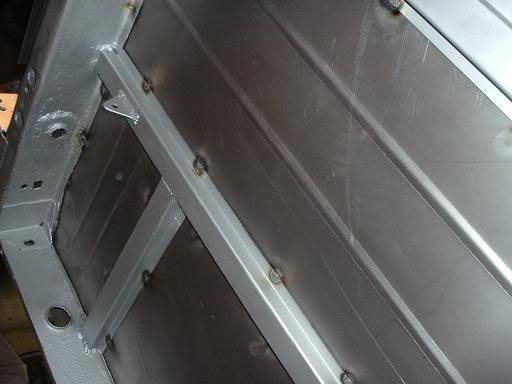
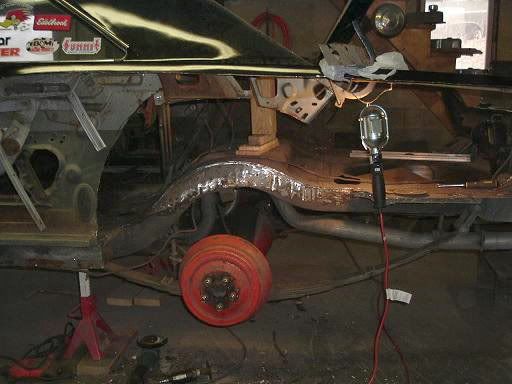
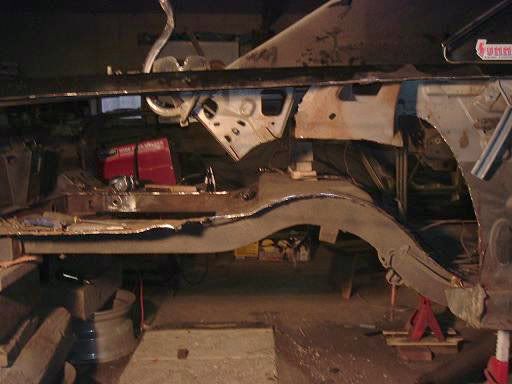
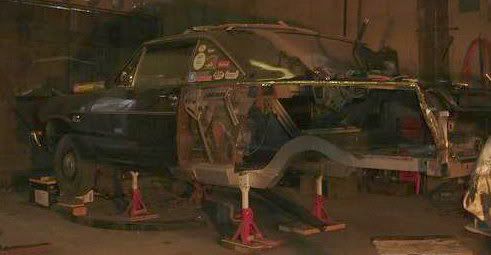
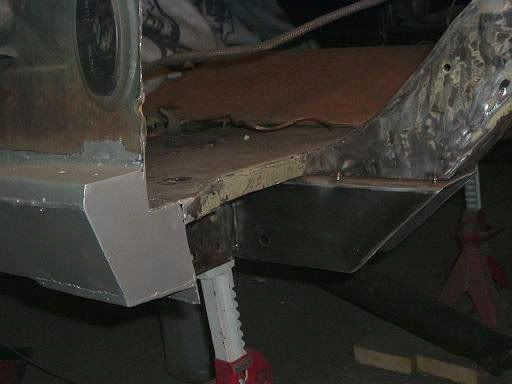
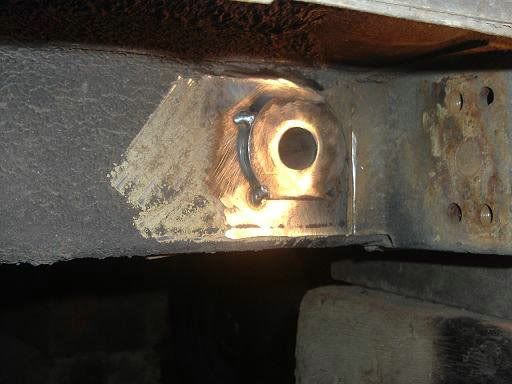
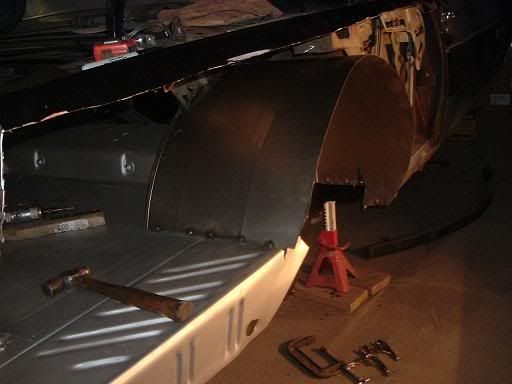
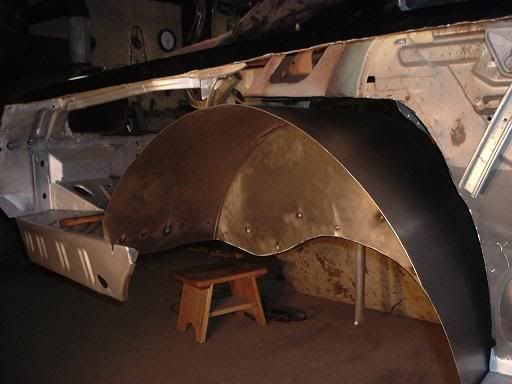
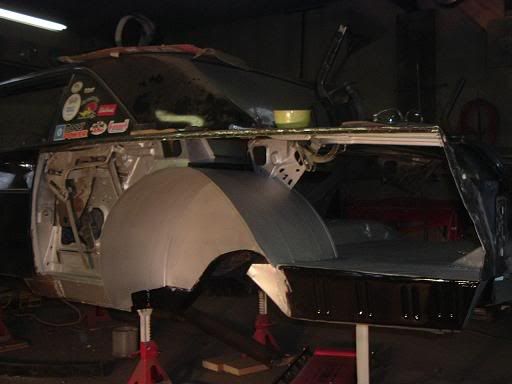
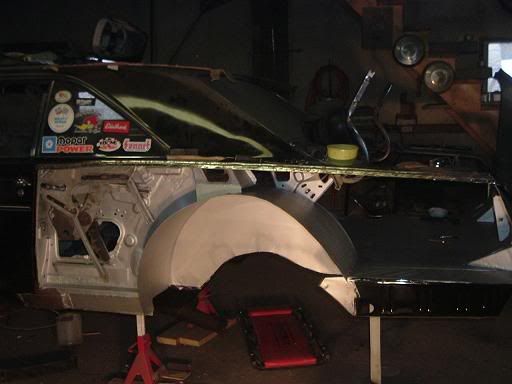
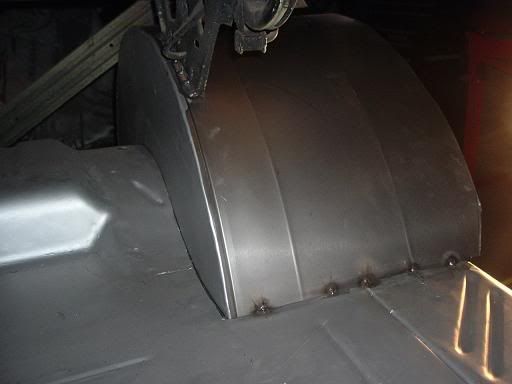
Starting redoing it about 3 years ago, new qtrs.,trunk floor exts. hand made trunk floor which will eventually house a fuel cell, mini-tubbed, moved the springs inboard,added super stock springs and rebuilt the front suspension upgrading to big-bolt disc brakes.
It has been sitting for over a year while i was finishing up my Duster.
I have lots &lots of pics. when i did all that if anyone wants to see them.

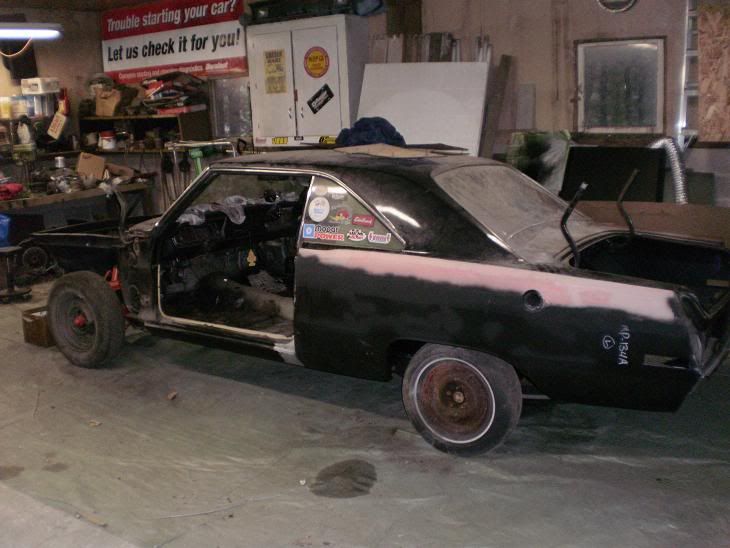
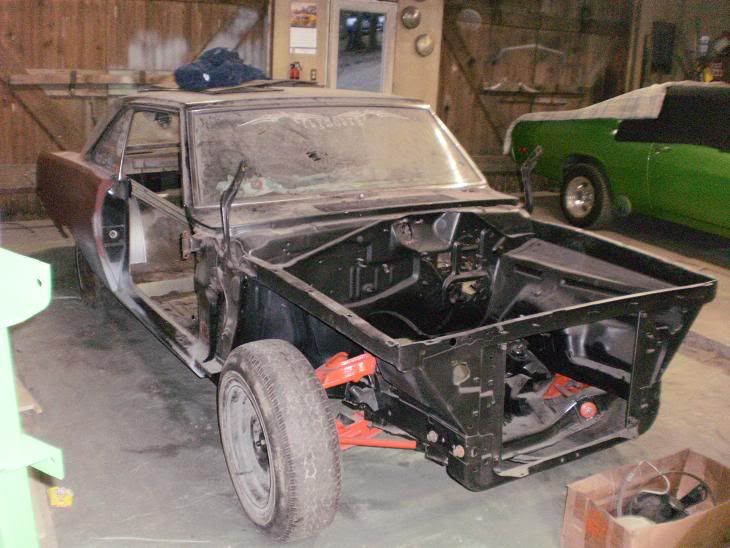
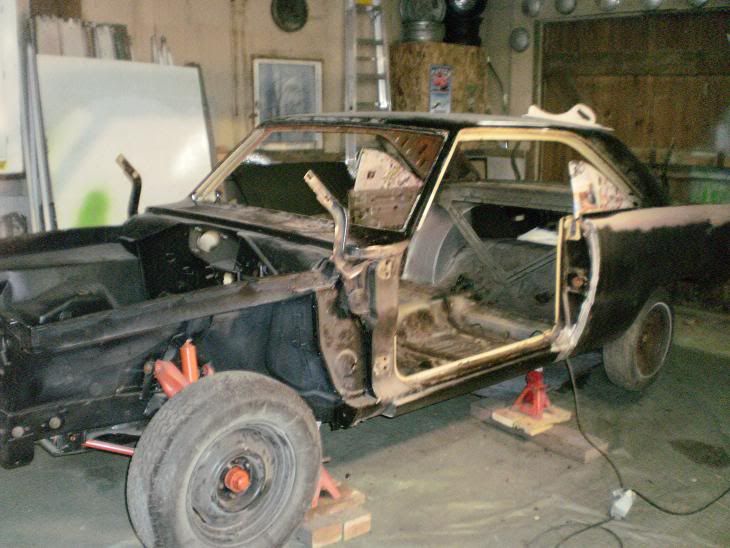
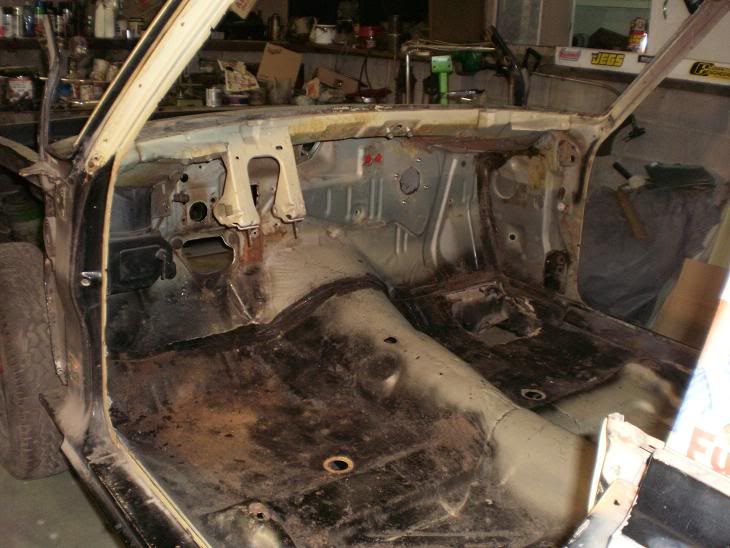
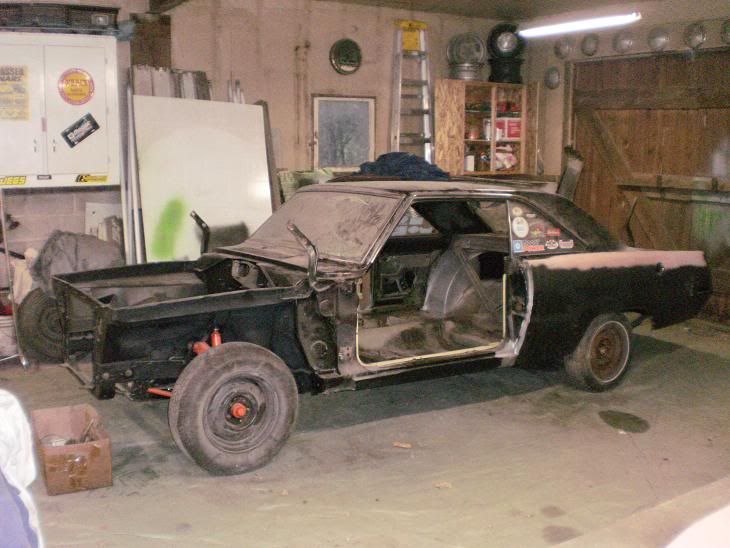
Today i pulled the cover off and cleaned out all the parts i had stored inside it and in the trunk, pulled the doors off and some other parts, wanna get the glass and the dash out of it yet.
007-7.jpg

011-8.jpg

014-6.jpg

018-5.jpg
 
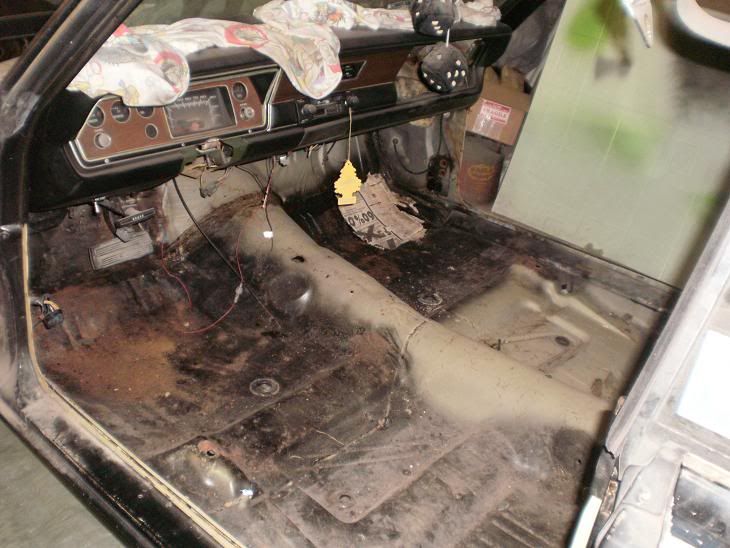
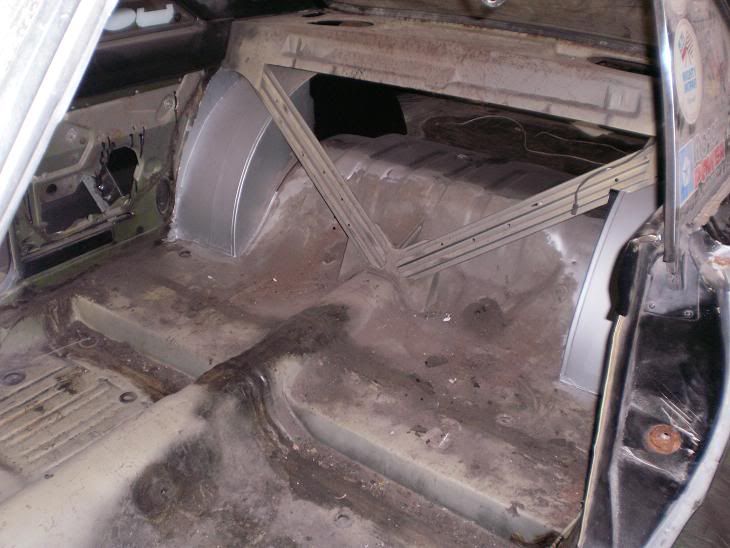
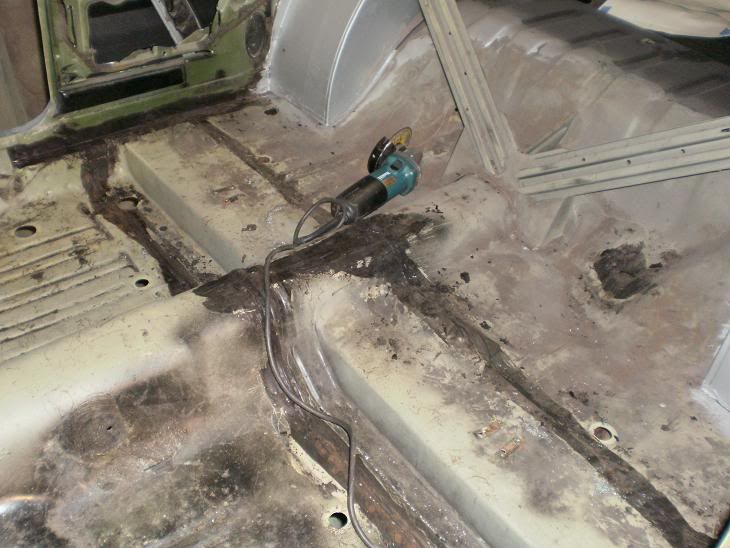
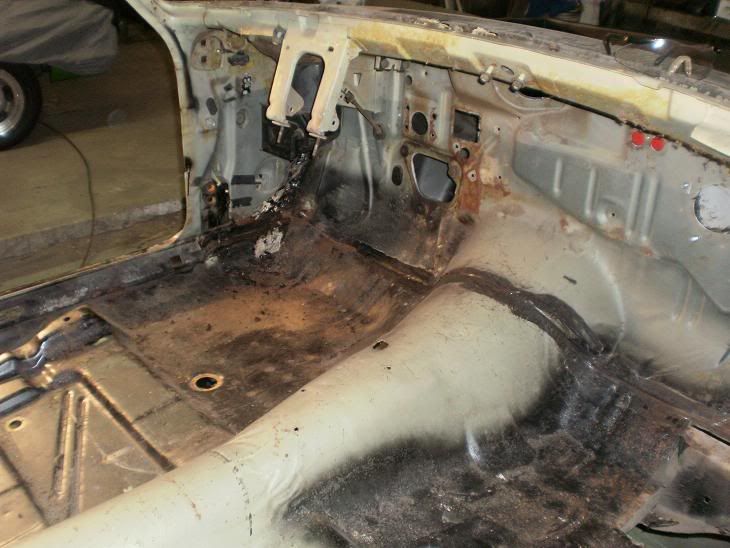
Floors have some surface rust but seem to be solid yet, guess i'll find out for sure!
012-7.jpg

013-8.jpg


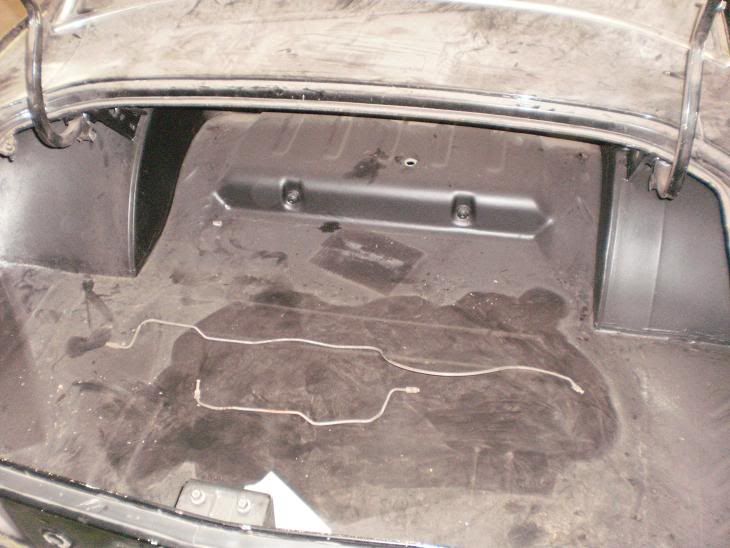
The trunk floor and wheel tubs.
015-5.jpg
 
I look forward to watching progress on the Scamp. You did some major surgery on that car in the last round of surgeries.

Great work on the Duster, very cool car.

Thanks,
OldMoparsRule!
 
The trunk floor, the exts. and the wheelhouses were rotted out and patched up by the previous owner, so when i started cutting i just kept cutting til all the rust and half-assed patch work was gone!
Basically all that was left was the frame rails!

After the cutting and making room for the tubs.(Sorry for the pic. quality it was my old camera!)
2bbfre2.jpg

a73cre2.jpg

b7c7re2.jpg


Spring relocation kit
2298re2.jpg

e211re2.jpg
 
My brother Dan helped me ALOT doing all this and probably has just as many hours into it as i do!

Qtrs. hung
001.jpg

002-1.jpg

004.jpg
 
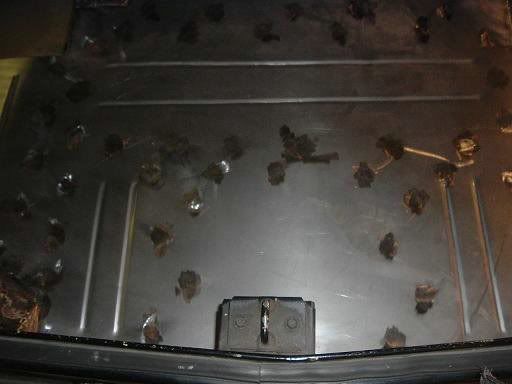
Besides all the metal work i rebuilt the front suspension, re-hung the rear with SS springs and spent about a month on my back scraping off all the old undercoating and redoing it with truck bed coating.
That's where it stands at this moment til i get some more time and money to work on it again but it will eventually be done and road worthy again!

Might pull the rear back out and redo it again not happy with how it looks!

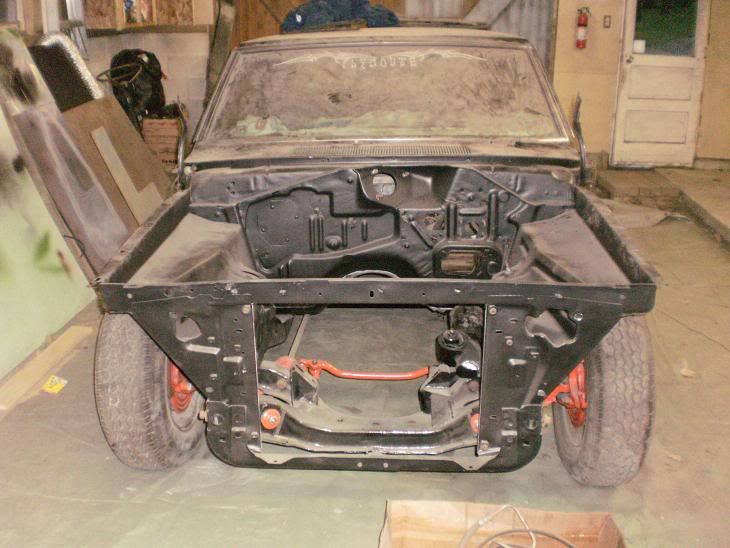
Rebuilt front suspension
015.jpg
 
I always wondered what went with your Dart :read2:
I am glad to see this thread this evening 360scamp :happy10:
Know I can see more of your work I have been enjoying and learning from for the last few years :read2:
 
You've done some really good work on the Scamp. Question on the tubs since I'm going that route myself. How did you mate them up with the quarter panels, weld, adhesive, sealant? If you have any closer pics of that area I'd love to see them.
 
You've done some really good work on the Scamp. Question on the tubs since I'm going that route myself. How did you mate them up with the quarter panels, weld, adhesive, sealant? If you have any closer pics of that area I'd love to see them.

Tack welded them to the frame and used seam sealer to the qtrs., the tubs are really thin gauge metal.
 
Doing a little bit to the Scamp when i can, stripped out the rest of the interior, all the glass except for the qtr. glass. including all the trim weatherstripping and anything else that was screwed or bolted fast! The only thing i didn't get out yet is the fresh air vent on the drivers side.
004-12.jpg

010-8.jpg


Scraped off what seemed to be about 6 pounds of seam sealer! Unbeleivable how much they used!
007-8.jpg

009-8.jpg


And today i cut off a half assed patch on the passenger side floor that had been sealed up with what looked like roofing tar and cut out the rust underneath.
008-7.jpg
 
Just when you think there couldn't possibly be anymore rust left:angry7:
The previous owner just patched over it and filled it!

Didn't sand the paint off of the other side yet but the Scamp will definately be getting some more surgery!

003-11.jpg

002-8.jpg
 
Stripped the paint off the right side looks like i got lucky no rot! Still gonna sandblast the seam because there is some surface rust on it.

076-1.jpg


Didn't get so lucky with the striker when i cleaned it off found some really nice metal work! :angry7:

077.jpg
 
Cut the rust out of the roof and made a new piece for it, didn't get anything welded up yet.
025-5.jpg


The patch.
028-3.jpg


Also cut out the door striker patch and the rust behind it.
026-3.jpg
 
-
Back
Top