OzyDuster74 full rebuild and hemi conversion!!

-
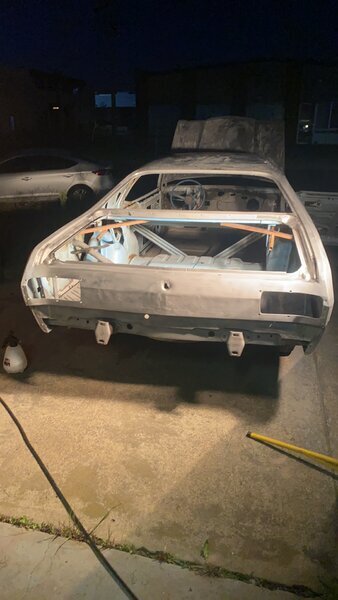
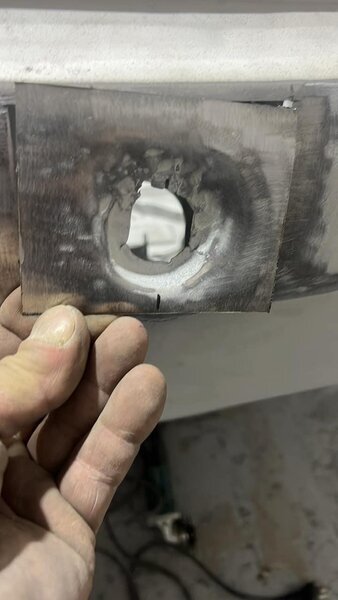
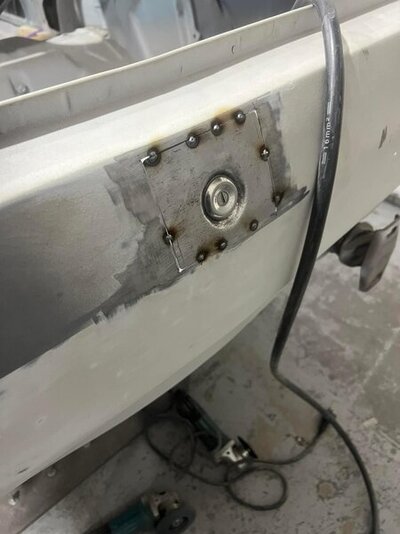
Got the rear tail panel looking spotty dog, someone had made the key hole look like a cats arse not sure what kind of debortury had taken place...... glory hole perhaps.
IMG_3939.JPG
Also looked like someone let a shot gun off inside the boot as lot of small dents outwards etc. All tapped out and welded a new boot lock section back in.
IMG_1384.JPG

IMG_1383.JPG
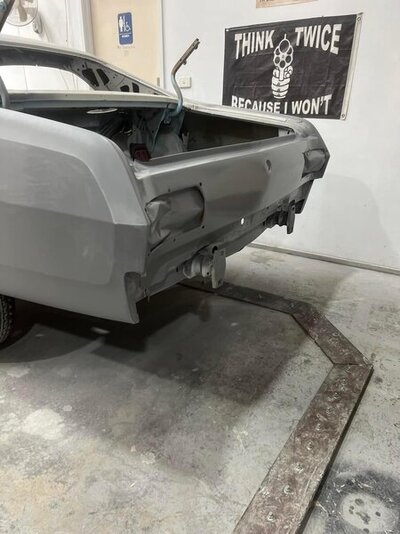
Rear of car all done ready for paint, boot lid just needs the smallest smear of shmoo and waiting on my duck tail spoiler. The tail light bezels fit like a **** in a sock as well. Maybe a 1mm gap at most around them in spots that the gasket will easily fill up. I have a 73 rear bar that i will fit up just need brackets. Then its off to the chromers for new chrome along with the front bar. I am leaning more and more towards flat grey as the colour of the car with black bonnet and side stripes
IMG_1491.JPG
 
I love what I’m seeing so far!
As for your wheel fitment issues, I was going to link this thread below and suggest you do what 72bluNblu did, but then I saw you started that thread, so you’ve already seen it.
:lol:

Rear Wheel Tub adjusting outer side of tub any sugestions?
Thanks!!! Panel work all but finished just going back over every panel looking for any small dents or anything missed. As found the right sider quarter panel line wasnt as sharp as would like. Currently cutting the lips on the rear wheel arches back to stop any rubbing.
Next stripping entire floor back to bare metal, then undercoat, weld chassis stiffening in and install the rear end.
 
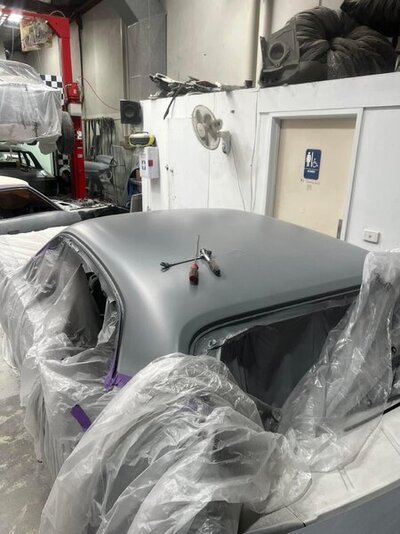
Finished the roof over the weekend, had a dent towards front of roof most likely due to being a vynil roof car and factory not caring. Started the process of stripping the underside of the car, it has a pretty poorly done sound deadener, not sure thats factory as missing in many place.
IMG_1583.JPG
We are also trimming the fold around the wheel arches at the rear as they about an inch wide so to stop scrubbing will cut back and re weld.
As i said earlier car back to my factory for stiffening:
Front and rear torque boxes
Chassis stiffening rails
K frame seam welded and gusets
Seam weld the floor joint under rear seat
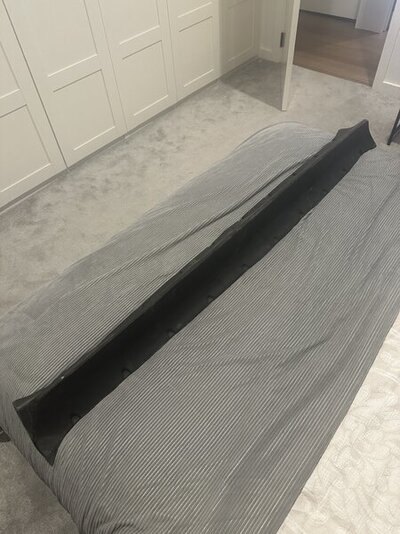
Install new 8 3/4 with trutrac, new leafs and Dr diff offsets with caltracs.
Rebuild front suspension with a rebuild kit with Polygraphite kit by Performance suspension

Then will go back to shop to have engine bay, inside and boot resprayed so can install interior, wire and install 6.4. Then spray the exterior to avoid scratches
 
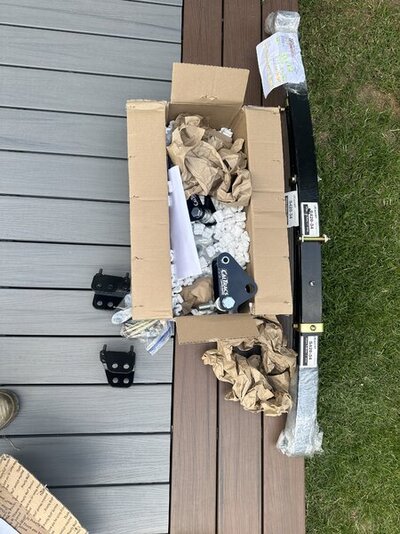
So my, Calvert mono leafs rolled up with an inch drop, including my calvert caltracs. Got the Dr diff half inch off set as well as the stiffening plates that go behind the mount.
IMG_1610.JPG
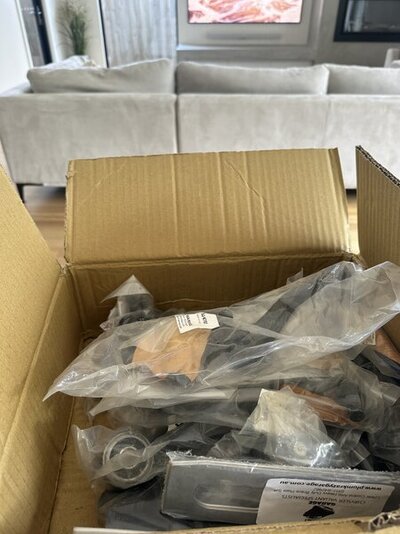
Also have a full rebuild kit for the front end including stiffeners for the lower arms, decided against Qa1 arms for now.
IMG_1611.JPG
 
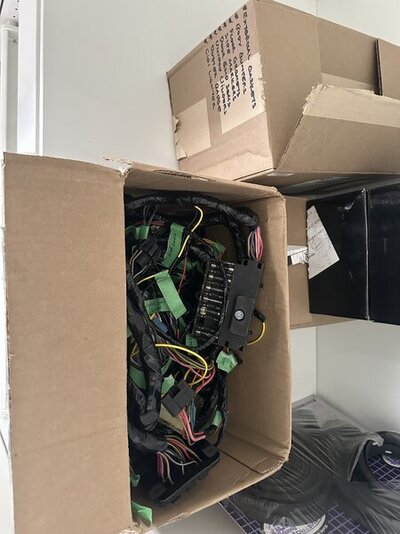
When pulling the car apart i discovered that the car has a seat belt lock out. So i got a guy who restores factory looms to modify a 72 loom to fit my 74. Comes with the front two looms i will remake my own rear loom.
I will also unpick the glass fuse box and put a more modern fuse box on it
He also made the side markers my indicators as well at the front i have deleted the rears.
The best thing it all clearly labeled
IMG_1613.JPG
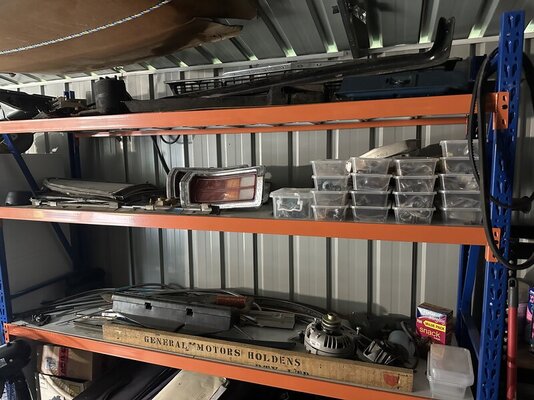
O and this is my shed haha, pretty much the whole car stripped into a few shelves other than bumpers, seats and dash. All bolts etc all labeled and in their own containers depending on part of body they are from. For example one plastic container for left door, then all the bolts bagged in individual bags and labeled etc
IMG_1612.JPG
 
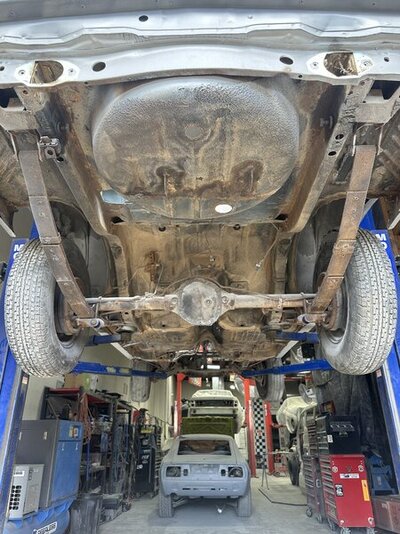
So we have commenced work to underside of car. Removed the petrol tank and will remove all brake and fuel lines. Tank actually in pretty good condition, looks to have a fair bit of rusty orange crap stuck to the walls inside. If can get a tank cheap will maybe replace. The straps are like new. No rust or anything found that raises any red flags. Excited to get it back to my shop and chassis stifen athen will raptor line entire under side of the car. Has anyone raptor lined under side of car thoughts?
Some one looks to have tried to sound deaden the underside with a poorly applied deadener.
IMG_1634.JPG
 
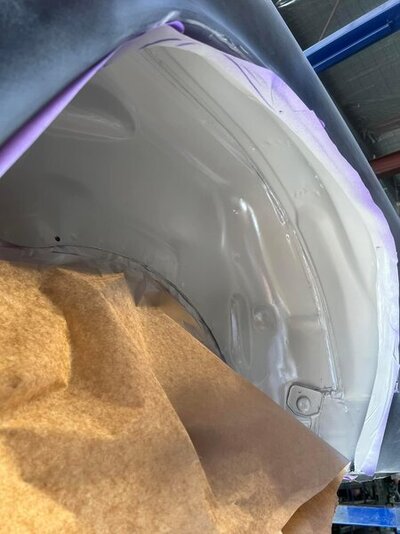
So we have trimmed the large lips of the quarters all the way back to where the tub begins and re welded to get as much rubber room as possible. I have a 275 on a 8.5 inch rim so should fit nicely and a 3.5inch back set so diff shortened to get it perfect. You can see below the lip flares out again to original size so got maybe nearly half an inch off it
IMG_1665.JPG
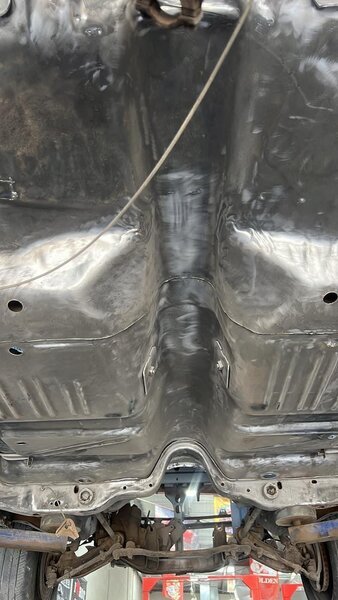
Then all bare metal removing all the old body deadener, neatly seam sealed and primed ready for Raptor liner. We have removed all fuel and brake lines to make the job easier as entire under side getting done as well to bare metal
IMG_1714.JPG
 
Good day y'all,

Just wanted to commend on the progress over the posts as it really illustrates how much is involved in each step. Wish I had a % of the motivation demonstrated on this project. Definitely keep up the *** kickin work!!

Kind regards, C
 
Good day y'all,

Just wanted to commend on the progress over the posts as it really illustrates how much is involved in each step. Wish I had a % of the motivation demonstrated on this project. Definitely keep up the *** kickin work!!

Kind regards, C
Appreciate it mate!! Last car i built, full bare metal respray and a 355 stroker, all new interior etc. Would not have been possible if not for the forum i was on, also keeps me motivated to keep progressing lol. Light at the end of the tunnel as body nearly completed and then its the fun stuff. Bolting new parts on etc haha.
 
So the stripping of the floor pan has been a mission as some one has sprayed a sound deadener on very thickly and the wire wheels etc goo up quickly. Getting there, we will sand blast the hard to get bits once we get the bulk of it. Floor pan etc in crazy good condition, no big dents and the sound deadener wasnt hiding any sins

IMG_1733.JPG
 
What is everyone doing to the underside, i am thinking about tinted black raptor liner as will work like a sound deadener but better product than most sound deadeners
 
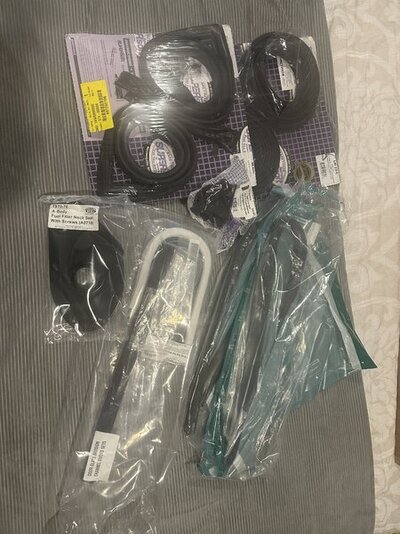
So more parts, have all the door rubbers, door end seals and the coupe glass rubbers. As well as the coupe window to side glass strip. The coupe kit is made by Precision rubber from detroit muscle where as the door rubbers are by Metro soft rubber i think. Hopefully all good fit still to get front and rear screen rubber
Whilst shopping at detroit muscle also picked up a new tank to filler neck rubber. Looking like everything going to be new or completly restored or custom.
Anyone used these rubbers any good?
IMG_1919.JPG
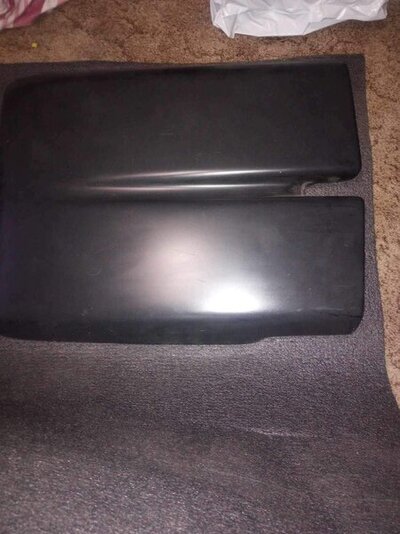
My rear duck tail also arrived looks like going to need a bit of work to make fit nice. But it should work, i think i may get someone else to do it as will take a lot of hours
IMG_1920.JPG

Underbody looked like this before going into primer so very happy as in great condition. Nearly ready to screw stuff back on!!
IMG_1918.JPG
 
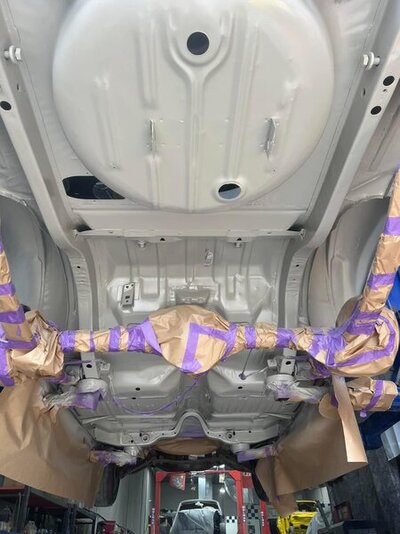
So under side all finished for now, all in epoxy primer. Now to weld in the torque boxes and frame connectors. So glad was nothing hiding under the sound deadening, the under body came up super clean.
Once we weld underneath we will raptor line the under side tinted to body colour. Still not sure on what colour to go with.

IMG_1980.JPG


IMG_1981.JPG
 
So we have commenced work to underside of car. Removed the petrol tank and will remove all brake and fuel lines. Tank actually in pretty good condition, looks to have a fair bit of rusty orange crap stuck to the walls inside. If can get a tank cheap will maybe replace. The straps are like new. No rust or anything found that raises any red flags. Excited to get it back to my shop and chassis stifen athen will raptor line entire under side of the car. Has anyone raptor lined under side of car thoughts?
Some one looks to have tried to sound deaden the underside with a poorly applied deadener.
View attachment 1716196751
I body color Raptor Lined the bottom of my 71
 
So i wasnt happy with some of the lines so played around with them more, had a couple of small dents that were missed on the passenger side. It was difficult as when doing the passenger side the quarter on the drivers side had not yet been replaced.
Once the drivers side was all done we realised the passenger side needed sharper lines. The front of quarter had, had a bad pull job at some point and the diagonal body line was too smooth.
IMG_2042.JPG
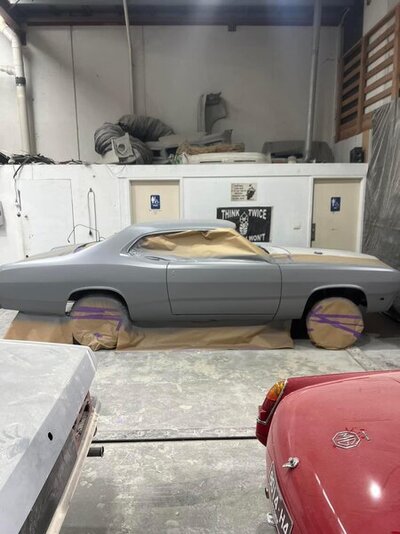
I am not precious and i am not bragging it has no filler, however it only has a skim here and there. I am very happy with the results! Has come a long way from where it was. What you see is a completely rust free Duster thats had every inch to bare metal, acid washed and primed. Excited for the next stages.
The lines on it look amazing even in the undercoat.
IMG_2041.JPG
 
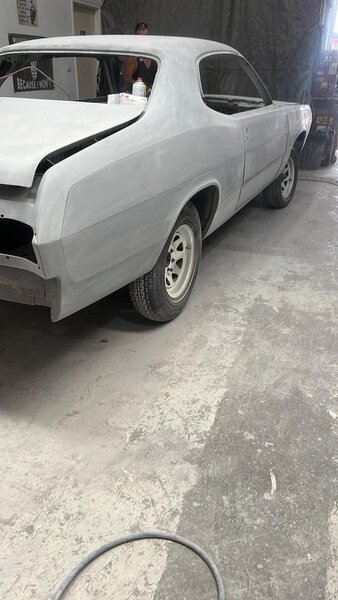
Here is another angle! Spoke to my insurance company and listed the work so far, insured for 40k Aus as it sits on laid up insurance!! Hopefully once finished it should be about 100k ozy. Obviously not selling it but nice to know its worth something

IMG_2040.JPG
 
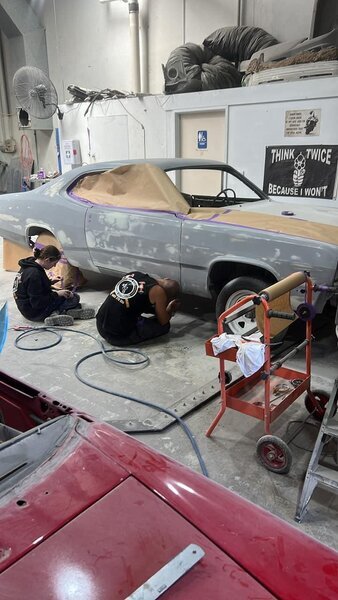
So we decided to highfill it and reblock the entire car to make sure every line was super straight. It looks amazing the lines are all super sharp and have gone over every inch of the car multiple times. My chassis connectors are in the mail and i have also picked up a genuine Mopar twin scoop.
IMG_2157.JPG
Currently in the process of fitting the rear ducktail to acheive this look, we will smooth out all the bolt holes to make it look seamless.
images.JPEG
 
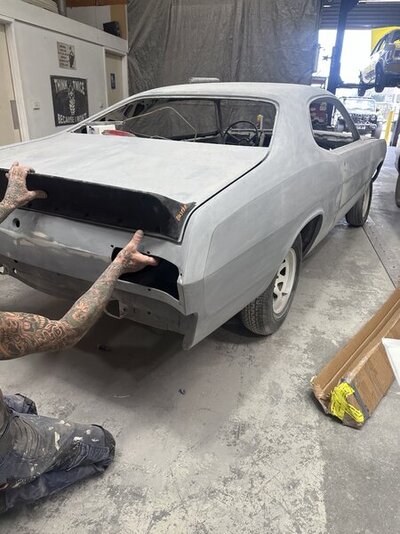
So its happening, the purists going to cry but thats ok. The ducktail is going to need a lot of love, as she a little wonky but a great starting point. We will delete all the bolt holes as they a bit yuck, so that it is a super smooth transition on the lid. It will also be body colour and hopefully look close to stock as i really do not like the rear wings and the 73 *** end is a little stale compared to the rest of the car. It will also run diff dumper pipes as i dont like the old school looking pipes. My 72 rear bumper brackets have arrived as well so can test fit my bar and adjust holes on the body of the car accordingly
IMG_2159.JPG

On another note got a genuine Mopar bonnet twin scoop. And ordered bonnet pins i want to go all out i dont want to get to the end and feel i could of done more. I want it to look like doing 100mph sitting still.
IMG_2168.JPG
 
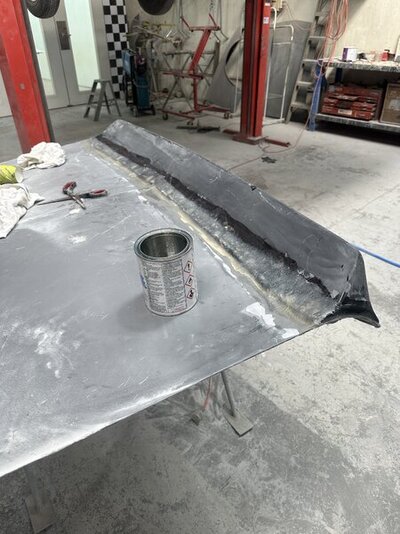
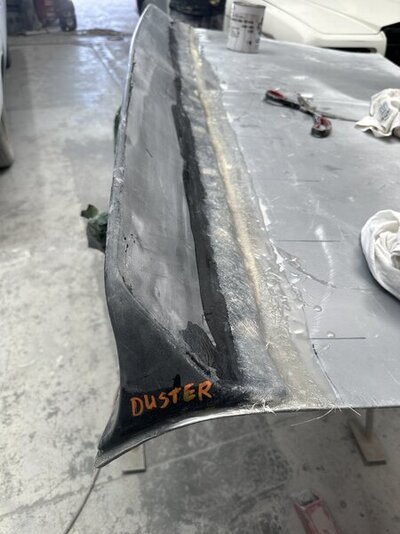
Started on the duck tail, obviously they need a lot of work as quite distorted and dont fit very well. So we decided playing around with the tail off the car would be too hard. As both front and back were no where near straight enough to match the boot lines.
So we took the tail to bare metal, laid fiber glass sheet down and screwed the tail down over that. Then glassed up the holes as didn't want it looking like i frankensteined it on with bolts.
By laying the sheet down we can build the front and back edge up, so we can straighten the endges on the car rather than as a seperate piece as less stuffing around. As i want to keep the edges so it dousnt look like its moulded to the boot but rather stuck on but a perfect fit.
IMG_2183.JPG
As you can see from the pick we have built the fiberglass up as the tail didn't kiss the boot lid in many places
The top and back also have some bad casting issues so will need some love as has some serious highs and lows in it. However this can be fixed with filler.
IMG_2184.JPG
Its a work in progress however this is going to transform the 74 *** end from a boring rear to a rear that matches the staunch look of the rest of the car
 
Last edited:
-
Back
Top