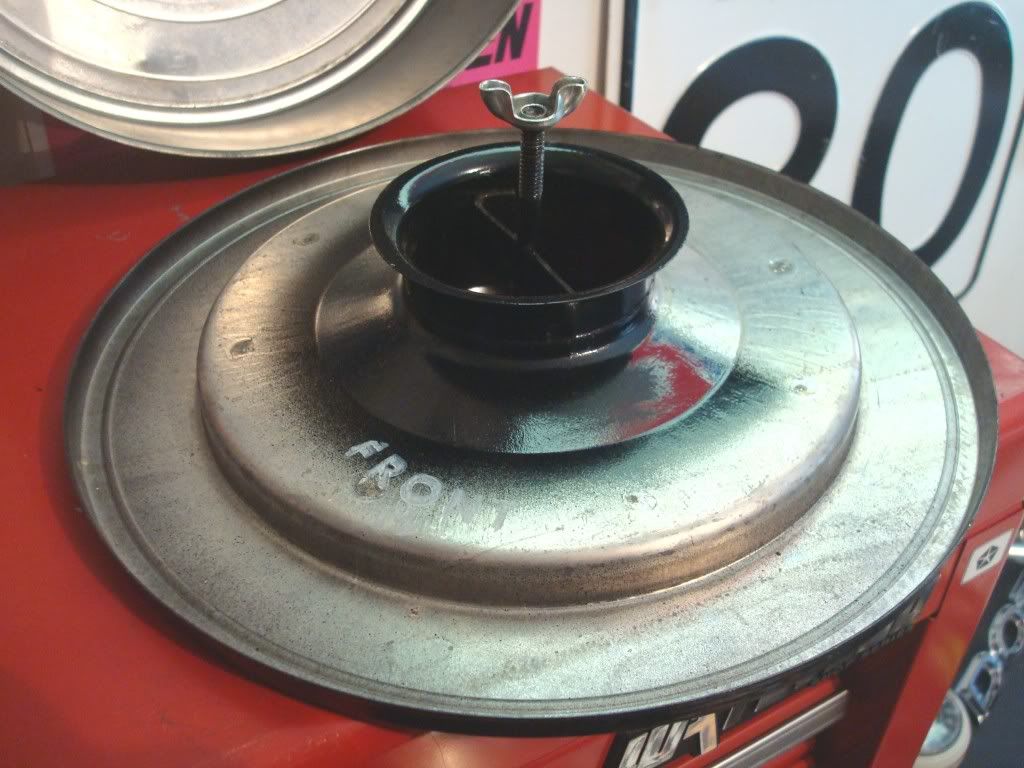
This PCV valve nut is wrong:
This PCV valve nut is right, but it's upside down:
Your '65 does not have the Clean Air Package. The CAP, which consists of modified carburetion and ignition systems, was first released on a small number of 1963-model test vehicles sold in California; see
here. It wasn't present on any '64s or '65s, but was factory equipment on all new Chrysler Corp vehicles sold in California starting from the 196
6 model year, and on all US-market Chrysler Corp vehicles starting from the 1968 model year.
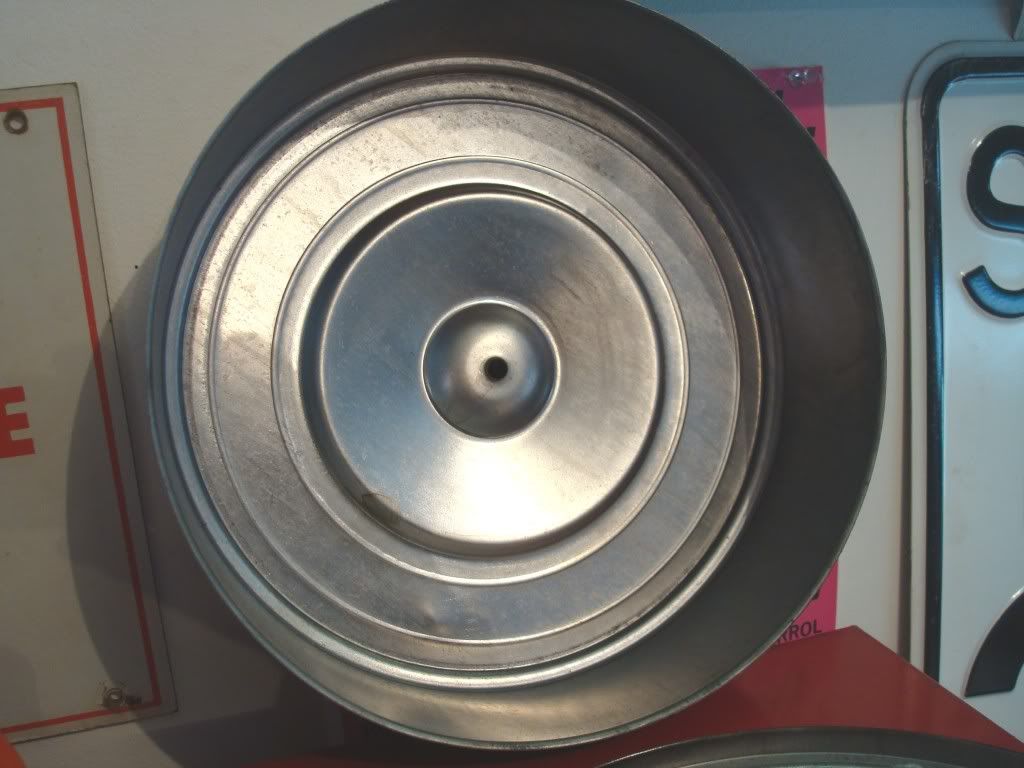
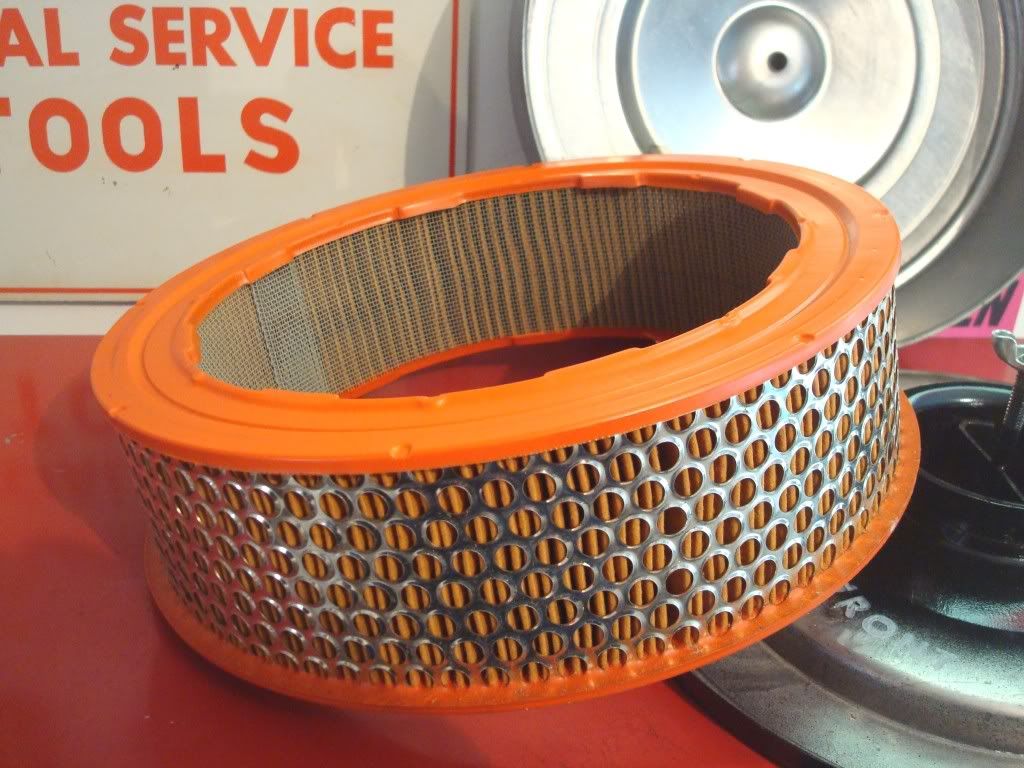
What your car has is a ducted crankcase breather, which was on all California cars (from all makers) starting from 1964 model year, and all US-market cars starting from 1968. The only difference is the crankcase breather: open to atmosphere versus ducted to air cleaner. It gets a little confusing because "closed crankcase ventilation" was the term generically applied to a system with a ducted crankcase breather, but that same term, "closed crankcase ventilation", is what Chrysler called what we all generically know as "positive crankcase ventilation" -- that is, a PCV valve ducted to manifold vacuum, regardless of what type of crankcase breather is present.
Starter motor not-very-carefully painted all black is correct. Nothing wrong with date code, either. Remember, that starter 2095 150 was used on almost all 1964-5-6-7-8-9 Chrysler products. The only exceptions were 170 engines, taxi/fleet cars with heavy-duty 11" clutch, and some trucks. They made a
lot of them at a time!
Exact-repro spark plug wires
here.