a68postcar
Well-Known Member
sweet.
")


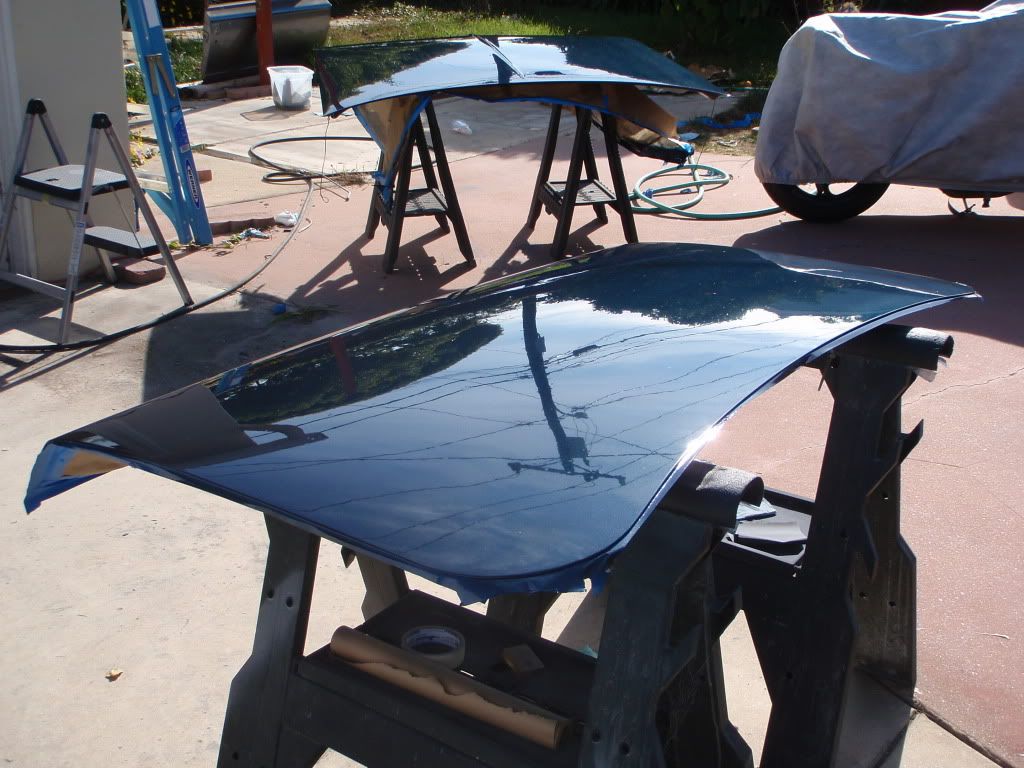
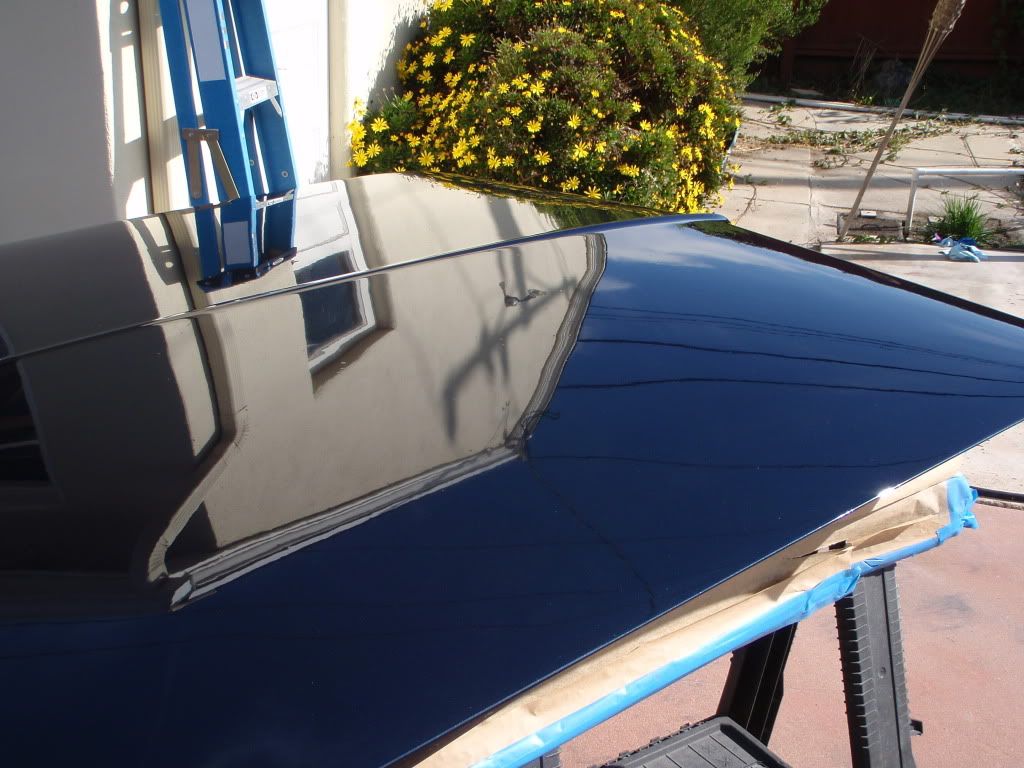
Update pics, let it sit for a few days and wet sanded it with #800, let it sit overnight and applied 3 more coats of clear. It is looking deep. Will prep the main body this weekend and clear the last of it Monday. My arms are tired of sanding!
Enjoy!
daves66
Actually I started with #400 then #800. I was a little nervous about clearing over #400, probably shouldn't worry so much.
I will blackout the headlamps along with the core support. Does anyone have pics of core support / headlamp buckets blacked out?
Is there supposed to be black on the lower valance also?
Just starting this project. Got a long way to go but I though I might as well show from the beginning. 273 commando 4 speed car. Probably will go with 360 though. I am having trouble getting the quarter glass out.
Bob


