73' B3 340 Duster pro touring build

-
I like the look of the top part of the engine
without the cover. Air cleaners and all!
 
I like the look of the top part of the engine
without the cover. Air cleaners and all!

One of my buddies stopped over the other night to check on the progress and thinks I'm nuts for wanting to cover up all the custom parts. I have to sort of agree with him, like I said earlier there's already a pile of unused experiment's and parts and I'm sure more will be added before it's done.
 
I need a TV stand for Scruffs basement digs.....got anything from the "unused' pile I can make work?
 
I need a TV stand for Scruffs basement digs.....got anything from the "unused' pile I can make work?

Unfortunately, all I have left that's unclaimed that you might be interested in is the K Frame stand I used for mock up. Next visit, remind me to turn you loose in the back room.
 

Attachments

  • duster%20021.jpg
    37.7 KB · Views: 705
I need a TV stand for Scruffs basement digs.....
Yeah.....Sure.....I know for a fact that Scruffs has his own giant big screen.

Not to be "out scooped" as it were, I think that TV stand is probably the just basis for your own trick
engine cover.

Just remember boys, unless it is animated and illuminated you guys have nothing on the Blue Missile.
 
Yeah.....Sure.....I know for a fact that Scruffs has his own giant big screen.

Not to be "out scooped" as it were, I think that TV stand is probably the just basis for your own trick
engine cover.

Just remember boys, unless it is animated and illuminated you guys have nothing on the Blue Missile.

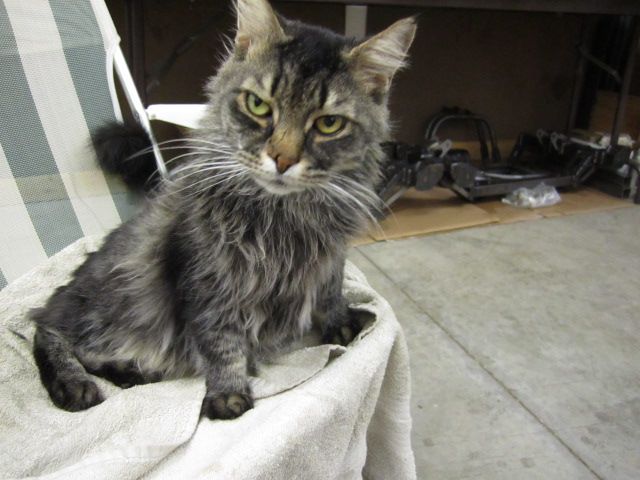
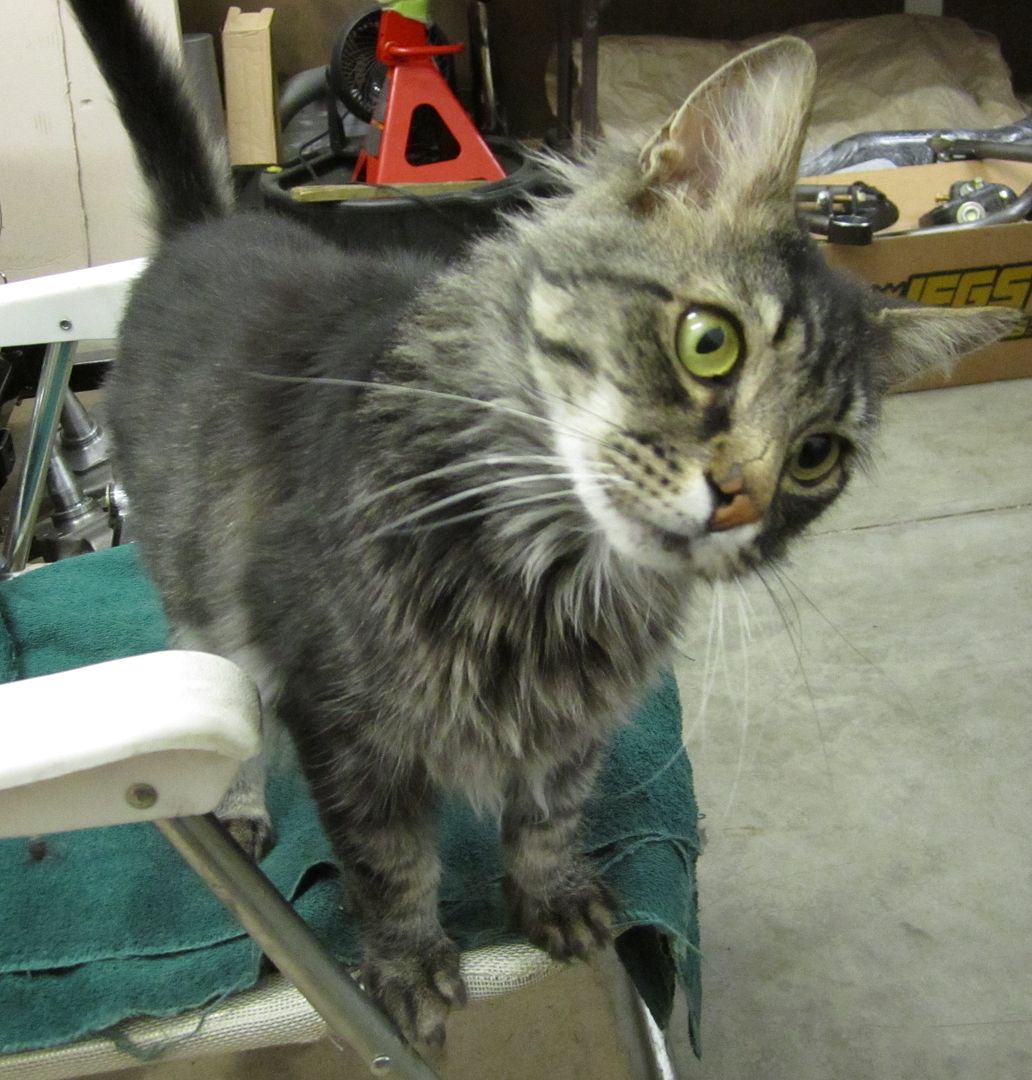
Scruffs big screen TV took a dump....he is roughing it with a 22" on loan from the big boss's (Jodee) office
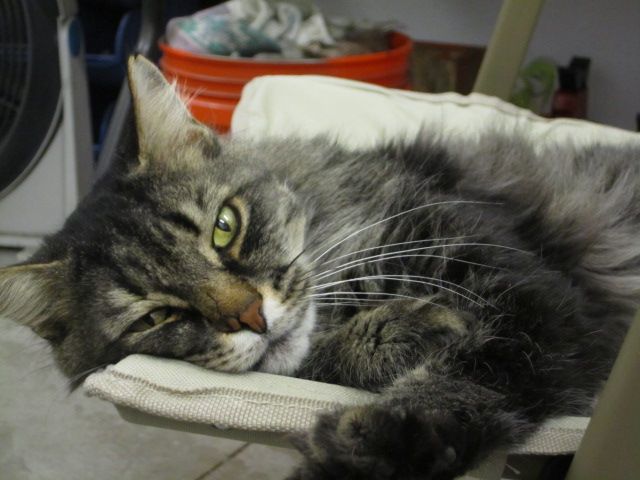
 
Scruff's former relaxed watching stance with the BIG screen

Mock-upK062_zps3a0e5211.jpg


Scruff's perturbed reaction to learning of the BIG screen's failure.

Mock-upK028_zps31ec93fc.jpg


Poor Scruffs strains mightily as he tries to focus in on a mere 22" of viewing area.

Mark031814037_zps678386a8.jpg
 
Started shaping and fitting my engine cover...1 hour down and about 40 more to go and some paint then it will start to look like something. At least it clears the hood and Radiator cover for now. I also Tightened up the Dash to console gap and added a couple matching gauges I designed at the Autometer Custom Shop website that match the one's in the Dash, we can't have unmatched gauges, that would look not very thought out and tacky.

Where did you find those buttons? They look sick :burnout:
 
.....not to mention he can't tell a philllips screwdriver from a flat edge....he mixes them up ALL the time
 
Wiring...enough said, nothing glamorous or exciting about it especially when you end up drilling a 2" hole for your EFI harness through fresh paint. When it's all done though everything will be hidden. It looks like a huge mess but it going better than expected.
 

Attachments

  • 020.jpg
    36.7 KB · Views: 539
  • 023.jpg
    70.4 KB · Views: 529
  • 025.jpg
    61.4 KB · Views: 544
  • 024.jpg
    68.7 KB · Views: 545
  • 015.jpg
    67.5 KB · Views: 537
  • 013.jpg
    63.4 KB · Views: 540
Here's something you don't see everyday, I wasn't happy with the taillight fitment so I made them adjustable thanks to a recommendation from HemiDenny, now they fit better and tuck deeper into the pockets, since I was cutting on them I decided to do a few other modifications as well, how about 120 LED's per side !!!!! You can barely see them behind the lens when there not on lit. Should look good with the side LED marker lights, now I'm leaning toward LED headlights to make all the lighting LED inside and out .
 

Attachments

  • 017.jpg
    37.5 KB · Views: 514
  • 018.jpg
    41.8 KB · Views: 515
  • 019.jpg
    42.1 KB · Views: 526
  • 029.jpg
    42 KB · Views: 515
  • 033.jpg
    51 KB · Views: 502
  • 032.jpg
    62.9 KB · Views: 538
  • 009.jpg
    55.5 KB · Views: 527
  • 008.jpg
    65.3 KB · Views: 534
  • 007.jpg
    46.6 KB · Views: 536
  • 016.jpg
    50.8 KB · Views: 512
-
Back
Top