Aussie 68 valiant sedan build, blow through small block!!

-
cool build!

Thanks!

Few new pics, nothing exciting but updates all the same..

Pulled my engine and box, the next time it goes in will be when it's ready to be fired up.
Welded my engine mounts to the rails, welded up unwanted holes in the bay and finished off some rust repairs. Re routed the handbrake cable because of the chassis connectors.

Will hopefully have the engine bay sandblasted by next weekend.

I love long weekends!

null_zps2e43d8dd.jpg

null_zps56be39f6.jpg

null_zpsf89923b3.jpg

null_zpse4776e3e.jpg

null_zps5b18e38c.jpg
 
WARDY!!!!! What are you doin man? That's a stupid BIG turbo. LOL Man that is gonna make some serious power. Nice work.
 
Ok. I have a question. Why are you not using an exhaust flex pipe on the left side of the car?
 
Haha thanks! The turbo isn't really that big as far as turbo v8s go, but I'm aiming for 500whp out of a fairly standard 318, and I'll keep pouring fuel and boost in until I get it!... Then I'll build an r3 built long engine and get some real power happening!!

The reason for the flex.. If there was flex on both sides the turbo would just hang down from the weight, also the type of manifolds I've made need to be made in 2 pieces for them to be removed from the engine. The flex just helps with fitting and let's it all move around abit when hot.. As aposed to having it hard joined
 
Wardy can you take some pics of the motor from both side so we can see how you ran the hot side from the headers to the turbo

Thanks Aaron
 
Every nice job wardy ill add those to my collection ill probably do a small block next and like to see others work keep it up :burnout:

I'm here to tell you boost is addicting my little six is proof

Aaron
 
No worries.. And cheers for the compliments!

I've owned a lot of turbo cars, but no v8's. So I'm really excited to get this thing going!
 
A couple of small pics I forgot to upload..

Engine mounts welded to chassis and crossmember all smooth after cutting mounts off

null_zps3106623d.jpg


Front of sills rust repairs finished

null_zps028bf3dc.jpg

null_zpsfddabbcb.jpg


Plenum rust repairs done and holes in firewall welded up

null_zps5ea73846.jpg
 
Have spent around 40 hours on the bodywork now, blocked it back today ready for another coat of primer, pretty happy with only a few high and low spots needing to be fixed.. Then to start prepping the hanging panels! My engine bay is also now ready for primer. Hopefully that will happen tomorrow

Also picking up my bonnet scoop tomorrow so I can start fitting that.

null_zps7e4c5b09.jpg

null_zps8e0da387.jpg

null_zps33224201.jpg
 
Damn!!!!!
I hope that's a good reaction haha

Nice work Wardy,I,ll be following your built as it progresses.:D
thanks a lot, there will be plenty of pics throughout the build so stay tuned.

Another good day today, pulled all the front end out and made some wheels up to move the car around still. So much easier to do the bodywork like this.

Finished prepping the engine bay and got a few coats of 2k primer on, will get it blocked back with the body and give the whole lot another coat this week... Then it's colour time!!

null_zpsa2a4ed7b.jpg

null_zps28c0a356.jpg

null_zpsdbf0c492.jpg

null_zps9448a8ec.jpg

null_zps393a6d08.jpg


And I had my little offsider keep me company while at the workshop!
null_zps2c0b8b1c.jpg
 
Wardy I look forward to your new posts keep up the awesome work
Thanks Aaron..

Not a whole lot to update, my wheels turned up today! 15x10, 4 1/4" backspace with 275/50s, 15x6 with 205/50's, weld prostars. Got them for $700aud which is a steal..

Will be cutting up the 9" to suit this weekend!
The ANDRA rules have also changed in aus, so I can run a bolt in 6 point cage till 8.00 ets. So I'll be making up one of these and just removing it for street duties.

null_zps90e1466d.jpg
 
nice build

Thanks a lot..

Bit of an update,

Bending up a bolt in moly cage before paint, will be good to 8.00 et's and removed for street duties. Ordering a jd tube bender in a fortnight

Also moving to efi first up..
Drilling and milling my manifold, welding in injector bosses. 1000cc injectors, making up rails. Making up my own throttle elbow. 90mm throttle body. Turbo smart or aeromotive regulator, 2x 044's, Ls1 coils, msd crank trigger and aftermarket ecu (most probably a haltech)

Stay tuned!
 
Same Ward channel,same Wardy time.Sounds like fun.

Thanks for tuning in!...

Few new pics, wheels turned up and they fit perfect! Have nearly 40mm each side of the tyre clearance.. So some bigger tyres in the future I think.

Started stripping the 9", getting some ea falcon disc setups tomorrow so I can start making the brackets for those and shorten the housing over the weekend.. Happy days

6E1CABE6-FCB0-4731-B66F-FE28BD3158F2-4677-00000437F6DCF6E6_zpse9d0141a.jpg

CB170A1F-7597-4A91-A3C8-2097C127187E-4677-00000438090CE721_zps8d9a336f.jpg

49EF0E1B-B2C7-4CAA-B96B-48BF43E5EE7F-4677-0000043815650739_zpsce8e2cd3.jpg

BAAE243D-7355-4B2D-8D57-BFF79146A198-4677-0000043835D752FB_zpsb7acd041.jpg

2B80A95C-45F6-4D3A-8B4E-1D84ADFB3350-4677-00000438259BBB20_zps01c3e242.jpg
 
wow, i like the exhaust routing idea. Is the motor plate in front of the timing chain cover a proven mounting solution for SB´s? I´m lookin forward to hear this thing scream!

Michael
 
wow, i like the exhaust routing idea. Is the motor plate in front of the timing chain cover a proven mounting solution for SB´s? I´m lookin forward to hear this thing scream! Michael

Thanks Michael,

Not sure on the front plate, but after a few nights research it seems to be the place people fit them. Summit and jegs also sell a sb engine plate that bolts to that position.

I'll just be drilling some 1.5" holes on the very outside and running an elec water pump
 
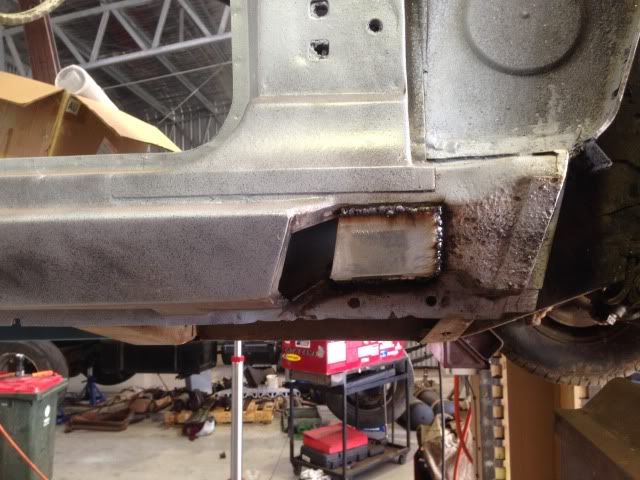
ok here are some pics of the start of the diff mods.. A few people have asked me to go into some detail.

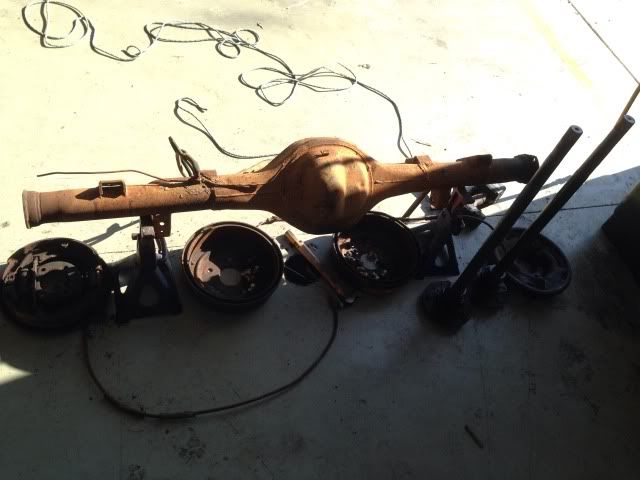
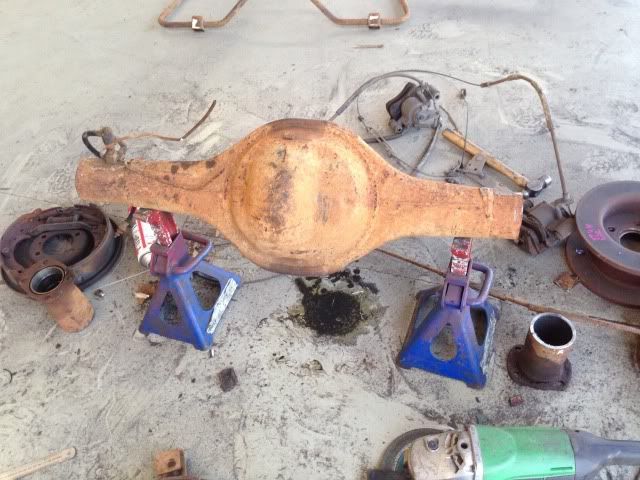
Diff is out of a 1977 F100, good news with these is the housing is already setup so the pinion is in the centre, a lot of the car 9" housings have them offset. this also means each axle is the same length, makes it a little easier to do the calculations.

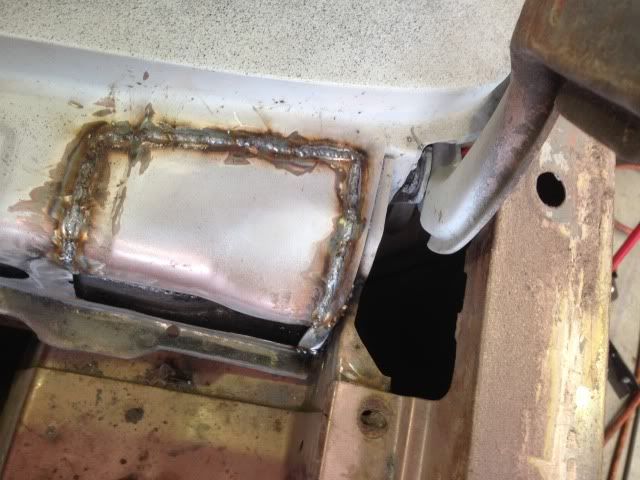
The housing.. I had to cut 220mm from each side for it to work in my val, scribe a line length ways up the tube to use as a reference when lining them back up to weld. I just used the 9" grinder to lop the tubes off, MAKE SURE you cut around 5mm into the waste steel as you wil need to square the ends and the housing off in a lathe.
If your lucky (like I was) the section you cut out of the tubes may have the old shock mount and/or spring saddle welded to it... this saves you a lot of cutting.

I then squared off the 2x ends in the lathe (pic below) removing the existing material up to my scribe mark.. I also trued these up in the lathe with a dial guage before machining.


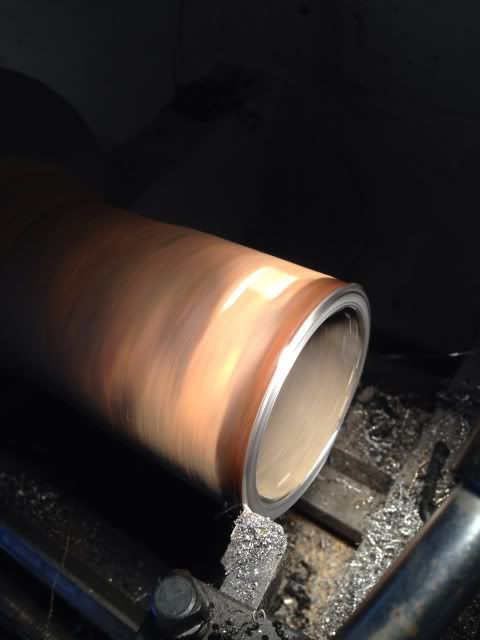
the housing doesn't fit in my lathe so ill have to borrow one through the week and square those ends up.
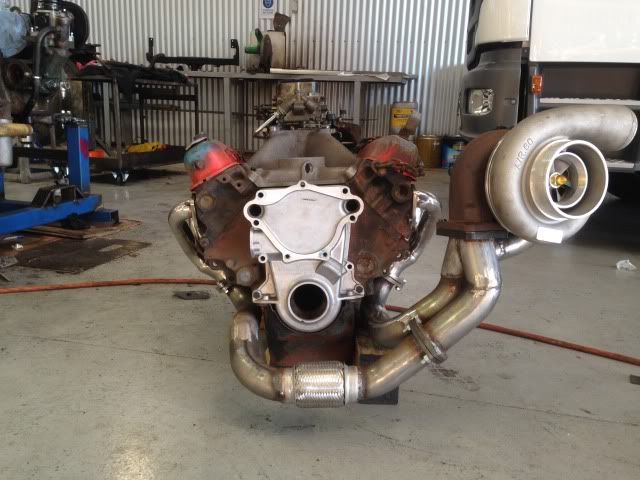
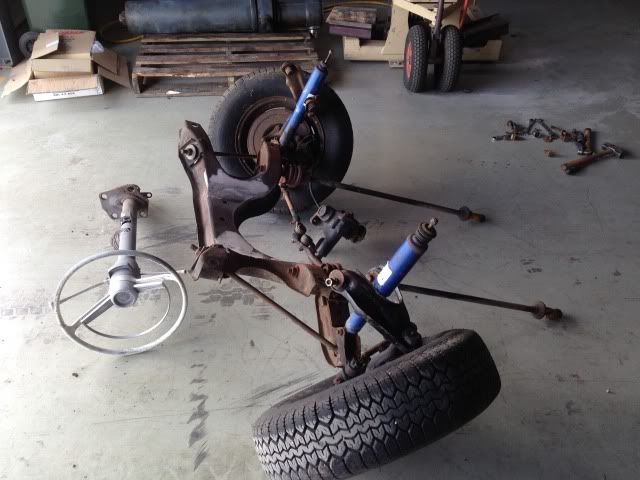
Now for the axles and brakes!
Problem #1 is that I didnt realise that the F truck as a PCD of 5x5.5" instead of the 5x4.5" that I need!! so I knocked the studs out and am in the process of organising the to be redrilled. Not a real big deal just a bit of a pain.
problem #2.. the ea discs wont fit over the axle flanges, so I chucked the axles in a lathe and machined ~8mm off them, now the disc slip on nicely.
problem #3.. the centre hole in the ea discs wont fit over the axle snout of the F100 axles, you can either machine the disc out or machine the snout down. I chose the snout because its a lot easier to setup in the lathe to get a true measurement.. I used a dial guage to make sure the axle was true before machining.

this week ill be machining some press fit tubes up to join the housing and ends back together, dropping the axles off to be shortened and sourcing a centre. Then ill move onto making up some caliper brackets. So there will be more pics to come
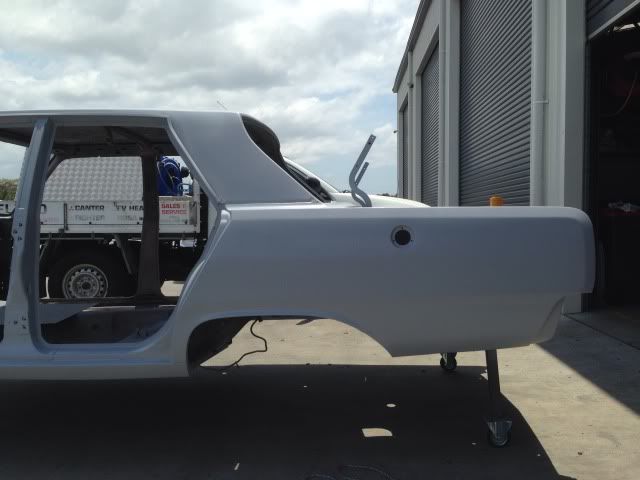
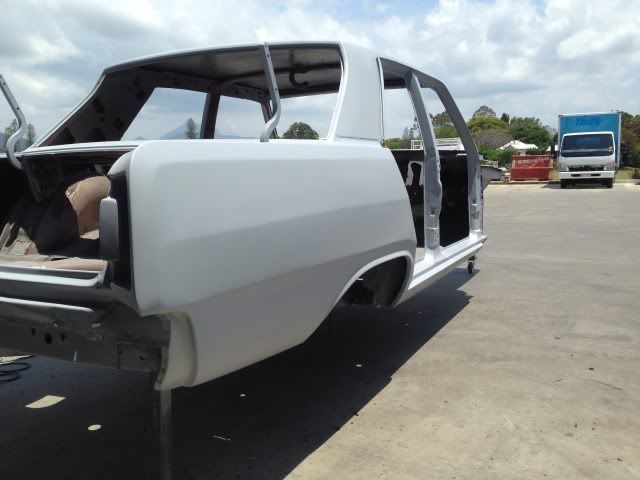
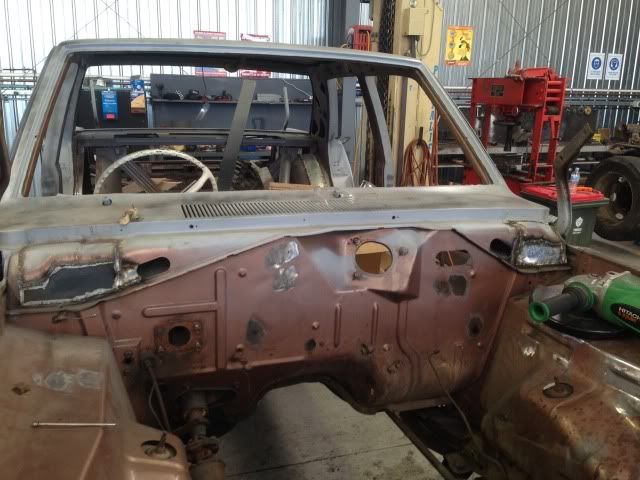
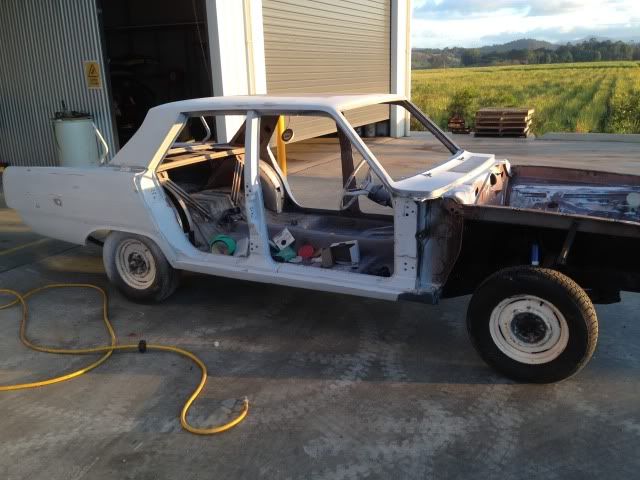
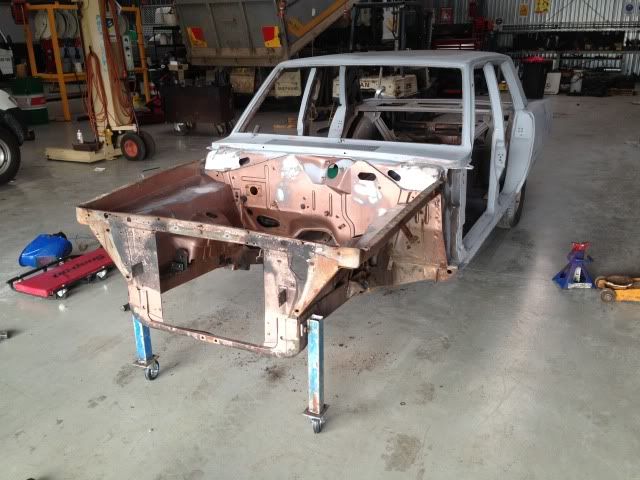
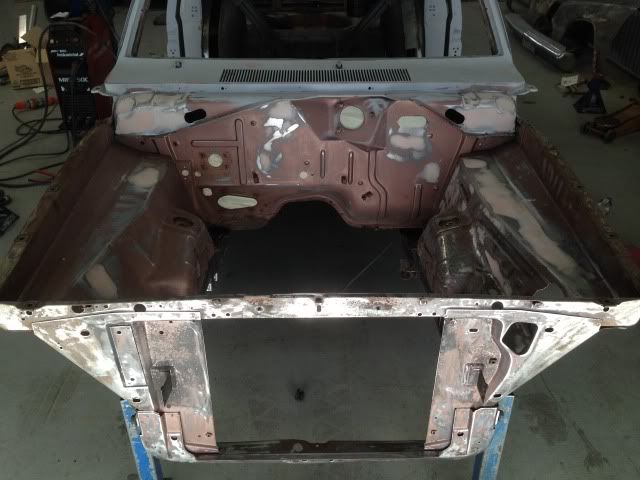
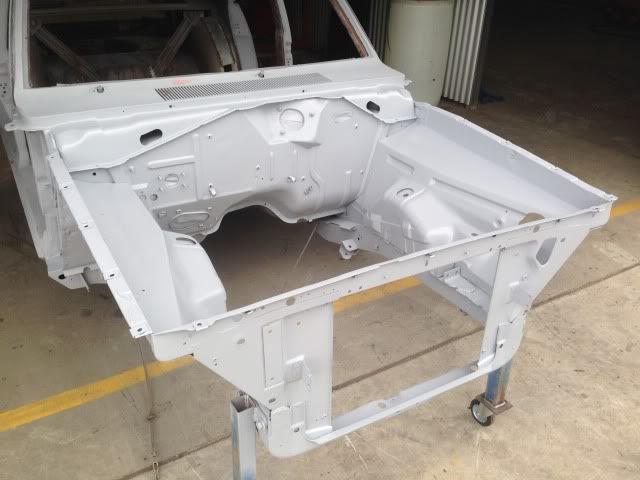
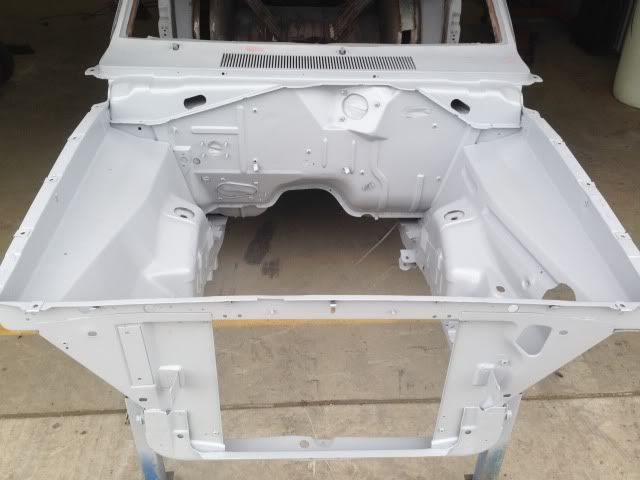
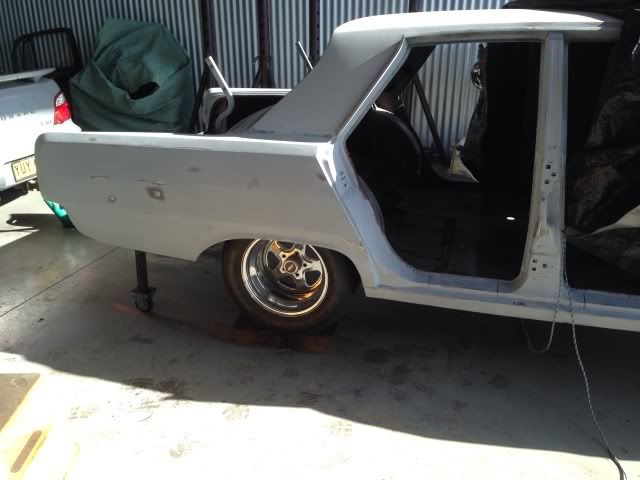
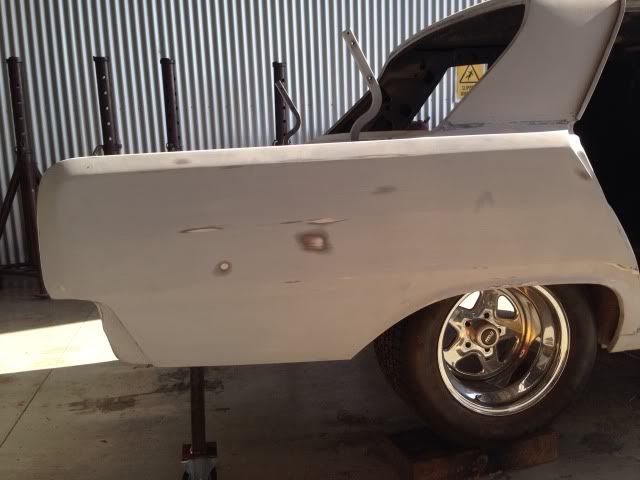
Also got the shell in its last coat of primer!! I don't know how people can do it for a day job lol..


thanks guys..
few more update pics
Got the tubs finished finally, all sealed and a coat of sound deadener. Came out pretty good I reckon


Picked up some doors yesterday, came home via willowbank for some inspiration. was up at 7am getting them stripped and had them fitted and gaps set by 10am. a good fit considering they are off a different car.. few holes to weld up and a few dents to iron out but they come up good. also fitted the boot up and checked gaps.


welded the shackle bosses through the rear chassis rails, will make up some shackles this week, also acquired a CM valiant booster and master, tried that on for size..


Hopefully the booster will clear the new shiny, sheetmetal rocker covers!! I will know tomorrow.. they will be getting the gloss black treatment along with the EV Carb hat ill be getting this week coming.. Also got my blow off valves in the post. They will lok good all mounted up. Pulled the Holley down ready for the blow through treatment, Cut the choke horn off, filled the rod hole, getting all the parts to convert it soon. Also chucked a rear wheel under the back mucking around with different ride heights etc


And after all the hours put into modifying my axles they just wernt going to turn out how I liked, so I have a set of Billet 31 spline moser axles coming from the states, 1/2" screw in studs etc.. for $500 delivered its a no brainer really.
Also have a MSD Pro billet Distributer, MSD Programmable 6AL-2 and blaster coil, ARP Headstuds, Camshaft ( 228@50, 4.80" 112LSA) Valve springs, Full FelPro kit, All the holley parts, Aeromotive Fuel Reg, -10 Braided hose for feed and return, O-Ringed Pro Series Extreme Velocity carb hat. Gearbox internals and valve body from TCI and a few other parts turning up in the next fortnight.. exciting times
 
-
Back
Top