Biohazard

-
25 overnight getting to 40-55 by day.
The ice pack you see is actually frozen water softener discharge. ;)
 
Looks like the burlap support wires are ok in the upper seat back pictured. How are the lowers?
 
Alright, today I tackled the passenger side seat bottom.

Here it is, belly up, and not looking too shabby.


Started by shooting some pics to help remind me what goes where.


...things like where hog rings were placed and how many...


I didn't have to disassemble and of this but, not knowing so at the time, I took some close up pics anyway.


I found some of the hog ring work to be a bit sloppy. Rings installed that missed the frame altogether or that just didn't quite grab the material correctly.


More details...


Noting where hog rings were installed to secure the shaping wires.


Noting where the burlap wire was hog ringed to the frame...


...and how this was attached...


I think these were 7/16" bolts. The ones at the opposite end and inside the seat were 1/2".

 
Okay....starting to actually get at removing the upholstery. Much easier once the sliders have been removed.


Noting how the protective batting was hog ringed to the frame.


Vinyl off the frame completely; burlap and wires looking good.


Se vende!


Still need to unclip and remove the shaping rods from the foam.


Rods out.


Stripped off the paper wrapping from the rods. It cannot be disinfected so it must go.


How the foam is supposed to be shaped for my upholstery standard trim level.


Noting where the muslin was placed.


For the historical archives.


Don't forget these rods, too.


Cotton batting and burlap still to be removed.
*Hard to find good help anymore. My assistant laying down on the job here...


The batting installs over the burlap but this shows how it gets placed.


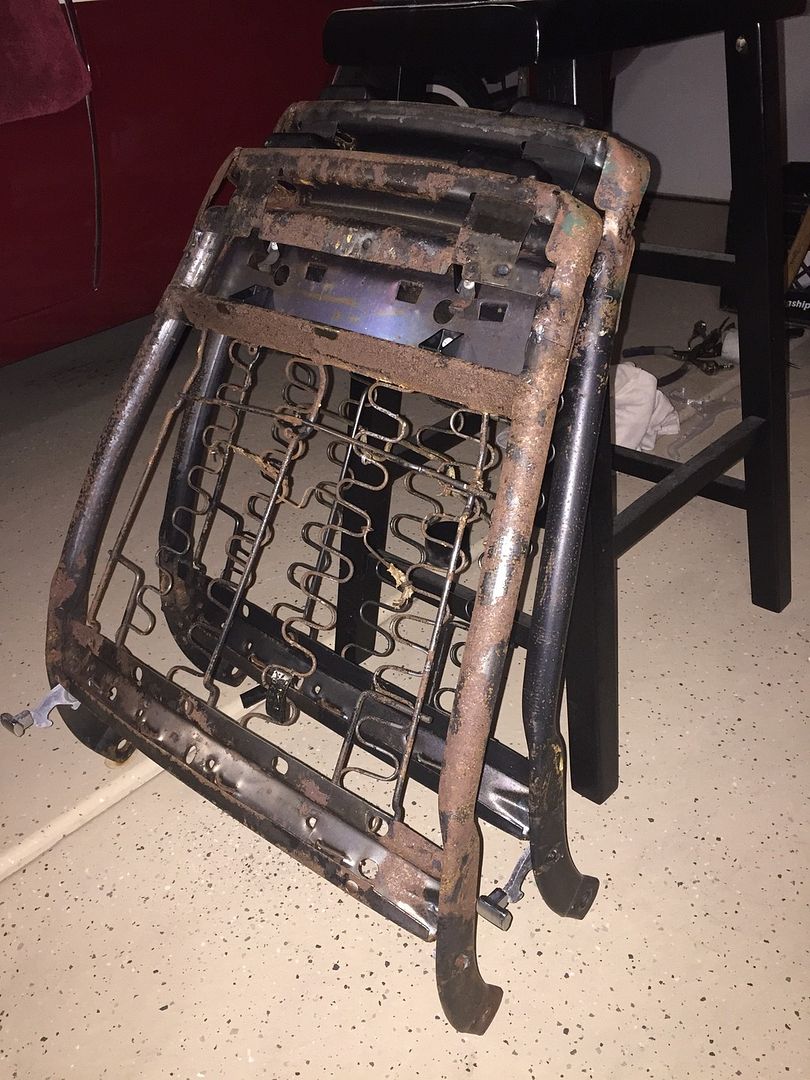
Finally, the frame is stripped!


The burlap: I've seen worse.


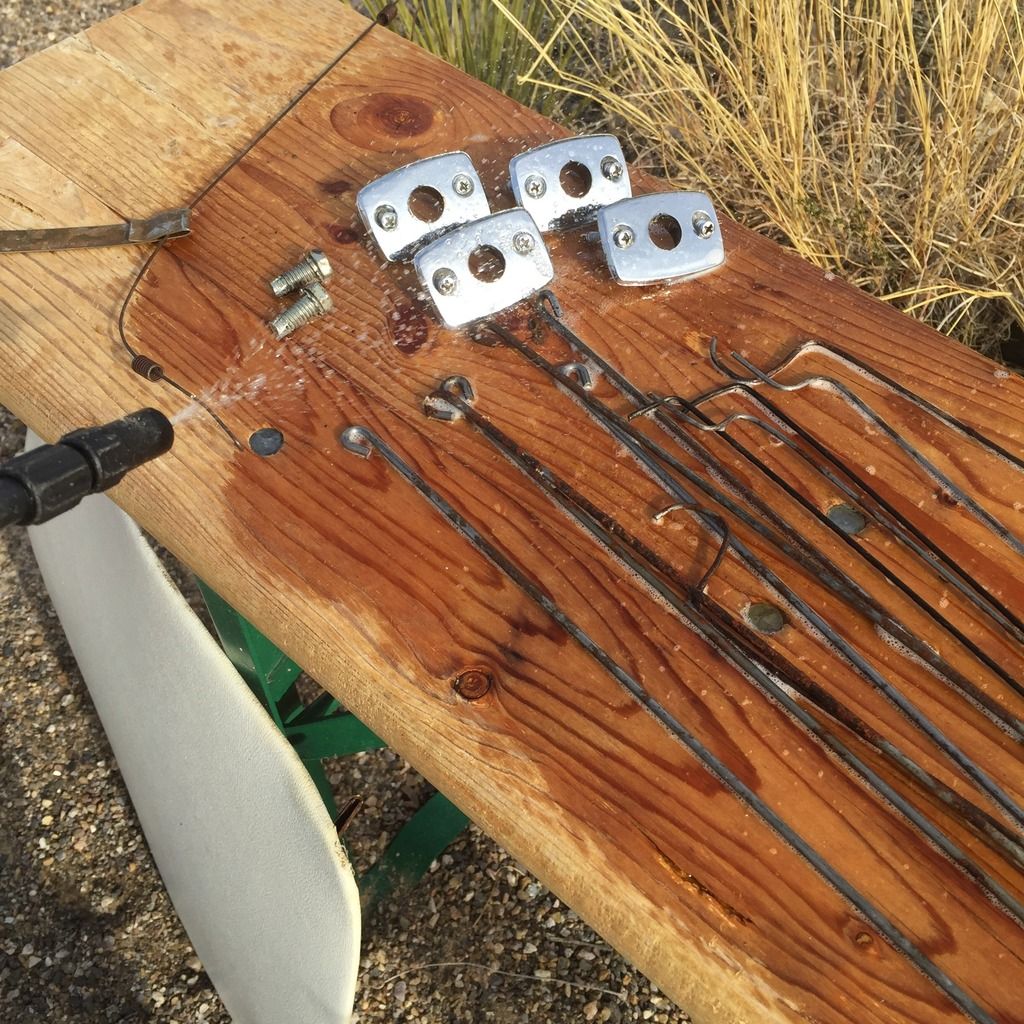
Frame parts after being bathed in ammonia, drying in the sun.


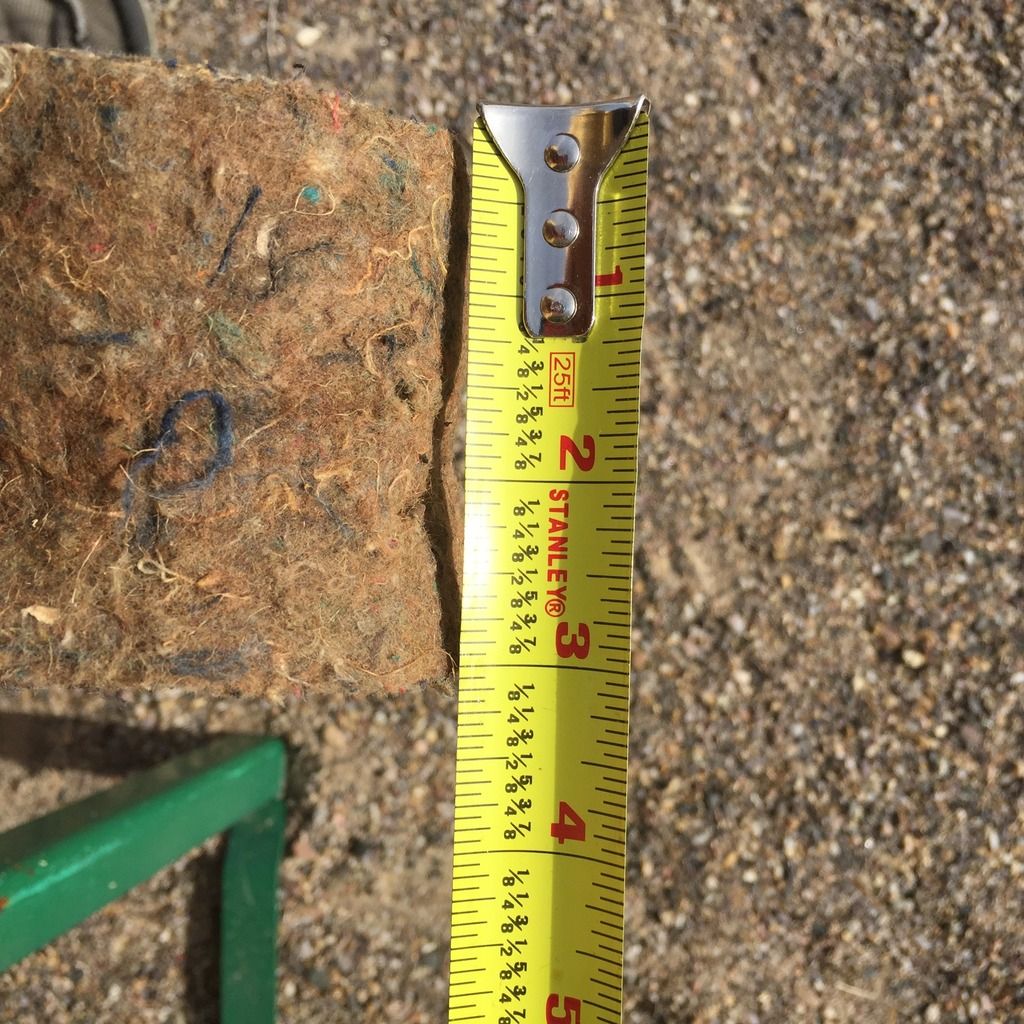
How long is that edge protection batting?


And how wide?


More bits getting the ammonia treatment at the decon station.


I went into this hoping the bottoms would be easier than the backs but it was the other way around. Hurray! I get to do it all over again tomorrow with the driver's side bottom which is likely to be a lot nastier if the condition of the back was any indicator but, hey, 75% done!
 
That one looked pretty darn good.

It is nice that you can re-use those little wires and re-weave them into the new burlap. Hit them with some paint first.

The foam looked good as well. Do you have the new foam yet to compare?
 
I do have the new foam but haven't set them side by side. I'll snap some pics of this when I do, though. Should be interesting.

Today, I ran thru that second seat bottom in less than an hour, start to finish. I knew where all the securing hog rings were so I just went at it with a fury and, before I knew it, it was soaked in ammonia and drying in the sun. No photos of the work as nothing was different. I moved all of the other parts inside the garage awaiting the sandblaster.


Red upholstery set to arrive tomorrow. Yay!!
 
Red is good!!


Thought you were going all black based on the door panels!

That is going to look pretty sharp! What about the Headliner?
 
Normally I would say something like, "Dammit, Gerald...read the thread!" But, at 52 pages, I understand. ;)

I decided I didn't like the black/red/black on the sides and nor did I care for the "peppermint" theme with the red and white but i did want to preserve some of the red on the inside so I just moved it to the seats in an otherwise black interior.

$80 for the blasting and I'll have them back by the weekend.

My bad! Got a little lost along the way somewhere!
 
Amonia and the sun...thats a powerfull combination for killing mold...
 
- Can't wait to see the new upholstery installed! The smell of it will make the car feel like it's new too.
 
Had a few more little things to remove before I took the frames down for sandblasting which meant more photo-documentation.

File this first one under, "which screw goes where".


How these go together...


Parts in sequence...


Headrest fittings...


I called Classic and got the approval to return the seat foams which are basically cut for the deluxe upholstery....which I don't have.

PG stocks ones that look right to me on their website so, once these get sent off, I guess I'll be ordering those.
 
I called Classic and got the approval to return the seat foams which are basically cut for the deluxe upholstery....which I don't have.

PG stocks ones that look right to me on their website so, once these get sent off, I guess I'll be ordering those.

I think you will be happier with them!

I learned the hard way! Not only did I get the foam from Legendary but also tried Classic industries. Wrong "classic" as I had my hands on some but the gentleman did not totally remember the company name he got them from "PG Classic". To late for me!

Fortunately I sold one set as deluxe foam and modified the other. Lots of folks try to steer you away from PG but in the case of seat foam for 68/69 it is the best! Hope you find that statement true and let everyone else know!

Legendary does offer a new foam set with really big bolsters. They are for some modified seat covers but have the right cut in the foam and can be trimmed down to be correct for the original style!
 
I have already returned the foams to Classic Ind. and will be ordering the ones from PG. I plan to wait a little while and see if a sale pops up...I could use the help...but will ultimately order from them as they seem to be the only ones (that I've found) who have foam in the correct shape.

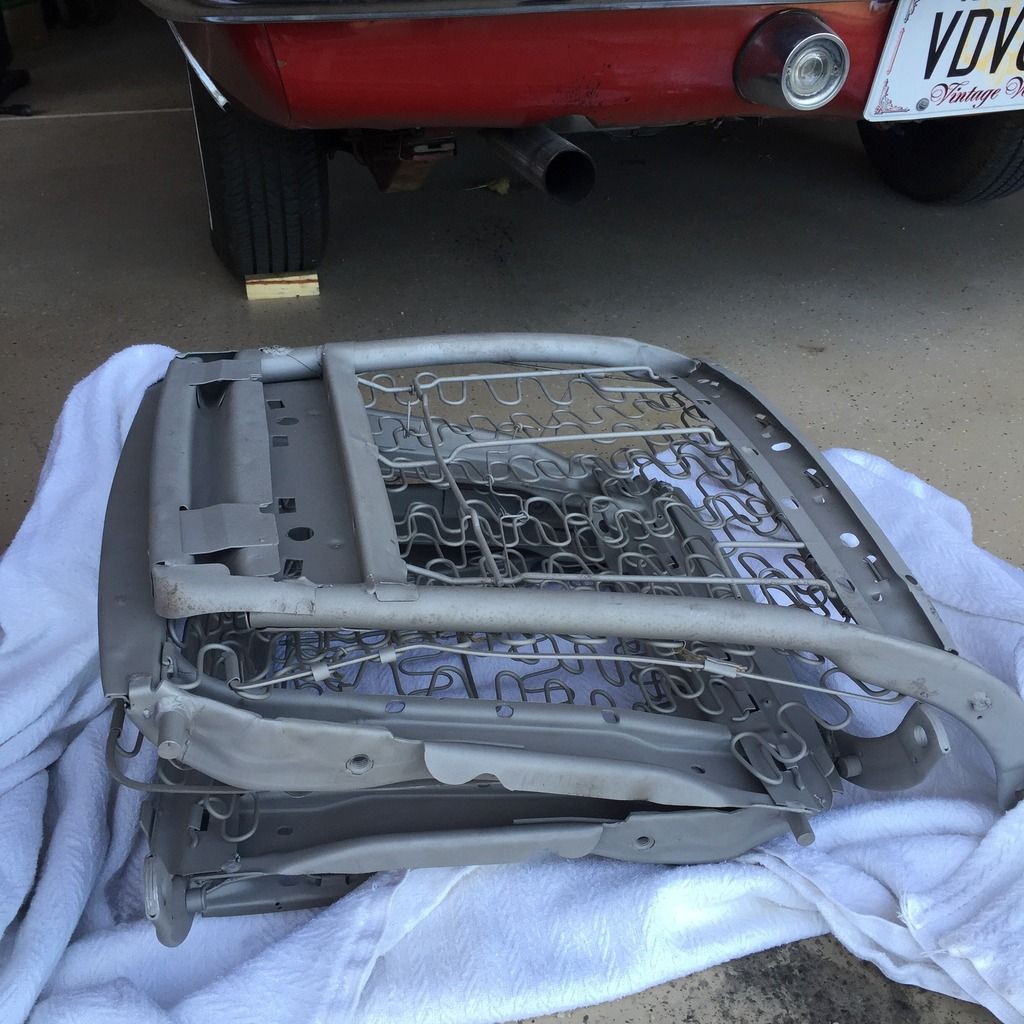
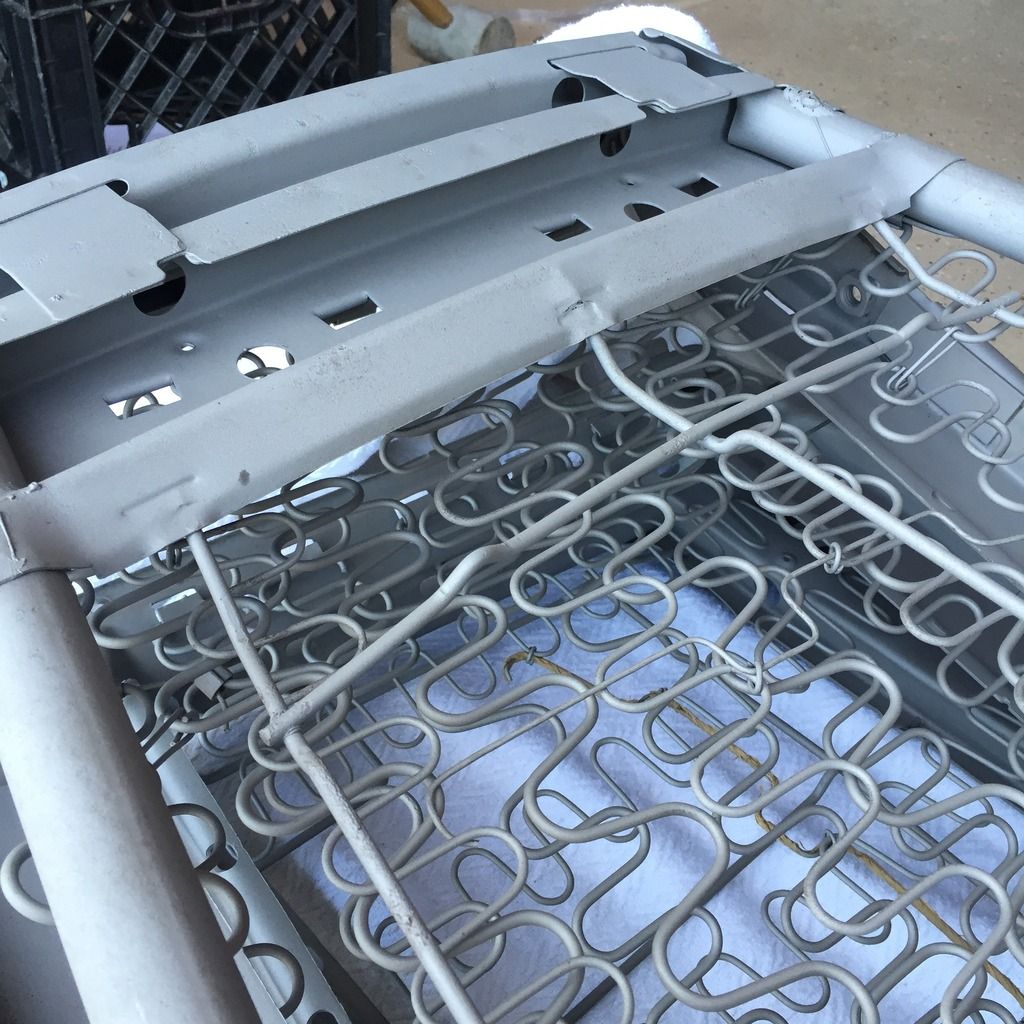
Today, I got my frames back from the blaster.........


Anyway, forecast for the weekend just keeps getting warmer so shooting some paint tomorrow is a no-brainer.
 
The blaster did a great job. So many different angles and multiple hidden areas,plus lots of thin wire would make it a tricky piece to blast. Kudo's...
 
Absolutely true. These definitely took extra attention to detail and Jason gave it just that. I have always been very pleased with the work he has done for me. Not to mention the peace of mind that comes from knowing that the frames are as clean and rust-free as they can possibly be. Blasting was the right way to go.
 
-
Back
Top