My interior needed a freshening up so here's what I did with my dash pad.
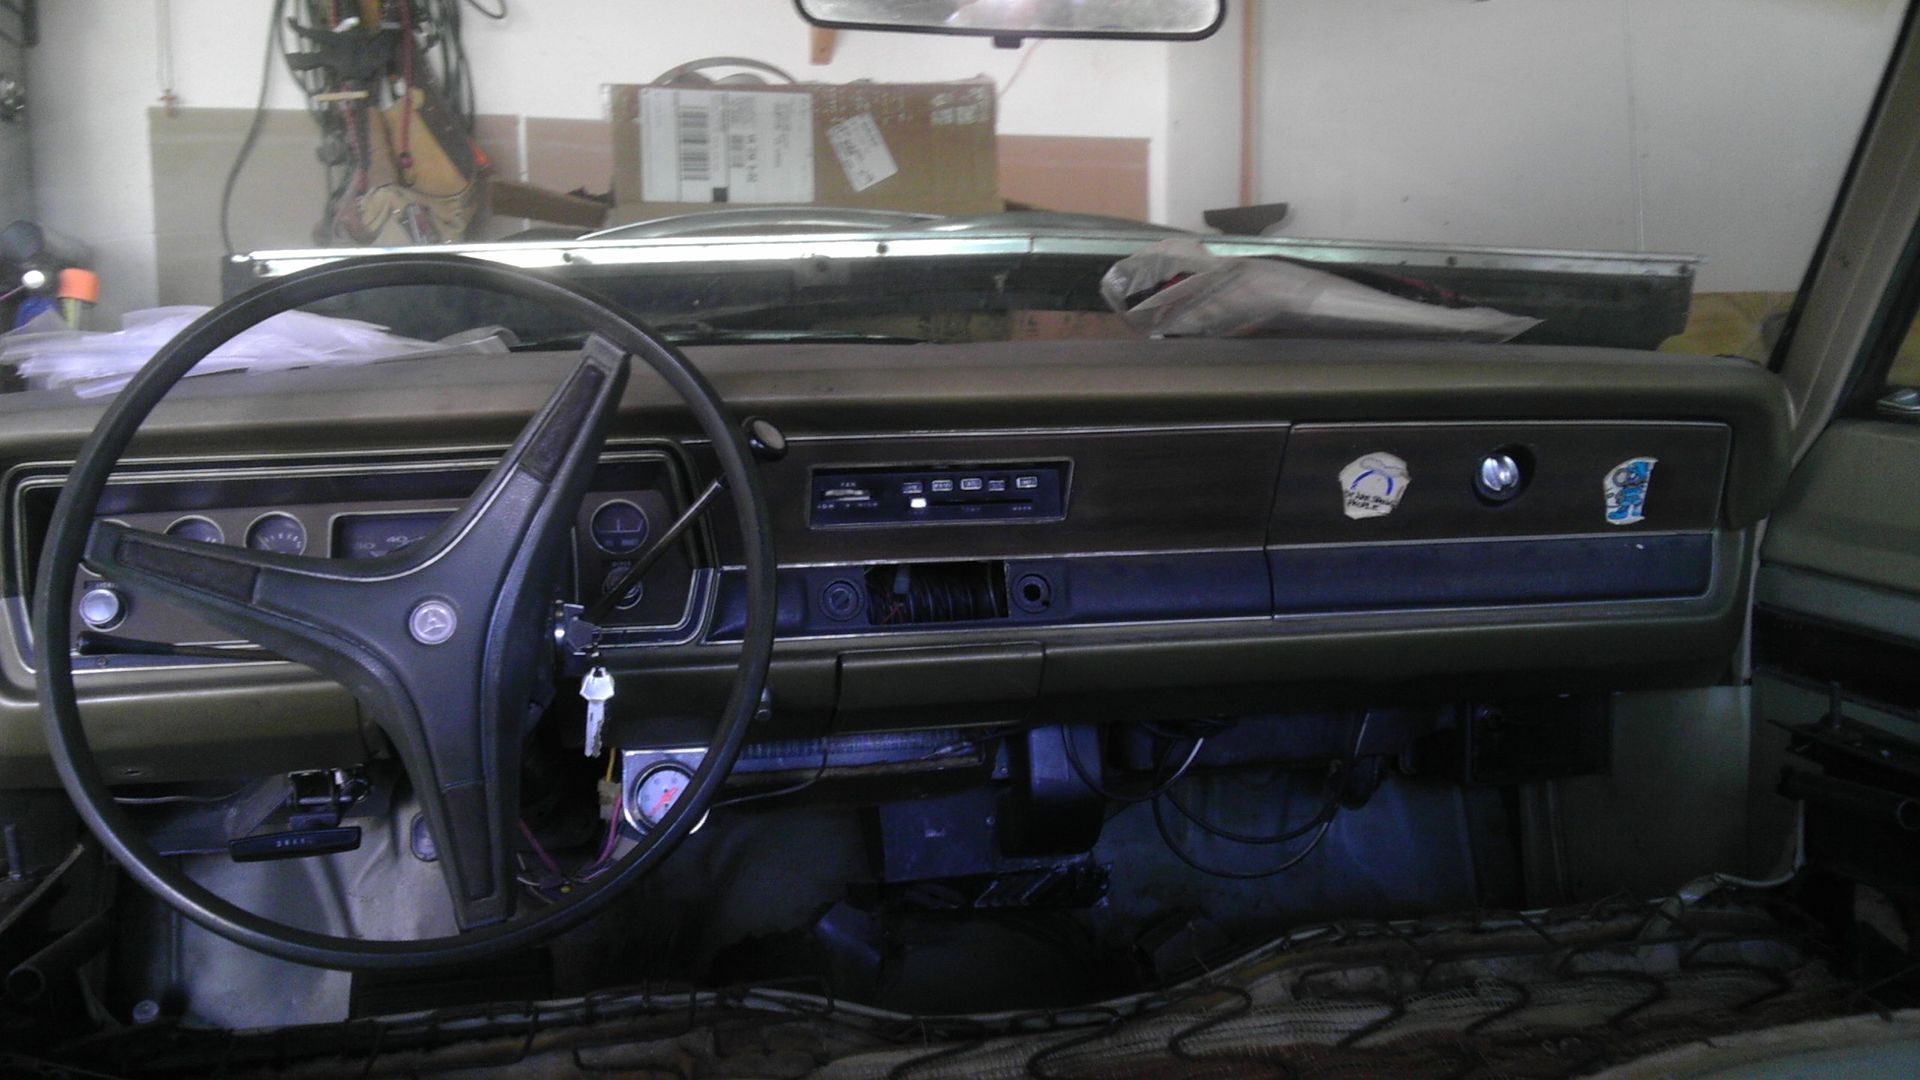
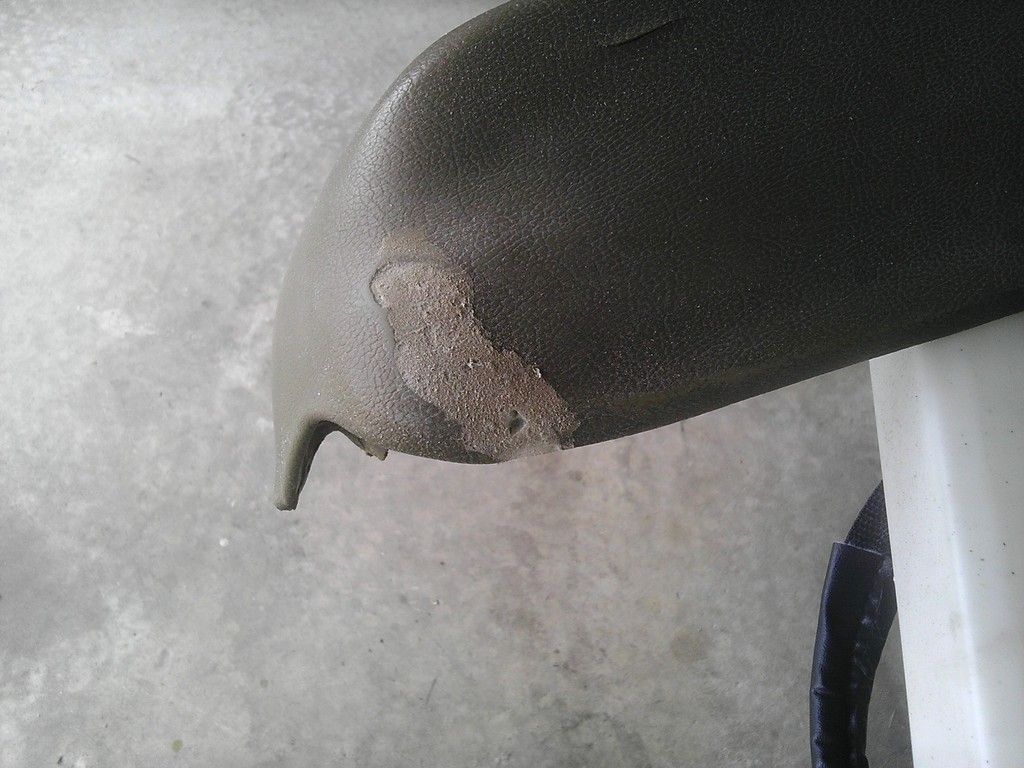
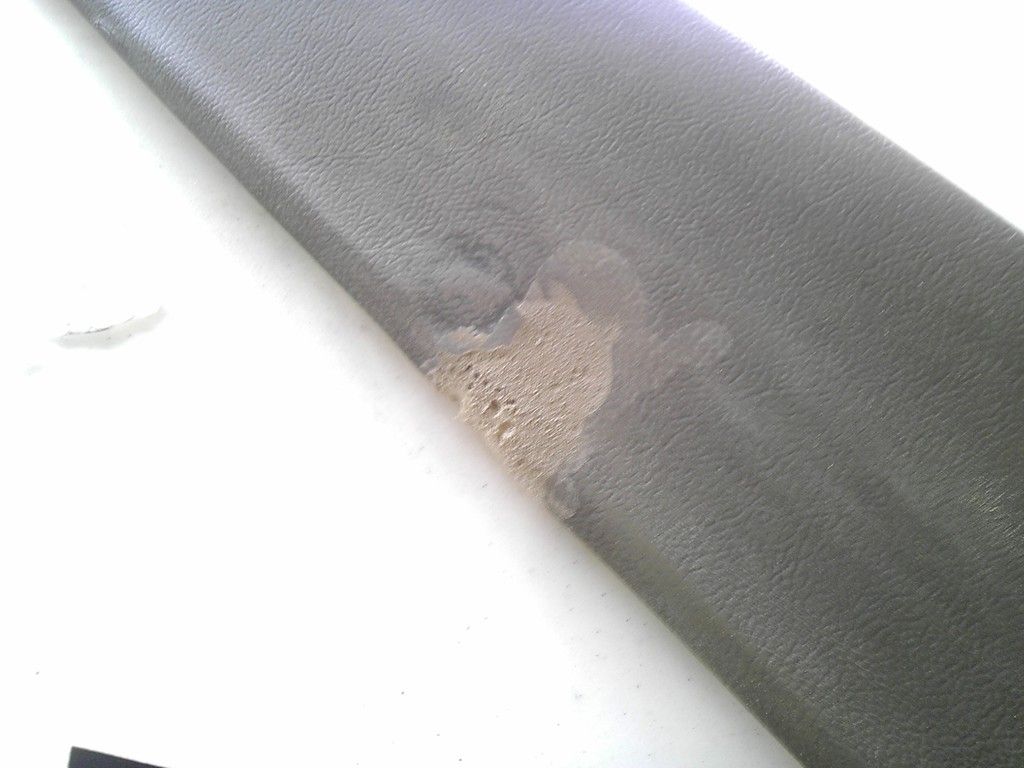
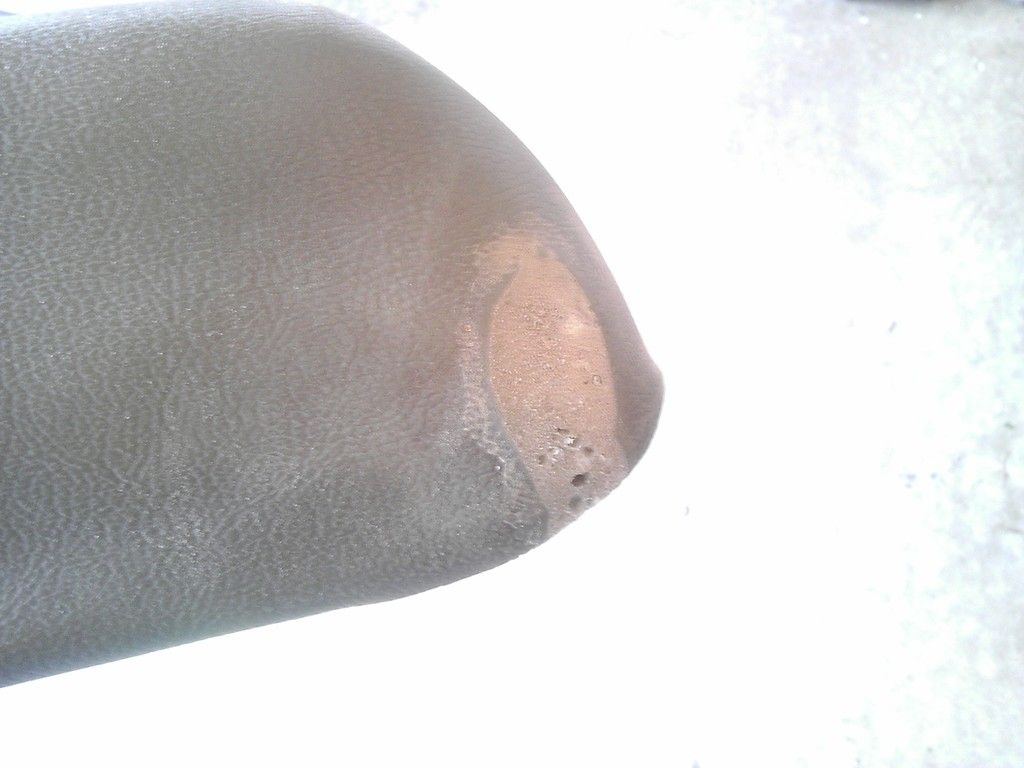
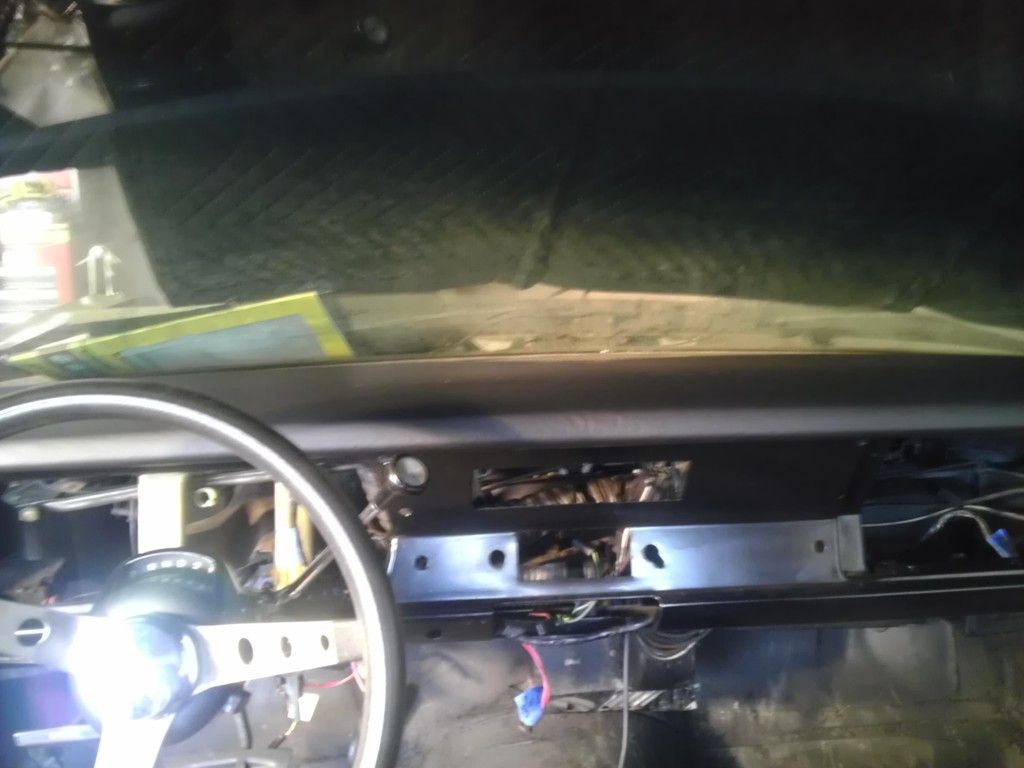
Here's the before picture...
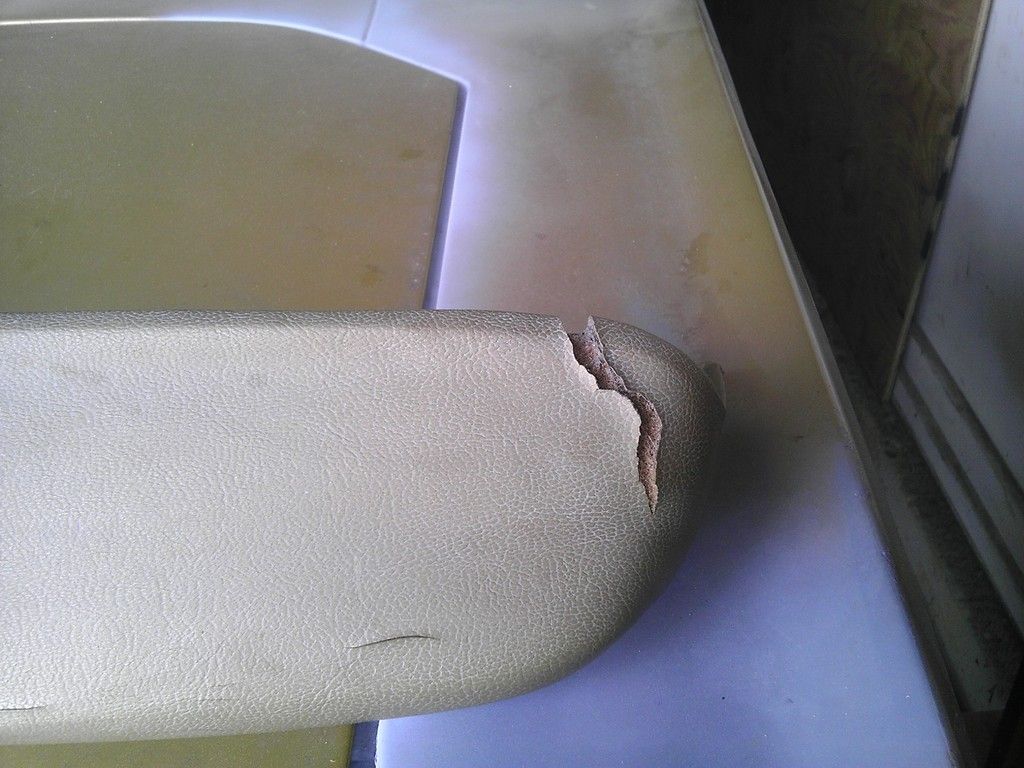
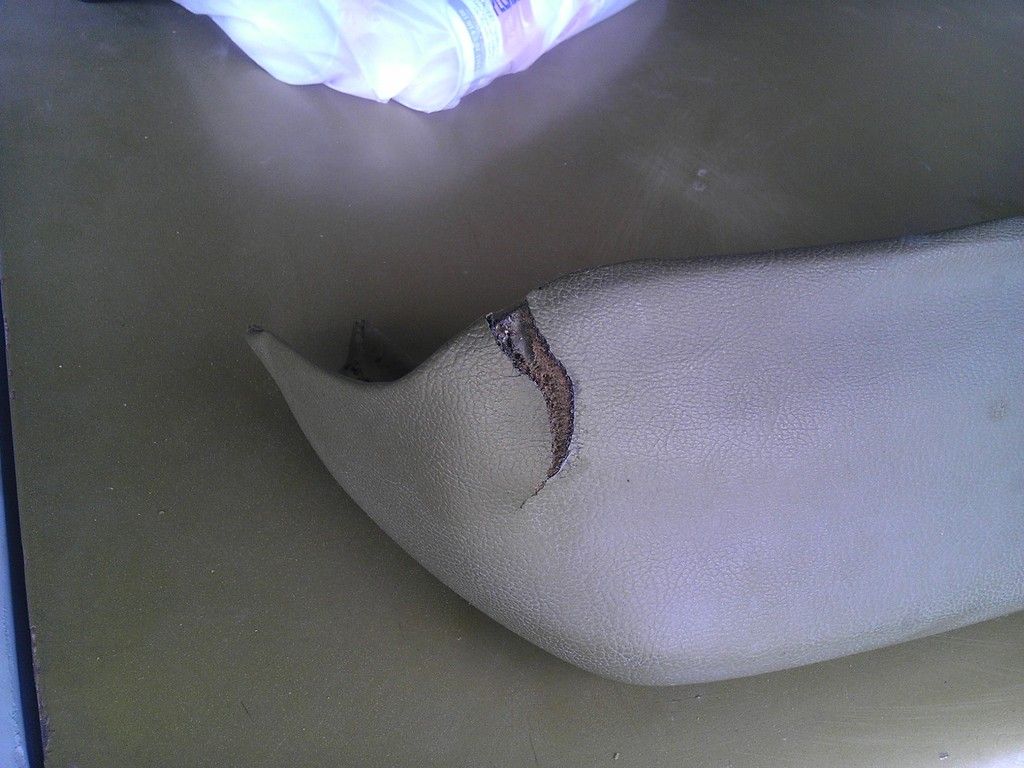
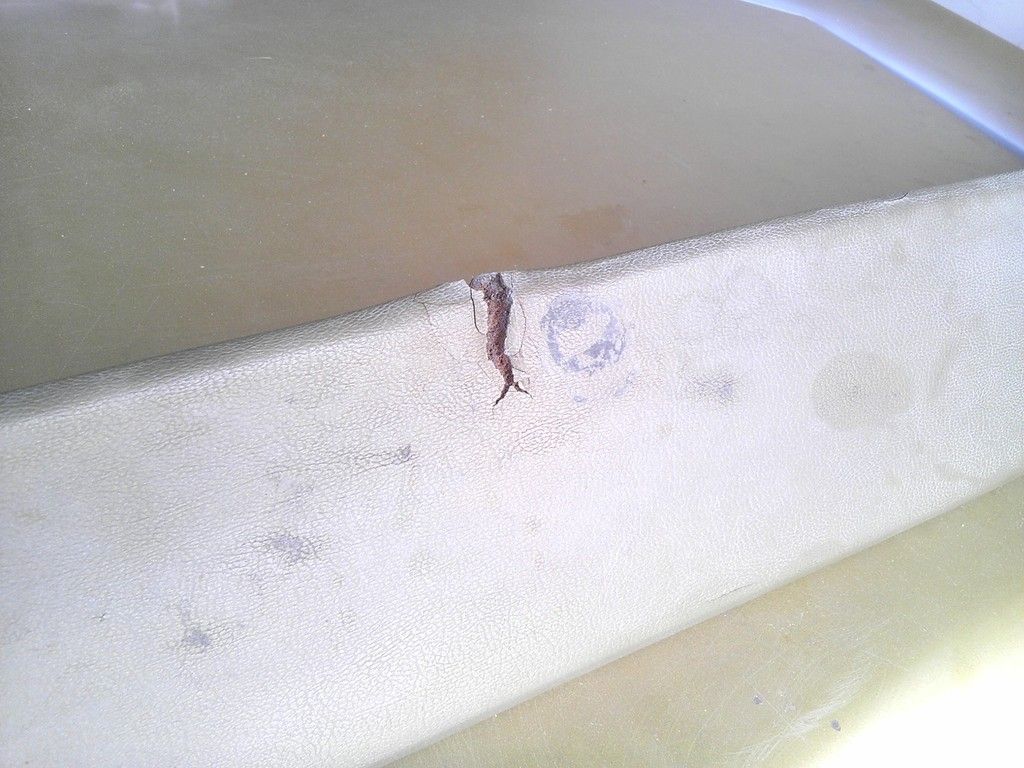
As you can see, it's got a few splits and cracks with exposed foam.
I'll be changing the color to black. I went to Wally World and bought 2 yards of vinyl, some adhesive spray and this...
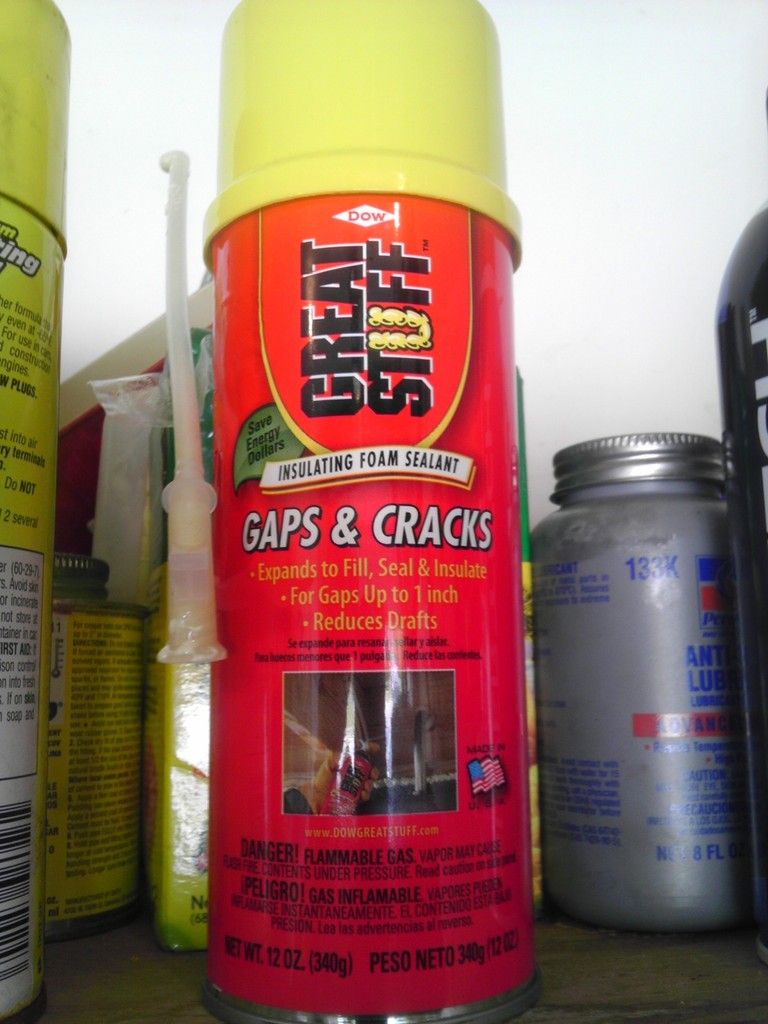
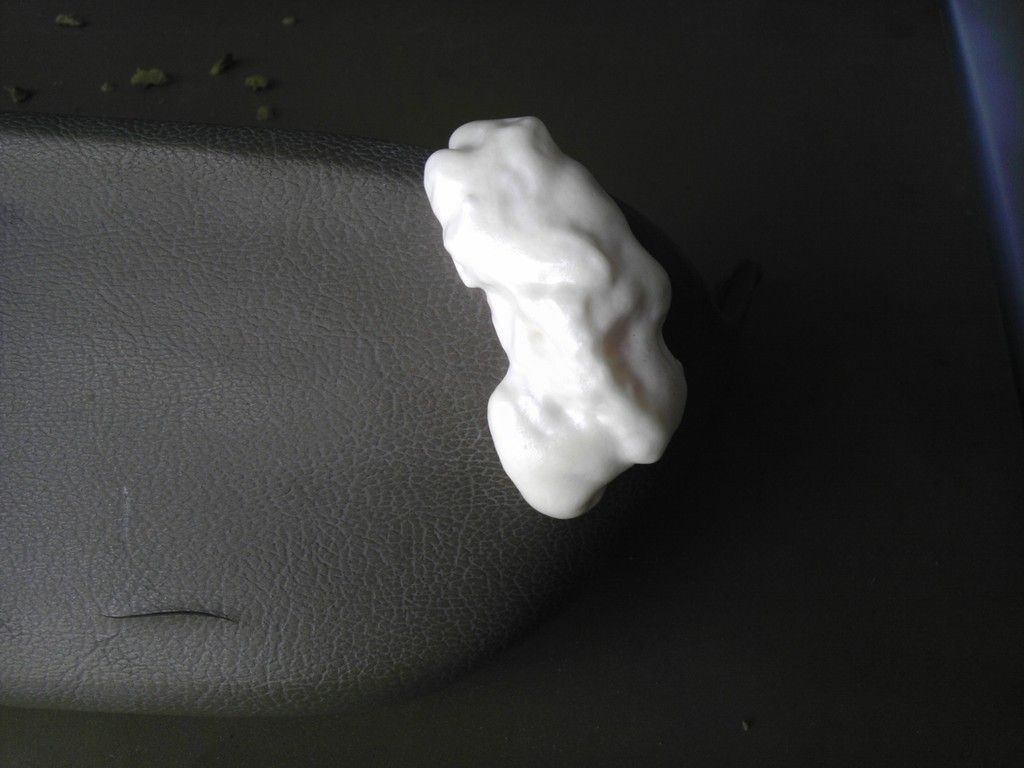
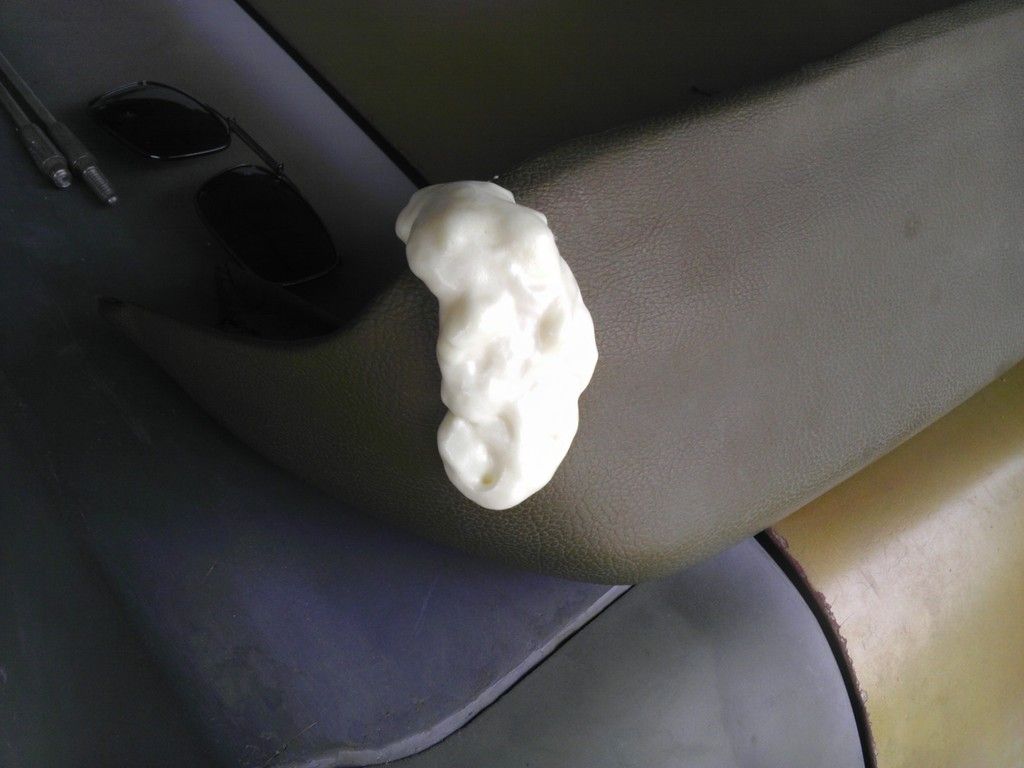
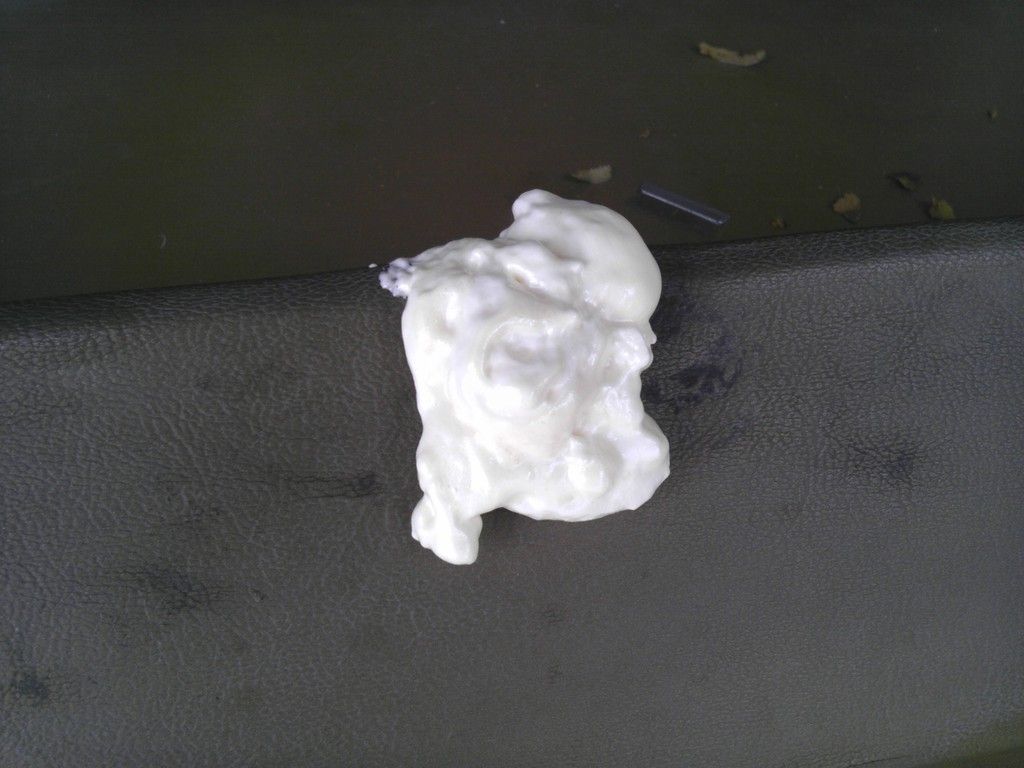
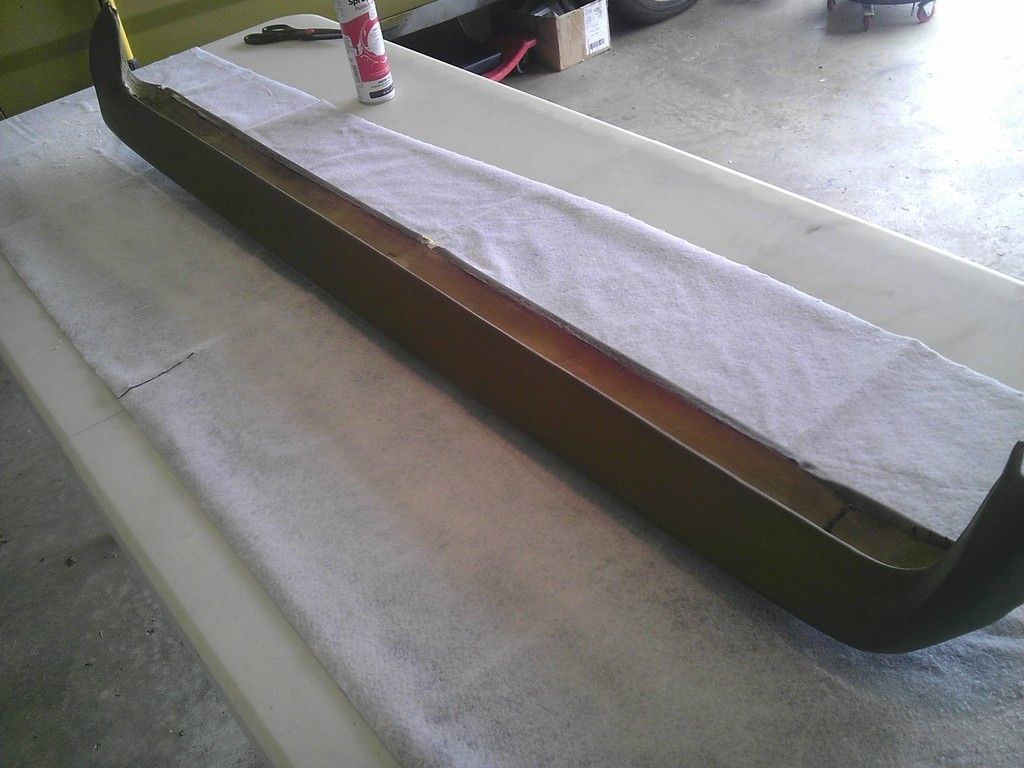
I start off by taking a razor blade to trim off the high spots, then I filled the gap with the spray foam.
24 hours later I trimmed away the excess bulge and sand it smooth...
I know I could just spring for a new cap and hide it all but I like the vinyl look.
First I gave the crusty pad a good sanding just to give the adhesive to bite to, then wiped it down with a lysol wipe to get it clean. Then measured out about what I would need to cover the dash pad.
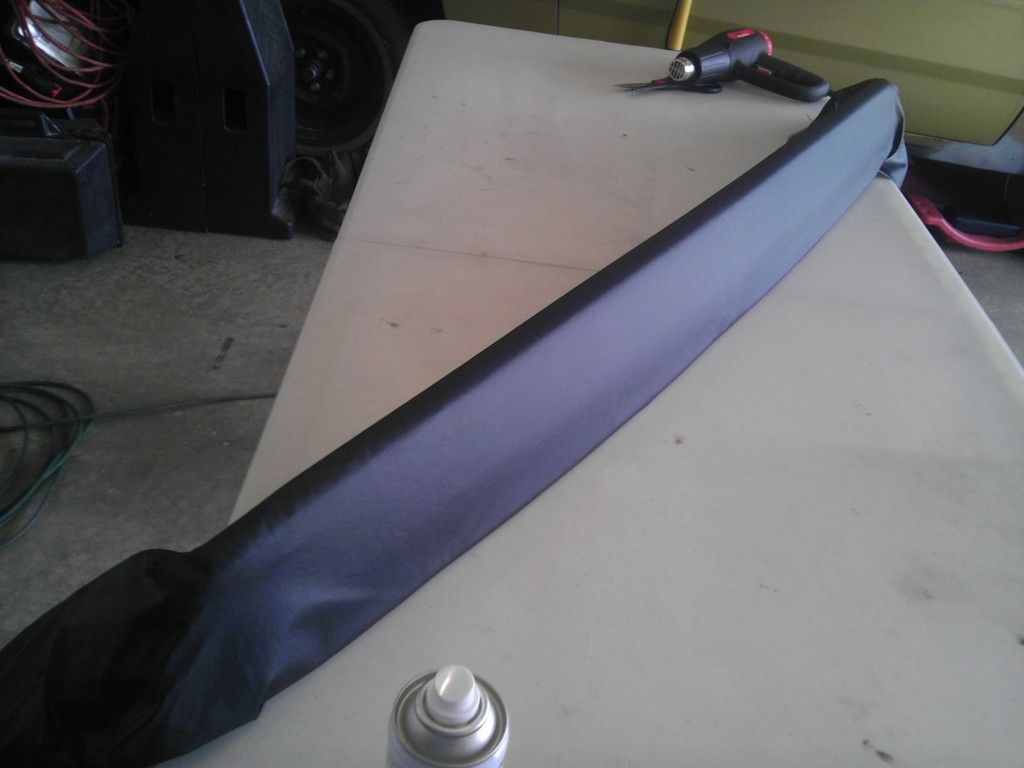
The spray adhesive said to spray the fabric and let it dry then use an iron to adhere the fabric to your source. I followed these directions with the exception of using an iron. I used a heat gun. The cheapest one HF had in stock. I started in the middle and worked my way out to the ends. I then worked the ends making several relief cuts and removing just enough material as to keep the dash pad covered. Spraying and heating as I went...
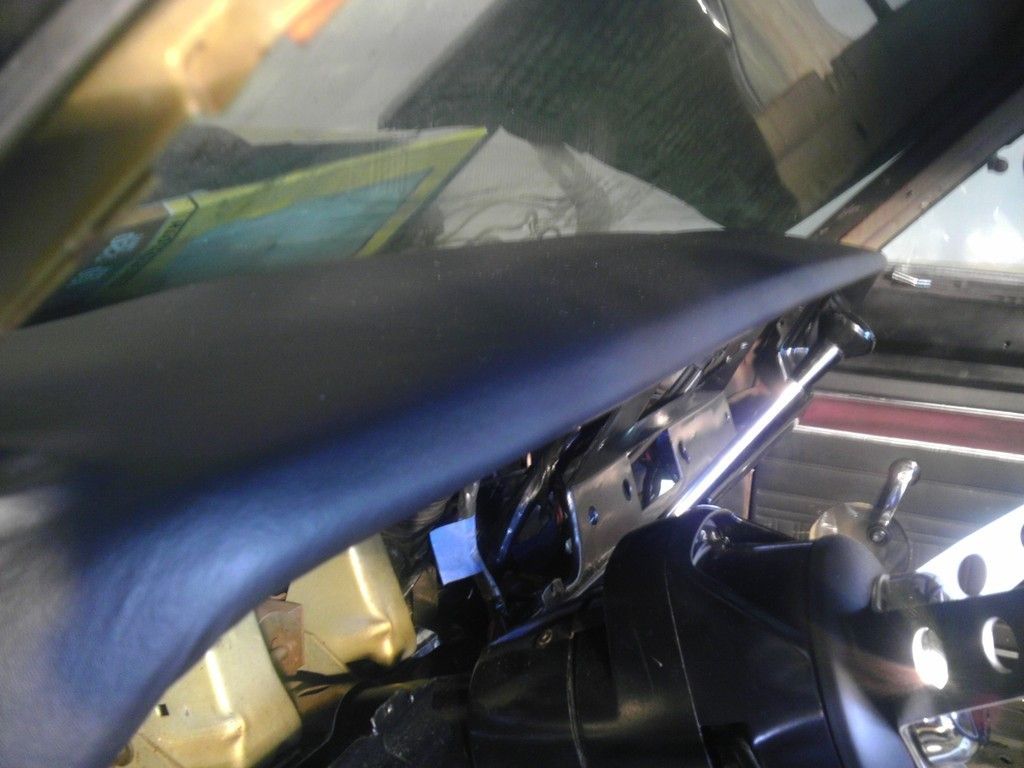
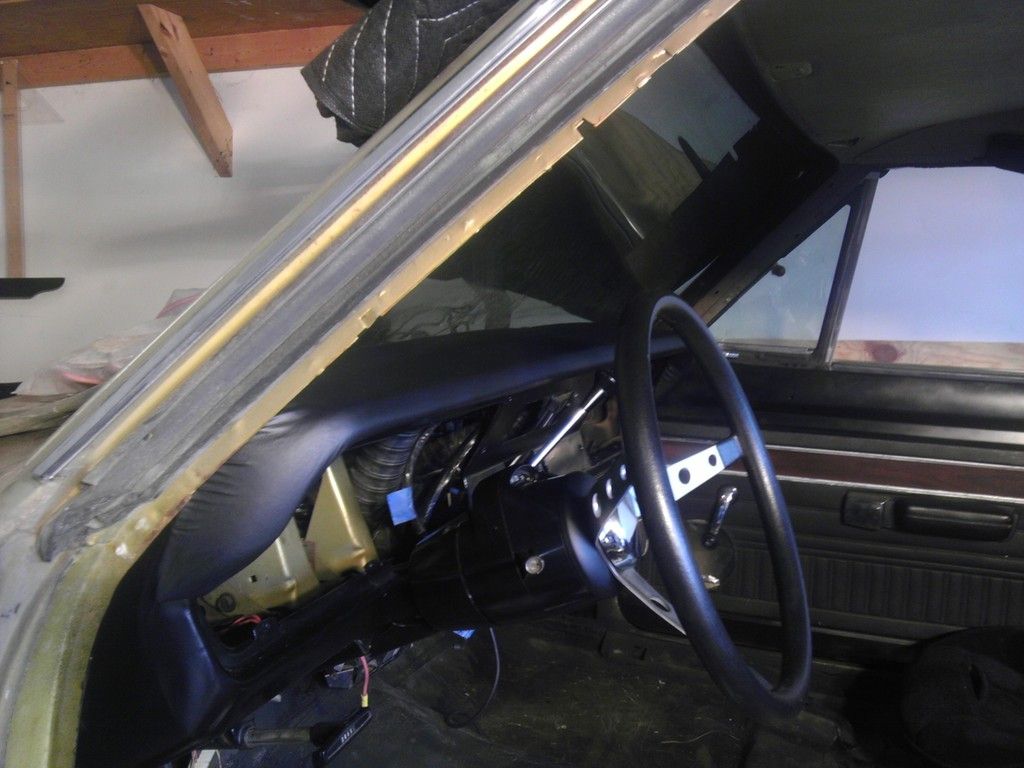
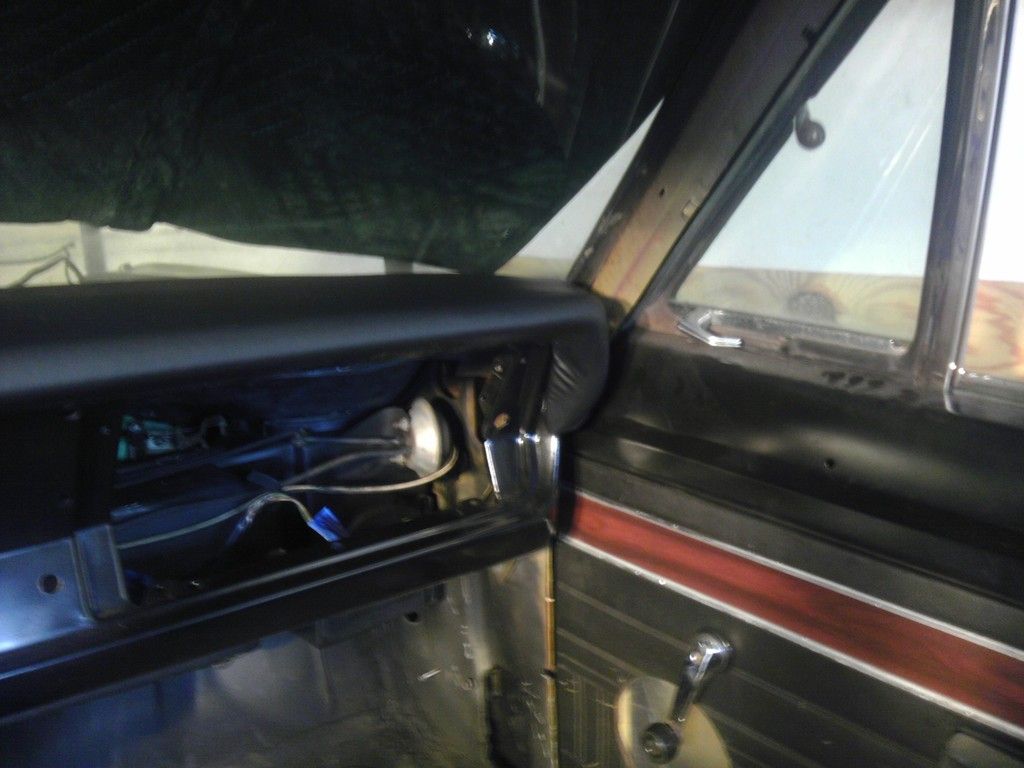
Before I knew it, I was done. It ain't perfect and I've never done this type of work before but I'm very happy with the results.
Thanks for looking
Here's the before picture...
As you can see, it's got a few splits and cracks with exposed foam.
I'll be changing the color to black. I went to Wally World and bought 2 yards of vinyl, some adhesive spray and this...
I start off by taking a razor blade to trim off the high spots, then I filled the gap with the spray foam.
24 hours later I trimmed away the excess bulge and sand it smooth...
I know I could just spring for a new cap and hide it all but I like the vinyl look.
First I gave the crusty pad a good sanding just to give the adhesive to bite to, then wiped it down with a lysol wipe to get it clean. Then measured out about what I would need to cover the dash pad.
The spray adhesive said to spray the fabric and let it dry then use an iron to adhere the fabric to your source. I followed these directions with the exception of using an iron. I used a heat gun. The cheapest one HF had in stock. I started in the middle and worked my way out to the ends. I then worked the ends making several relief cuts and removing just enough material as to keep the dash pad covered. Spraying and heating as I went...
Before I knew it, I was done. It ain't perfect and I've never done this type of work before but I'm very happy with the results.
Thanks for looking


