I'm too lazy for all that. lolPost its help also, just dont scroll up.
You are using an out of date browser. It may not display this or other websites correctly.
You should upgrade or use an alternative browser.
You should upgrade or use an alternative browser.
Electronic Conversion Kit
- Thread starter nodemon
- Start date
-
Interesting thought all 72 were electronic, 71 340 E models (cuda/Challenger) only had electronic also. Thanks got a link?
Last edited:
Check the build date . Might be an early build .According to Chrysler literature in 1972 Abodies with 318 engines could come with or without electronic ignition.
If that’s a Demon only 340 cars had electronic in 72 according to Hamtramck lit
https://www.hamtramck-historical.com/images/dealerships/1972PlymouthAdvanceInfo/1972_Plymouth_2.jpg
https://www.hamtramck-historical.com/images/dealerships/1972PlymouthAdvanceInfo/1972_Plymouth_2.jpg
I know thats wrong 72 was the Chrysler crossover for it in all models. Just standard on the demon if you re read it.
https://www.hamtramck-historical.com/images/dealerships/DealershipLetters/72_DealershipLetter001.jpg
These letters indicate that in 1972 Abodies with 340 engines and other models with larger engines came standard with electronic ignition.
Electronic ignition with 318 engines were optional after October 4 1971 and become standard after June 19 1972.
These letters indicate that in 1972 Abodies with 340 engines and other models with larger engines came standard with electronic ignition.
Electronic ignition with 318 engines were optional after October 4 1971 and become standard after June 19 1972.
I also thought 72 was 1st year for entire lineup . Did not realize it was optional on some. Mopar literature is a bit ambiguous.
Check out this page… says it’s std on 72 440-6 ! I wonder how many 72 440-6 cars were made ?
Check out this page… says it’s std on 72 440-6 ! I wonder how many 72 440-6 cars were made ?
OK learning something new here so in June they said it is standard for all 8 in 72 is that retroactive or not? Thanks. Might have to hit the 72 IPB hard on this one.
a few did a few dist for them usually early productions. Big money cores and extremely hard to find.I also thought 72 was 1st year for entire lineup . Did not realize it was optional on some. Mopar literature is a bit ambiguous.
Check out this page… says it’s std on 72 440-6 ! I wonder how many 72 440-6 cars were made ?
Man we went sideways. Thanks Rusty!
From the few pics of that engine compartment I would mount it where it came on the inner fender in front of the washer bottle holes are prob there but that is me.
Last edited:
Maybe it came points, converting to elec should be simple. You bought a kit? It has instructions. The kit should have the matching plugs?
You bought car non running? I would be checking/tracing wires.
Santa's coming, ask for factory schematics/manual.
You bought car non running? I would be checking/tracing wires.
Santa's coming, ask for factory schematics/manual.
Professor Fate
Push the button, Max...
Okay, you say it was already electronic ignition when you got it- let's see a picture of the distributor that WAS in it. I have a sneaking hunch it was an MSD RTR or Fleabay Skip White all-in-one distributor (one wire hookup), and all the connectors for the factory ECU, distributor, and ballast were removed from the harness.On the advice from a buddy, I purchased an Electronic Conversion Kit, I guess as an upgrade. I have a few questions, but will just start with this.. My car was already electronic ignition, although not running when purchased.
This is the only "box" (photo attached) my car has and the plug comes right out of the harness. (2 prong). The original distributor in the car has the 2 plug wires coming out but I can't find in the harness or anywhere else it plugs into. Does that distributor plug go to another box that is just missing from the car..? View attachment 1716342765View attachment 1716342766
In which case you'll need to figure out what's been done to the harness, and where to splice in the harness from the new kit.
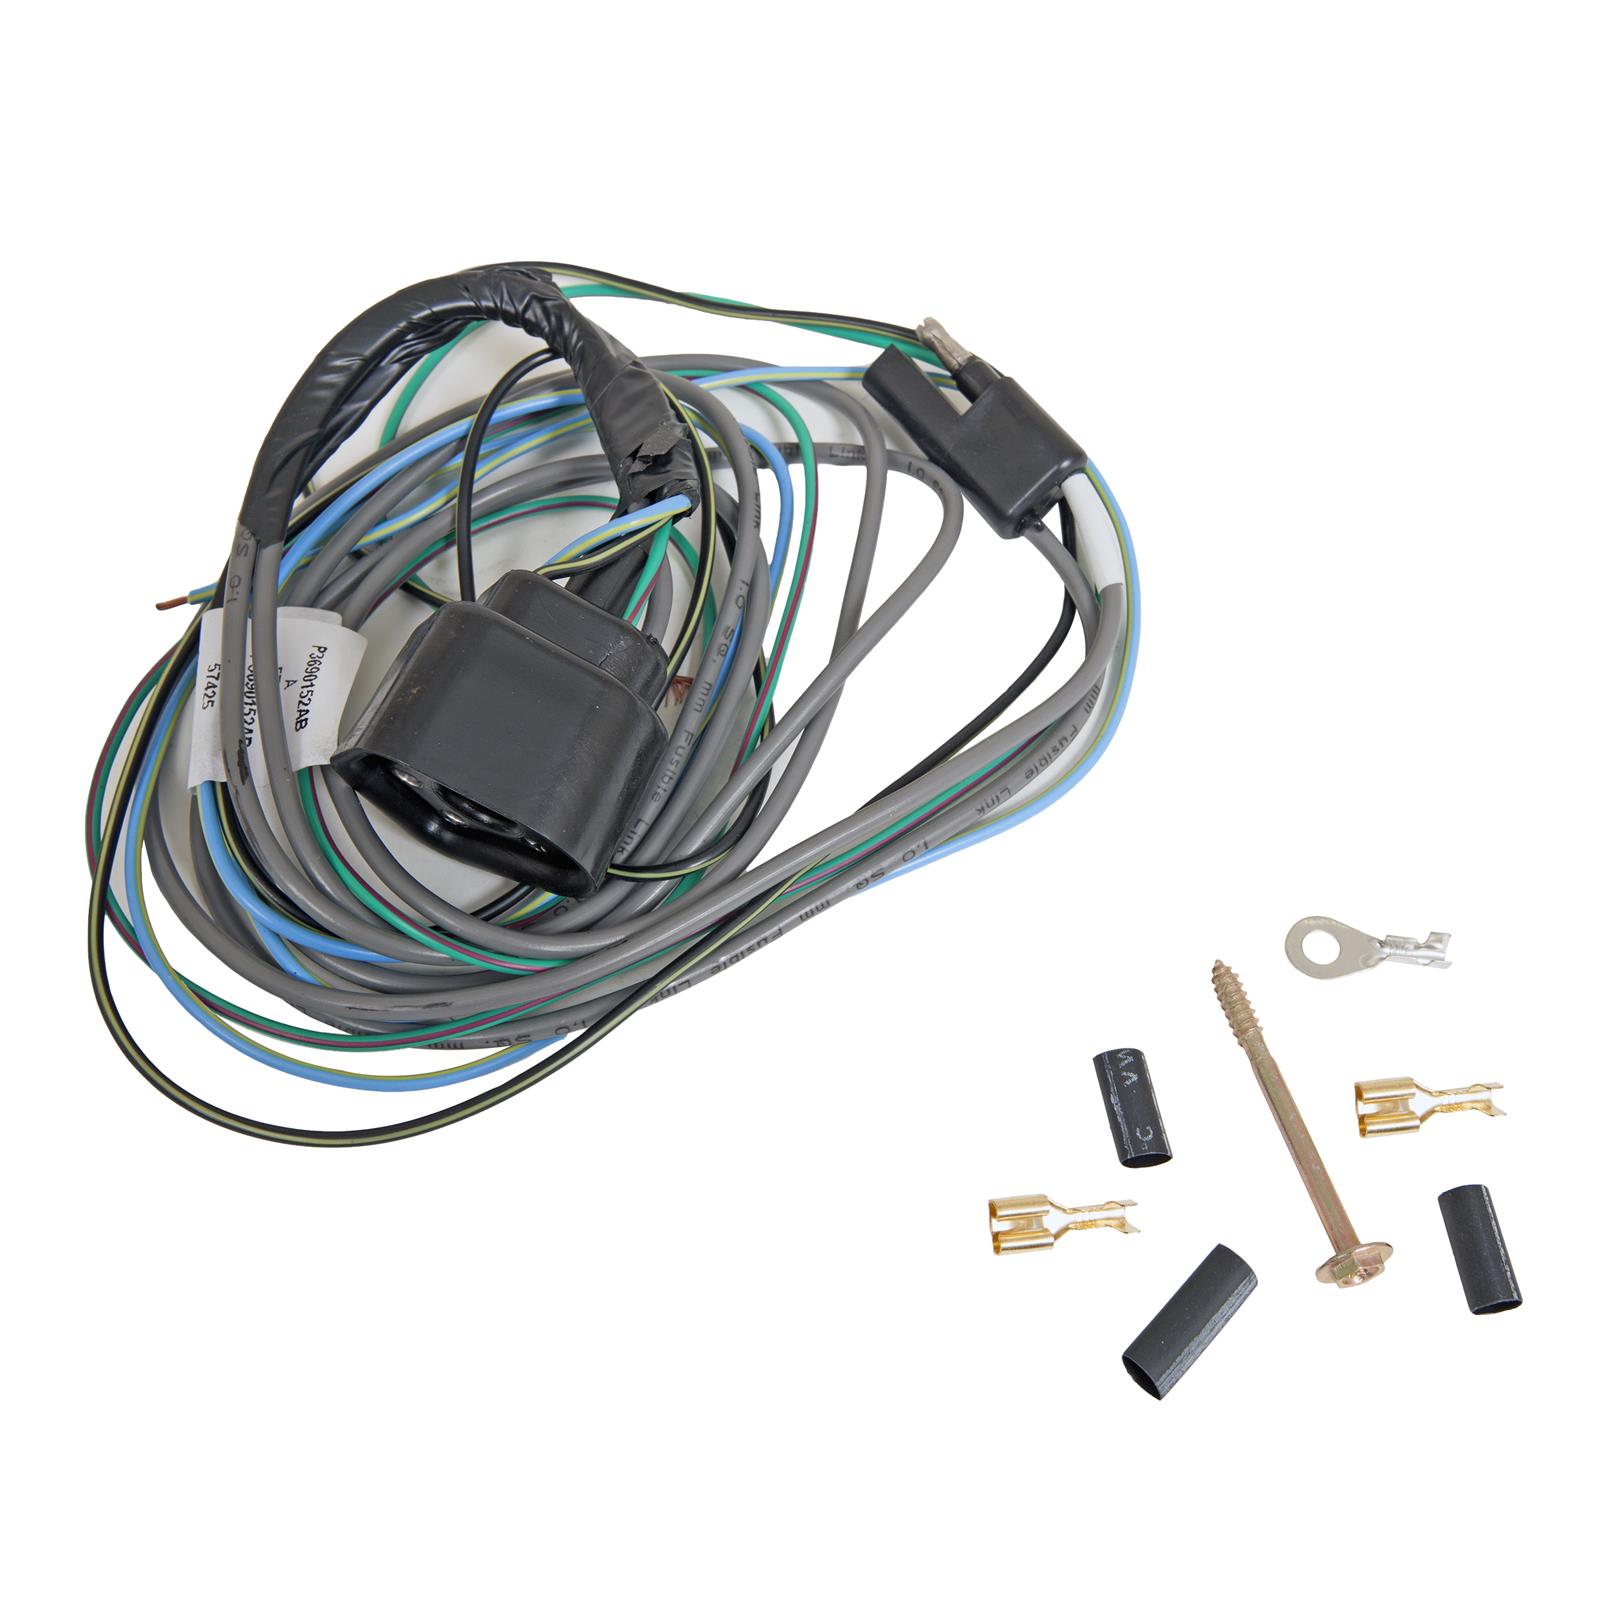
If you don't have this already, you need it. Very easy to wire up. Comes with deestruckshuns.This is the only "box" (photo attached) my car has and the plug comes right out of the harness. (2 prong). The original distributor in the car has the 2 plug wires coming out but I can't find in the harness or anywhere else it plugs into. Does that distributor plug go to another box that is just missing from the car..? View attachment 1716342765View attachment 1716342766

Summit Racing SUM-851010 Summit Racing™ Mopar Electronic Control Wiring Harnesses | Summit Racing
Free Shipping - Summit Racing™ Mopar Electronic Control Wiring Harnesses with qualifying orders of $109. Shop Ignition Box Wiring Harnesses, Distributor at Summit Racing.
Daves69
Well-Known Member
Didn't it come with this...............The kit I bought obviously has one,
Mid 1971 model year change for the 340
May 6, 1971 TSB D71-8-9
parts lists
May 6, 1971 TSB D71-8-9
parts lists
That's a nice copy of the older MP instructions.
Except for the illustration at the end.
No idea where that came from but its misleading and drives certain helpful people here nuts!
Funny but not to those confused trying to use it.
Schematic of a '72 main and ignition circuits
Schematic of '72 equiped with ECU. (I forget if the wire connecting to the coil is brown or dark blue in '72)
A conversion can be done a little simpler since the newer ECU's don't need the 5 ohm resistors.
Last edited:
I like the color matched ecu to the car. That should be worth at least 50 more horsepower…..
Last edited:
here's a single resistor (points setup) on '70 or '71.A conversion can be done a little simpler since the newer ECU's don't need the 5 ohm resistors.
The OP's '72 Demon looks to have the resistor mount hole above the lip. But if there is a mounting hole below, that's the better location in terms of keeping it dry.
1. Mount a new or used 0.5 Ohm resistor. Not 5 Ohm. Not 1.5 Ohm. 0.7 Ohm is OK.
2. Disconnect points distributor at coil negative.
3. Install magnetic pickup distributor.
Side note: Preferably one with a Chrysler performance advance curve (non-smog). If you don't know, then best to do a quick and dirty check on the bench. Plenty of posts on FABO about identifying the Mopar vs Mallory vs Delco type internals. A few posts with tips on how to get some idea of the advance on the bench.
4. Observe the wire positions on the 5 sided plug. Write down the colors relative to position. Position matters.
Top of the pentagon is the power connection (light blue in diagram below). Join this to the to the ignition run wire (J2-dark blue or dark blue with stripe).
Do this as follows:
Route the ECU power wire alongside the factory wire harness and then to the ballast resistor.
Install an insulated 1/4" push-on terminal to the ECU power wire.
Like this
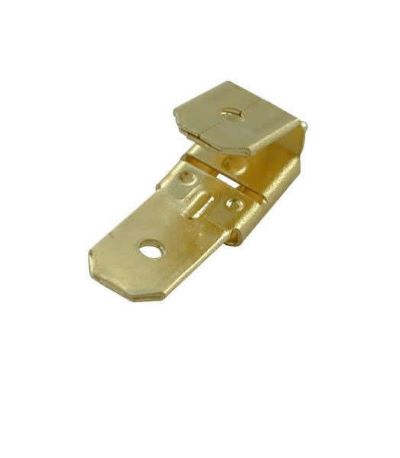
Install a piggyback terminal onto the ballast resistor post where the J2 (Blue) wire(s) get attached. (arrow on diagram above).
5. Identify the wire on the ECU plug to the left of the power. That's the connection to coil negative. It connects to ground instead of the points.
Route that along the wire harness so its supported and protected. Install the appriate size ring terminal and attach to the coil negative post.
6. Route the ECU distributor wires to the distributor plug and connect.
Last edited:
You got a link to them piggyback doohickeys?here's a single resistor (points setup) on '70 or '71.
View attachment 1716342917
The OP's '72 Demon looks to have the resistor mount hole above the lip. But if there is a mounting hole below, that's the better location in terms of keeping it dry.
1. Mount a new or used 0.5 Ohm resistor. Not 5 Ohm. Not 1.5 Ohm. 0.7 Ohm is OK.
2. Disconnect points distributor at coil negative.
View attachment 1716342884
3. Install magnetic pickup distributor.
Side note: Preferably one with a Chrysler performance advance curve (non-smog). If you don't know, then best to do a quick and dirty check on the bench. Plenty of posts on FABO about identifying the Mopar vs Mallory vs Delco type internals. A few posts with tips on how to get some idea of the advance on the bench.
4. Observe the wire positions on the 5 sided plug. Write down the colors relative to position. Position matters.
Top of the pentagon is the power connection (light blue in diagram below). Join this to the to the ignition run wire (J2-dark blue or dark blue with stripe).
View attachment 1716342905
Do this as follows:
Route the ECU power wire alongside the factory wire harness and then to the ballast resistor.
Install an insulated 1/4" push-on terminal to the ECU power wire.
Install a piggy back onto the ballast resistor post where the J2 (Blue) wire(s) get attached. (arrow on diagram above).
View attachment 1716342906 <= Piggyback allows installation of two female terminals onto one male terminal.
5. Identify the wire on the ECU plug to the left of the power. That's the connection to coil negative. It connects to ground instead of the points.
Route that along the wire harness so its supported and protected. Install the appriate size ring terminal and attach to the coil negative post.
6. Route the ECU distributor wires to the distributor plug and connect.
View attachment 1716342910
No. I have a handful in the box I have no idea now where or when I bought them.You got a link to them piggyback doohickeys?
but wait. beneath the corrosion in my brain says one of us had some links

.250 Tab M to FM to M Piggyback - WiringProducts, Ltd.
.250 Tab Male to Female/Male to Male Piggyback
wiringproducts.com
and KrazyKuda's has more links here

"Piggy Back" Fuse available for Glass Fuse?
I would like to know if a company manufactures (or anyone clever has fabricated) a way to piggyback onto an old style glass fuse? I just want to tap into the instrument/dash panel illumination so that my aftermarket oil pressure gauge can be read after dark. I just don't like splicing into...
 www.forabodiesonly.com
Thank you!
.250 Tab M to FM to M Piggyback - WiringProducts, Ltd.
.250 Tab Male to Female/Male to Male Piggybackwiringproducts.com
and KrazyKuda's has more links here

"Piggy Back" Fuse available for Glass Fuse?
I would like to know if a company manufactures (or anyone clever has fabricated) a way to piggyback onto an old style glass fuse? I just want to tap into the instrument/dash panel illumination so that my aftermarket oil pressure gauge can be read after dark. I just don't like splicing into...www.forabodiesonly.com
-


