How thick of metal for frame connectors

-

memike

Super Moderator
Staff member
FABO Gold Member
Joined
Jan 8, 2006
Messages
55,857
Reaction score
29,390
Location
on the hill
This is not a race car and I am running a /6 :glasses7:
All I want to do is one step at a time and this is my next step :coffee2:
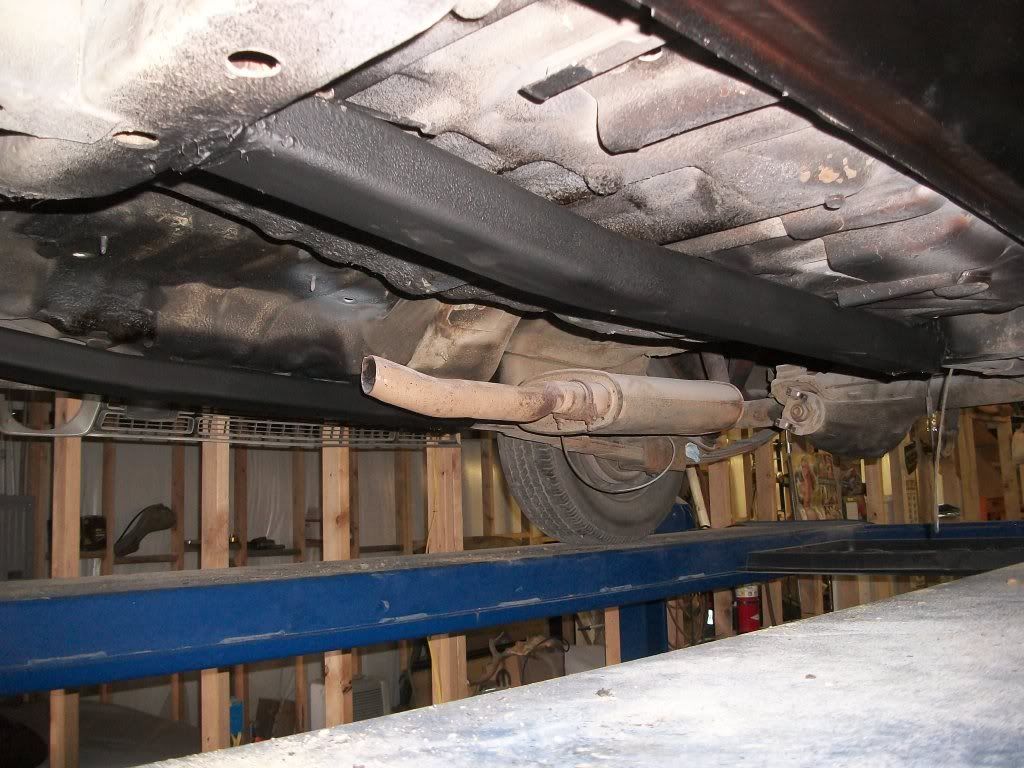
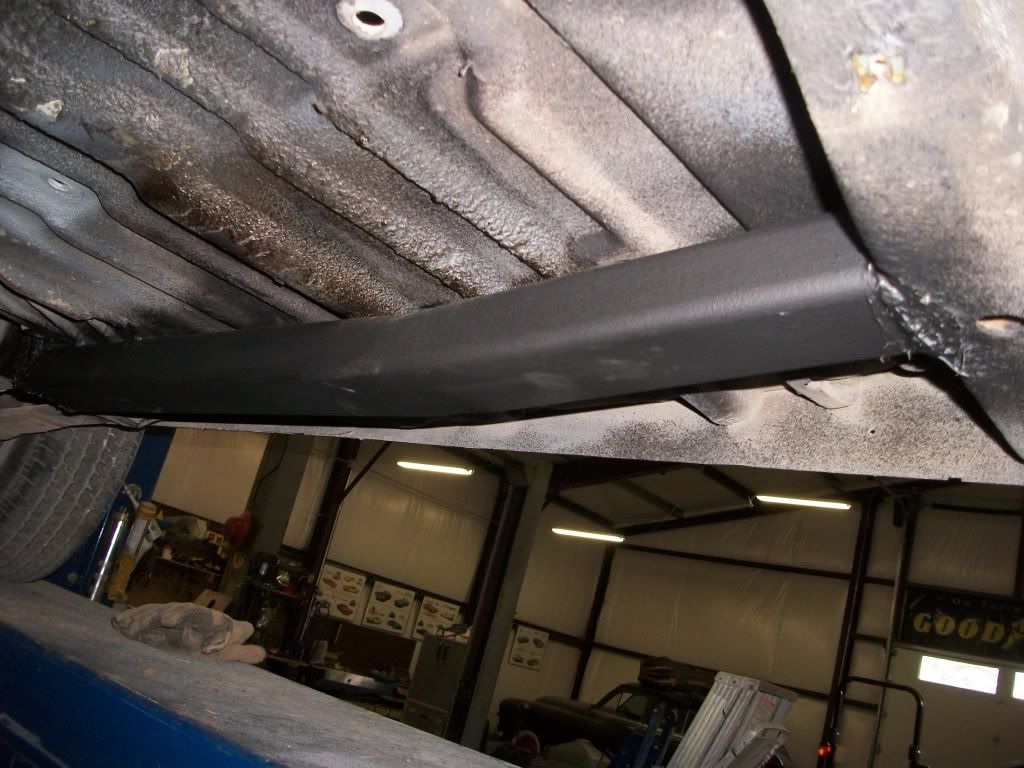
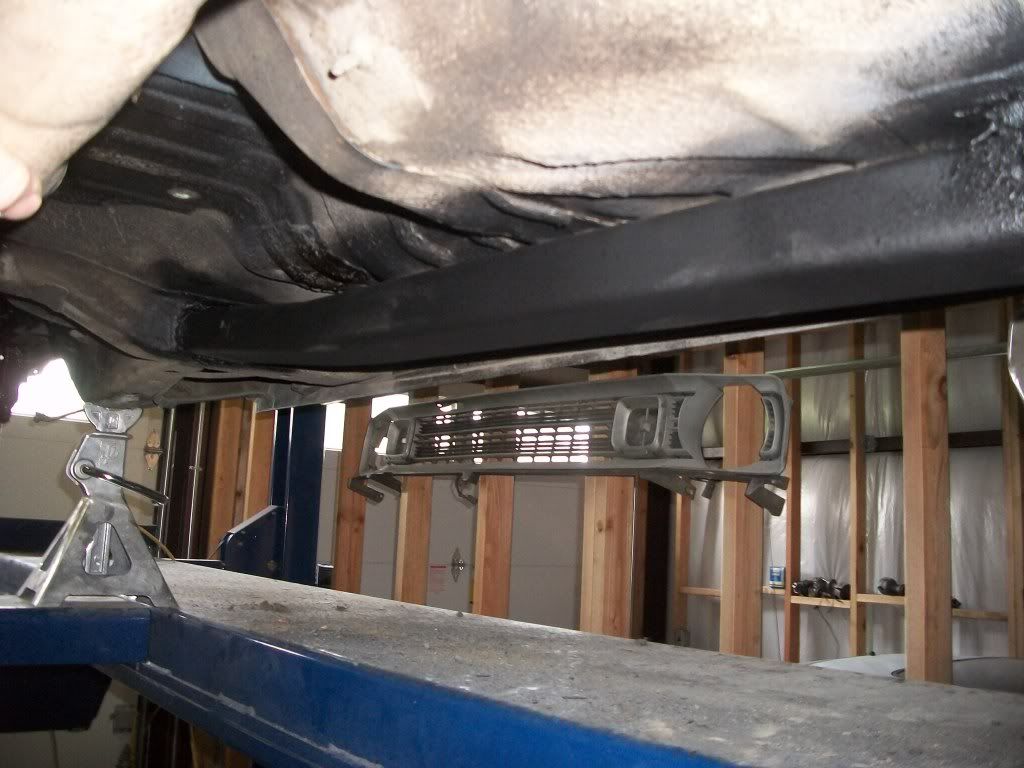
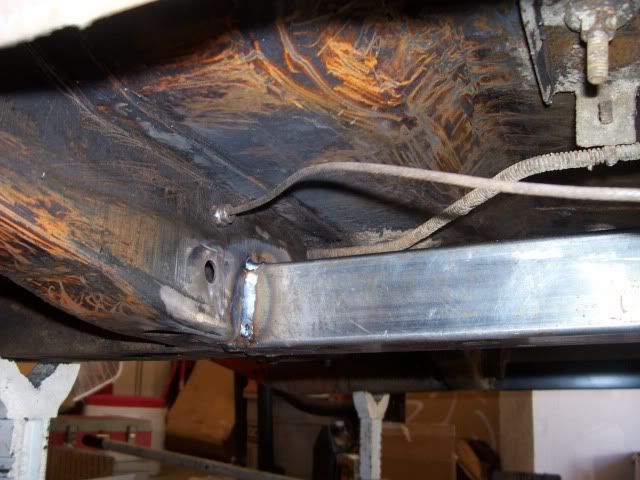
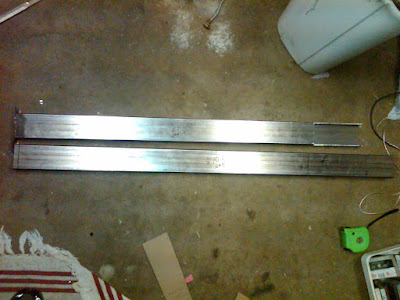
I am buying new metal for my frame connectors and don't want to over do it.
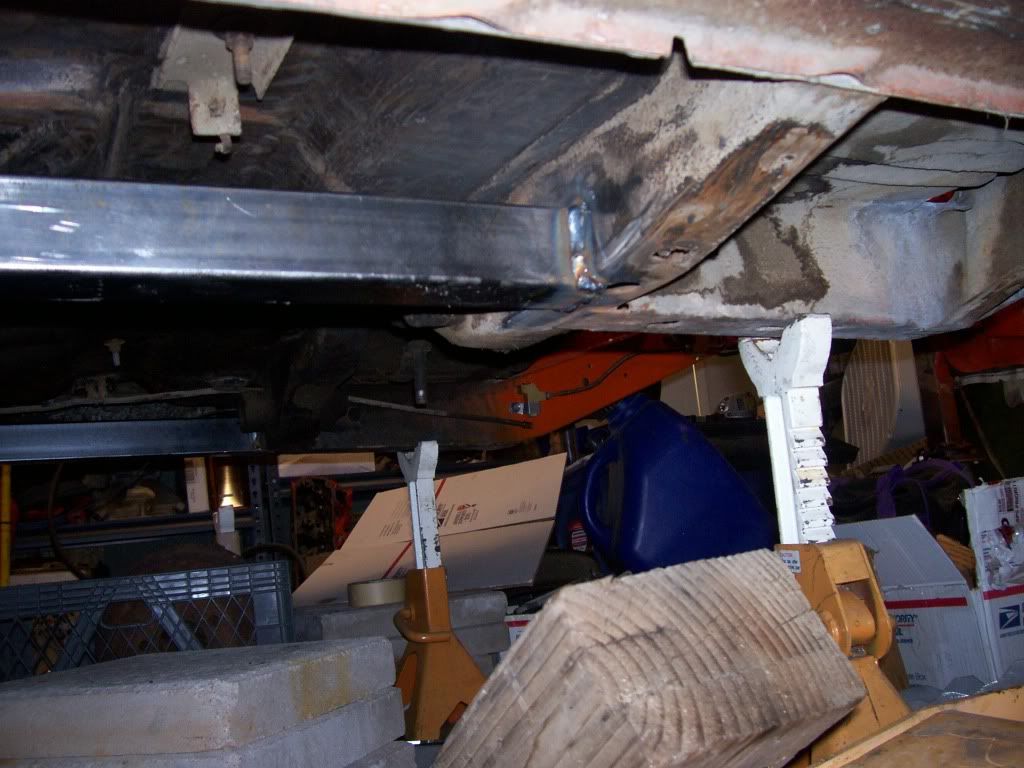
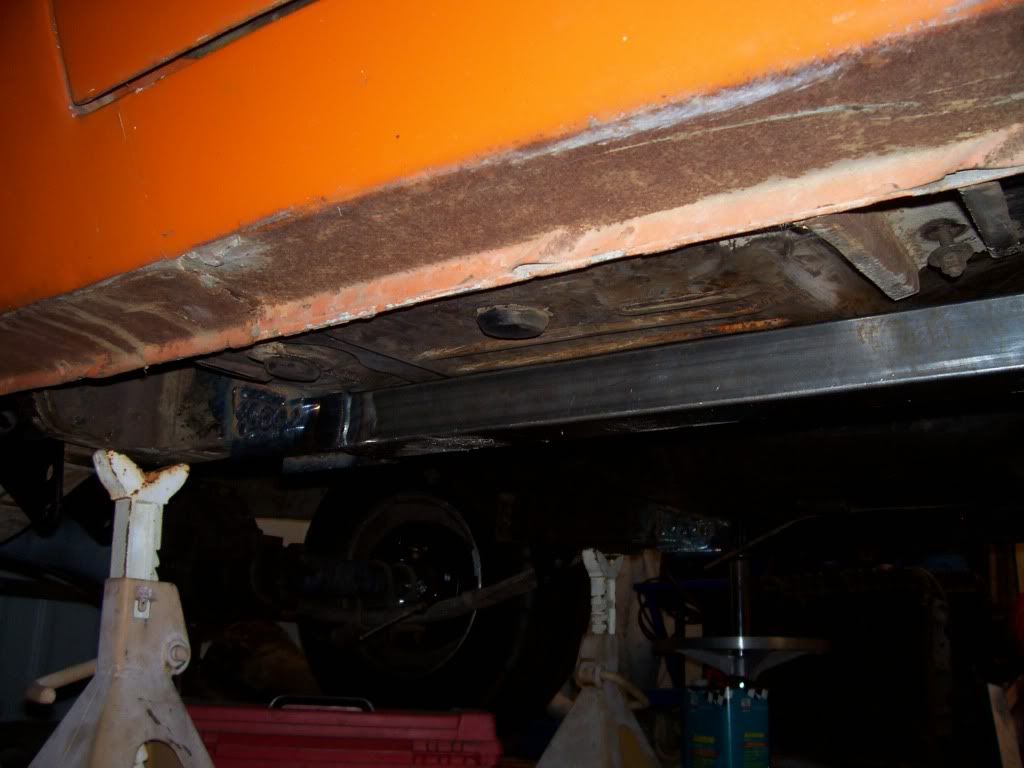
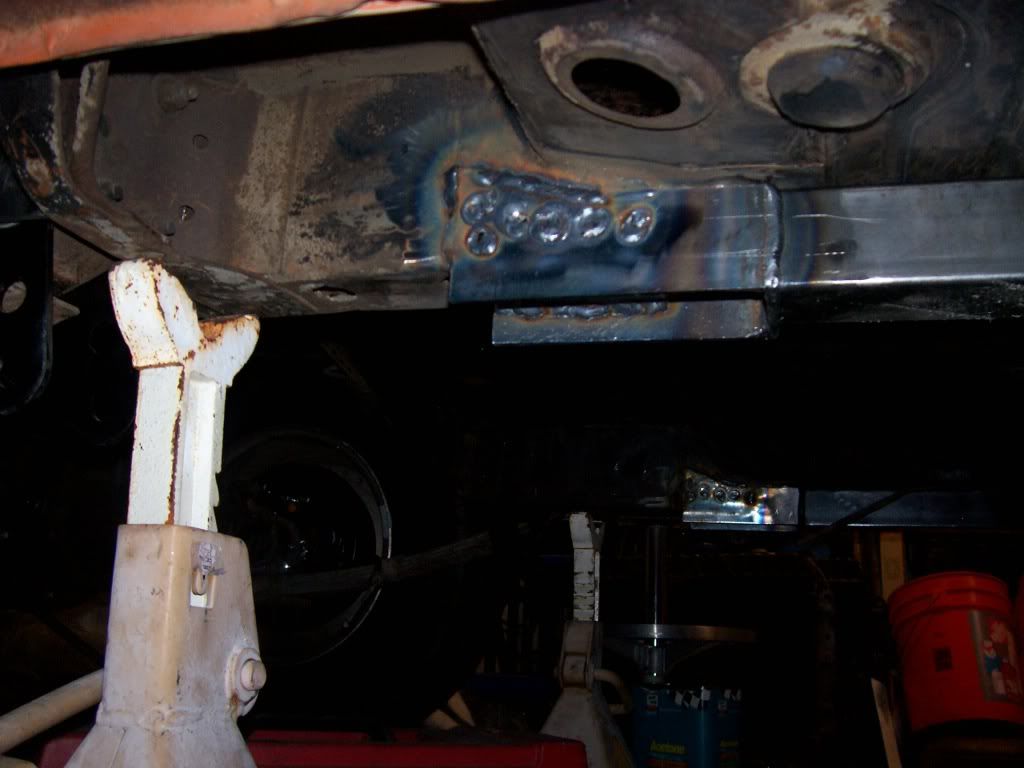
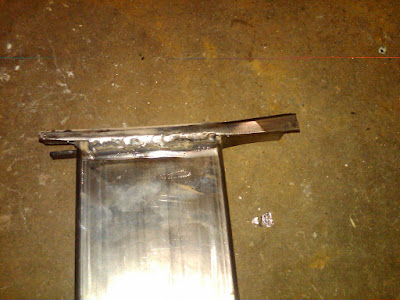
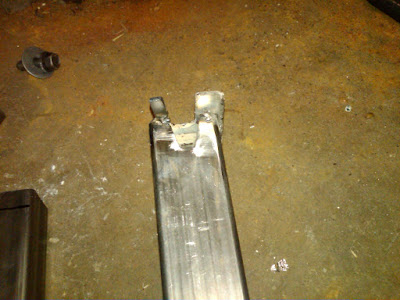
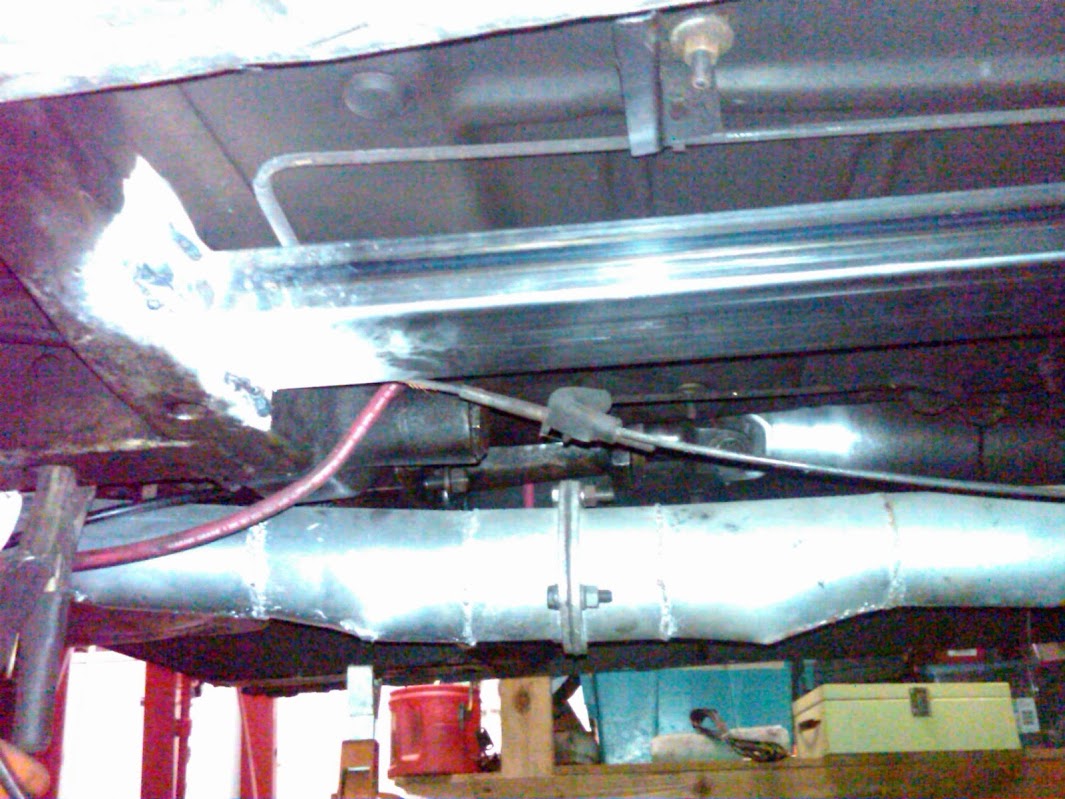
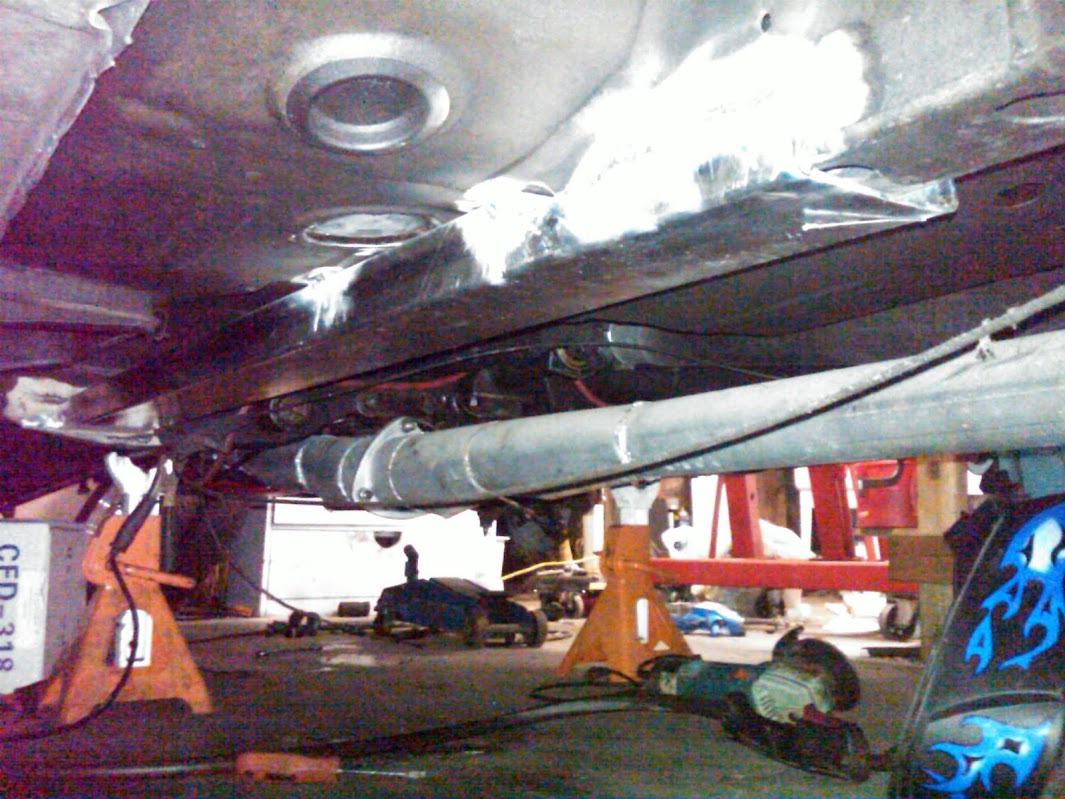
I will be useing 1''X3'' , so my question is this, what is the thickness I should ask for ?? to be welded in my 66 Valiant frame.

Thank you for all your time and tec help :cheers:

doing it this way, THank you all very much
 

Attachments

  • car%20pics%2066%20Dart%20071.jpg
    117.1 KB · Views: 775
  • car%20pics%2066%20Dart%20076.jpg
    97 KB · Views: 761
  • car%20pics%2066%20Dart%20116.jpg
    124.2 KB · Views: 735
i use a 2x2 tube when i build them and it is .120 wall probably over kill on the wall thickness but its what i use.
 
2x3 .120 wall is what I use

100_2866.jpg


100_2862.jpg


100_2858.jpg
 
i use a 2x2 tube when i build them and it is .120 wall probably over kill on the wall thickness but its what i use.
Thank you vitamindart, that will give me something to start with, I an going to stay 1''X3'' for my street ride :glasses7:

0.125" thickness max.
Thank you for the Max thickness :glasses7: this does help a bunch :cheers:

2x3 .120 wall is what I use
I am seeing more 2X3 being used so far, I like Scott's flat 1'' X 3'' for my
driver and it hides better for my use. Thank you :glasses7:
 
I used 2x2 .083 wall on the last car I did. .120 is overkill in most cases.

.083 is more than enough for a daily driver
 
I used 2x2 .083 wall on the last car I did. .120 is overkill in most cases.

.083 is more than enough for a daily driver

:blob: Thank you crackedback :cheers: This is what I was wondering :glasses7: You know me, less is more :D
RMS co, here in town will see me Friday :cheers:
 
I'm not a real big fan of 1 x 3 rect tubing for this.

This is how I did mine. Got lazy and didn't fishplate at the torsion crossmember.

frameconnectors.jpg

frameconnectors002.jpg

frameconnectors001.jpg

frameconnectors003.jpg
 
I'm not a real big fan of 1 x 3 rect tubing for this.

This is how I did mine. Got lazy and didn't fishplate at the torsion crossmember.

frameconnectors.jpg

frameconnectors002.jpg

frameconnectors001.jpg

frameconnectors003.jpg

For my use I am going 1'' and 3'' wide so I can stay away from the floor boards and rear brake cable, my little 66 valiant will be getting a front sway bar and new rear spring this winter and I think it will be a good to go deal for me crackedback, I see Pettybluedart has the 1''X3'' on his race car and running mid 10'es 1/4 mile so they should be great for my /6 road car.
I want to thank you for the pictures, this will help :cheers:
 
Was this on your duster crackedback ?
 
I noticed that nobody puts holes in their frame connectors. The factory frame rails have holes in the bottom and sides. Is that to drain out water, or to allow coating the insides? I always worry about rust, so you might consider painting the insides of your frame connectors, using zinc primer at the ends for "weld-thru" protection. When replacing my floors, I washed and blew the front frame rails out and spray painted inside as best I could, and pulled a primer soaked rag thru (Rust Destroyer).
 
I noticed that nobody puts holes in their frame connectors. The factory frame rails have holes in the bottom and sides. Is that to drain out water, or to allow coating the insides? I always worry about rust, so you might consider painting the insides of your frame connectors, using zinc primer at the ends for "weld-thru" protection. When replacing my floors, I washed and blew the front frame rails out and spray painted inside as best I could, and pulled a primer soaked rag thru (Rust Destroyer).
Hmmmm;Yep water needs some way out!
 
I noticed that nobody puts holes in their frame connectors. The factory frame rails have holes in the bottom and sides. Is that to drain out water, or to allow coating the insides? I always worry about rust, so you might consider painting the insides of your frame connectors, using zinc primer at the ends for "weld-thru" protection. When replacing my floors, I washed and blew the front frame rails out and spray painted inside as best I could, and pulled a primer soaked rag thru (Rust Destroyer).


I sprayed the inside (and outside then undercoat on out) of mine with DP epoxy primer. The areas where the DP got burned I am not too worried about.
 
i went a little crazy with mine. they are 3"x3" 1/8" wall. they are for sure overkill but the car can sit on 3 jack stands now and the doors open like the day it was new still.

newdownload098.jpg


bigblockdart112.jpg


bigblockdart021.jpg


bigblockdart017.jpg
 
I noticed that nobody puts holes in their frame connectors. The factory frame rails have holes in the bottom and sides. Is that to drain out water, or to allow coating the insides? I always worry about rust, so you might consider painting the insides of your frame connectors, using zinc primer at the ends for "weld-thru" protection. When replacing my floors, I washed and blew the front frame rails out and spray painted inside as best I could, and pulled a primer soaked rag thru (Rust Destroyer).
Will do :blob: Thank you Bill, I bet condensation can and will build up in one fast.... On my list todo,, denatures alcohol wiped down on the inside using a rag on an old fishing pole :D 2 small weep holes in the rear along with painting the inside with a primer tape one end up and poor a pint of primer inside rolling it around, then poor the left over into the other connector :glasses7:

Hmmmm;Yep water needs some way out!
for a test I will plug the 2 1/2 inch holes and see what one season does, park it up hill and pull the plugs and see how much water/condensation was in them :glasses7:

I used 1 1/2 X3 .125 wall and it fit over the rear frame rail real nice and tight
Yes, This is way I want it to be 3'' wide, I could live with 1 1/2'' tall :glasses7:

i went a little crazy with mine. they are 3"x3" 1/8" wall. they are for sure overkill but the car can sit on 3 jack stands now and the doors open like the day it was new still.

newdownload098.jpg


bigblockdart112.jpg


bigblockdart021.jpg


bigblockdart017.jpg
Wow!! Very nicely dun younggun :glasses7: Your frame is good for giant hp.
I am going to stay away from my floor pans. Very nize :glasses7:
 
Mine are getting a coat of eastwood internal frame rail paint. They have the weld thru primer already. There will be drain holes, but there will be rubber plugs in them. This is one of those locations where a heavy coating of cavity wax applied through a tube sprayer is the final defense against rust. But the big difference is mine are made of 14 frame rail style steel channel not boxed tube.
 
Anyone know what is an easily sprayable (thin) product for rust conversion/prevention for this purpose, and other cavities? Like the rockers. I cut holes in mine front, back, and one middle (inside where it won't be seen) to get sand out after blasting. This and many other cavities should get some treatment.

I'd like to do something like the Eastwood system without paying their premium for what no doubt is a simple product with fancy marketing. It would take quite a few of their spendy aerosols to do everything. I'm thinking a garden sprayer with a wide angle tip might be useful.
 
Anyone know what is an easily sprayable (thin) product for rust conversion/prevention for this purpose, and other cavities? .


There are plenty of thin liquid convertors available.

http://www.eastwood.com/eastwood-ru...ode=ga110070&gclid=CNvIoaOejrMCFQkFnQod4VwAtg
[ame="http://www.amazon.com/Total-Solutions-Convert-Sprayable-Converter/dp/B008SV2LPK"]Total Solutions 347 Convert Sprayable Rust Converter,4 Gallon/Case: Amazon.com: Industrial & Scientific[/ame]
http://www.cmcchemical.com/featured/347_spryable_rust_converter.html
http://www.eastwood.com/eastwood-s-fast-etch.html?reltype=2&parent_id=5609

If you read the msds sheet on most rust convertors the main active ingrediant is phosphouric acid. The reaction between iron oxide and p acid is a black iron phosphate coating which is why most convertor brag about how their advance formula leaves behind an inert non rusting black coating when really it is a basic chemical reaction.
 
How much water is going to be inside the connectors?

I'd bet you introduce more water to the inside of the connectors drilling drain holes in them and driving in the rain than any condensation which may occur. Better deburr the inner edge too so there is no high spot.

Spray the inside with paint if concerned and move on.

memike, those connectors are on my orange 70 Swinger.
 
how much water is going to be inside the connectors?

I'd bet you introduce more water to the inside of the connectors drilling drain holes in them and driving in the rain than any condensation which may occur. Better deburr the inner edge too so there is no high spot.

Spray the inside with paint if concerned and move on.

x2
 
There are plenty of thin liquid convertors available.

http://www.eastwood.com/eastwood-ru...ode=ga110070&gclid=CNvIoaOejrMCFQkFnQod4VwAtg
Total Solutions 347 Convert Sprayable Rust Converter,4 Gallon/Case: Amazon.com: Industrial & Scientific
http://www.cmcchemical.com/featured/347_spryable_rust_converter.html
http://www.eastwood.com/eastwood-s-fast-etch.html?reltype=2&parent_id=5609

If you read the msds sheet on most rust convertors the main active ingrediant is phosphouric acid. The reaction between iron oxide and p acid is a black iron phosphate coating which is why most convertor brag about how their advance formula leaves behind an inert non rusting black coating when really it is a basic chemical reaction.

Thanks, makes sense. The metal tubing I welded into my floor pan for seat supports I welded shut on the ends and am not worried about internal corrosion. Rockers and other cavities will definitely see more moisture.
 
I just bought 10' of 2"x3" .083" tube for $40 to do one of my cars.I like to have a little extra when I buy material.
 
Talked to a dude at the car show with a '66 A, he used 2X3 .083 welded straight across the bottom with a slight bead where it hit the floorboard, Said it was the single best mode he ever did for driveablilty: stops straight, corners well and less body moan over uneven pavement. My next project!
 
update, just finished one side. I'm $20 bucks into it, and that includes tax! 2 pieces of scrap 1.5X3 14G rectangle @ .99 a lb (9# each @ 48 inches, didnt have 1X3 in stock) cut them 2 X 44" total, cut the top out at about 36 inches so you have an 8" opening. cut that piece to use as the butt plate on the front, weld 2X5 but plate. Test fit on raised car (4 jackstands, in pairs front and back on concrete slab to make sure the frame is completely square)-driver side- and make a notch for the E-brake cable as that is where it wants to sit naturally using 1.5. 1 may sit right under it if you lip it under the cross brace. Use a jack to snug it up, then use a hammer to bend the butt plate flanges flat against the cross member, it bends a little forward outboard or I had a crooked cut? Anyway, once it is flush, tack front and rear, check out and then lay bead around the butt plate and rear channel outboard side. Take hammer to inside and beat inside flush with frame rail as it seems to reduce in width. Lay bead when flush. Repeat on other side! 14G slides over rear channel perfectly, thicker will not clear without working metal wider. Good afternoon project and well worth it. Probably do it in about an hour after yoiu get the materials if you have a chop saw and a cut-off wheel. My welds are pathetic but they will get a good slather of seam sealer and black paint. Overhead welding is fun! :-(
Anaheim-Santa%2520Ana-Garden%2520Grove-20121022-00544%2520%25282%2529.jpg
Anaheim-Santa%2520Ana-Garden%2520Grove-20121022-00549.jpg
Anaheim-Santa%2520Ana-Garden%2520Grove-20121022-00547.jpg

Anaheim-Santa+Ana-Garden+Grove-20121022-00553.jpg

Anaheim-Santa+Ana-Garden+Grove-20121022-00555.jpg
 
-
Back
Top