mejackg
The Commissioner
Hey Guys,
I would like to start to start out by saying that this is my first real post, although I am not new to FABO and not at all new to mopars. I have had an account on here for quite awhile and I have browsed the forums and have learned so much about my car, what I want to do with her, and a bodies in general.
Well enough about that, now onto the good stuff!
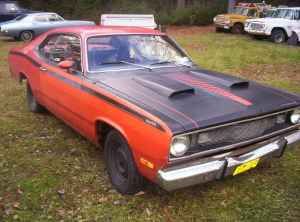
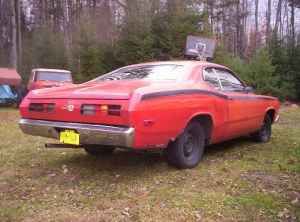
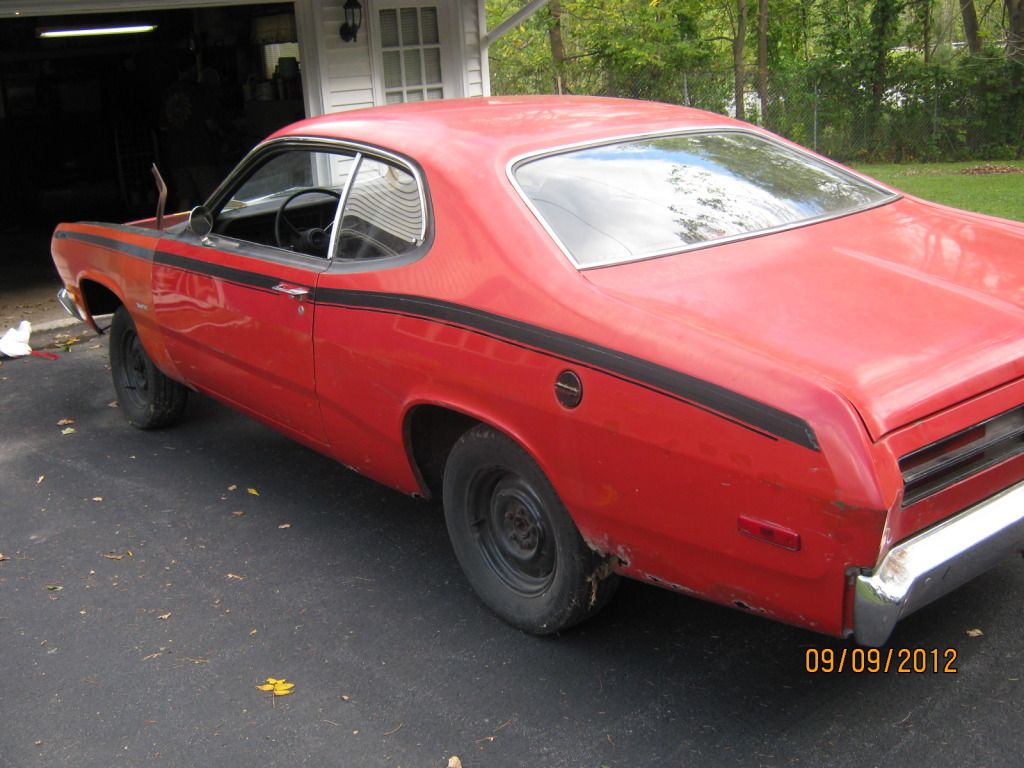
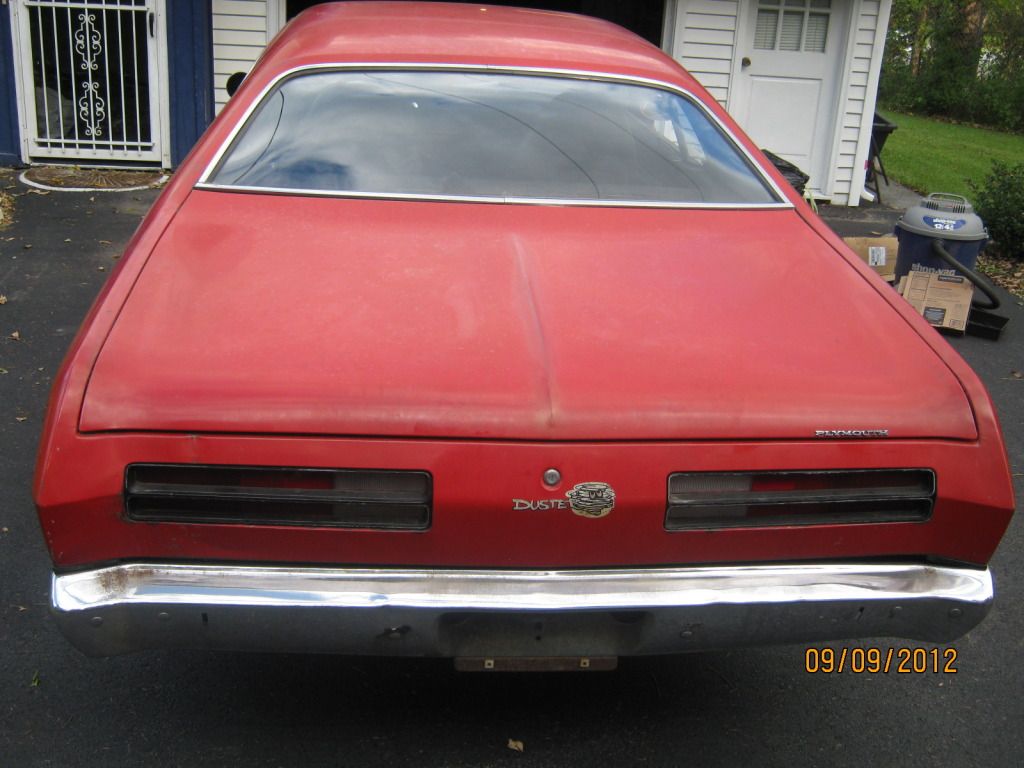
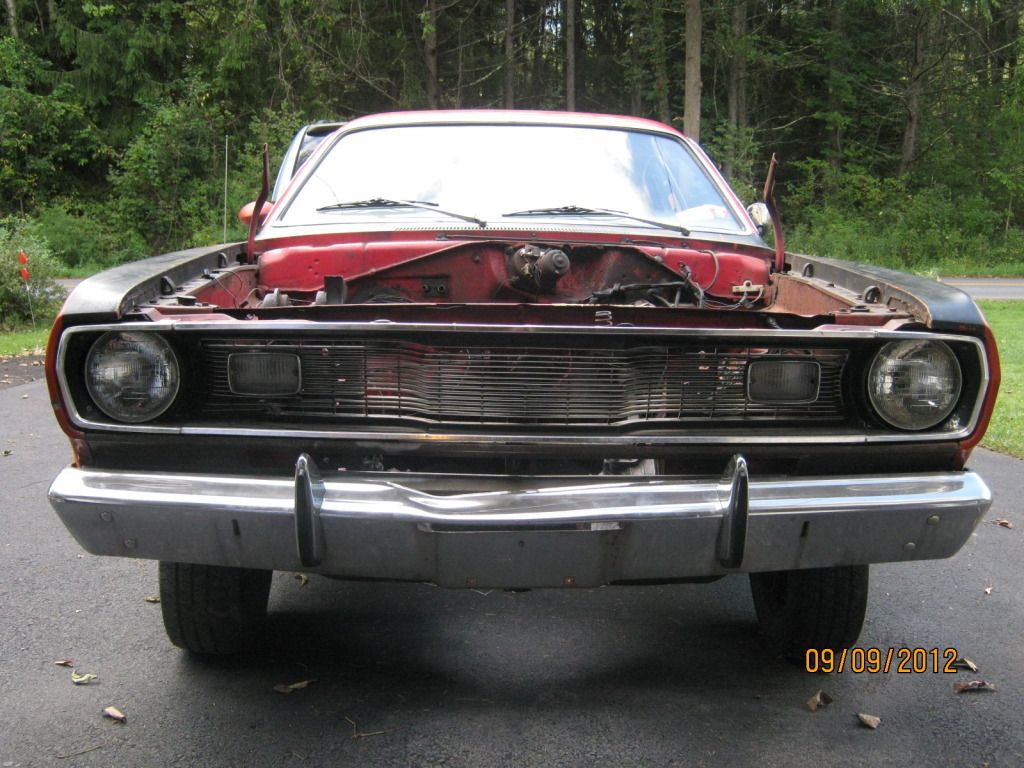
About 2 years ago I was browsing through craigslist. I had always dreamed of restoring a mopar muscle car, but as a 15 year old I only earned a little bit of money working summer jobs. So I was just searching to see what was out their in my area. I stumbled into a 1972 Plymouth Duster in FE5 Rallye Red, that was close by. He only wanted $950 for her and I showed my Dad, who had his share of muscle cars growing up. She was a low optioned plain Jane bench seat duster that was cloned into a Twister. The seller was a college kid who was using it to drive to school every day, until he threw a rod in the slant six. The odometer read only about 2k miles which in her shape was a dead give away that it had rolled a few times. I ended up borrowing $450 from my dad and brought her home the day after Christmas 2011.
These are photos from the add when I bought her.


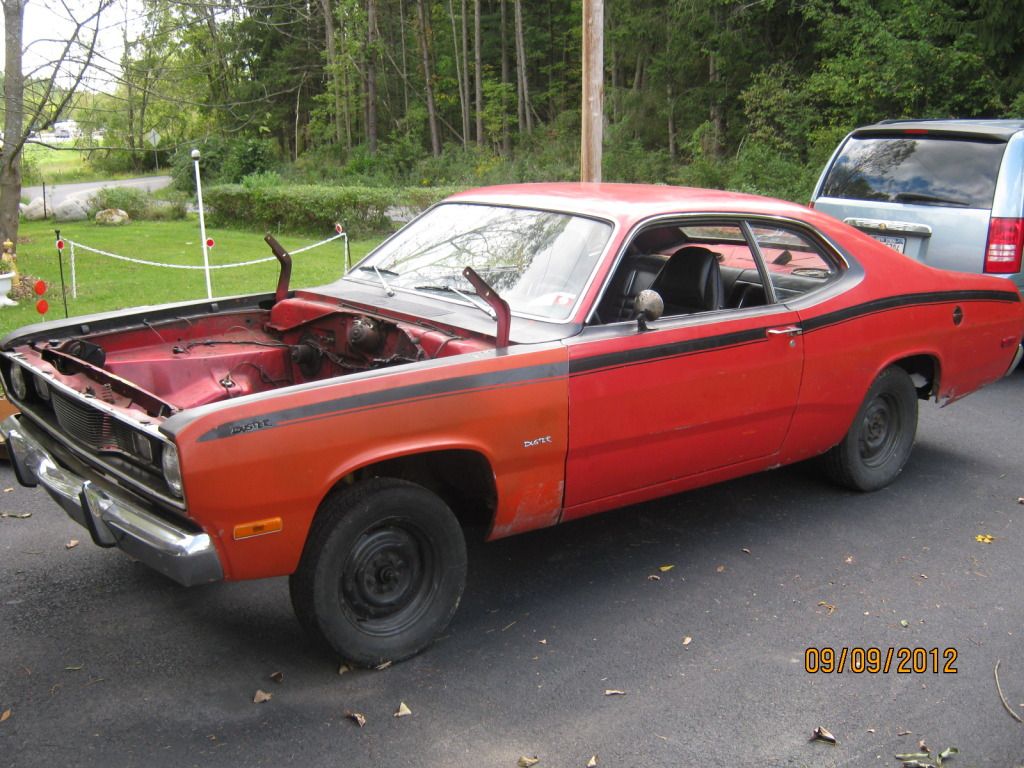
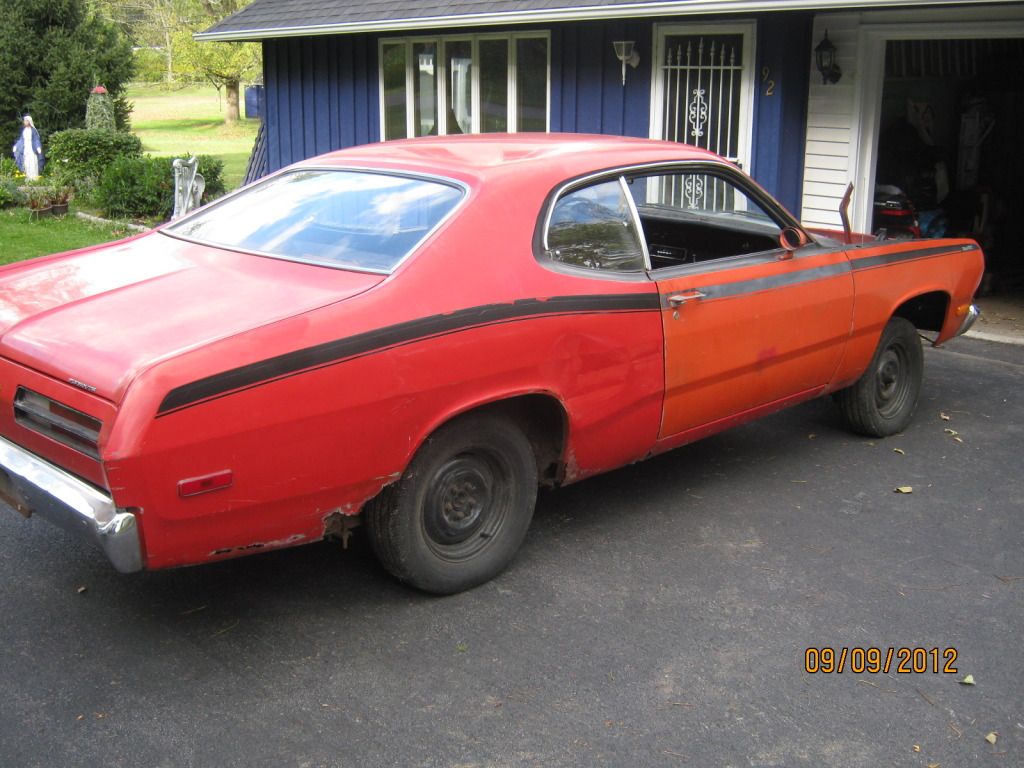
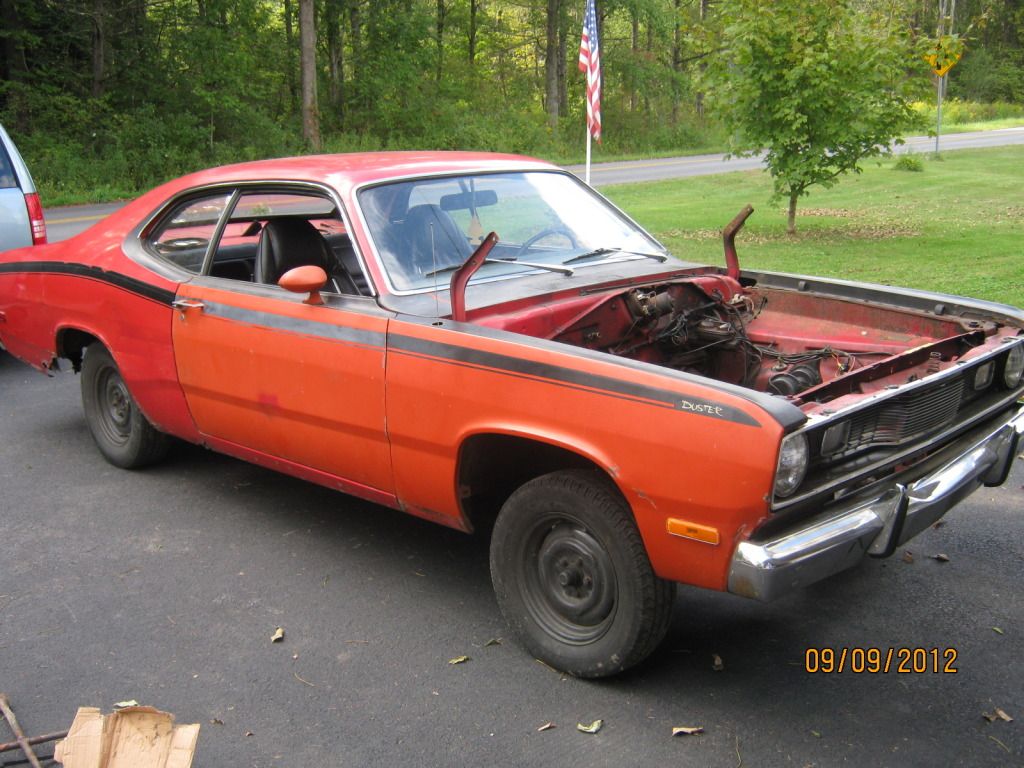
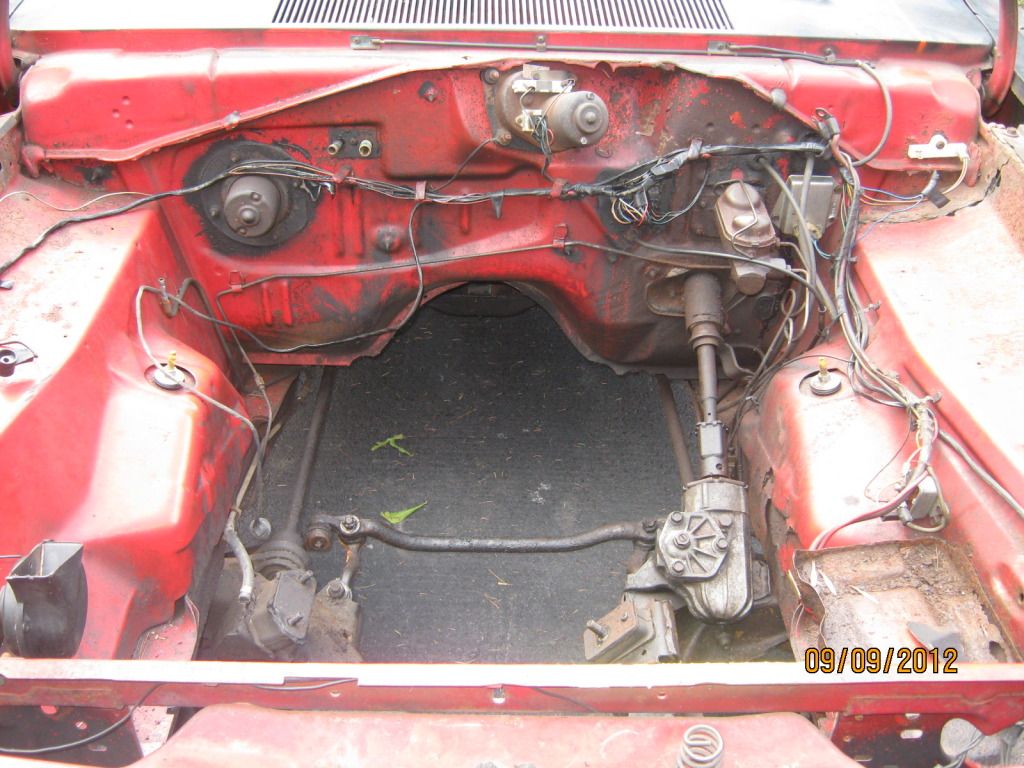
That was a great Christmas. She sat in my yard until early Spring 2012 when we were able to bring her next door into the garage. Work started right away. My dad and I rented an engine hoist and I bought an engine stand. We pulled the motor, stripped off good parts and scrapped the block. We gutted the interior and by Summer 2012 we had everything out that we could except for the glass and dashboard. I had plans to make her a 340 4 speed clone.
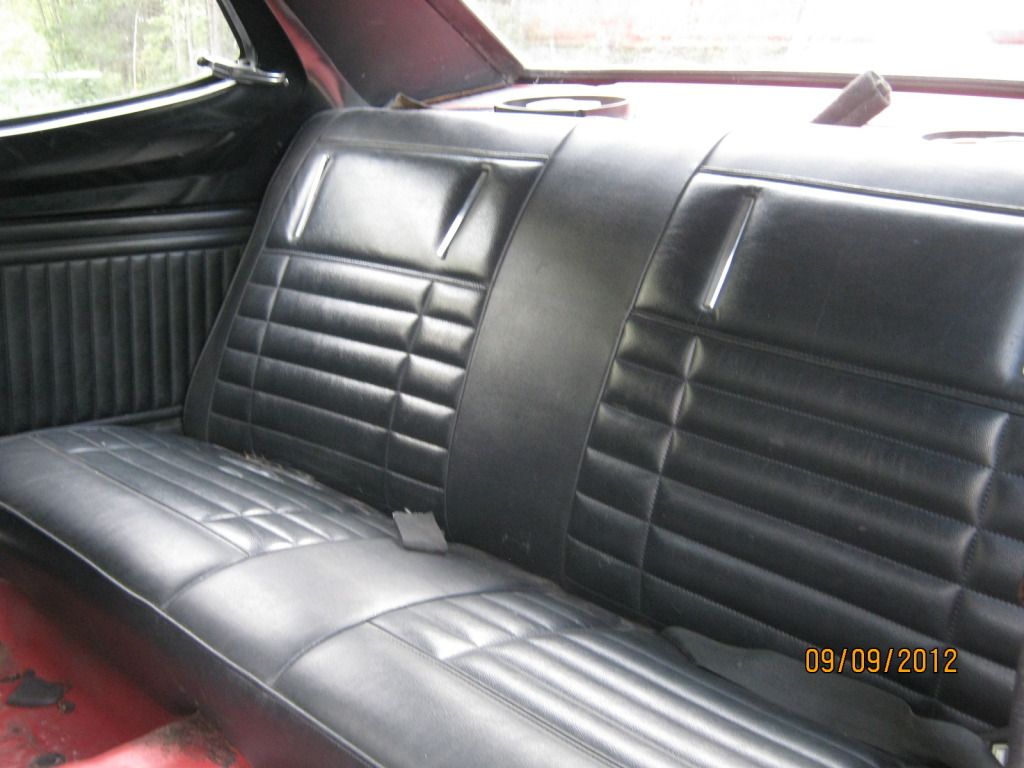
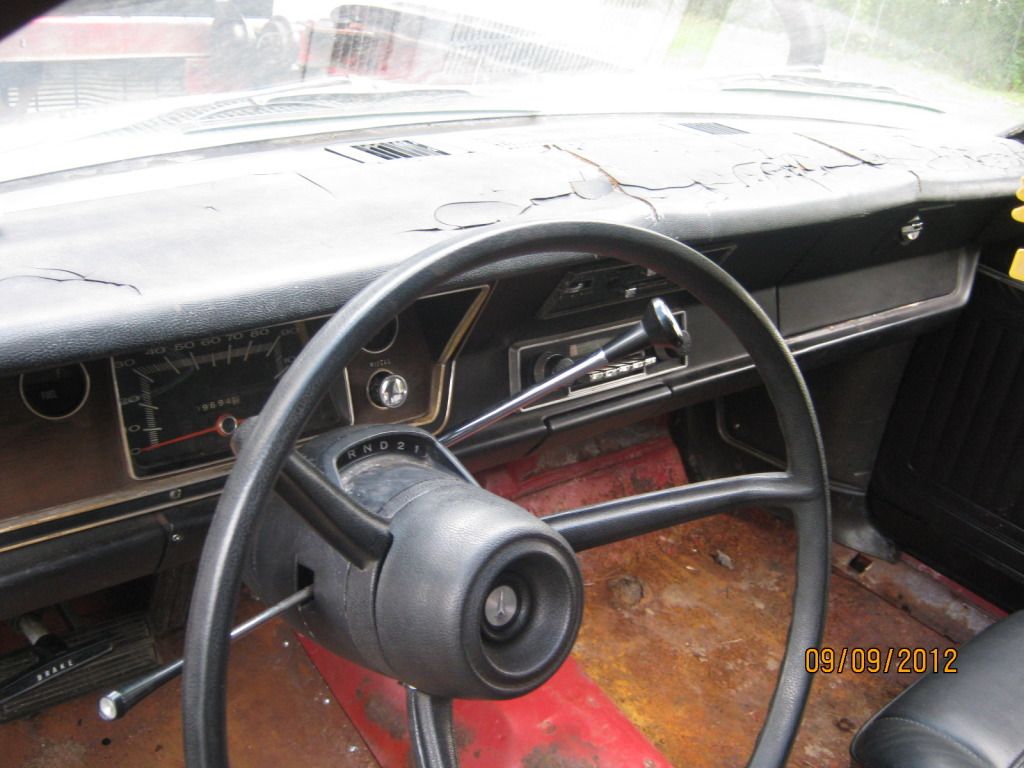
These are some pictures of her when she was partially tore down.
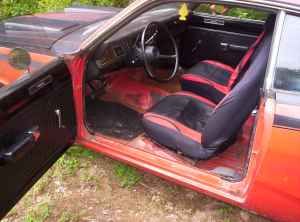
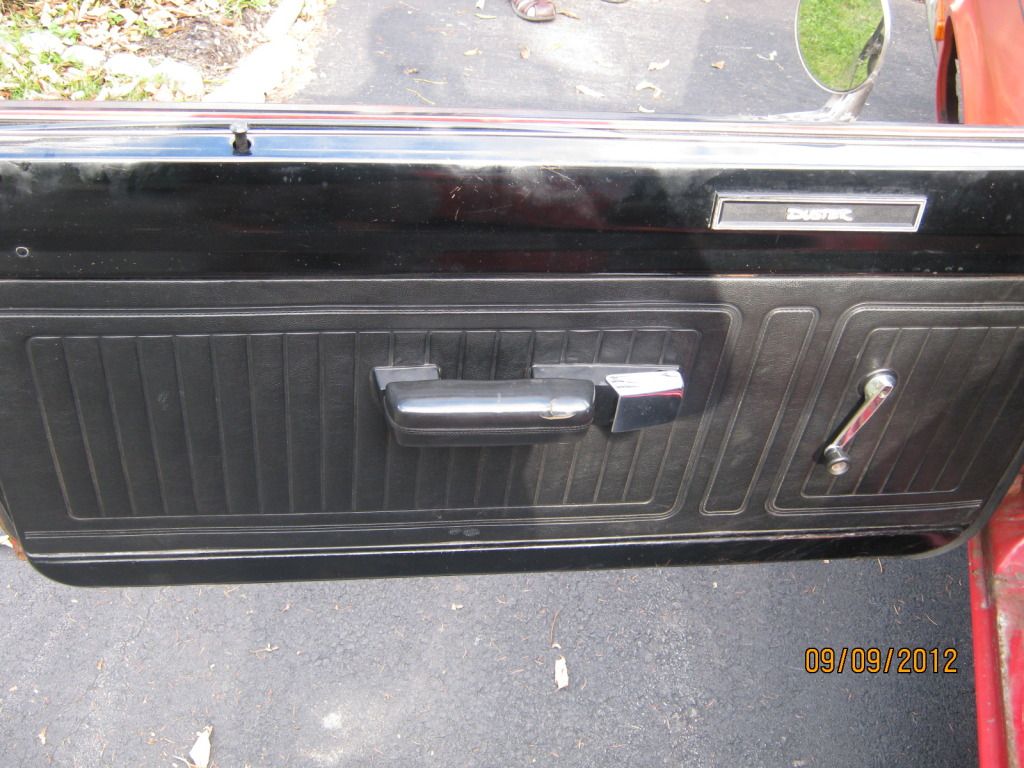
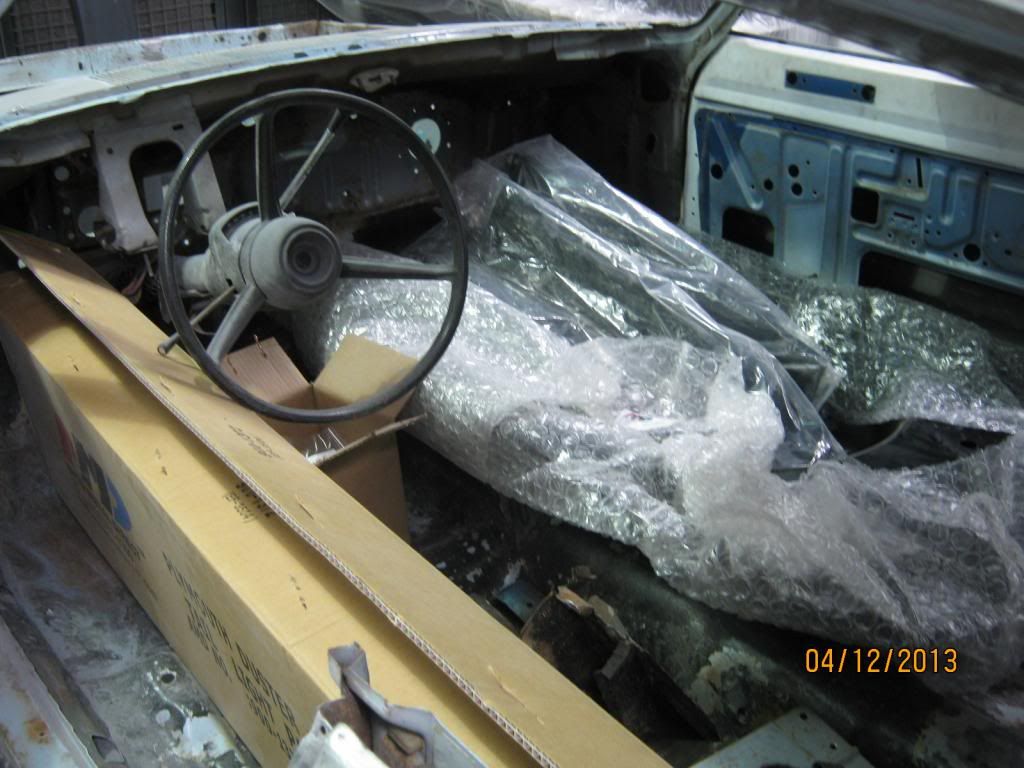
I can use this interior.

There are many more pictures on my photobucket page
http://s1173.photobucket.com/user/mejackg/library/1972 Duster Project?sort=3&page=1
We had no tools for body work at home and we were new to the subject so we needed to bring her to a place where she would be done right. So why not bring her to the High School Auto Body Shop. My sophomore year I asked my shop teacher if I could bring her in to start the restoration. He told me that he wanted to learn about all the students to make sure I was a serious worker before I brought her in. After a couple weeks he learned who the slackers were in the class, which I am not part of. He told me I could bring her in. I asked if he would stop over and see her so I could start ordering sheet metal in the mean time while we arranged a way to trailer to bring her. He saw her and told me that there was a lot of rust. Turns out there was a lot more than we knew about. Front and rear frame rails gone, floors, quarters, rockers, trunk, aprons, doors, tail panel, the list goes on. He tells me that it is not like that we couldn't fix her, but for the amount of cash I would put into replacement panels, I could go out and buy a rust free car, well at least I have a parts car right?
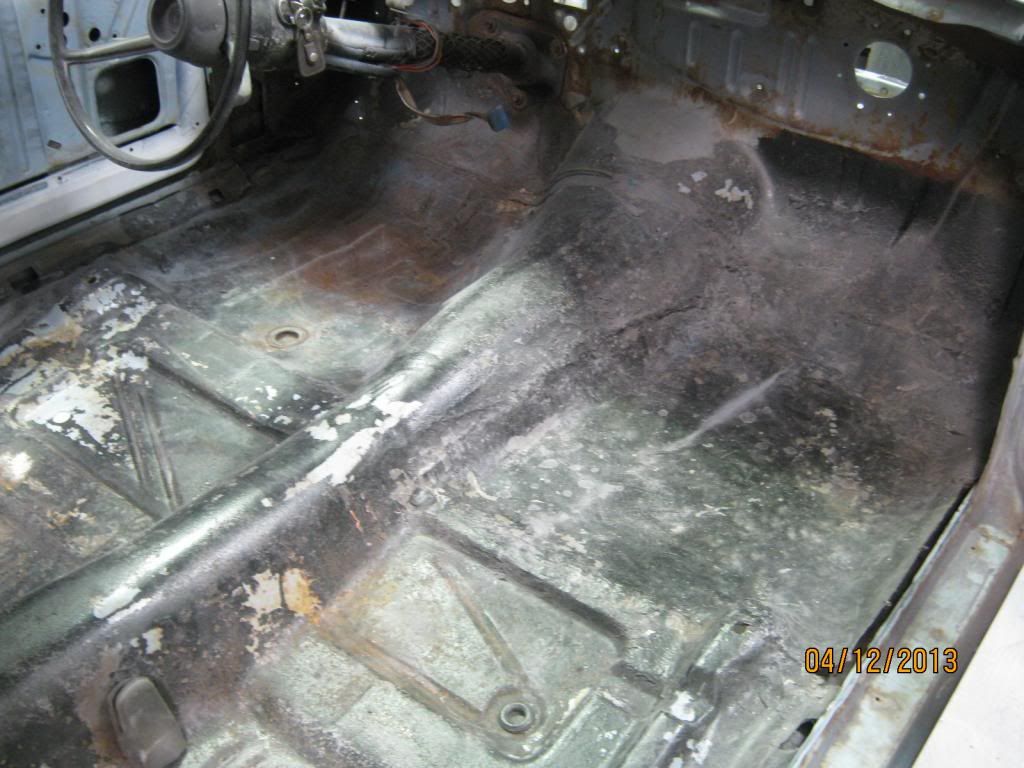
Bummed out I took his advise ended up finding another 72 in almost rust free shape near by that I picked up for $1800 within the same week. Same options but in Powder Blue. The previous owner told me it was a Pennsylvania barn find and he was almost done with the restoration. The guy wasn't the sharpest tool in the shed and said all she needed was a headliner and carpet. Seats were torn, interior painted with a rattle can. He "repaired" the pass side floor pan using a piece of sheet metal and beat it in with a ball peen hammer. The rest of the car looked on the out side solid rust free, just dirty. Wasting no time I quickly tore her down and brought her into shop. Unfortunately though I didn't snap any pics of her until now, because I was to busy with the work that followed.
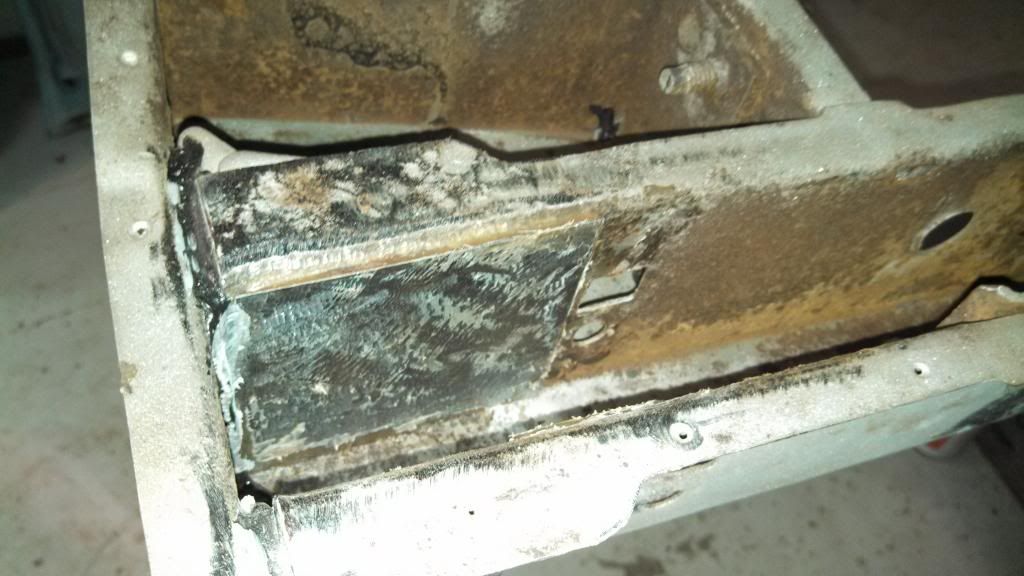
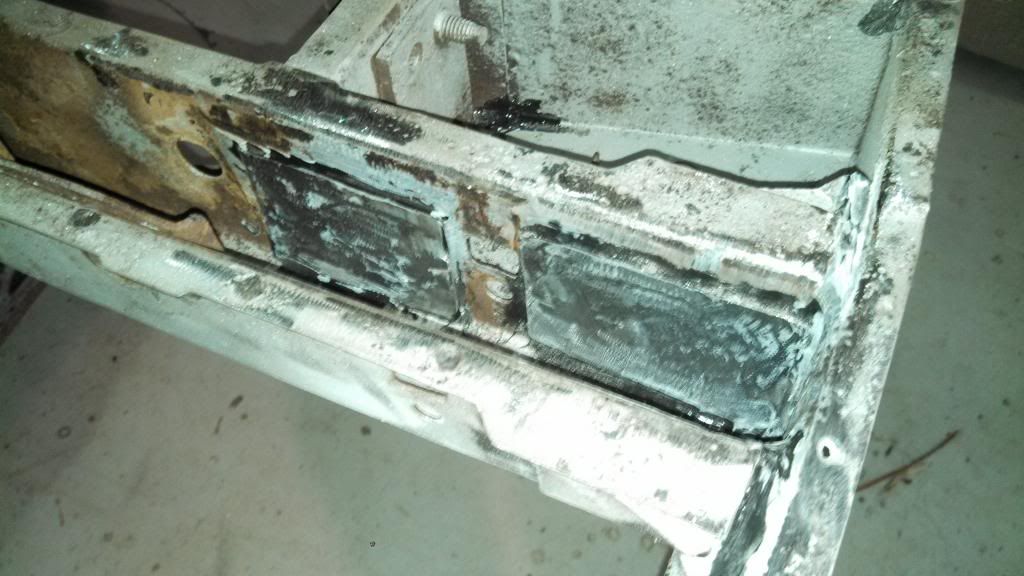
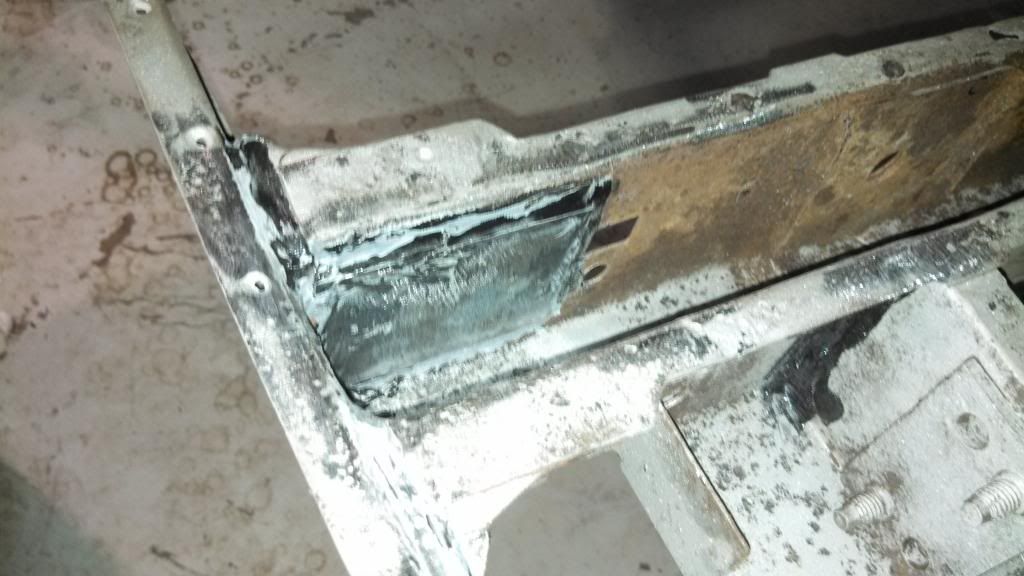
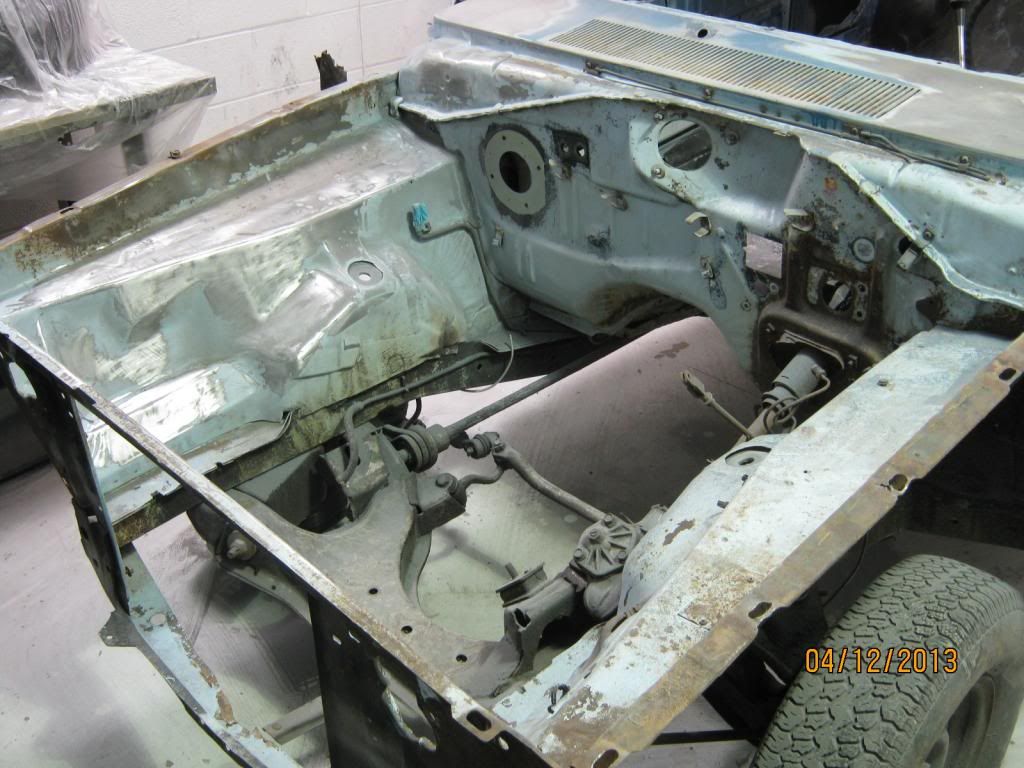
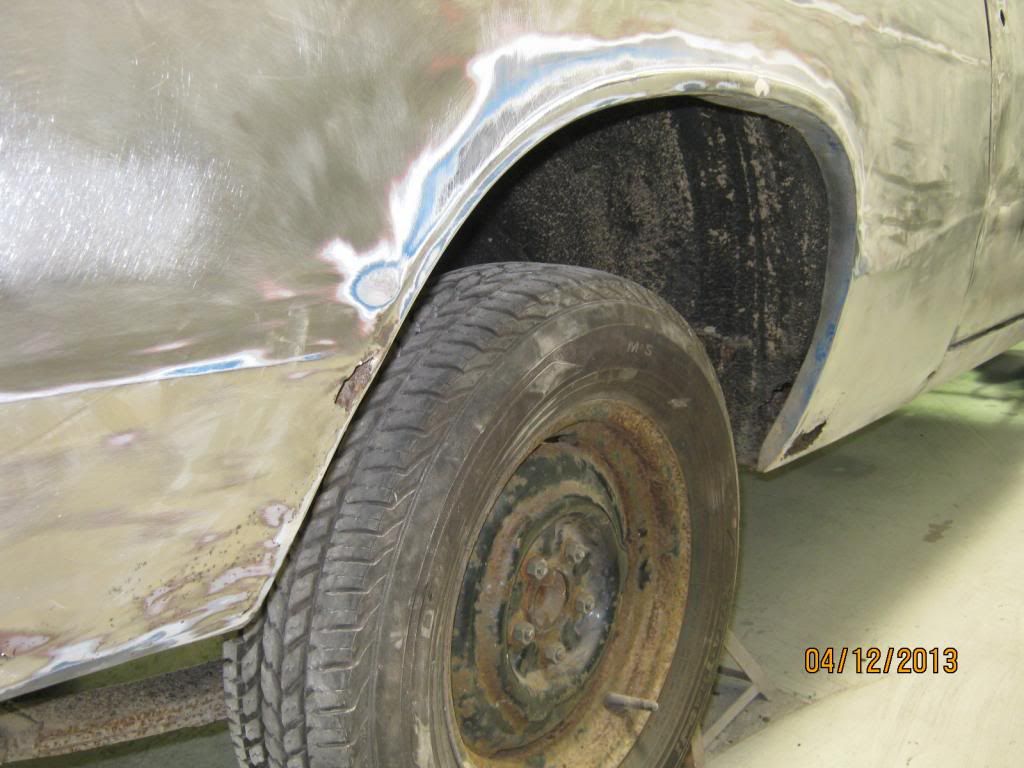
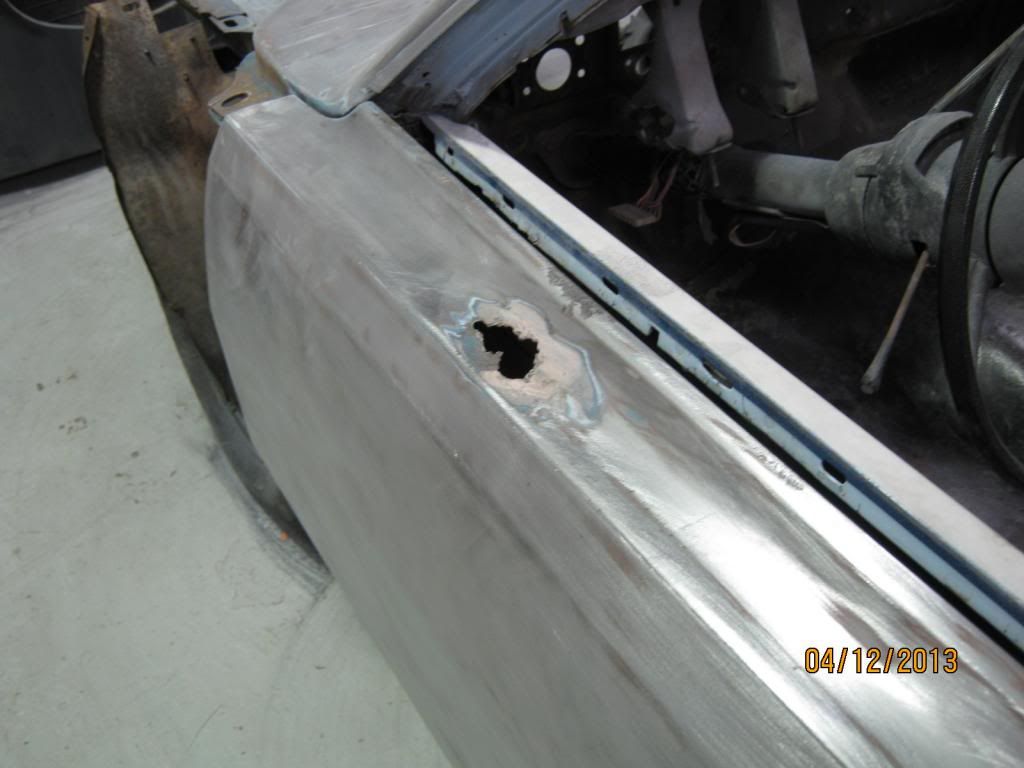
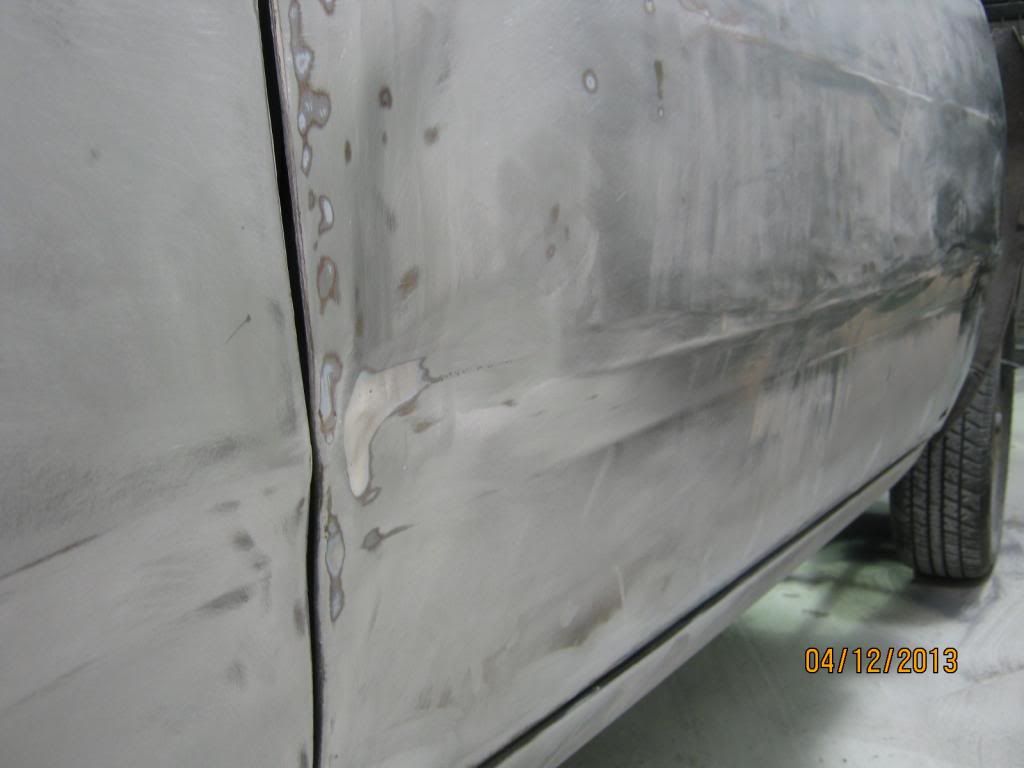
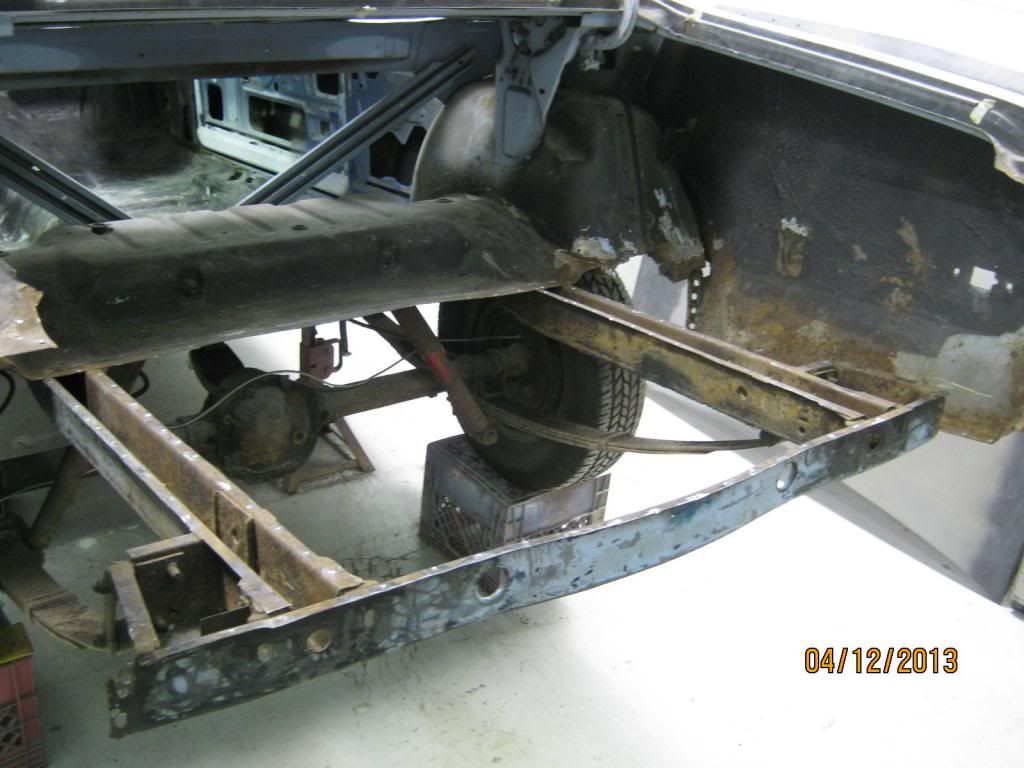
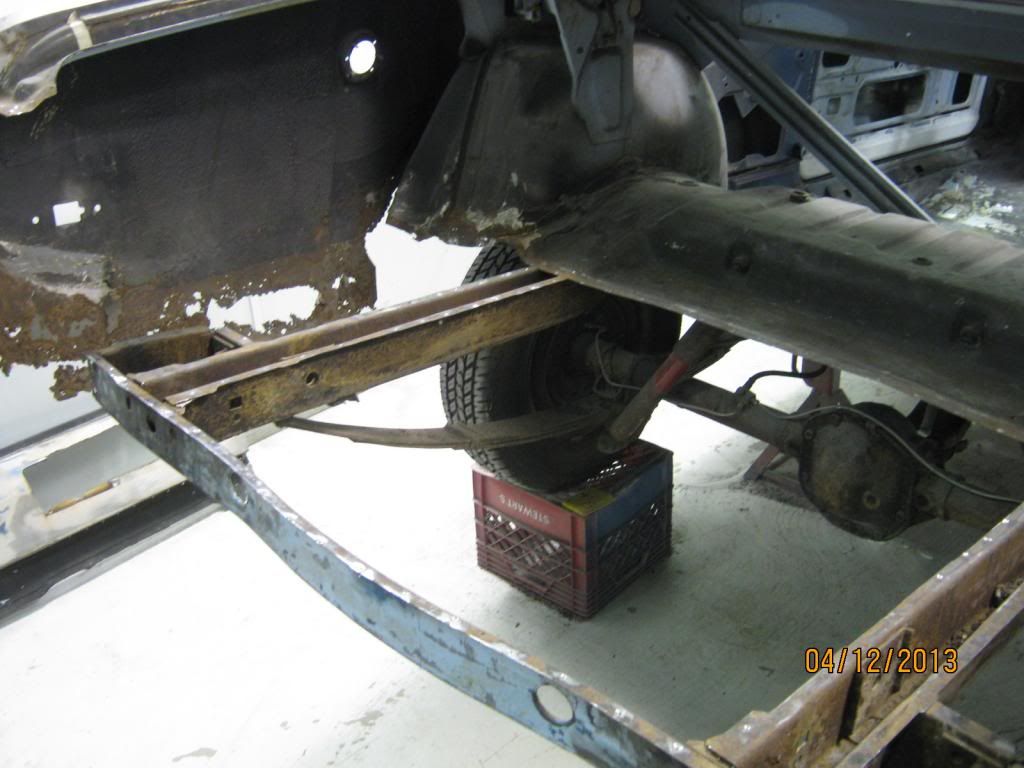
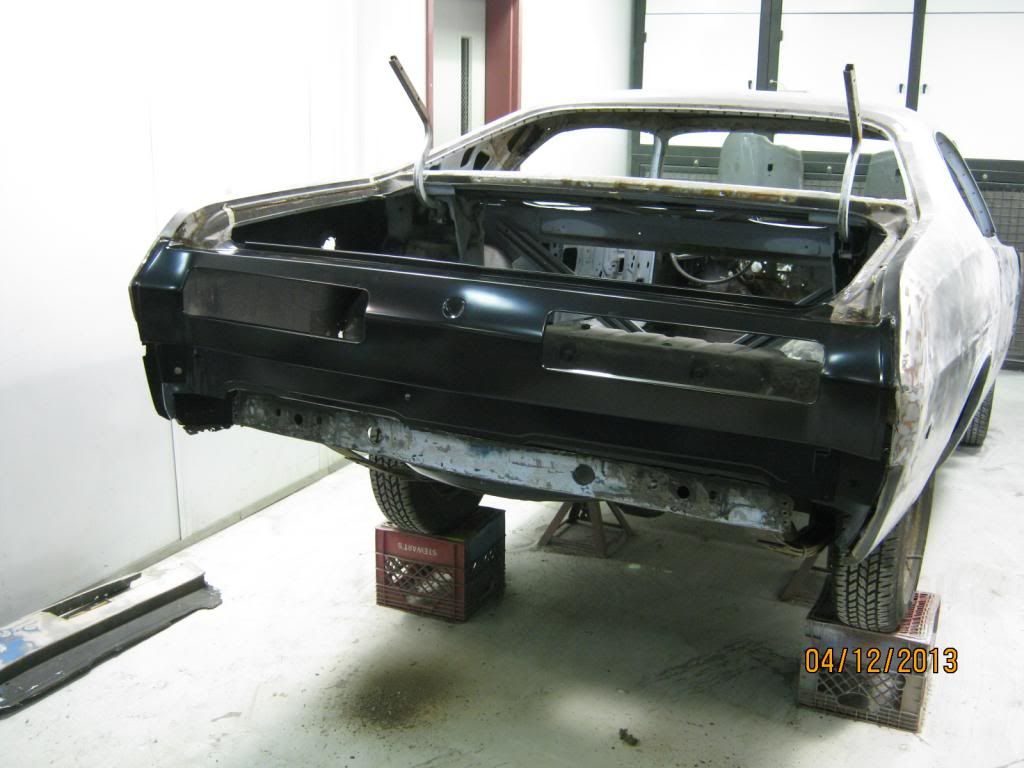
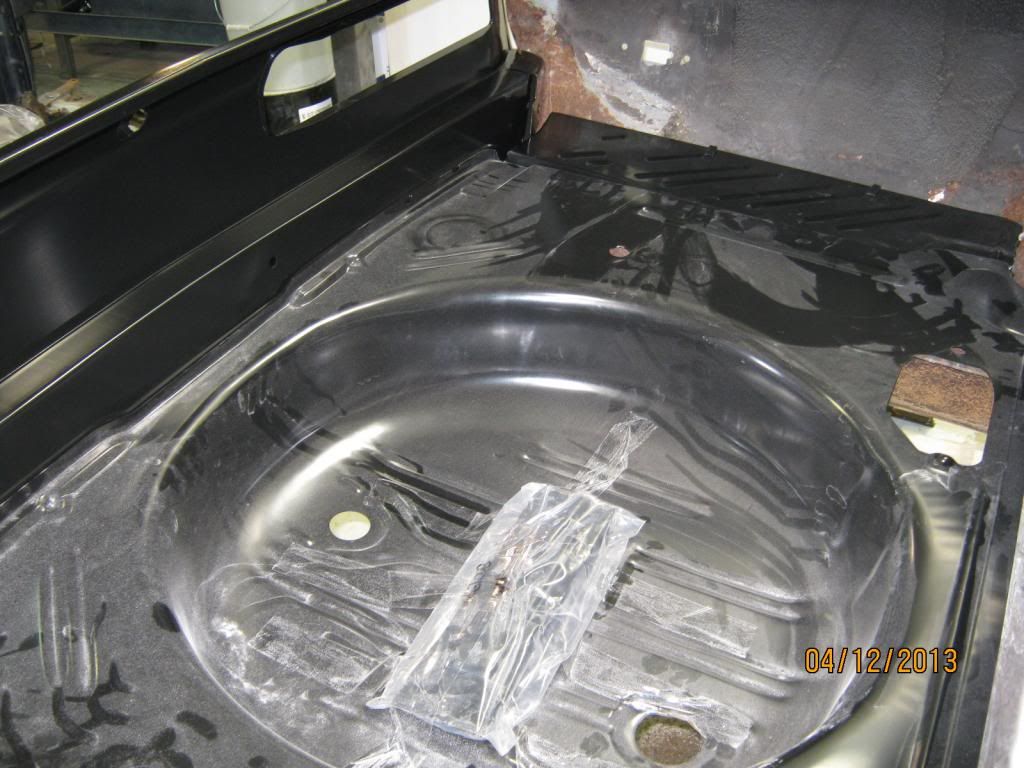
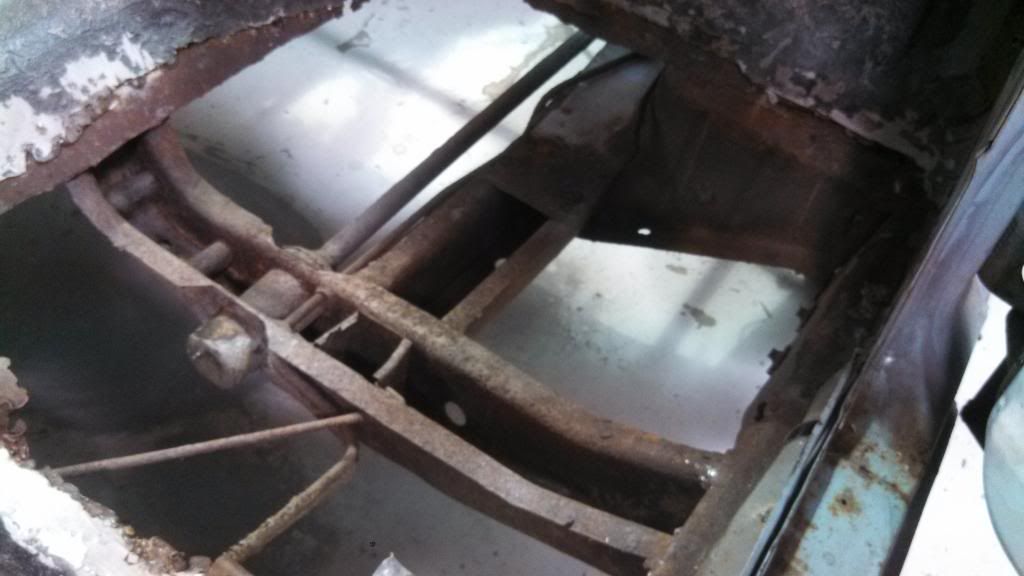
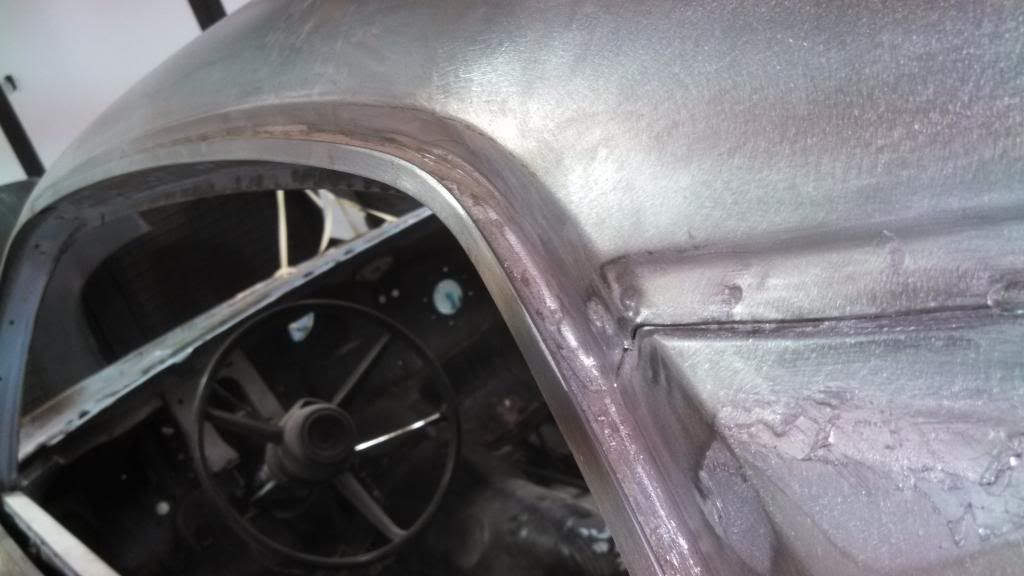
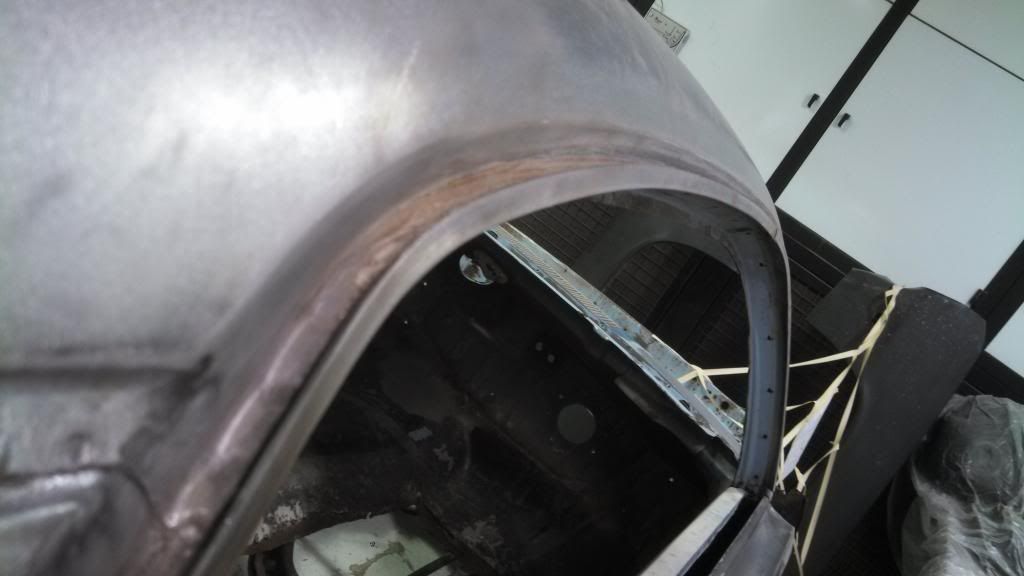
We brought her into shop and started tearing her down to just a shell. We sanded most of her all down to bare metal to show the "goodies" underneath. Turns out my "rust-free" car was packed with bondo in the quarters, doors, tail panel, and trunk. The trunk was actually repaired using one of those goodmark replacement pans, but it seems he was to lazy to take the whole thing out so he just cut out the spare tire well cut around the filler neck and beat it in and sealed it. Extensions were bondo'ed and the whole thing was painted to look like it was all original. Good news was that the frame rails were nice. I drilled out all the spot welds and removed pretty much the entire back end of the car.
How she sits today.


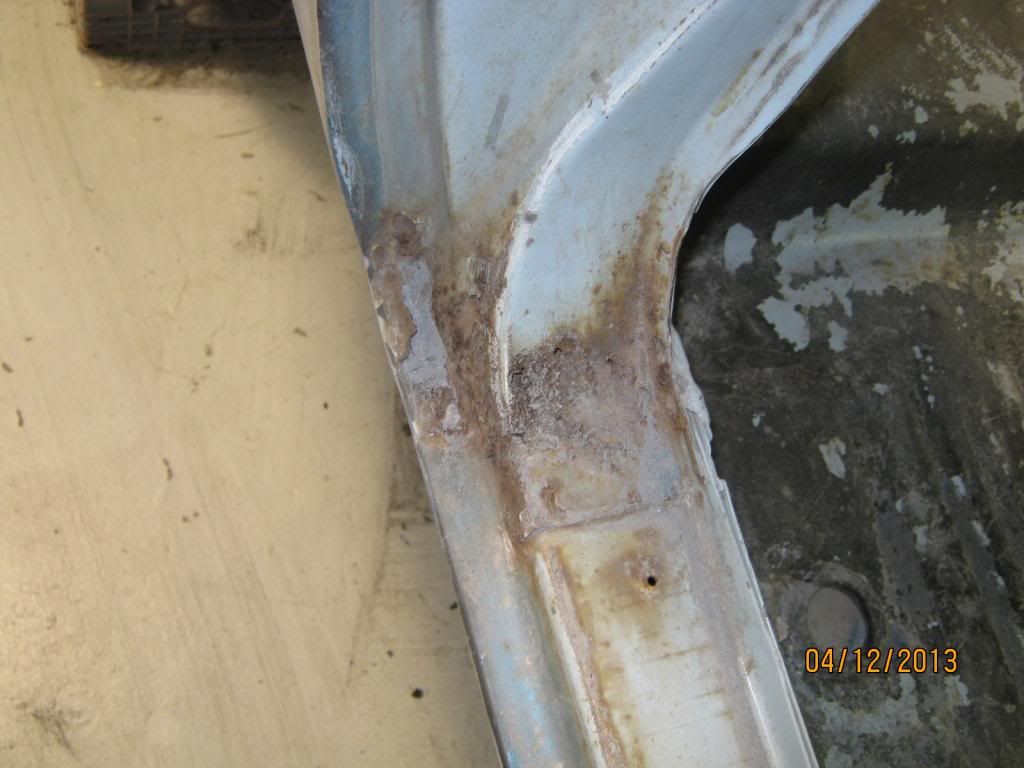
Here's that floor pan "replacement".
More pics.
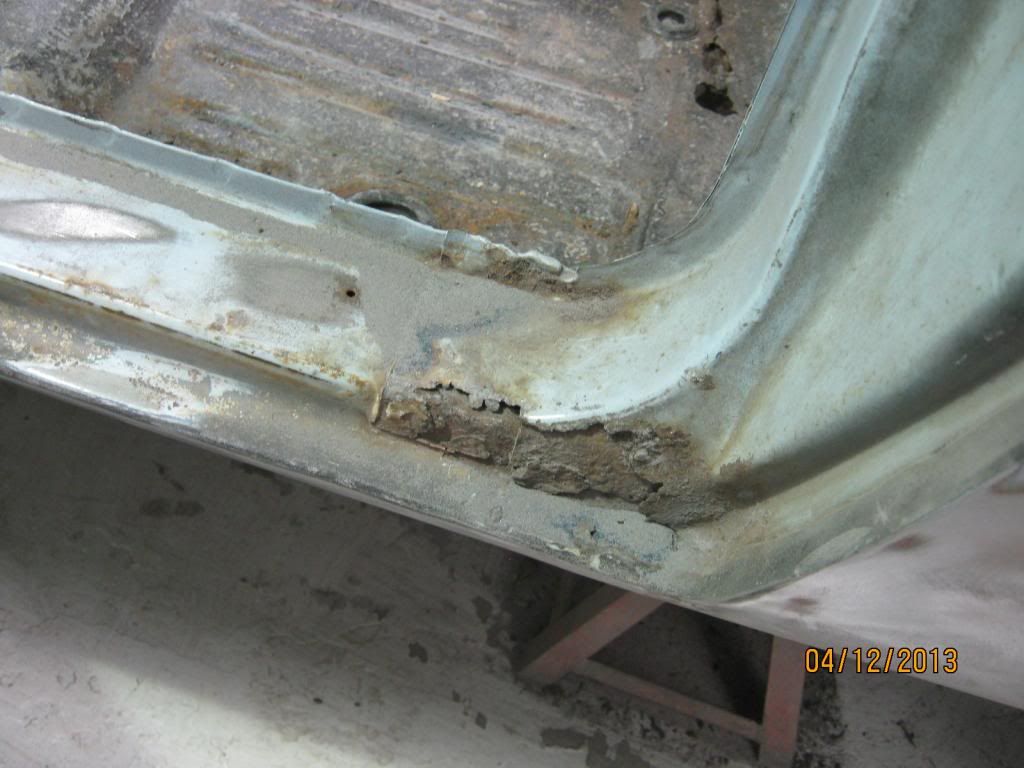
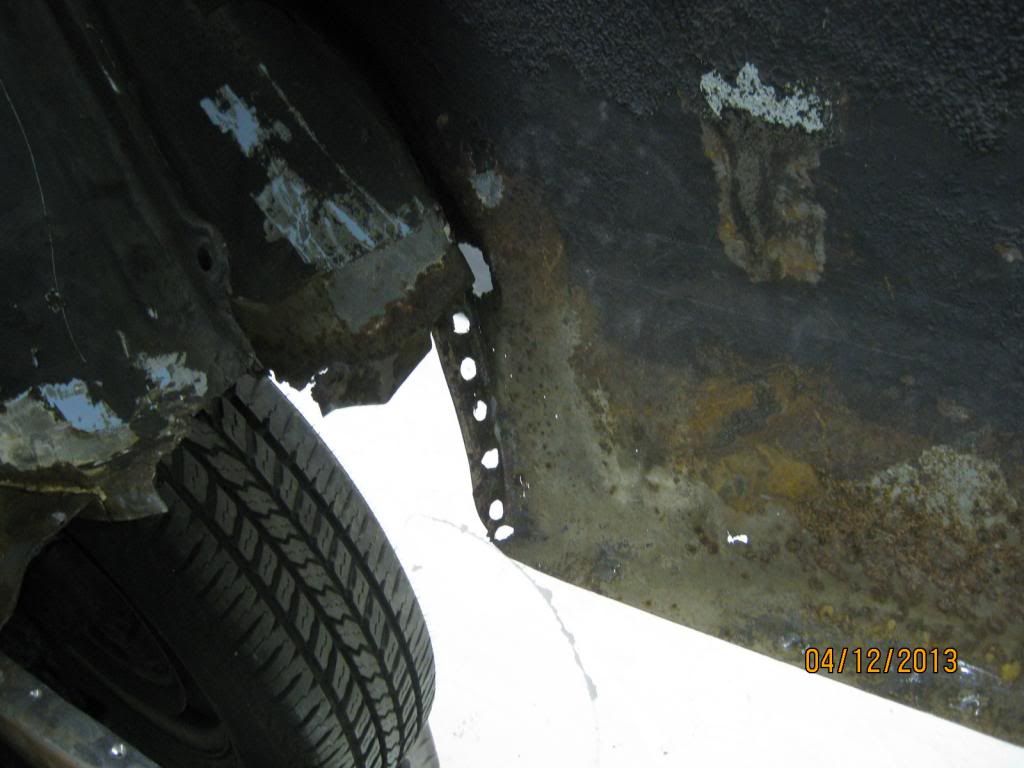
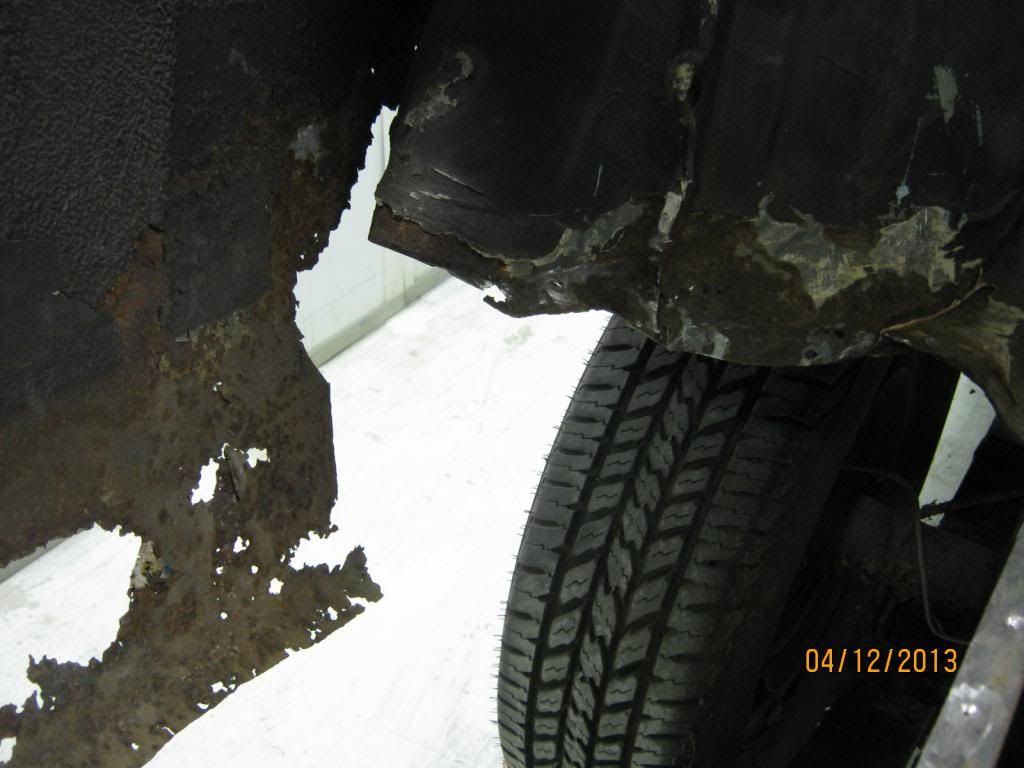
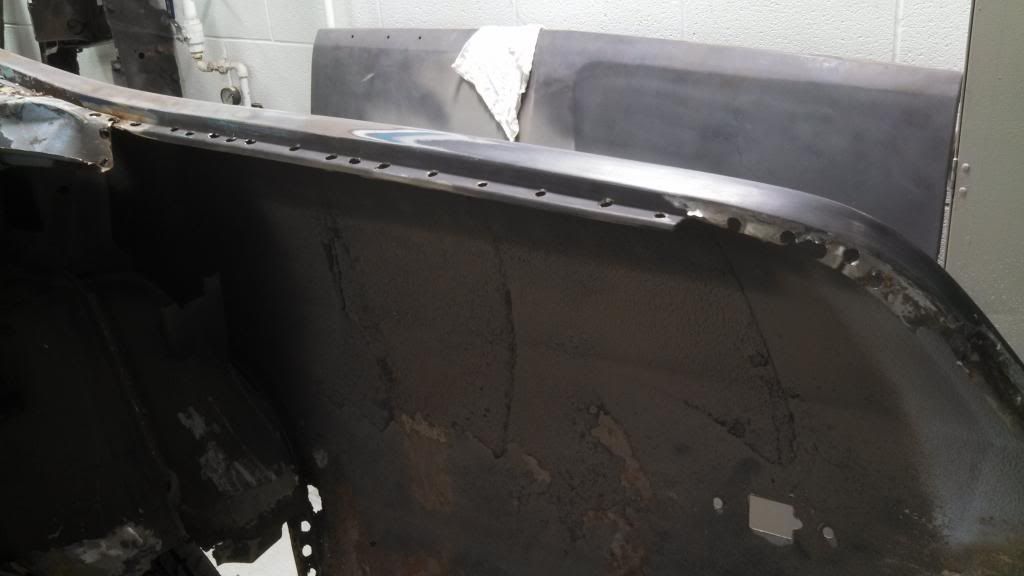
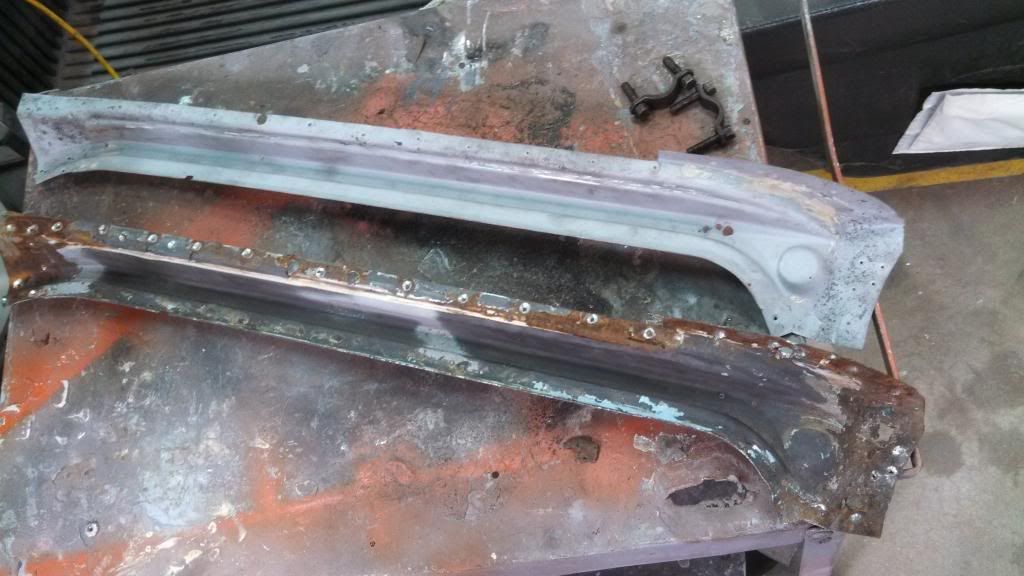
What remains of the tail panel and trunk floor.

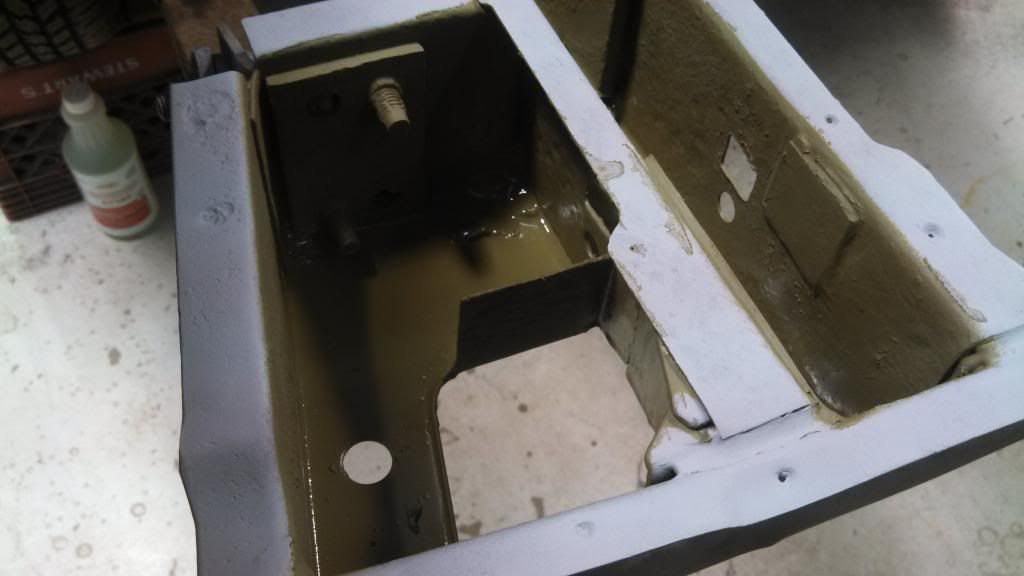
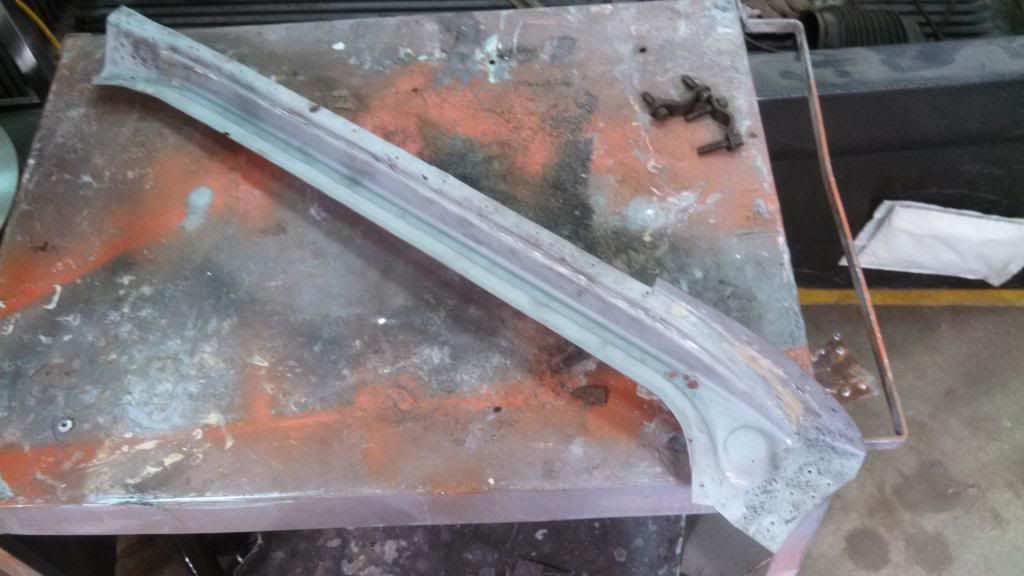
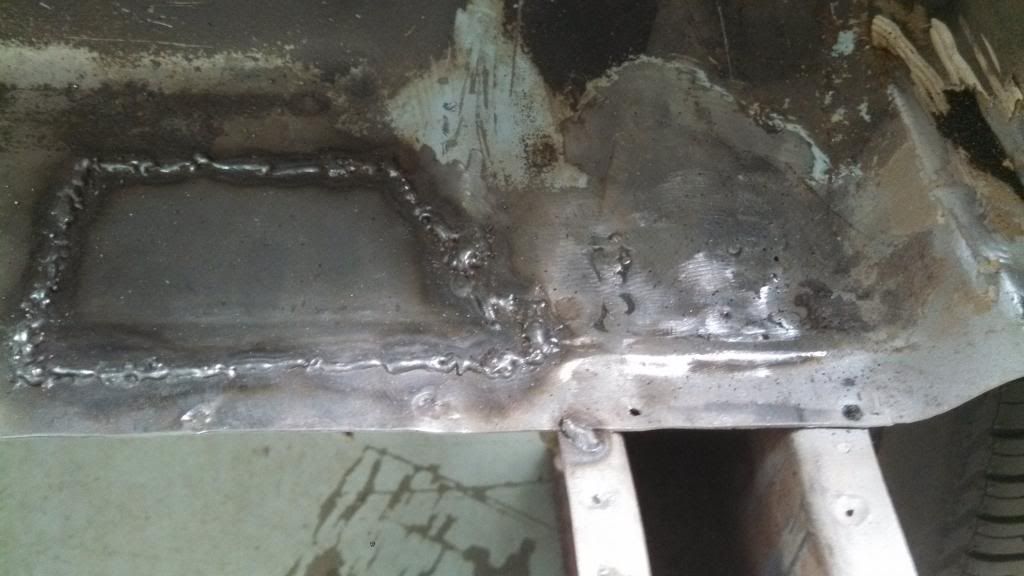
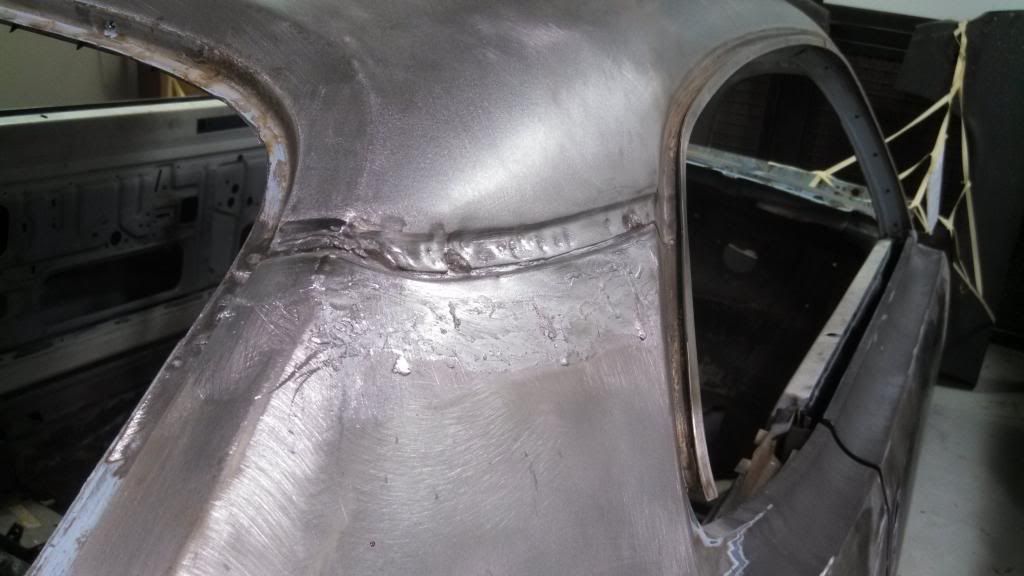
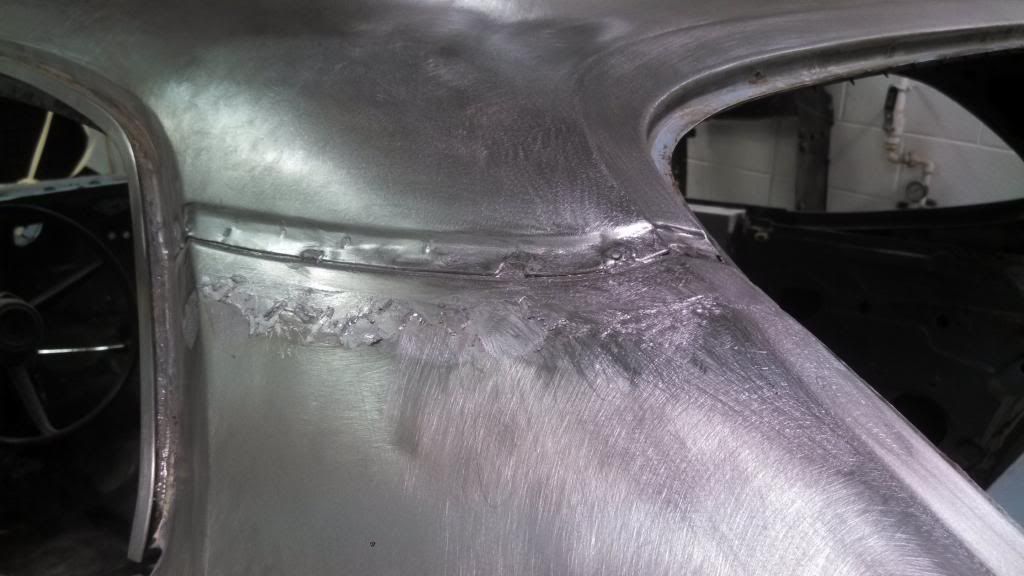
New Metal. Fits Great!

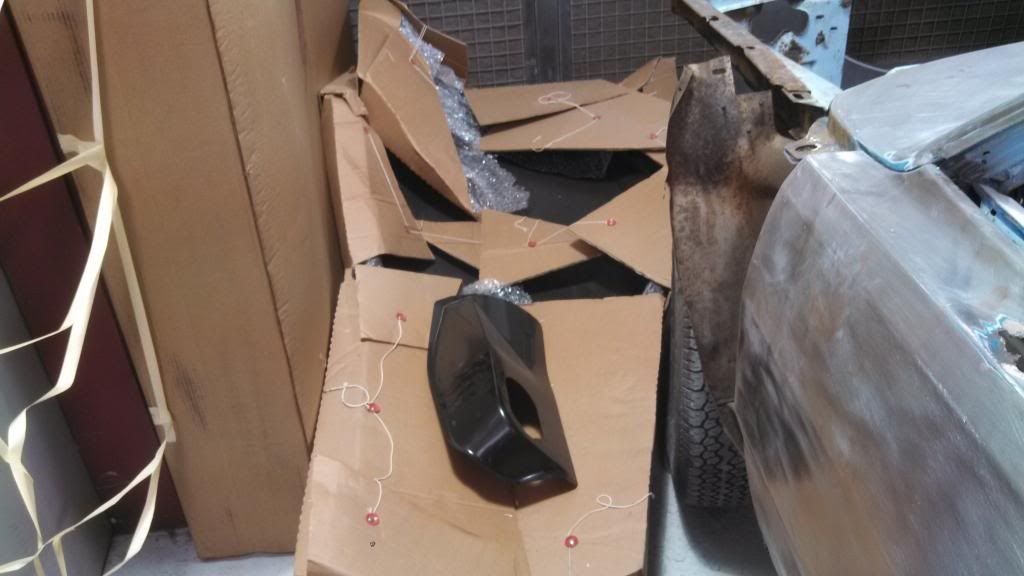
All tucked back away.

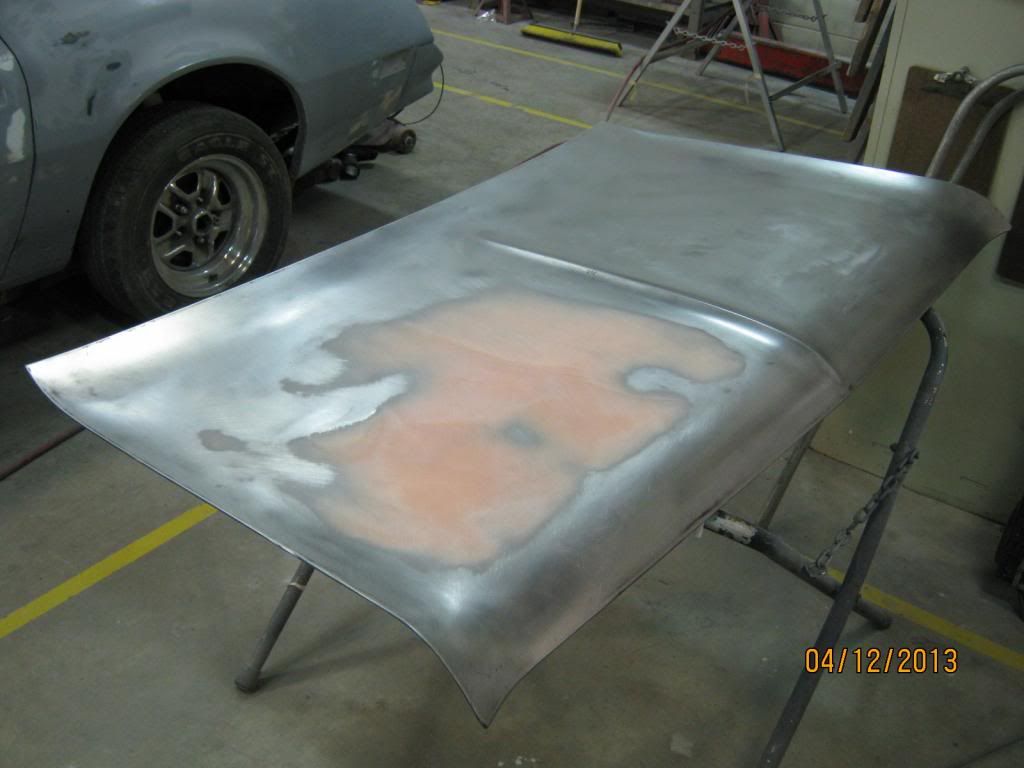
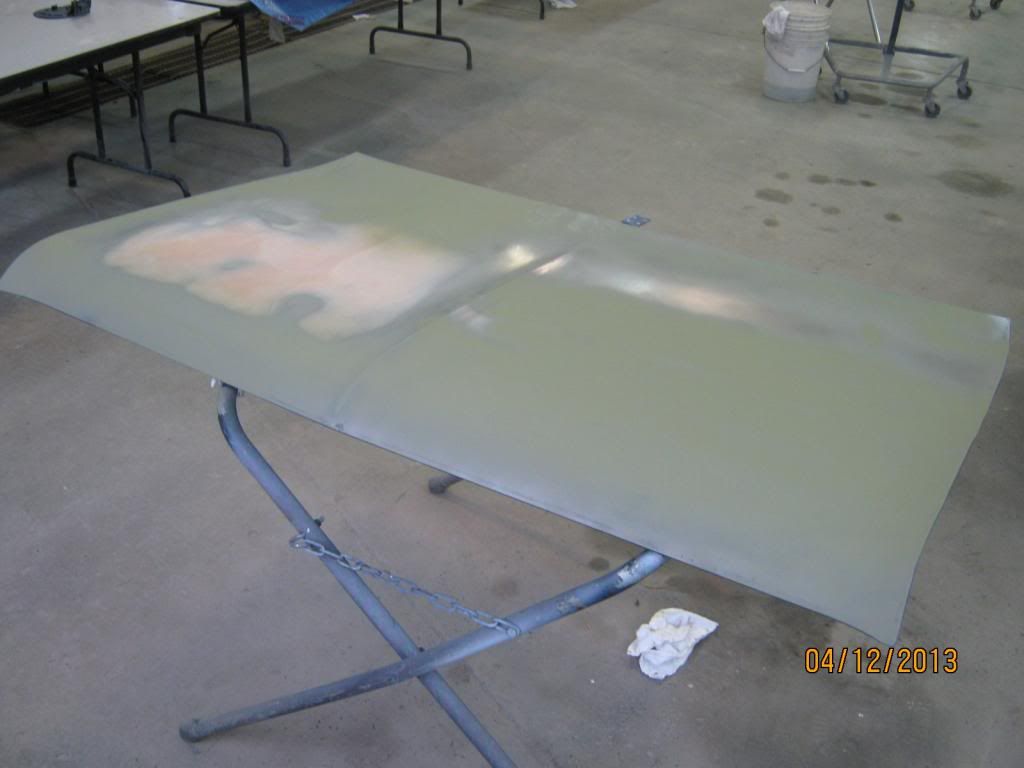
Got the deck lid etch-primed.

More pics at
http://s1173.photobucket.com/user/mejackg/library/1972 Duster 440?sort=3&page=1
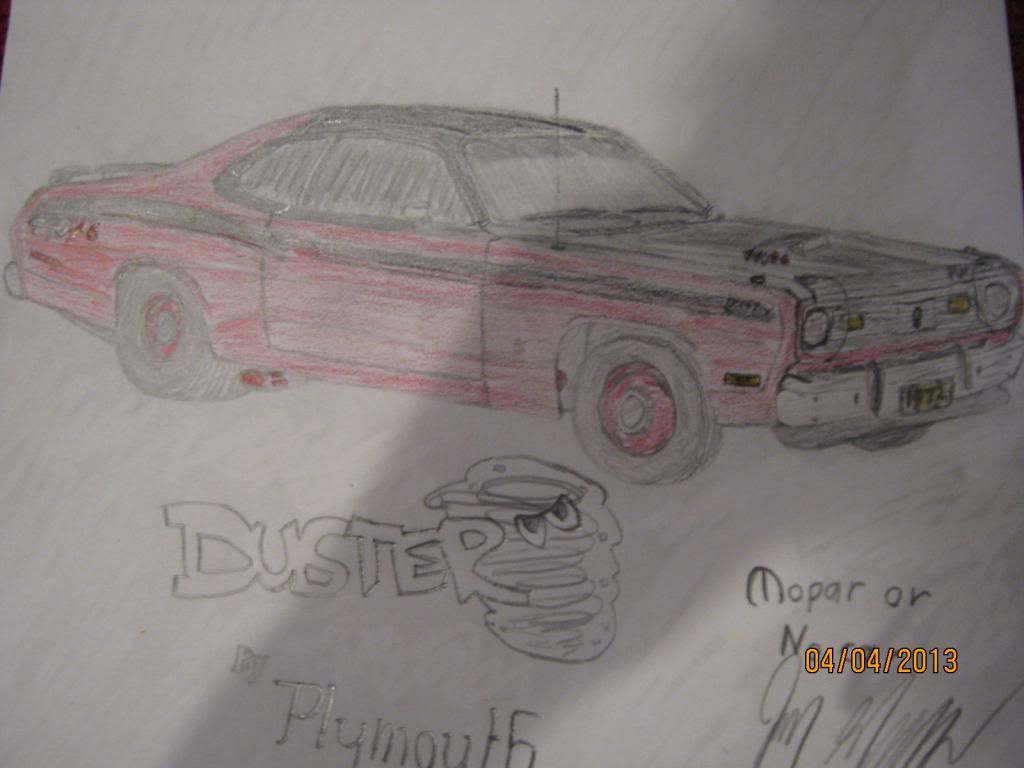
I ordered all new panels from amd and I have most of what I need to button up the back end. Except for full quarters and trunk gutters. I hope to have the back section of sheet metal buttoned up by the end of this school year which is coming up faster than I realized. This summer she will go back into our garage and I will fix the remaining sheet metal, mini-tub her, and add sub-frame connectors. Hopefully in my senior year we can get her ready for paint, spray her, and then I will start getting into the real money. Engine, transmission, rear end, suspension, and interior. I hope I can have her done by the time I am in college. I even hand drew up a design plan of how I will make her look.


I've got a lot of plans for her and she will be a sweet ride by the time I am done.
I would like to start to start out by saying that this is my first real post, although I am not new to FABO and not at all new to mopars. I have had an account on here for quite awhile and I have browsed the forums and have learned so much about my car, what I want to do with her, and a bodies in general.
Well enough about that, now onto the good stuff!
About 2 years ago I was browsing through craigslist. I had always dreamed of restoring a mopar muscle car, but as a 15 year old I only earned a little bit of money working summer jobs. So I was just searching to see what was out their in my area. I stumbled into a 1972 Plymouth Duster in FE5 Rallye Red, that was close by. He only wanted $950 for her and I showed my Dad, who had his share of muscle cars growing up. She was a low optioned plain Jane bench seat duster that was cloned into a Twister. The seller was a college kid who was using it to drive to school every day, until he threw a rod in the slant six. The odometer read only about 2k miles which in her shape was a dead give away that it had rolled a few times. I ended up borrowing $450 from my dad and brought her home the day after Christmas 2011.
These are photos from the add when I bought her.


That was a great Christmas. She sat in my yard until early Spring 2012 when we were able to bring her next door into the garage. Work started right away. My dad and I rented an engine hoist and I bought an engine stand. We pulled the motor, stripped off good parts and scrapped the block. We gutted the interior and by Summer 2012 we had everything out that we could except for the glass and dashboard. I had plans to make her a 340 4 speed clone.
These are some pictures of her when she was partially tore down.


I can use this interior.


There are many more pictures on my photobucket page
http://s1173.photobucket.com/user/mejackg/library/1972 Duster Project?sort=3&page=1
We had no tools for body work at home and we were new to the subject so we needed to bring her to a place where she would be done right. So why not bring her to the High School Auto Body Shop. My sophomore year I asked my shop teacher if I could bring her in to start the restoration. He told me that he wanted to learn about all the students to make sure I was a serious worker before I brought her in. After a couple weeks he learned who the slackers were in the class, which I am not part of. He told me I could bring her in. I asked if he would stop over and see her so I could start ordering sheet metal in the mean time while we arranged a way to trailer to bring her. He saw her and told me that there was a lot of rust. Turns out there was a lot more than we knew about. Front and rear frame rails gone, floors, quarters, rockers, trunk, aprons, doors, tail panel, the list goes on. He tells me that it is not like that we couldn't fix her, but for the amount of cash I would put into replacement panels, I could go out and buy a rust free car, well at least I have a parts car right?
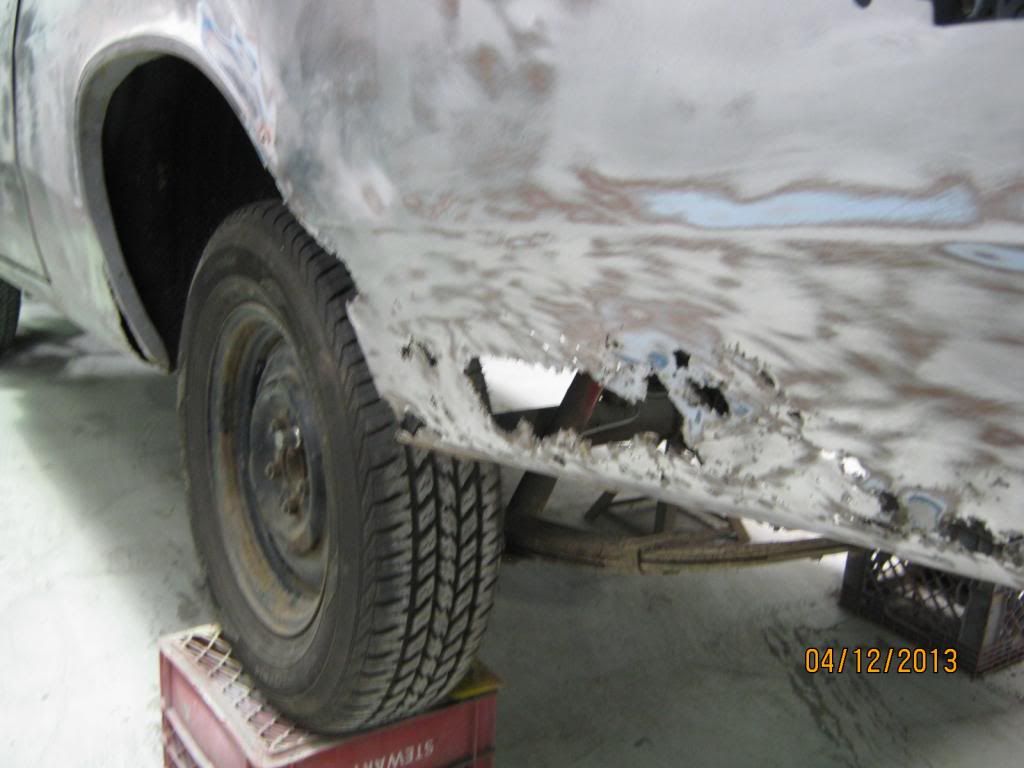
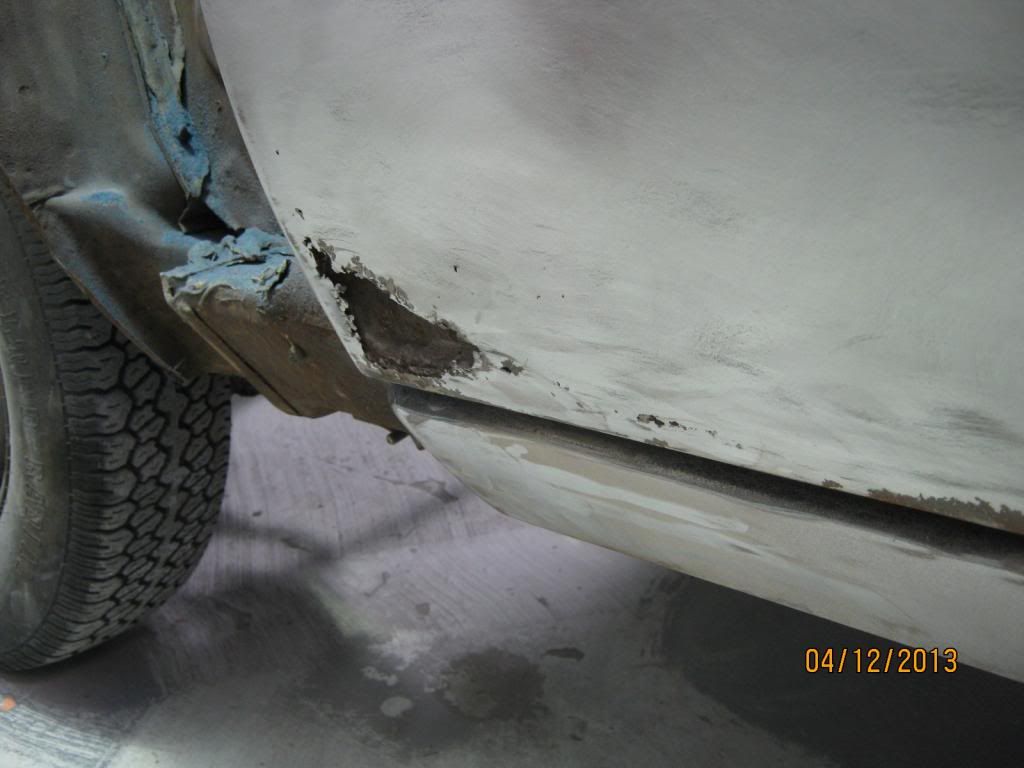
Bummed out I took his advise ended up finding another 72 in almost rust free shape near by that I picked up for $1800 within the same week. Same options but in Powder Blue. The previous owner told me it was a Pennsylvania barn find and he was almost done with the restoration. The guy wasn't the sharpest tool in the shed and said all she needed was a headliner and carpet. Seats were torn, interior painted with a rattle can. He "repaired" the pass side floor pan using a piece of sheet metal and beat it in with a ball peen hammer. The rest of the car looked on the out side solid rust free, just dirty. Wasting no time I quickly tore her down and brought her into shop. Unfortunately though I didn't snap any pics of her until now, because I was to busy with the work that followed.
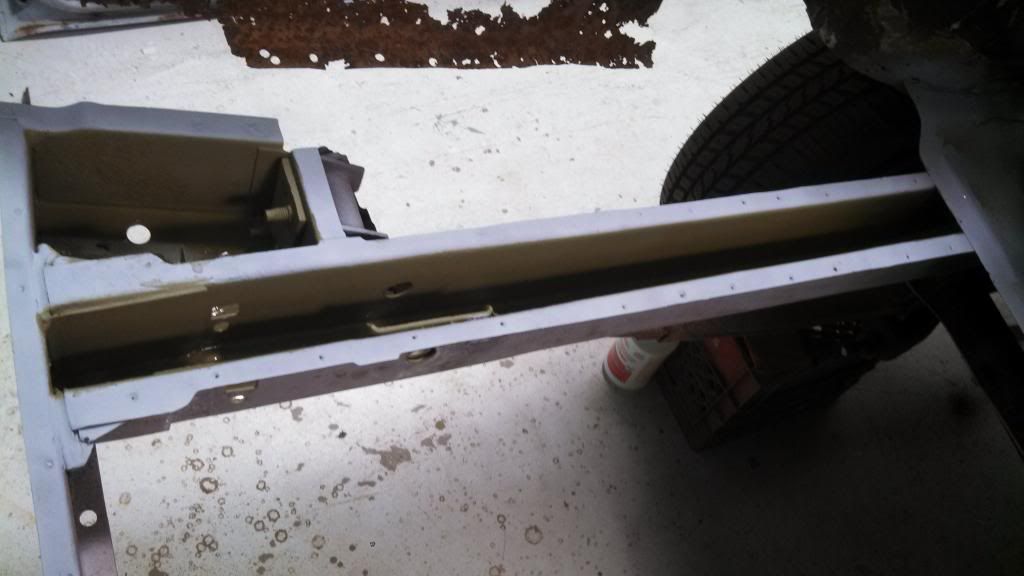
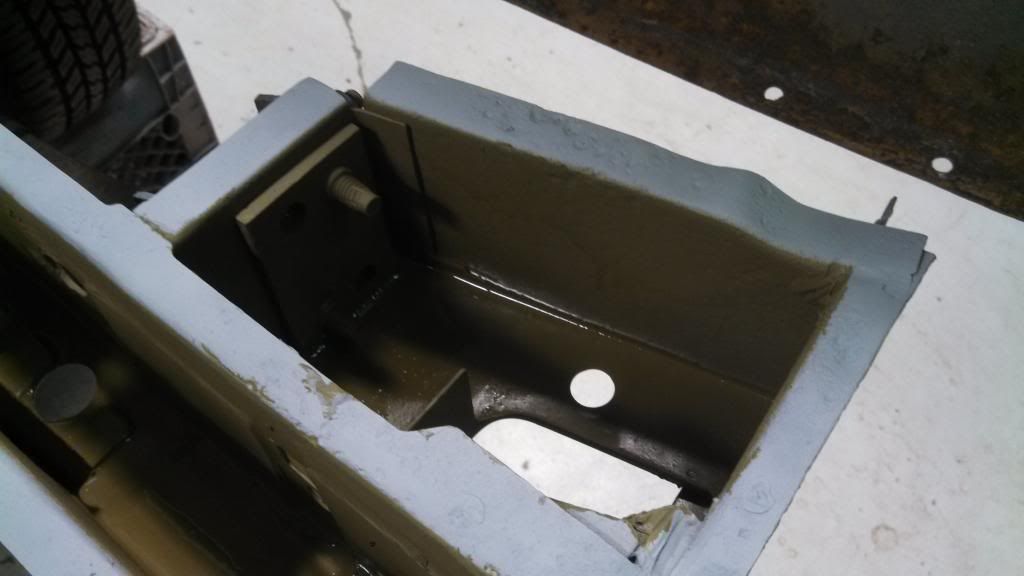
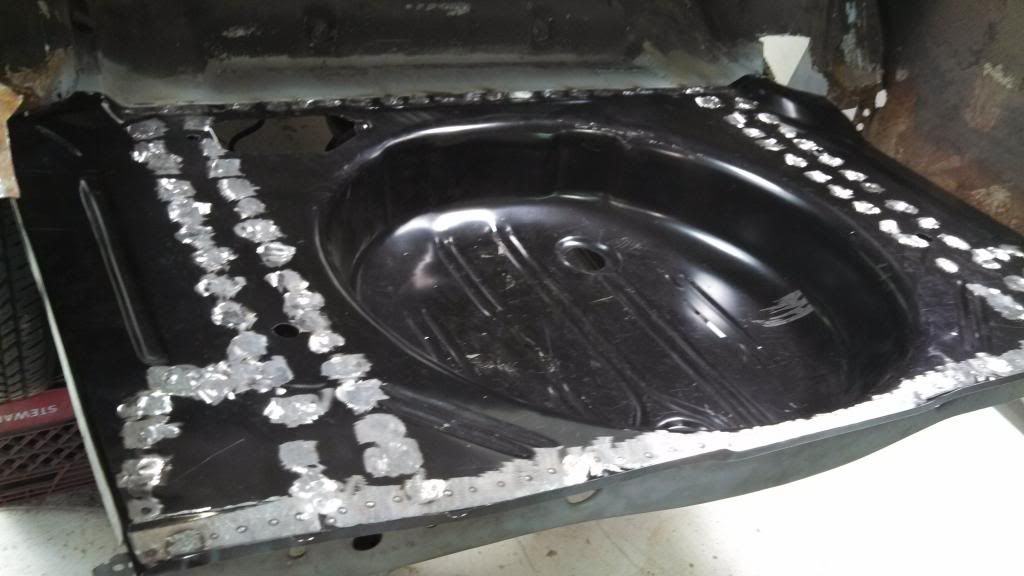
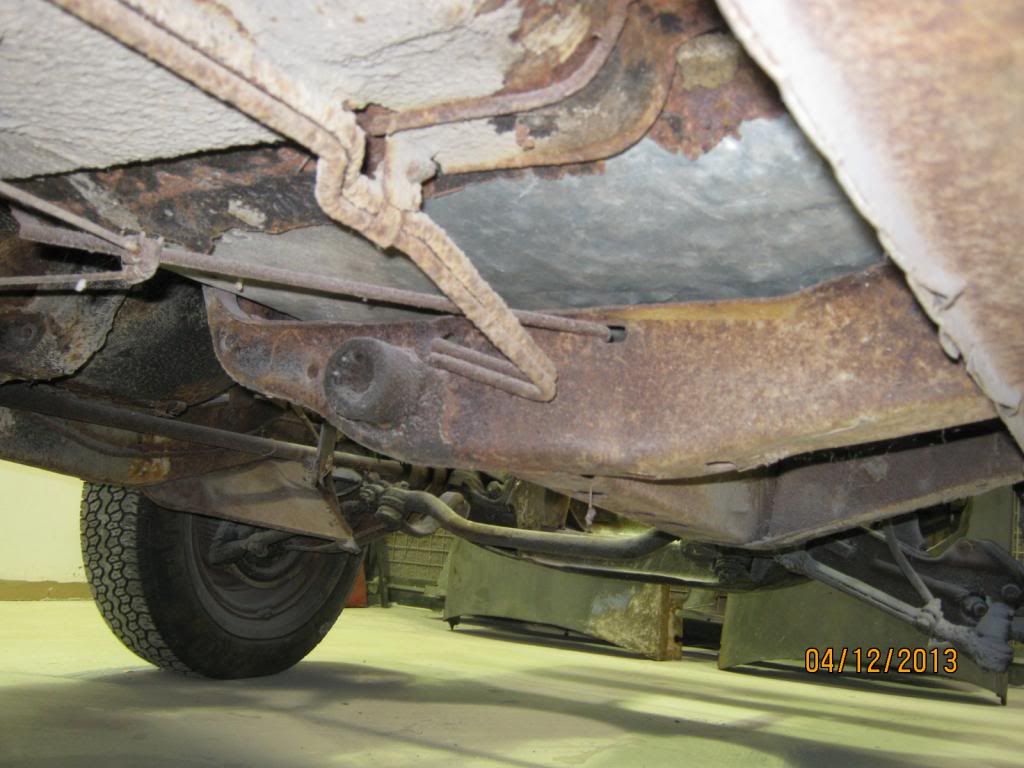
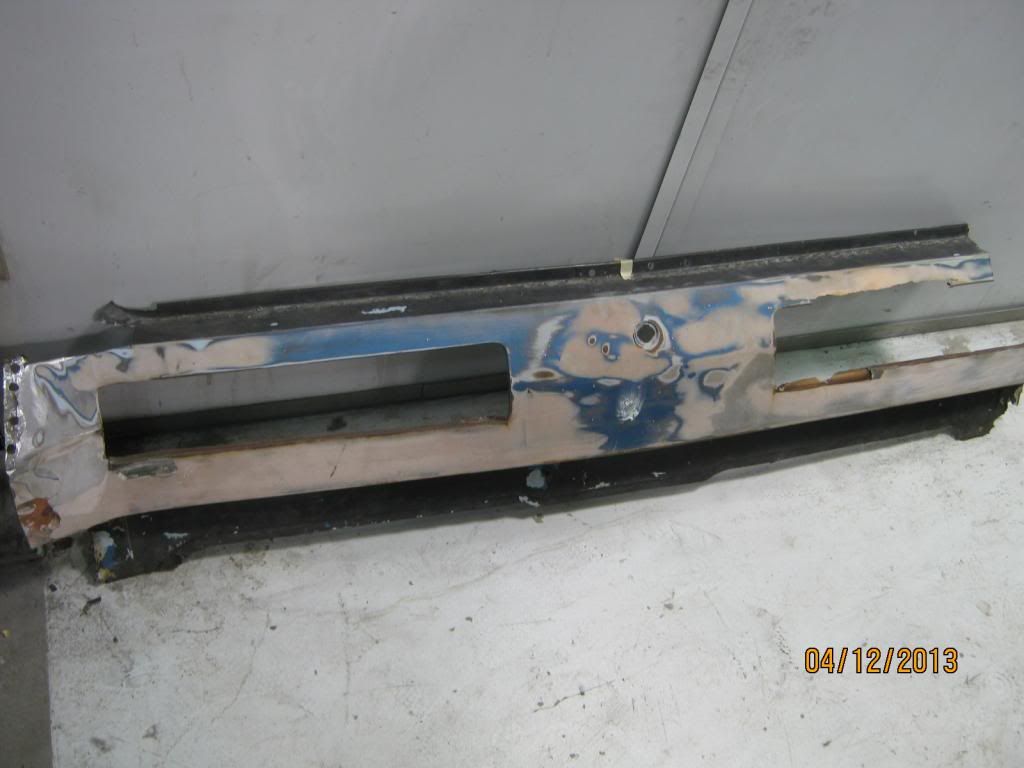
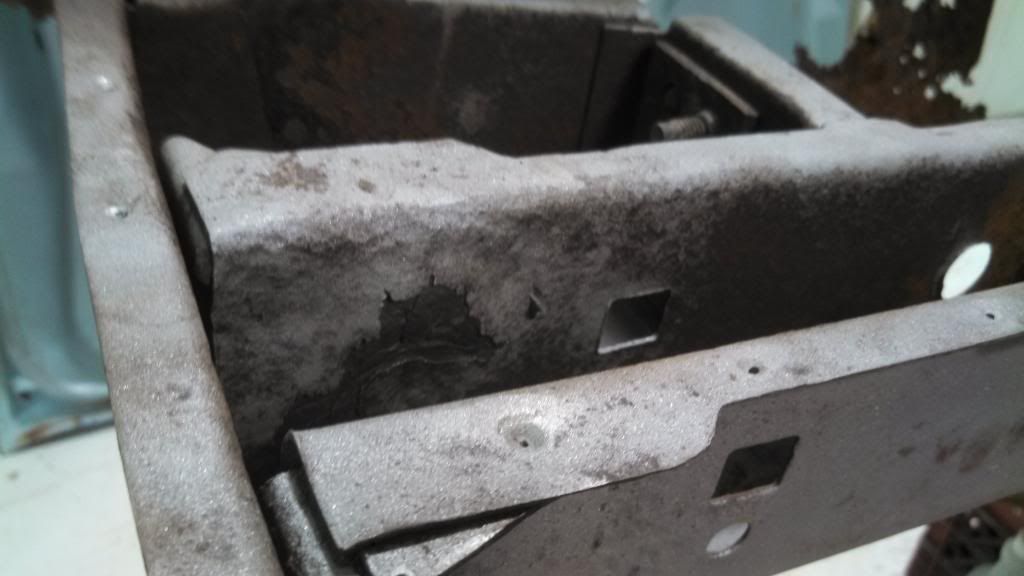
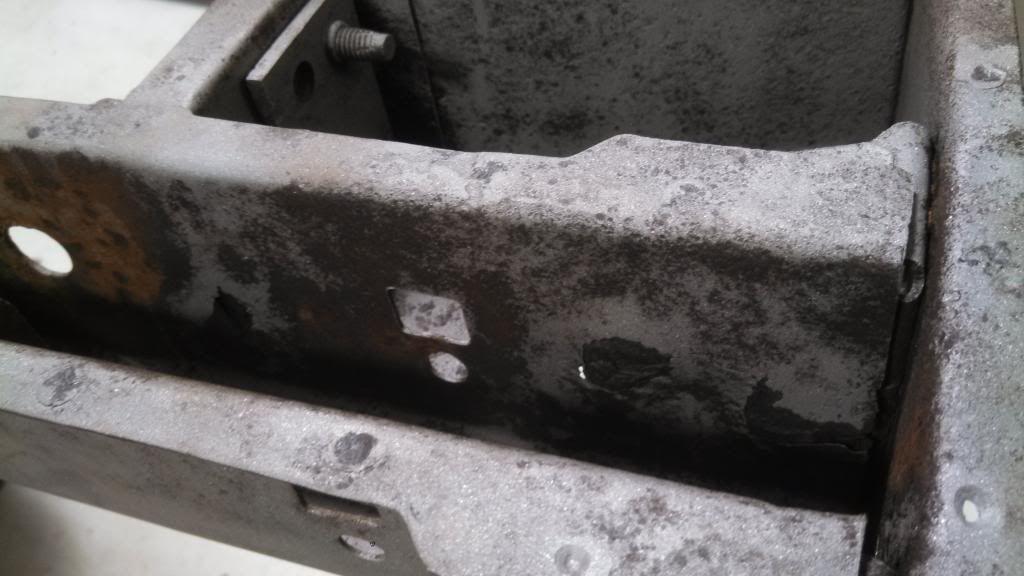
We brought her into shop and started tearing her down to just a shell. We sanded most of her all down to bare metal to show the "goodies" underneath. Turns out my "rust-free" car was packed with bondo in the quarters, doors, tail panel, and trunk. The trunk was actually repaired using one of those goodmark replacement pans, but it seems he was to lazy to take the whole thing out so he just cut out the spare tire well cut around the filler neck and beat it in and sealed it. Extensions were bondo'ed and the whole thing was painted to look like it was all original. Good news was that the frame rails were nice. I drilled out all the spot welds and removed pretty much the entire back end of the car.
How she sits today.


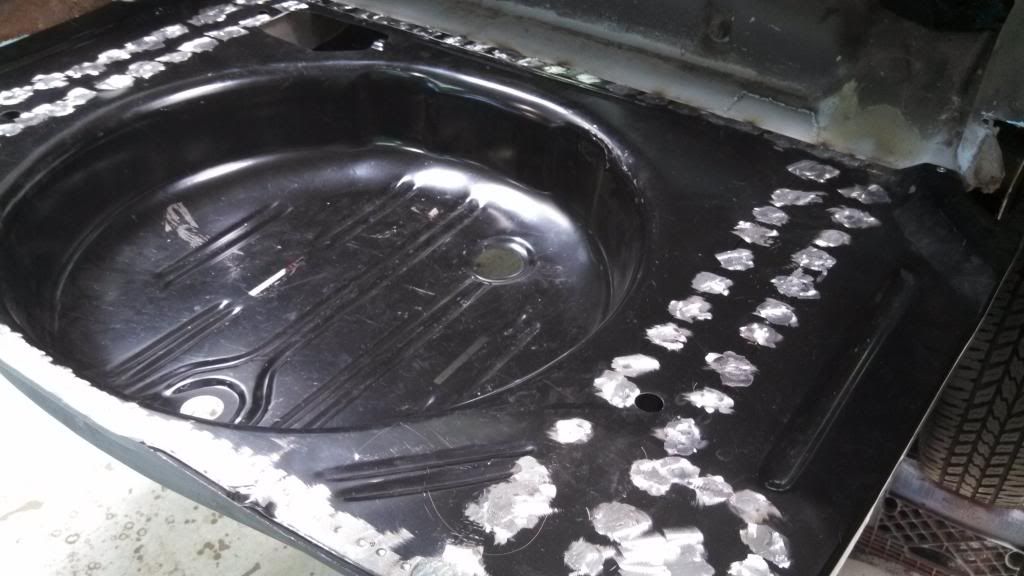
Here's that floor pan "replacement".


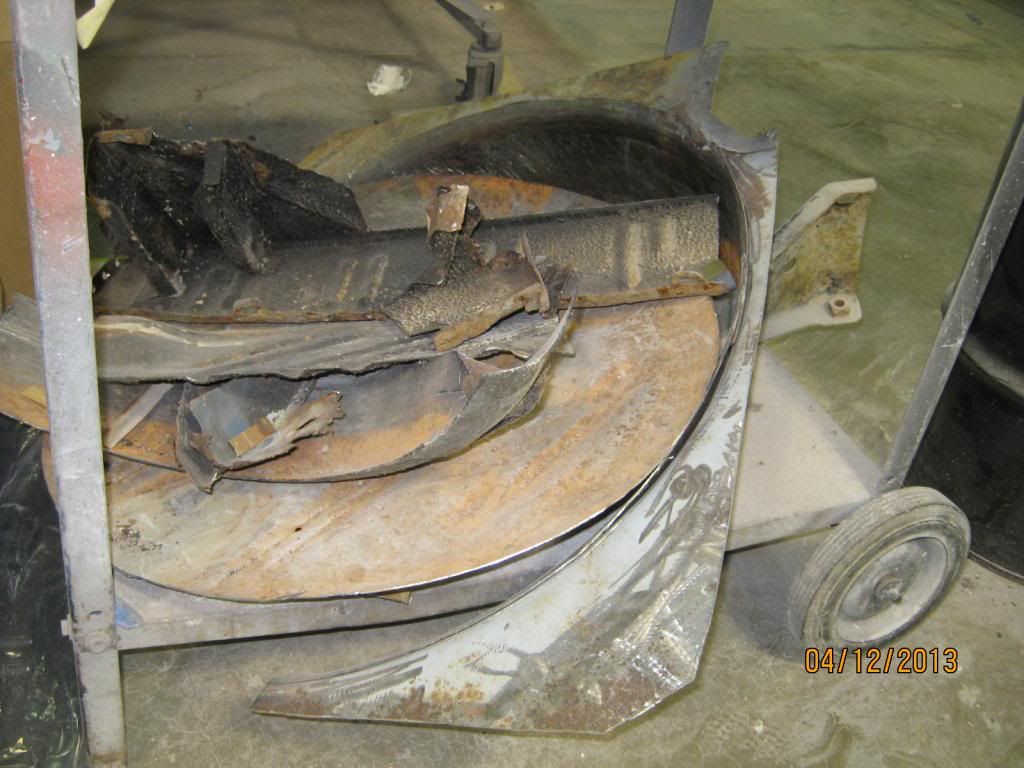
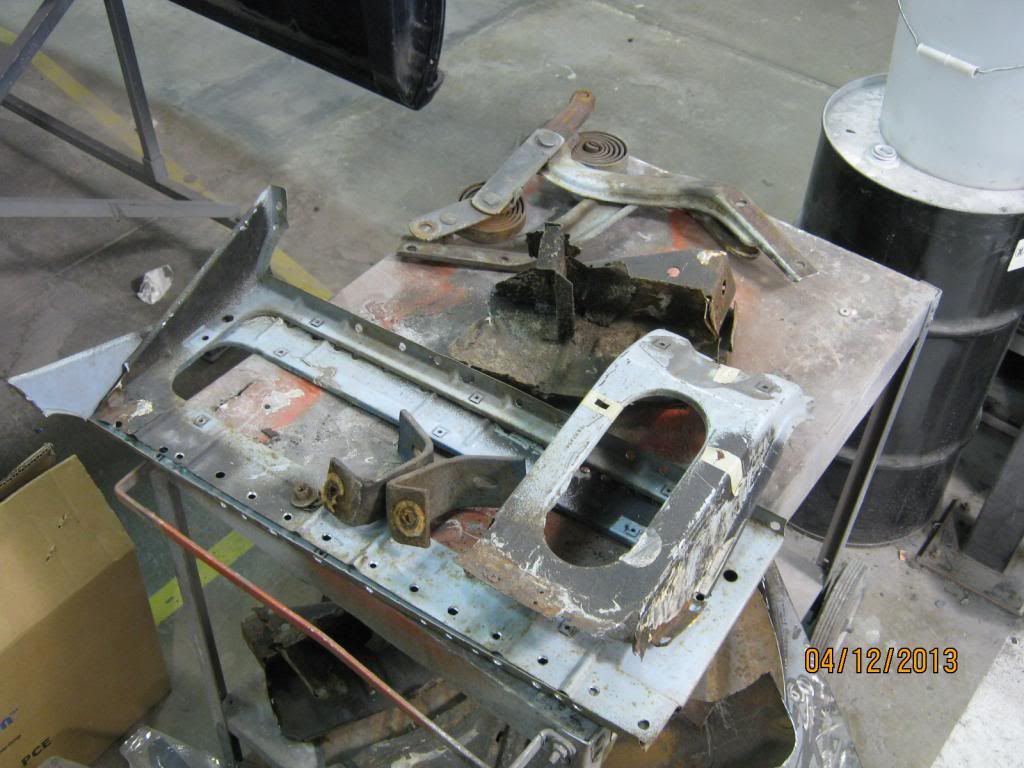
More pics.


What remains of the tail panel and trunk floor.


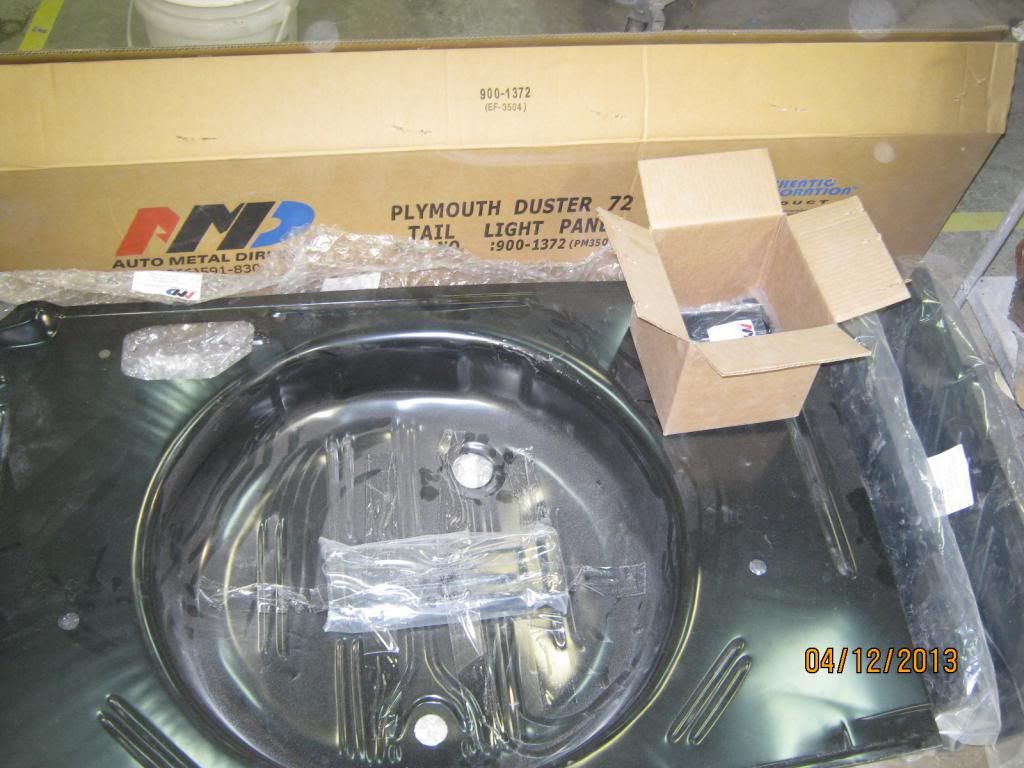
New Metal. Fits Great!


All tucked back away.

Got the deck lid etch-primed.


More pics at
http://s1173.photobucket.com/user/mejackg/library/1972 Duster 440?sort=3&page=1
I ordered all new panels from amd and I have most of what I need to button up the back end. Except for full quarters and trunk gutters. I hope to have the back section of sheet metal buttoned up by the end of this school year which is coming up faster than I realized. This summer she will go back into our garage and I will fix the remaining sheet metal, mini-tub her, and add sub-frame connectors. Hopefully in my senior year we can get her ready for paint, spray her, and then I will start getting into the real money. Engine, transmission, rear end, suspension, and interior. I hope I can have her done by the time I am in college. I even hand drew up a design plan of how I will make her look.

I've got a lot of plans for her and she will be a sweet ride by the time I am done.


 . But it was my fault for selling it to two people who drive it in salt and snow lol. I tried to get that hood back without the scoops a few years ago because it's the actual hood off my car now. That was the only original panel I am missing lol. But yea, in ,2003 when I bought my brown duster ( where the grill valence came off of) the guy wrote a bill if sale with a totally wrong vin. In 2006 my friend notified me of a red duster in Menands for sale for $800, the vin on jade was the vin the guy wrote for my brown duster, also where those buckets came from!, the car was parked at innovated auto and was sold to me by Mike Farrell. He races dusters for John.Schaul racing. If you ever looked closely at the red door, you can still see the lettering. This guy still holds the fastest pro stock title. Lol. Any ways, that car had a lot of good karma. Saved me many times lol. I constantly find true barn finds and rarities. My 72 twister (where jades hood came from) was a parade car in Disney Land, and I just picked up a 1965 Dart from Yale that was garaged by original owner back in 83...the guy have me an unbelievable deal. I definitely like your restoration progress though, it's good to share !!