You are using an out of date browser. It may not display this or other websites correctly.
You should upgrade or use an alternative browser.
You should upgrade or use an alternative browser.
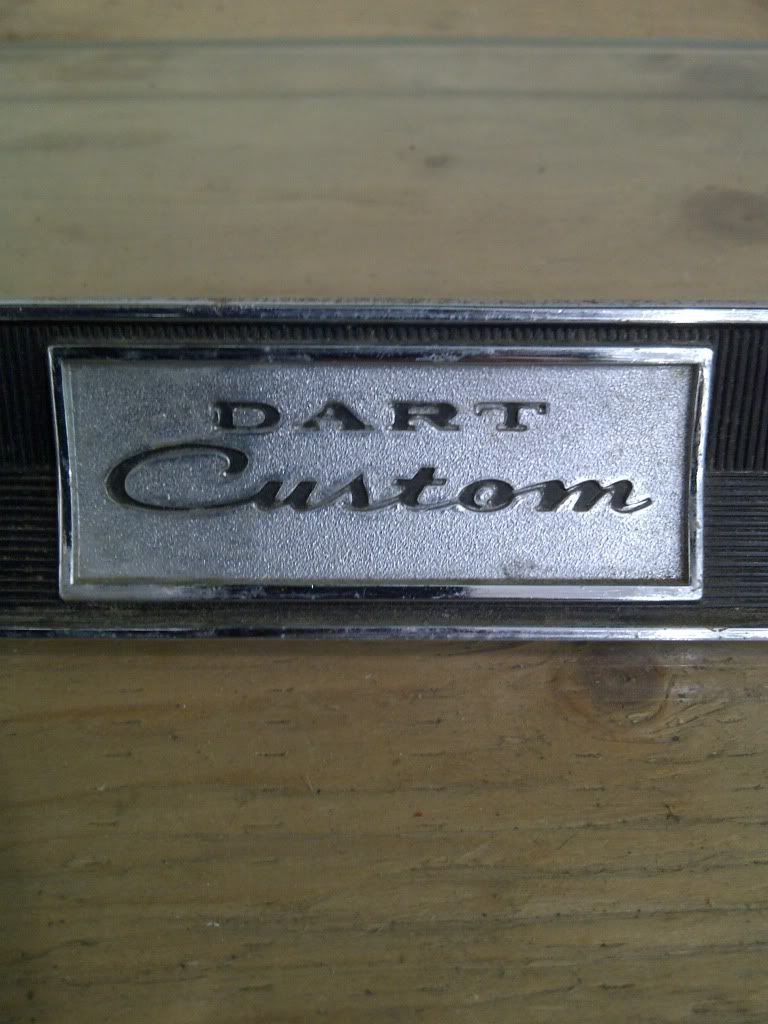
Realest's 1969 Dart Custom
- Thread starter Realest
- Start date
-
132068Dodge
Well-Known Member
Ha ha ha, LOL, yes THE CAR!!!!! Nice one HemiDenny ")
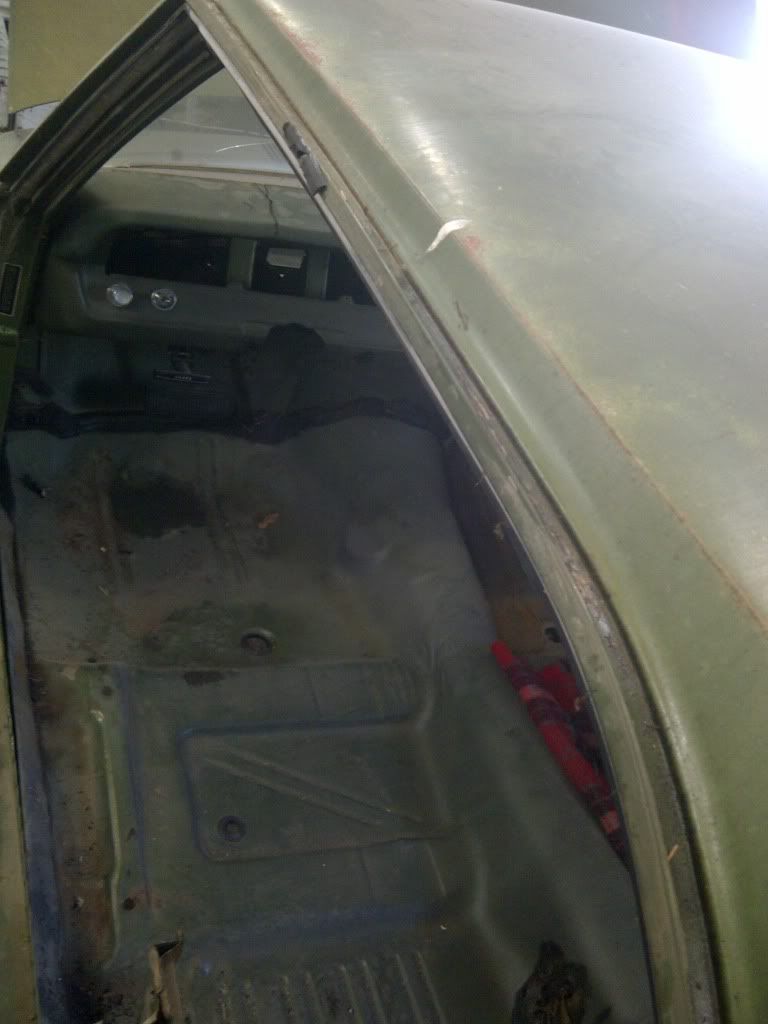
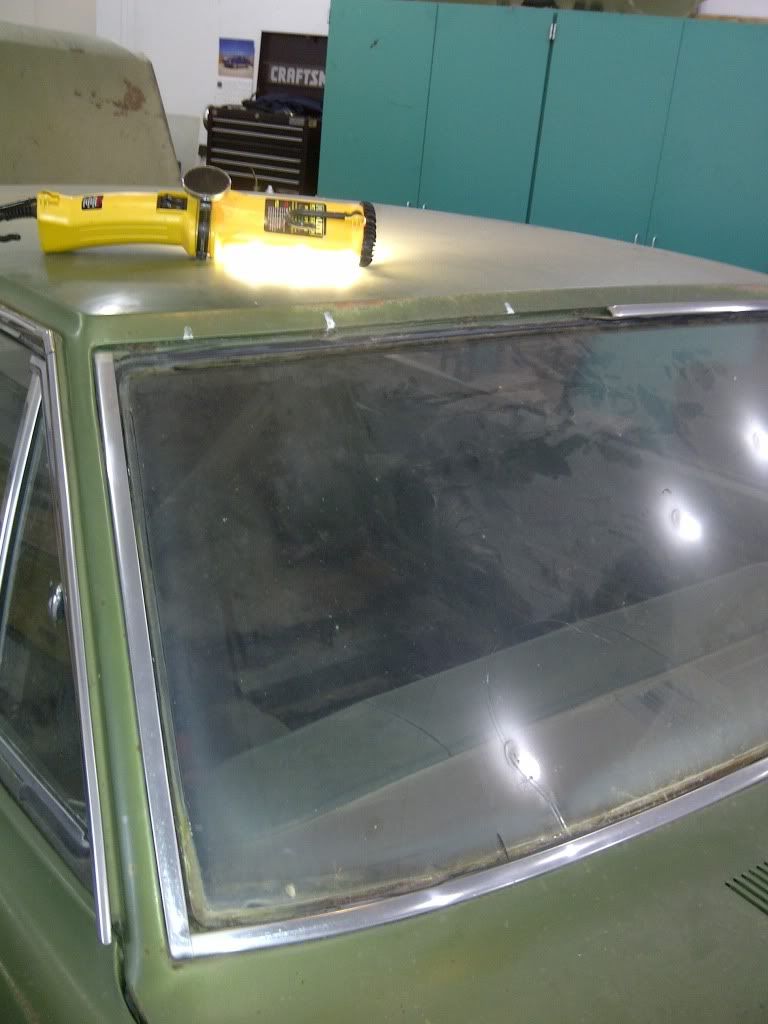
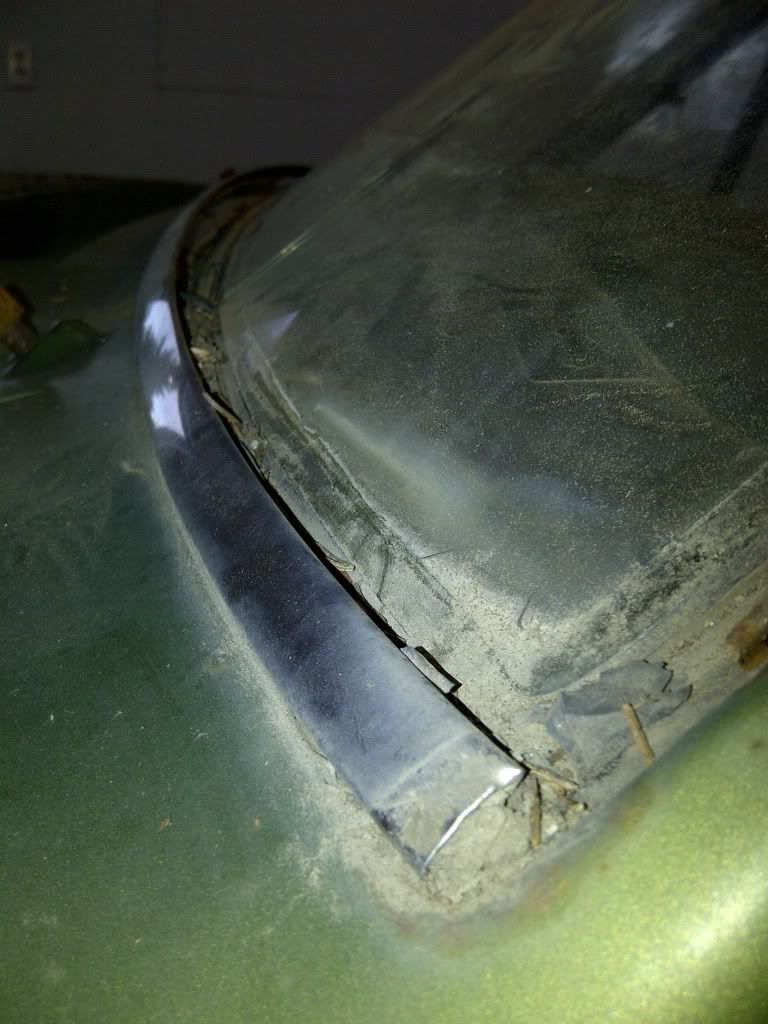
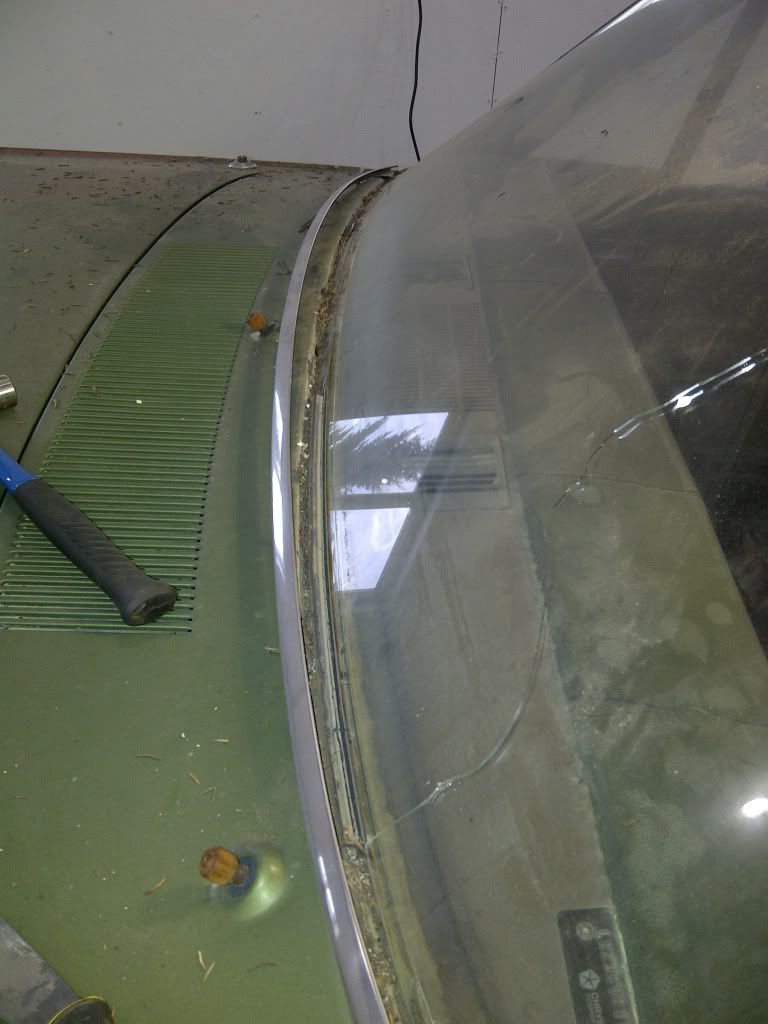
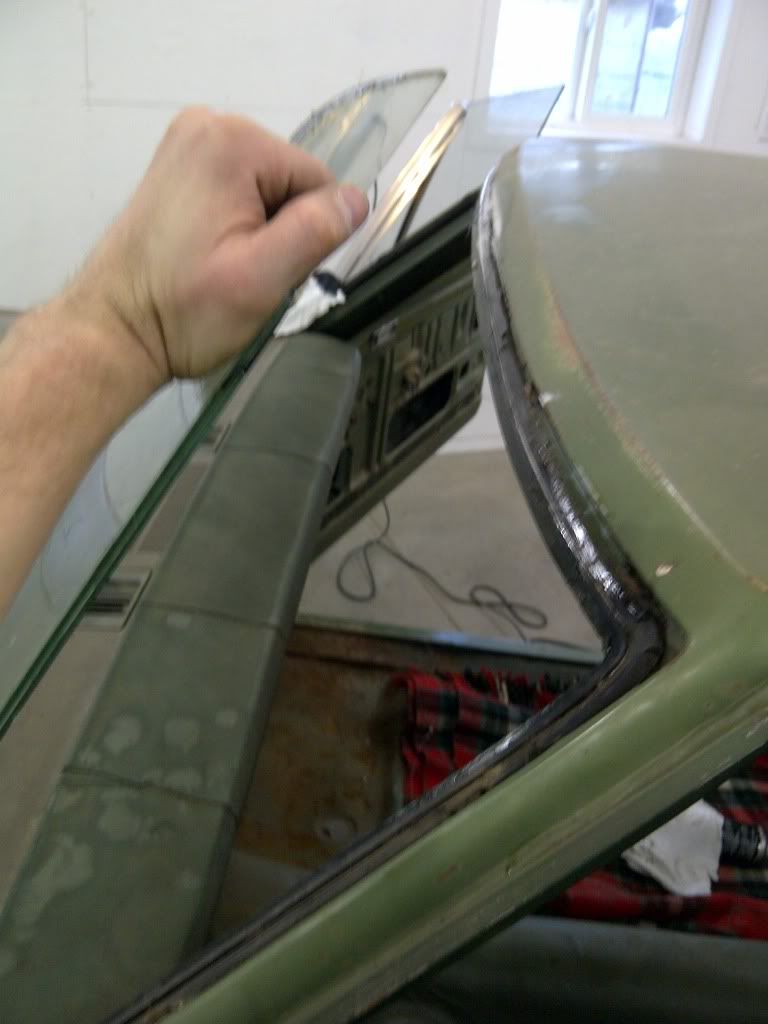
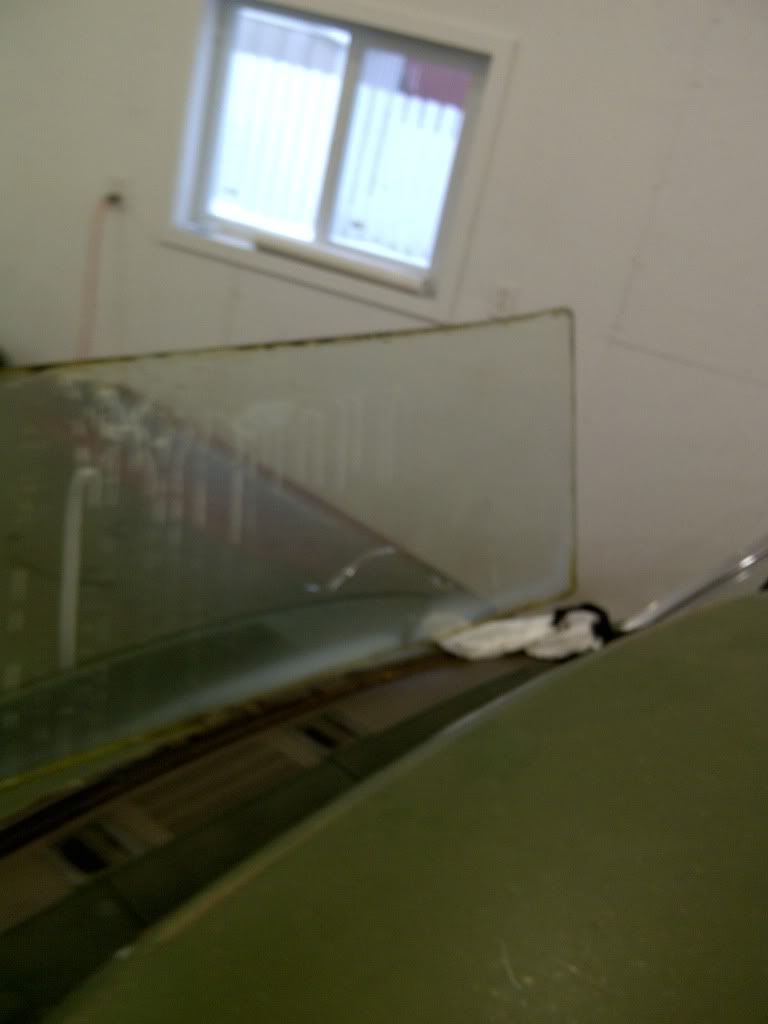
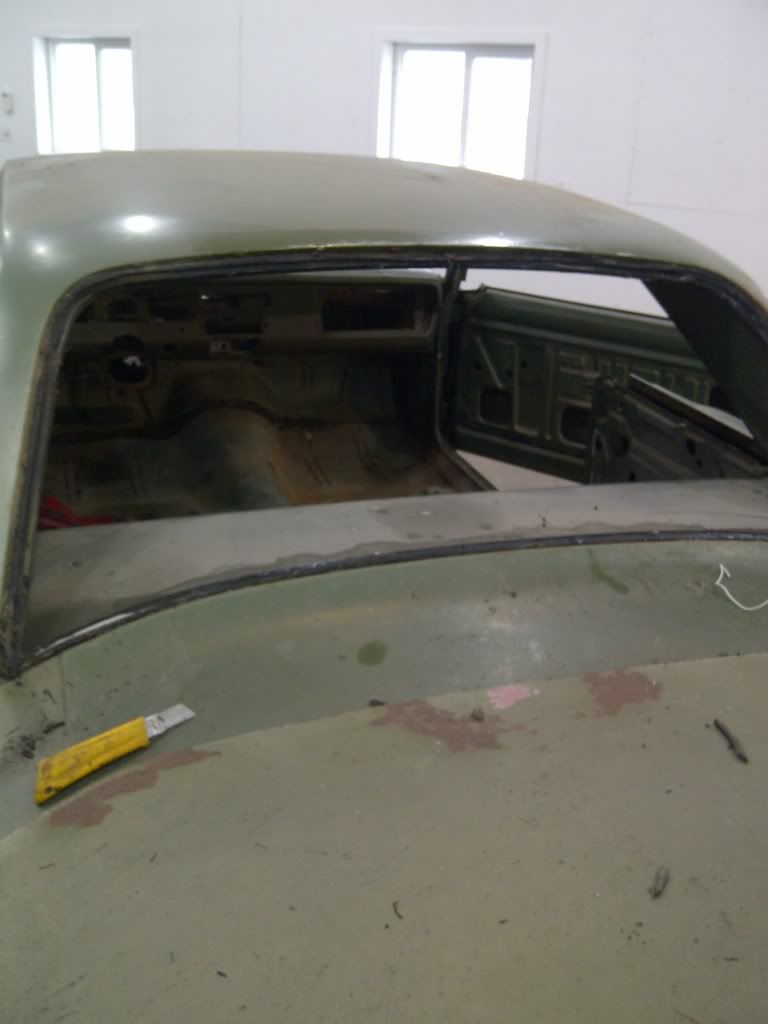
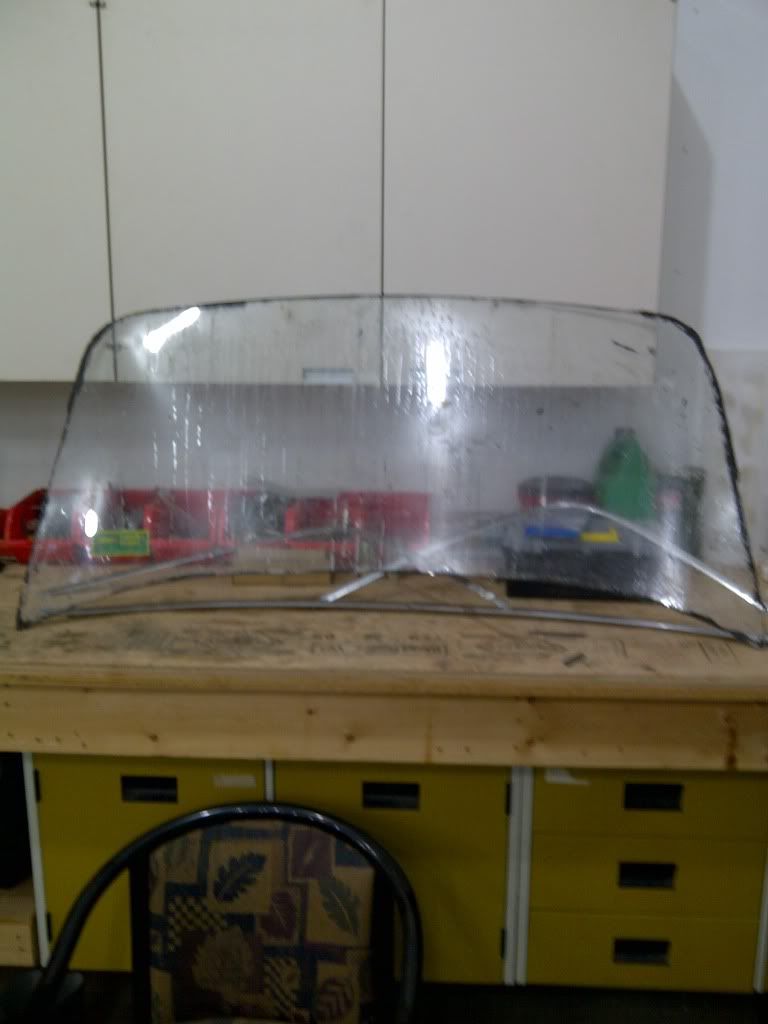
Today I removed the chrome trim around the windshield and the windshield itself. After doing so research on the forum I took the advice of other and cut out the windshield rubber to help expose the clips that hold the trim on. The bottom trim piece proved to be most difficult due to gravities affect causing 42 years of dirty and debris to collect in the area. I fashioned a tool from a Richard 9 in 1 paint tool. Worked great. It still took a bit of patients and care not to bend or damage the trim. Something I am positive I would have never been able to do 10 years ago. After the trim was off, I used some cable and foam window cleaner (as lubricant) to remove the glass. Some may prefer the smash and crash method when removing windshields but I prefer to take it out in one piece and avoid the clean up. Here are some photos.

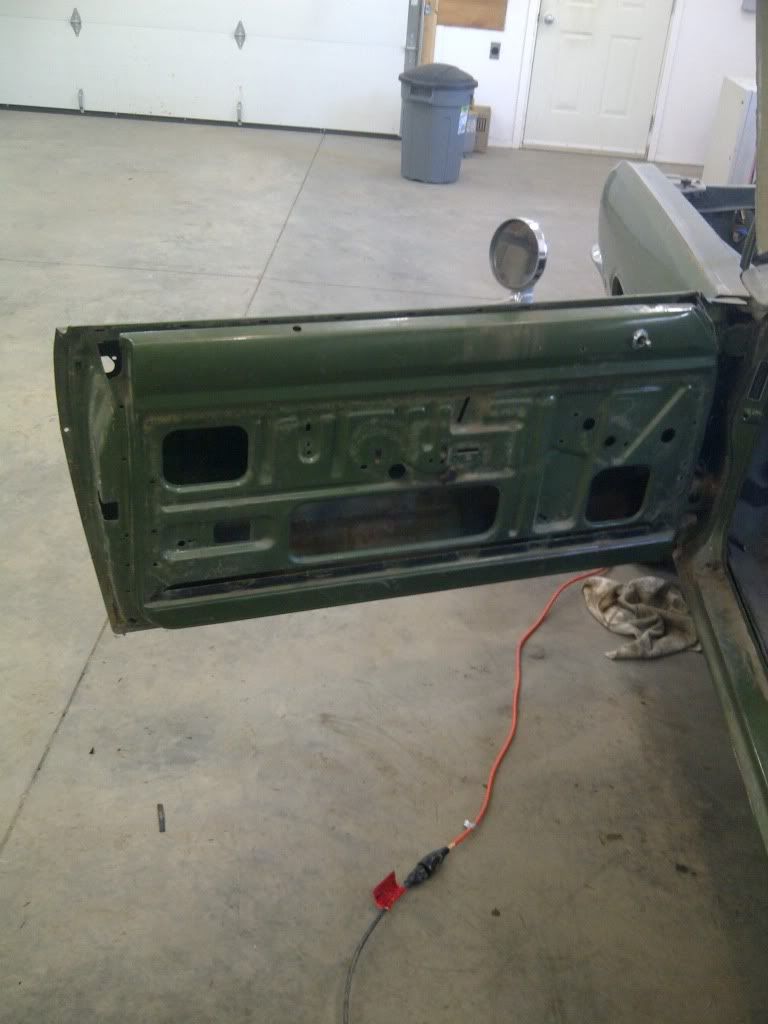
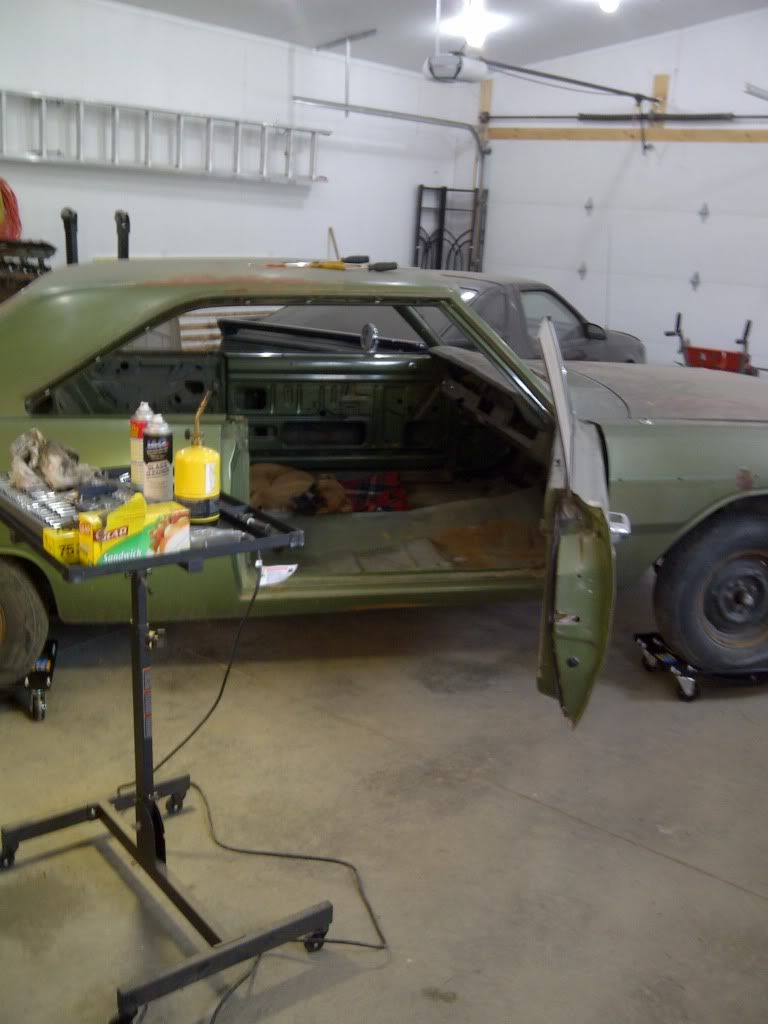
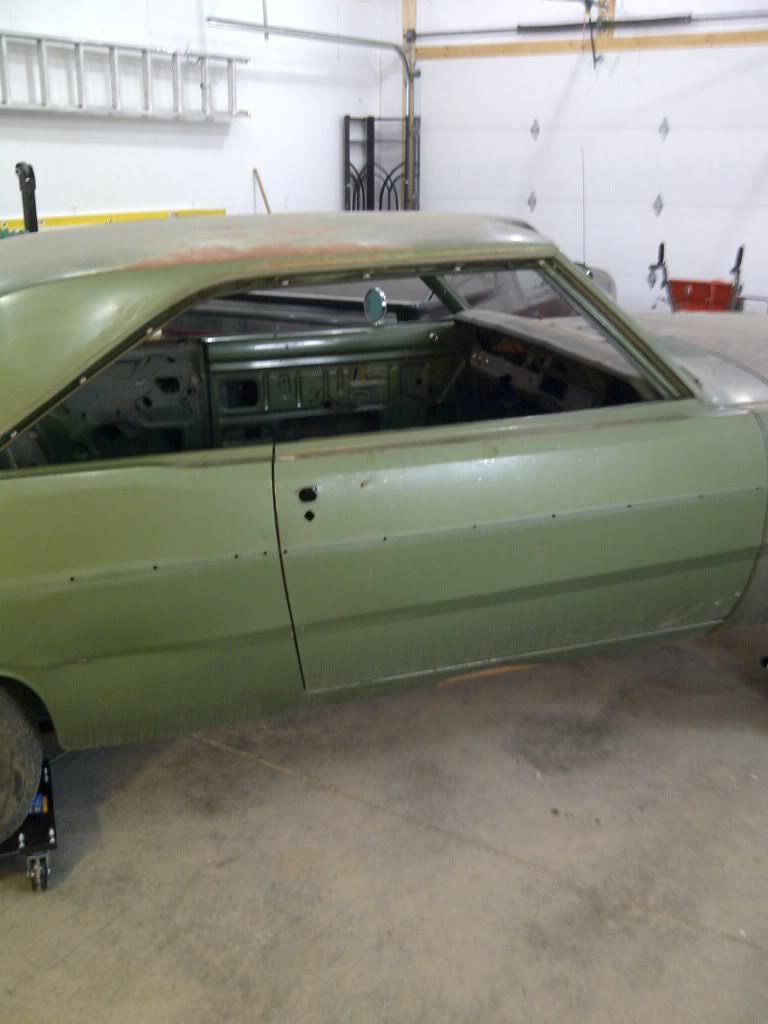
A little more minor progress today. Got the passenger side of the car stripped of all trim, glass and latch. Also removed rear window chrome trim and glass. I found the rear glass exponentially harder to remove than the windshield, but this was probably due to the fact I didn't care if i broke the windshield.

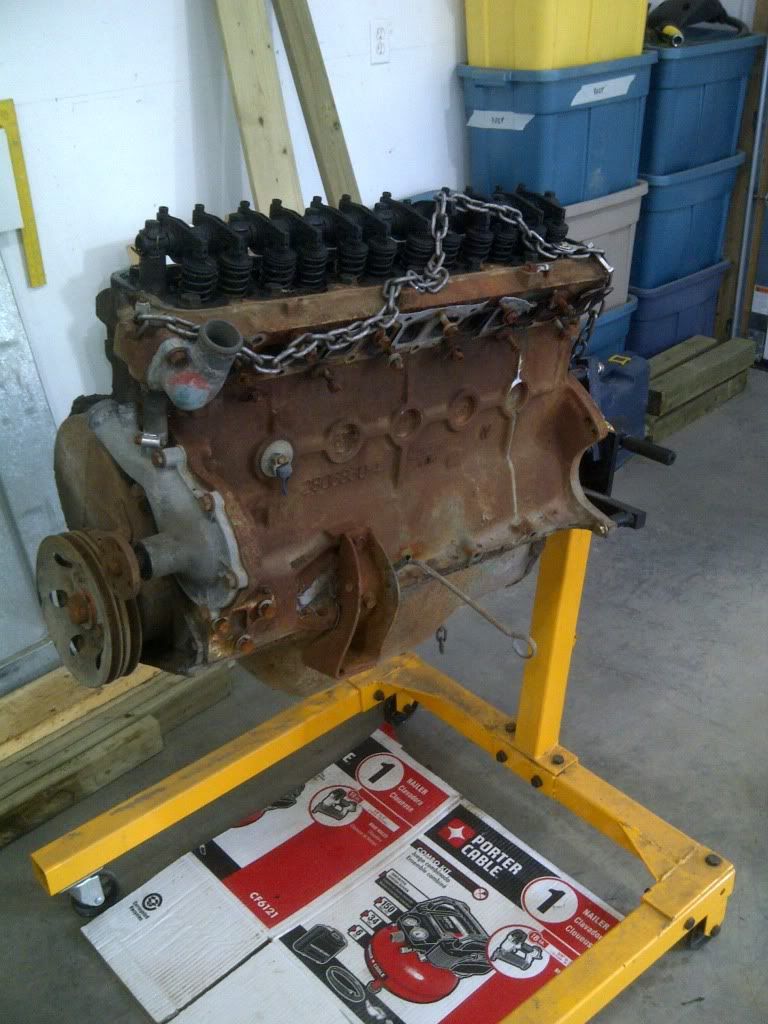
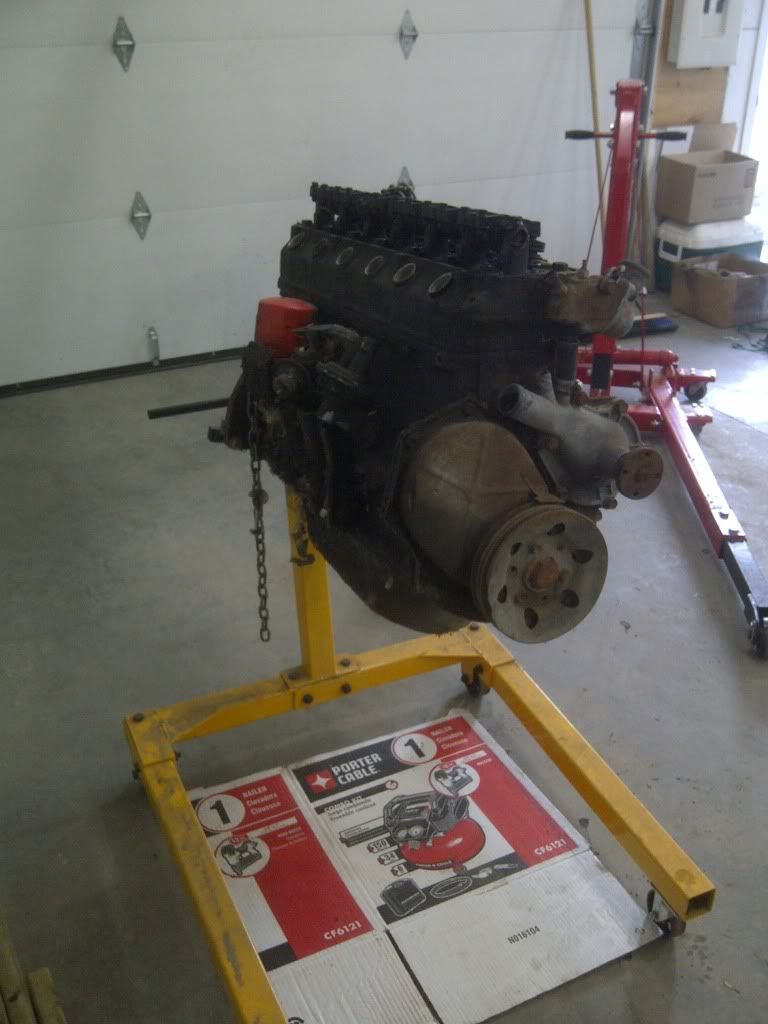
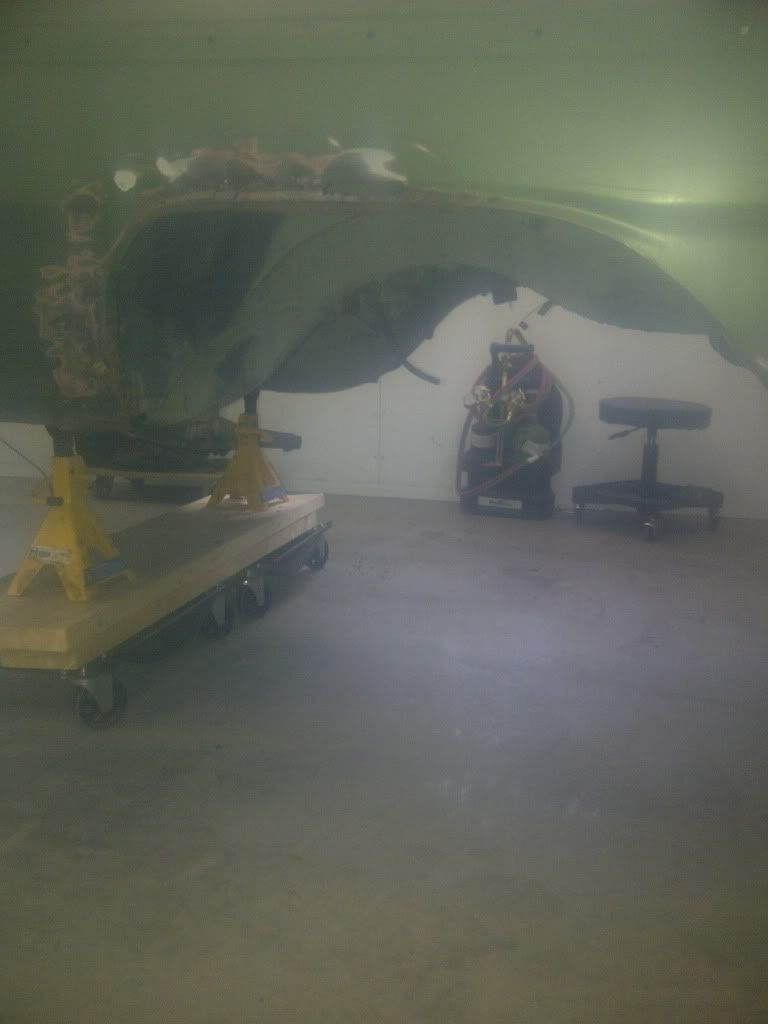
removed the engine cradle and front suspension, then built a front end dollie.
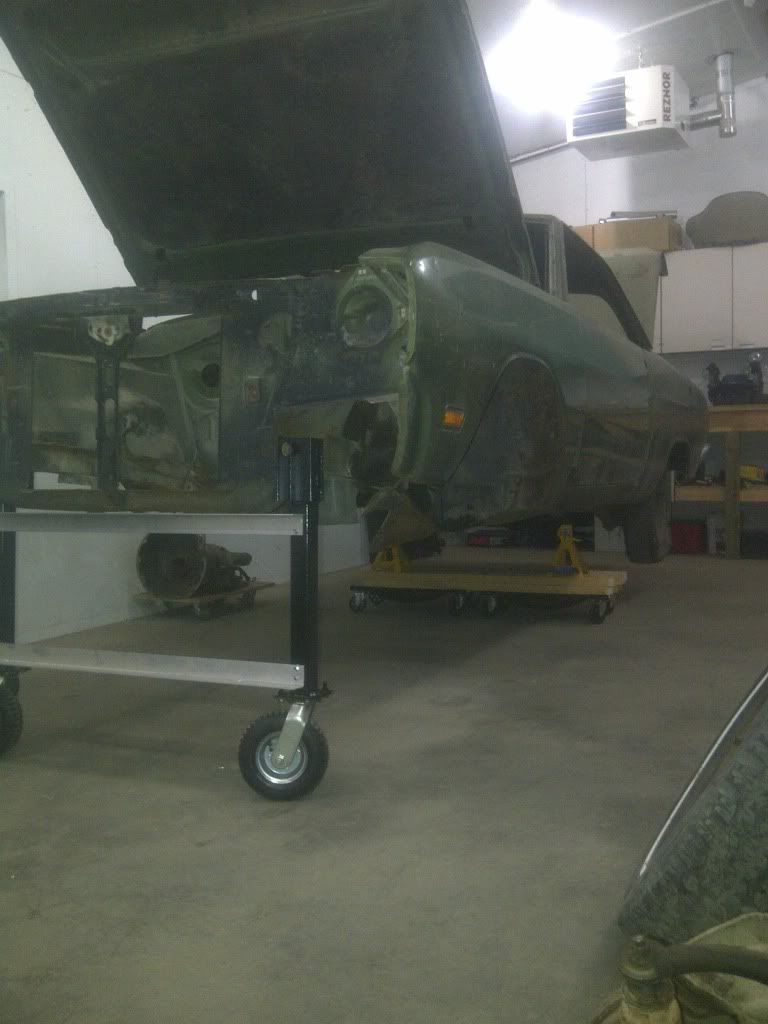
rear axle and springs gone (sorry for the poor photo quality)
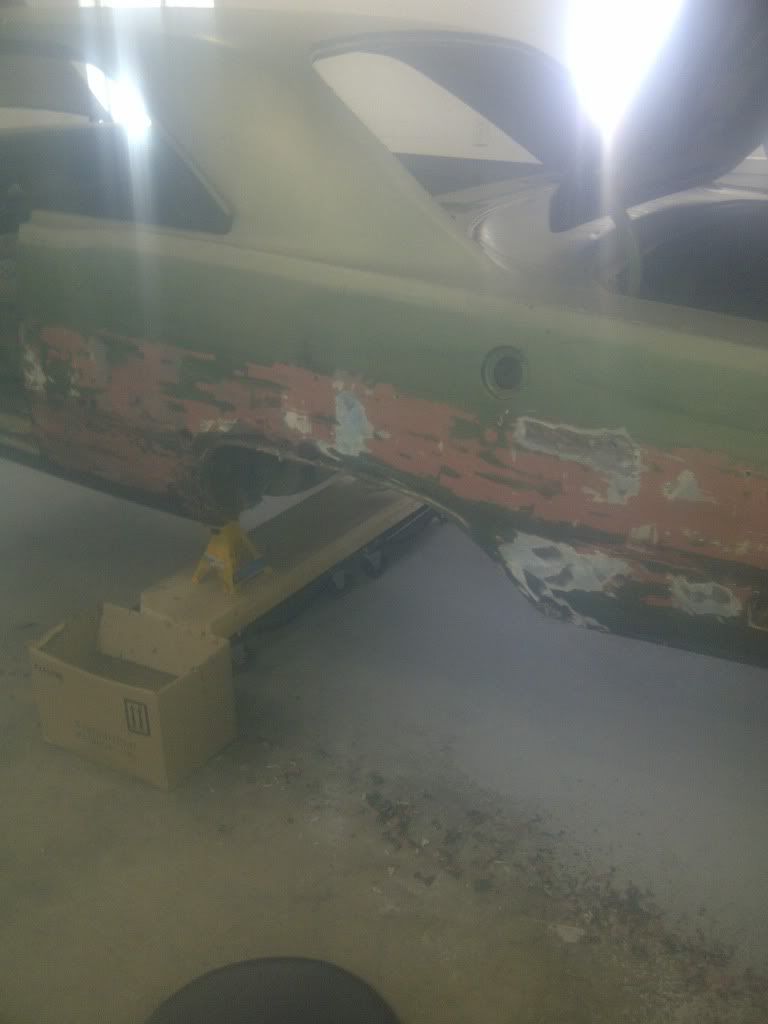
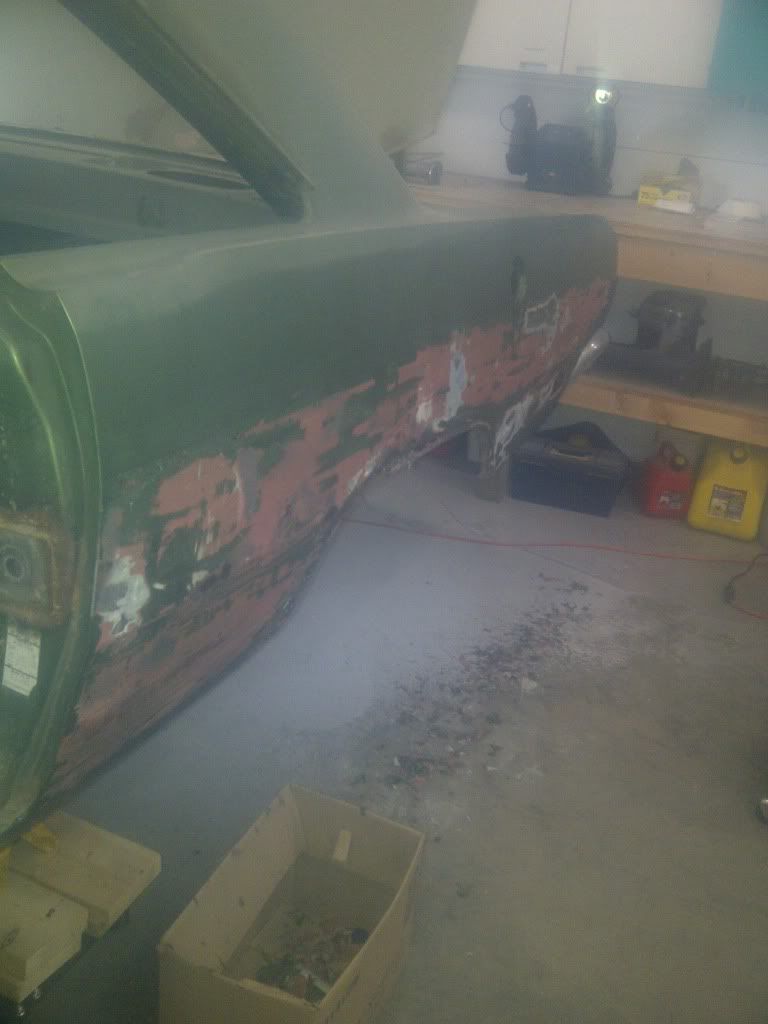
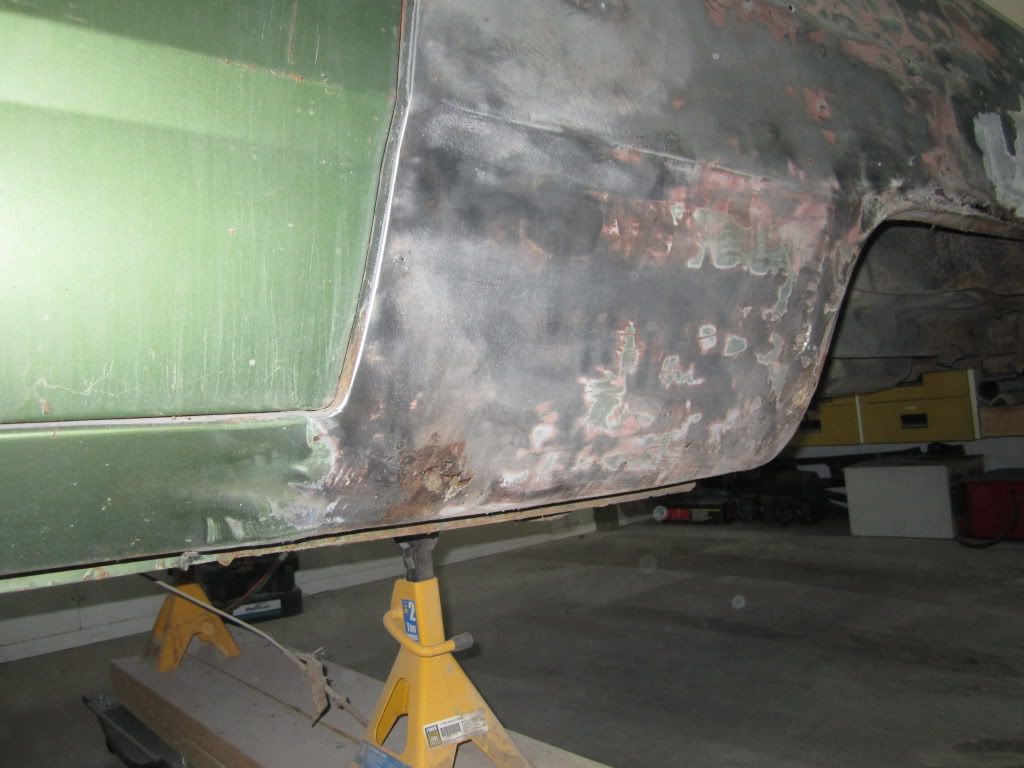
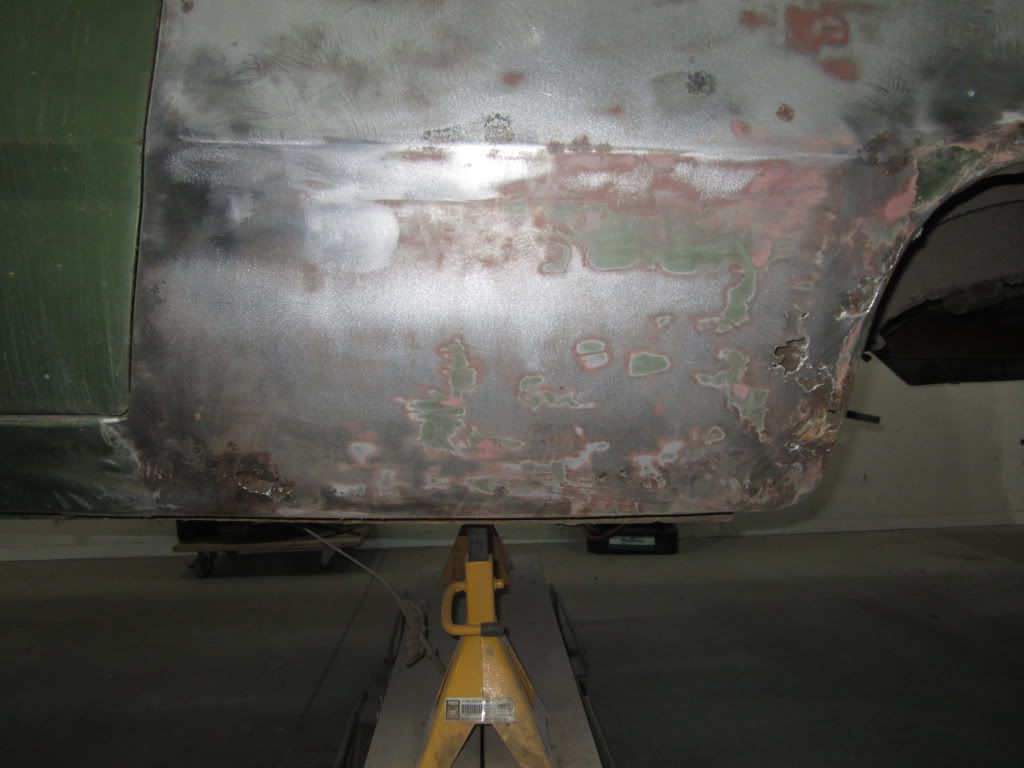
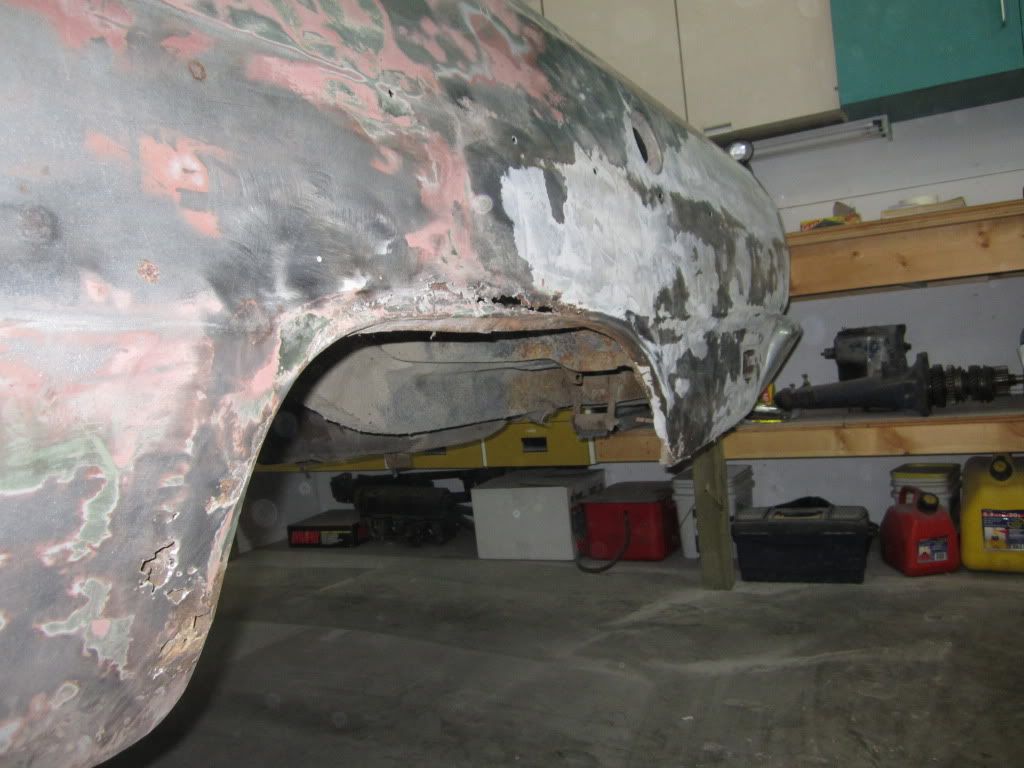
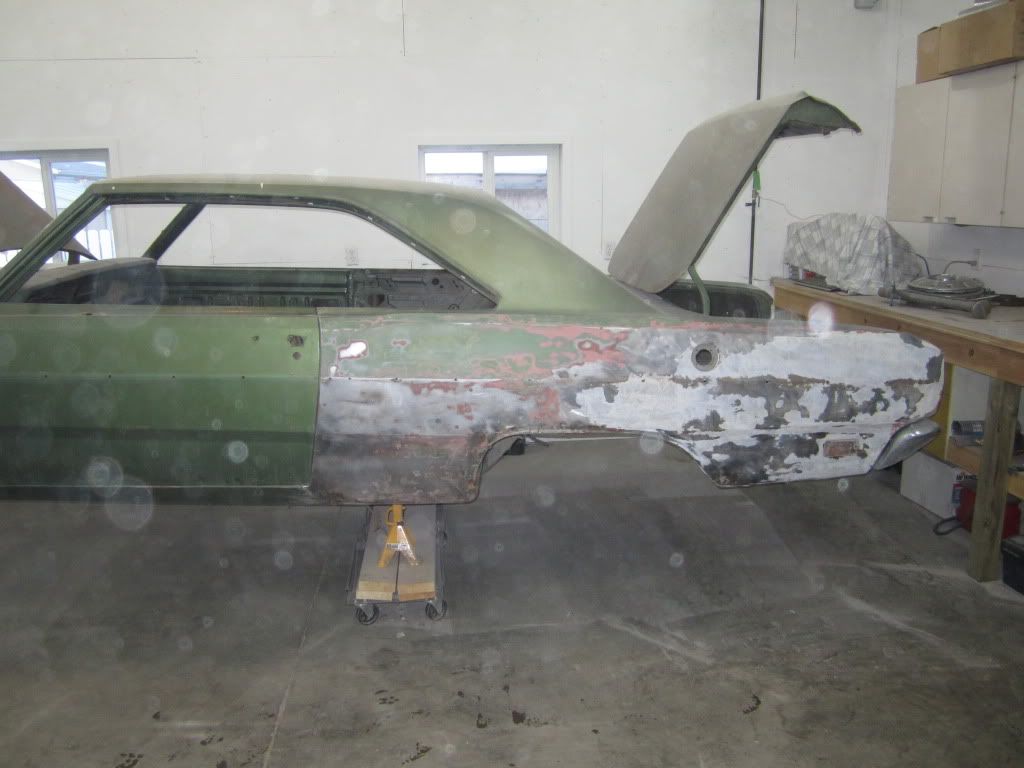
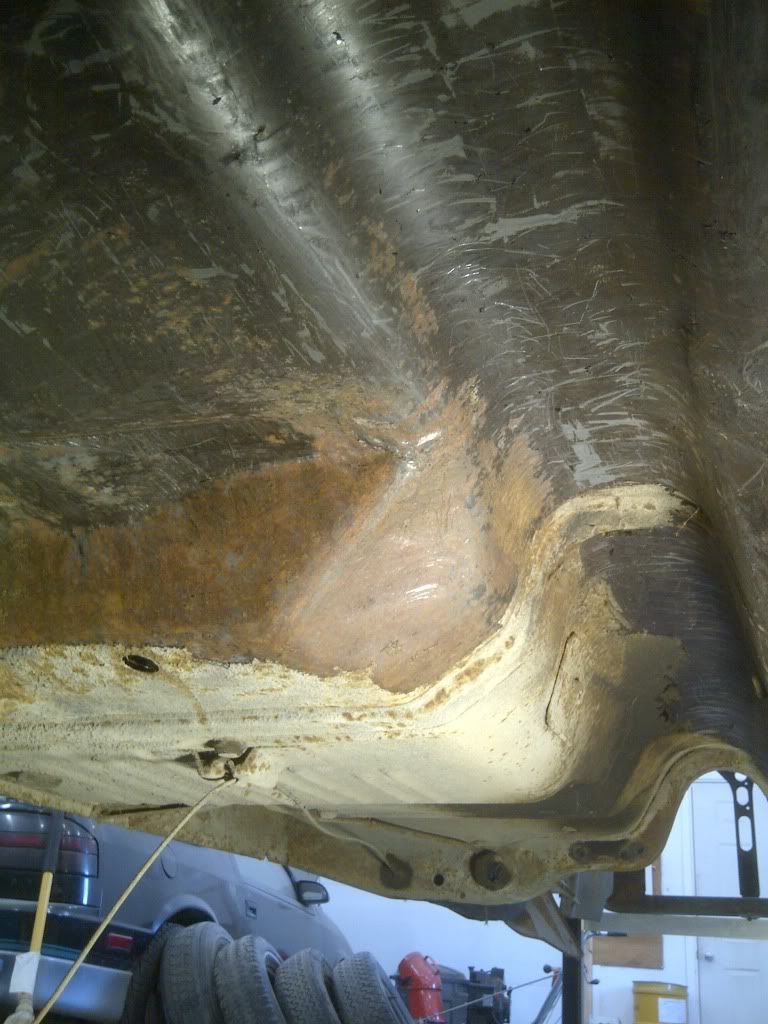
Starting stripping the rear quarter panel, however I probably shouldn't have wasted my time as it'll get replaced. I wanted to play around and see what kind of damaged was underneath the 1/4" of filler. I haven't quite finished stripping all the mud off but the metal is better than I thought it was going to be.
rear axle and springs gone (sorry for the poor photo quality)
Starting stripping the rear quarter panel, however I probably shouldn't have wasted my time as it'll get replaced. I wanted to play around and see what kind of damaged was underneath the 1/4" of filler. I haven't quite finished stripping all the mud off but the metal is better than I thought it was going to be.
mopardude318
Well-Known Member
looks good man. been a long time coming.
132068Dodge
Well-Known Member
Ah that brings back memories. Stripping al the undercoat is a nasty job! Nice to see you progressing. Are you planning on replacing the quarter panel? Keep up the good work .
.Thanks James. Yes it has been slow progress, slower than I'd like. Good thing I have this site to follow builds such as your to keep my eye on the prize. I love the things you've done to your Dart.
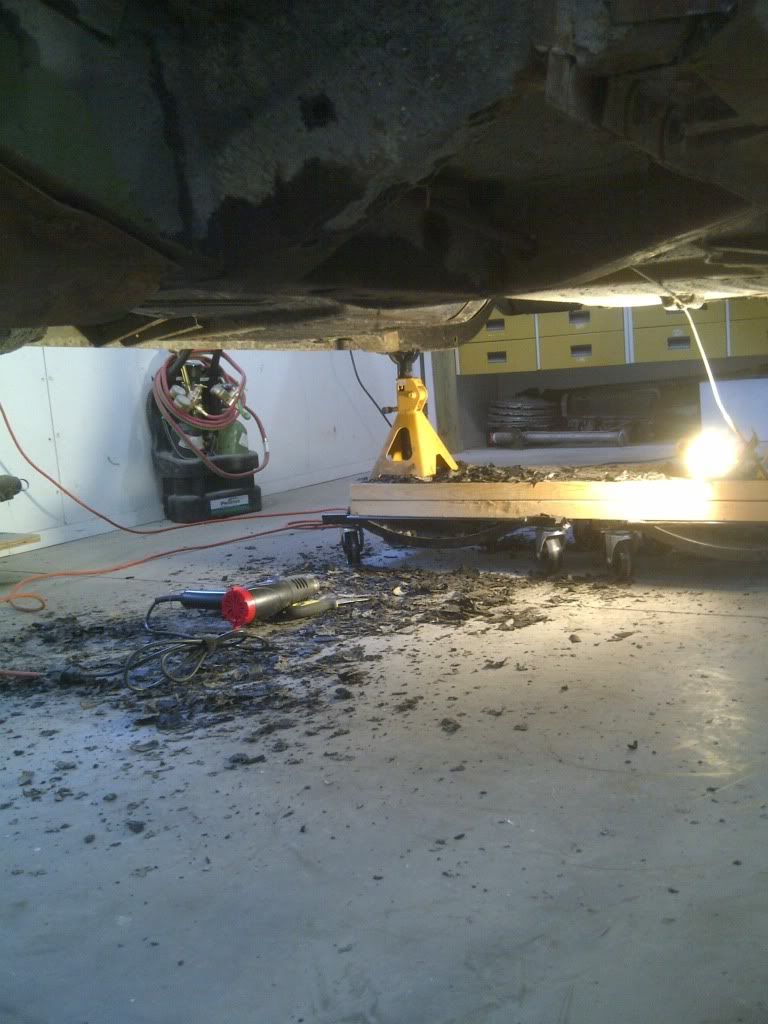
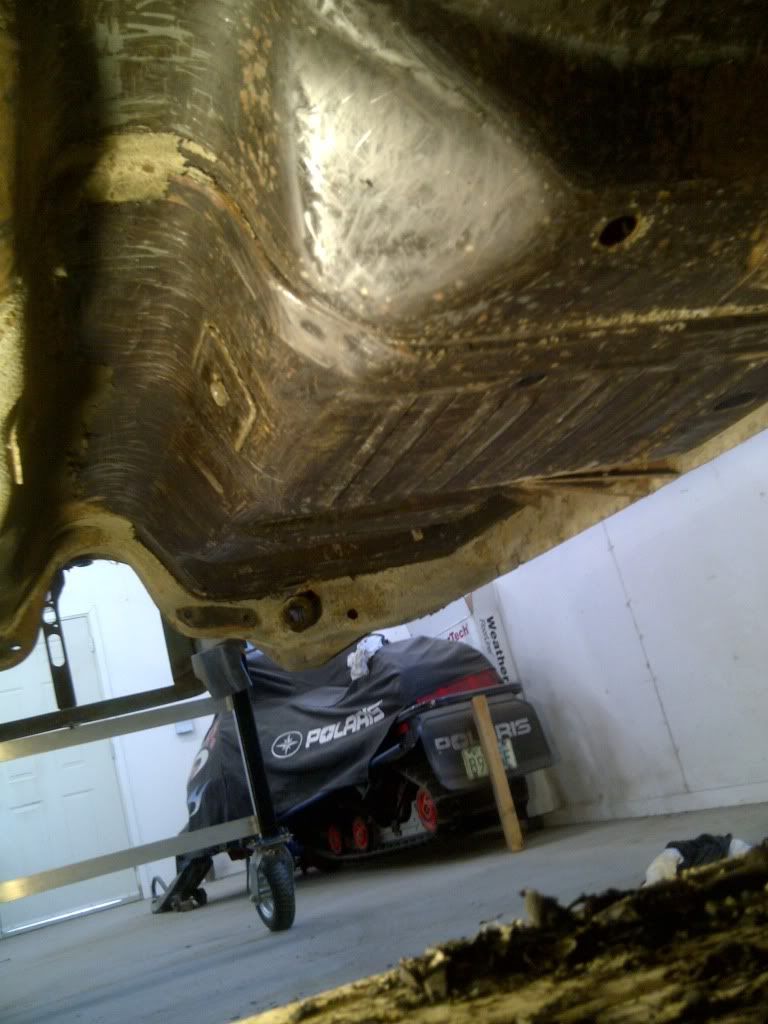
132068DODGE- Scrapping undercoat is pretty nasty. The heat gun make pretty quick work of it. I am spending more time trying to get blood back into my arms more than scrapping HA. Sure wish I had a rotisserie. Both quarters will get replaced among other sheet metal panels.
132068DODGE- Scrapping undercoat is pretty nasty. The heat gun make pretty quick work of it. I am spending more time trying to get blood back into my arms more than scrapping HA. Sure wish I had a rotisserie. Both quarters will get replaced among other sheet metal panels.
383Duster
Well-Known Member
Dont give up....keep plugging away as time and funds allow!

Dartsun
Mopar Dude
Cool car progress is progress. I have a dart custom also that I'm working on. Dustin
What a great project! Plan on making small things. That will keep you in progress without putting too much money in to it.
Swinger340Canuc
72 Swinger 340 Special
Checked out your thread Ryan, that's a pretty solid platform your starting with. Looks like your dealing with pretty much the same panel replacements as mine needed. Hopefully you just need quarters but most suffer some damage to the wheel house and trunk drops. If my thread helps out that's great and really why I tried to post some detail to how I went about the work. It's not rocket science but it sure helps when you can see pictures and video, that's why YouTube is often my best friend. Keep us updated.
Danny
Danny
Checked out your thread Ryan, that's a pretty solid platform your starting with. Looks like your dealing with pretty much the same panel replacements as mine needed. Hopefully you just need quarters but most suffer some damage to the wheel house and trunk drops. If my thread helps out that's great and really why I tried to post some detail to how I went about the work. It's not rocket science but it sure helps when you can see pictures and video, that's why YouTube is often my best friend. Keep us updated.
Danny
Unfortunately my truck extensions and wheel wells are no good as well. Thank-you for the kinds words. Builds such as yours, other and YouTube information definitely help. I'll post update as post worthy progress happens.
mopardude318
Well-Known Member
Wow. That's bad. Keep on keepin on!!!
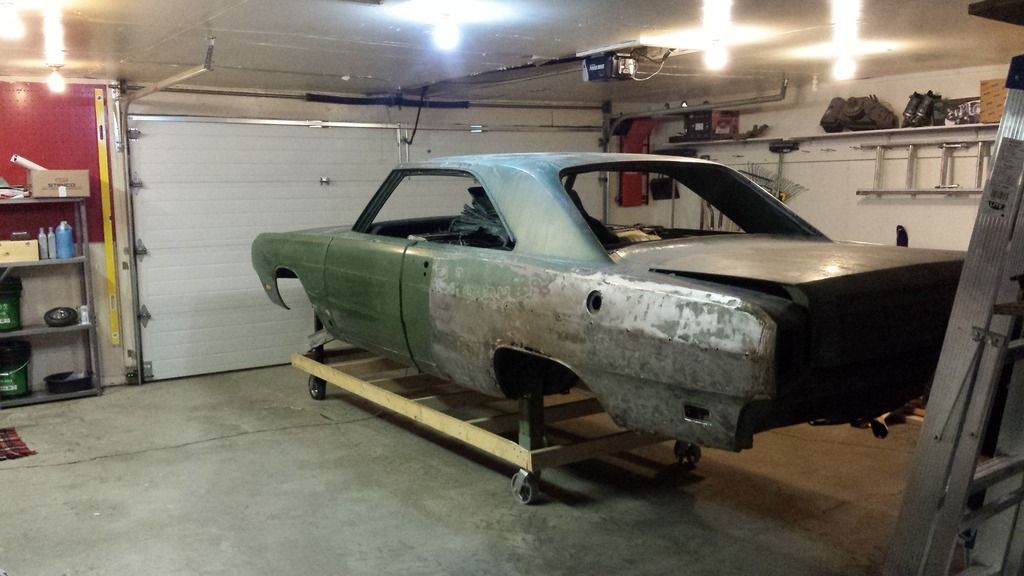
After 7 years of not posting I figured it was time to resurrect this thread. Since my last post, nothing has changed until the past 2 month. In 2018 I moved the Dart into a seacan & locked it away out of sight out of mind. This August I rounded up some buddies and brought the car body home, and started ordering some parts. Currently on order are HDK front suspension kit, and QA1 rear coil over kit. If your interested I have been trying to document and keep myself motivated on Instagram @69DartCustom.
Currently, I am stuck searching for a wheel choice that I will be happy with. I've looked pretty close at the Schott Venom and Boze clutch, but am hesitant to pull trigger on either based on price.


If anyone has other suggestions for my build, PLEASE share. I am open to the help.
In the meantime, I have been continuing where I left off so many years ago, scrapping undercoat with a heat gun and knife, then cleaning with wire wheel. After having rust dug out of my eye this Monday, I have decide that building a rotisserie and my next/first side project.


Currently, I am stuck searching for a wheel choice that I will be happy with. I've looked pretty close at the Schott Venom and Boze clutch, but am hesitant to pull trigger on either based on price.
If anyone has other suggestions for my build, PLEASE share. I am open to the help.
In the meantime, I have been continuing where I left off so many years ago, scrapping undercoat with a heat gun and knife, then cleaning with wire wheel. After having rust dug out of my eye this Monday, I have decide that building a rotisserie and my next/first side project.
Some parts packages have started to roll in and I've been making pretty good progress on the construction of a rotisserie.
This HDK suspensions looks wonderful!

QA1 rear coilover suspension kit for the Dana 60.

DIY rotisserie

This HDK suspensions looks wonderful!
QA1 rear coilover suspension kit for the Dana 60.
DIY rotisserie
kick
Well-Known Member
Good luck with this project man. Hopefully you’ll be able to devote more time to it and just keep chipping away. I need to do the same myself.
I'm glad to see you resurrected the build of your 68, just keep plugging away and don't get bogged down.
-


