1970 Swinger 340 Hemi Orange 4 speed

-
I forgot you mentioned the x member...the light at the end of this tunnel is steadily getting brighter!!
 
I forgot you mentioned the x member...the light at the end of this tunnel is steadily getting brighter!!

Yeah it's been a long road bringing this one back! I can't wait to be done with the metal repair.. I plan on booking a week off of work to finish up the bottom side so I can get it off the rotisserie.

It actually temporary has to come off the rotisserie to weld the rear crossmember in. I plan on putting the car straight again and bolting the rear wheel dollies on and supporting the car on jack stands by them (leaving the front attached to the rotisserie) and removing the back of the rotisserie to weld the crossmember in, then I'll put it back on the rotisserie again to to the bodywork/paint.

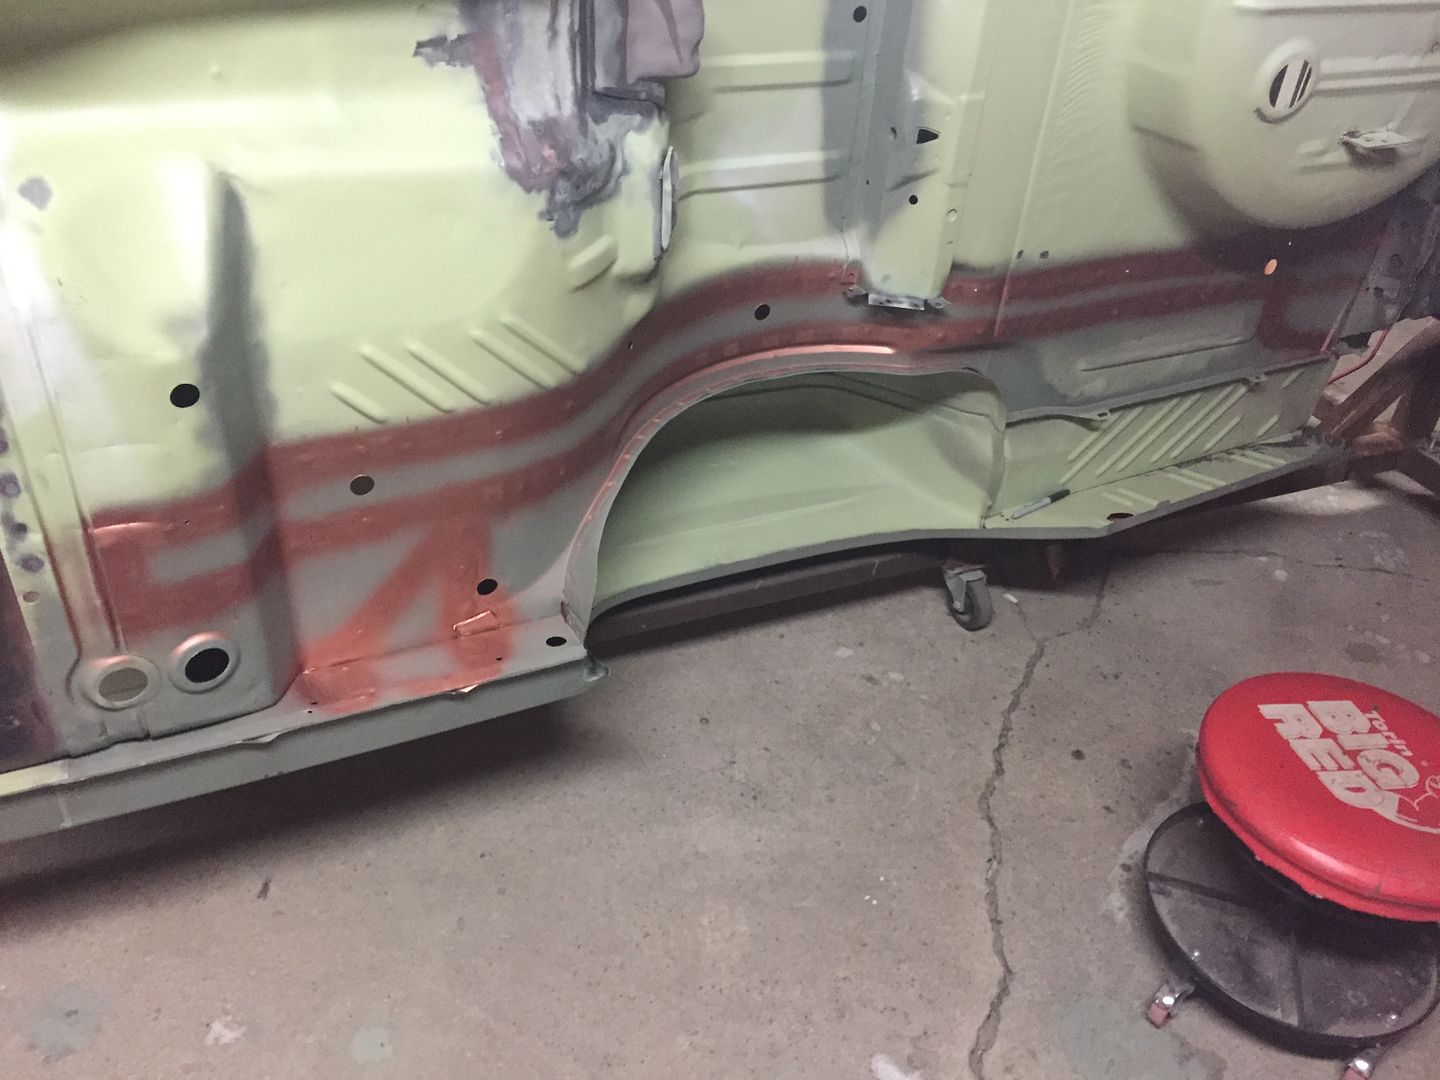
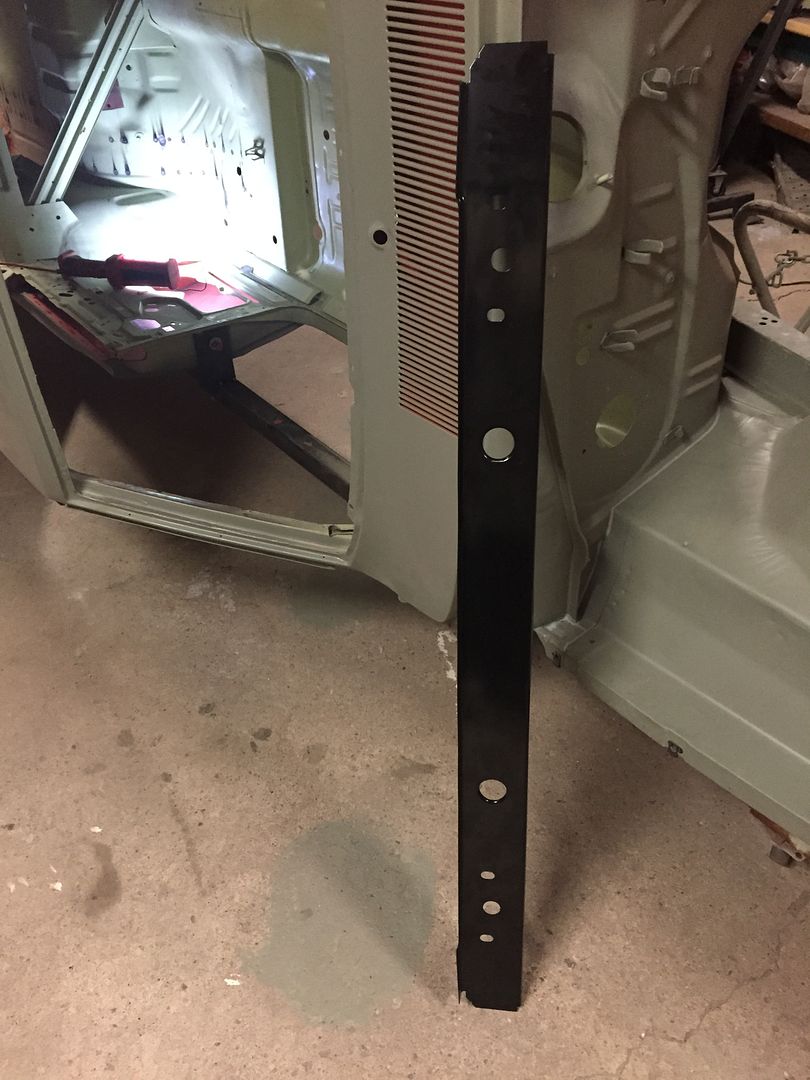
Weld thru primed and ready for the new rail. I know this gets boring posting things that I've already done on the other side, but I want a detailed thread of all the work done to this car.

 
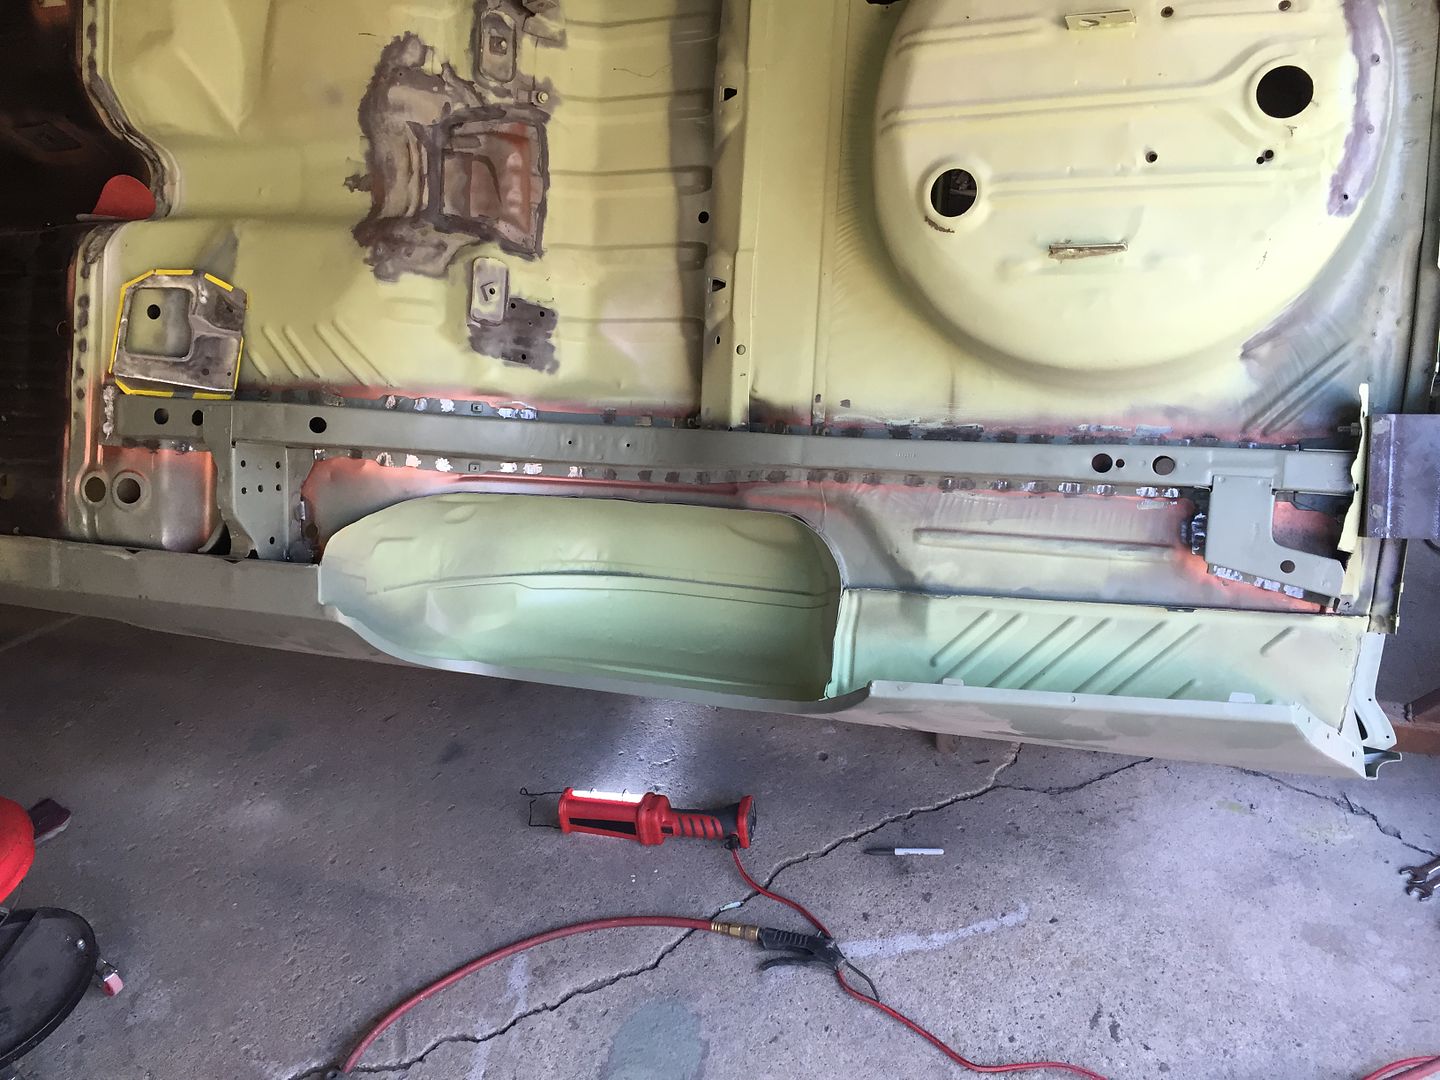
I got most of the rail welded on today.. It was really hot this weekend so it was hard welding in the garage. I would have got it done today but the power went out for four hours. Tomorrow I'll try and finish it up! All that's left is the trunk pan area.

 
Man you have been doing a hell of job and like someone already said I have to admire your patience and persistence. It has taken me 3 days just to read this from the beginning!!!! And it really is a 3 year odysee espeacially for you. But thank you so much for the extra time it has no doubt taken you to post all your steps. I just got done with my 69 340 swingers body and paint but thankfully I live in Az. and brought my Dart here from Maryland,only one or two small rust spots, but thanks again it has been an educational thread, best of luck to you. Paul
 
Man you have been doing a hell of job and like someone already said I have to admire your patience and persistence. It has taken me 3 days just to read this from the beginning!!!! And it really is a 3 year odysee espeacially for you. But thank you so much for the extra time it has no doubt taken you to post all your steps. I just got done with my 69 340 swingers body and paint but thankfully I live in Az. and brought my Dart here from Maryland,only one or two small rust spots, but thanks again it has been an educational thread, best of luck to you. Paul

Thanks for the kind words, Paul! I am glad you enjoyed going thru this restoration thread.. Sorry about the taking three days part, haha. I enjoy making this thread because I can look back at it to see how crazy I actually am taking this car on! On a serious note your guys comments really help with the motivation of this build.
Sounds like you started with a nice solid car, do you have any pics of it or a restoration thread started?

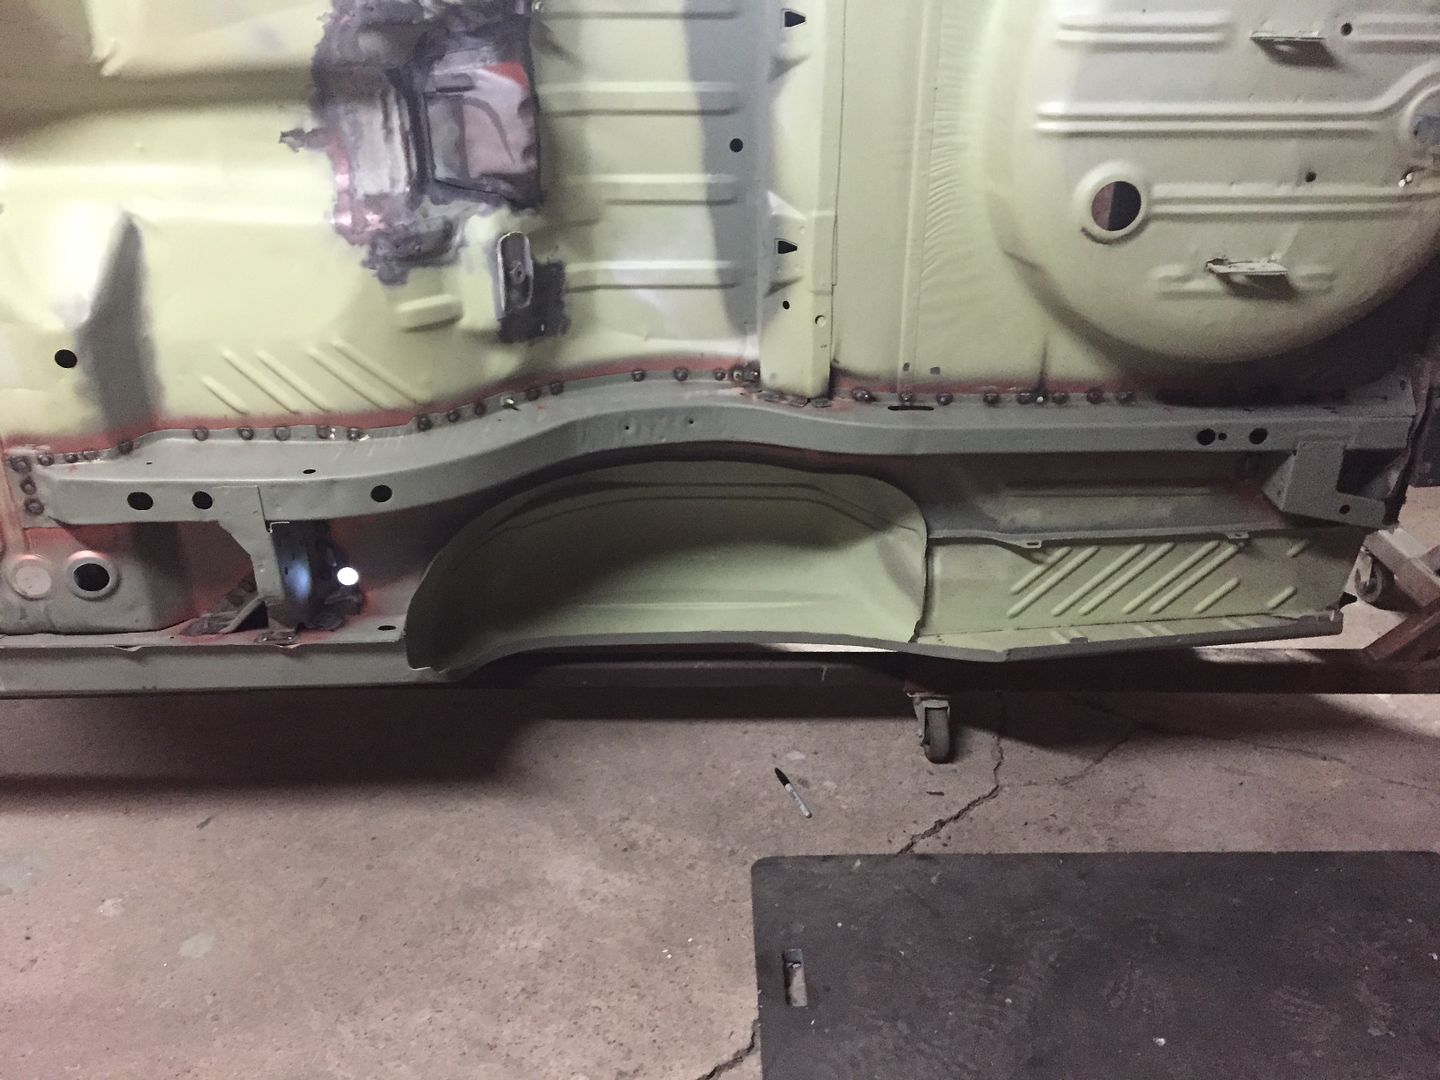
The last rail is officially welded on! Tomorrow I'll start grinding the welds down and hopefully get it in epoxy. Then I can weld the torque box in and do the bodywork/epoxy again. My rear crossmember also showed up, so that's the last piece of this puzzle!


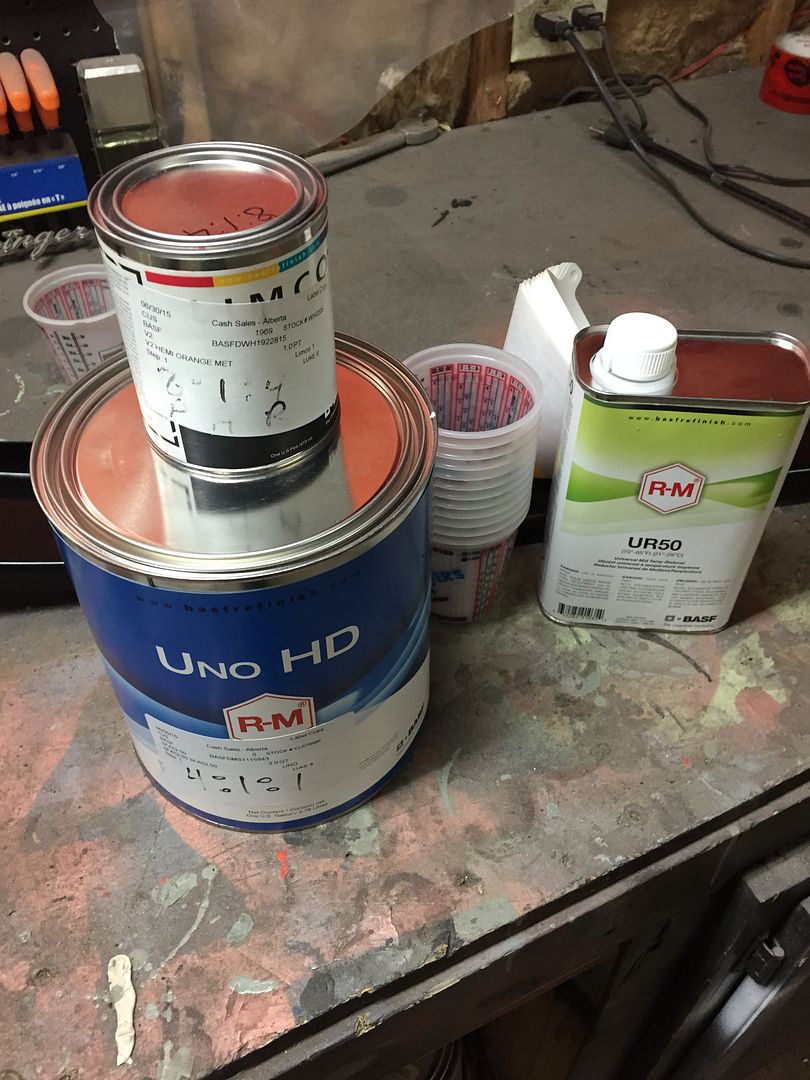
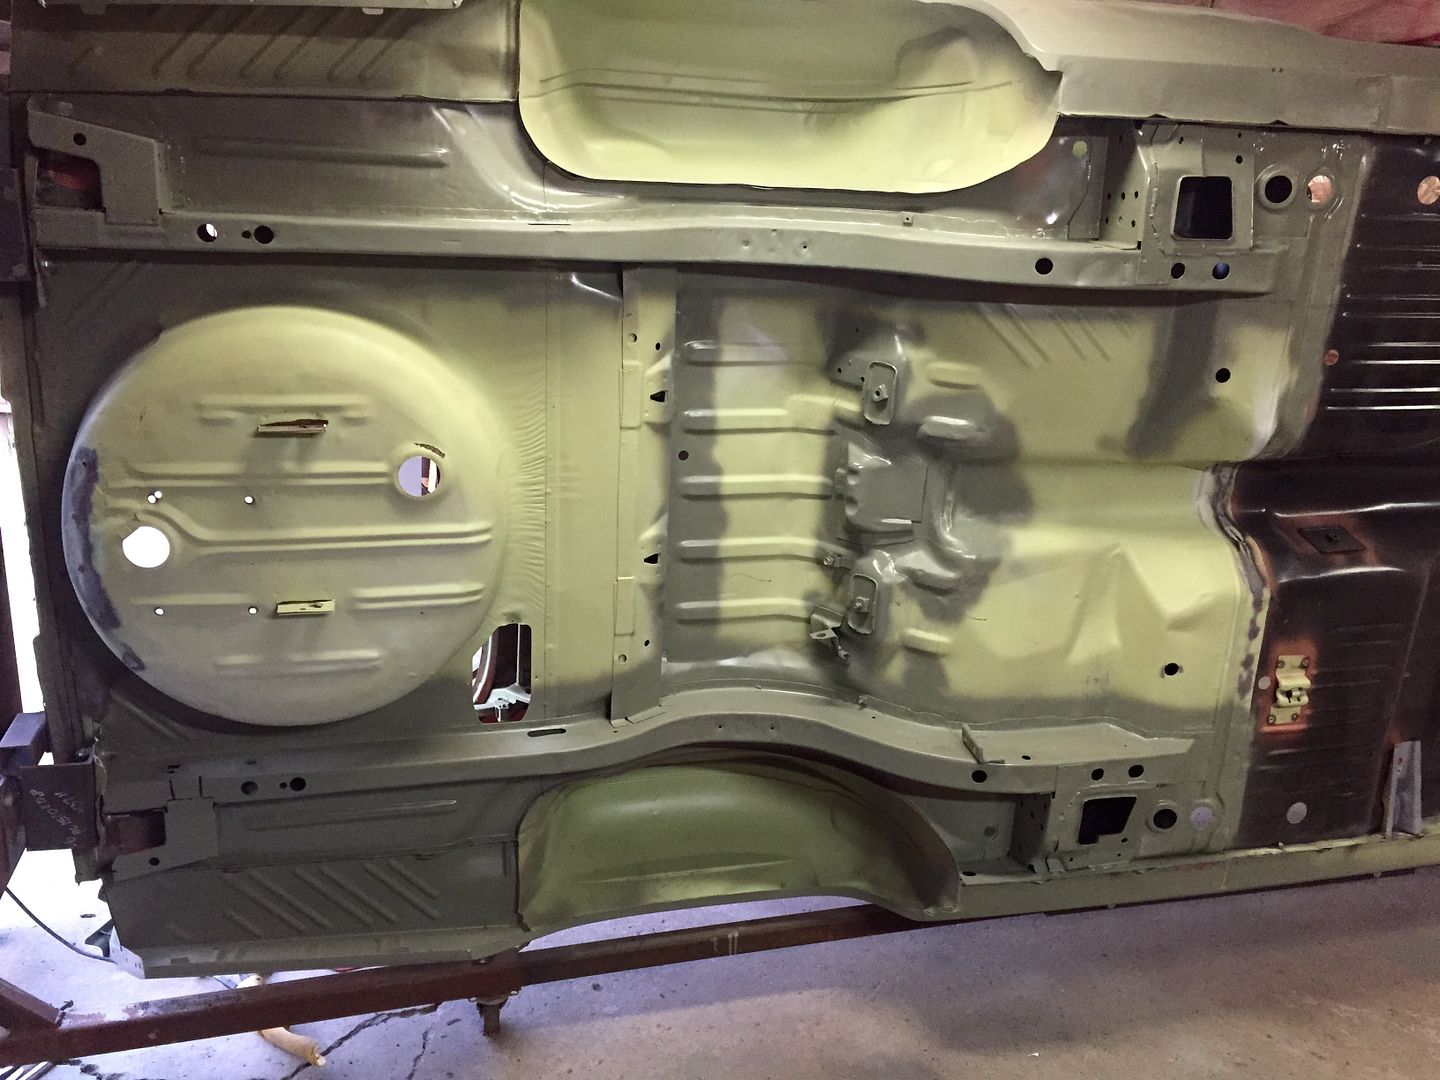
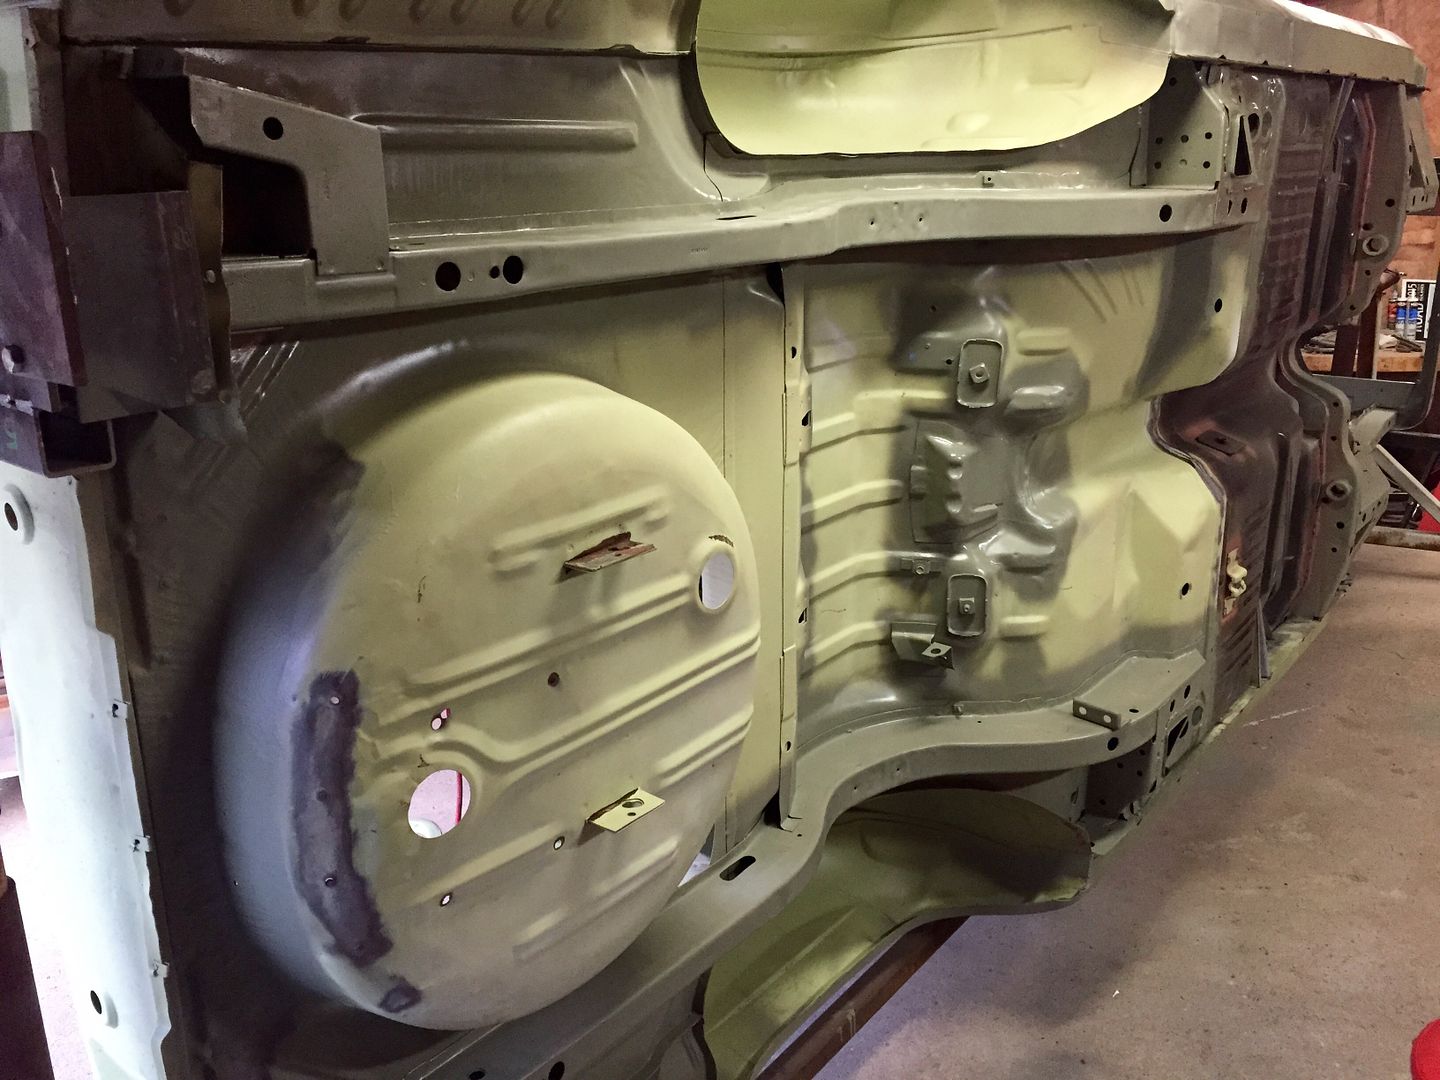
Picked up the paint supplies for the bottom of the car today. I got two quarts of UNO acrylic eurothane low gloss black. It's made by BASF and is supposed to be really durable automotive industrial paint. (4:1:1) I also picked up a pint of acrylic enamel Hemi Orange for the overspray underneath (8:1:4) I was going to use the basecoat glasurit Hemi Orange that I already have for the body but the overspray wouldn't be as durable and would be flat without clearing it. I also have a gallon of Resto Rick undercoating for the wheelwells.. It's gonna be hard making a messy look under the car after all this work!
 
Randy I will look on my old computer, but I have been through a few phones and still havnt figured out how to get them from the camera to the computer!! Just not that computer savy I guess. But yes my car was driven out to Az, by me in 1981 so yes it is almost like new underneath, we only fixed 1 rust spot over right rear wheel, which we cut out and replaced the metal, and after the car came home and I began to put carpet kit in found the passenger floor board rusted a little worse tan I wanted, so back on the flatbed bought a very high quality pass. floorpan and replaced that also. Then back home again. I think bad heater core caused it because car was always on concrete and under cover. Took tank out last weekend derusted the inside of that car runs so much better than it did. Thanks again for all your posts, and best wishes from the desert, it was only 113 today lol.
 

Attachments

  • IMG_1578.jpg
    49.9 KB · Views: 706
  • IMG_1579.jpg
    42.6 KB · Views: 696
  • IMG_1580.jpg
    52.5 KB · Views: 681
Randy I will look on my old computer, but I have been through a few phones and still havnt figured out how to get them from the camera to the computer!! Just not that computer savy I guess. But yes my car was driven out to Az, by me in 1981 so yes it is almost like new underneath, we only fixed 1 rust spot over right rear wheel, which we cut out and replaced the metal, and after the car came home and I began to put carpet kit in found the passenger floor board rusted a little worse tan I wanted, so back on the flatbed bought a very high quality pass. floorpan and replaced that also. Then back home again. I think bad heater core caused it because car was always on concrete and under cover. Took tank out last weekend derusted the inside of that car runs so much better than it did. Thanks again for all your posts, and best wishes from the desert, it was only 113 today lol.

Haha that's why I hate getting new phones! I've got 9000+ photos on my iPhone right now.. That sounds like a really solid car, I wish I started with a rust free car! Your car looks really nice!! Thanks for the pics, that's a very nice colour. Wow, that's really warm! I guess I can't complain to much about our warm weather here, haha.

All welds ground down and epoxied! This weekend I'll weld the torque box in and do some putty work and re epoxy! Getting really close to being done with welding!!


This car looks to be comming along good. I have taken a pretty good pause on mine due to my first child being born:sign12: and tring to re-side my house :violent1:
 
This car looks to be comming along good. I have taken a pretty good pause on mine due to my first child being born:sign12: and tring to re-side my house :violent1:

Thanks! Congratulations on the baby! Yeah I can see what you mean on getting side tracked.. I have been doing my best on trying to keep on track with the car and do house work as well. Can't wait to see more updates on your car!

Excellent--so much closer!!

Thanks! Yeah it's getting really close now!

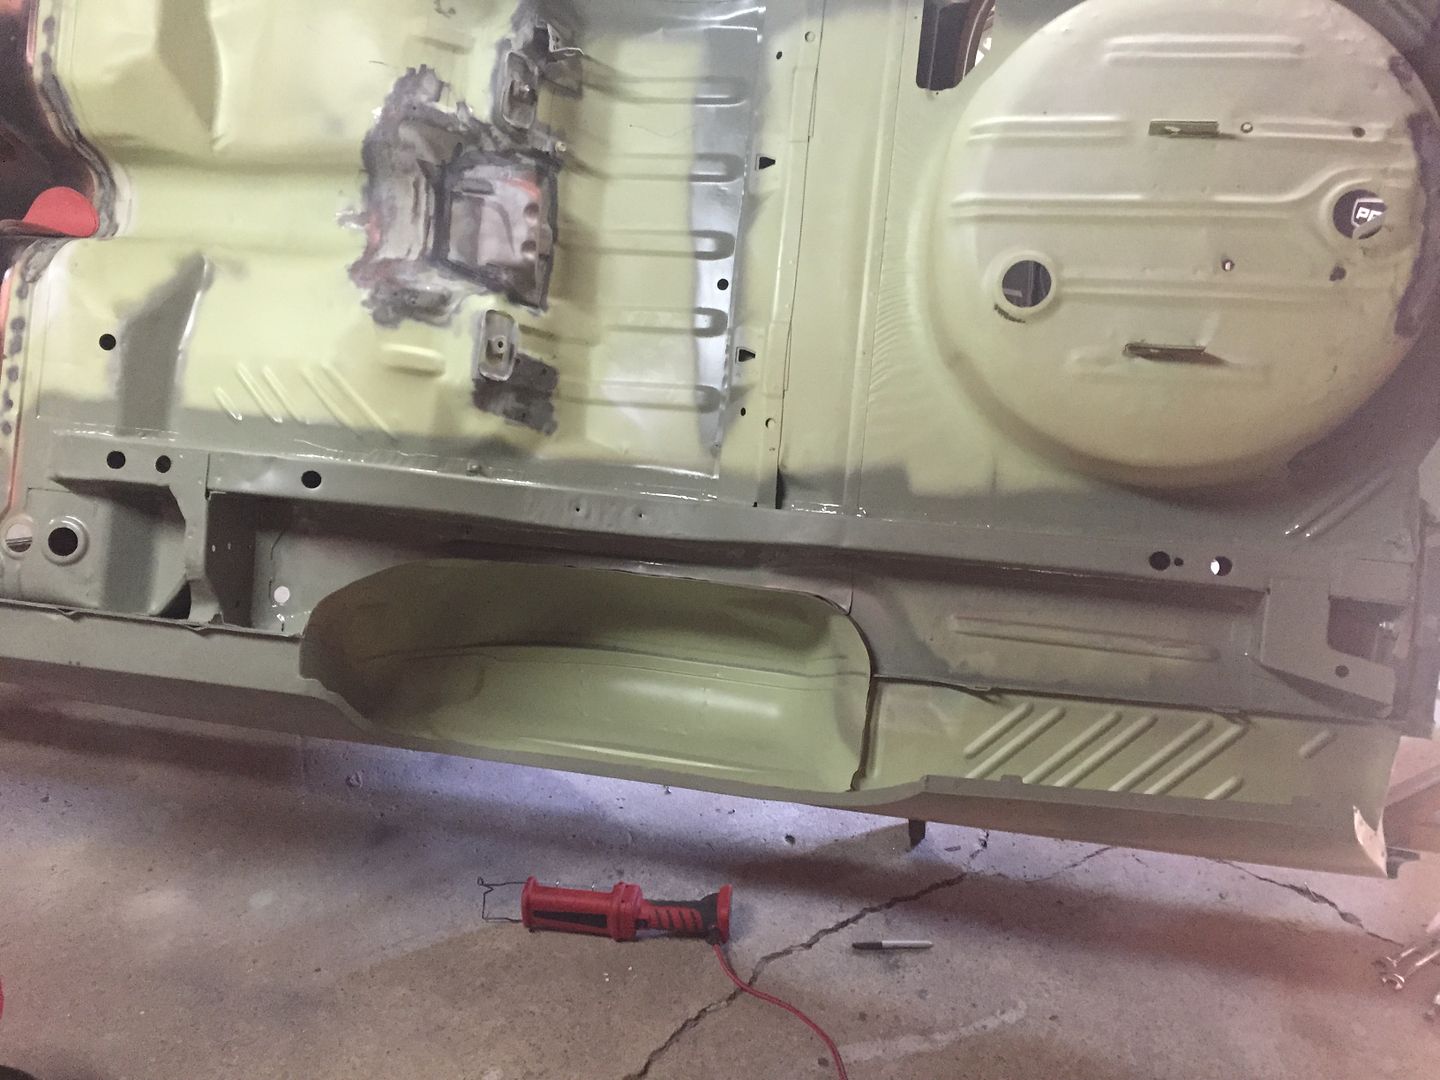
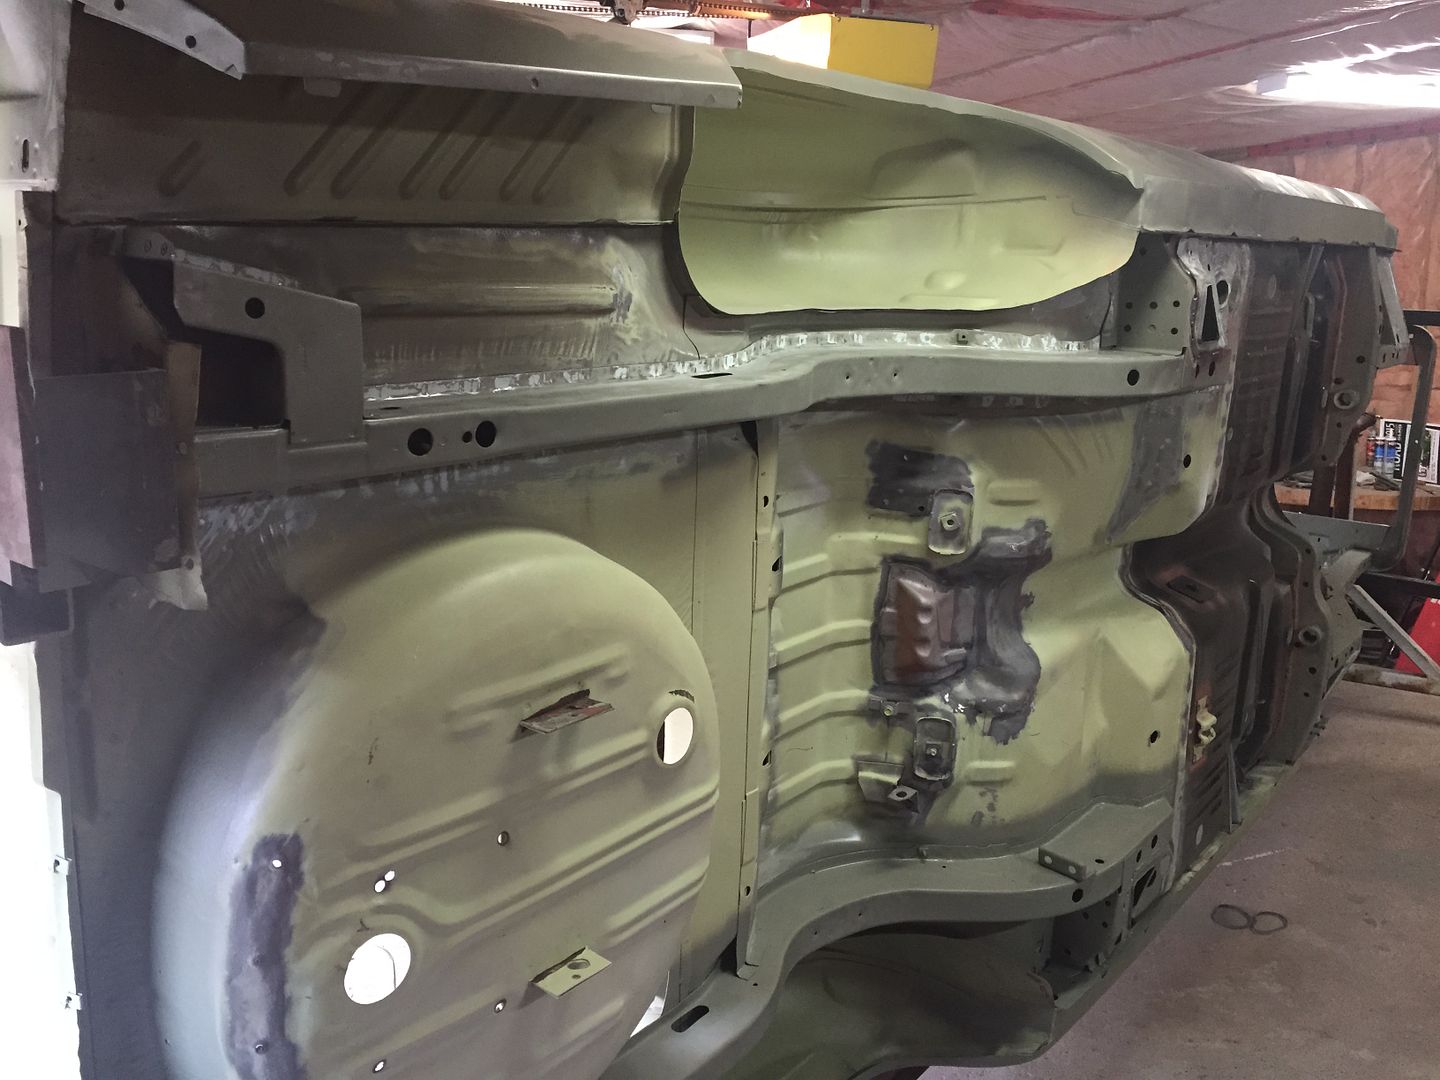
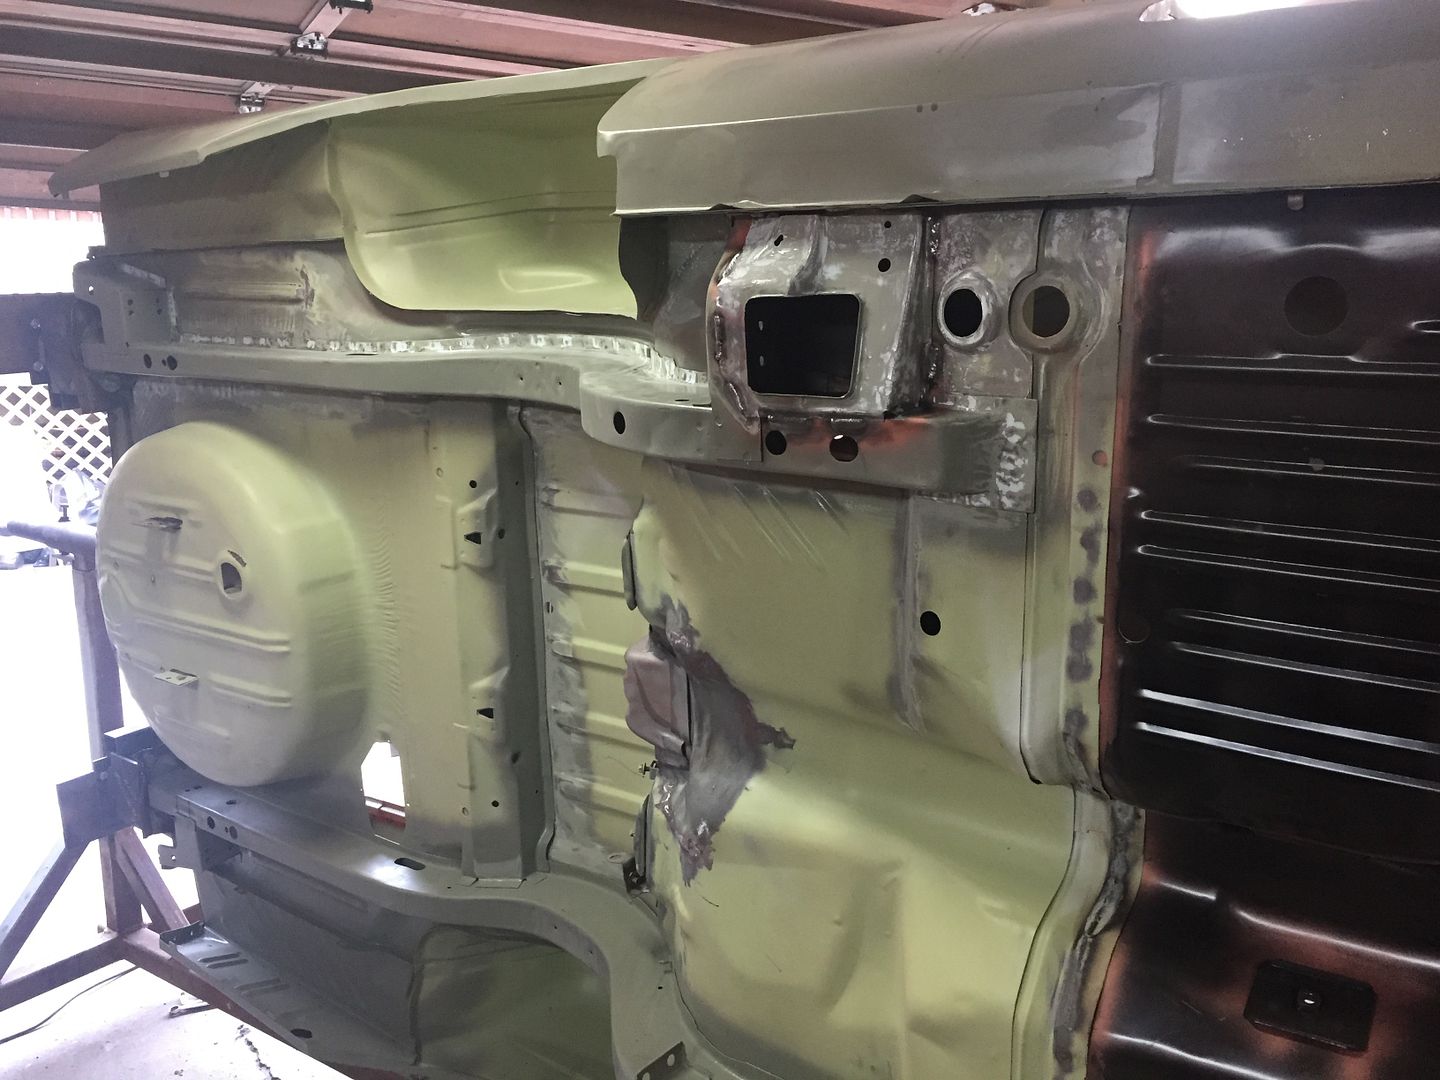
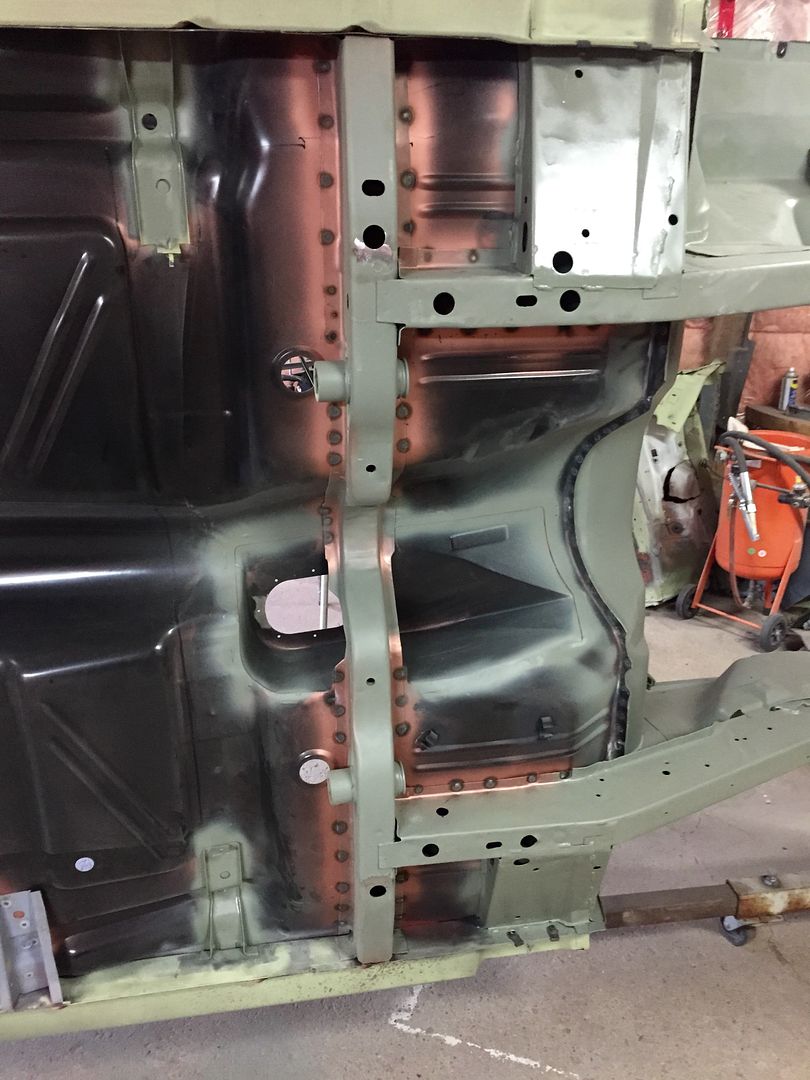
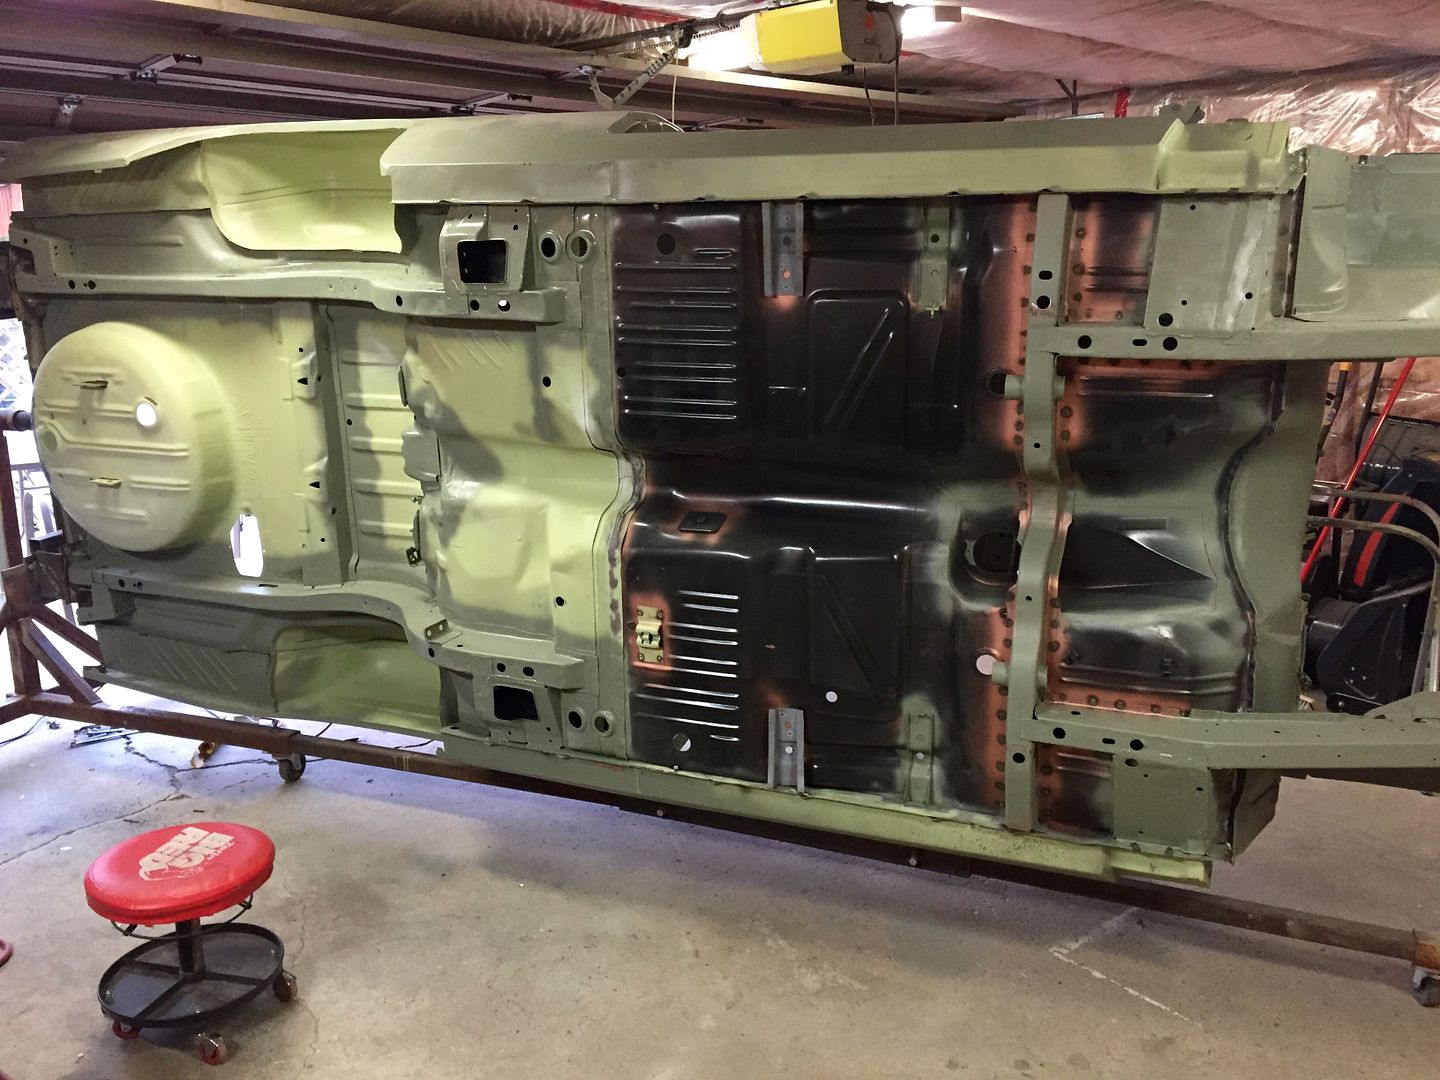
I finished up welding in the torque box and applying putty to all my grind marks and rust pits. Tomorrow I'll weld up the holes in the trunk pan and get ready to install the new crossmember.


All original spotwelds still remain top and bottom. (Welded in between them) surprisingly the used rails I put on had the spotwelds in the same spots as the original rails, so there must have been an automated setup for the rear rails at the factory.. They came from a 1971 Scamp.


Great pictures for someone like me who wants to add the torque boxes to my car.
I think it's great that you've taken the time to add all of your detailed pictures to your thread, it helps a lot of us.........
 
Wow that underside is impressive!

Thanks! I can't wait to start putting some colour on the bottom side.. I need to do a lot of bodywork still, mainly the trunk pan area.

Great pictures for someone like me who wants to add the torque boxes to my car.
I think it's great that you've taken the time to add all of your detailed pictures to your thread, it helps a lot of us.........

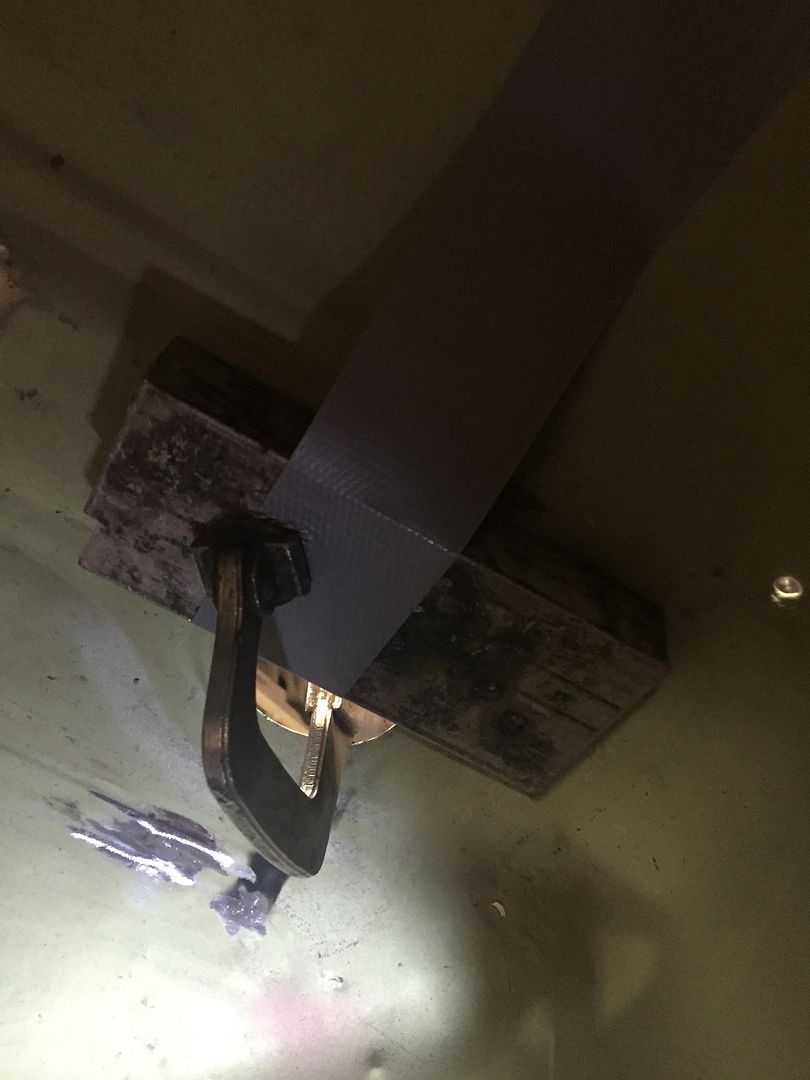
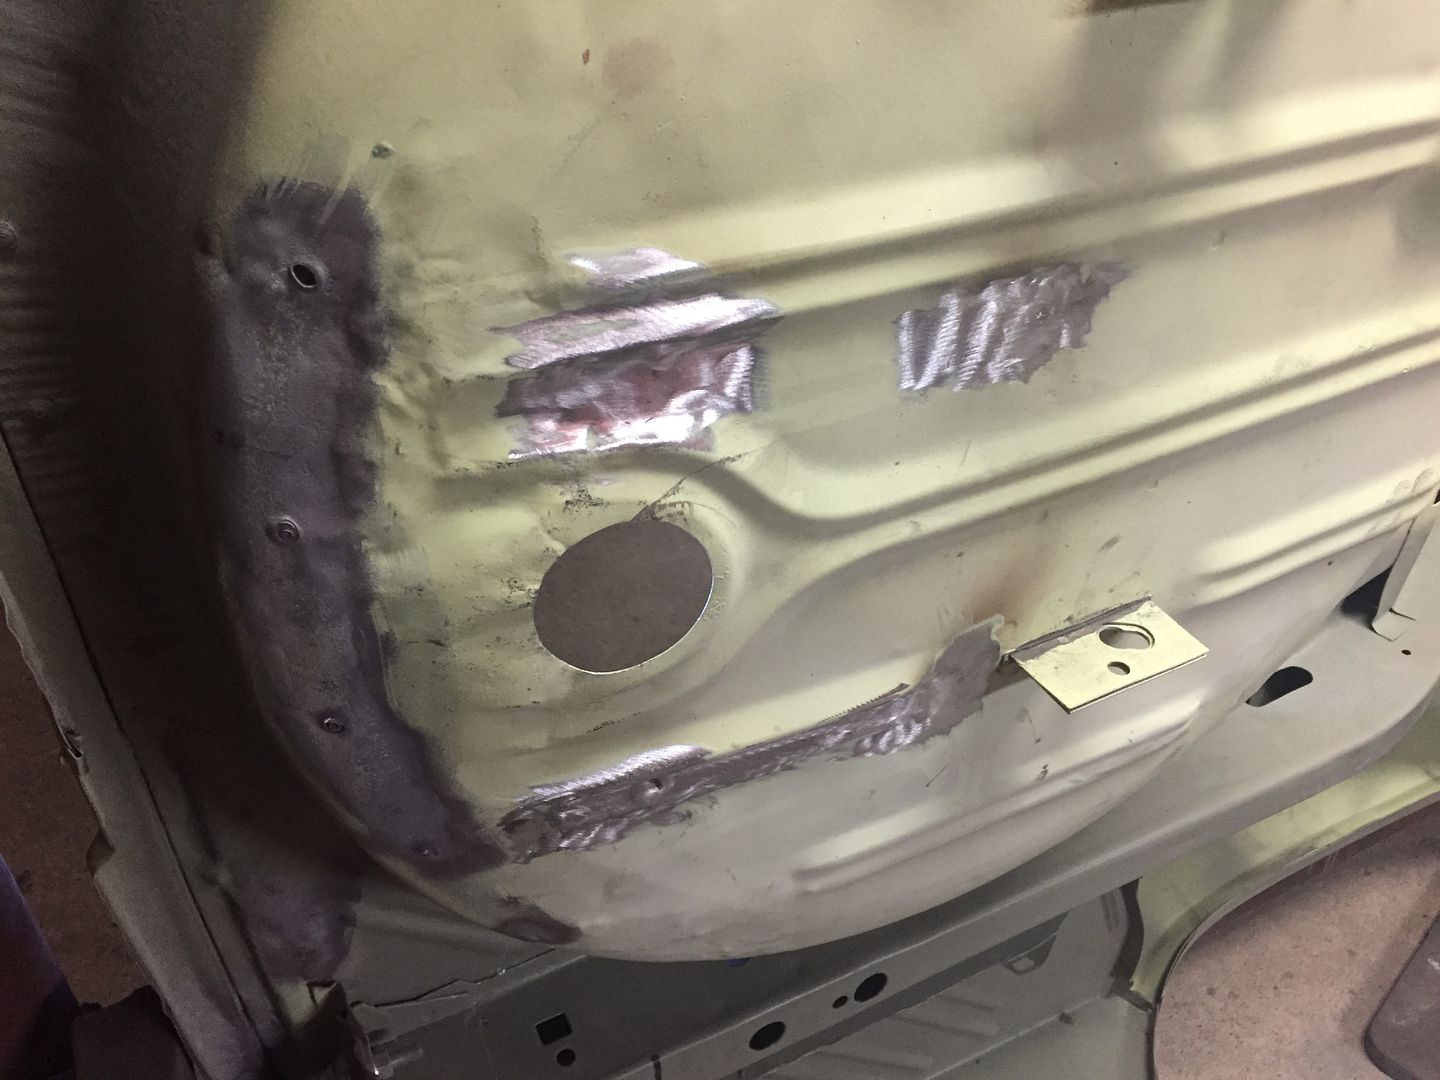
Thanks! If you need any other detailed pics or measurements, just let me know.

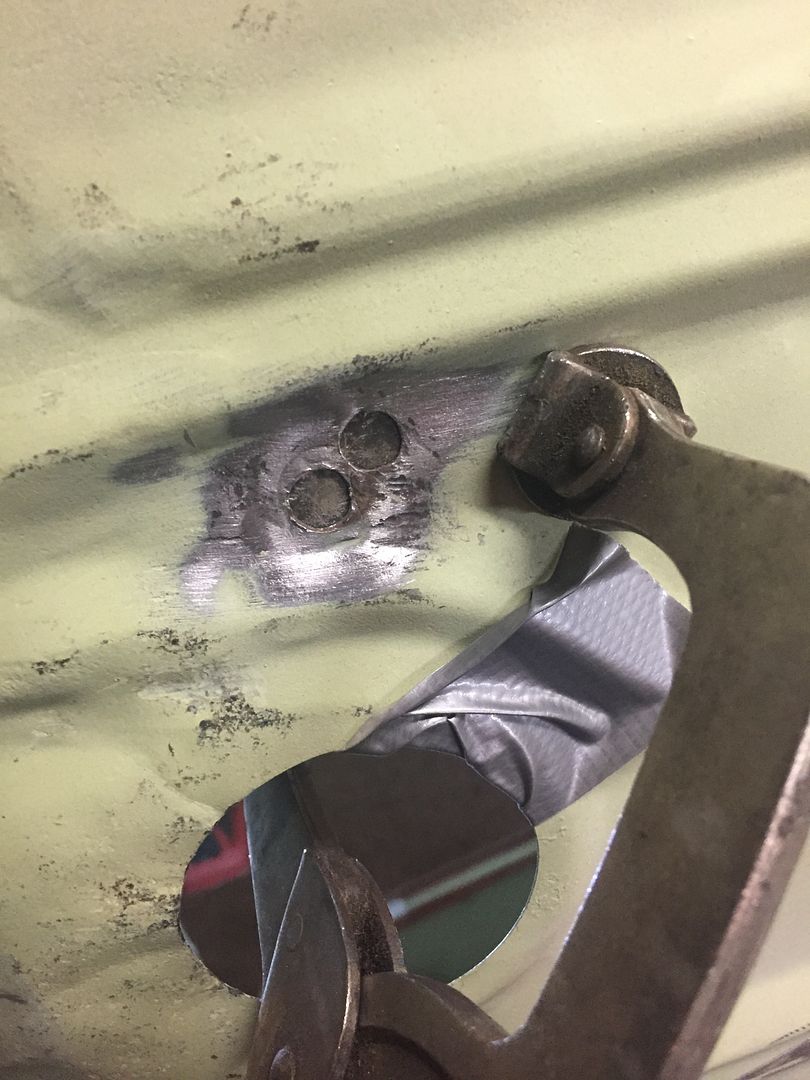
Welded up the 5 holes in the trunk pan. So all I need to do is the rear crossmember and repair the rear valiance bracket and it's done!! My dad is going to help me hammer and dolly the trunk pan straight and than its filler, primer, epoxy and paint!


Looking forward to this. It's been more than a minute since I tried to straighten metal with hammer and dolly. Can be time consuming, but the closer you get to straight the more rewarded you feel...despite the time investment. Of course, you have no issues with that from what we've all seen.
 
Looking forward to this. It's been more than a minute since I tried to straighten metal with hammer and dolly. Can be time consuming, but the closer you get to straight the more rewarded you feel...despite the time investment. Of course, you have no issues with that from what we've all seen.

Yeah my dad will work his magic on it.. I tried to do some but my arms aren't long enough! Haha. It'll be a two person job with the hammer and dolly. You're right on that.. This car eats a lot of my time!

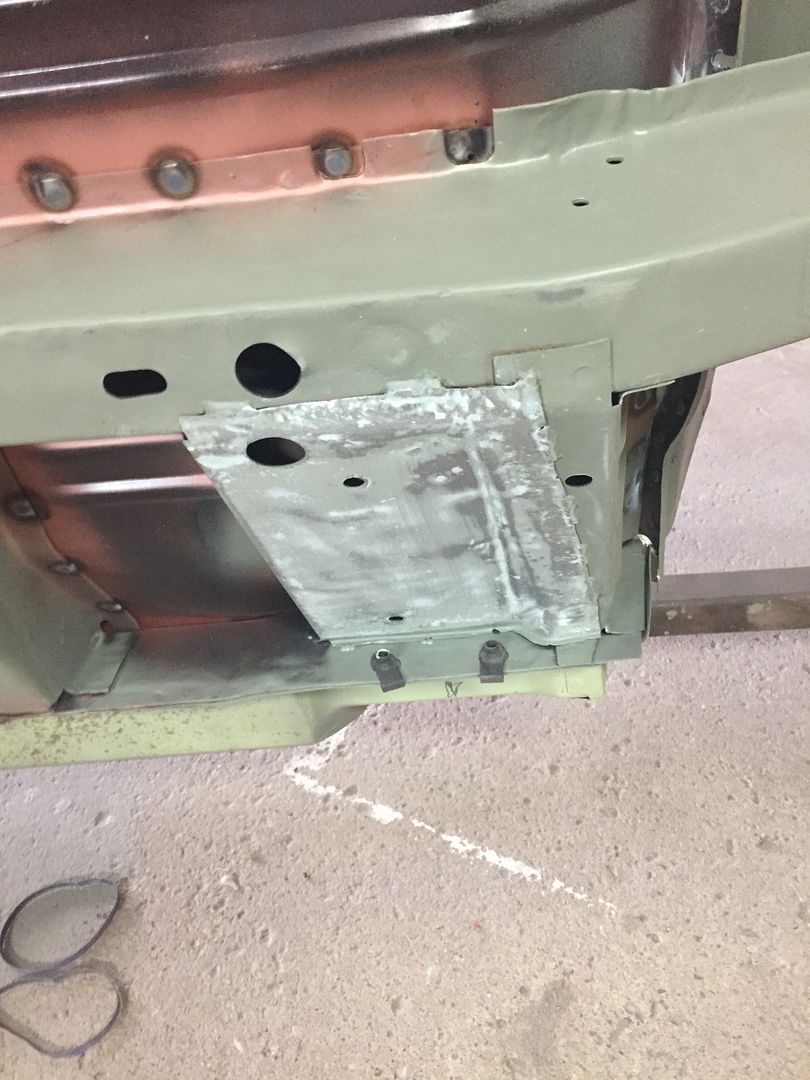
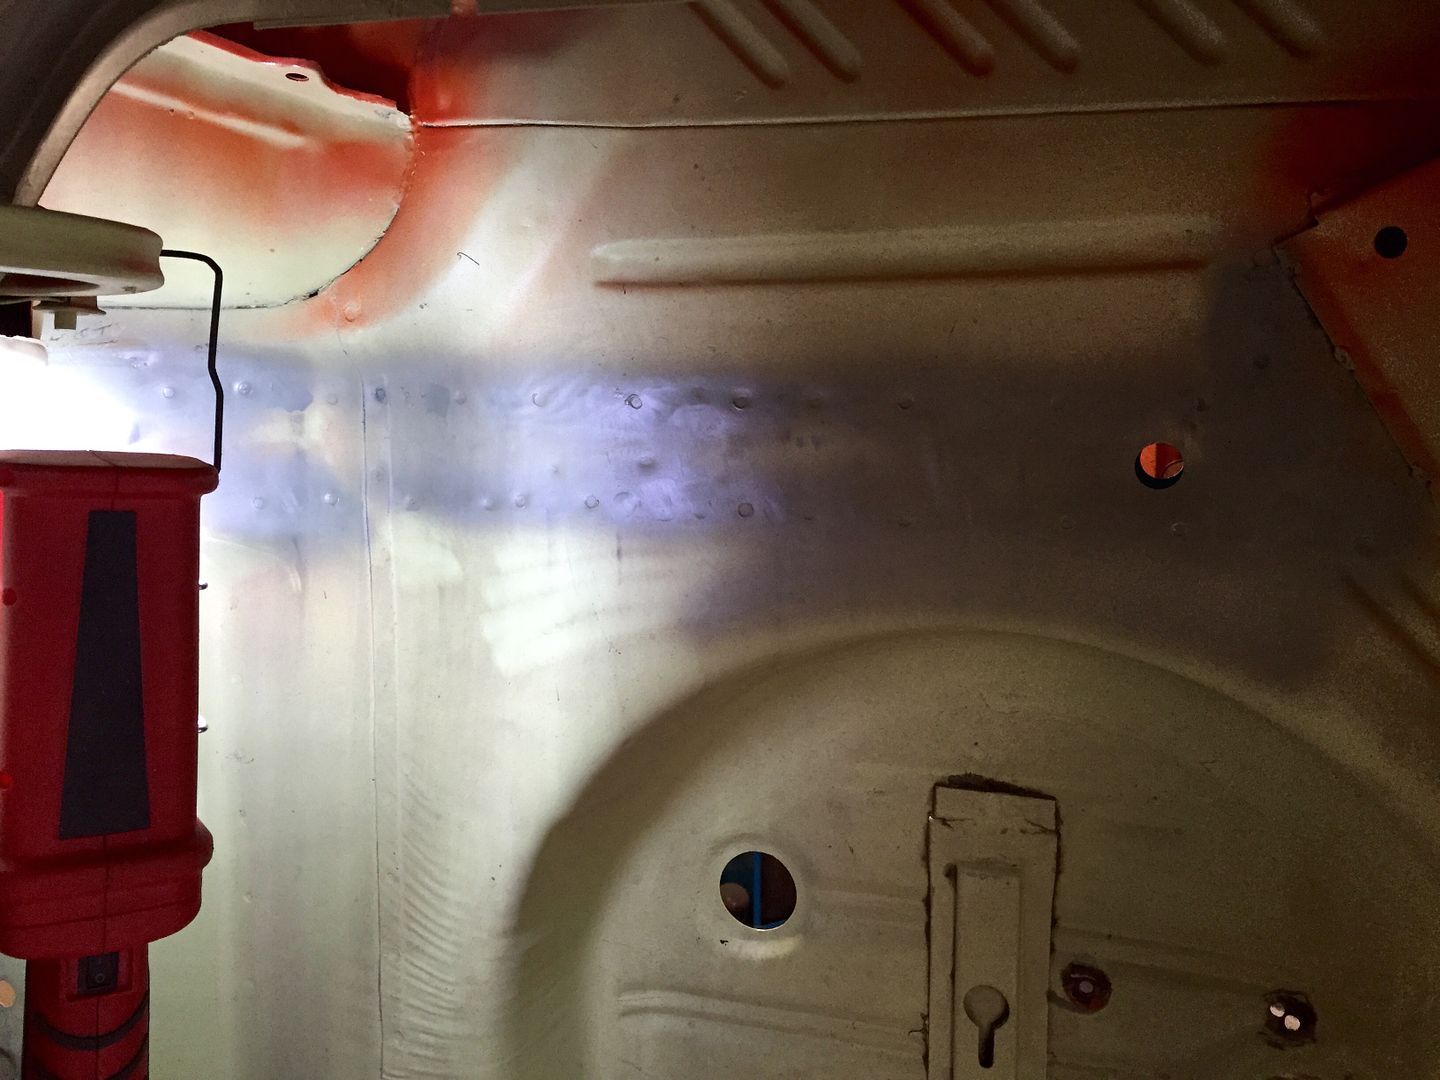
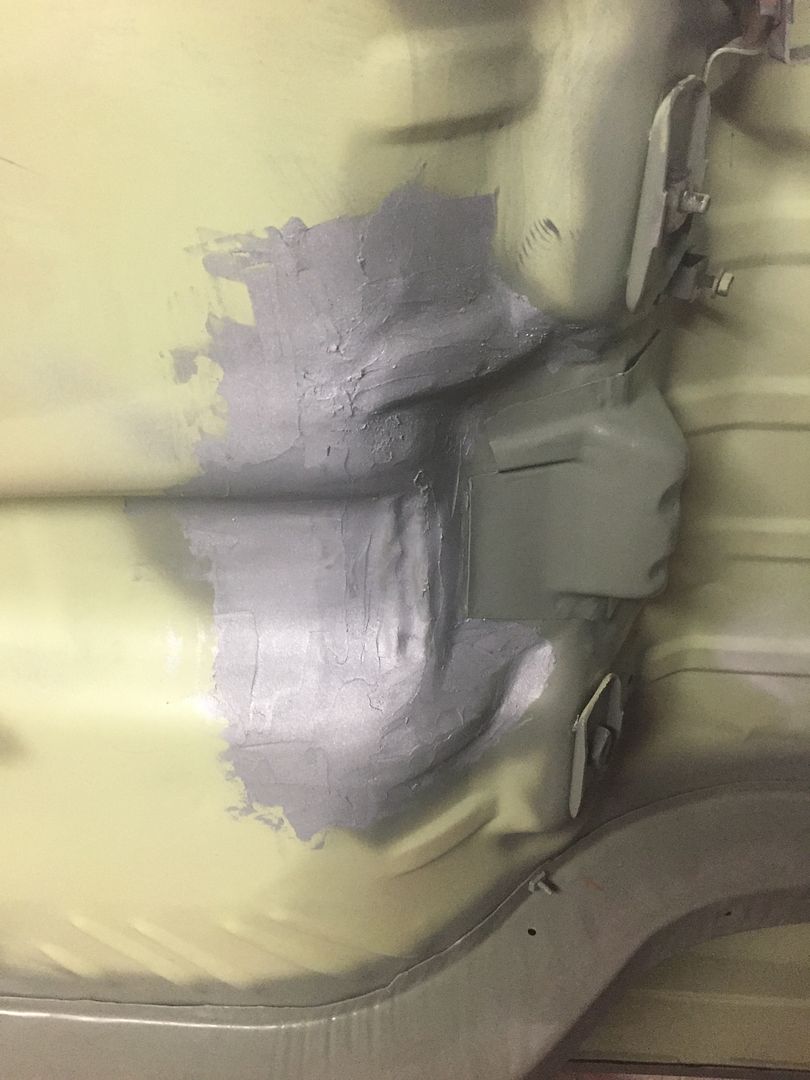
Applied some all metal to this area I previously repaired to hide some rust pitting and grind marks from all the damage that was in this area. If I were undercoating it would have been fine but since I'm painting underneath it'll have to be perfect!


Man watching you and your dad work your magic is just inspiring!!!!!!!!!!! Oh yes forgot to tell you I posted a few picts. in members gallery of car in my friends body shop last summer if you would like to see
 
You ever figure out what happened there above the pinion snubber??

It had an adjustable MP pinion snubber on the car, so I think it was to blame for all the damage.. Either it was launched hard all the time or it was so close to the snubber mount that it smashed into it on every bump while driving. I think it was a combination of both!

this is insane lol great to see another edmonton based build

Thanks Wade! You're welcome to come check the car out whenever.. Just send me a PM.

Man watching you and your dad work your magic is just inspiring!!!!!!!!!!! Oh yes forgot to tell you I posted a few picts. in members gallery of car in my friends body shop last summer if you would like to see

Thanks! I'll check that out!

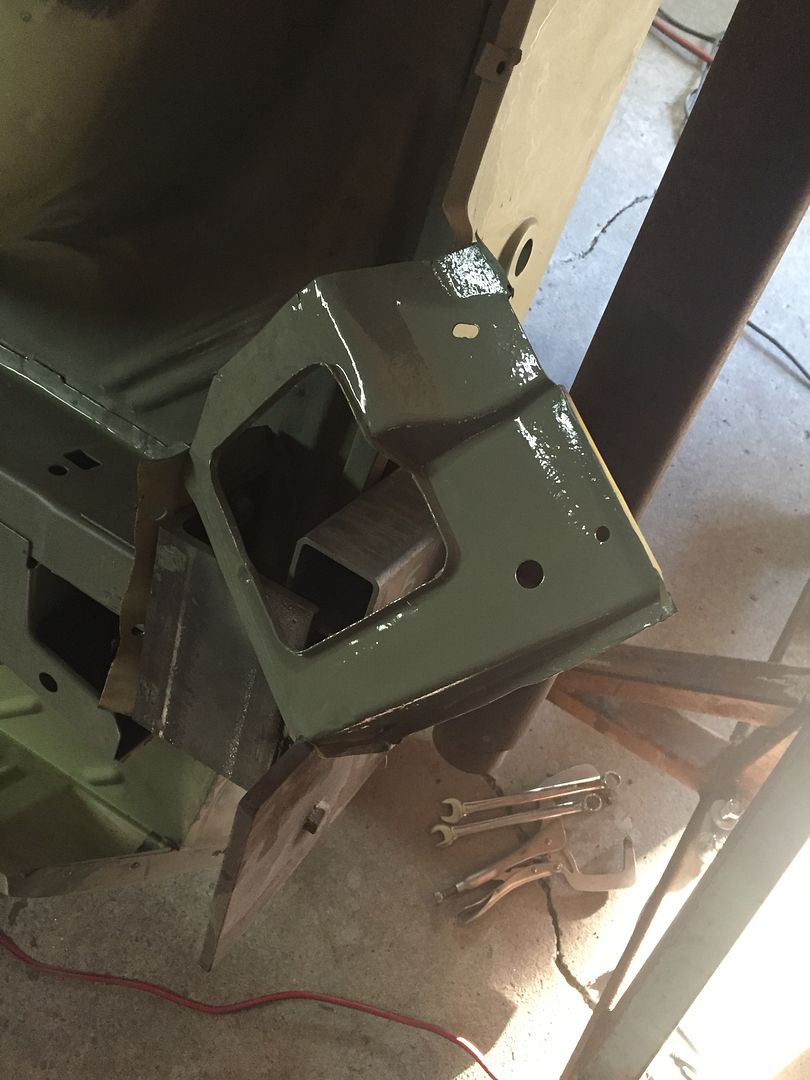
Today I started working on the rotisserie mounting points on the back.. I am removing the mounts that attach to the two frame rail holes on each side and attaching it to the bumper mount locations to gain access for the rear crossmember. I got one side done (never took any pics) and tomorrow I'll do the other side.. I figured this would make it super easy doing the rear crossmember since I won't have to remove it from the rotisserie and I'll be able to weld it on while the car is on its side. I should have just made the rotisserie mounting brackets from the bumper mounting holes to begin with.. Oh well.
 
It had an adjustable MP pinion snubber on the car, so I think it was to blame for all the damage.. Either it was launched hard all the time or it was so close to the snubber mount that it smashed into it on every bump while driving. I think it was a combination of both!

Ouch! Well, at least it's gonna be all fixed up now.
 
Randy I building a pile. Granted its quite puny compared to yours, THANK GOD! LOL!

IMG_2173_zps6flbei0y.jpg


Danny
 
-
Back
Top