Dustin The PcP
Well-Known Member
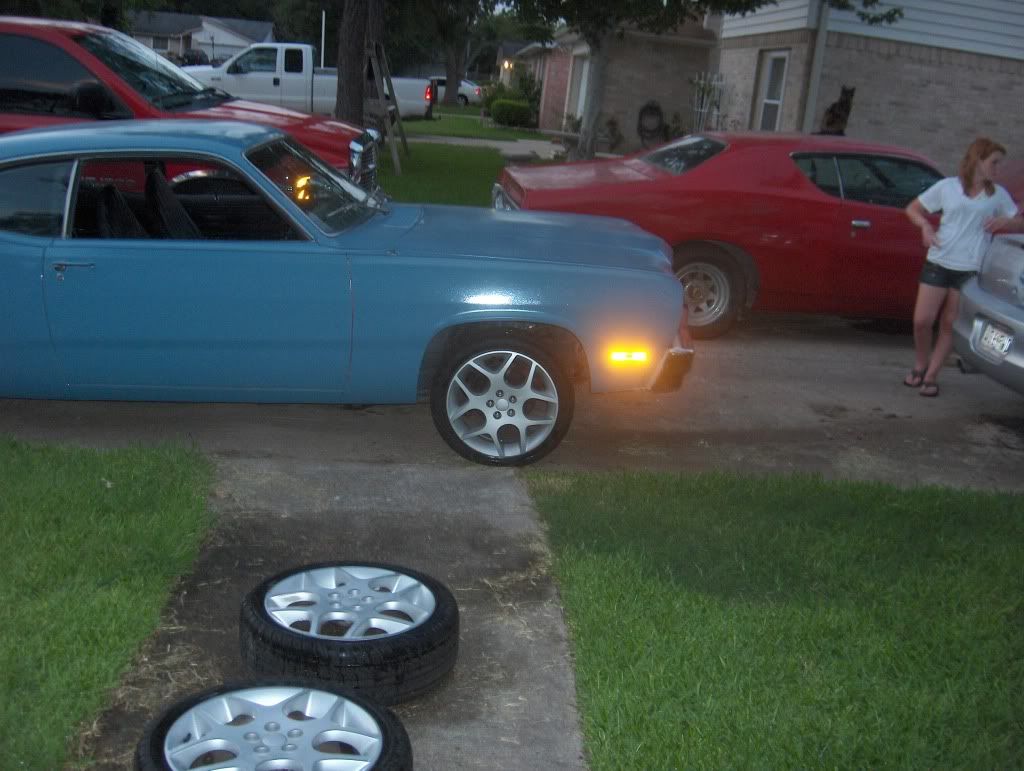
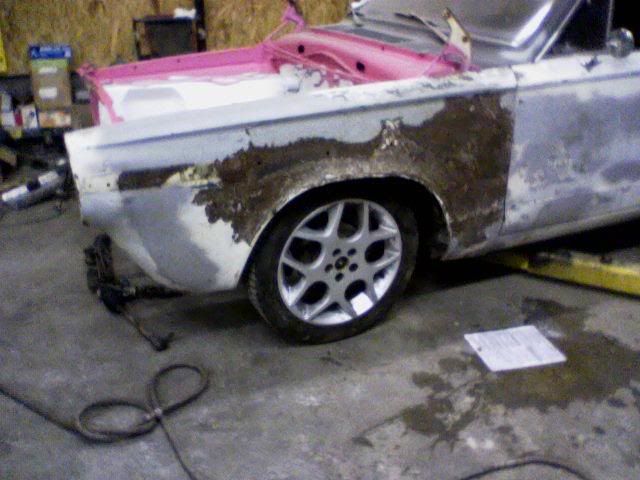
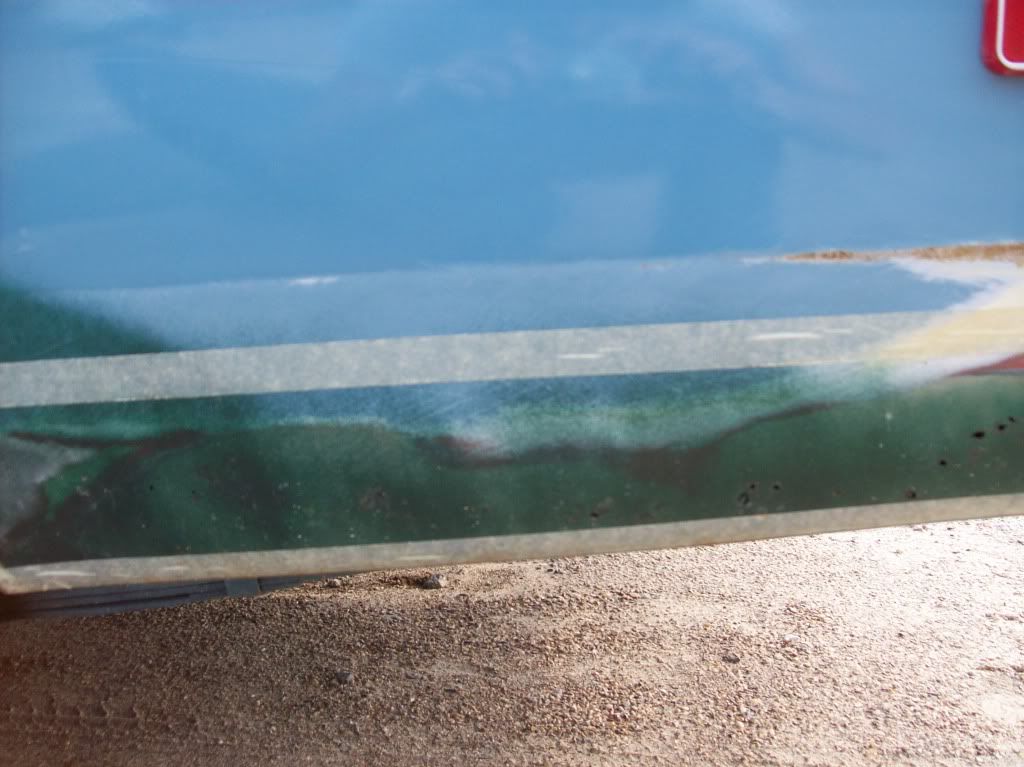
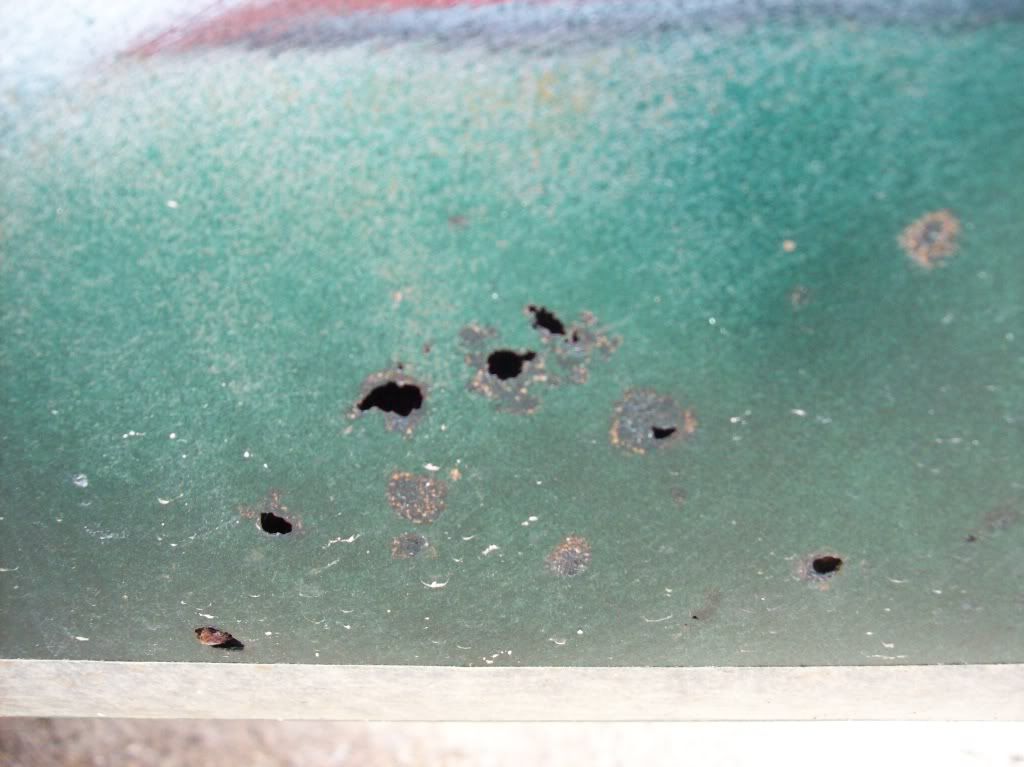
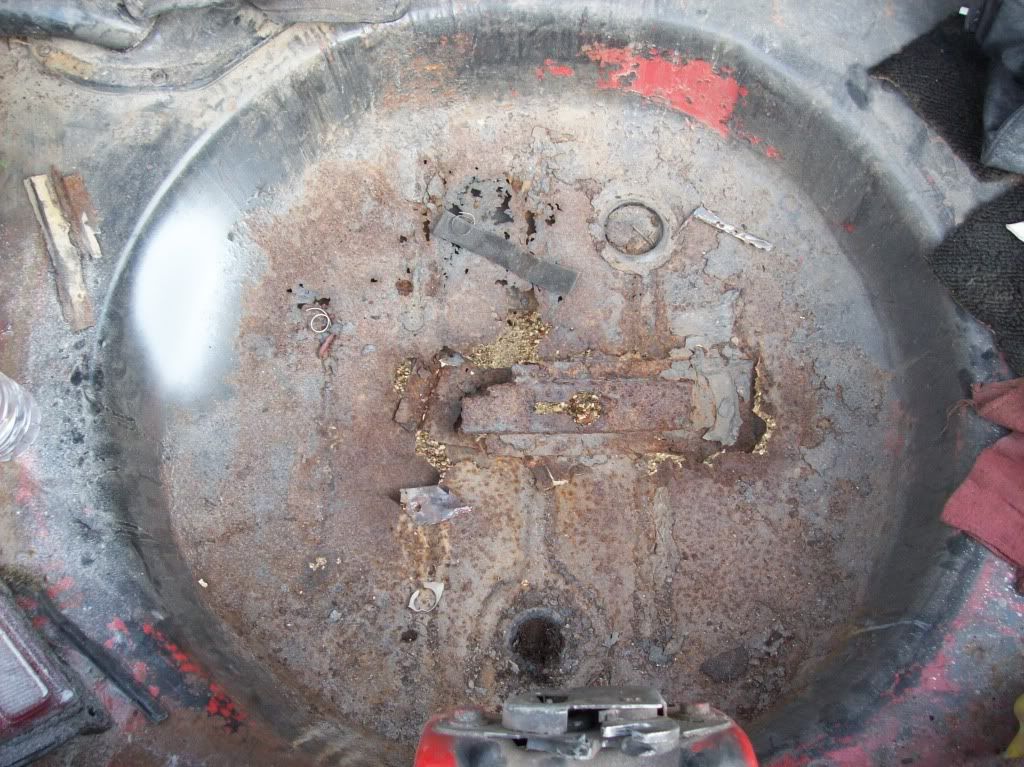
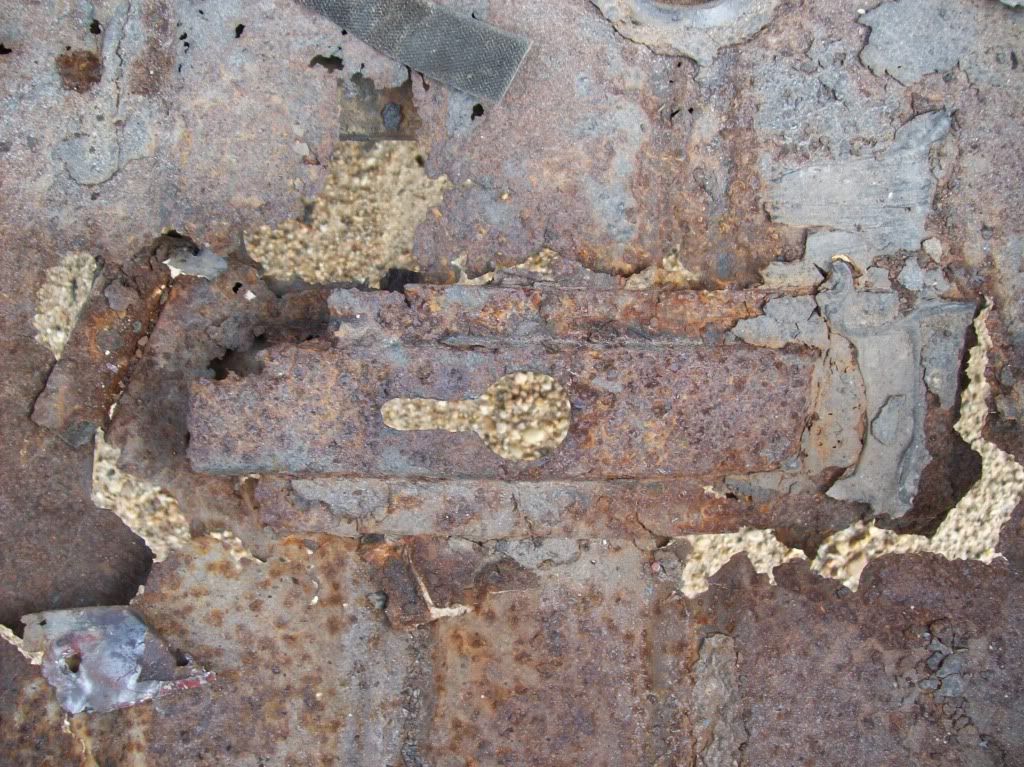
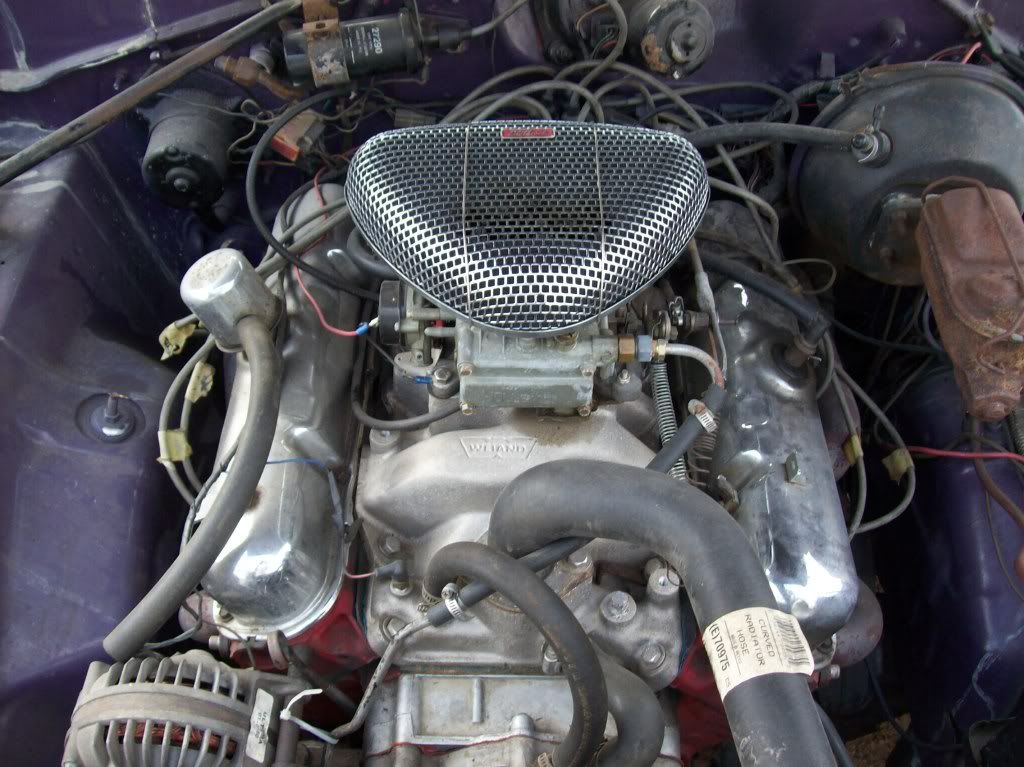
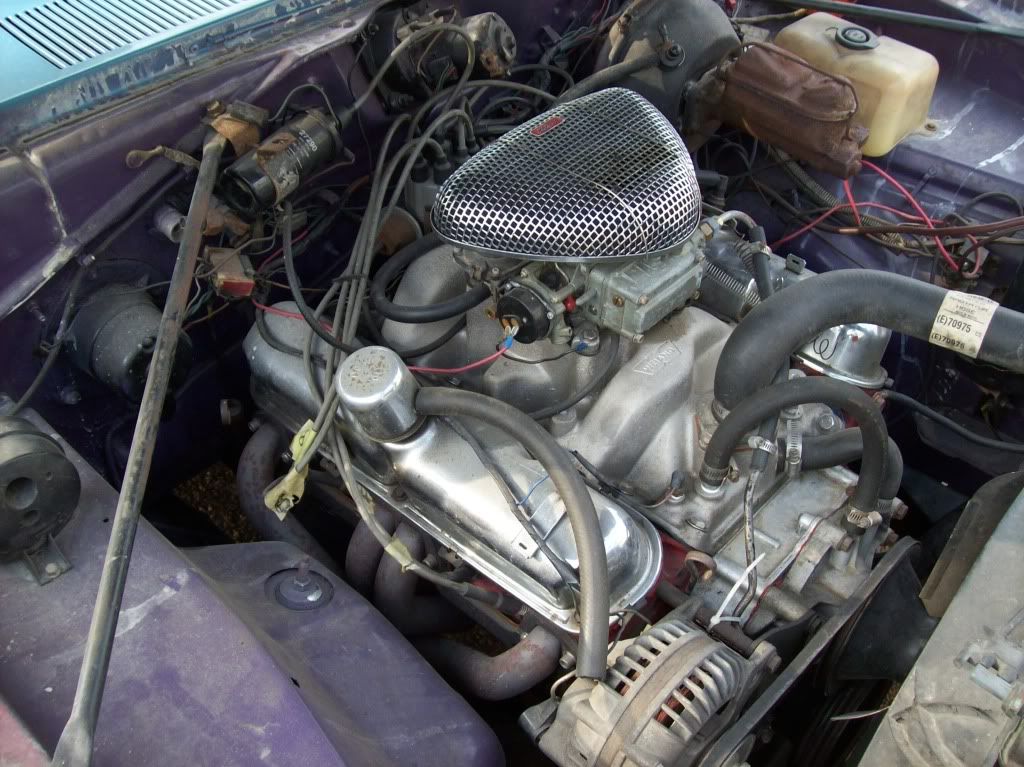
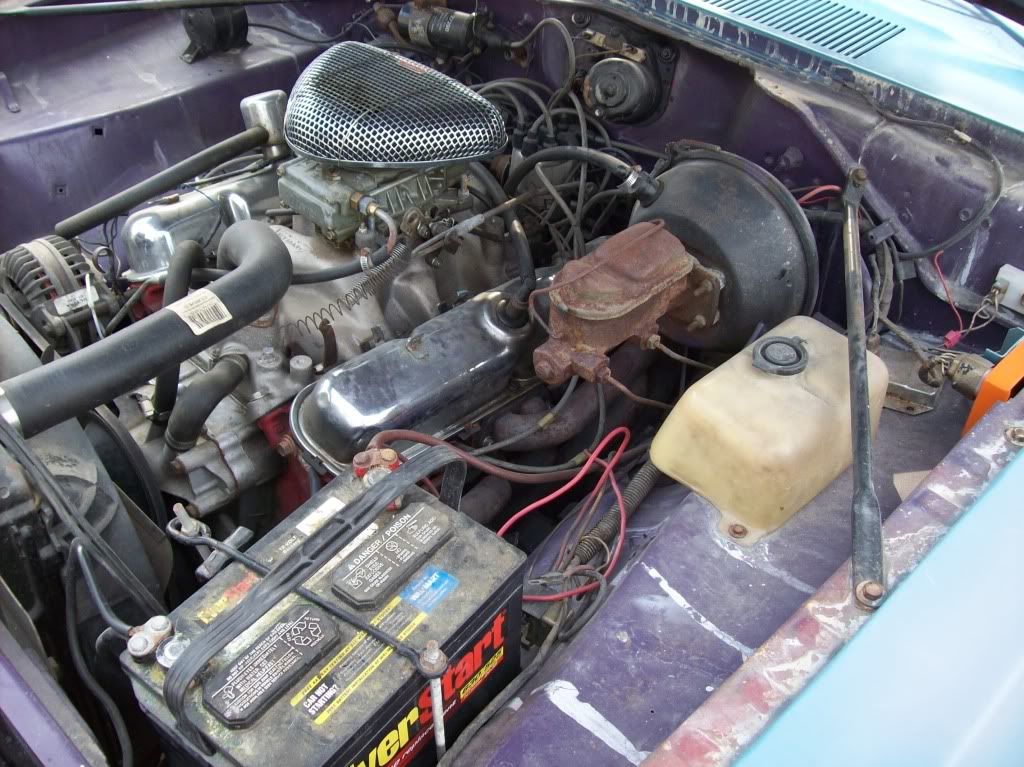
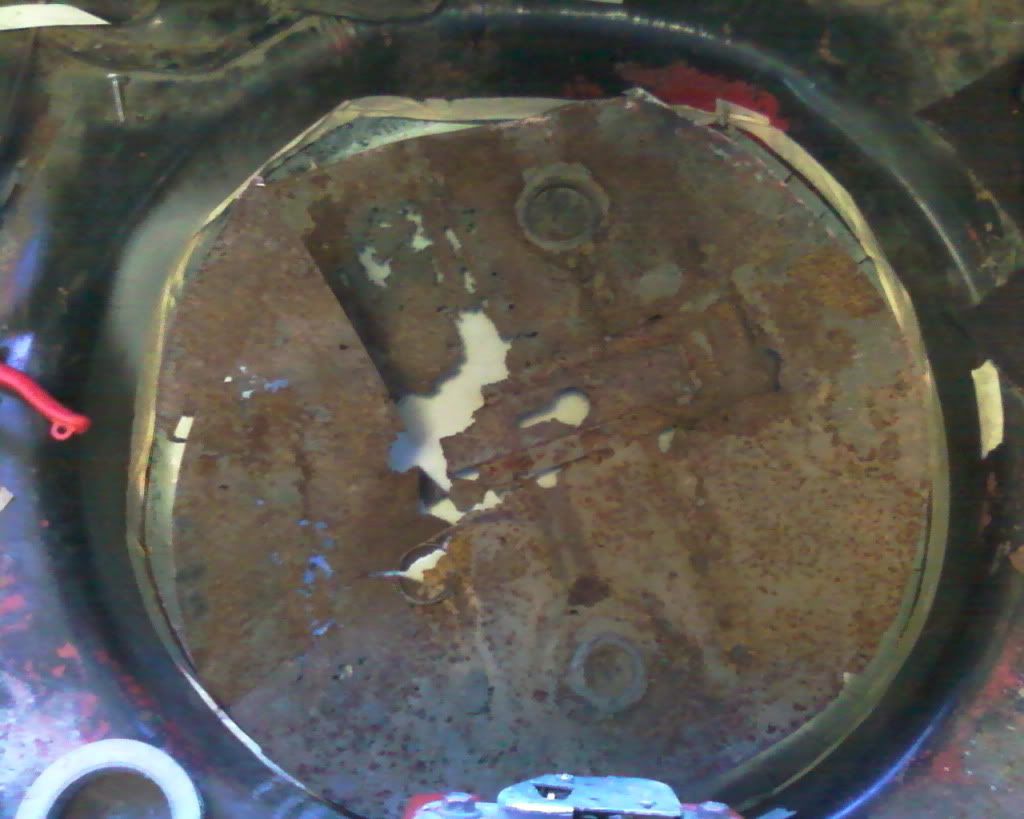
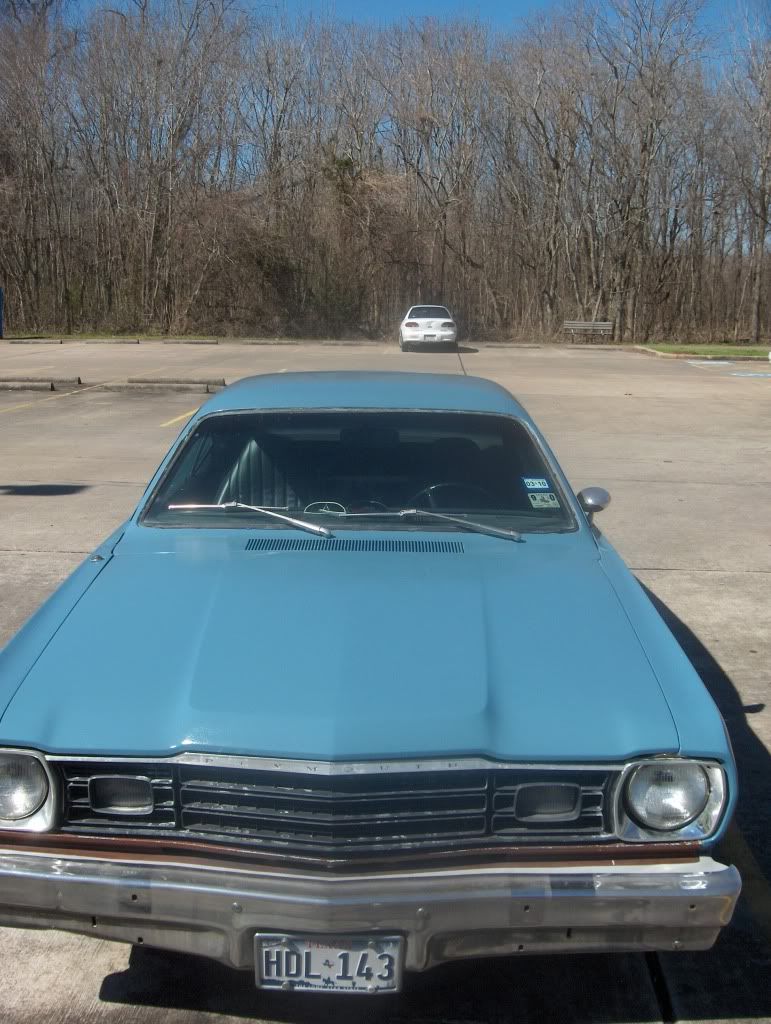
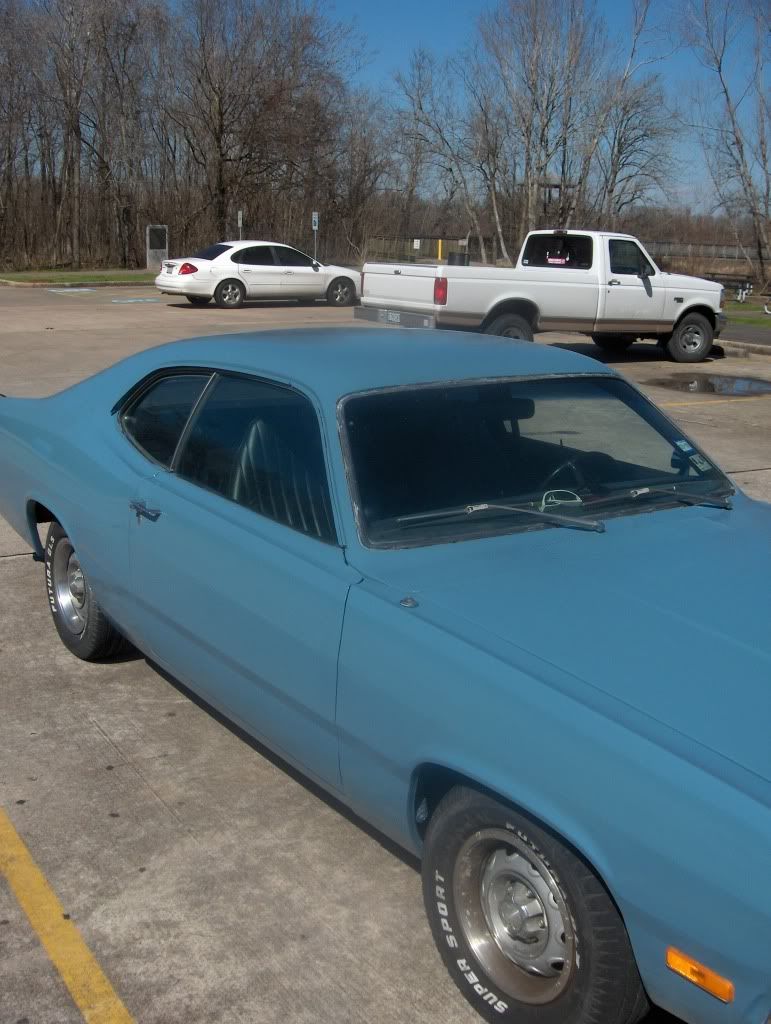
A little about the project and Thomas Erickson (me). I bought the car to replace my 73 Duster which was stolen. It was later recovered after I bought the 74. But had issues with it. Since I had bought the 74 already I started working on it which started out as a rust free, 225 slant six (Had major issues with), sloppy suspension all around, and lots of little things here and there. Since this I have swapped the K-frames out in the cars, and put a freshly rebuilt 318 in it with weiand intake, holley 600cfm carb, hooker headers, and compression of right around 10.2:1. I have a mopar performance camshaft waiting to go in it with 284/284 duration 248 at .050 and .484/.484 lift. The front suspension was all redone with poly urethane bushings, except I forgot to switch lower control arms out so I did not put the sway bar back in it's on my "To do" list. Most of the body work I did late last year while attending automotive collision school. However I did not do a thorough job of it. I am now going back to re-do what needs it and do what wasn't done before. The trunk, interior, and underneath needs attending to, along with one rust area on bottom of driver quarter. The car doesn't need alot of work, just some dedicated time.The spare tire well is virtually non-existent, I am very surprised my gas tank has not fallen out. I would have the car already painted however, I had to spend the money on tires instead of paint. I am dearly grateful for now it would of been quite a disastrous thing had I gone ahead at the time. So we just found some paint mixed it together and shot it on.
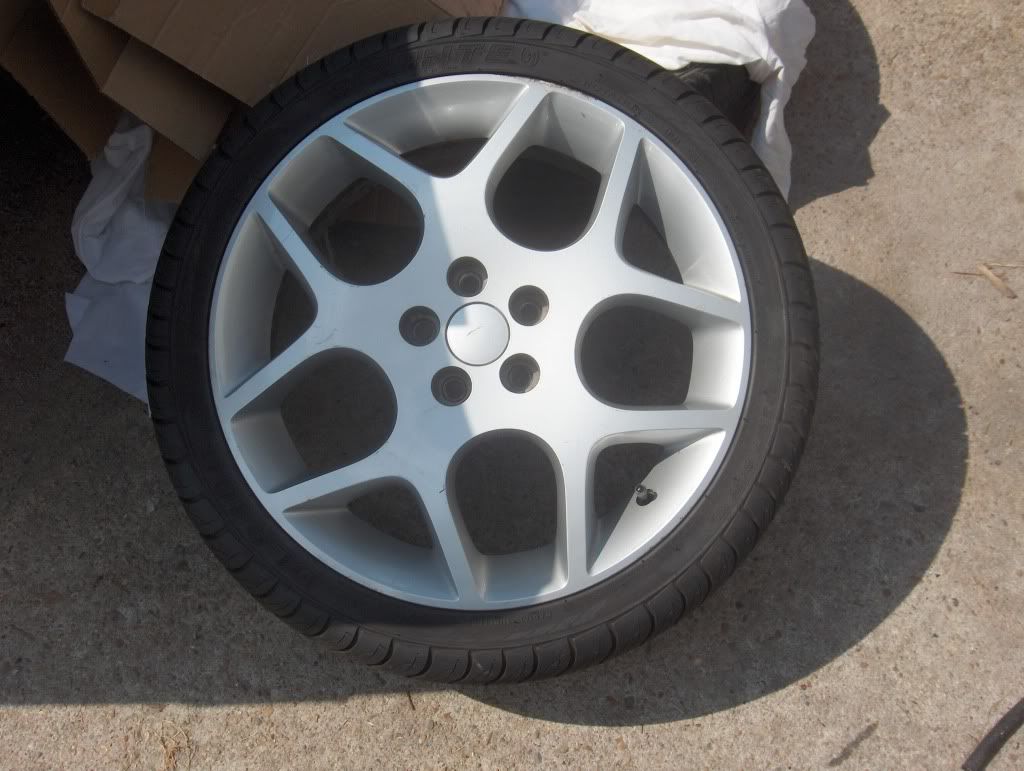
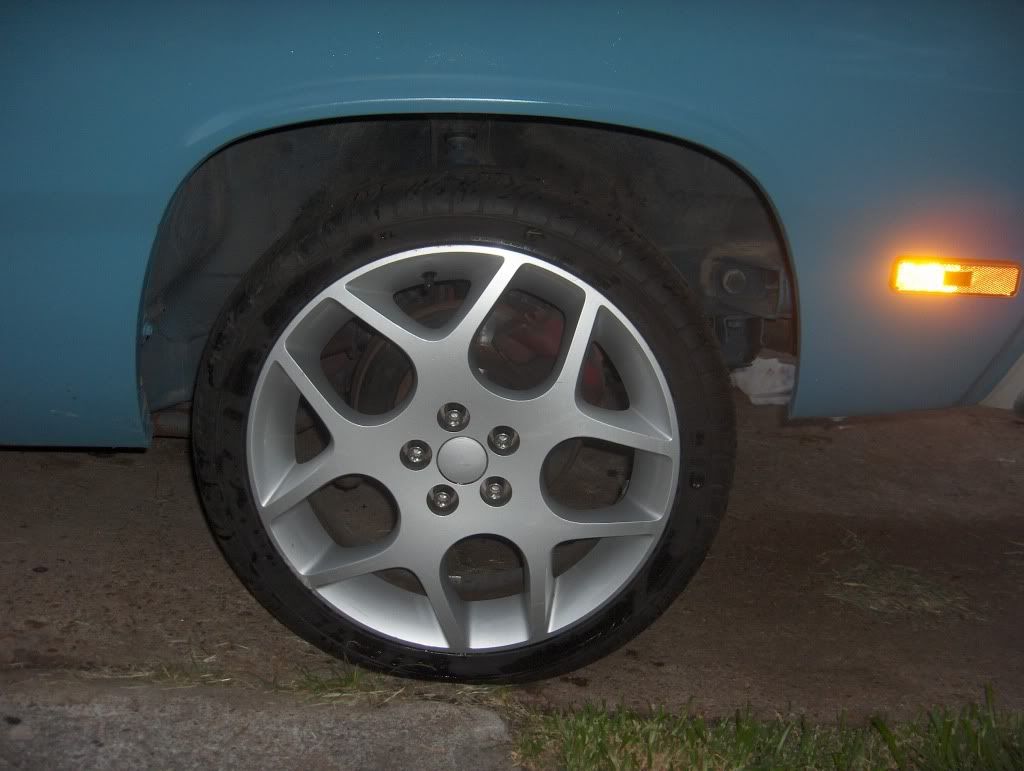
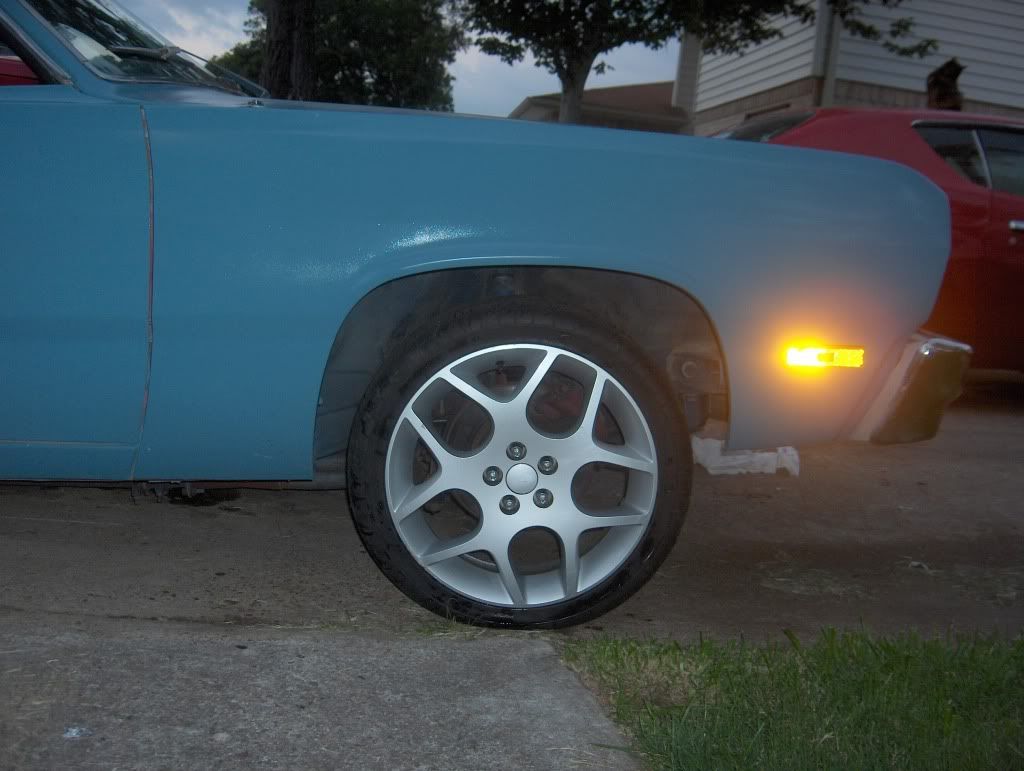
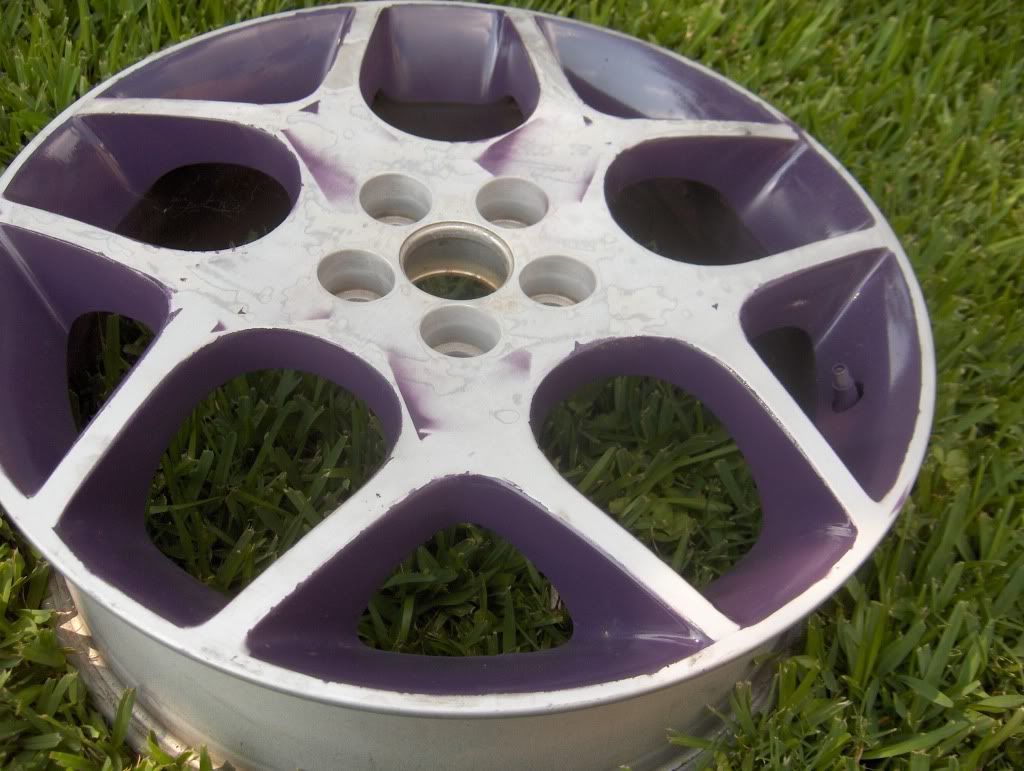
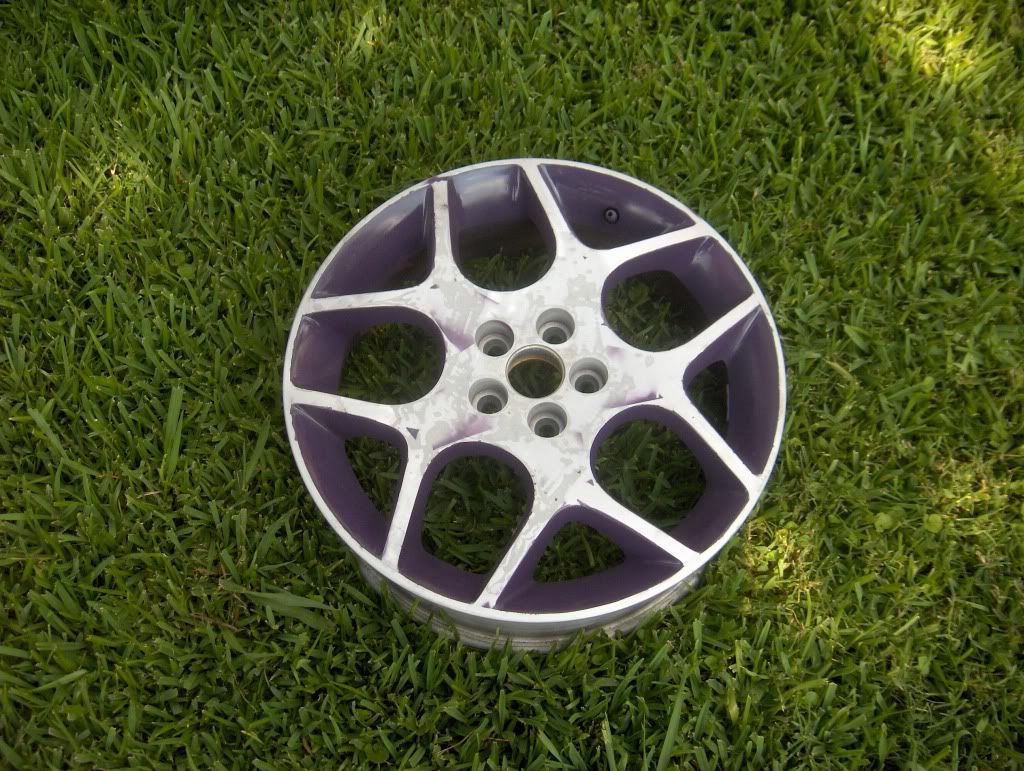
My goals for the car in the long run are to modernize suspension with hotchkis suspension with a TVS system, modernized interior (Different seats, radio, and custom hints everywhere), 4spd manual tranny, and about 375-400rwhp. The paint will be the newer version of the classic Plum Crazy Purple, which is Plum Crazy Pearl. The car has stock srt-4 rims on it currently which I am going to paint parts of to match the car.
About Me: I'm 19 working at a restoration shop called "Johnny Hotrod" however I do not get paid currently (I want experience). So it takes me a while to get anything done that cost money. I am currently in school full time attending the Chrysler Automotive Program (C.A.P.) where I am at school for two months then internship at the shop for two months. I firmly believe in the slogan "Mopar or no car!", and "If it aint Mopar, It won't go far!".
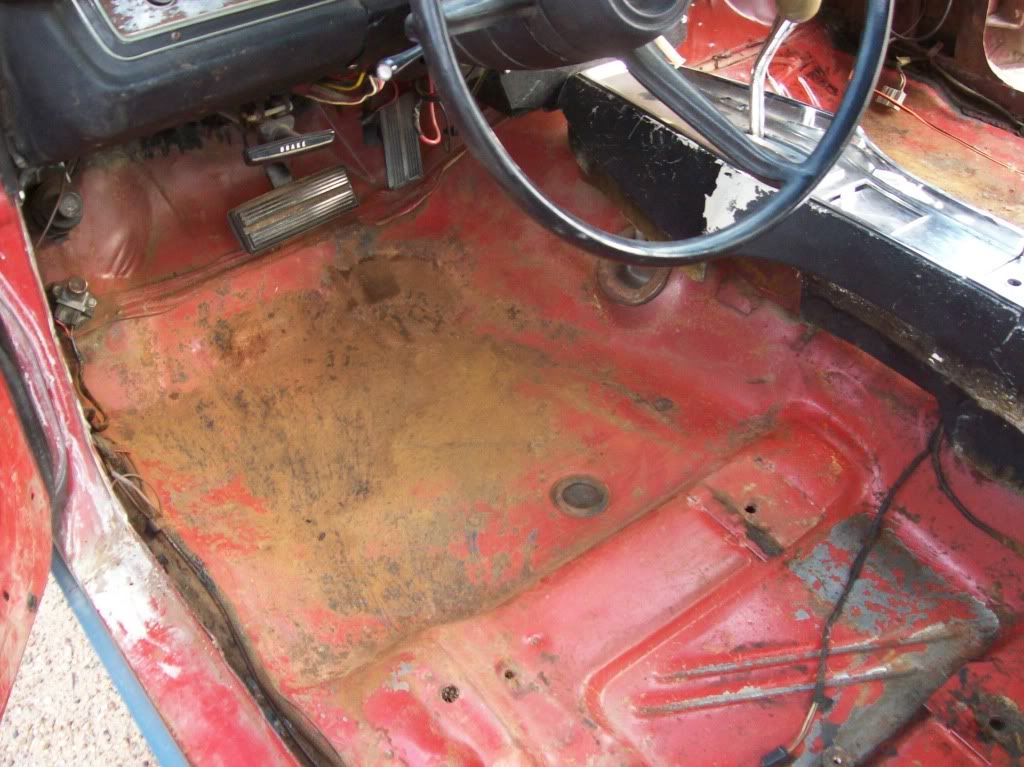
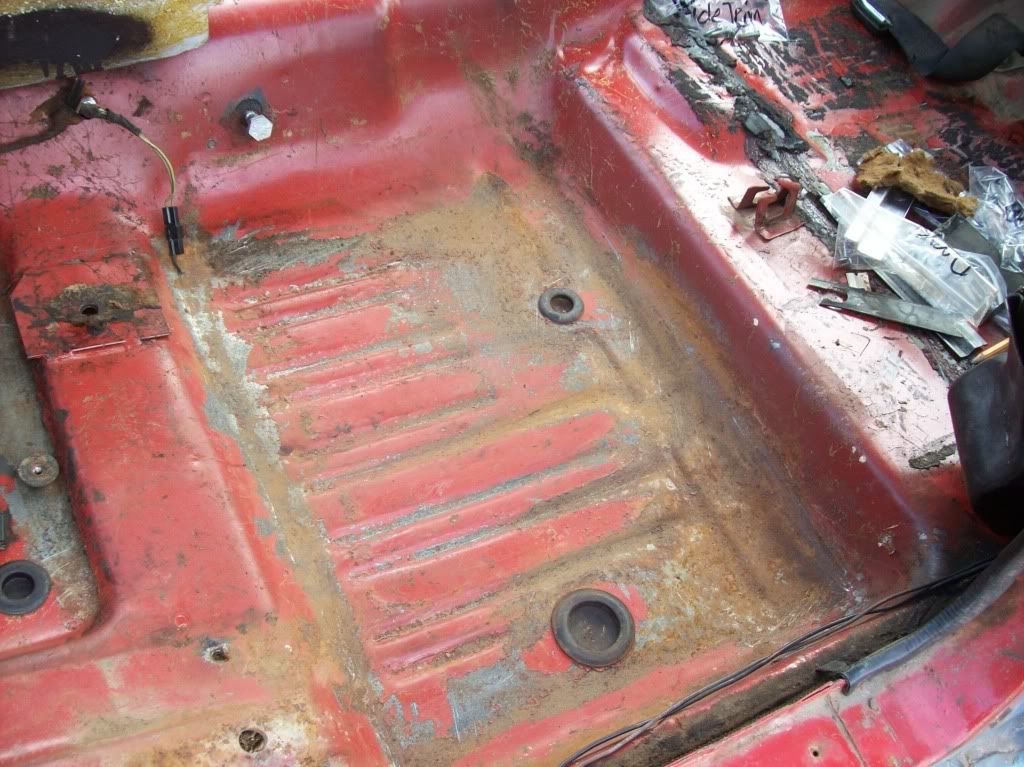
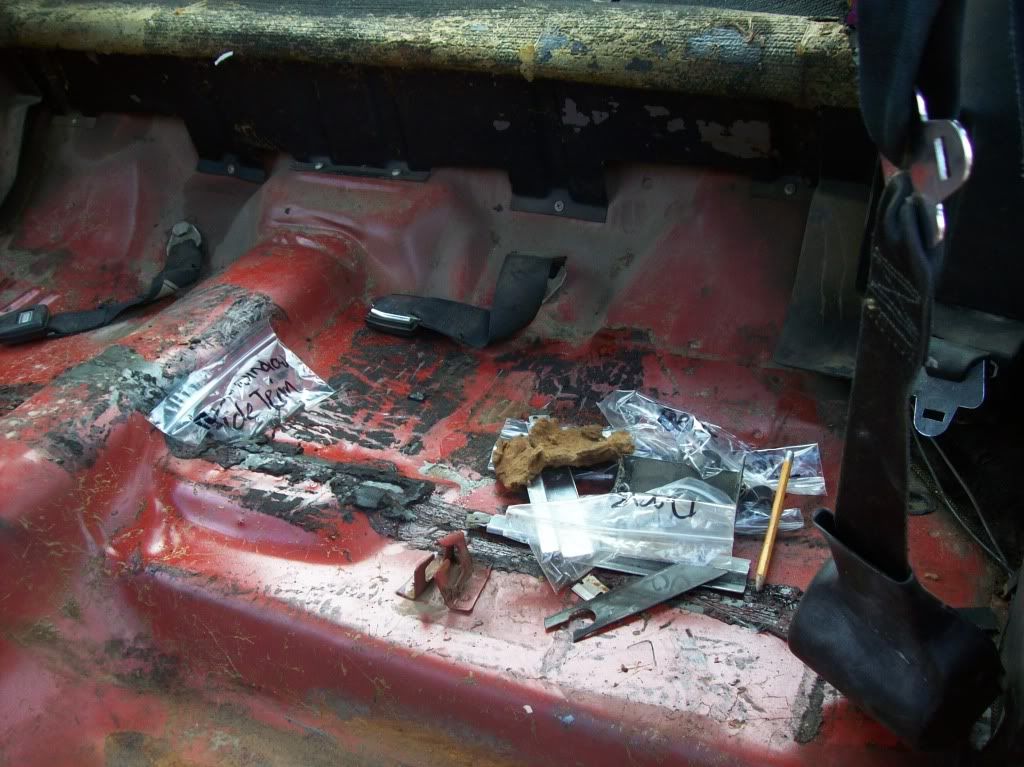
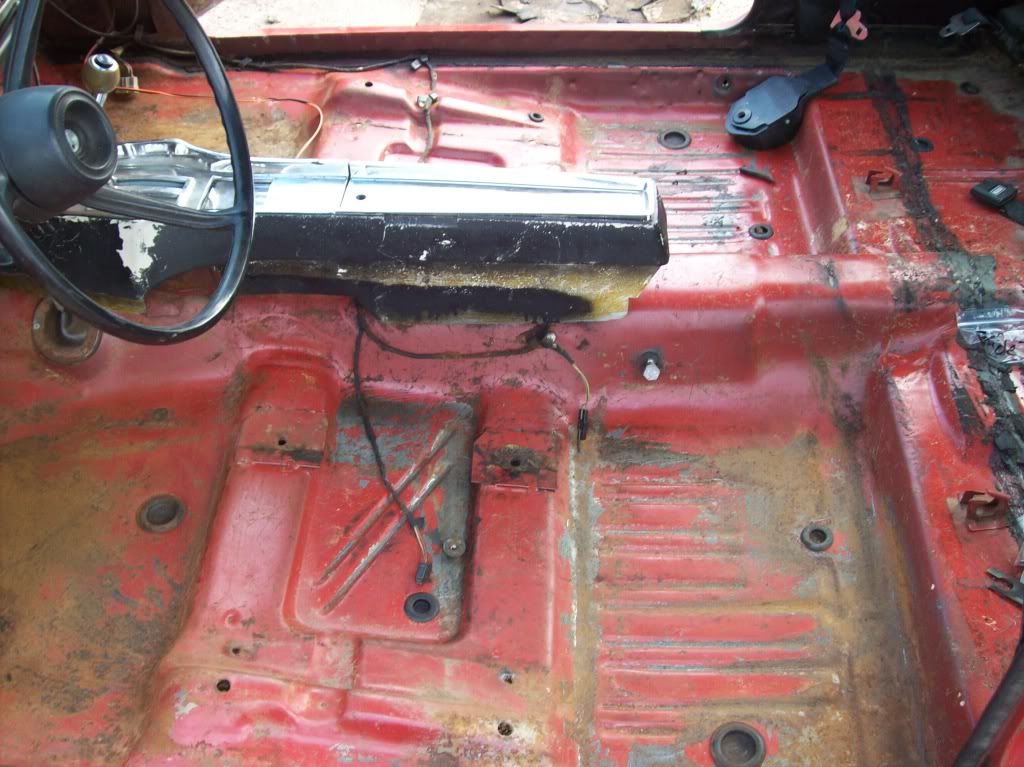
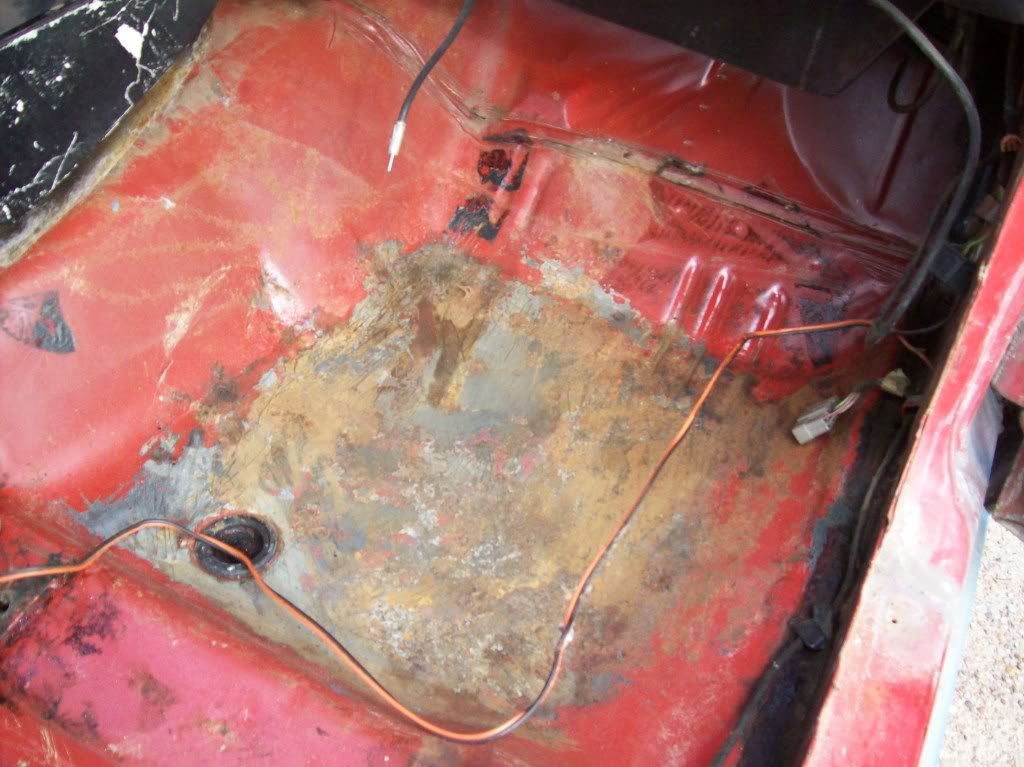
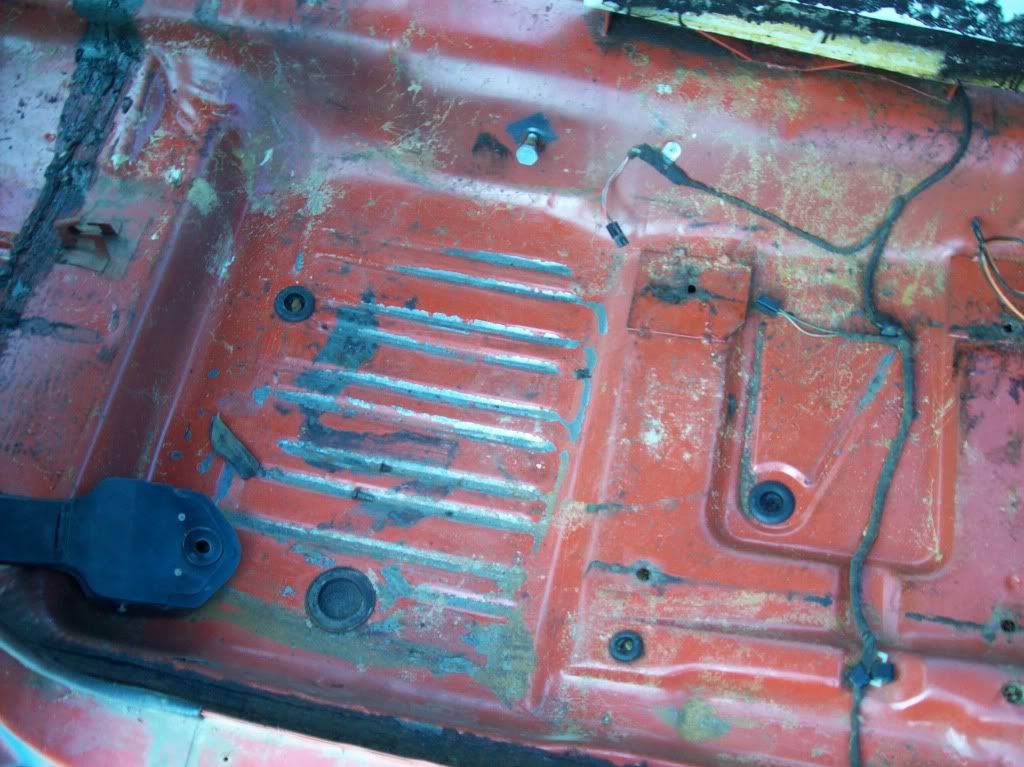
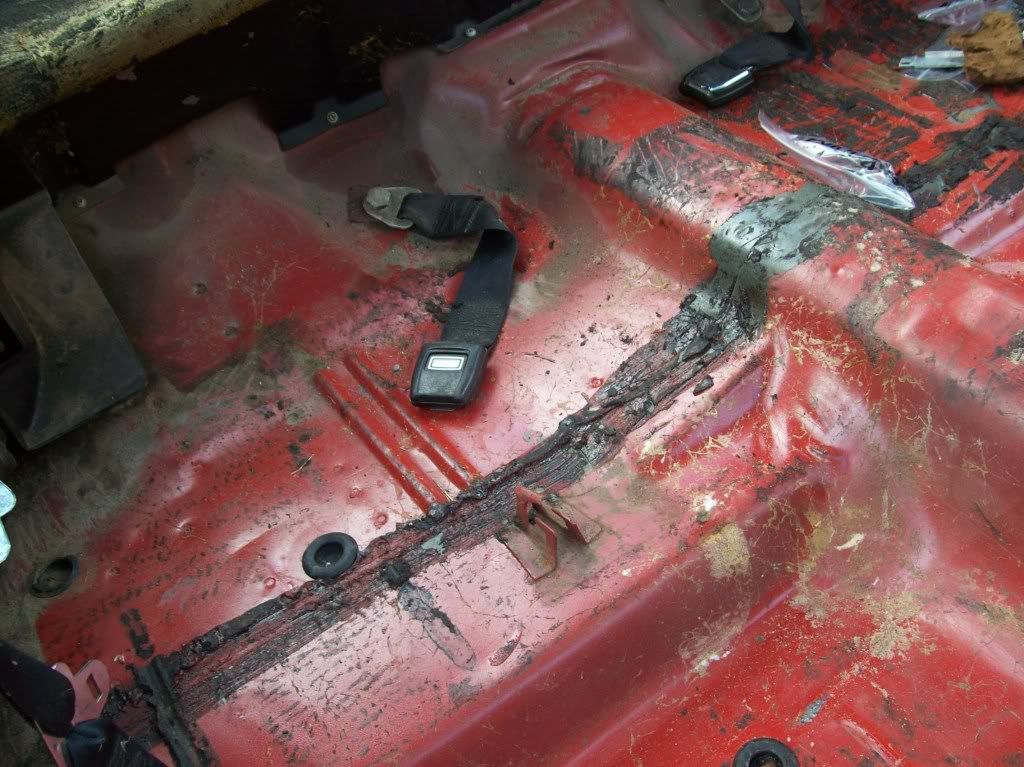
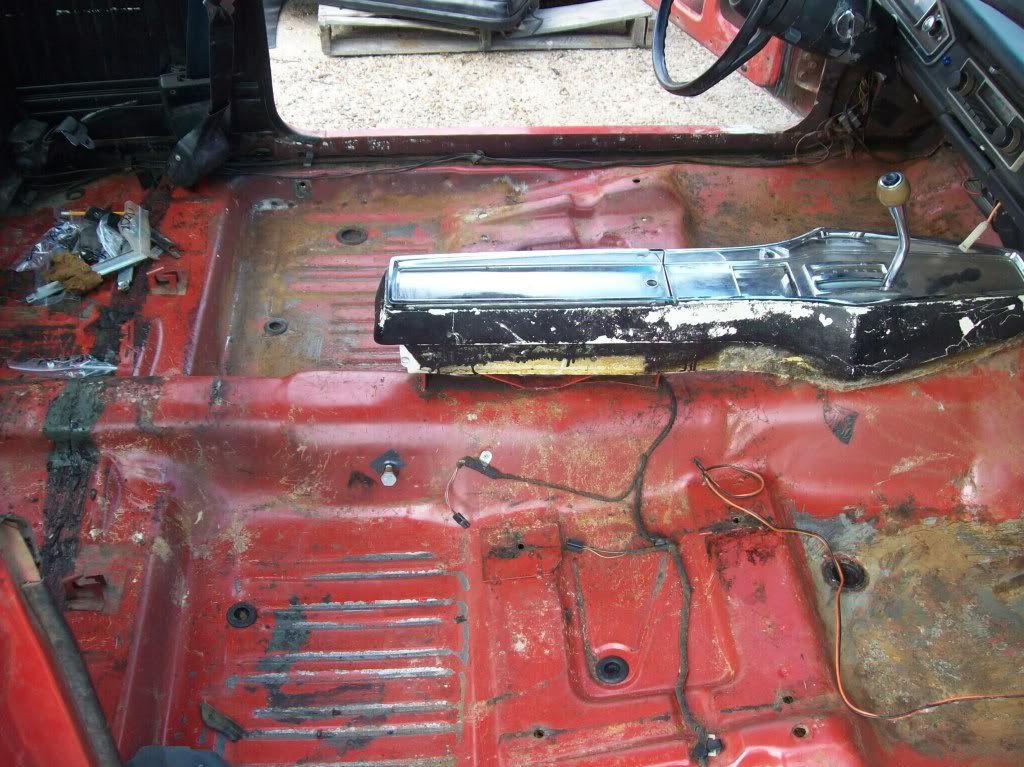
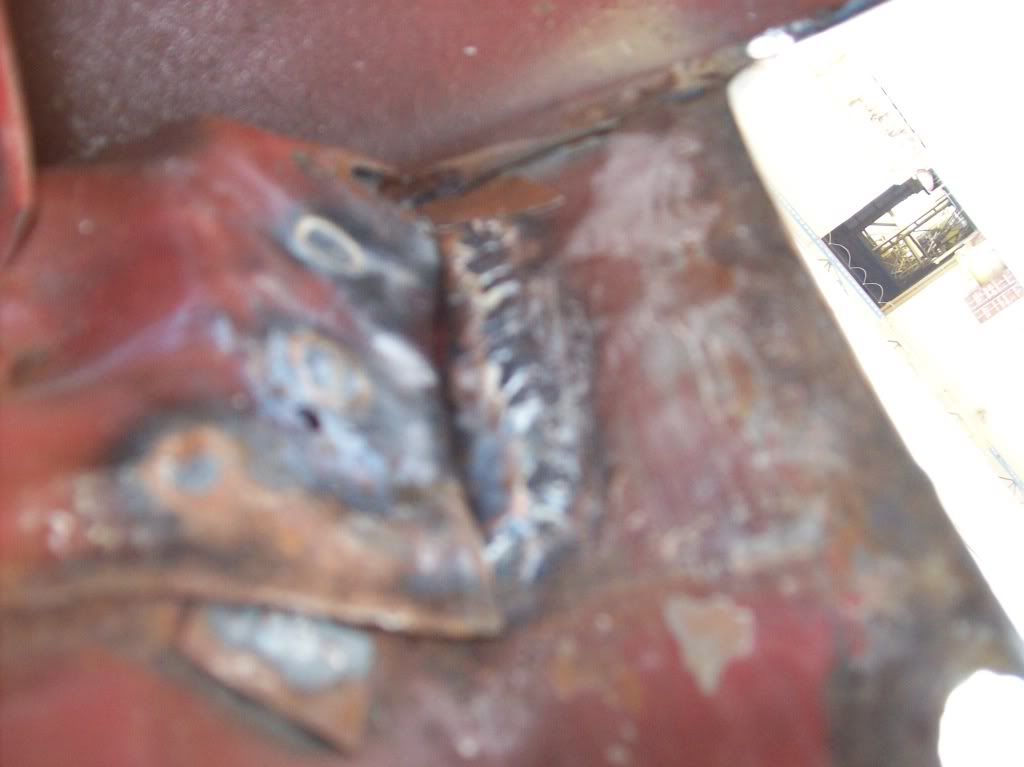
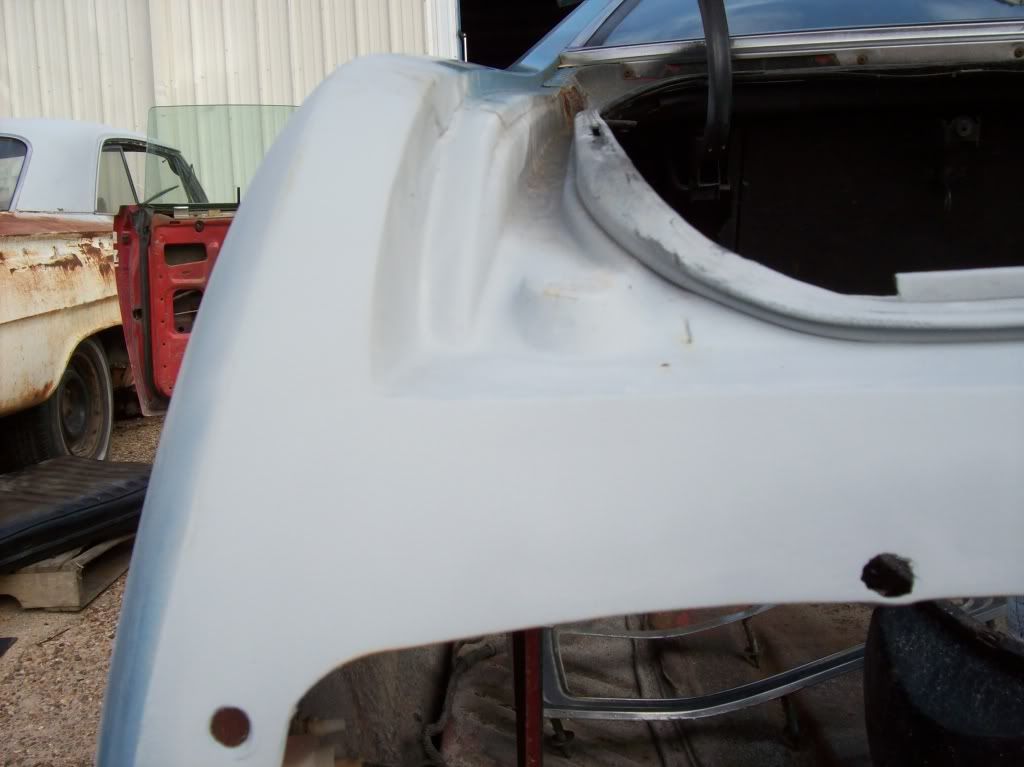
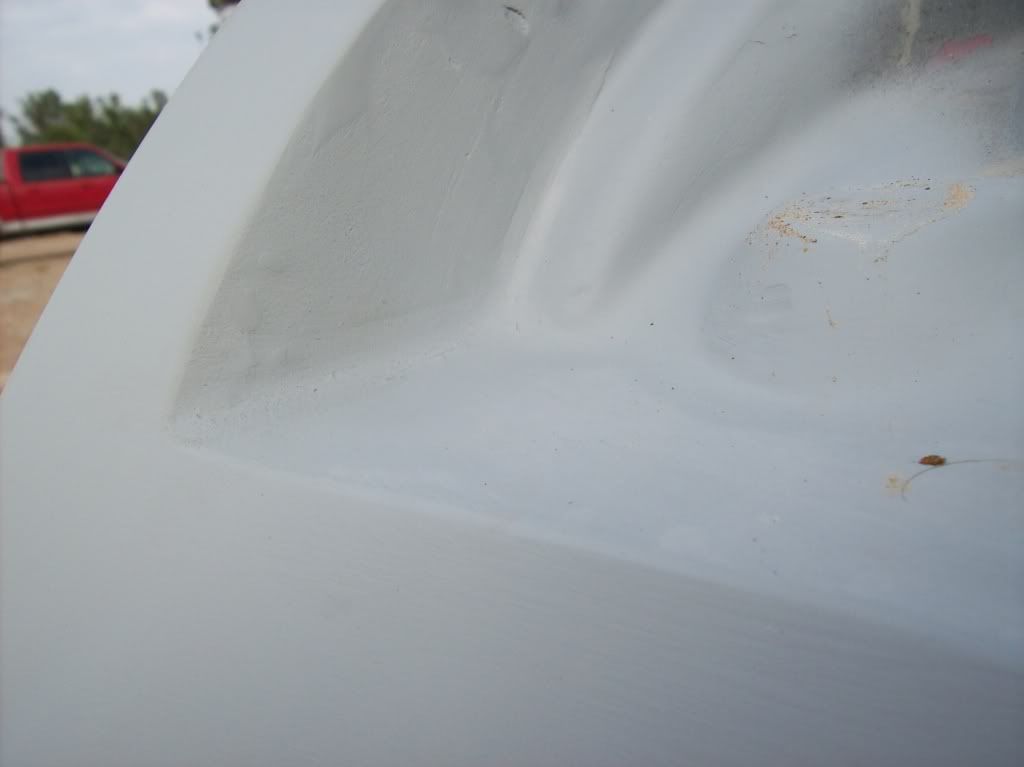
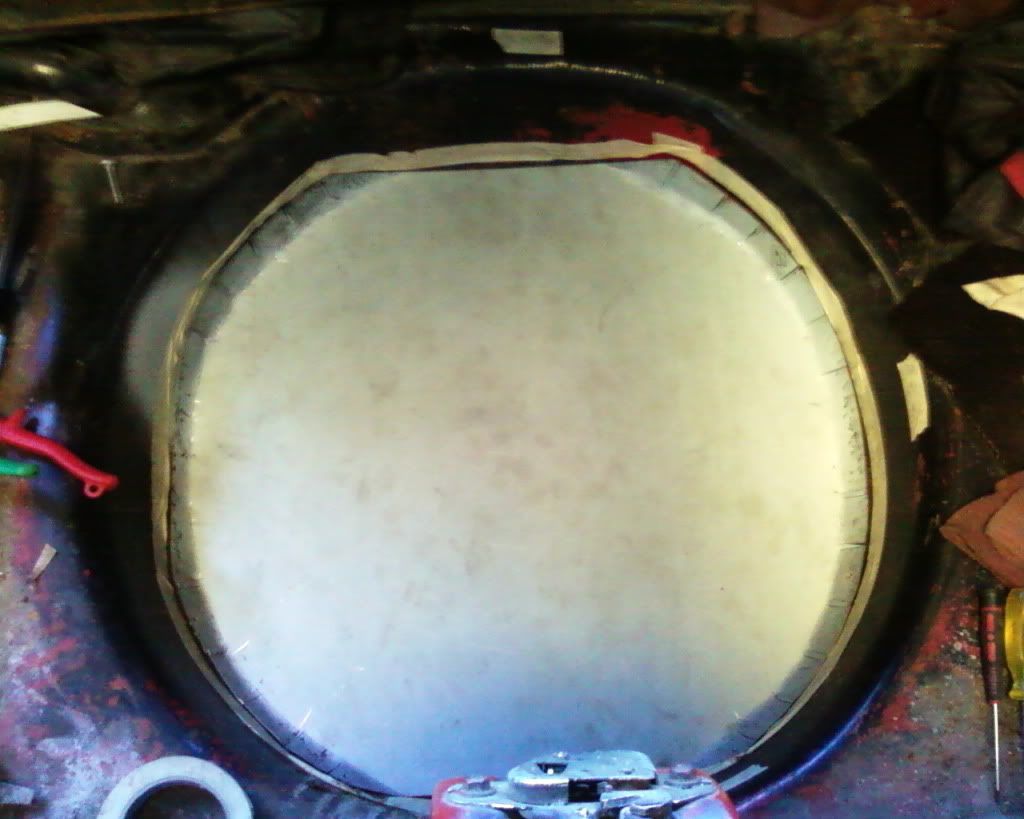
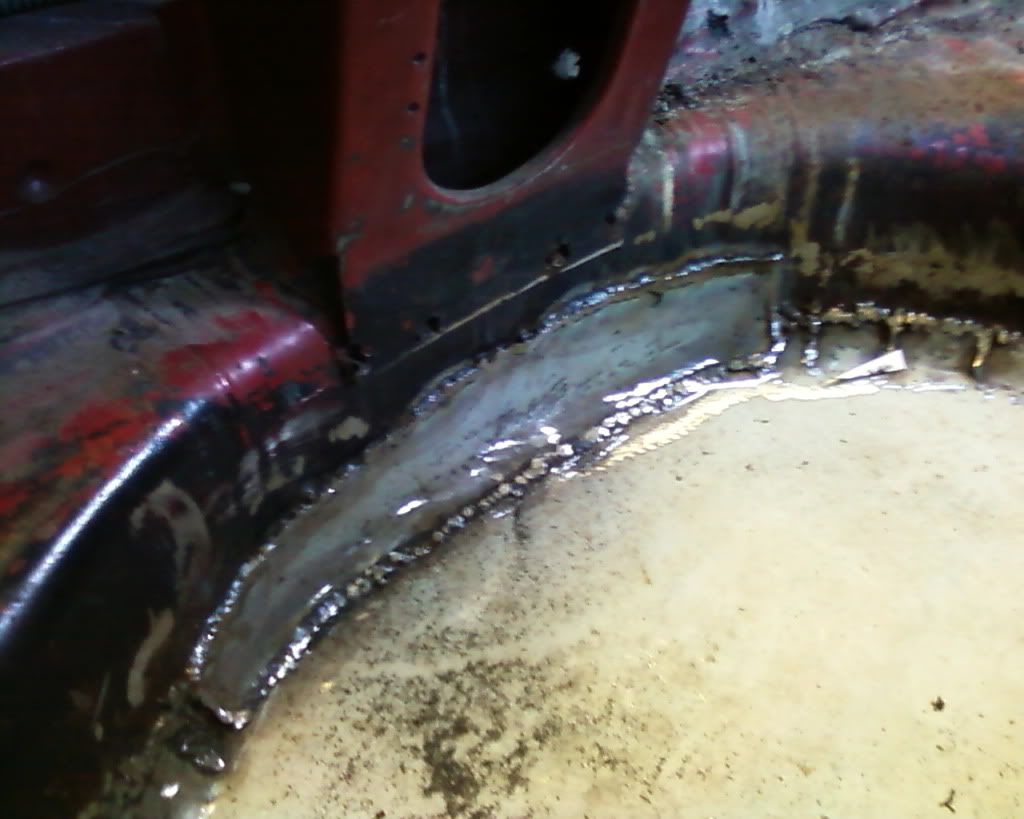
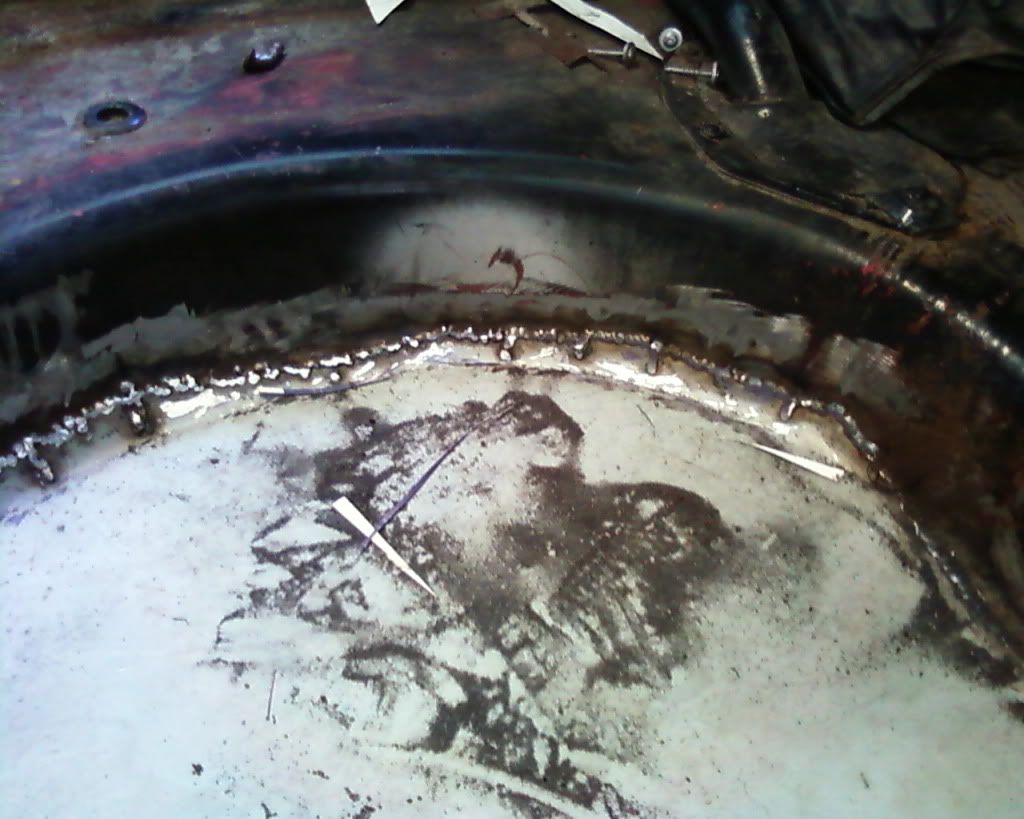
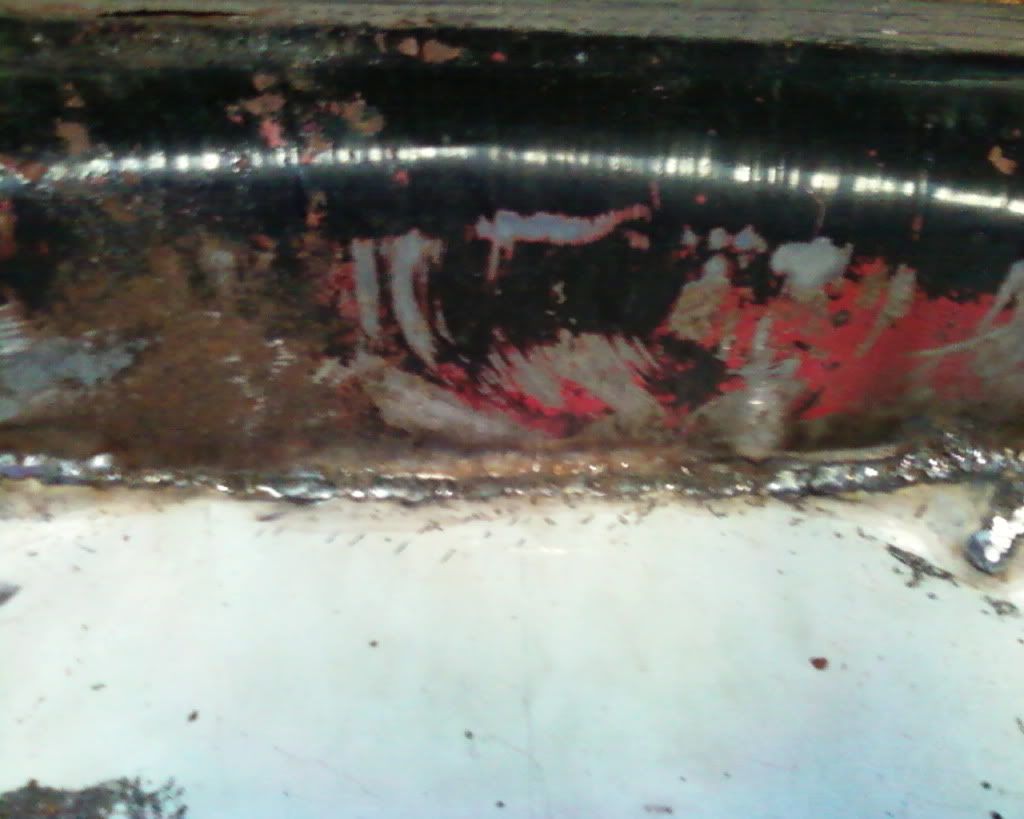
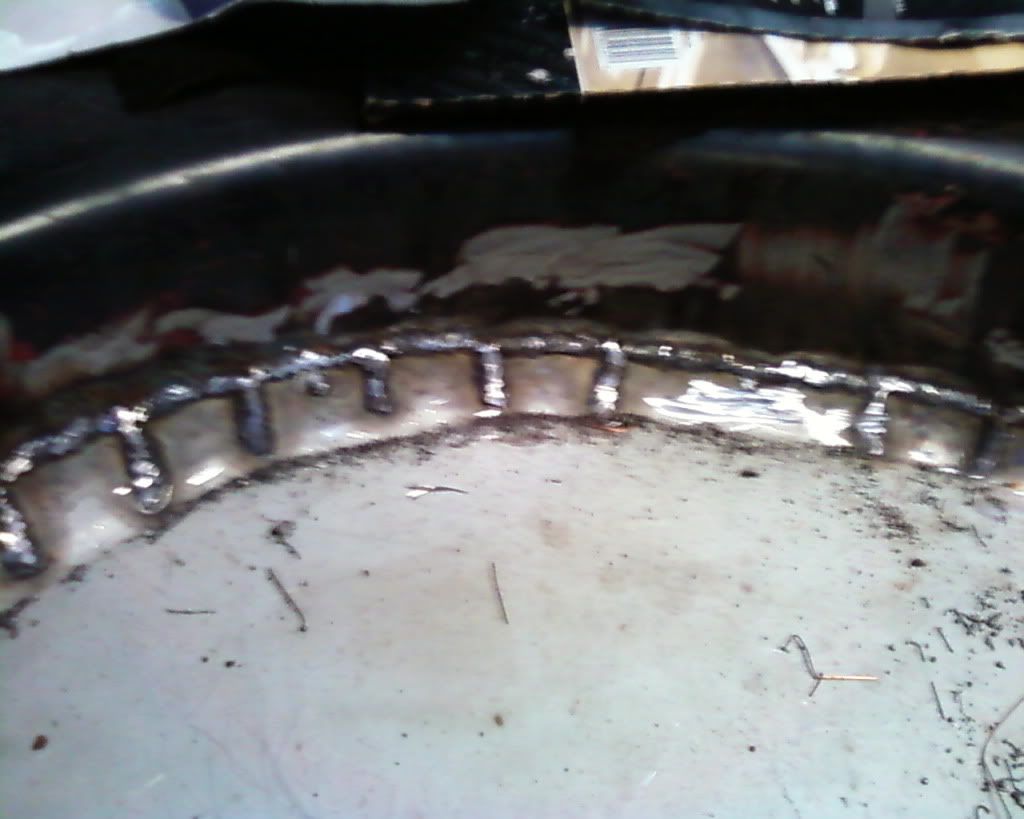
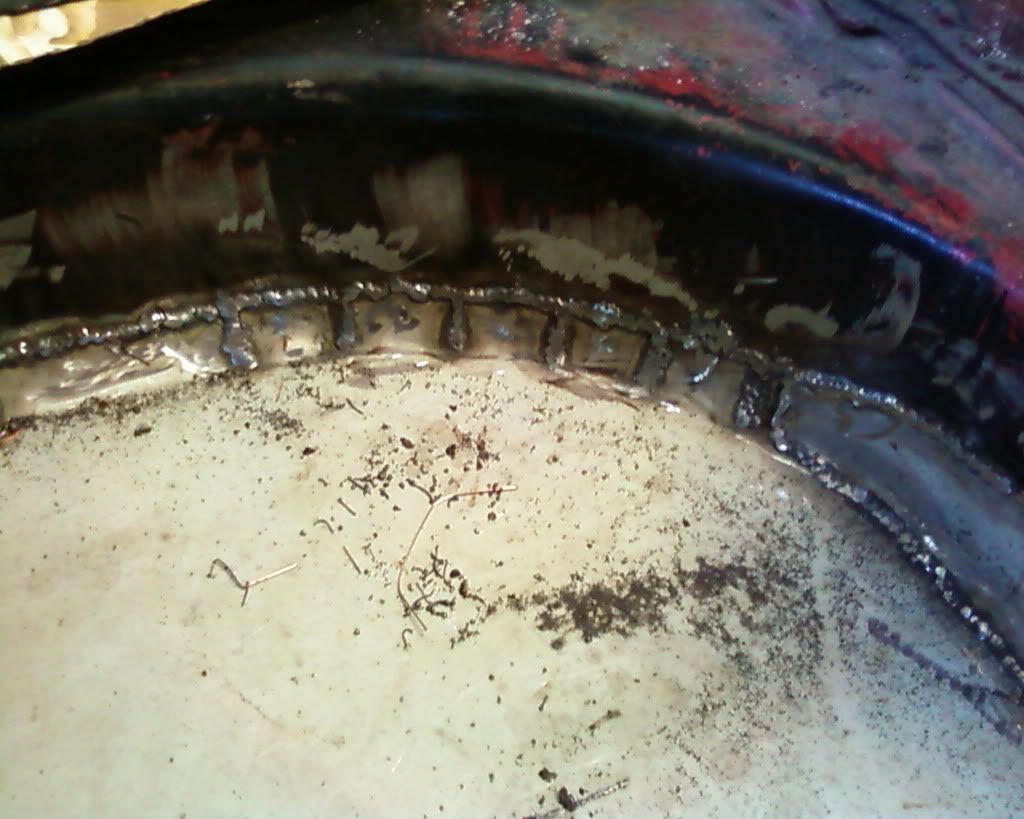
I currently just finished up a patch panel I did just above the drive side tail light. Today I went in and gutted the interior to clean up the floorboards and prevent future damage to them I will be painting them soon. My next step is the spare tire well however, I will be cutting it out and welding a piece in flat.
I will post pictures of the body work I did as soon as I can get them from my phone to my computer, and post current ones as soon as I take some.
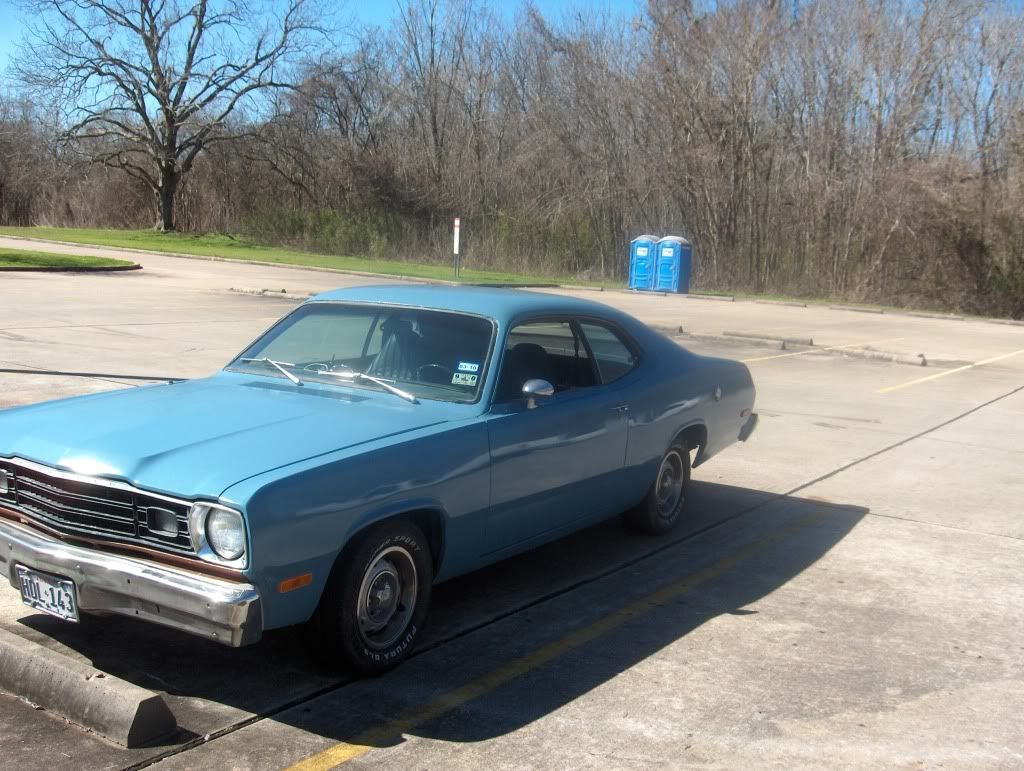
Here are a few pictures of the car from back in march:


