67 Dart Build Triangulated 4 link & Mini Tub

-

Mad Dart

Nothing to see Here!
Joined
Sep 24, 2008
Messages
8,502
Reaction score
532
Location
Murrieta California
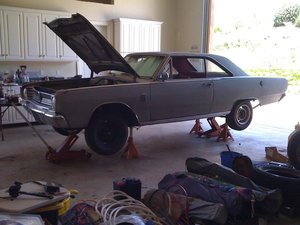
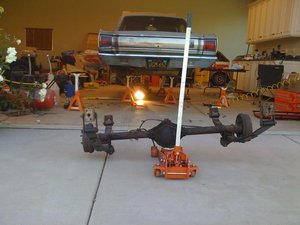
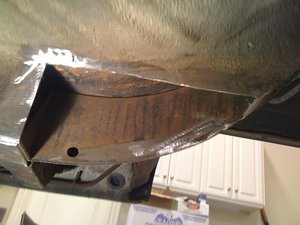
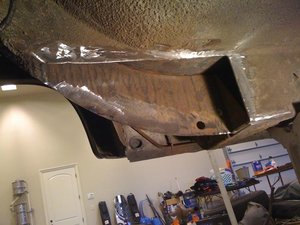
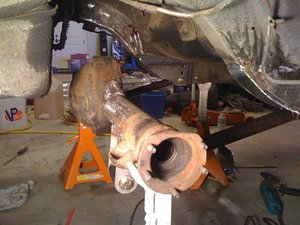
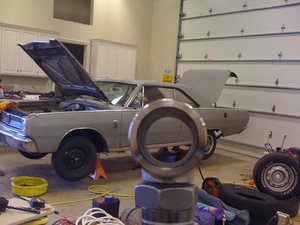
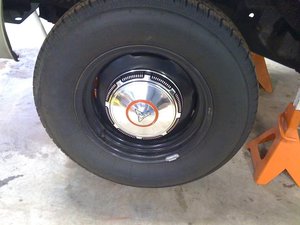
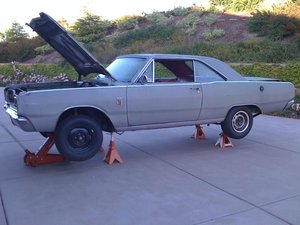
I purchased this 67 Dart about 6 weeks or so ago. The plan is to change the rear suspension to a Triangulated 4 Link & do a Mini Tub. I will be installing a 318/402 Based stroker that is almost done and a Race Ready 904 Trans. I will also be installing a 8pt cage after the Mini Tub is done. I will be keeping the appearance of the car sort of stock by using Steelie Wheels with Dog Dish Caps. I will be Painting the Engine bay, door Jams and trunk after the Mini Tub and installing the drive train, after that it will go if for full paint.

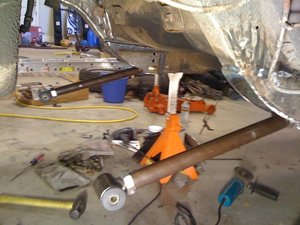
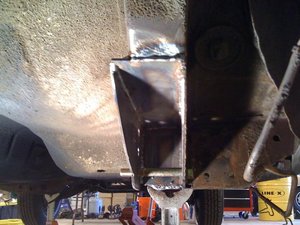
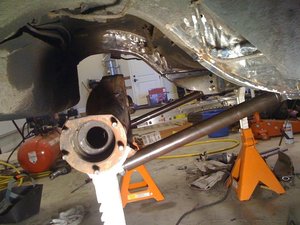
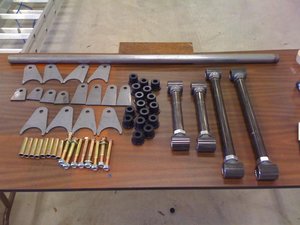
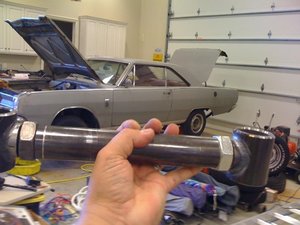
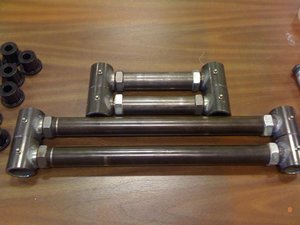
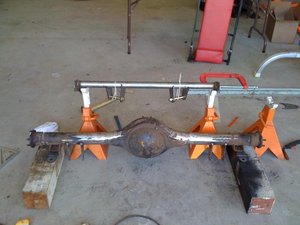
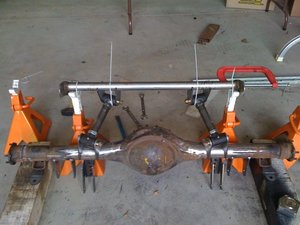
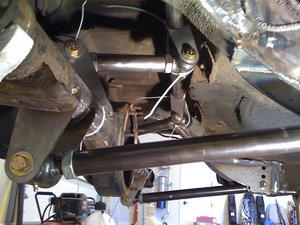
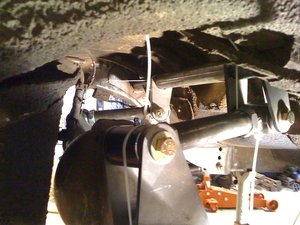
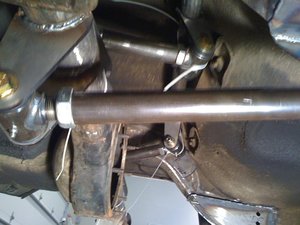
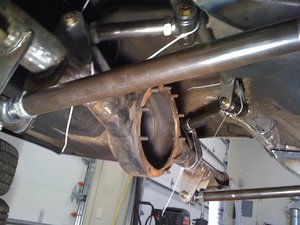
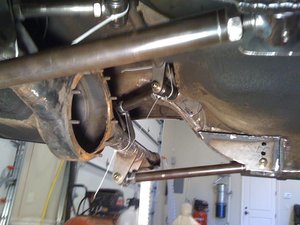
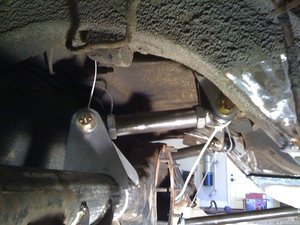
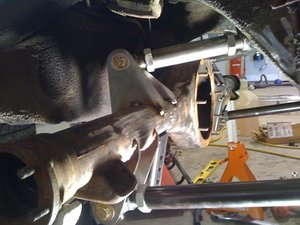
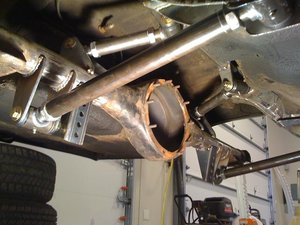
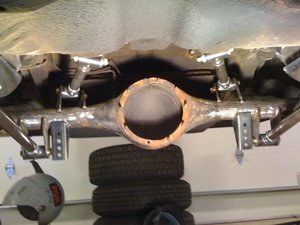
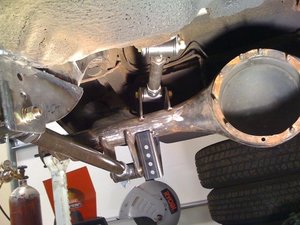
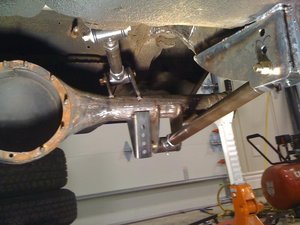
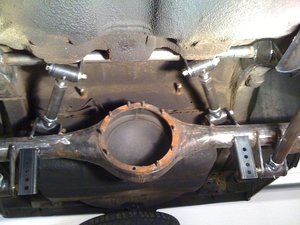
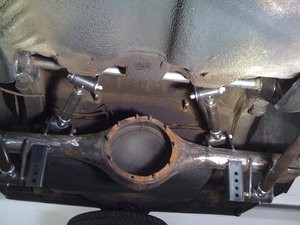
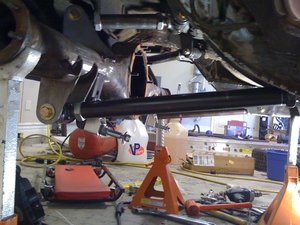
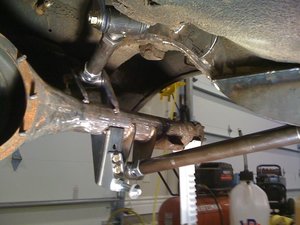
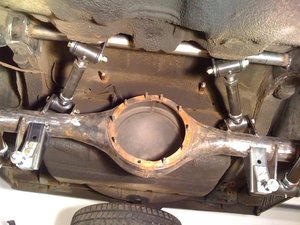
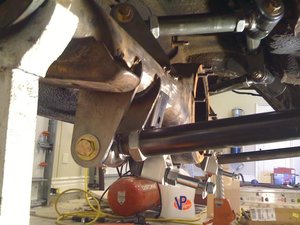
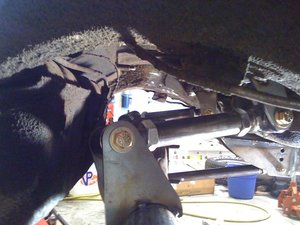
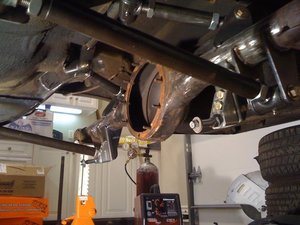
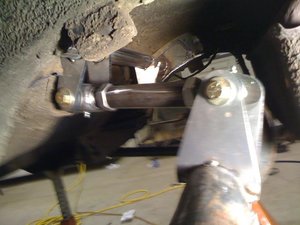
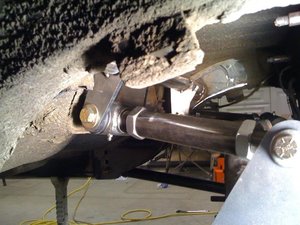
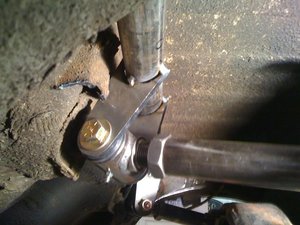
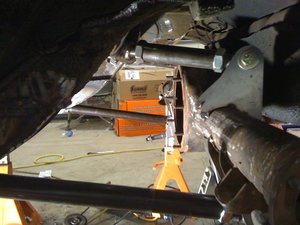
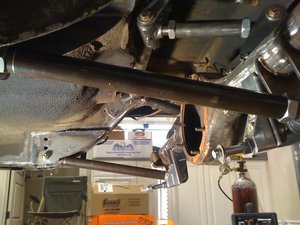
I was going to purchase the Streetlynx system but decided it was very costly and I could make it for cheaper and change it up a bit in the process by using 1.5" Tubes with 1 1/8th rod ends FULLY adjustable so I wouldn't have to take the bars off to adjust the pinion or tracking. I will just loosen the jamb nuts and twist the rod.....seems easy anyway.

I was inspired by James 70 Dart build........

Here it goes.......The pictures are not all in order.
misc 5-13-10 063.jpg

misc 5-13-10 064.jpg

misc 5-13-10 065.jpg

misc 5-13-10 066.jpg

misc 5-13-10 068.jpg

349 stroker etc 001.jpg

349 stroker etc 004.jpg

349 stroker etc 003.jpg

349 stroker etc 005.jpg

misc 5-13-10 063.jpg


misc 5-13-10 064.jpg


misc 5-13-10 065.jpg


misc 5-13-10 066.jpg


misc 5-13-10 068.jpg


349 stroker etc 001.jpg


349 stroker etc 004.jpg


349 stroker etc 003.jpg


349 stroker etc 005.jpg
 
This car was an original 6cyl car with auto on the console.......
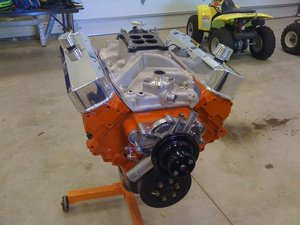
Here is the motor that will go in it. 318/402 Stroker with Brian at IMM Engines RHS Heads. Hoping for 500hp or close to it.
I just got the dog dish caps the other day from a member here.

misc 5-13-10 035.jpg

349 stroker etc 002.jpg

misc 5-13-10 035.jpg


349 stroker etc 002.jpg
 
I also just received a complete 11.25 " Rear Disc brake set up for it. I bought it from tsmmfg.com I got it with the parking brake provision, slotted and dimpled rotors and all the correct adapters for the parking brake cables etc. I will post pics etc as I install them after the rear end is shortened 3" on each side to accommodate for 15x10 Steelies that I ordered from summit. I will be using 315 60/15 Street Et's or Hoosiers or equivalent.
 
That's lookin' killer!
Do you have a parts list/plans drawn up for all that?
 
That's lookin' killer!
Do you have a parts list/plans drawn up for all that?


Yes I do! I have lengths of everything and where to buy it all... I figured that way if someone wanted to do the same thing they can duplicate it very easily.......I am keeping track of all the cost etc also.

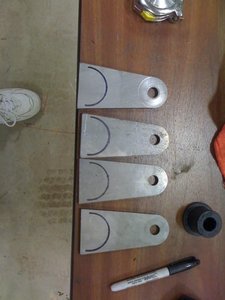
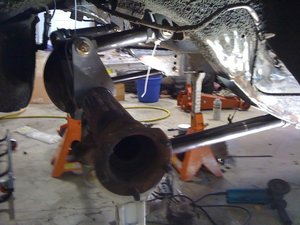
The link so far with all the brackets, shock mounts, tabs, shock tower etc I have right at $600.00 into it so far. Shocks will be another $400.00-$600.00. Oh yeah that includes all the material for the spring boxes also. So the savings is another $150.00 or so for them!!!

So you will save a minimum of $800.00 doing it like I am compared to the Streetlynx system. Possibly more because their kit is not a weld on, it is a bolt on. I know they offer it a as a weld on but I am sure the price goes up for the changes.

FYI Doing it this way you are moving the front hangers in 4 1/8th inches on each side. Instead of the normal 3" that you would do on a spring relocation that rides in the center of the frame rails.
 
Wow Mad Dart, I am very impressed. You have made incredible progress. Great work. I cannot wait to see it with the 15x10 steelies.

Thanks,
OldMoparsRule!
 
Man this is a cool build, I know that car ( I think everyone does) So you are documenting a lot of our dreams with this build. I'll be tuned in to this one for sure, thanks
 
Dude that looks awesome. I feel your pain. Looks great and also looks like you will be able to use the stock tank. I wish I could have, because I lost a bit of trunk space when I installed my 20 gallon aluminum fuel cell. What size tires are you planning on running in the back?
 
Dude that looks awesome. I feel your pain. Looks great and also looks like you will be able to use the stock tank. I wish I could have, because I lost a bit of trunk space when I installed my 20 gallon aluminum fuel cell. What size tires are you planning on running in the back?


Thanks! I will be running 315/60/15's, something like that I am hoping for 12" of rubber on the ground we will see. I get the 15x10 Steelies on Monday so I will mock it all up to make sure I am Dead center in the wheel well after mini tub and have the housing cut accordingly. Looks like exactly 3" on each side as of now but I will verify when they get here.
 
Thanks! I will be running 315/60/15's, something like that I am hoping for 12" of rubber on the ground we will see. I get the 15x10 Steelies on Monday so I will mock it all up to make sure I am Dead center in the wheel well after mini tub and have the housing cut accordingly. Looks like exactly 3" as of now but I will verify when they get here.

315's shouldn't be an issue with mini tubs. I am running 325's with a little bit of fender lip trimming and about 5/8" on both sides with no rubbing. Good thing these 4-links don't move. I am sure you know this, but measure at least 3 times then cut. LOL.
 
315's shouldn't be an issue with mini tubs. I am running 325's with a little bit of fender lip trimming and about 5/8" on both sides with no rubbing. Good thing these 4-links don't move. I am sure you know this, but measure at least 3 times then cut. LOL.

That is good to know about the tires, I do want the biggest that will fit!

Maybe you can get away with only 3 times measuring before you cut... Crap I am up to about 7 times haaaaaaa :-D I also made sure that the link bars were degreed parallel with each other. I fine tuned it by adjusting the shock tower slightly from where it was mocked up. I used my IPHONE that has a degree app in it. That stinkin thing is right on the money!
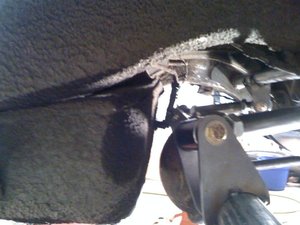
Before I tacked the link in place I swear I measured checked measured at least 10 times. I did snap lines on the ground before I took the rear end out that were parallel with the car in about 4 places and two going from about the rear bumber to the Bell housing area. I then sprayed them with clear laquer so they would not disappear on me. Everything was built to those lines to ensure the car would go straight down the road!

I am working by myself on this project. I stared at it for about 5 hours before I started taking measurements etc. I have about 20 hours more in it so far. So about 25 hours total. If I can pull of the Mini Tub in the same time I will be happy.
 
Wow Mad Dart, I am very impressed. You have made incredible progress. Great work. I cannot wait to see it with the 15x10 steelies.

Thanks,
OldMoparsRule!

It was a while ago that I was talking to you about the Mini Tub and shortening the housing. I decided to do all of it myself. Except the housing of course. Time is tight though I will tell you that.

I got a really COOL power point from a member that explains the Mini Tub in really good detail. I should be able to conquer it! Been studying it for a few hours now. I will get after it when the housing is in the shop getting shortened.

Yea, I remember. I am glad you decided to tackle it yourself. Think of it like becoming "one" with your car... 8) Did you decide to go with Sutton for the rear axle?

I will definitely watch your build. Let me know if you need anything.

Thanks,
OldMoparsRule!
 
looking good man. keep the update pics coming. after all that work the mni tub should be cake for ya.
 
Hey it looks good Mad Dart!!!!! Terrific work!!! Glad I was able to inspire you! Looking forward to more progress, and to see how it sits with the tires. Let me know how it rides!! You are ahead of me buddy!!!!!!!!!!
 
Hey it looks good Mad Dart!!!!! Terrific work!!! Glad I was able to inspire you! Looking forward to more progress, and to see how it sits with the tires. Let me know how it rides!! You are ahead of me buddy!!!!!!!!!!

James,

I got a long way to go. As long as I stick to the plan it will get done. If I start changing it around like I always seem to do I will be in trouble.

Gunna try my best to stick to the plan that I have. We will see!

I was just thinking today that I should throw a big block in it and sell the small block............see I am already screwing up and sabotaging myself..:-D
 
Those rod ends are really substantial....they ain't goin anywhere, ever

8)
 
-
Back
Top