68 4-door "Sleeper"

-
Do you have links to XFI and fast system? Will they work with the transmission? Also, what about the "drive by wire"? The thing I like most about the Mopar harness is that it is idiot proof.
X2! I don't know anything about the XFI and fast systems. But I would like to see them and the $$ they cost.

There are cheaper ways to go the wiring (way cheaper!!:-D). Street and Performance, Auto Hotwire, etc, etc, can do harnesses for around 1000 or less. These will let you use all the stock stuff... DBW pedal, computer, etc. I have talked to the Auto Hotwire guys at car show. Nice guys and their harness is like $750 plus whatever to flash the computer(to get rid of security codes and stuff).

Nice car!
 
They wont control the factory trans, but damn, yo gonna hafta do a whole latta cutting to get that trans to fit. I have both in my garage, the hemi trans is way bigger and heavier. You would be better off installing a 518 or 727 trans instead. As a matter of fact, you could buy the EZ EFI (self tuning, really!), MSD, a 4bbl intake, and a 727 trans for the price of the mopar EFI system. And you wont have to chop the tunnel, crossmember, etc.

You can get a intake through XV, Indy, Mopar, and Edelbrock. The Indy and XV seem to be the best.

Fast

http://www.fuelairspark.com/


MSD

http://www.msdignition.com/Products/RPM/Timing_Controls/RPM_Controls/6_HEMI_Ignition_Controller.aspx
 
Progress has been slow this week. Too many other commitments have prevented me from being able to work on it.

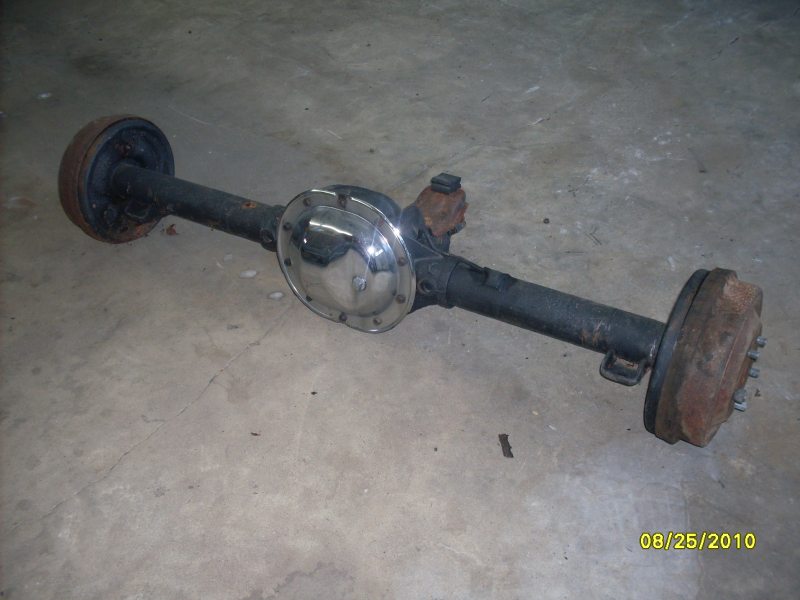
I picked up an 8-1/4 rear end on Saturday from another FABO member. The chrome cover will either be sandblasted and painted or replaced with a non-chrome cover. Remember, this will be a sleeper. I don't want any outside indication about what is under the hood.
SDC10272.a.jpg


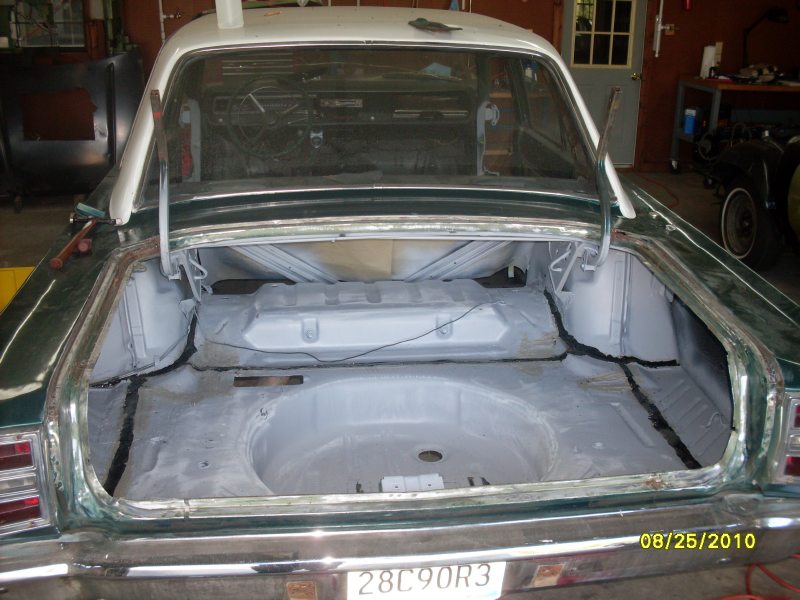
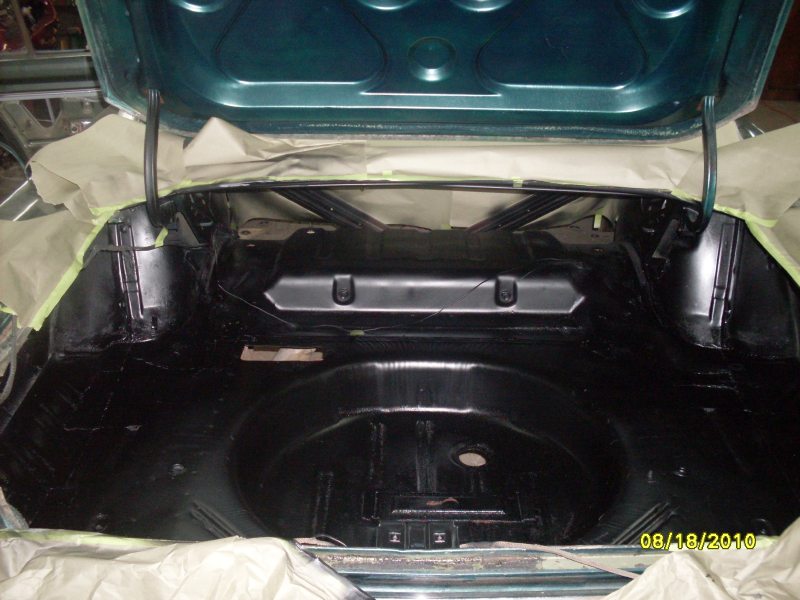
I also wanted to put some pictures of the trunk that I have been working on. This is the picture after I applied Eastwood rust encapsulator.
SDC10271.a.jpg


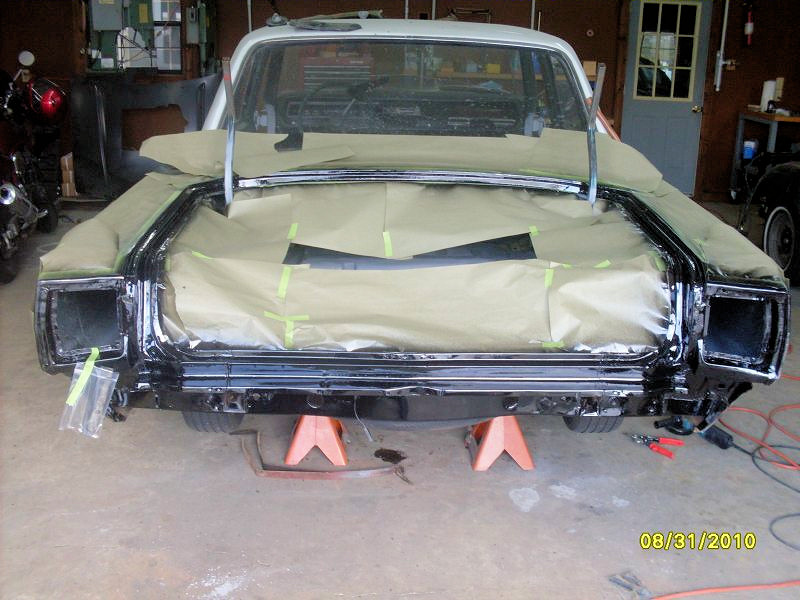
I had some problems with the 3M brushable seam sealer attacking the 1K rust encapsulator. So, I thought I would put a 2K urethane primer over the rust encapsulator. My thinking is that the urethane primer would be less likely to get attacked by the seam sealer and/or be a barrier to the rust encapsulator. But, just to be on the safe side, I went ahead and applied a 2 part seam sealer. It worked, too because nothing lifted this time.
SDC10273.a.jpg


My cherry picker will be delivering tomorrow and, I am still waiting on the AlterKtion K frame. He did say it would take about 3 weeks.

I am going to take flyboy01's recommendation on his hemi suggestion and NOT get the Mopar performance wiring harness and intake. $4,500 is pretty steep.

I should be able to get a lot of work done tonight since my wife and her friends are having a "girls night out".
 
Latest progress.

I used a wire wheel and those Scotch brite paint remover wheels to strip the paint and rust from the rails of the trunk and around the tail lights. I found a few holes where I patched in some new sheet metal. Afterwords, I used KBC Rust Bast and KBC Rust Seal.
SDC10281.a.jpg


I discovered that the right rear fender had been hit and crunched. They didn't try to pull the dent. Instead, they built it up with bondo and carefully sculpted it to give an OEM look. I stripped all the bondo off and used a hammer and dolly to beat it back into shape. Now, I should only need a skim coat of bondo to smooth it out.

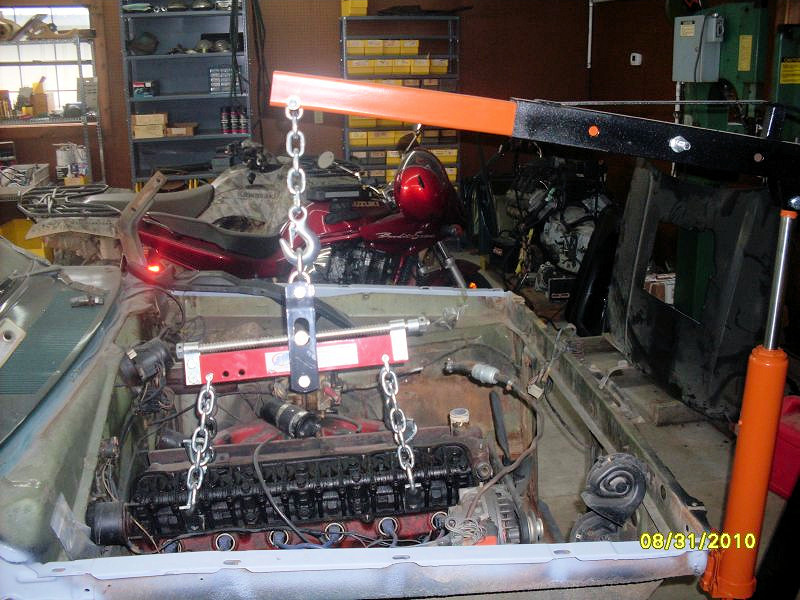
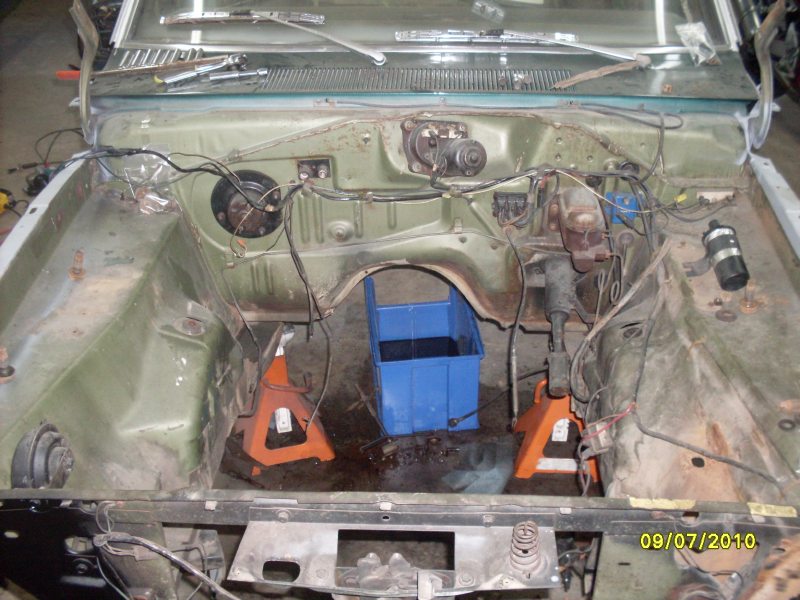
While waiting for the paint to dry, I thought I would get started pulling the engine.
SDC10282.a.jpg


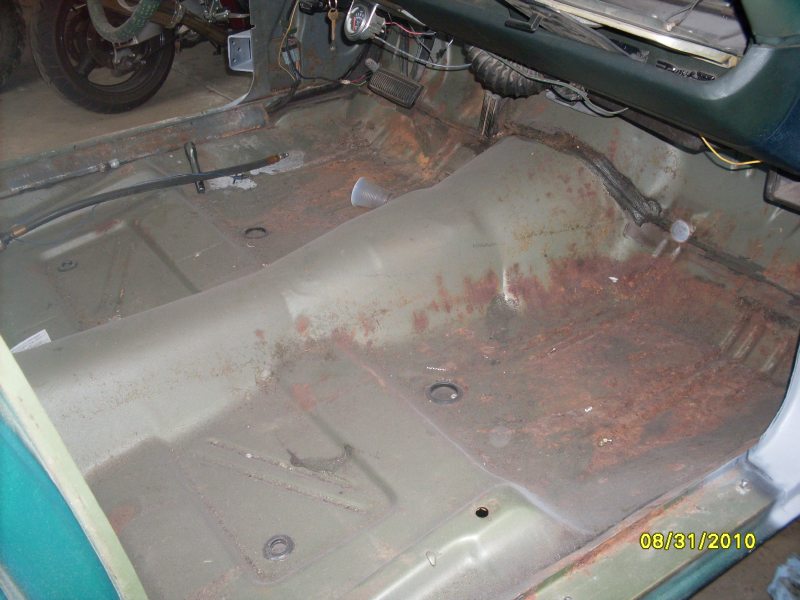
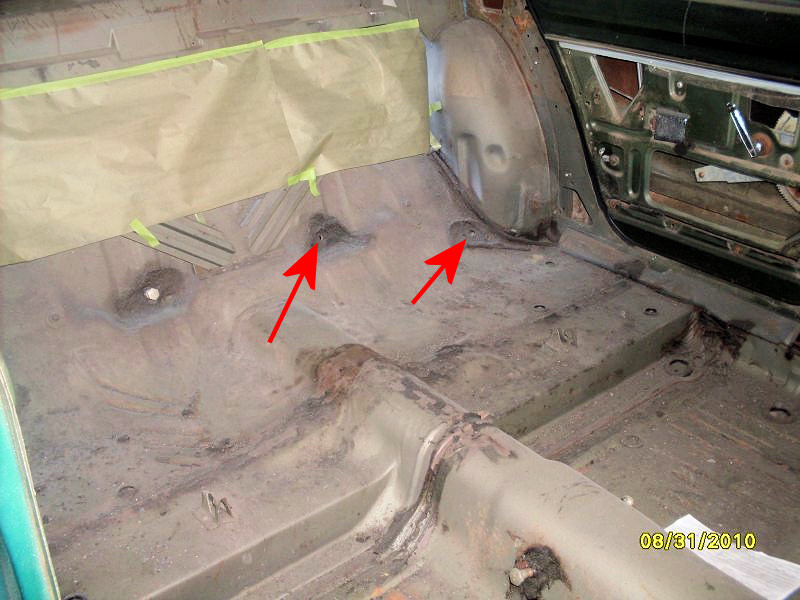
I also removed the carpet and seats. There is very little rust.
SDC10283.a.jpg


Does anyone know where I can get 3 seat belt bolts? I discovered they were missing.
SDC10284.a.jpg


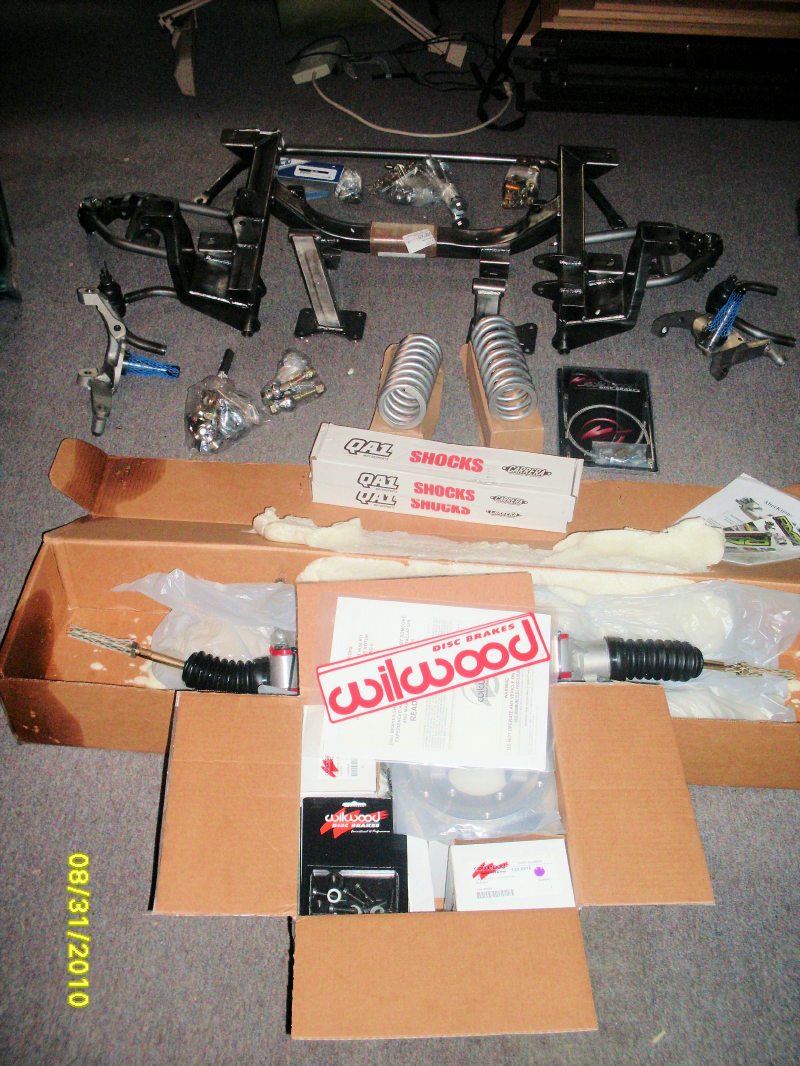
But, the best news is that my AlterKtion K frame and Wilwood brakes came in today.
SDC10275.a.jpg


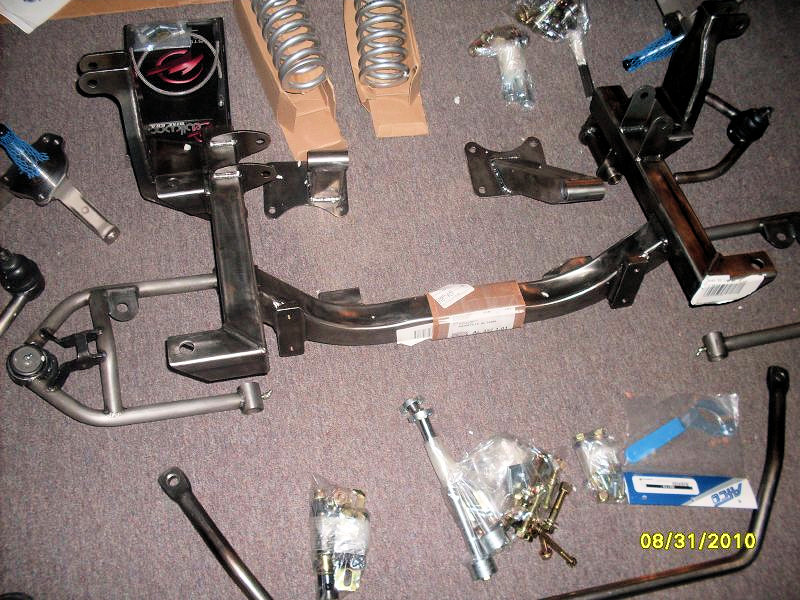
I can't wait to put this in. I will need to paint it soon before it starts to rust.
SDC10276.a.jpg


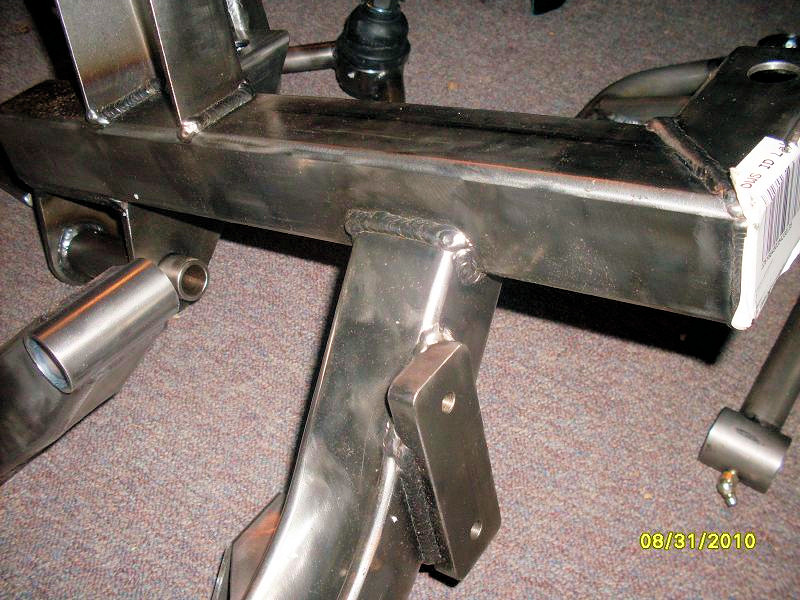
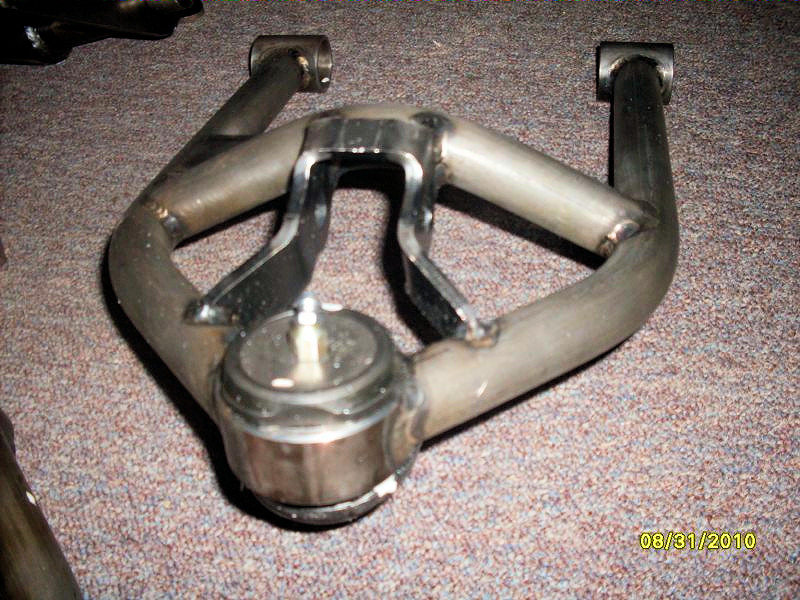
I wish I could weld this good.
SDC10277.a.jpg


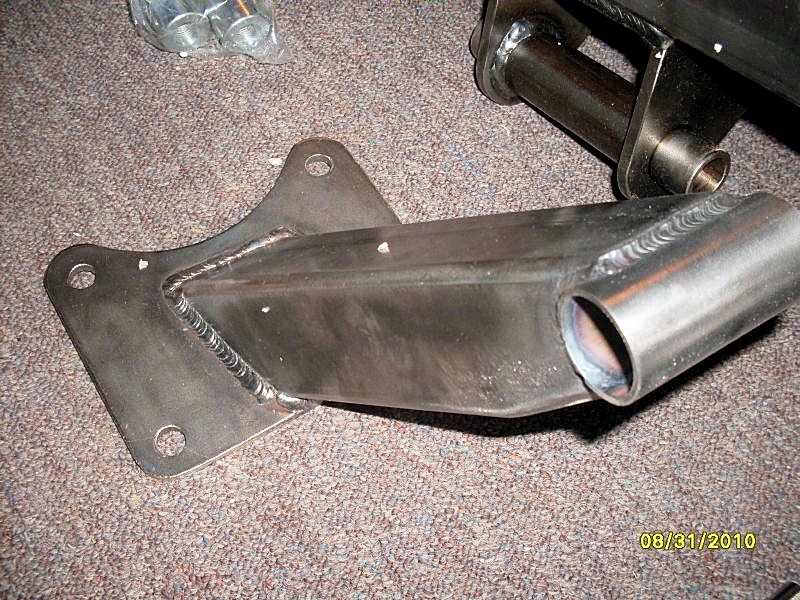
There is another thread somewhere on here about a Magnum Force A frame breaking. I don't think I will need to worry about this on the O'Reilly A Frame. Check this out.
SDC10279.a.jpg


Here is another piece showing the great welds.
SDC10280.a.jpg


The parts are coming in faster than I can install them. I need to get to work!
 
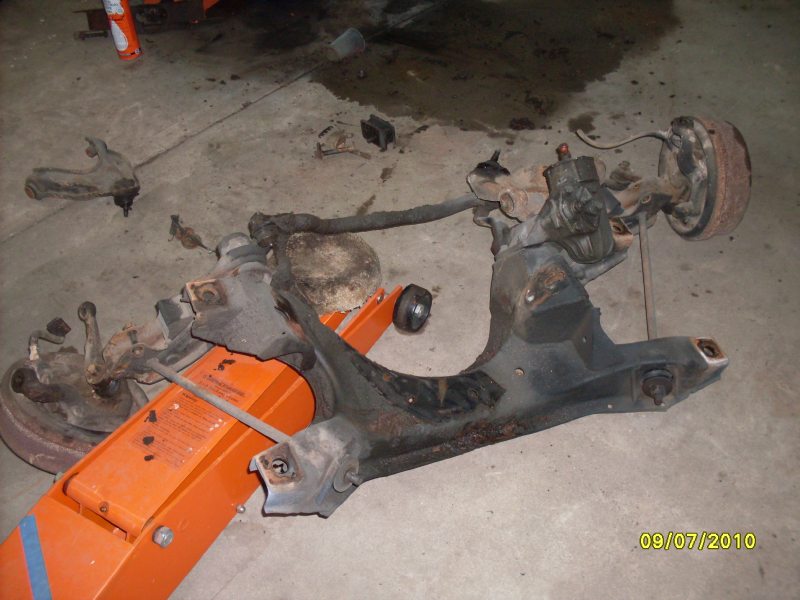
I made a little bit of progress. I had my son help me pull the engine, transmission and K frame.

SDC10286.a.jpg

SDC10285.a.jpg


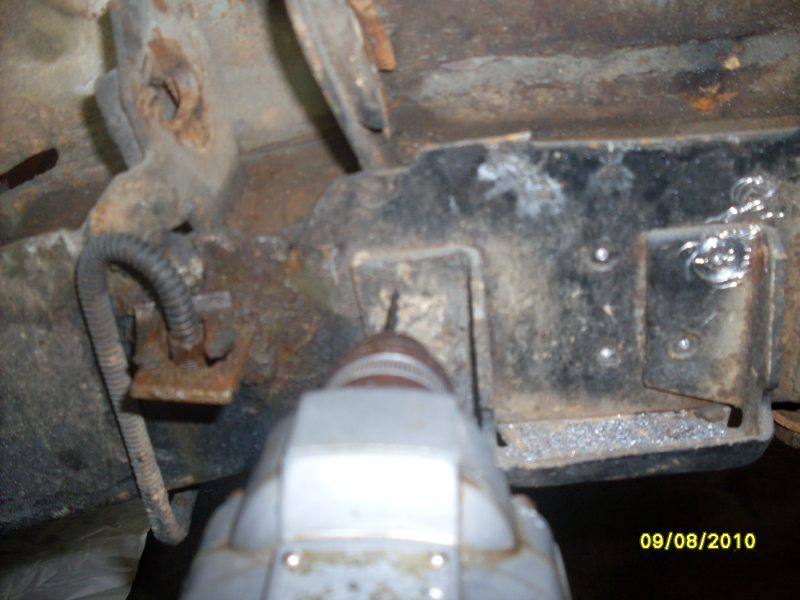
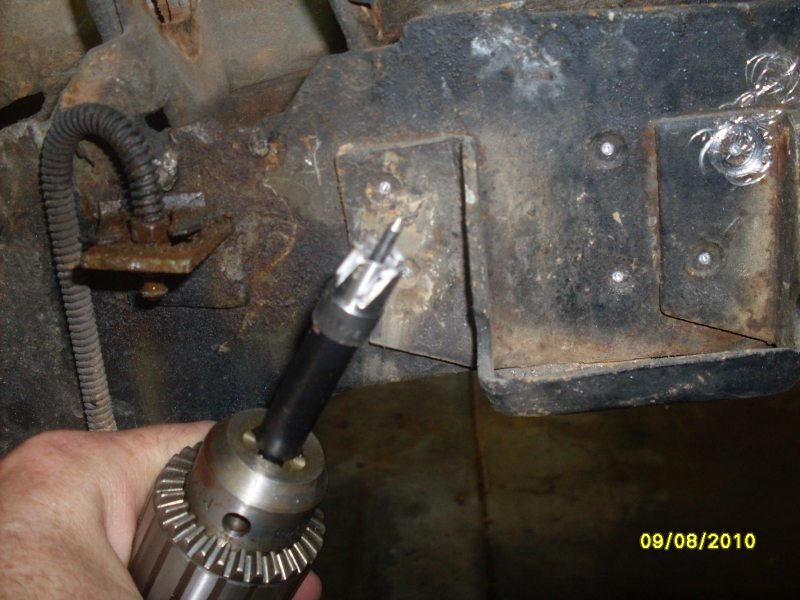
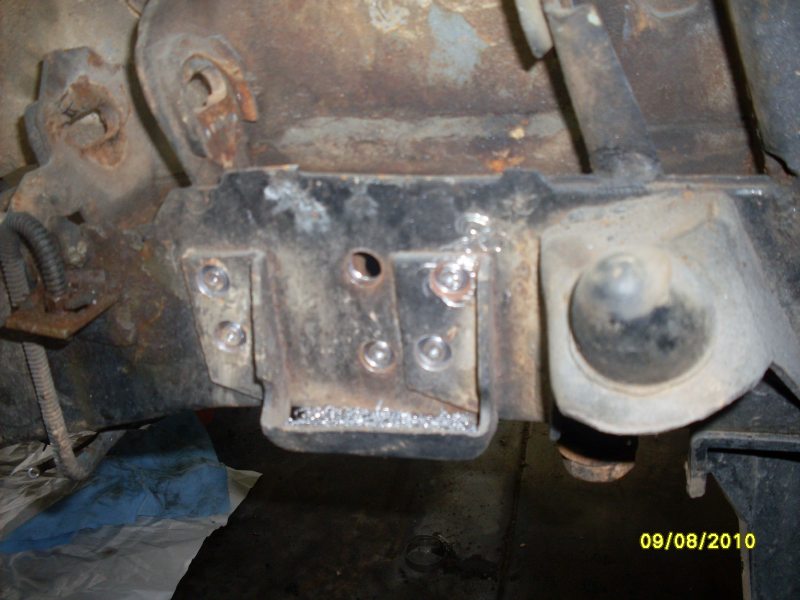
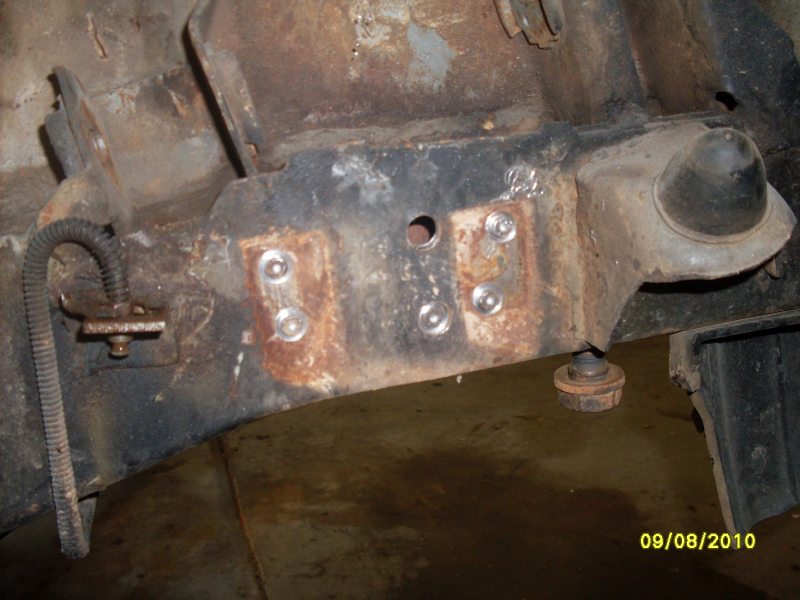
Also, the AlterKtion instructions are very detailed. To install the AlterKtion requires removing the bump stop bracket. First, I drilled a small hole in the center of each spot weld.
SDC10289.a.jpg


The instructions said to cut the 6 spot welds that hold on the bracket. I found 6 spot welds. I found out by mistake that 2 of the spot welds are on the bottom. (What do those 2 spot welds in the center do?) I used a spot weld cutting drill bit to drill out the spot welds.
SDC10291.a.jpg

SDC10293.a.jpg

SDC10295.a.jpg
 
I almost forgot. I also bought a 727 transmission on ebay, too.
transmission.jpg
 
this thing ought to be a real deal street bomber for sure. welcome to FABO. lurk no more. i love a good sleeper. and this thing should fit the bill nicely!!!!!!!!!!!!
 
Excellent progress!
Nothing like a sleeper 4 door, and nothing like one with a Hemi!
I'm looking forward to watching your continued progress!
 
I got back from an 11 day England and Scotland vacation on Monday. Then, I had a few days of vacation-recovery and catch-up to do. Not until today was I able to do some work on the 4 door sleeper.

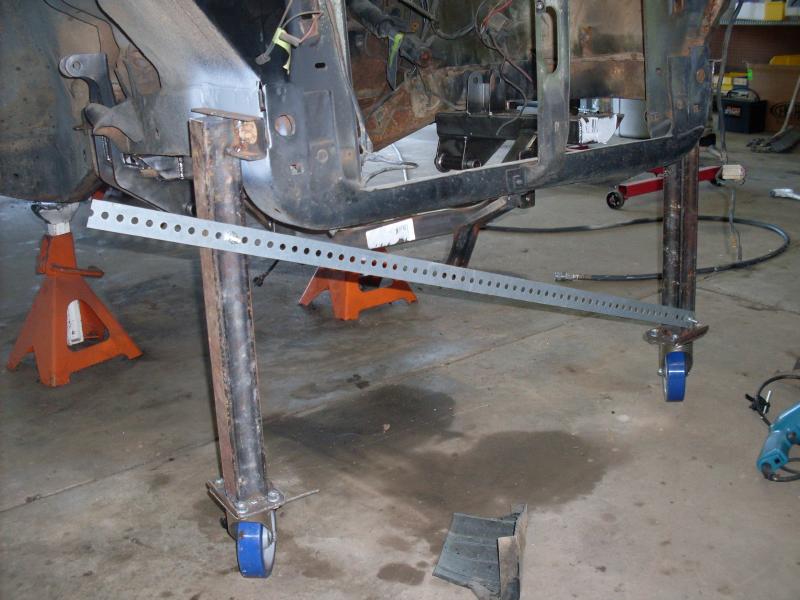
I want to roll the car out of the garage so that I can pressure wash/sand blast/paint the engine compartment and wheel wells before doing any assembly.

I made some casters that bolt in where the bumper bolts on. When I lowered the car, the casters started doing the splits (like a cheerleader) so, I installed some cross bracing.
SDC10544.a.jpg


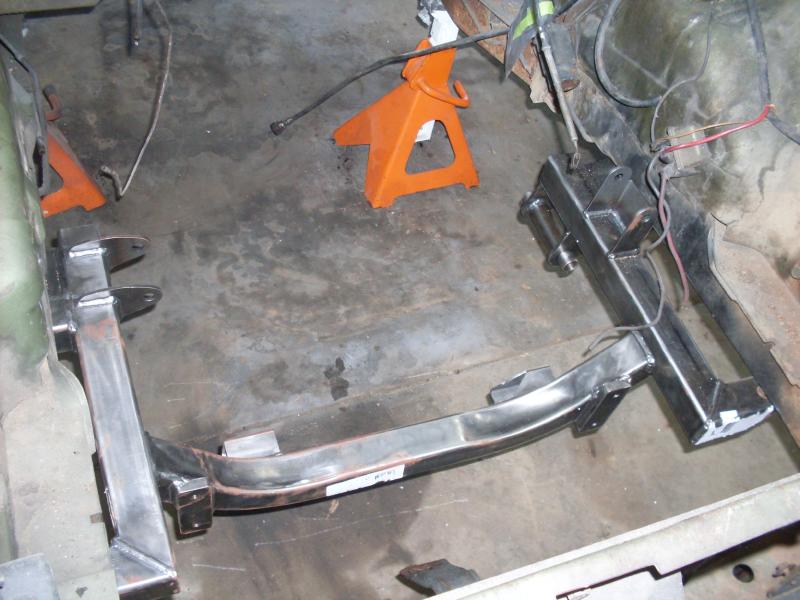
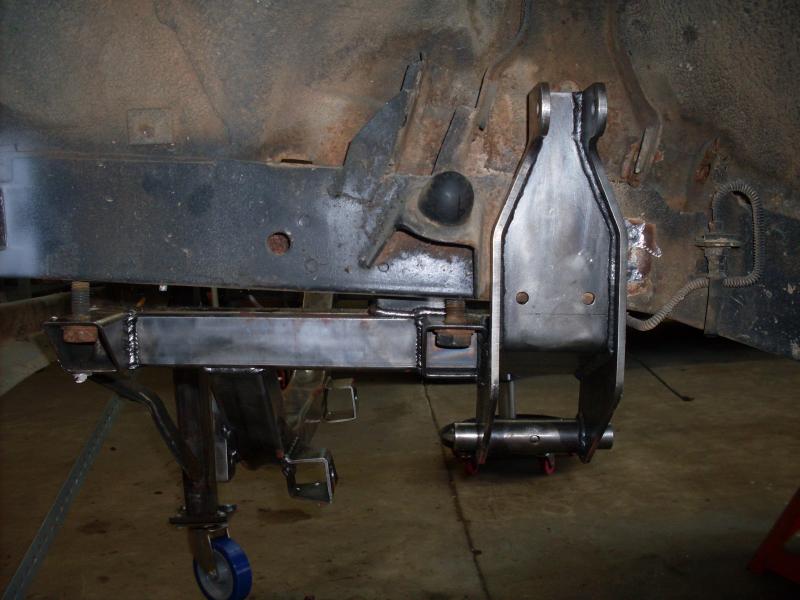
Of course, I didn't have enough perforated steel to do both cross braces so I had to find other things to do. I checked the fit of the AlterKtion k frame. (finger tight, of course). VERY nice fit. I still need to paint it. It is starting to get some surface rust but, after a few minutes in the blast cabinet, it will be ready for some paint.
SDC10545.a.jpg


SDC10546.a.jpg


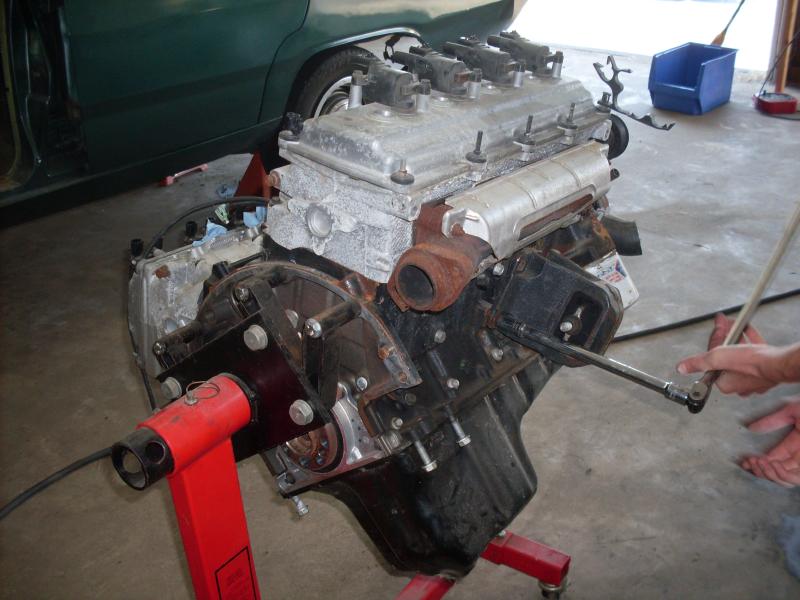
I was also able to get the Hemi mounted to the engine stand to get it ready for paint. I removed the exhaust manifolds, AC compressor, coils, etc. I am going to paint it Hemi orange. I have the KBC coatings hemi orange engine paint. I have read good things about KBC coatings. I hope it lives up to my expectations.
SDC10547.a.jpg
 
Not much to report. I spent the day painting. I painted the engine and the trunk.
SDC10553.a.jpg

SDC10555.a.jpg
 
SWEEEET build! I am planning on doing roughly the same thing when I can get me mitts on a suitable car!
BTW... I have a HIGH degree of knowledge on the 5.7 and 6.1 and would be happy to help out with any questions on that species of HEMI...
I love this car! Keep it going!

HEY! Does the Wilwood setup allow for any larger rotor setup?
 
I have a HIGH degree of knowledge on the 5.7 and 6.1 and would be happy to help out with any questions on that species of HEMI...

Oh boy... you set yourself up now. I will have MANY questions.

Does the Wilwood setup allow for any larger rotor setup?

If I remember correctly, it is possible to get larger rotors but, I wanted the disks to fit inside factory rims... for the sleeper look. Check with www.reillymotorsports.com. I think that a 13 inch is available.
 
-
Back
Top