'72 Scamp

-
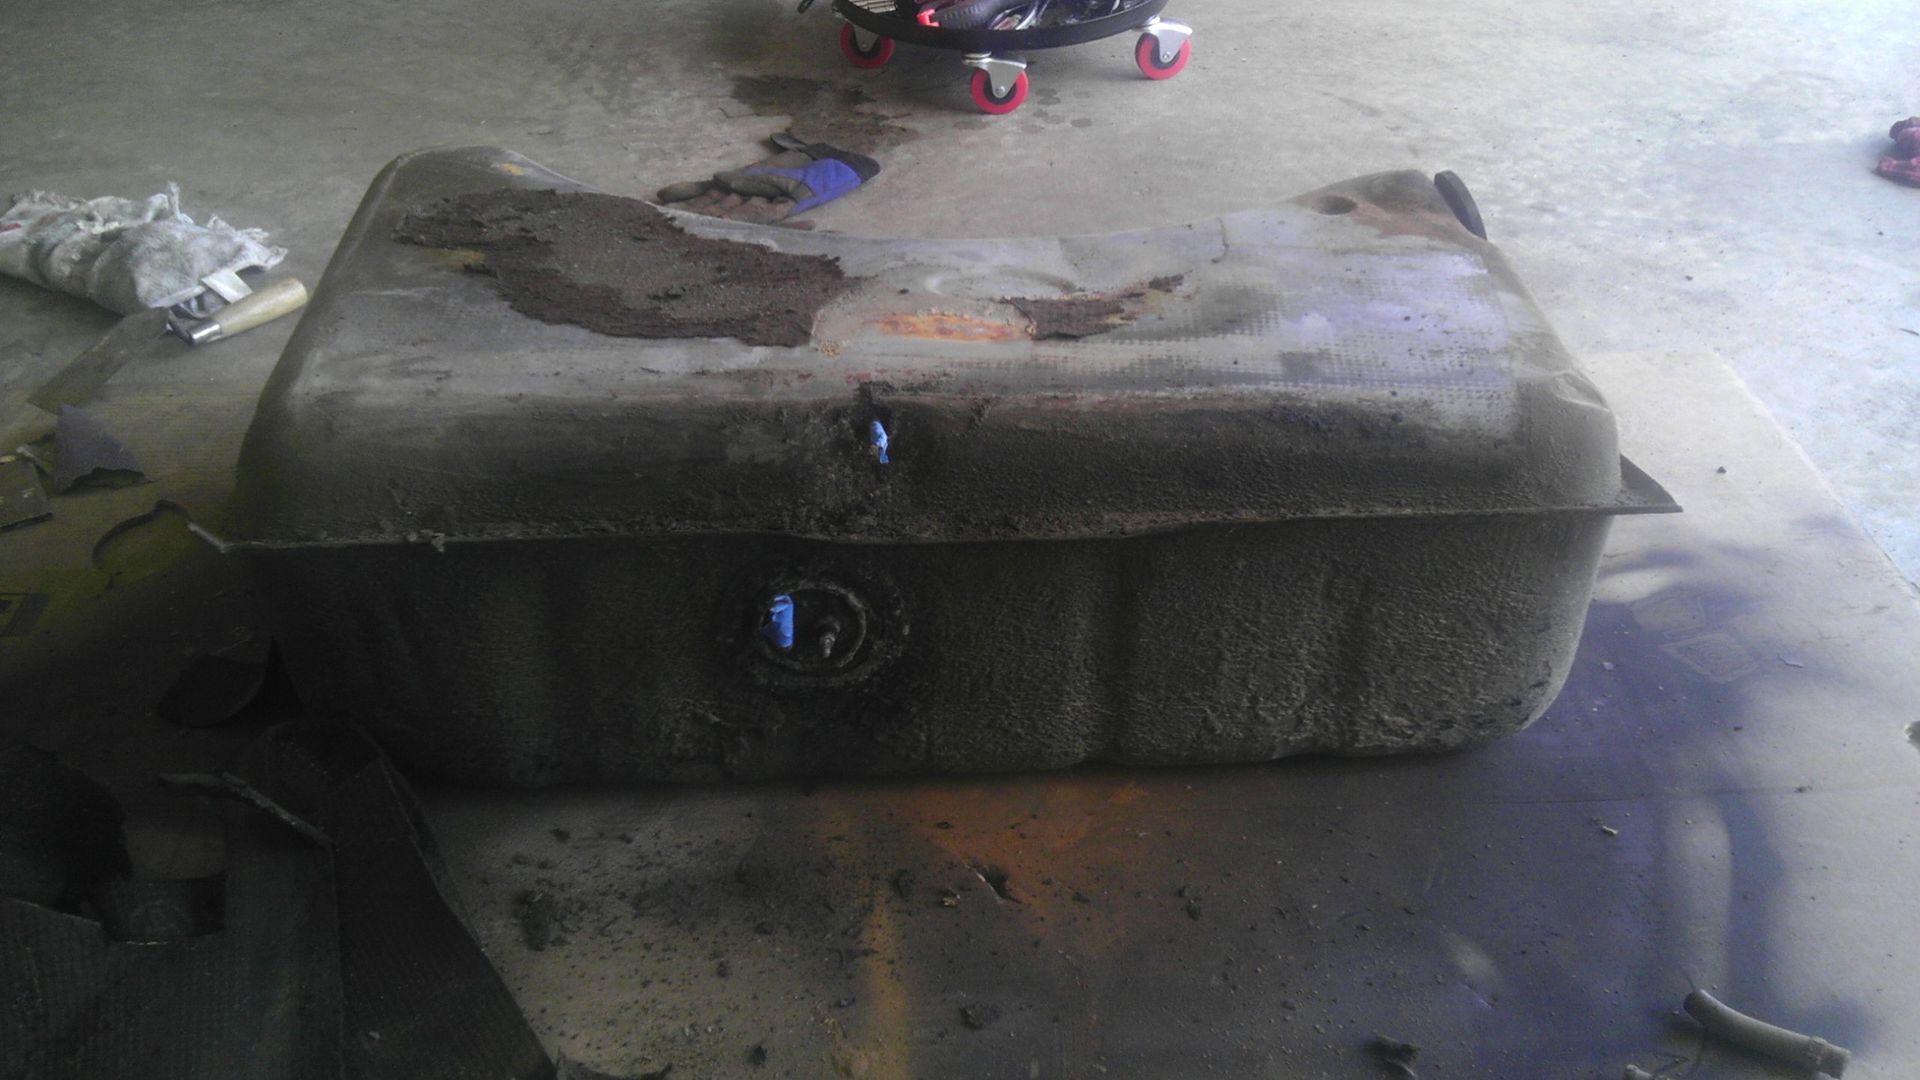
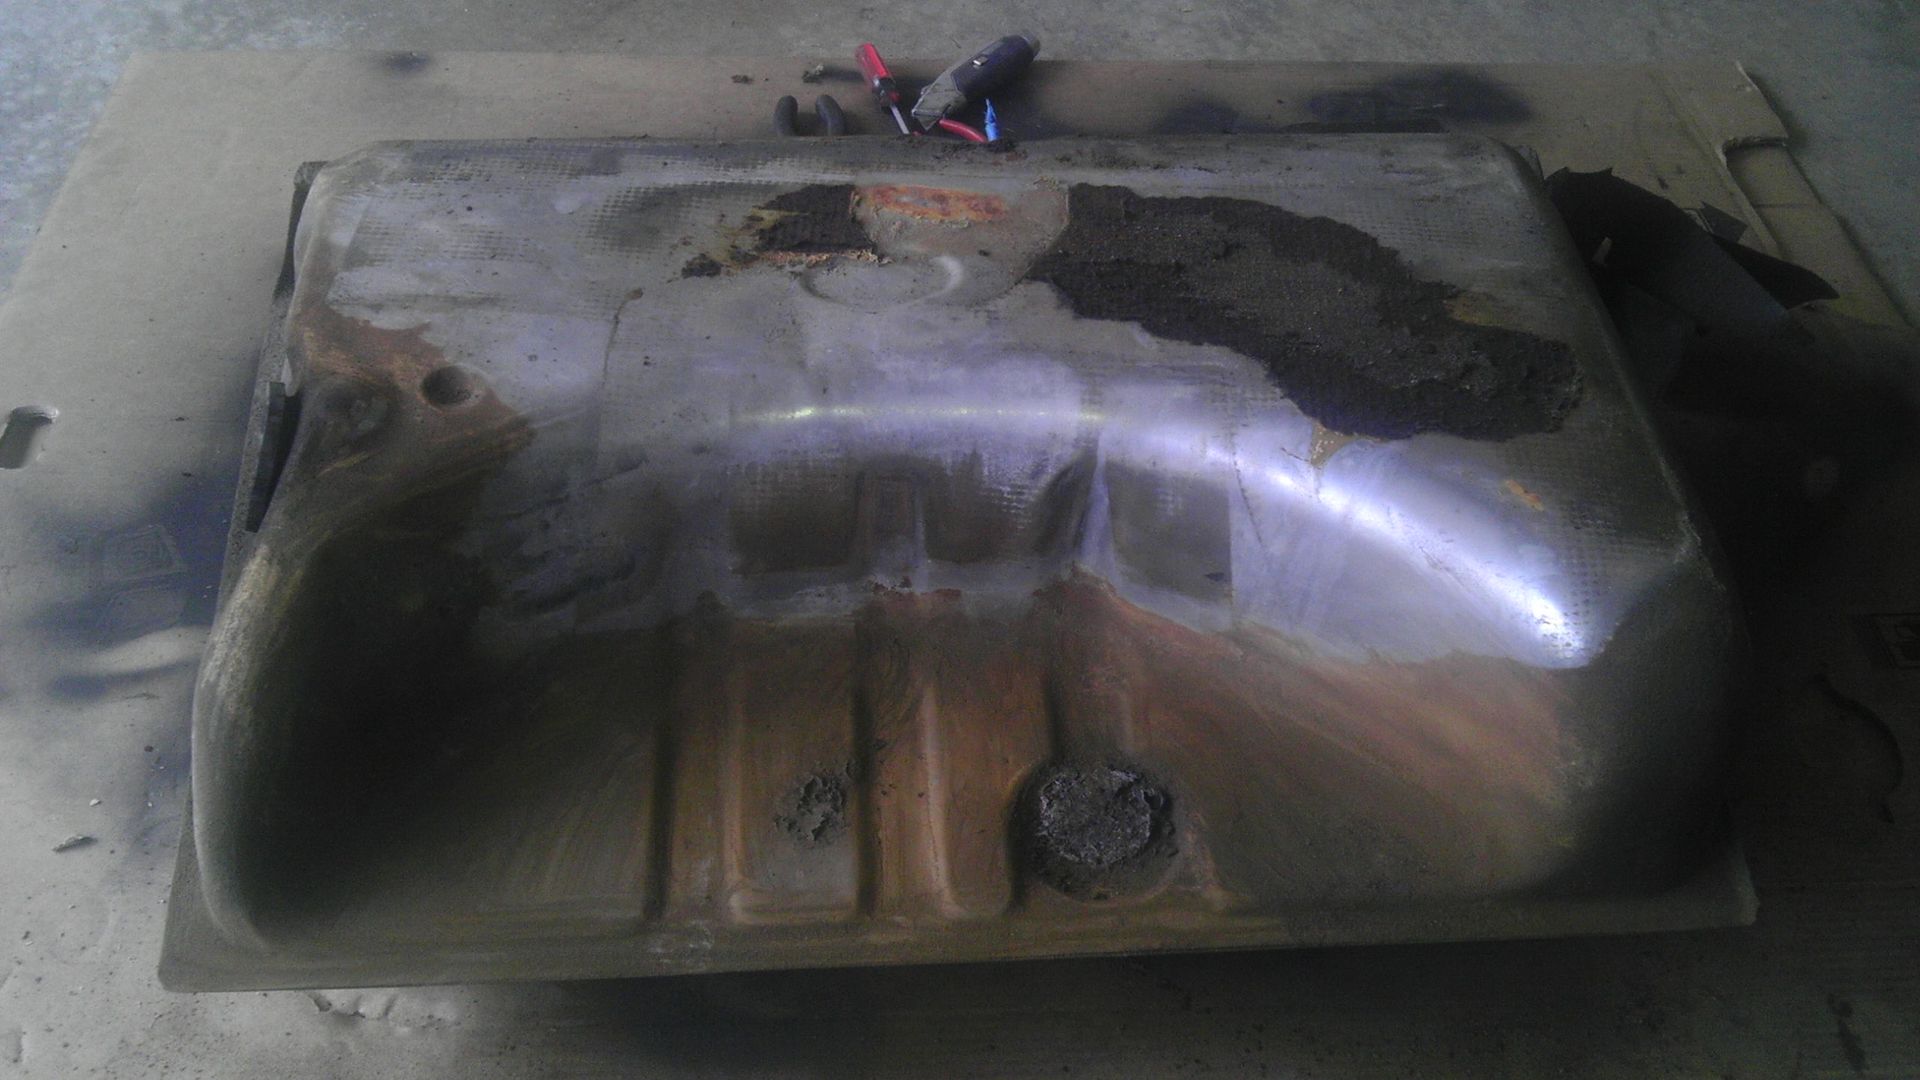
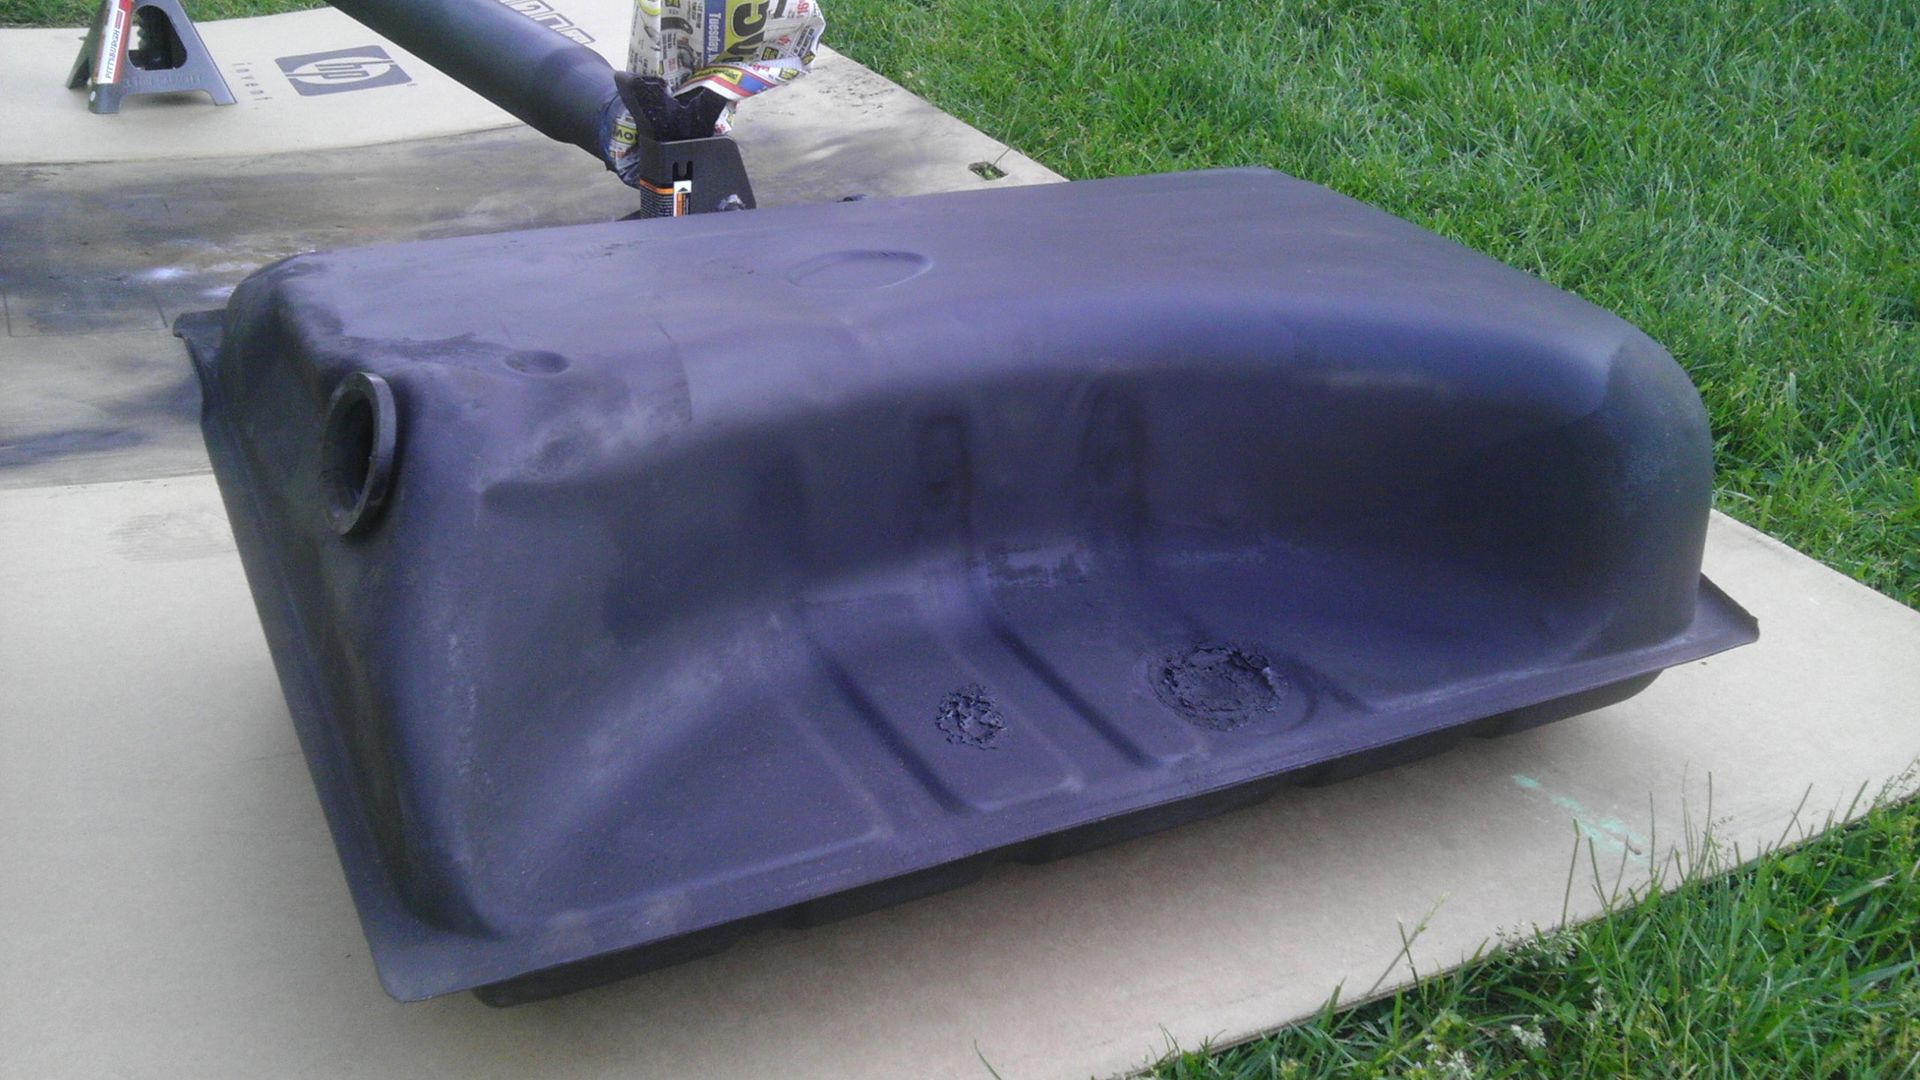
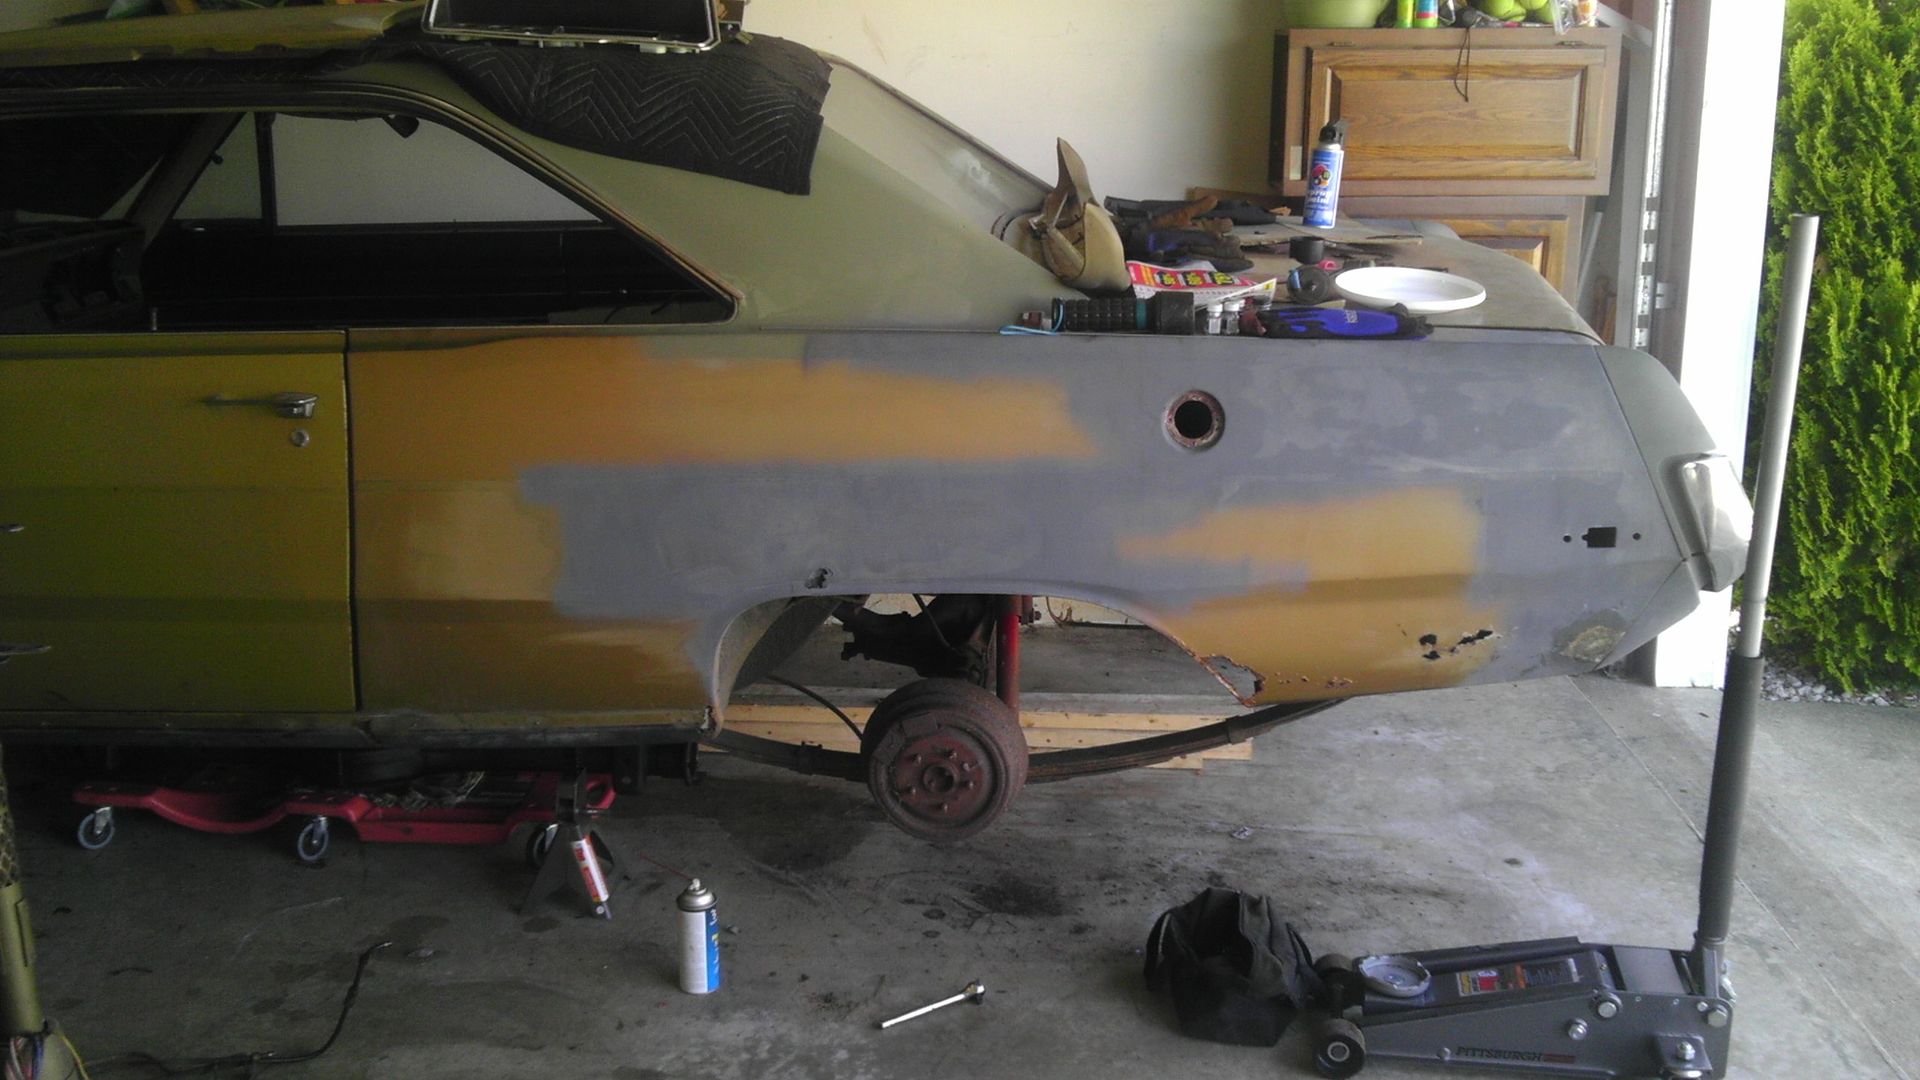
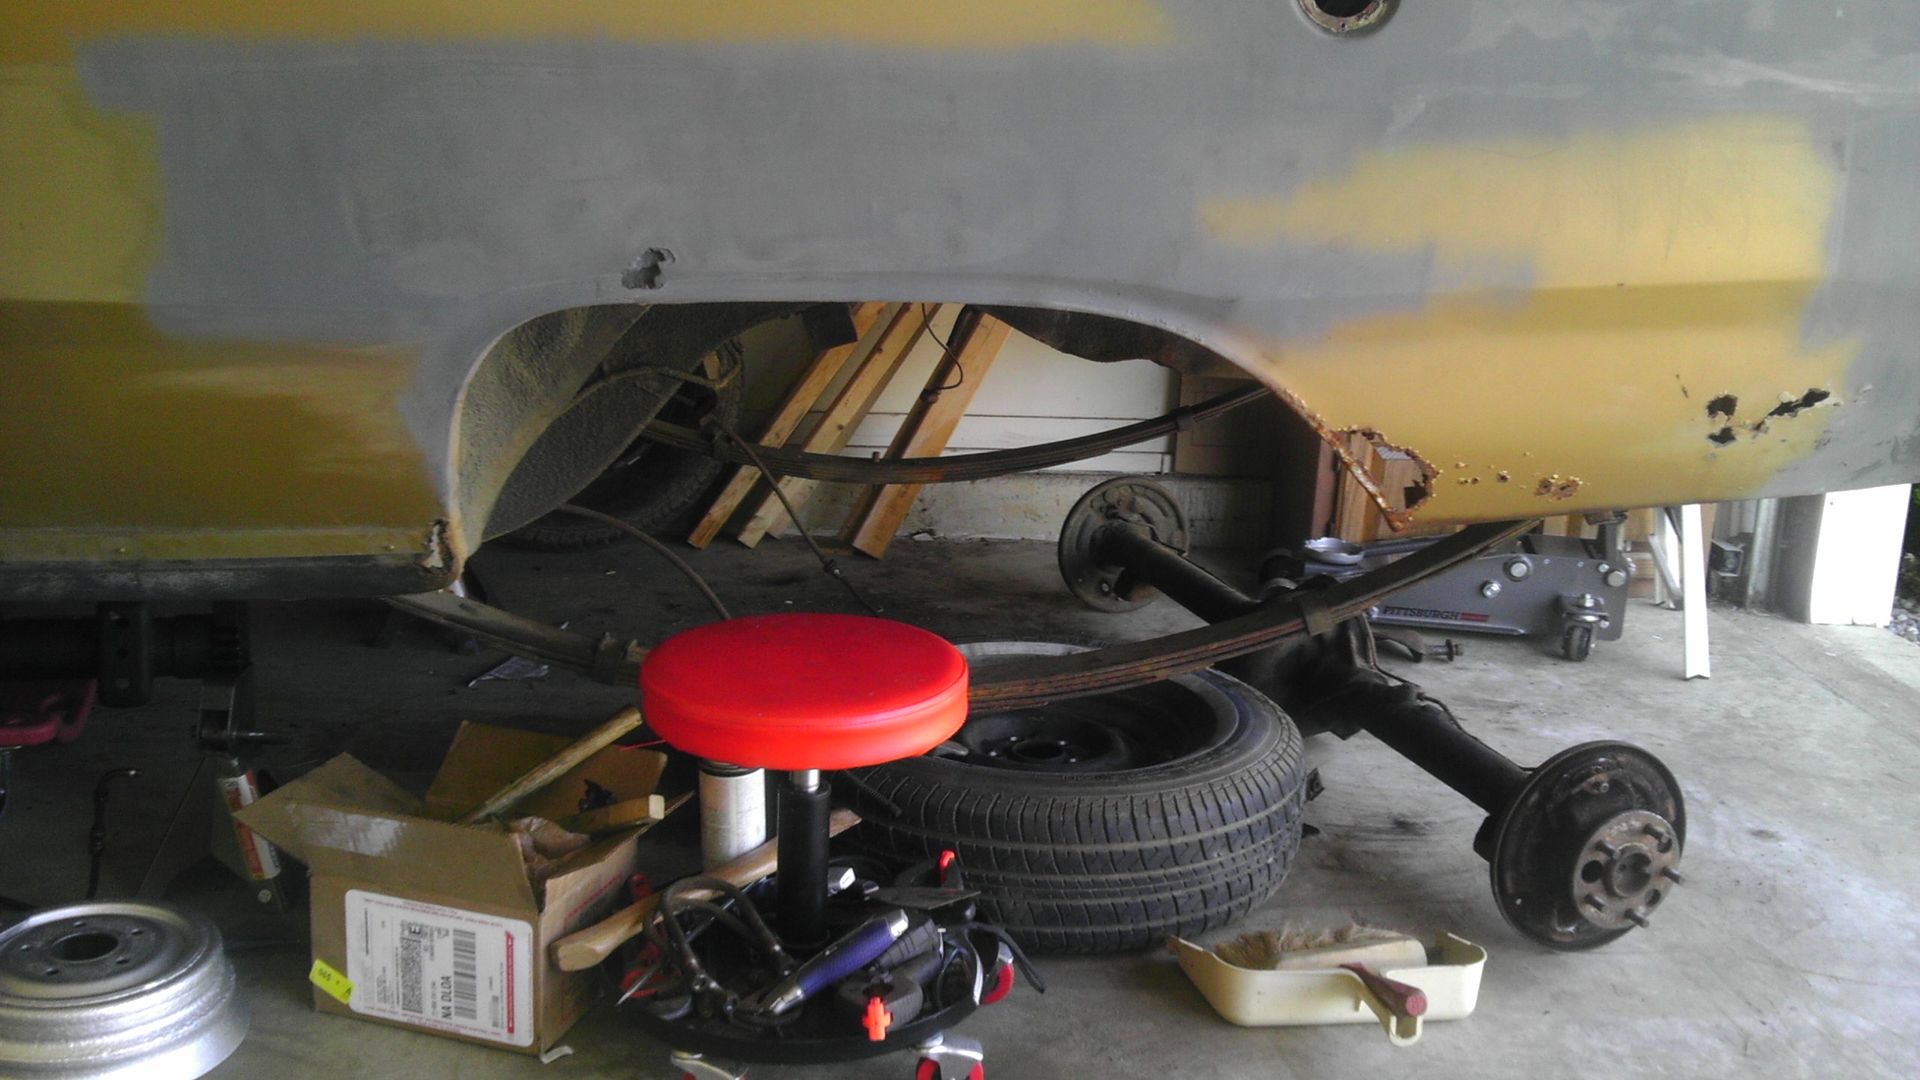
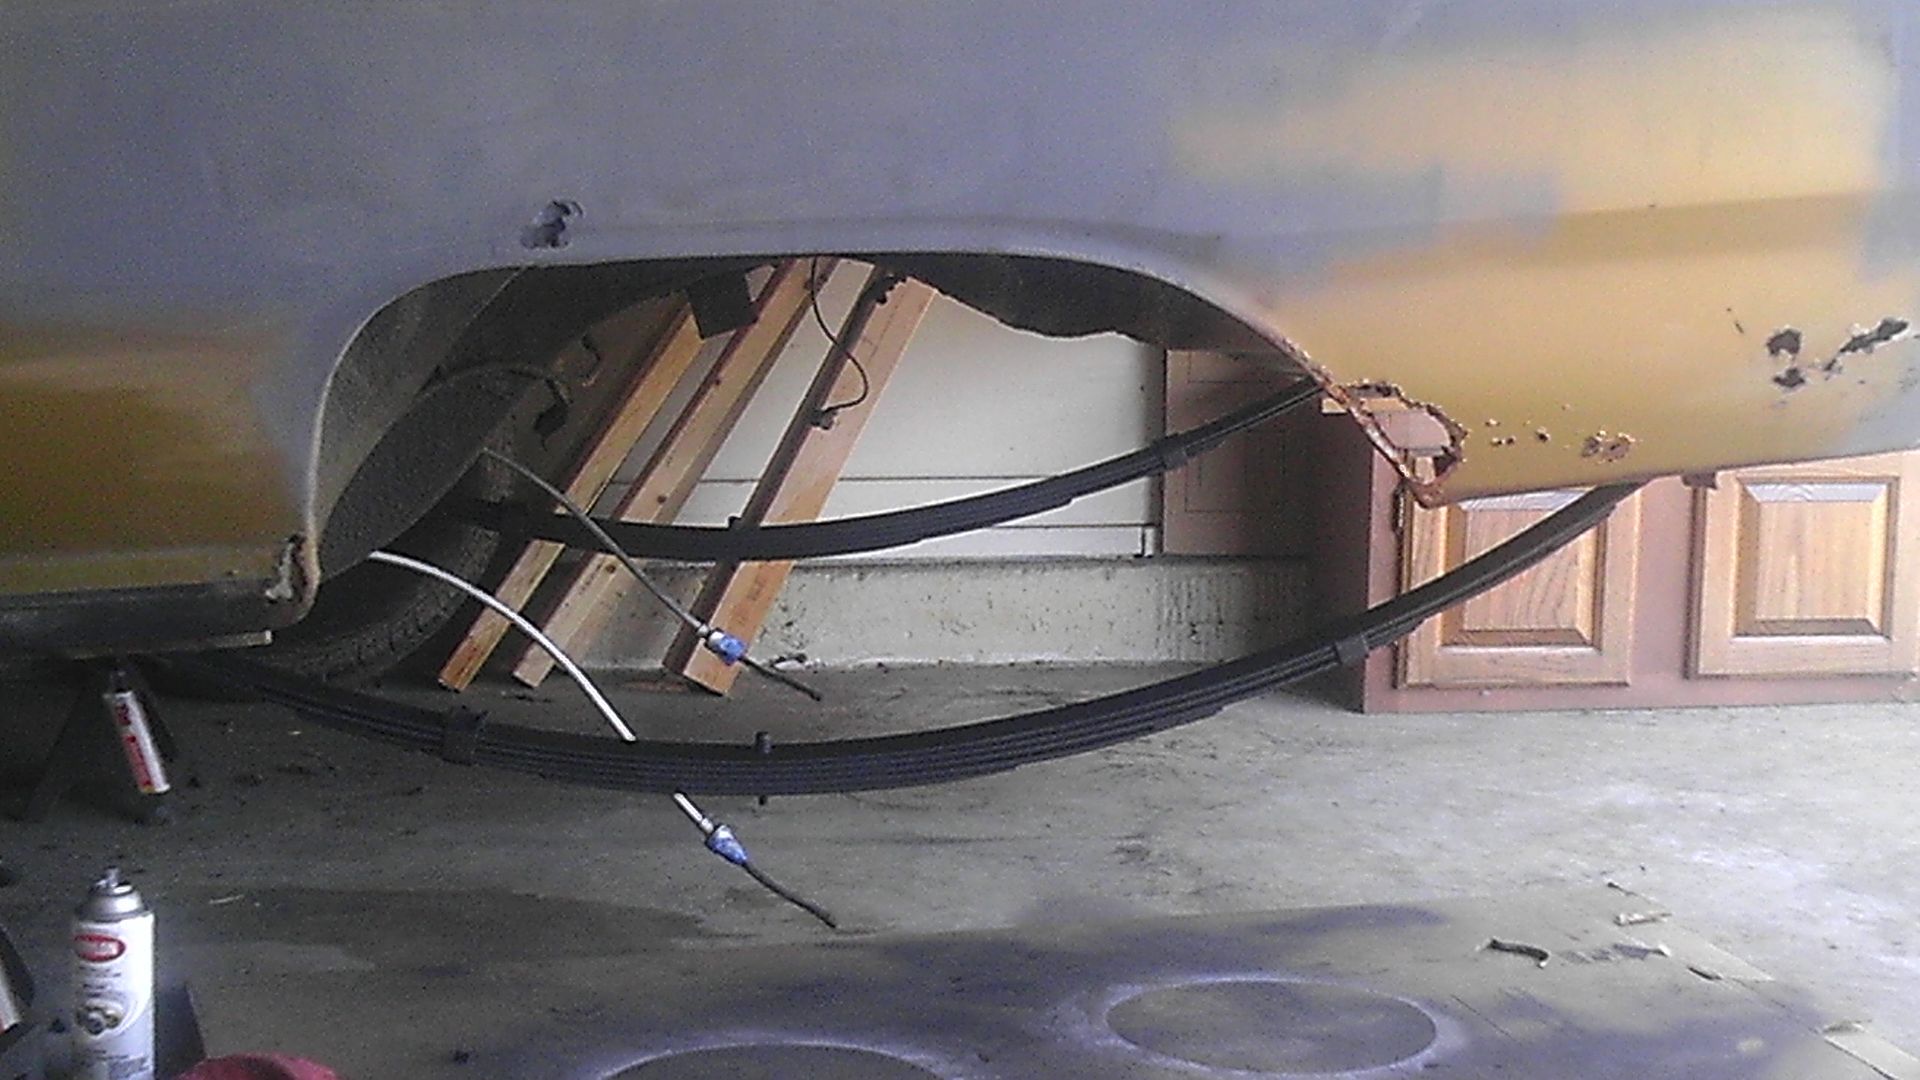
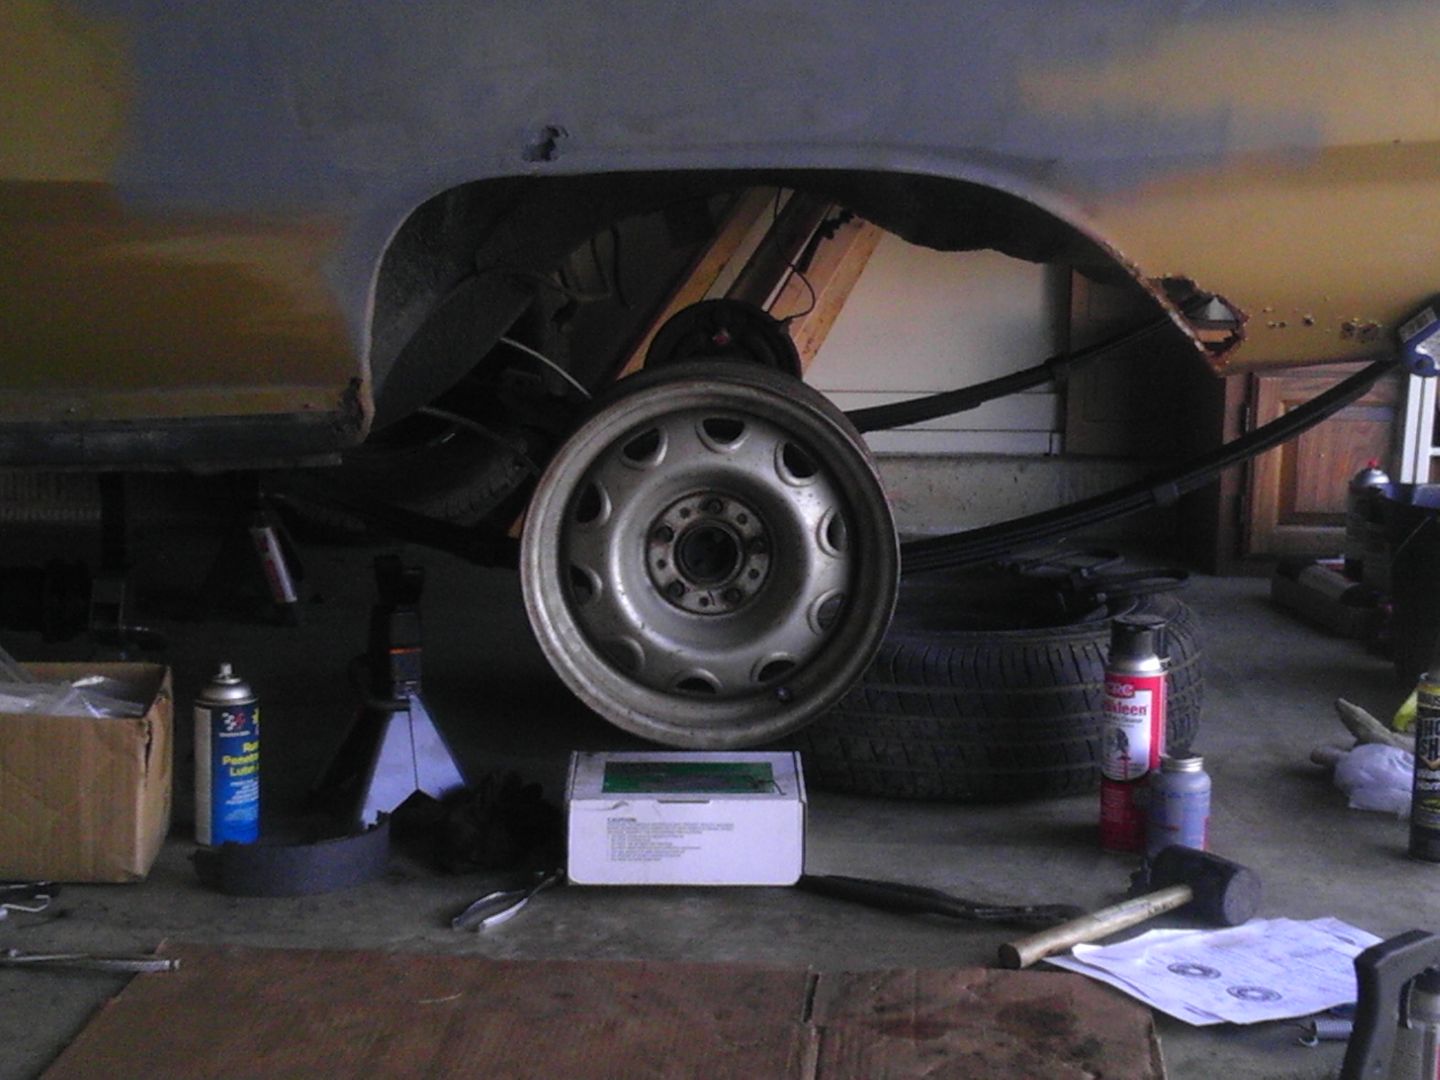
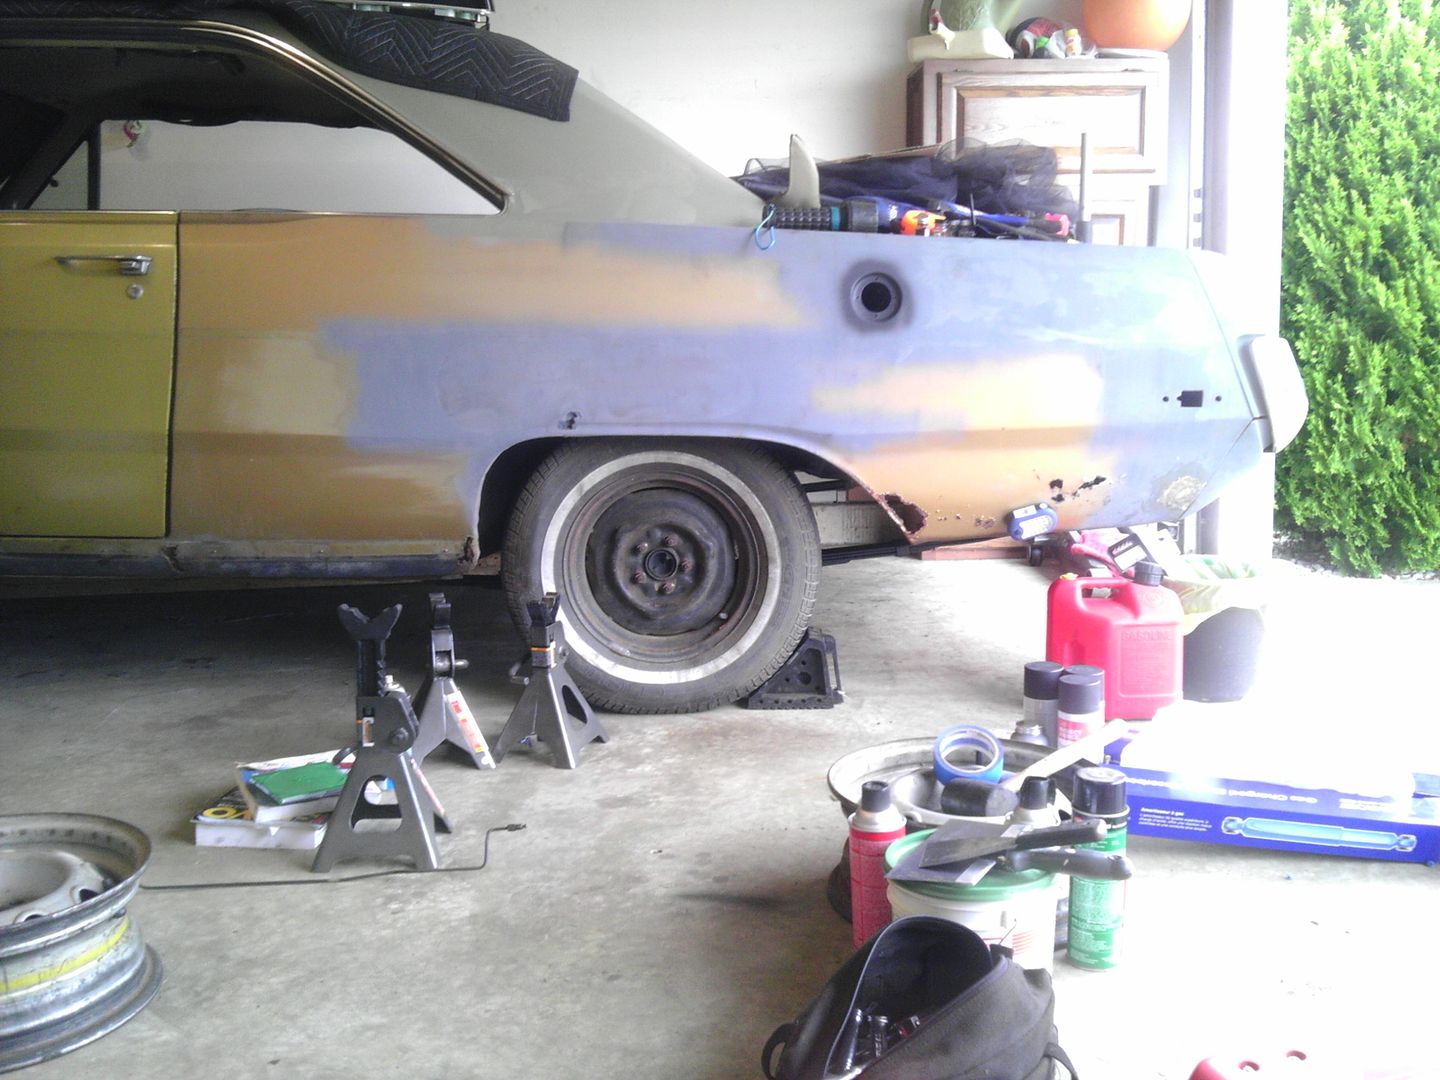
Looking good. I am working on a '73 Dart with the same rust issues and then some, if you had water in the floor take a look at the seals where the wipers go through the firewall, I didn't think to do that and pulled the windshield out when I probably didn't need to.
 
Thanks cletus, I plan to go over the firewall and replace all the gaskets.

http://s1239.photobucket.com/user/slotto1/media/scamp/23May14/IMAG0856.jpg.html
http://s1239.photobucket.com/user/slotto1/media/scamp/23May14/IMAG0855.jpg.html
http://s1239.photobucket.com/user/slotto1/media/scamp/30May14/IMAG0883.jpg.html
http://s1239.photobucket.com/user/slotto1/media/scamp/30May14/IMAG0882.jpg.html
Over the past week, I removed the gas tank and cleaned it up a bit. And I pulled off the sending unit. I was covered in rust. So I peeked inside and it was, like the sending unit, covered in rust. Should I replace the tank? hmmmmm What do you guys think?

http://s1239.photobucket.com/user/slotto1/media/scamp/23May14/IMAG0848.jpg.html
http://s1239.photobucket.com/user/slotto1/media/scamp/30May14/IMAG0849.jpg.html
Also, I cleaned up the filler pipe a bit with a splash of silver paint.

http://s1239.photobucket.com/user/slotto1/media/scamp/30May14/IMAG0874.jpg.html
http://s1239.photobucket.com/user/slotto1/media/scamp/30May14/IMAG0876.jpg.html

Next came the drive shaft. This was with the car when it had the /6. It prob wont fit, but maybe I can still use it if it needs to be cut down.

http://s1239.photobucket.com/user/slotto1/media/scamp/30May14/IMAG0884.jpg.html
http://s1239.photobucket.com/user/slotto1/media/scamp/30May14/IMAG0886.jpg.html

Then I cleaned up the replacement rear.

http://s1239.photobucket.com/user/slotto1/media/scamp/30May14/IMAG0878.jpg.html

I love this rattle can attachment. If you are spraying as much as I have been doing lately, I highly recommend it!

Thanks for looking,
Stay Tuned...


Another step closer. I got the battery tray and support cleaned up. It was a little rusty but not too far gone enough to do the job.
Stay Tuned...
 
http://s1239.photobucket.com/user/slotto1/media/scamp/04Jun14/IMAG0907.jpg.html
http://s1239.photobucket.com/user/slotto1/media/scamp/04Jun14/IMAG0908.jpg.html
http://s1239.photobucket.com/user/slotto1/media/scamp/01Jun14/IMAG0899.jpg.html

I couldn't leave the tank alone. On the top side I sprayed it with truck bed liner and the bottom side I sprayed it with silver chrome. Also did up the straps and hardware in flat.

http://s1239.photobucket.com/user/slotto1/media/scamp/01Jun14/IMAG0894.jpg.html
http://s1239.photobucket.com/user/slotto1/media/scamp/01Jun14/IMAG0895.jpg.html
http://s1239.photobucket.com/user/slotto1/media/scamp/04Jun14/IMAG0904.jpg.html
http://s1239.photobucket.com/user/slotto1/media/scamp/04Jun14/IMAG0905.jpg.html
http://s1239.photobucket.com/user/slotto1/media/scamp/04Jun14/IMAG0906.jpg.html

I put Betty up on some stands and pulled off the brakes. I plan to reuse them with the other rear. They were extra crispy and needed to be turned so I ran them up the street to my mechanic. He got them back next day so I gave them a splash of paint.

Thanks for looking,
Stay Tuned...
 
Not much going on...

http://i1239.photobucket.com/albums/ff513/slotto1/scamp/06Jun14/IMAG0918.jpg

I got the rear out...

http://i1239.photobucket.com/albums/ff513/slotto1/scamp/14Jun14/IMAG0924.jpg

Then scrubbed down the leaf springs and painted them black. While I was under there I cleaned up the e-brake cables and gave them a splash of silver for contrast.

http://i1239.photobucket.com/albums/ff513/slotto1/scamp/14Jun14/IMAG0926.jpg

I stood back and started looking at the wheel opening. I got out the wire brush and knocked off all the loose dust...

http://i1239.photobucket.com/albums/ff513/slotto1/scamp/14Jun14/IMAG0927.jpg

Then I grabbed the can of truck bed liner spray that I used on the gas tank and went at the wheel housing. This turned out better than I thought it was going to so I plan to do the same to the rest of the underside.

http://i1239.photobucket.com/albums/ff513/slotto1/scamp/14Jun14/IMAG0928.jpg

I noticed the gashole looked a little cruddy with bondo all around so I began to sand it off. Half way in, I got called away.

Stay Tuned...
 
Even little things are progress! Looking good, and good score on the wheels.
 
I noticed the gashole looked a little cruddy with bondo all around so I began to sand it off. Half way in, I got called away.

Stay Tuned...

I hate cruddy gasholes. :) Nice, Gotta show some Scamp love. Keep it up.
 
I had massive amounts of rust in my gas tank and opted to replace it. You can find new reproduction tanks and sending units for under $200 if you look around ebay. I decided to replace it after I looked around at fuel tank rust treatment options and found that to do a tank this size the good stuff was going to cost me around $150 anyway.

http://www.ebay.com/itm/230830989977?ssPageName=STRK:MESINDXX:IT&_trksid=p3984.m1436.l2649

http://www.ebay.com/itm/321204876700?ssPageName=STRK:MESINDXX:IT&_trksid=p3984.m1436.l2649

That sending unit having 1/2" line may be overkill for your application, but you get the idea.
 
There is a place nearby that sells tanks and sending units. I'll pick them up after I get Betty back together and running.

Thanks guys.
 
http://s1239.photobucket.com/user/slotto1/media/scamp/13Aug14/IMAG1068.jpg.html
While I had the 7.25 rear out I cleaned up the rust and old brake dust.

http://s1239.photobucket.com/user/slotto1/media/scamp/13Aug14/IMAG1069.jpg.html
All painted up sporting a new wheel cylinder.

http://s1239.photobucket.com/user/slotto1/media/scamp/13Aug14/IMAG1072.jpg.html
Cleaned and painted the rest of the rear and stuck it back in place.

http://s1239.photobucket.com/user/slotto1/media/scamp/13Aug14/IMAG1076.jpg.html
This weekend I'm gonna try to put the new hardware, shoes and newly turned drums on so I can get her back down on the ground.

My plan is to use the 7.25 until I can afford to get backing plates, drums, hardware and shoes for the 8.75.

Stay tuned...
 
Keep the progress coming, I've had my 72 dart swinger now for about 15 years. Three kids and wife, it had to sit aside.Just started back on it. Just about got it completely striped down . Putting a new whole floor board and trunk . My sons are old enough to help now and learn. As you, this is my frist resto. GREAT JOB!
 
If memory serves, (sometimes it doesn't) I think I swapped all the stuff from the 7 1/4 over, I think if you have axles for the 8 3/4 with the same bolt pattern everything should swap. If you don't have, I think at least the backing plates will, then all you have to do is find drums to fit. If your 8 3/4 axles have the bigger bolt pattern you could use drums from a '73 or newer 7 1/4.

Like I said, my memory is a little sketchy on this, but I am pretty sure I left the backing plates in the car hooked up to the e-brake cables and bolted them to the 8 3/4 when I positioned it on the leaf springs.

A little extra work when you do the swap, but may save you a little $$$.
 
Thanks Cletus, I've read up on it some in other forums. I'd have to drill an additional hole in the 7.25 backing plate and enlarge the center hole where the shafts go in. But I saw that guys that did it had a problem with a gap between the backing plate and the rear housing of the 8.75. I'm just gonna get a plate that was meant for the 8.75 housing instead. Maybe I'll go with 10" brakes?

I was able to get outside today...

http://s1239.photobucket.com/user/slotto1/media/scamp/16Aug14/IMAG1079.jpg.html
First time ever installing brake shoes!

http://s1239.photobucket.com/user/slotto1/media/scamp/16Aug14/IMAG1081.jpg.html
After I finished, I just had to see what the rally rims looked like under Betty.

Passenger side is next, then some shocks.
Stay Tuned...
 
http://i1239.photobucket.com/albums/ff513/slotto1/scamp/23Aug14/IMAG1087.jpg
Picked up my new shocks this morning...

http://i1239.photobucket.com/albums/ff513/slotto1/scamp/23Aug14/IMAG1090.jpg
...and got it done!

http://i1239.photobucket.com/albums/ff513/slotto1/scamp/08Nov13/IMAG0417.jpg
Before

http://i1239.photobucket.com/albums/ff513/slotto1/scamp/23Aug14/IMAG1091.jpg
After - It sits about an inch higher now.

http://i1239.photobucket.com/albums/ff513/slotto1/scamp/23Aug14/IMAG1093.jpg
A buddy at work gave me a welders mask, so I gave it a fresh coat of paint.

http://i1239.photobucket.com/albums/ff513/slotto1/scamp/23Aug14/IMAG1092.jpg
I cleaned off the old gasket on the 8.75...

http://i1239.photobucket.com/albums/ff513/slotto1/scamp/23Aug14/IMAG1096.jpg
...then I scrubbed down the center section, painted it up, added the new gasket and put it in place along with the adjustable pinion snubber.
I'll tuck this away for safe keeping 'til I can afford to add the brakes.

Stay Tuned...
 
Day 51
When I got the car, the factory gold colored column and steering wheel were in the front seat. The only problems I could see was that the turn signal switch was busted and didn't click. On Monday I removed the steering wheel and put it up for sale here.

http://i1239.photobucket.com/albums/ff513/slotto1/scamp/25Aug14/IMAG1099.jpg
I was looking at the guts to see what the problem is and if this is something I could fix. I saw that the curvy piece had broken off of the turn signal switch. I don't know if this really is the reason its not clicking but I just know it does not look right.

The column that was in place when I got Betty was a green one with a green steering wheel. Back in April I removed the green wheel and put it up for sale here.

http://i1239.photobucket.com/albums/ff513/slotto1/scamp/08Apr14/IMAG0688.jpg
The green column was sound and does what it supposed to do. But it is not going to match my color scheme so I removed the column. And whoops, it slipped out of my hands and I dropped it and broke the delicate hazzard switch. :banghead:

Day 52
Now that I have a broken hazzard switch on the green column and a broken turn signal switch on the gold column I decided to get creative and combine them both to make one good column.

http://i1239.photobucket.com/albums/ff513/slotto1/scamp/29Aug14/IMAG1106.jpg
I took the guts out of the gold column to salvage the plastic hazzard switch. Seen here is the good switch knob with the contacts all polished up and painted up gloss black. It was a little tricky getting this out. I had to drill out 3 small rivets and disassemble the plastic switch to get the knob out.

http://i1239.photobucket.com/albums/ff513/slotto1/scamp/29Aug14/IMAG1107.jpg
Then I moved to the green cluster and removed its guts to salvage the good turn signal switch and remove the bad hazzard switch knob shown above.

http://i1239.photobucket.com/albums/ff513/slotto1/scamp/25Aug14/IMAG1100.jpg
Before. The turn signal arm is a bit rusty.

http://i1239.photobucket.com/albums/ff513/slotto1/scamp/29Aug14/IMAG1104.jpg
After. I was able to get most of the rust off with some steel wool. Still a little pitted but I can live with that.

http://i1239.photobucket.com/albums/ff513/slotto1/scamp/29Aug14/IMAG1109.jpg
Seen here is the good guts that I compiled. It's ready to go. Notice the cleaned up turn signal arm and hazzard switch knob. If you look close at the hazzard switch you can see how I replaced the miniature rivets with itty bitty machine screws.

http://i1239.photobucket.com/albums/ff513/slotto1/scamp/29Aug14/IMAG1108.jpg
Also cleaned the cobwebs and dirt off of the PRNDL.

I decided to use the gold housing. Ultimately it doesn't matter which one I use. I just figured it came with the car, it should go back in the car. It's being painted now.
stay tuned...
 
Spent some of the day in the garage today...

http://s1239.photobucket.com/user/slotto1/media/scamp/12Sept14/IMAG1117.jpg.html
http://s1239.photobucket.com/user/slotto1/media/scamp/12Sept14/IMAG1118.jpg.html

Since I had the turn signal switch guts out, I decided it was time to clean up the column. I gave it a rough sanding then...

http://s1239.photobucket.com/user/slotto1/media/scamp/12Sept14/IMAG1120.jpg.html
http://s1239.photobucket.com/user/slotto1/media/scamp/12Sept14/IMAG1119.jpg.html

masked off the shiny parts and gave it a blast of gloss black Krylon. I also pulled out the HVAC from under the dash. no pics. The school nurse called and asked if I could come and pick up my daughter :pale:

stay tuned...
 
Thanks Dart,

[ame="http://s1239.photobucket.com/user/slotto1/media/scamp/13Sept14/2014-09-12_11-48-40.png.html"]2014-09-12_11-48-40.png Photo by slotto1 | Photobucket@@AMEPARAM@@http://i1239.photobucket.com/albums/ff513/slotto1/scamp/13Sept14/2014-09-12_11-48-40.p@@AMEPARAM@@1239.photobucket.com/albums/ff513/slotto1/scamp/13Sept14/2014-09-12_11-48-40.p[/ame][ame]http://i1239.photobucket.com/albums/ff513/slotto1/scamp/13Sept14/2014-09-12_11-48-40.png[/ame]
Got the steering wheel on order.

Today I got a little more done...

http://s1239.photobucket.com/user/slotto1/media/scamp/13Sept14/IMAG1122.jpg.html
Here's the before

http://s1239.photobucket.com/user/slotto1/media/scamp/13Sept14/IMAG1126.jpg.html
And here's the after

http://s1239.photobucket.com/user/slotto1/media/scamp/13Sept14/IMAG1125.jpg.html
The glove box hinge and catch got some attention

http://s1239.photobucket.com/user/slotto1/media/scamp/13Sept14/IMAG1124.jpg.html
The bracket and bolts below the column

http://s1239.photobucket.com/user/slotto1/media/scamp/13Sept14/IMAG1123.jpg.html
Removed the upper trim and planned on shooting them until I ran out of paint.

stay tuned...
 
I shot my trim for the 74 in Rustoleum paint for plastic. Worked out great and has held up very well so far!
 
I went to visit my sister this past weekend. I took the truck pipes that I cleaned up earlier. I picked up the actual pipes that I plan to use. Also, I got the correct shock plates for the 8.75 rear.

The correct pipes

Progress today: I wire brushed down the shock plates and gave them a shot of flat black...


Before

After

Then I worked on a rallye wheel...


Before


After


Side by side


Here's what I used. HF had a special. $2.97 a can!


Steering wheel and horn kit showed up too.

Thanks for looking.
Stay tuned...
 
-
Back
Top