A tale of two Dusters

-
So Im assuming you got a killer deal on the centrifugal blower. Looks like the same idea as the procharger,with the gearbox and centrifugal type blower. Any idea what kind of psi it will make? And did those units come on anything factory?

Killer deal would be an understatement. I paid about 1/3-1/4 of what they are going for on ebay.

They are pretty much exactly the same as any Vortec, paxton, procharger or any other centrifugal supercharger. the only real difference is that Powerdyne is a belt driven(inside) rather than gear driven. Which means that you don't have to run a oil line to it.

I don't know if they came on anything factory. But Ford racing uses them for their supercharger kits, and they make a bunch of kits on their own.

Well, they have several different kinds, this one would probably lose efficiency really quick after 10 psi. I am going to run about 6. Which should get me about 375-400 at the wheels, according to my estimates. But they have some big ones that can go well over 20PSI. Remember though, charge efficiency and air flow are a LOT more important than just psi.
 
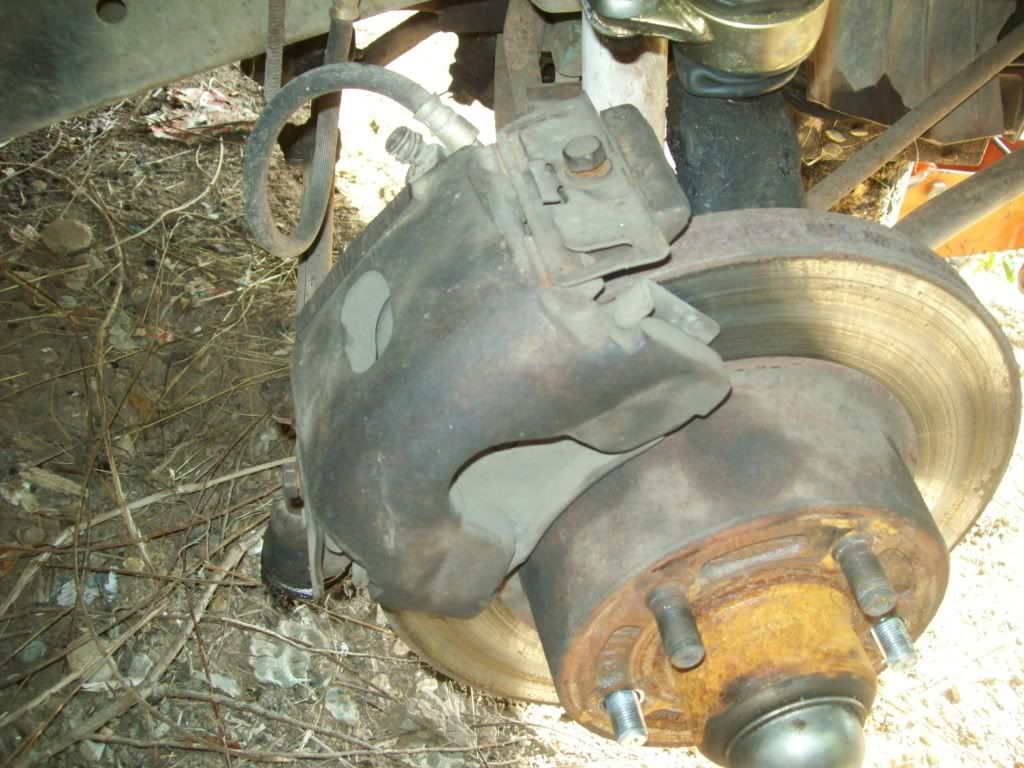
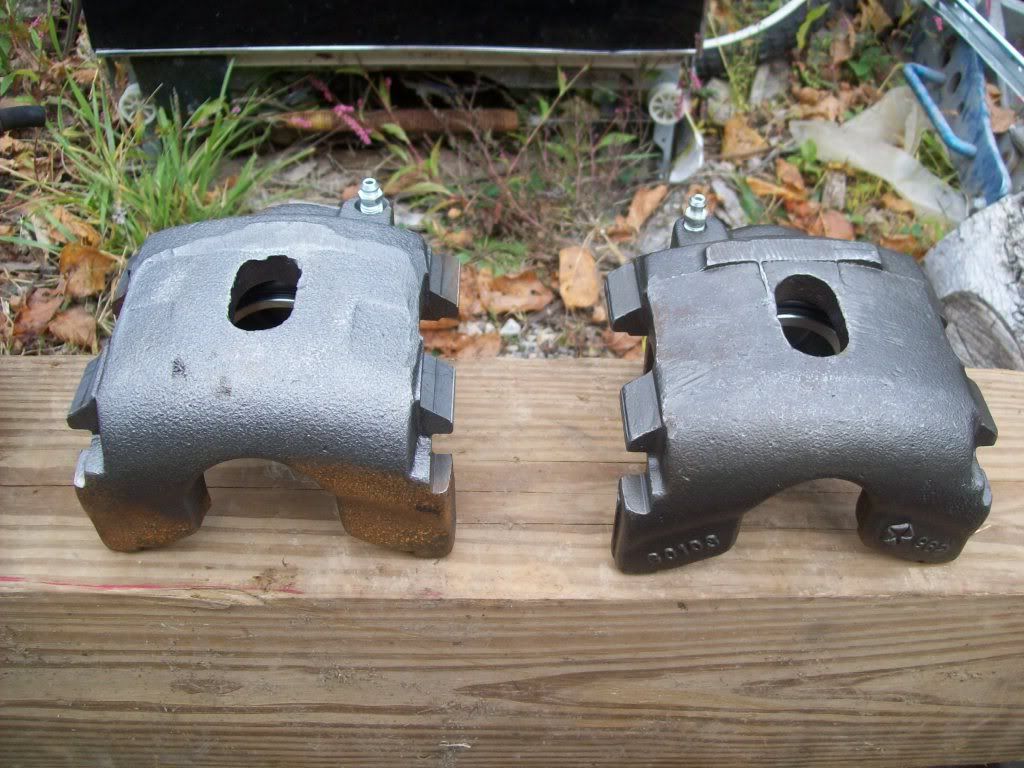
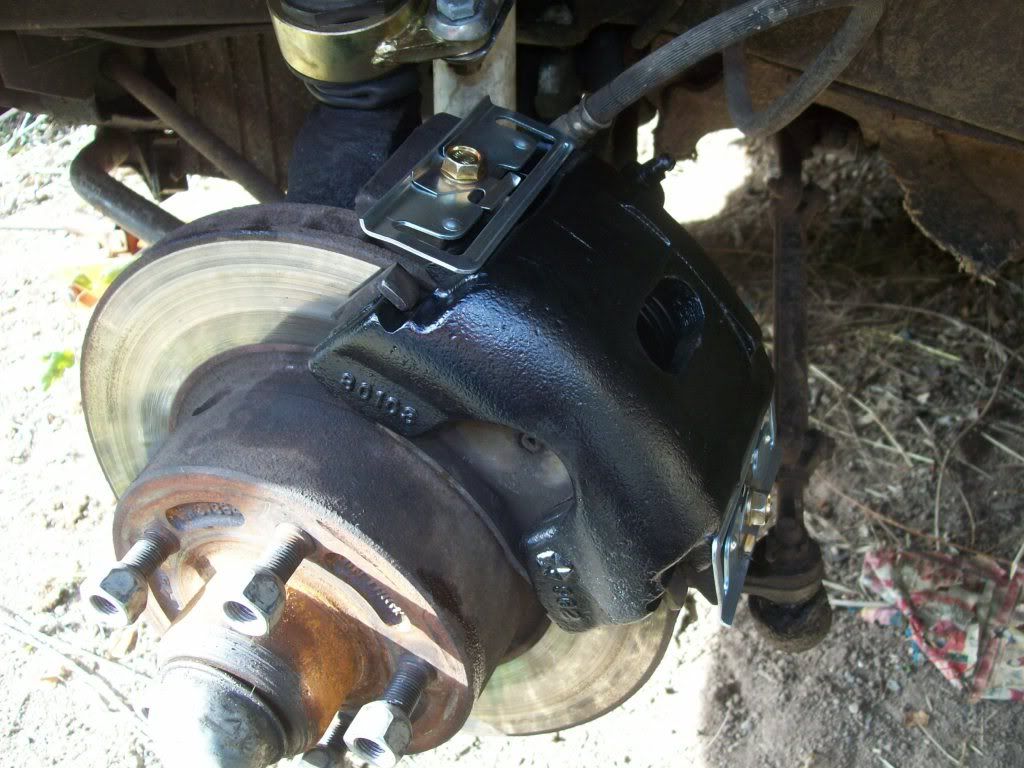
Since I am on Fall break for a couple of days I decided to get some stuff done that I hadn't had time for before. So, I decide to paint my new calipers and install them so I wouldn't have to look at those grimy old ones when I go to the 17's.

Before:

128_2181.jpg


The new calipers getting prepped:

128_2175.jpg


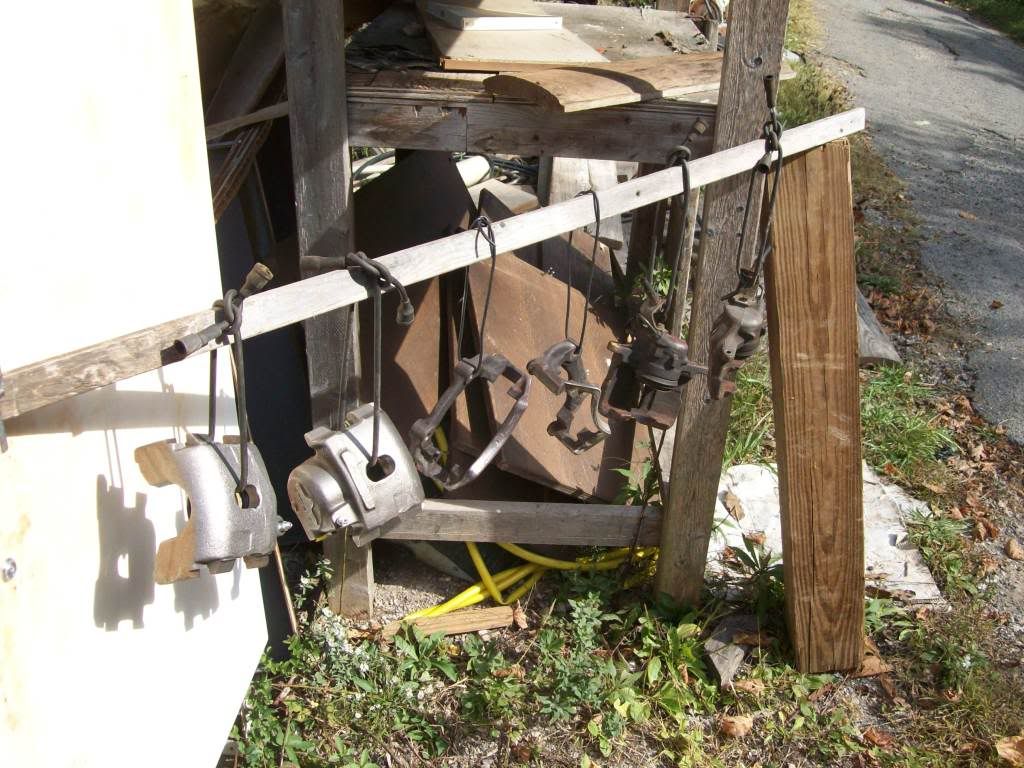
Ready for paint with the others:

128_2176.jpg


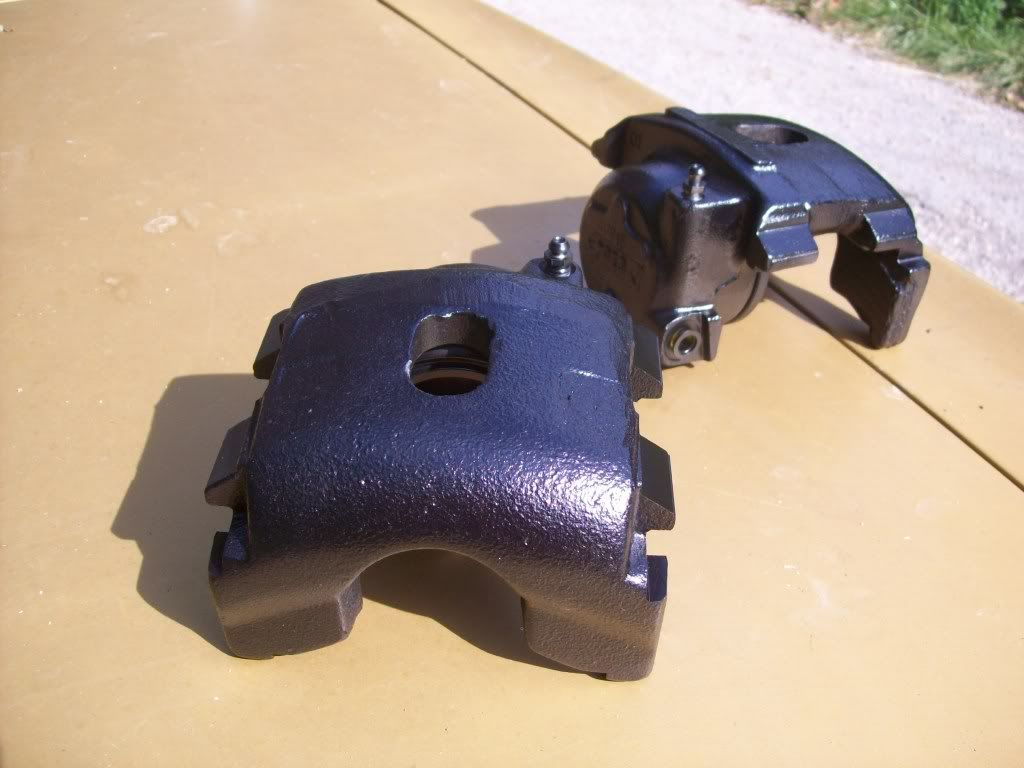
Yes, this is a very high temp paint so it shouldn't flake off when it gets hot.

128_2179.jpg


All buttoned up and looking a lot better!

128_2180.jpg


I'll hopefully be getting the last bits of hardware for my suspension tomorrow as well. then fab a couple brackets and I'll be ready to swap it all in!

Thanks again for looking!
 
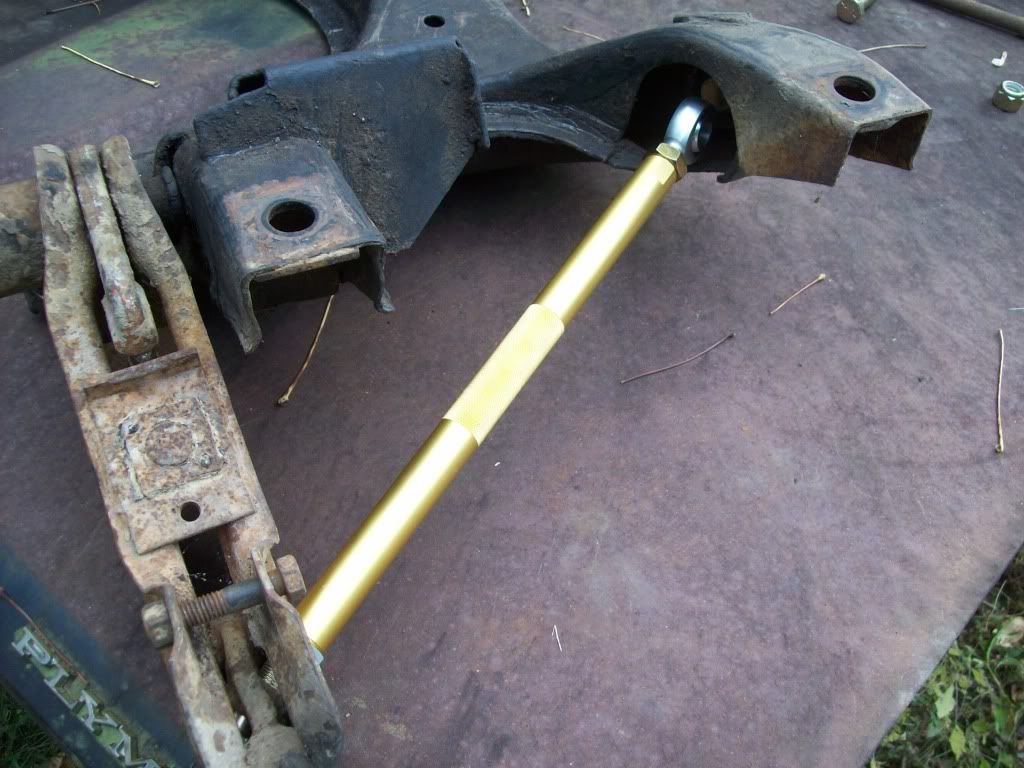
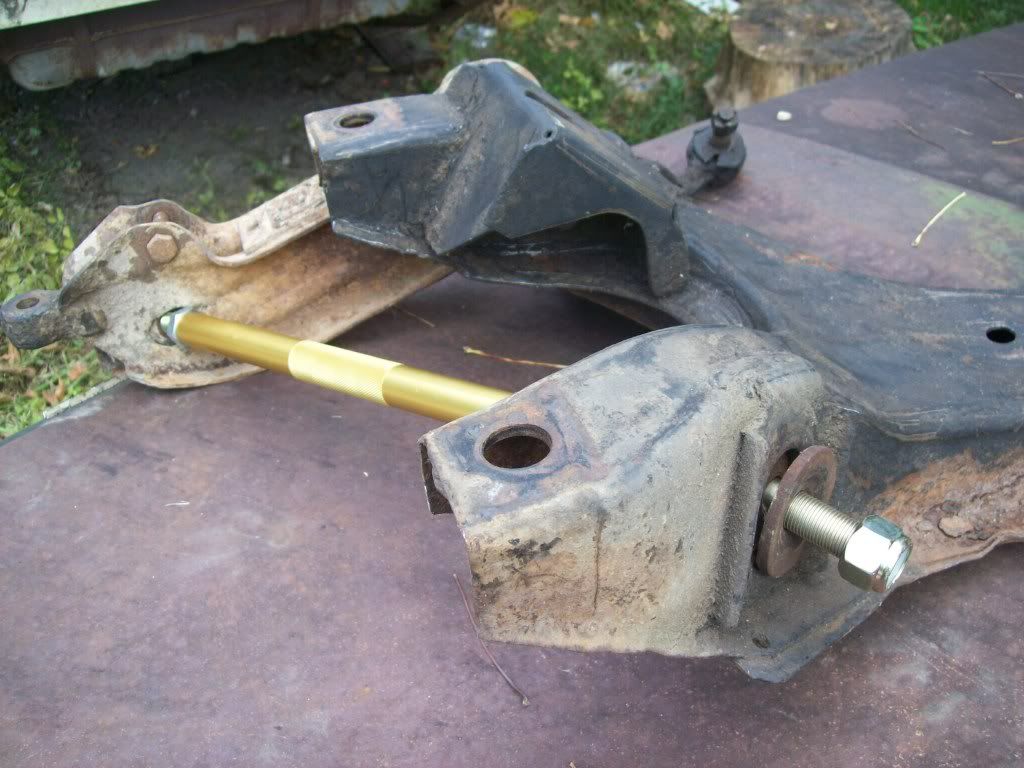
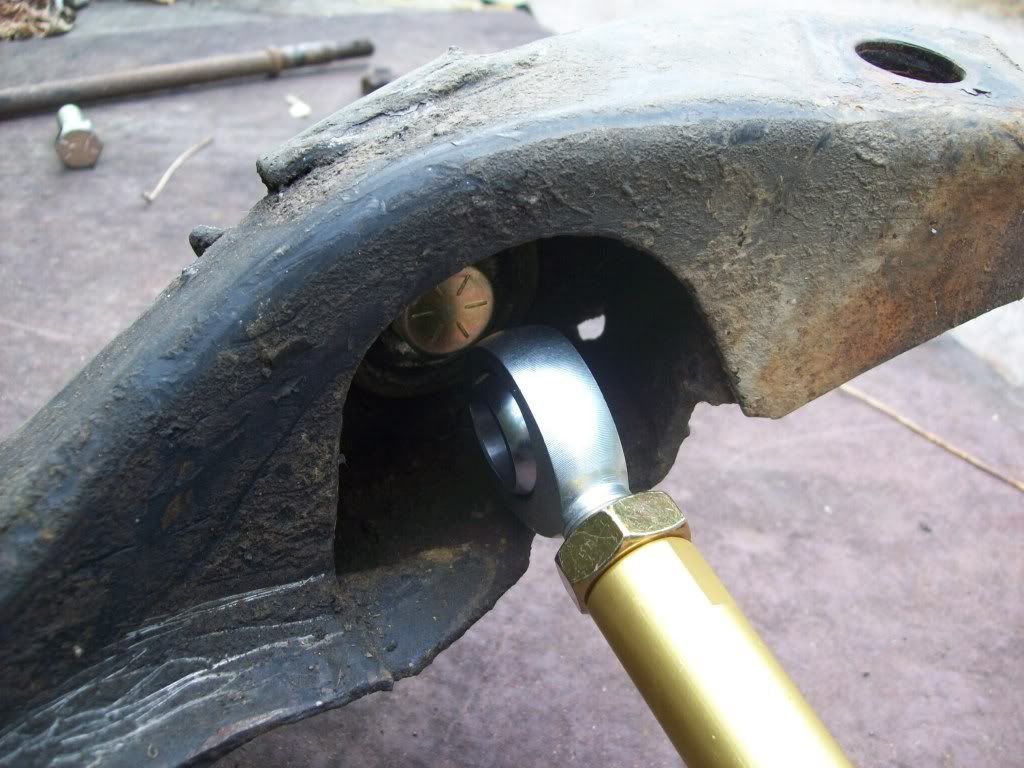
Today I got what is pretty much the last remaining hardware for my front suspension. I now have to make a T-coupler and I will be ready to install my front suspension! Here are some pictures from my mock-up. Obviously the bolts would be a little tighter on the finished product.

128_2197.jpg


128_2198.jpg


in this picture you can see where the T I am making will go.

128_2199.jpg


Thanks again for looking!
 
As I showed you before, I am making adjustable strut rods for my Duster.

Here is one partially done (I ran out of time) with the bolt going through it so you can see how it will work.

clevis1.jpg


And here is a screenshot of my 3d Model of the whole assembly.

Strut1.jpg


Thanks again for looking!
 
I noticed some misalignment issues in the strut rods (and was informed by another member) when I was doing the mock-up (See previous pictures). This is a fairly big concern for me because of how hard I will be pushing it and the lower spring rates I wanted to use. I am not sure what I am going to do about it yet. I might have to flip my current design and do something different on the k-frame end. I have some poly bushings that I got in a kit that I could use to give me a bit of room for error. But I would rather not have to use them. I think I will be switching to rod-ends on both ends as in the drawing above. But I may have to get a new rod as this one may be to long. I'll be sure to post more when I figure it out.
 
nice dusters.i got my 72 duster when i was 17 to.now i'm 20.i also got 71 dart when i was 17 to.in the process of restoring it and puttin 68 440 all with high performance engine parts in my 71 dart.my duster was driver car to intel i bought something else. me and both had also have the same plan. my duster has a slant six in it.probably going to put a 340 or a 383 in it.
 
nice dusters.i got my 72 duster when i was 17 to.now i'm 20.i also got 71 dart when i was 17 to.in the process of restoring it and puttin 68 440 all with high performance engine parts in my 71 dart.my duster was driver car to intel i bought something else. me and both had also have the same plan. my duster has a slant six in it.probably going to put a 340 or a 383 in it.

Welcome! That sounds pretty cool! You should do an update thread!
 
my duster is green and half gray primer and dark green for now.my dart is all freshly painted red. how do u post a forum?

Just go to the forum you want to post in(members restorations), and then at the top of the page their is a new thread button. Just push that and type away!
 
If their is one thing that you can be sure of in life, it is that things are going to change. While that statement is somewhat Philosophical for a automotive update thread, it does apply to car builds. Plans change. My plans for my Project(s) have slowly evolved as I have worked on my cars and gathered parts (beggars cant be choosers) so I decided to basically re-introduce my projects so you all would be on the same page as I am.

Project one: Named "Aero Duster". Tube frame race-car. Right now stalled because of the sheer cubic volume of Money required to build an all out unlimited racecar. But basically no holds barred.


Project two:
My Show car, Currently has not name. I will be using the Green Body shell that I started the thread about for this one. Full interior, Street car with the suspension that Is now being designed (A-arm with t-bars, Three link w/ watts) and a street-able engine.

Project three: My "Daily Duster" Has been freed from the limitations of being a daily driver so I can go a little bit crazier with it. Almost stock looking body with race-ready/stock style (Bolt on parts and leaf springs on the rear) suspension, a Centrifugal Supercharged small block with a 4-speed and a 8.8 rear-end. Four wheel discs with Viper brakes on the front. Stock looking interior even with the bench seat if I can figure out how to stay in it through the corners. Very sleeper car. Main goal is to have a bulletproof driver that I can flog anytime, anywhere without worry.

So now you are up to speed with the plans, time for more updates! Thanks again for following my progress!
 
I am sure you have all been breathlessly waiting for this post, So I will get to it without much fanfare. Some of the videos from my Aero testing.

[ame="http://www.youtube.com/watch?v=-s4PXoZfQZM"]YouTube - '72 Plymouth Duster Aero test[/ame]

[ame="http://www.youtube.com/watch?v=MRAkF72KH9s"]YouTube - '72 Plymouth Duster Aero test pt.2[/ame]

[ame="http://www.youtube.com/watch?v=DI7dzRtbg78"]YouTube - '72 Plymouth Duster Aero test pt.3[/ame]

[ame="http://www.youtube.com/watch?v=ok-z566QAw4"]YouTube - '72 Plymouth Duster Aero test pt.4[/ame]


Thanks again for looking!

Also I posted a Project "re-intro" on the previous page so don't miss it!
 
Quick update: My Duster is currently serving as my Daily driver again. Because I hit a rather large deer with my VW.
 
Oh crap! Did you at least scavenge the deer? Roadkill,yuuuum!

Sadly, No. I would have been all over it but after I hit it it stood back up, stuck its tongue out at me then took off! I'm partially irish by the way, never let the truth stand in the way of a good story!

Seriously though... it took off and I couldn't find it that night or the next morning.
 
Great News! I now have solidworks on my laptop so I can work on parts designs at home. Such as, My 3D Subframe connectors!

Like this:

DusterSubframebraceAssy.jpg


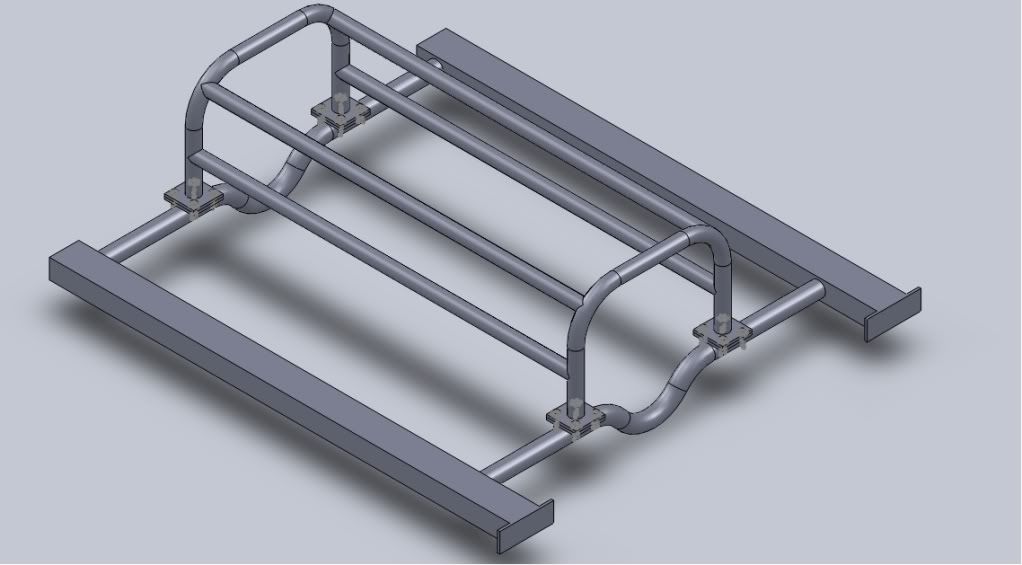
Basically you have a upper(inside) piece, and a lower(outside) that sandwich the floor and bolt together. So you can have a backbone type subframe connector for torsional rigidity and not have to hack the floors. This isn't quite finished. I have to add the pieces that will go the the rear frame, and the firewall (to connect to the front support) but this is the general idea. It isn't actually as intrusive on the interior space as you would think. About the same size as a center consol, and you could finish it as such if you wanted.

That is about it. Thanks again for following my projects.
 
Quick! What do you notice?
SANY0486.jpg


Hopefully you didn't notice anything right off. But you might have noticed my new bracing. I don't know how much it will stiffen it up. Probably not much but if Chrysler thought it was important enough to add it to the F-bodies than it can't hurt. I can't say if they make any perceptible difference because I'm not quite done. I have to finish drill and through bolt them. Also these are actual Chrysler products. Though modified to some extent with a hammer, pliers, a grinder and a drill.

Here is another picture of how the attach.

SANY0487.jpg
 
My M body had those braces too. It was a cop car.. I got into it on a post over whether they help or not. Maybe a bit anyways.The cheapasses at chrysler would have never put them in a car unless they were needed.
 
Yes, It isn't the best design. But as hard as I'll be pushing this poor little uni-body, every little bit helps.
 
Well, I found out this morning, as I was headed for school, That my DD has no oil pressure. There goes the budget.
 
Hello all,

Sorry this isn't exactly an update. I've been more concerned with getting my daily driver going before school starts than working on my "fun" projects. However, for those interested in aero testing, specifically of Dusters. I have some links that you will want to check out. Turns out that Mopar did a lot of aero testing of the Duster during their "Mopar Missile" days. And they took a lot of pictures of the tuft testing. So they saved me a bit of work. Se here:

http://www.hamtramck-historical.com/vintageRacing/missile/AeroTests.shtml

and here:

http://www.allpar.com/racing/missile/aero-testing.html

Hopefully I'll have more to report soon.
 
Well everyone, I realize that many of you probably thought that this thread had died, and to a certain extent, it did. Life, school, and my new internship haven't given me much time or money to work on it. But I have been working on the designs for parts and slowly gathering parts. Like these beauties!

IMG_0602.jpg


530 grams including what are probably the most amazing bolts I have ever owned. All for less than $100. They have a real Nascar background too so it will make for an interesting story.

Anyway, I'm leaving for Scotland this coming week but I should have more time to work on my projects when I get back. Thanks again for following and for all the suggestions/comments.
 
Hello all!

Sorry it has been so long since I updated. Progress has been very slow as of late. On the bright side, I decided that I wasn't making progress and I would like to get it driving before I transfer for the spring semester, so I modified the design slightly, am almost done getting parts, and just need to find some place to work on it. That is my biggest hurdle right now... I don't even have a place to set up a car port.

I got my pedal assembly and my master/slave cyl.'s for my clutch set-up, and some new parts for my strut rods. Getting ready to start my engine rebuild as well. I'll have pictures soon. I also got a steering rack.. but that will be in V2.0 rather than this iteration.

My last few items are:
Fuel system (I'd like to do a fuel cell)
get the rear end with swaybar
New brake lines
Torsion bars
Seats that I won't slide out of
and some clevises for the suspension


And I think that is about it for parts..
 
Here is a picture of my most recent acquisitions.

IMG_0965.jpg


The big sticks of all-thread I got to cut down into smaller studs that I needed but couldn't find.
 
-
Back
Top