bvt69dart
Technically Challenged!
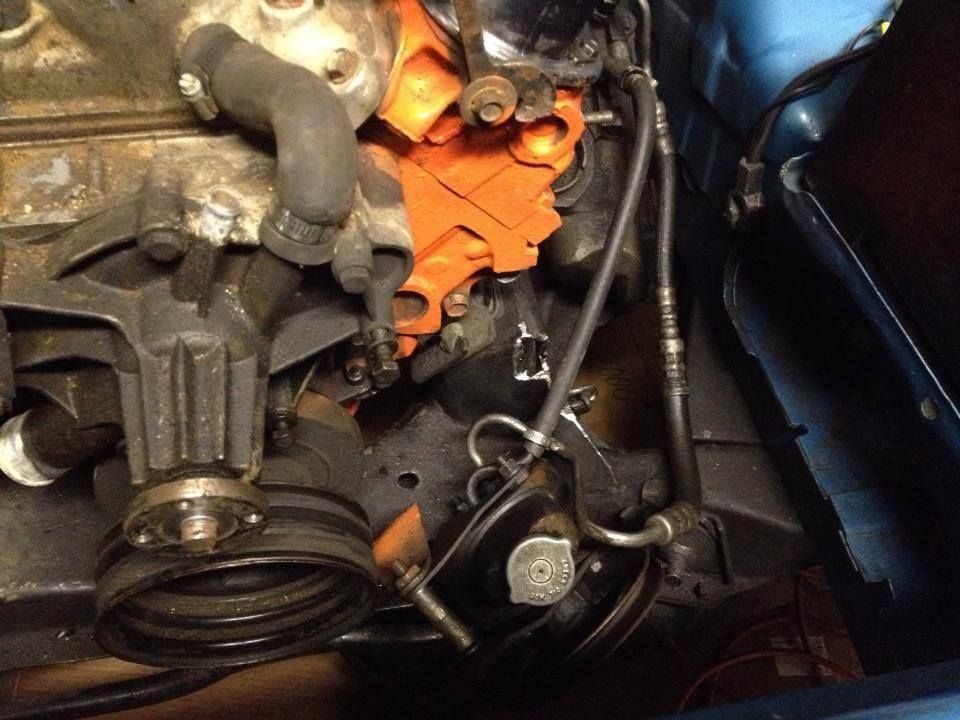
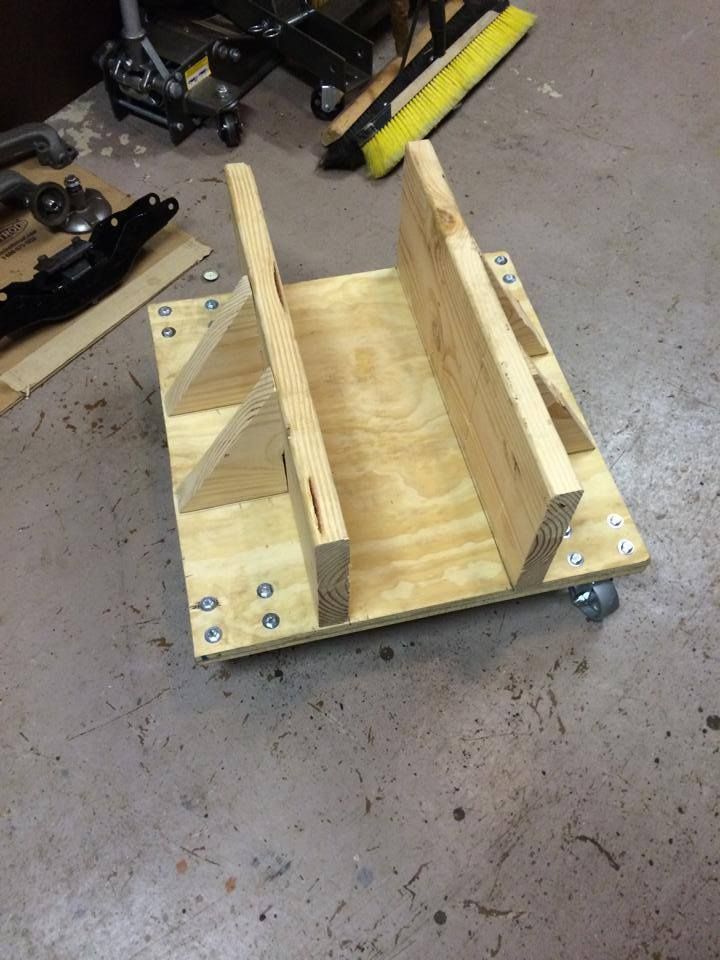
Engine sounds great. I like the idea of the run stand! Project is proceeding nicely with great organization. Awesome job Alv,
I smell exhaust, yea!!!!!! Good job guys, I'm happy for you.
Martin
Great project, always liked those darts.
Engine sounds great. I like the idea of the run stand! Project is proceeding nicely with great organization. Awesome job Alv,
")

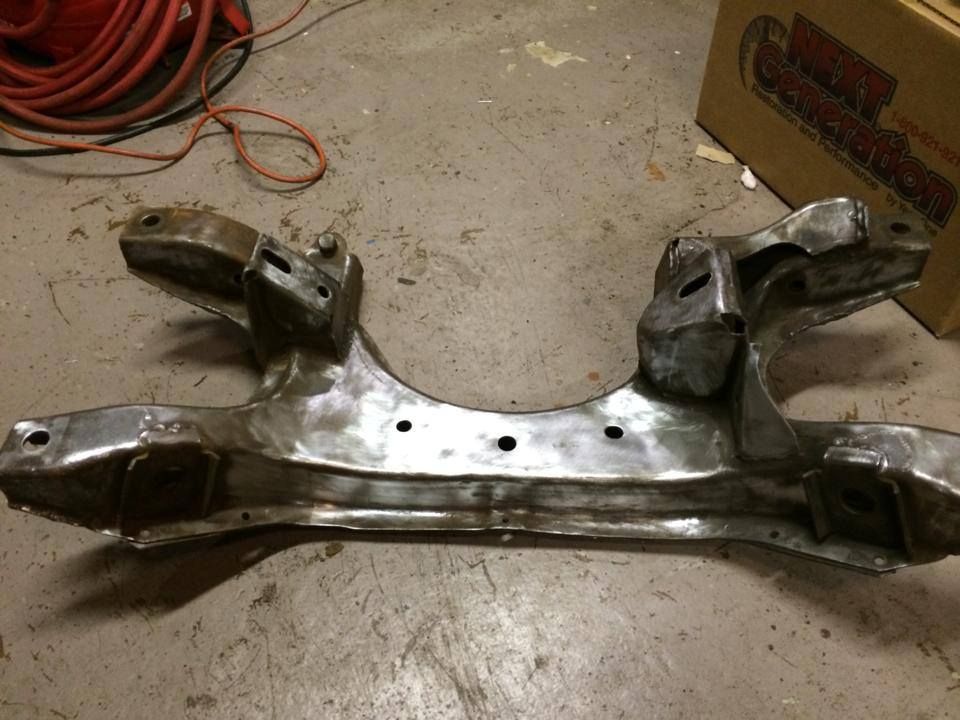

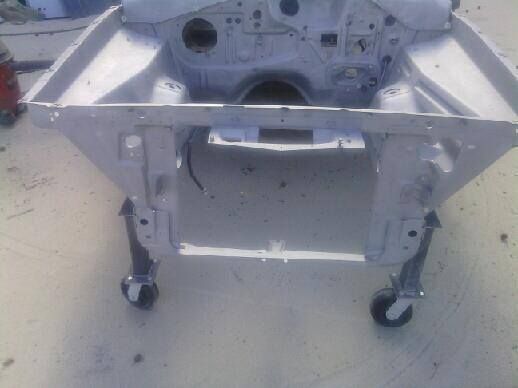
That notch in the in the K frame almost looks like for a BB oil pump.
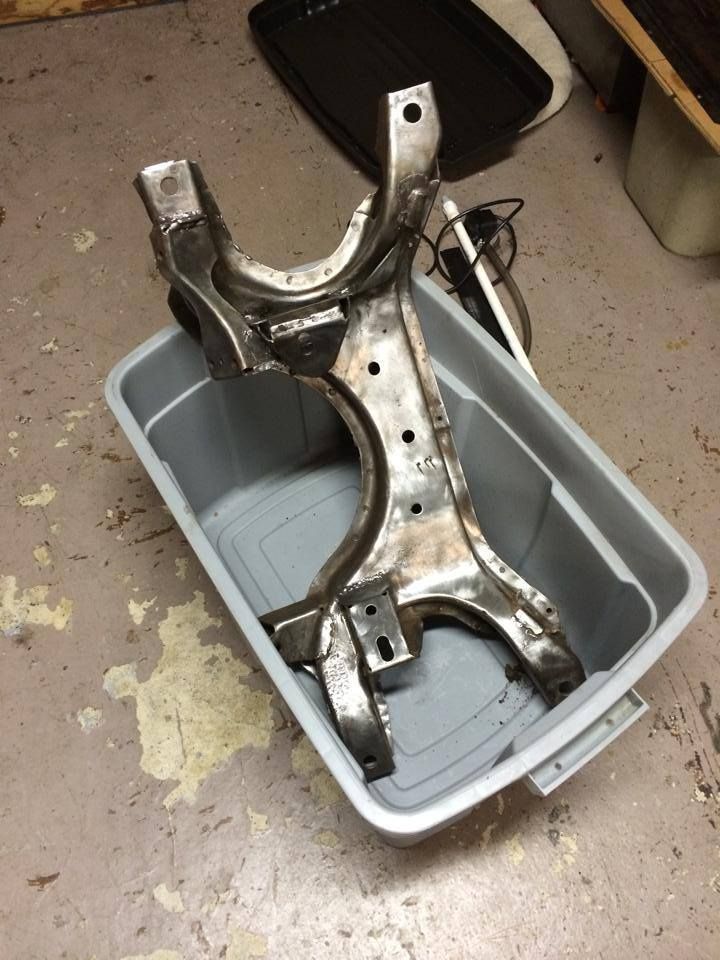
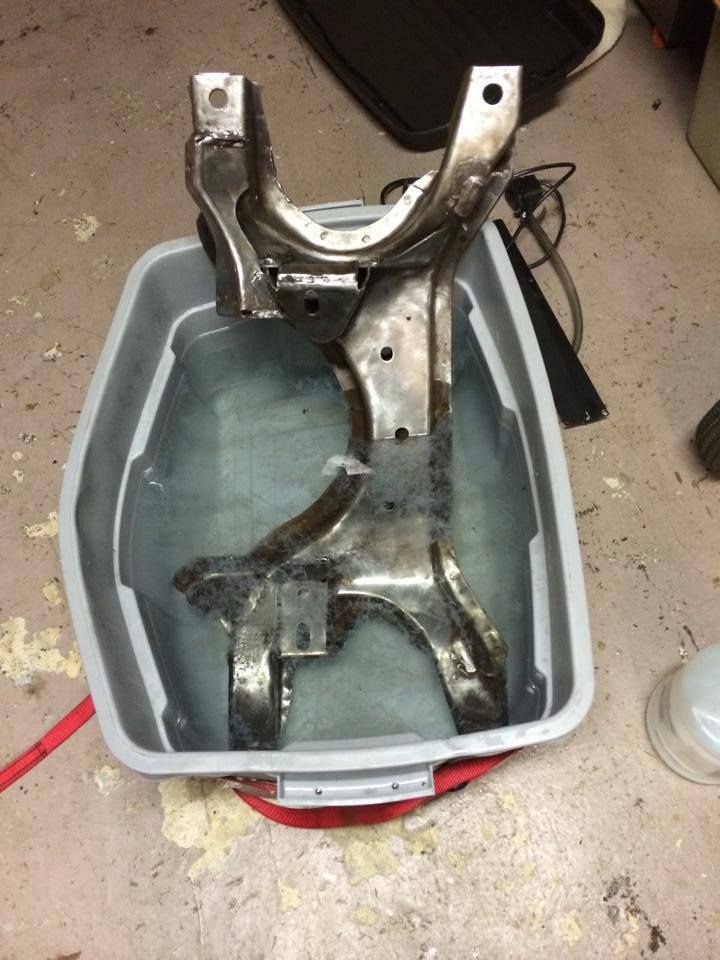
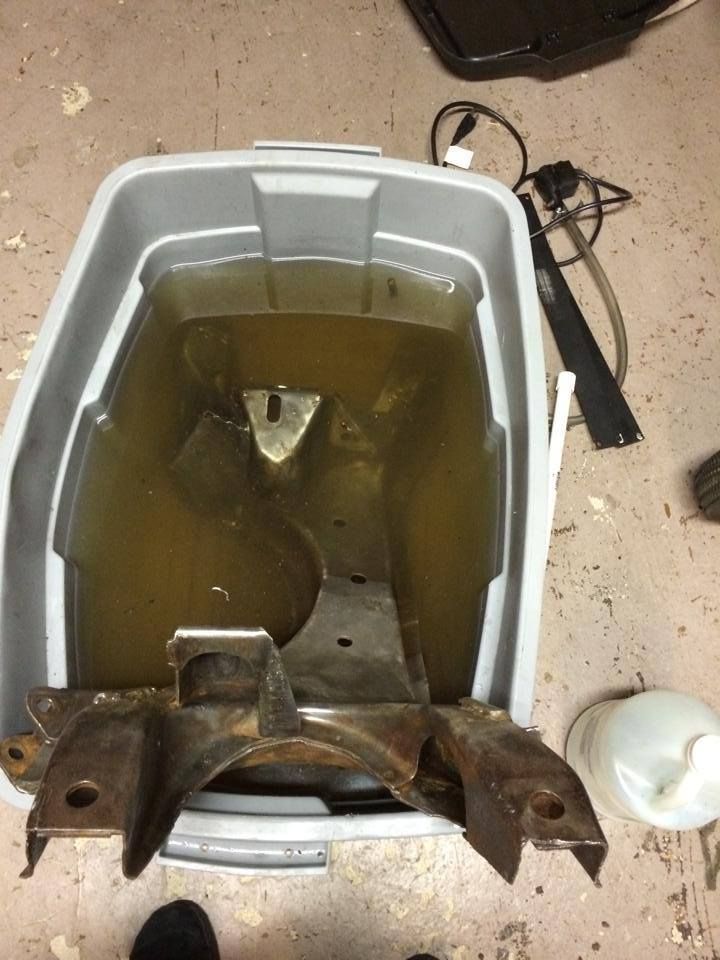
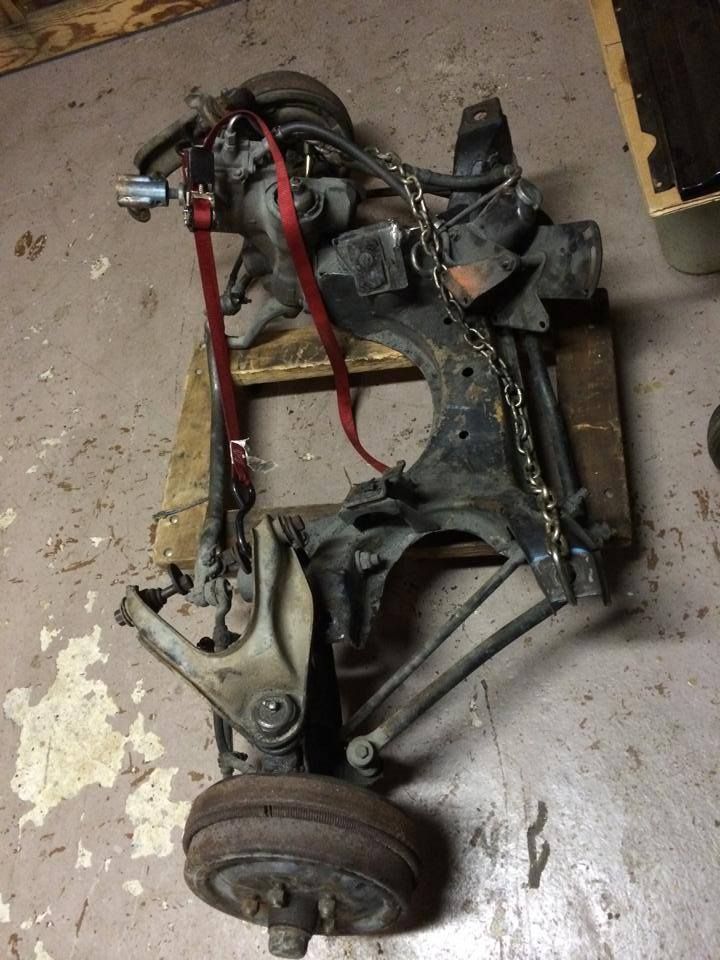
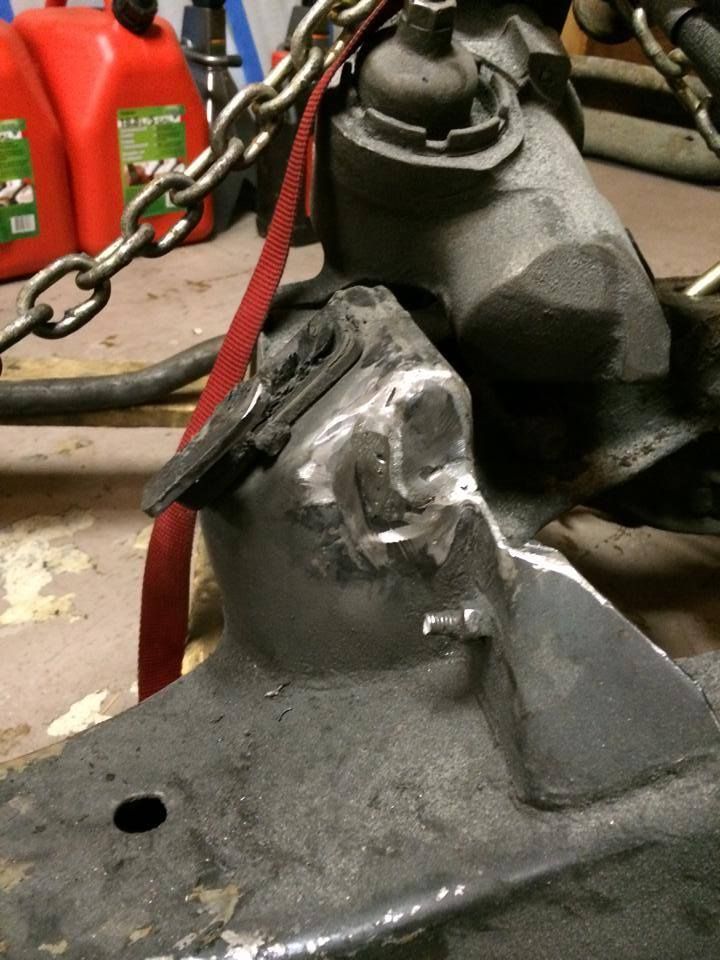
Have a close look at the welds. It's somewhat common for the steering box mounts to break. I had my K completely welded around the outside and the steering box mounts reinforced. Also look at the LCA pivot point. That's a weak spot on the A-body K's. A washer can be welded onto that area to give it some more strength.
Have a close look at the welds. It's somewhat common for the steering box mounts to break. I had my K completely welded around the outside and the steering box mounts reinforced. Also look at the LCA pivot point. That's a weak spot on the A-body K's. A washer can be welded onto that area to give it some more strength.
I agree. I welded my K completely also.
Thanks Guy's!
Now that I have to K frames I don't see why I wouldn't try my hand at welding one.
I'm borrowing a welder later tonight
Thanks for the Info on the BBQ place I am planning on making my way down to NC starting the May 10th.
I'll shoot you a PM in case you're around.
Hey "V"
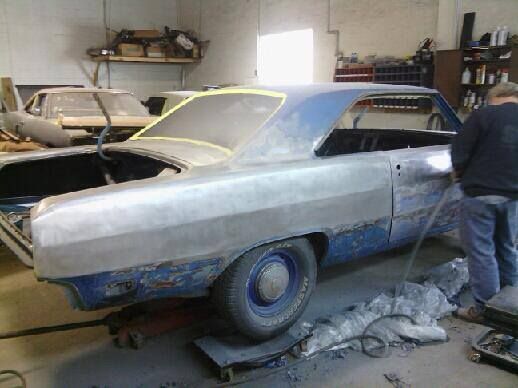
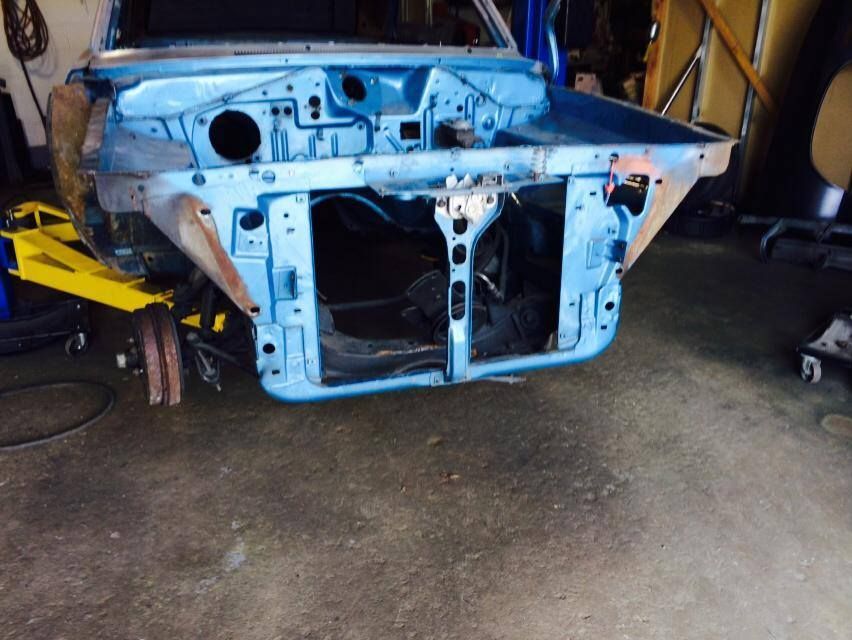
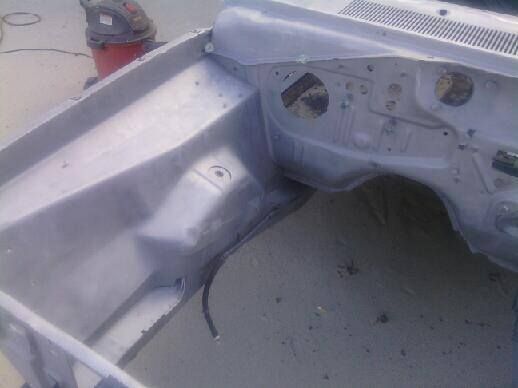
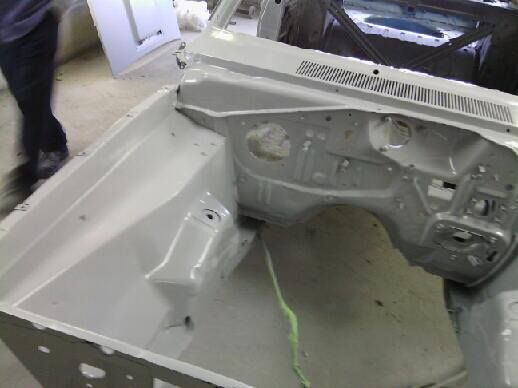
Your detailed cleaning and striping will pay big dividends later. Paint is only as good as whats under it. Great Job! Looking forward to the PM
Martin
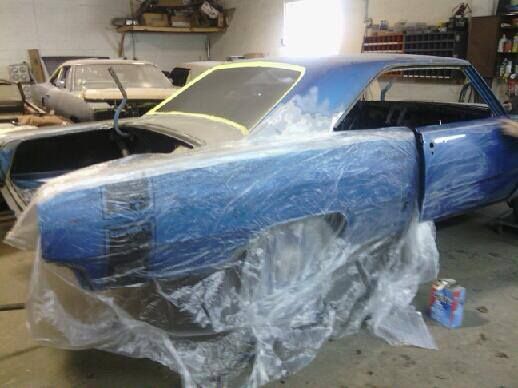
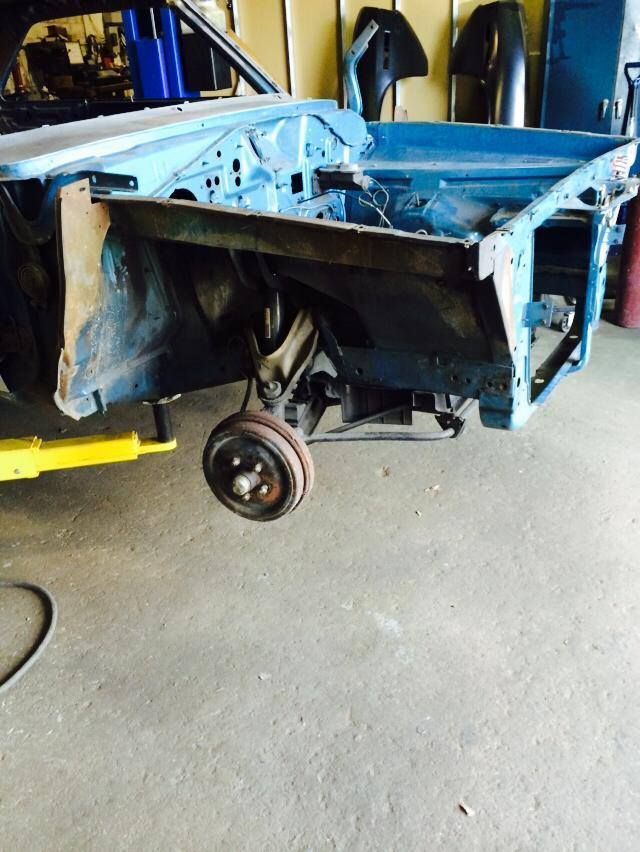
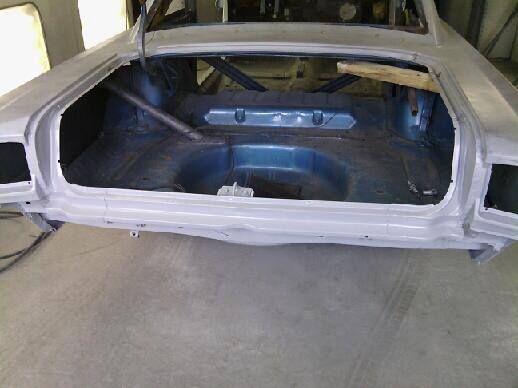
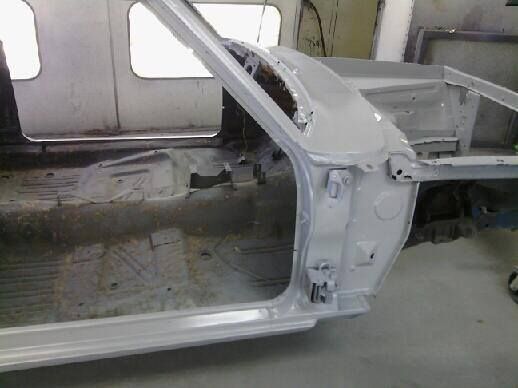
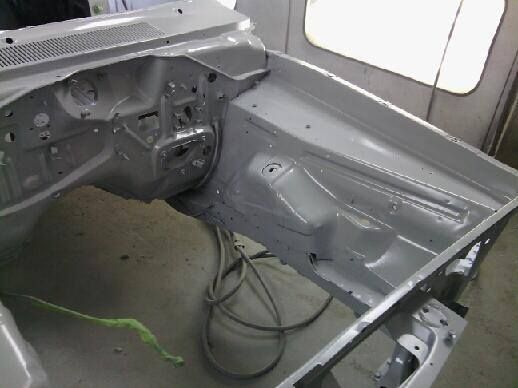
It's always good to see paint going on...even if it's primer!
Looks like shop doing a great job.


