You are using an out of date browser. It may not display this or other websites correctly.
You should upgrade or use an alternative browser.
You should upgrade or use an alternative browser.
AlV 69 Dodge GTS project
- Thread starter AlV
- Start date
-
mopowers
Well-Known Member
AlV
Crabs in a barrel
Nicely done! That's gonna be a sweet ride.
Thanks Brother!
Chipping a way a little at a time.
AlV
Crabs in a barrel
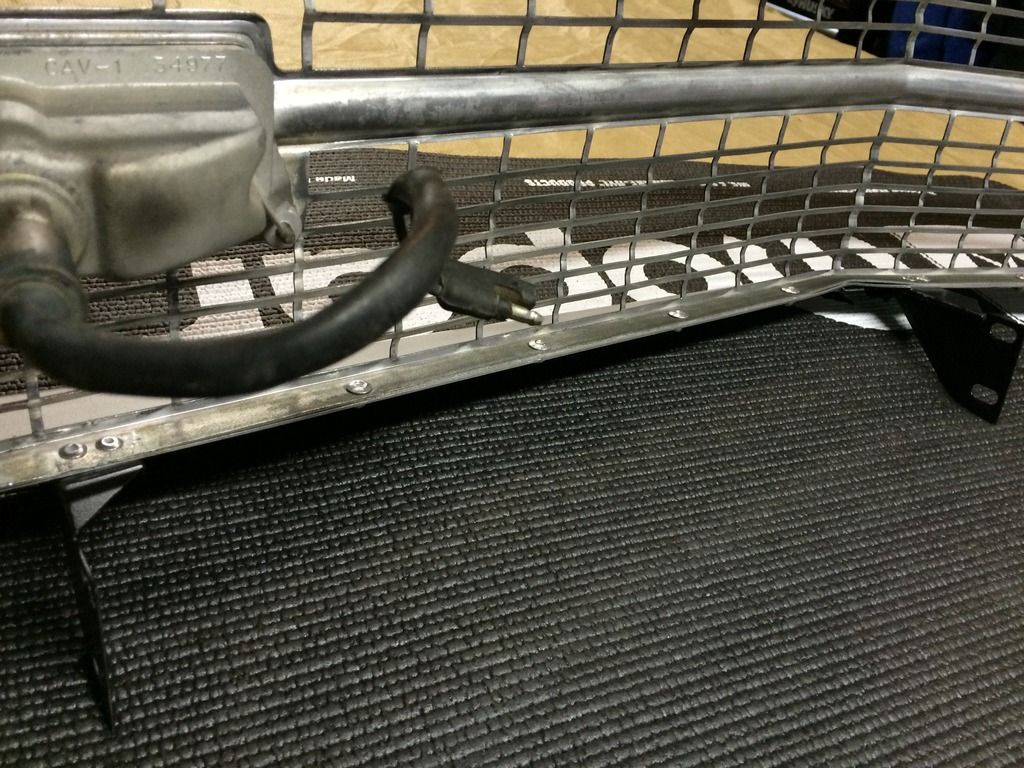
I need some help folks..
Just received an order of top cat whiskers for the Dart and I can't recall how they are positioned.
I don't think I took a picture of them installed so I don't know which goes on the inside and which goes on the outside.
There is a fluffy felt strip and a flat felt strip.
Thanks
AlV
Just received an order of top cat whiskers for the Dart and I can't recall how they are positioned.
I don't think I took a picture of them installed so I don't know which goes on the inside and which goes on the outside.
There is a fluffy felt strip and a flat felt strip.
Thanks
AlV
AlV
Crabs in a barrel
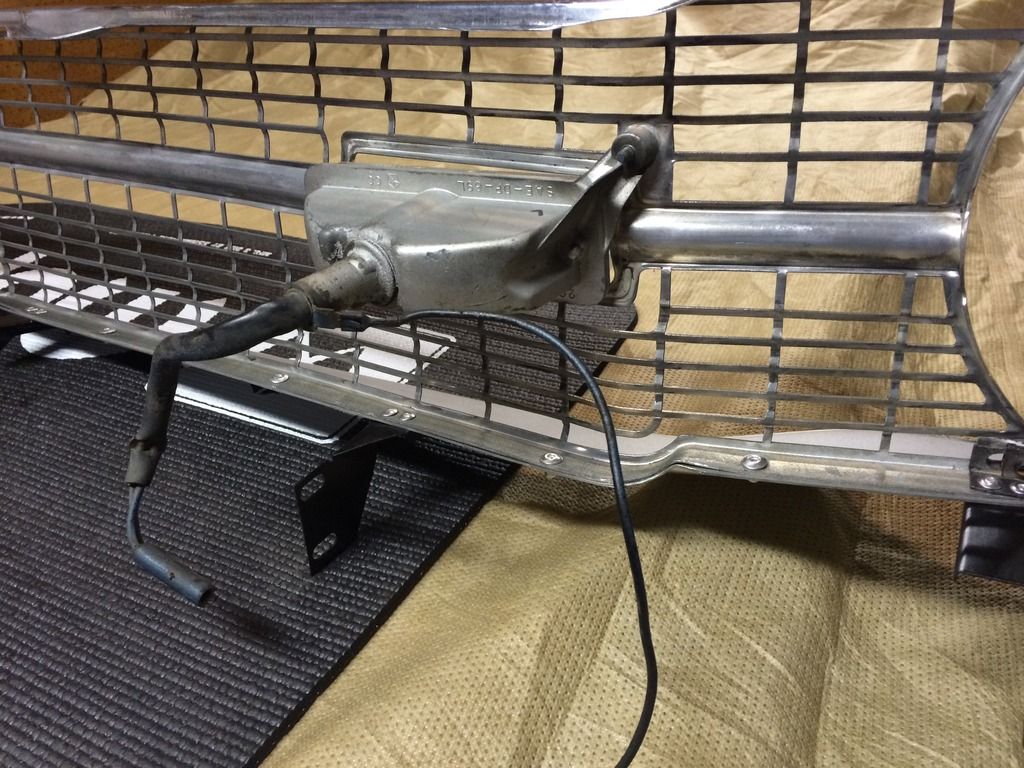
Thick flat goes inside. Checked shaped thinner goes outside.
Thanks Gerald!
We are saying that this is the thick one and it goes inside
this is the Checked shaped thinner one and it goes outside
correct?
AlV
Crabs in a barrel
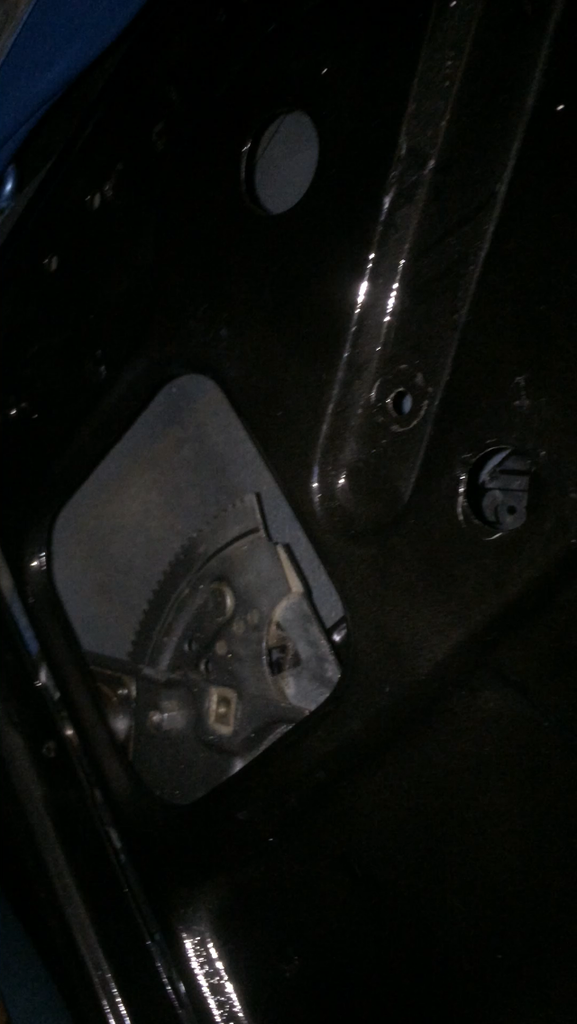
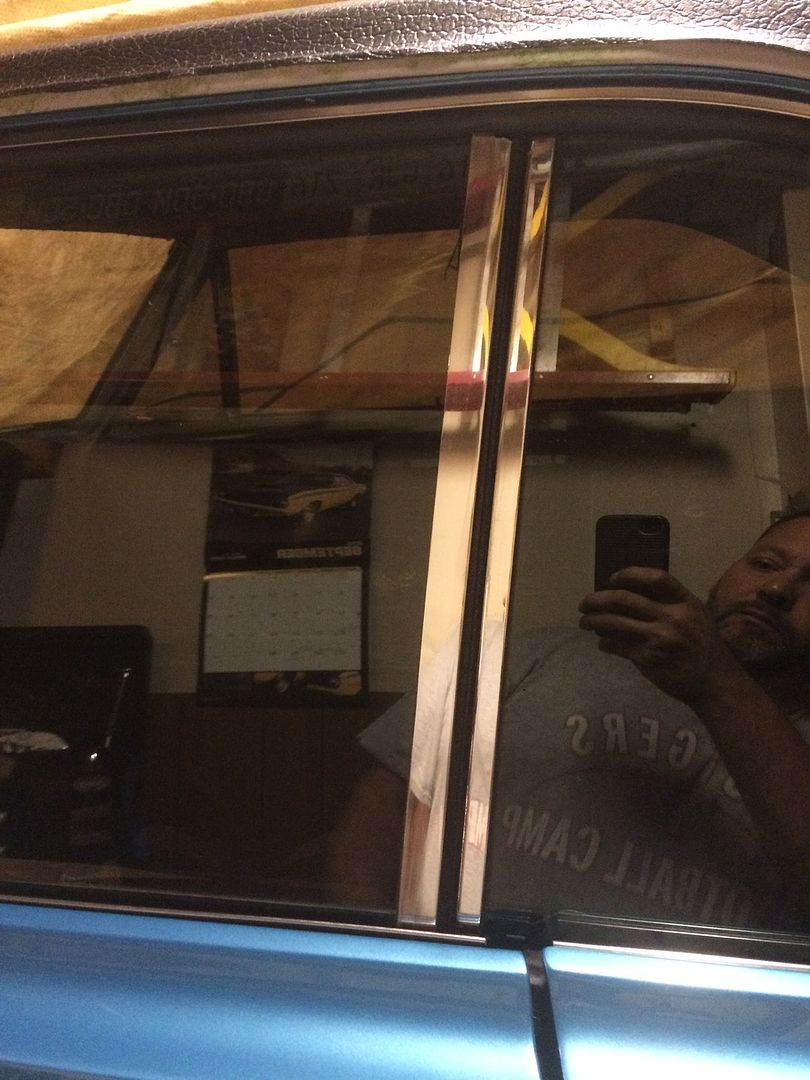
OKay just did the drivers side. and now I can see that the inside strip is shorter than the outside strip so really there is only one way for them to go. I also noticed that the clip pattern is side specific meaning there is a driver and passenger side configuration.
All that said, what a royal pain in the *** that is to get in with the glass in place. No Joke. Getting all those stupid little tangs to drop in was harder than I imagined. I even missed one of them and don't even want to bother to try to remove the strip to fix it. OH and I put tape down and still managed a small chip the paint.
Okay I went back and fixed the clip.")
I should be able to touch the chip with some 2000 and a nail polish brush.
All that said, what a royal pain in the *** that is to get in with the glass in place. No Joke. Getting all those stupid little tangs to drop in was harder than I imagined. I even missed one of them and don't even want to bother to try to remove the strip to fix it. OH and I put tape down and still managed a small chip the paint.
Okay I went back and fixed the clip.
I should be able to touch the chip with some 2000 and a nail polish brush.
- Joined
- Jan 8, 2012
- Messages
- 7,098
- Reaction score
- 4,247
OKay just did the drivers side. and now I can see that the inside strip is shorter than the outside strip so really there is only one way for them to go. I also noticed that the clip pattern is side specific meaning there is a driver and passenger side configuration.
All that said, what a royal pain in the *** that is to get in with the glass in place. No Joke. Getting all those stupid little tangs to drop in was harder than I imagined. I even missed one of them and don't even want to bother to try to remove the strip to fix it. OH and I put tape down and still managed a small chip the paint.
Okay I went back and fixed the clip.
I should be able to touch the chip with some 2000 and a nail polish brush.
Was the window in already or did you install the vent frame and side glass afterwards as a unit per the service manual?
AlV
Crabs in a barrel
The Window was already installed. :/
I read a post where someone wrote that they removed teh window rivet to drop the side glass a bit more. I'll look at doing it on the other side but I don't think it will work because as I recall bottom is limited by the regulator.
I read a post where someone wrote that they removed teh window rivet to drop the side glass a bit more. I'll look at doing it on the other side but I don't think it will work because as I recall bottom is limited by the regulator.
3404speed
Ancient Decrepit Member
Nice build thread!
My sons and I stopped by Al's place to see the GTS tonight. Unbelievably beautiful are the words to describe was Al has done with the car.
For as nice as the car is, Al as a "good guy" is a cut above that. He was do gracious with his time last Saturday and quarter backed us as we put our motor and trans in our Duster project. Even tonight he took time to show us his project, taking time to explain his process. He even pulled out a box of spare power steering pumps and brackets and offered a few hours this weekend to come over and guide us through mocking up our pump so our pulley setup is classic auto air ready.
A really awesome car, and a nicer guy.....
AlV
Crabs in a barrel
Thanks! it's been a long time in the making, I can't wait to Drive.Nice build thread!
:cheers:AlV
Crabs in a barrel
My sons and I stopped by Al's place to see the GTS tonight. Unbelievably beautiful are the words to describe was Al has done with the car.
For as nice as the car is, Al as a "good guy" is a cut above that. He was do gracious with his time last Saturday and quarter backed us as we put our motor and trans in our Duster project. Even tonight he took time to show us his project, taking time to explain his process. He even pulled out a box of spare power steering pumps and brackets and offered a few hours this weekend to come over and guide us through mocking up our pump so our pulley setup is classic auto air ready.
A really awesome car, and a nicer guy.....
Thanks for the Kind words Bob! You and your sons are welcome any time.
We'll get your Power steering sorted. Think you want the 70 and up aluminum water pump bracket. Just make sure the Pulley sleeves align.
AlV
Crabs in a barrel
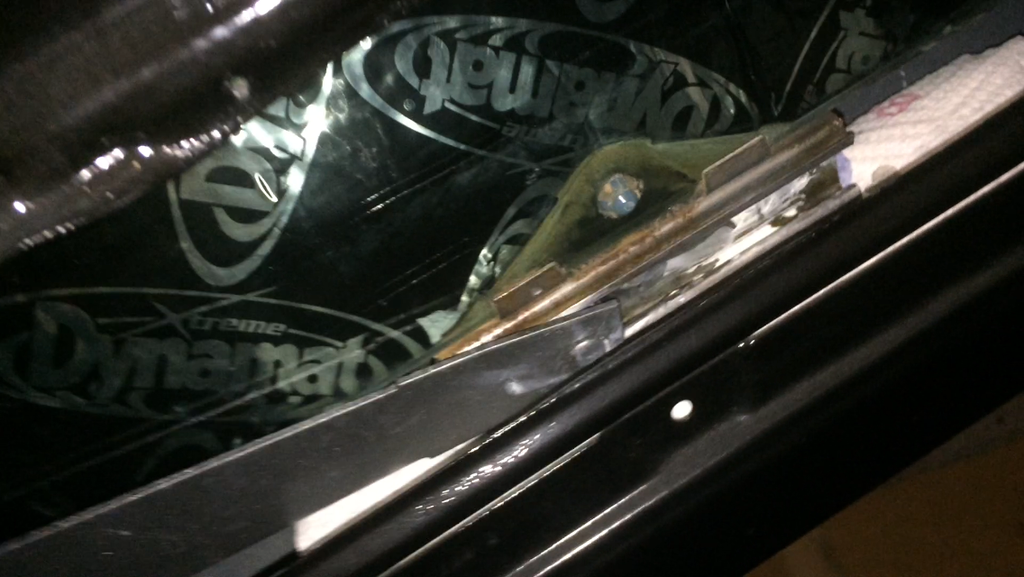
For the passenger side I'm going to unbolt the regulator and drop the side glass as far down as possible this way I don't have to fight with it.
I'll have it sorted Pictures tonight
I'll have it sorted Pictures tonight
AlV
Crabs in a barrel
Yep that went much smoother on the passenger side.
Pulled the bolts holding the regulator, placed a roll of paper towels at the based of the door and lowered the glass down an extra inch.
Snapped the strips in place and reattached the regulator in the original position.
Heck I even had time to buff and polish the stainless on the side and quarter glass. :burnout:
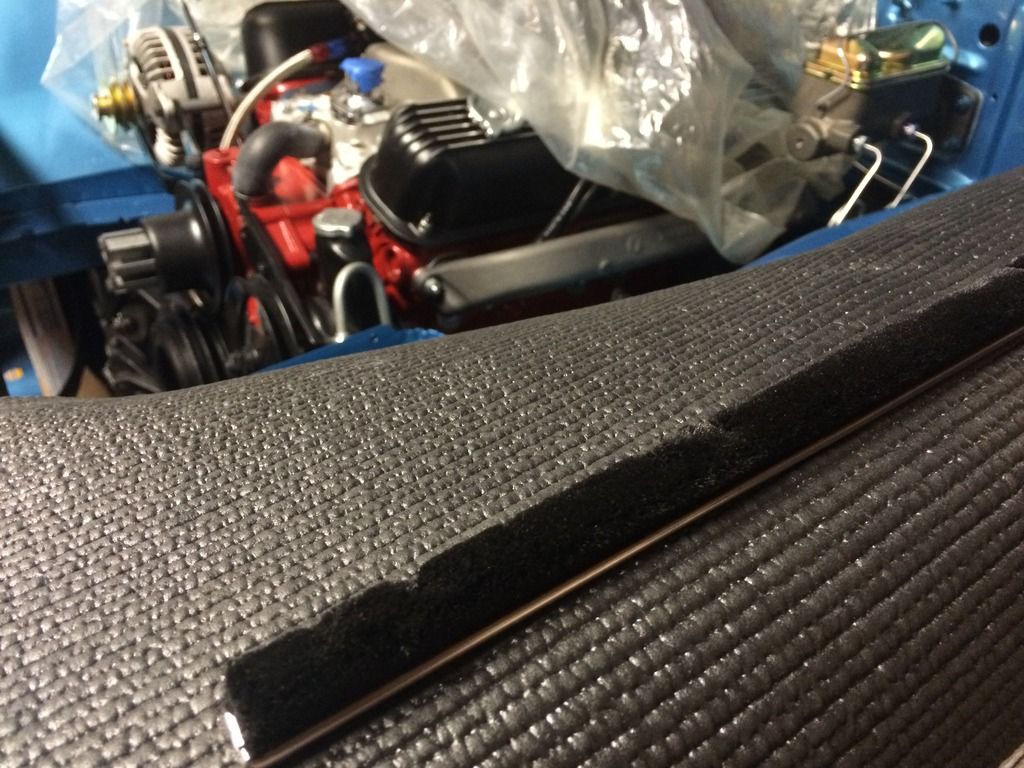
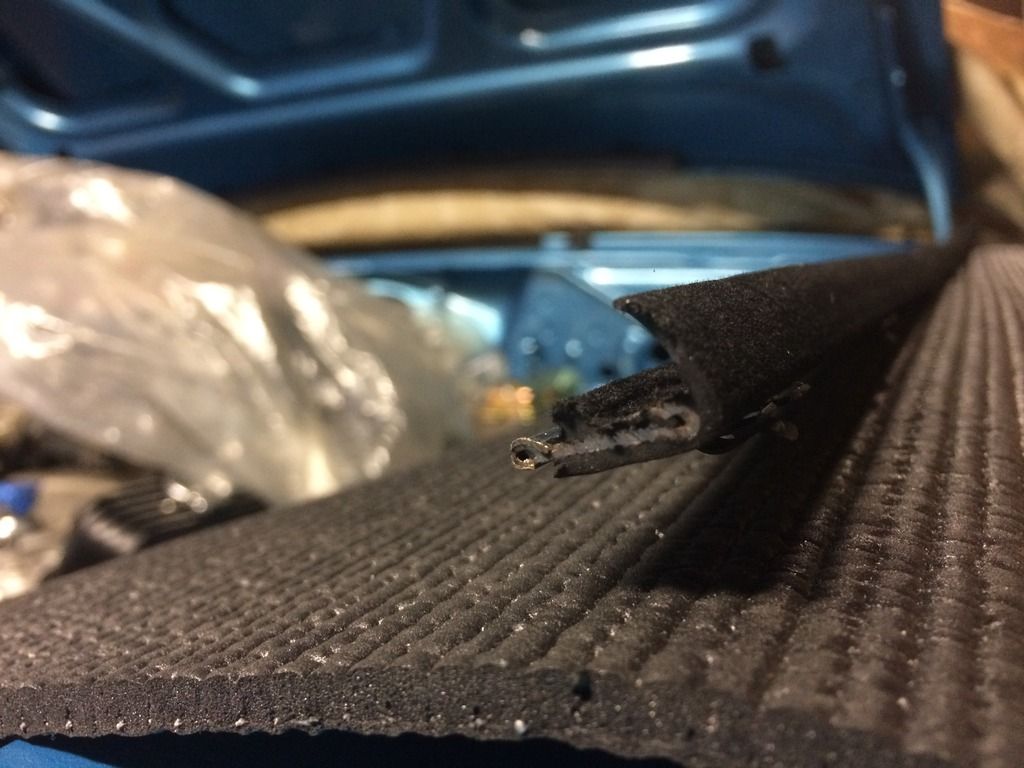
Gluing up the shoddy pad next.
Pulled the bolts holding the regulator, placed a roll of paper towels at the based of the door and lowered the glass down an extra inch.
Snapped the strips in place and reattached the regulator in the original position.
Heck I even had time to buff and polish the stainless on the side and quarter glass. :burnout:
Gluing up the shoddy pad next.
I bought some used window sweeps for the Demon last year, but haven't installed them yet :banghead:. Pretty sure your info & detailed pics here will help me too....Thanks :thumbup:
Keep up the awesome work & I'm really enjoying following your build
Keep up the awesome work & I'm really enjoying following your build
I'm really getting to like the color of your car, AIV. Is it a mopar color code or something custom?
AlV
Crabs in a barrel
I bought some used window sweeps for the Demon last year, but haven't installed them yet :banghead:. Pretty sure your info & detailed pics here will help me too....Thanks :thumbup:
Keep up the awesome work & I'm really enjoying following your build
Thanks C! Got a lot of activity queued up. I installed the power steering pump and Hose and got the 69 Alternator Bracket and alternator installed. I'll post pics today.
IF you're going to do your sweeps take the time to lower the glass. You'll be happy you did lol :banghead:
On Deck, I have this ready to go.
* The front and rear window clips.
* New wheel trim screws to install the wheel trim I cleaned and polished.
* The Front and rear wiring Harness from M&H
* Radiator and fan w/Clutch
* New Shoddy pad
* Rebuilt wiper linkage ready to install (waiting for the wiper motor to come back from Kim at Passion4mopars)
* Rebuilt Heat/AC box ready to go in as soon as the wipers and Shoddy pad are done.
* Original 340 4 Barrel Kickdown linkage ready to go.
* Rebuilt shifter ready to go in.
* Cleaned up Brake Pedal and throttle cable ready to go in.
* Head liner insulation
* Headliner
* Rebuilt Dash and Harness ready to go in.
* New Carpet
* Rear stainless Parking Brake cable, Brake lines and New Hoses
And more
lot's of stuff ready to go in :cheers:
AlV
Crabs in a barrel
I'm really getting to like the color of your car, AIV. Is it a mopar color code or something custom?
Thanks Anders!
it is the original color code for the car, B5. I grabbed it off of the fender tag.
:thumbup:
AlV
Crabs in a barrel
I am about to install the windshield trim reveal clips and noticed there are two types in the kit.
On large bag with clips and a smaller bag with 4 clips. the smaller bag has clips that are slightly different than the clips in the large bag.
I'm wondering Where the 4 different clips go.
This photo for illustration, I found it online.
I cross posted in Body and Trim to cover my bases
Thanks
On large bag with clips and a smaller bag with 4 clips. the smaller bag has clips that are slightly different than the clips in the large bag.
I'm wondering Where the 4 different clips go.
This photo for illustration, I found it online.
I cross posted in Body and Trim to cover my bases
Thanks
h4e2m6idavid
72 demon 340
WOW looks great what a ton of work
AlV
Crabs in a barrel
Thanks C! Got a lot of activity queued up. I installed the power steering pump and Hose and got the 69 Alternator Bracket and alternator installed. I'll post pics today.
IF you're going to do your sweeps take the time to lower the glass. You'll be happy you did lol :banghead:
On Deck, I have this ready to go.
* The front and rear window clips.
* New wheel trim screws to install the wheel trim I cleaned and polished.
* The Front and rear wiring Harness from M&H
* Radiator and fan w/Clutch
* New Shoddy pad
* Rebuilt wiper linkage ready to install (waiting for the wiper motor to come back from Kim at Passion4mopars)
* Rebuilt Heat/AC box ready to go in as soon as the wipers and Shoddy pad are done.
* Original 340 4 Barrel Kickdown linkage ready to go.
* Rebuilt shifter ready to go in.
* Cleaned up Brake Pedal and throttle cable ready to go in.
* Head liner insulation
* Headliner
* Rebuilt Dash and Harness ready to go in.
* New Carpet
* Rear stainless Parking Brake cable, Brake lines and New Hoses
And more
lot's of stuff ready to go in :cheers:
Sounds like you will be busy most of next week...lol
daredevil
Well-Known Member
I have a b5 69 swinger 340 car i,m gathering things for. Your thread will be invaluable. Meticulous detail and documentation. Your car will be top notch!
-


