You are using an out of date browser. It may not display this or other websites correctly.
You should upgrade or use an alternative browser.
You should upgrade or use an alternative browser.
Biohazard
- Thread starter Teeth & Tires
- Start date
-
announcement coming.
d55dave
Well-Known Member
:happy1:
Red interior is out.
Basic black is in. (white seats)
Just ordered new dash pad.
Basic black is in. (white seats)
Just ordered new dash pad.
No major backlash...that's a good thing.
It came down to this: sourcing red paint for the interior would have cost 5 times what I can do in black. Then there's the matter of getting vinyl dye and plastic paint in a matching red. You can get all that in black, right off the shelf. Plus, no waiting for stuff to ship. Run out? Run to the store.
For my driveway resto, it was the right answer.
This week I'll fine sand and respray the dash frame and steering column parts.
Rocker'sDuster
MOPAR rookie!
Unless you are set on factory colors, you could always do just the steering column in red, break up the black a bit and tie in the body color to the interior?
Just a thought...Either way man, your buildup has been part of the inspiration for me to get my butt back into gear, so please keep it up!
Just a thought...Either way man, your buildup has been part of the inspiration for me to get my butt back into gear, so please keep it up!
d55dave
Well-Known Member
Why white seats, so they don't heat up in the sun? Personally, I think black seats would look better, and you can have a local upholstery shop do them in the factory style with nice cloth inserts so they are comfortable to sit on. I also think that one of the upholstery suppliers is making reproduction foam buns with larger lumbar sections and corresponding fabric to match - a stock looking, but much more comfortable upgrade.
Here are two pics of my Dart Sport seats that I had done locally in the factory style, but with cloth. They were much nicer to sit in, and looked "correct".
Here are two pics of my Dart Sport seats that I had done locally in the factory style, but with cloth. They were much nicer to sit in, and looked "correct".
Attachments
The red column is a neat idea. A lot of disassembly if I decide I don't like it, though.
I will give it some thought as the steering is about the last thing I would have to install to finish the dash.
White seats - I like 'em. And they gel with the white slickback roof. Besides, my dad's car (back when I was a wee lad) had a black interior with white vinyl upholstery. It was a 69 Super Bee.
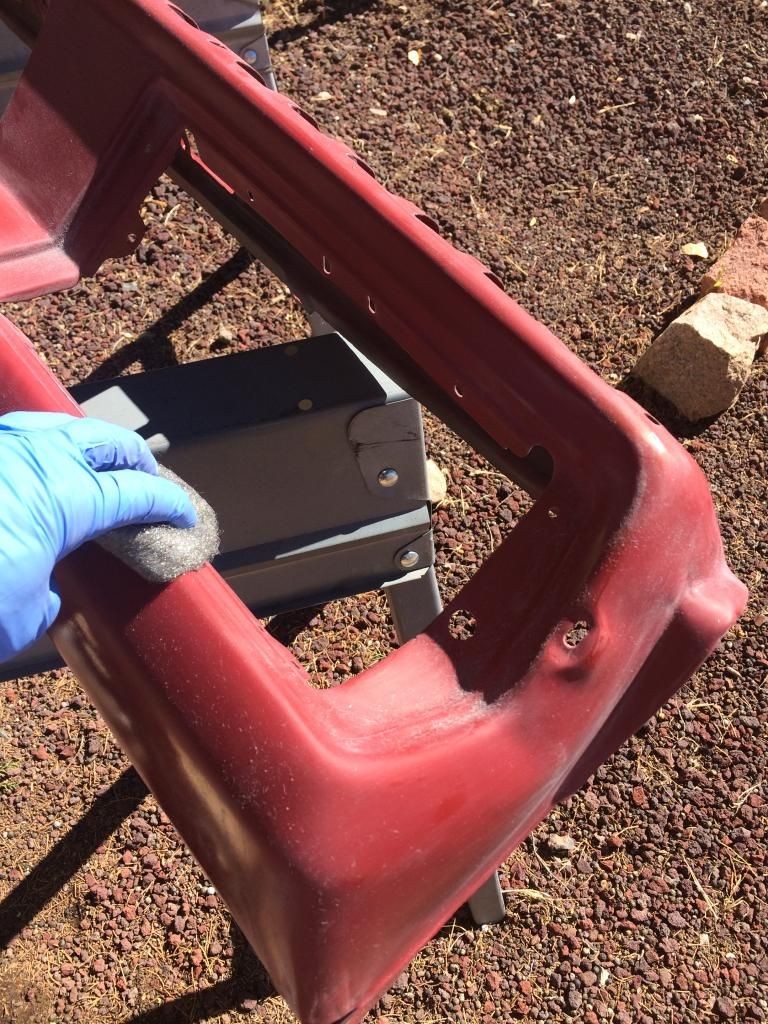
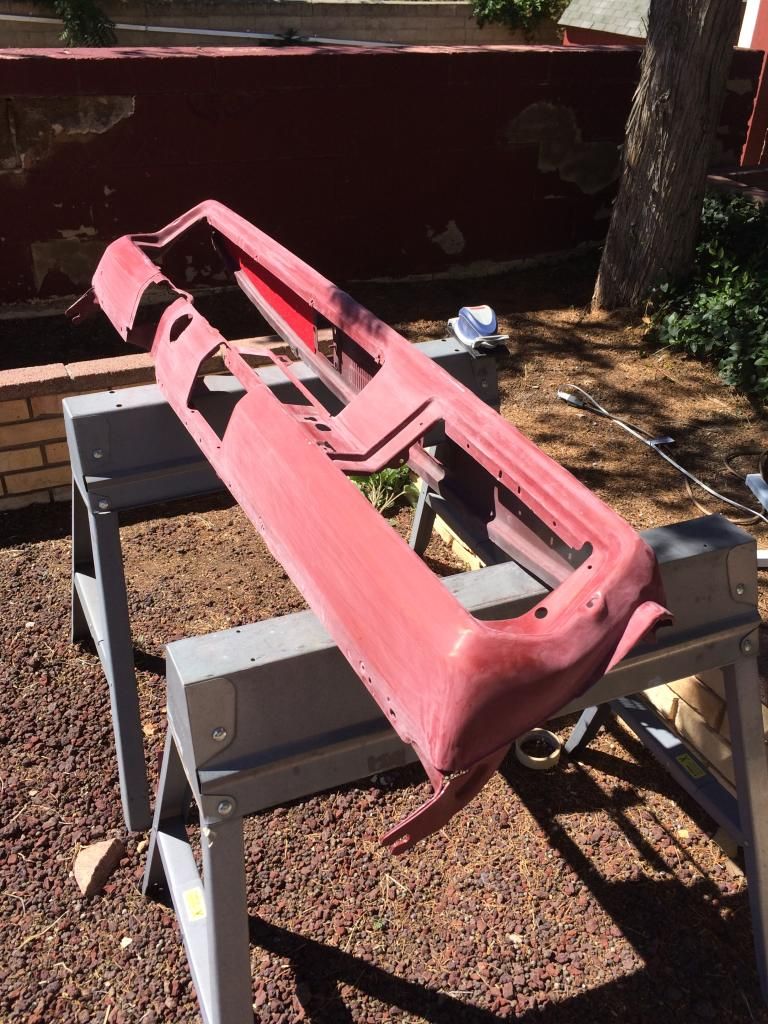
Kicking off another week of blood, sweat, and tears. This week's key event will be repainting the dash frame. So sad - hate sanding all that beautiful red paint but, oh well. I'll be much happier going this direction. Sorry, Rocker'sDuster - looks like I'll be doing the steering column, too, followed by reassembling the whole unit.
Secondary task will be shooting the chrome spray on the instrument panel.
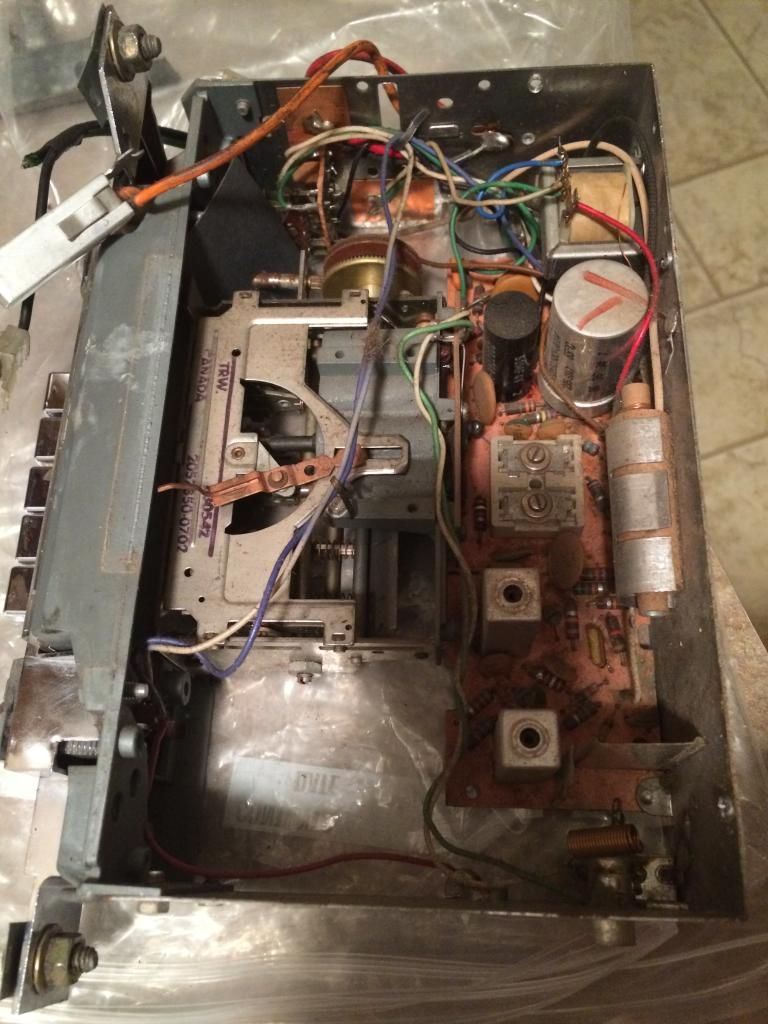
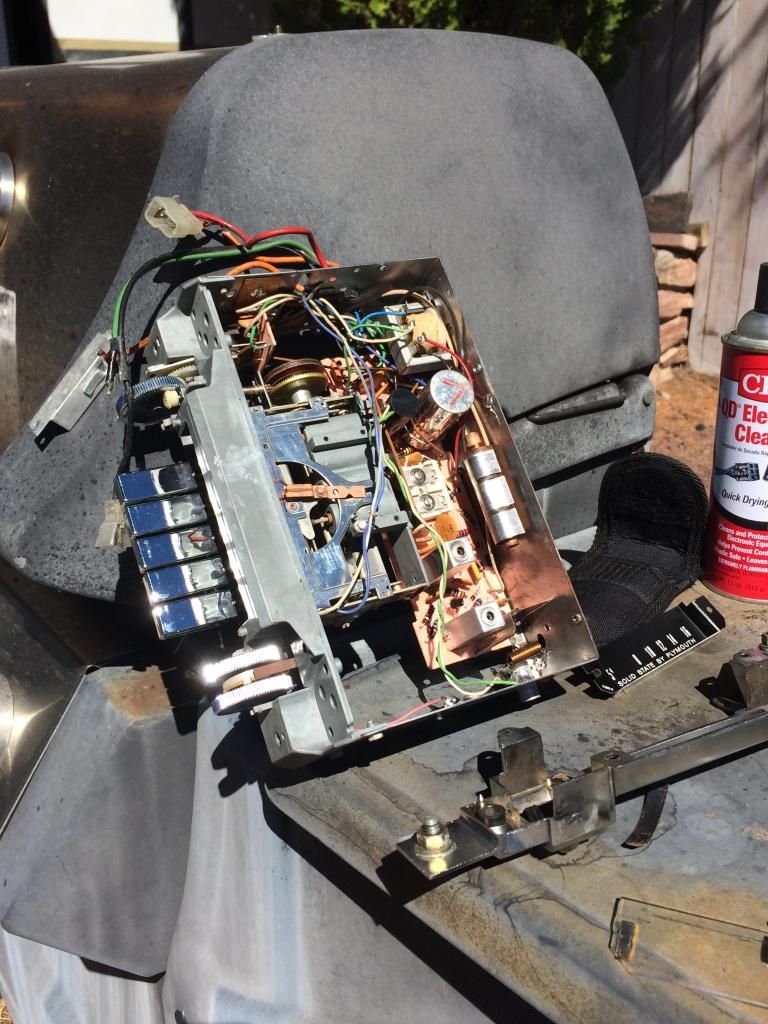
I also brought the AM radio. Cracking it open and performing a clean n' decon on it will fix up the last thing I need to put the entire dash back in.
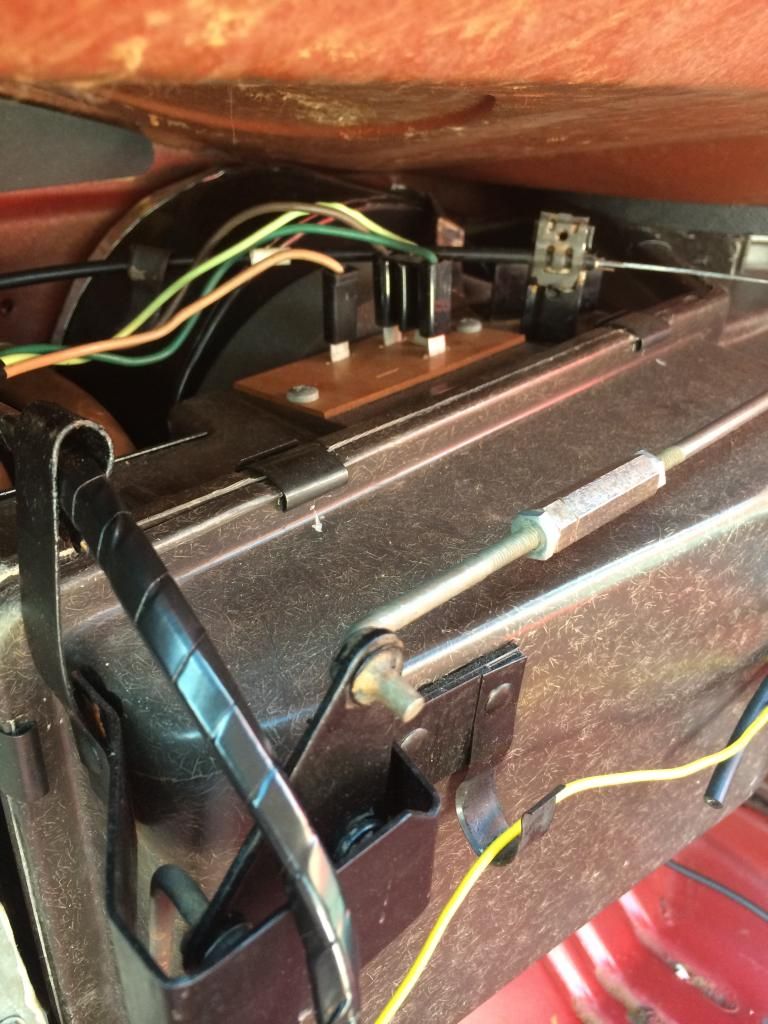
I discovered a boo-boo before I left home, however. Apparently, one cable-operated lever on the HVAC box got put in upside down. I will need to pull the whole bloomin' thing off the firewall, split the two halves open, flip that lever over and put it all back together. Not a huge deal, just a lil' sack pain.
Many photos coming - should be another productive week since the weather is supposed to be perfect for the entire period.
Old Man Mopar
Righteous Dude
Nice and very unusual car.
Unusual? Outside of the vinyl top?
Meanwhile: found and bought a pair of hubcaps. I've been leaving the car out in the driveway for a little clean air + UV therapy and it just looks whack with the bare steelies.
My understanding is this - the 68 and 69 caps are nearly identical with 68's having a bare metal center and 69's having that center painted black. I prefer the shiny metal over the matte black and I think the unpainted center has more staying power so... I have a pair of 68's coming.
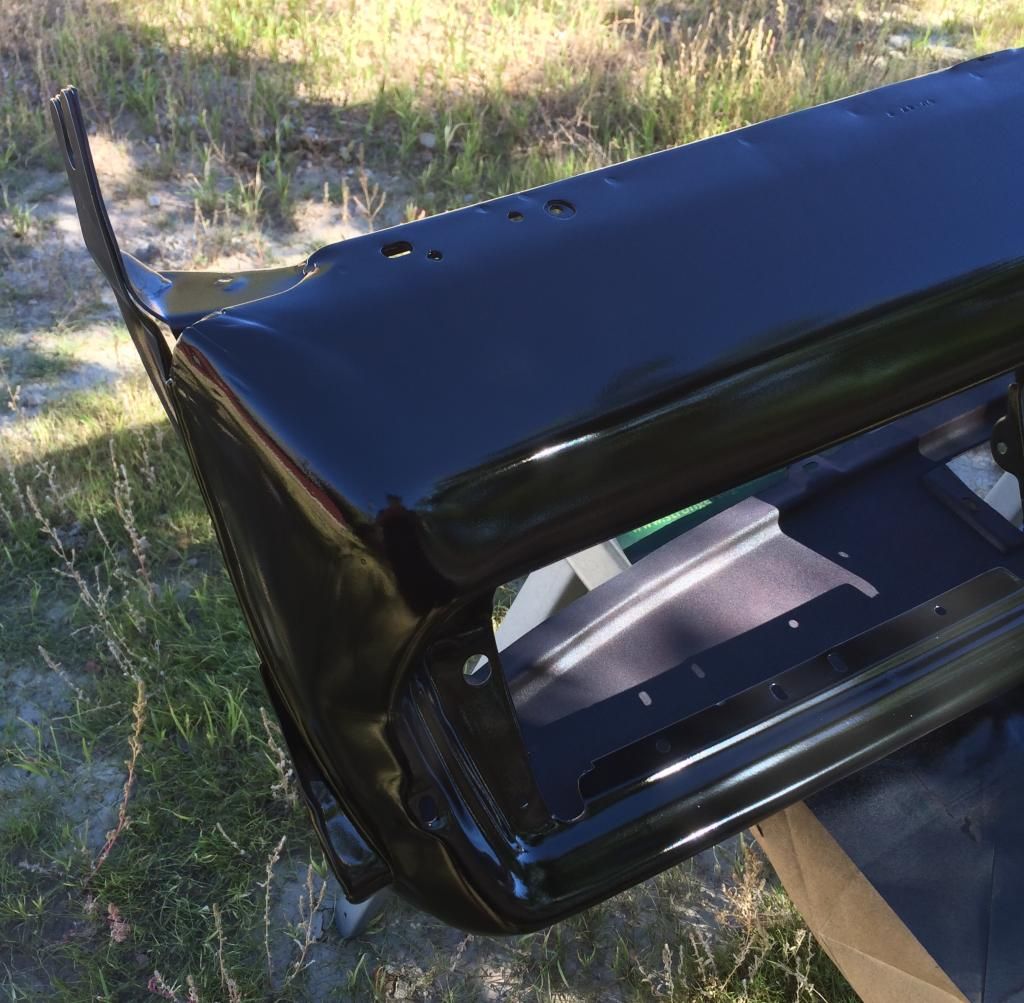
Finished taking off the clear lacquer today. Ended up doing an 800 grit wet sand for the finishing touch. Then it was nap time. I mean, I do actually have to work while I'm out here. Lol. Anyway, another excellent weather day tomorrow so I should start laying down the black, no problem.
TexasDart
Well-Known Member
so how you going to clean this one... Does it work? Will it work? Amazing work you have been doing.
so how you going to clean this one...Does it work? Will it work? Amazing work you have been doing.
Ah yes, the AM radio. Truly of little value in this day and age aside from filling the hole in the dash. For me, priority must be given to sanitation over function. To that end I could just hot-tank the darn thing but I will try a gentler approach and gauge the outcome before resorting to something so drastic.
Before removing it, I did note that the radio does power up and send noise to the speaker (you saw what that looked like) but the tuning knob spins without actually driving the tuning section so I was unable to acquire any radio signals. Disassembled, I can turn the tuning section by hand but, at present, I don't have any other equipment to perform an operational check.
If the radio works but I can't sort out the tuning knob, I will just set it to a strong local station and forget about it for now.
Just a note: my lease is up in 5 months and I intend to move this car to our next home under its own power.
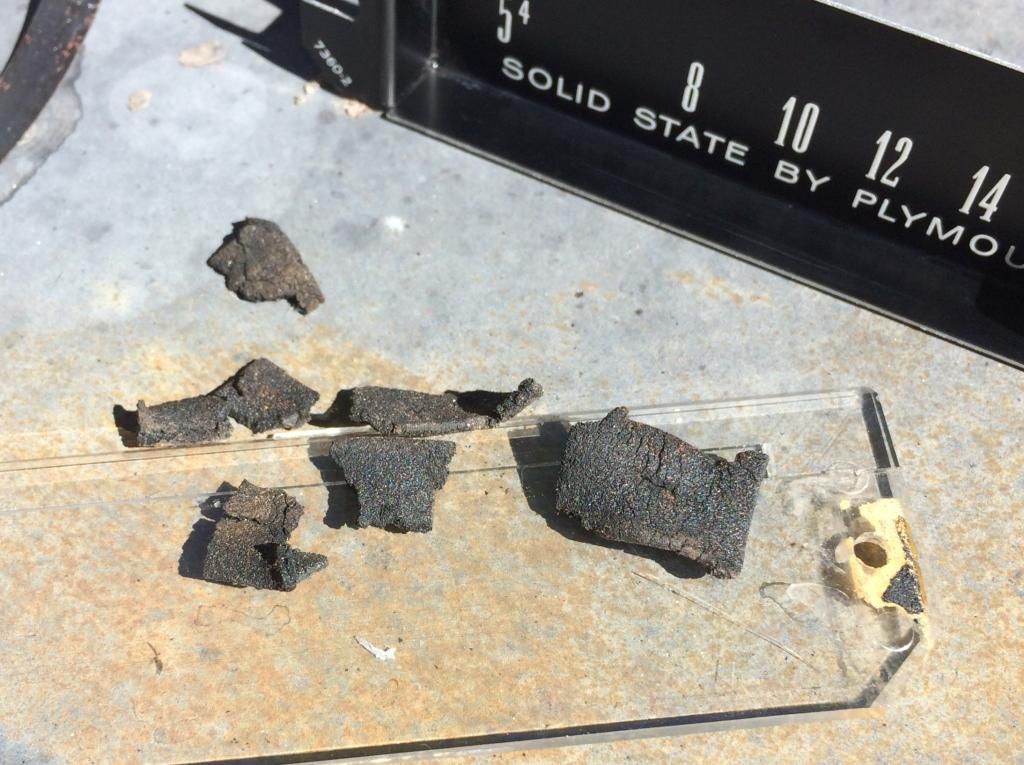
This would be the culprit.
The plastic gear, outer teeth, turns the entire tuning mechanism. Those teeth are fine and I have the rest of the tuning rig turning freely. The inner splines, which mate to the splines on the actual thumb wheel, are stripped. Plus, the plastic gear itself is cracked. I believe one fairly potent adhesive could get this unit back in action. A good lubrication of everything downstream of this knob will ease the load on the repaired gear and should make for smooth operation.
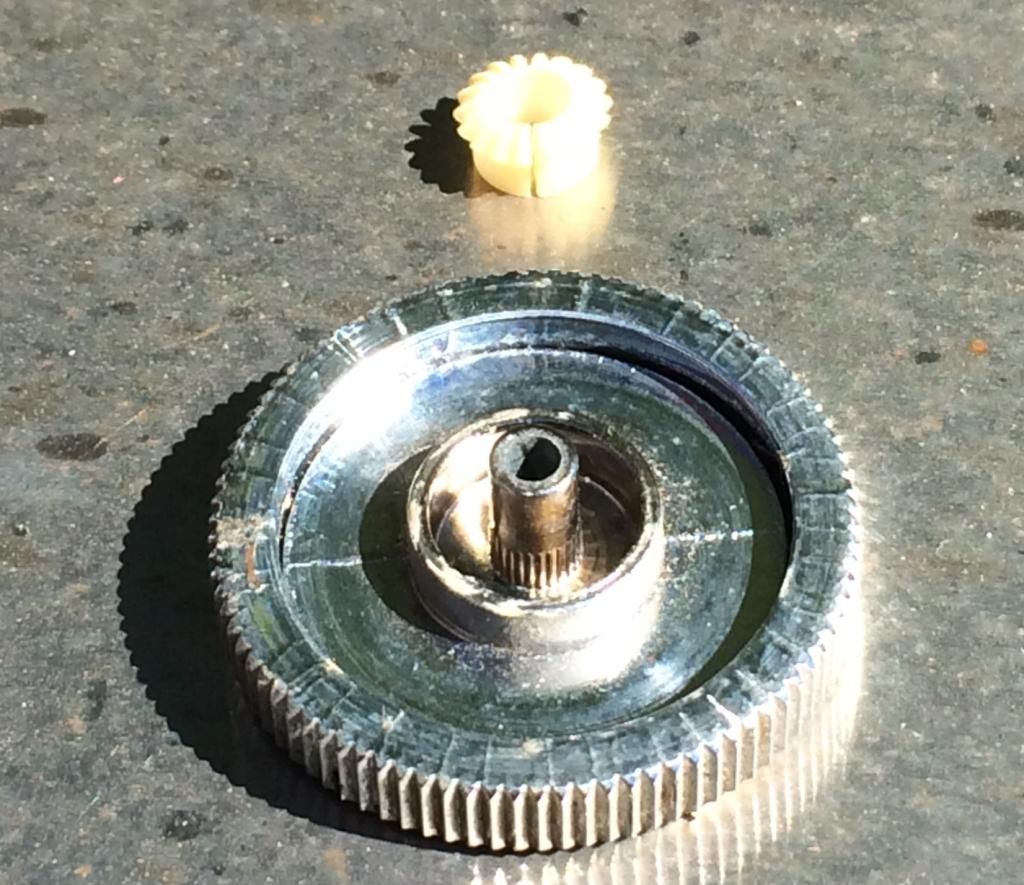
The plastic gear, outer teeth, turns the entire tuning mechanism. Those teeth are fine and I have the rest of the tuning rig turning freely. The inner splines, which mate to the splines on the actual thumb wheel, are stripped. Plus, the plastic gear itself is cracked. I believe one fairly potent adhesive could get this unit back in action. A good lubrication of everything downstream of this knob will ease the load on the repaired gear and should make for smooth operation.

Nice job on the car all the way around!! You're doing an outstanding job, and giving attention to every detail!! Gonna be a beautiful cam when you're done, keep up the good work! Geof
Thanks for the kind words, Geof!
I got two coats of black on the dash frame and the 2 steering wheel collars. I want to do another coat on the dash before shooting the clear so, more black tomorrow....which is fine as I hope to get the steering tube sanded down tonight so it will be ready in the morning for some paint of its own.
The radio needs more time in the sun. I've actually sprayed the crapola out of it with ammonia but it remains a tad stanky. You all would have cringed if you could've seen me running scalding hot tap water through it at the kitchen sink but...this old radio is more mechanicals than electronics so I don't really think any damage was sustained. I succeeded in removing a lot of built up fuzz and debris and took advantage of the New Mexico sun and 15% humidity to effect a rapid dry-out. More UV and more ammonia are in its future until it smells like.......nothing. But I'll say again: if it doesn't work, I really don't care. All I need it to do is light up at night, fill the hole in the dash, and not make my wife sick. Not asking too much, here.
-

