Biohazard

-
Kicking off yet another week of awesome productivity!

I have, with me, everything I need to finish up some detail work on the dash and instrument panel and plan to have the entire dash reassembled into a singular unit. I also have the cockpit wiring harness so that I'll be able to plug everything in where it belongs and finish wrapping the bundle.

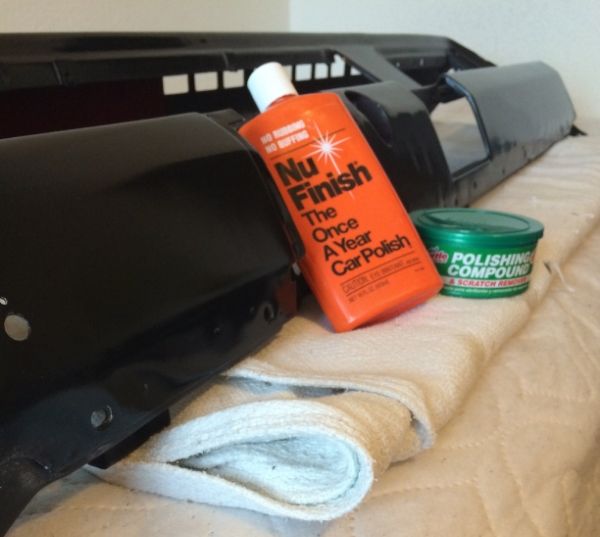
Today, while between calls, I am polishing the frame with a light compound and I'll follow that up with a protective coat of something - probably nu finish. I like that stuff.
 
Here ya go bro!
20141015_133422_zps3619ccd0.jpg
 
Gotta love corporate. Sure, O'Reilly turns drums but not if they are anywhere close to the limit. I don't know why I even waste my time there.

When I asked the O'Reilly by me if they turn drums, the guy's response was "No one would bother turning a drum anymore, it's just not done." He was a young kid, not sure he even really knew what a brake drum was. I didn't even pursue anything with O'Reilly after that.
 
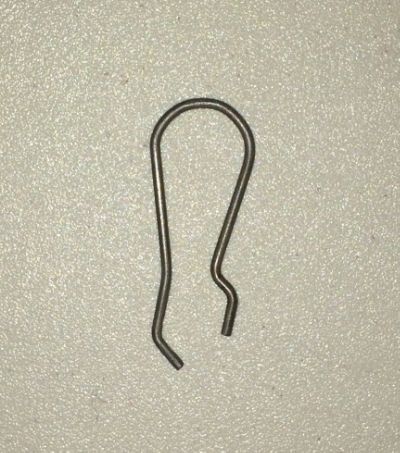
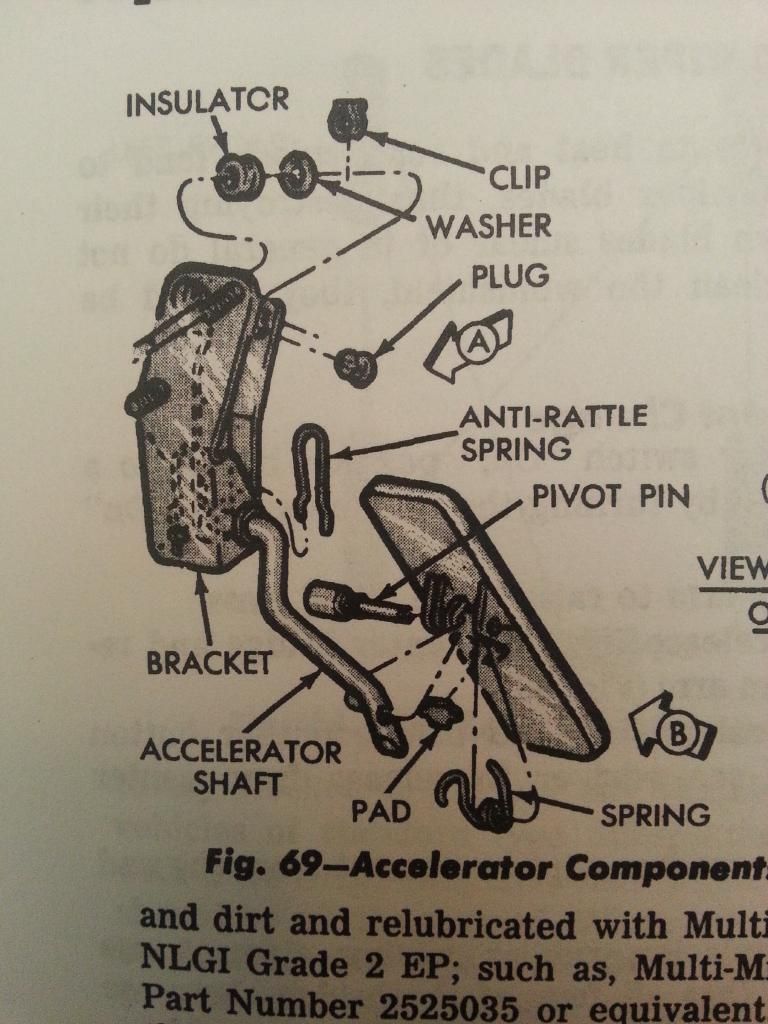
Hey bro, That is the "anti rattle" spring for the accelerator pedal.

So awesome. Thank you!! I had been thinking it must've come from either the gas or brake pedal linkage under the dash (because that's the area where I'd been working when the mystery evolved) but just couldn't place it. Thanks for the help with that!


O'Reilly's..... I've actually heard the same thing about rotors but I don't recall who from. Funny thing is...they advertise on their website that they turn drums so........:dontknow: Aside from all that, I really think I just need mine 'cleaned up'. They don't have any gouges or anything - just surface rust - and I would rather bed-in my new shoes on clean drum liners.
 
Here ya go bro!

I was like "What?" Then I looked at my pedal and then it was "Oh. I see." Excuse the buffing wheel hair... that is temporary. Even though my car is mostly disassembled it stays in sub-assemblies until it is refurbish time for that particular part. Then it is a few choice pics, take it apart, clean, paint, or whatever, then back together. Otherwise I would forget where all that stuff goes...
 

Attachments

  • Pedal Assy.jpg
    71.3 KB · Views: 437
Very cool. That pic is also quite helpful.

Yeah, I'm with you on the keeping it to one sub-assy at a time but the desire to finish and the need to have it in a particular state by a certain time force me into some multi-tasking I may be I'll-equipped for. That's when I call in the big dogs. Thanks for all your help and interest, guys.
 
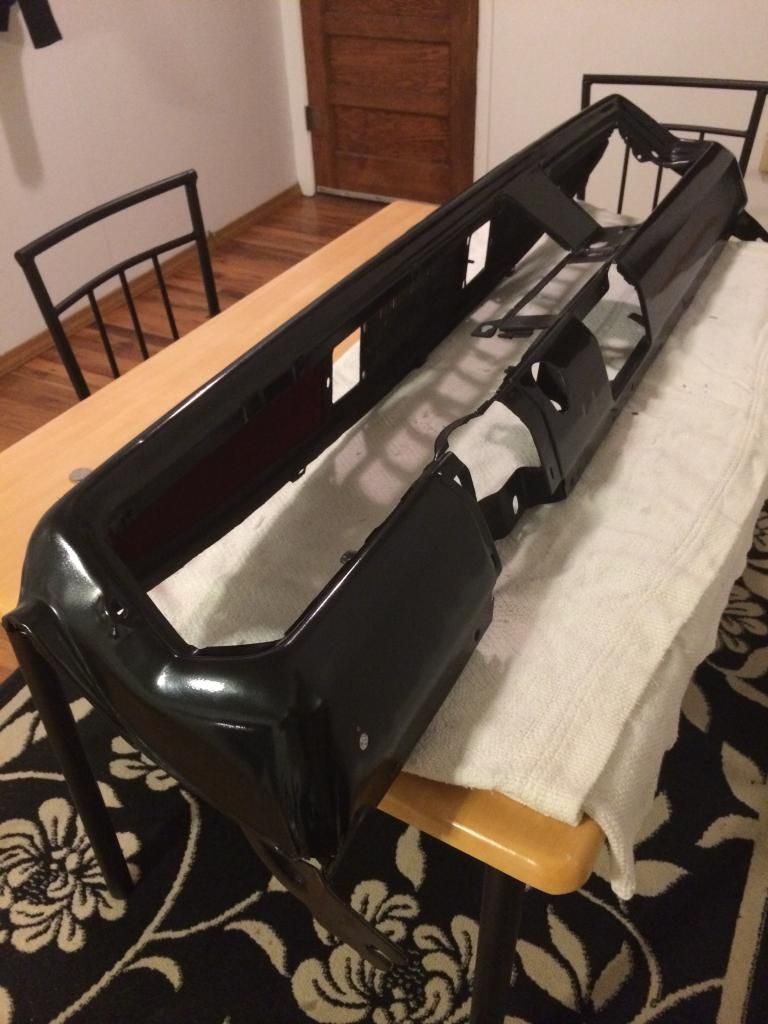
Pretty busy with work but managed some time for the frame.
Trying to smooth out some orange peel and those areas where the clearcoat dried in a fuzzy, almost fine granular state such as in the creases around the glovebox door.

 
OK, I have to ask.....what line of work are you in that you travel around, and while at work and on shift you have the ability to work on your projects?

I will share about myself - I am a Helicopter Engineer, and for the first twenty years of my career traveled around Canada a fair bit - and had chances to scope out many cars, locations and parts, and on occasions bring small projects along to work on much as you do. For the last two years however I have been working internationally, in Papua New guinea, and no longer have the chance to hunt for cars and parts while on shift, or bring projects with me.
 
Helicopter EMS pilot. It's a lot like being a fireman: you spend a lot if time waiting for the bell to go off. I figure this is far better utilization of my downtime than watching TV or playing video games.
 
Thanks, Paul! *looks like I need to check out your silver '69.

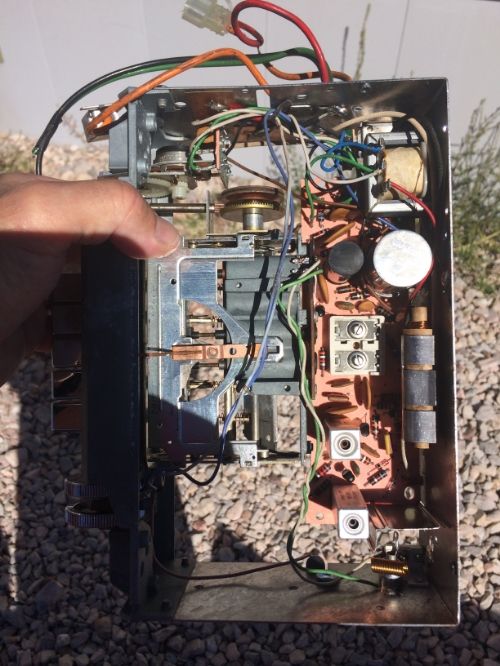
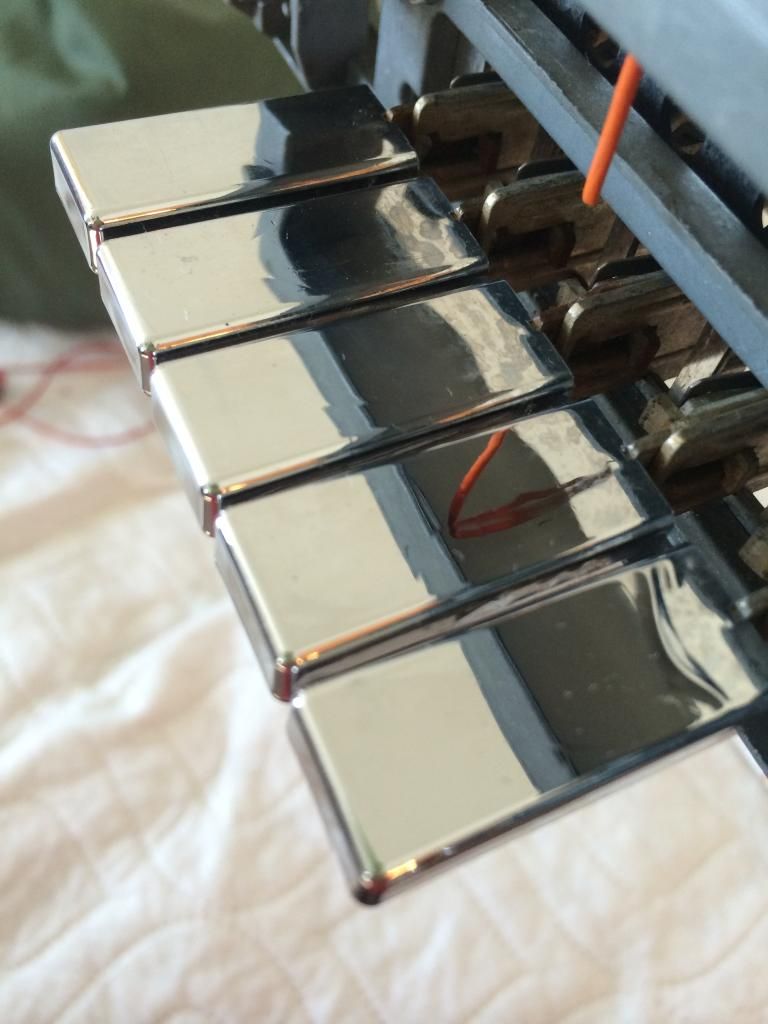
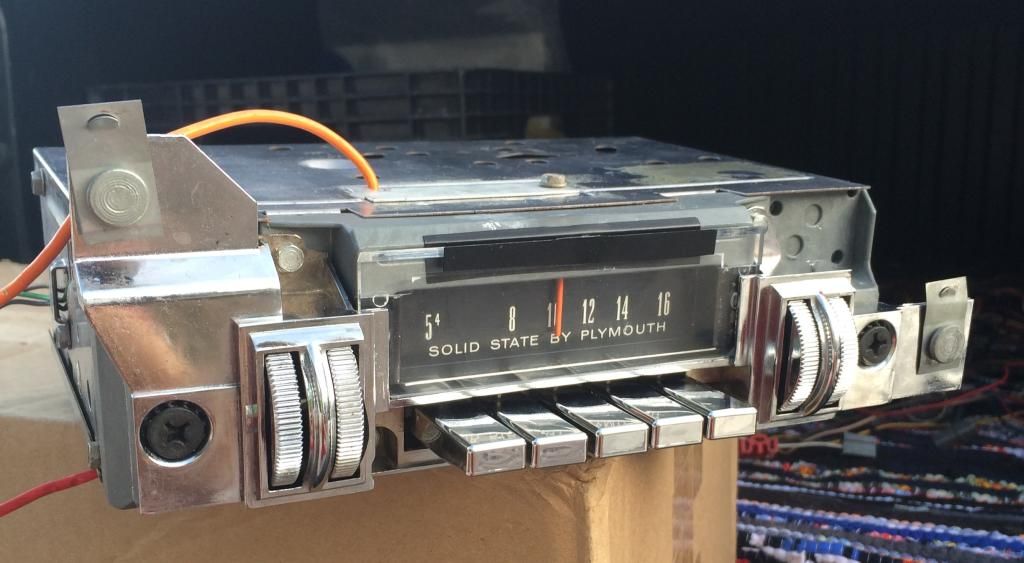
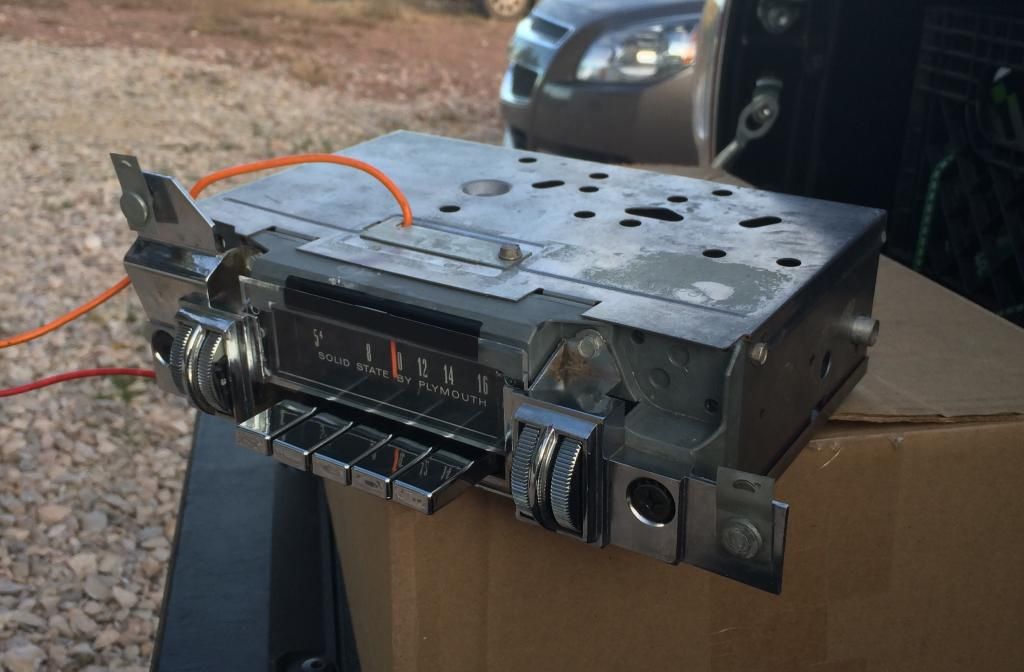
So here's the radio - with cleaned guts.


Sadly, it does not work. It powers on, you can hear some noise in the speaker, but ZERO music signal and there are strong AM stations in close proximity. No worries - I don't care.
 
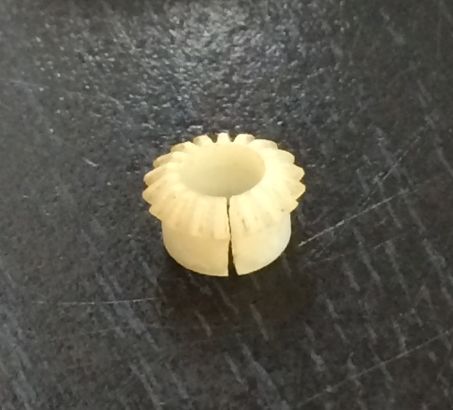
Still need to fix that tuner drive wheel gear.

The cracked gear:


Bonding the crack:


Bonding (hopefully) the gear to the thumbwheel:


I scored the shaft with an ultra-sharp dremel etching tip in the hopes of a better bond. Otherwise, I'm trusting Gorilla Glue to hook me up here.
 
A makeshift one but yes. Not even a fluctuation in the sound while moving the dial.
I never got the smell right to where I was comfortable with it so gutting it was an easy call.
I'm going to try using the power switch as a means to remotely turn on the actual music system. (To be determined)
 
Such a gorgeous day today! Cloudy and high of 72.
I have just a few spots on the dash frame needing some polishing and then, once cleaned up to satisfaction, I can apply a coat of wax and call that done. Followed by some assembly??

 
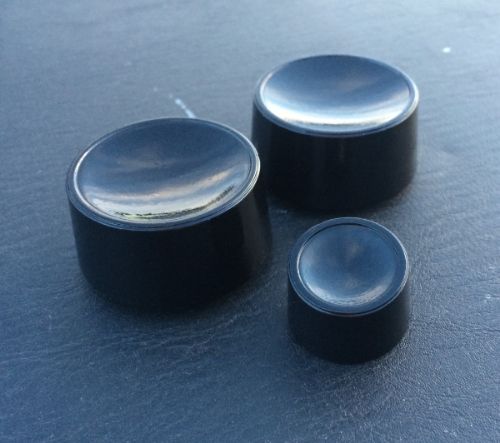
Had to come to terms with how I'm going to finish the instrument trim caps. I was going to try and get the silver ring back onto each cap but that would certainly be difficult to pull off. Started looking at how other people were finishing their instrument panels - I figured out I like the more shiny caps but don't really want to use the chrome spray because it doesn't take being touched very well and isn't all that shiny, either. So I'm sticking with black but going with a super high-gloss black. Best of both worlds?

Here they are with 2 coats of black paint. Will need some rubbin' with the polish.

 
Movin' right along. Dash frame polished and waxed, ditto on the instrument center caps.

So nice having that protective coating of wax (well, polymer-wax) down on the frame. Means I can handle the piece with less anxiety about blemishing the finish.
 
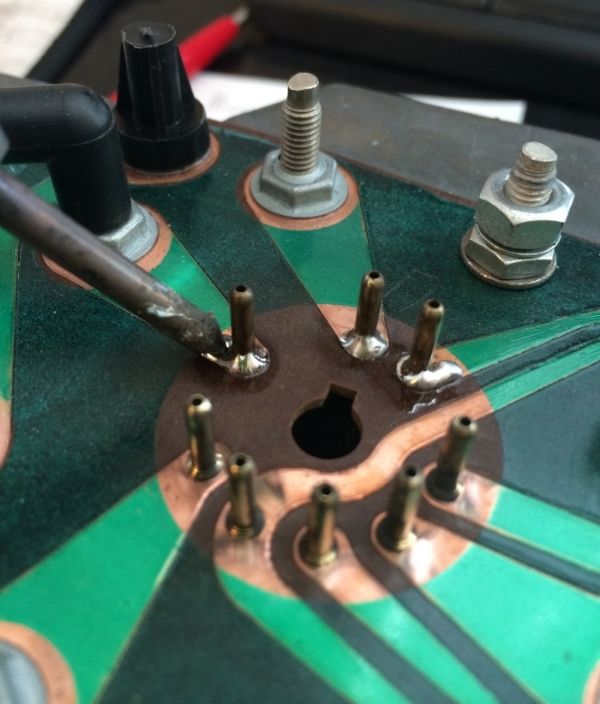
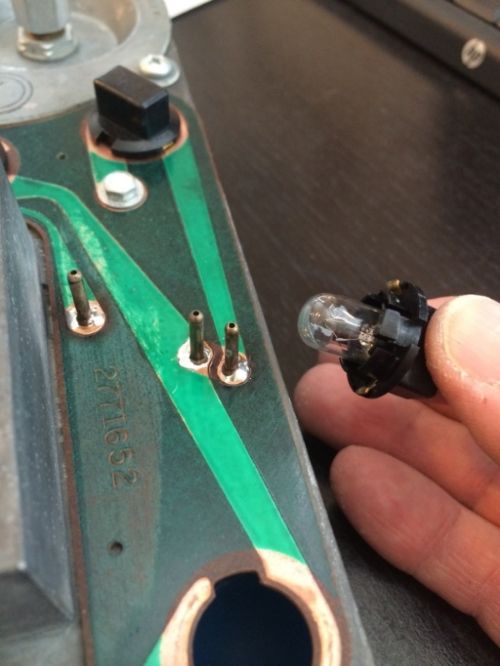
Getting the instruments ready for installation. I read about shoring-up the electrical pins in Mopar Muscle Magazine - seems like sound thinking - so I did a dab of solder at the base of each one after cleaning off one side of the pins with the dremel. Took this time to install my new dash bulbs - fresh bulbs in every slot!


Even the radio dial got a fresh bulb.
 
-
Back
Top