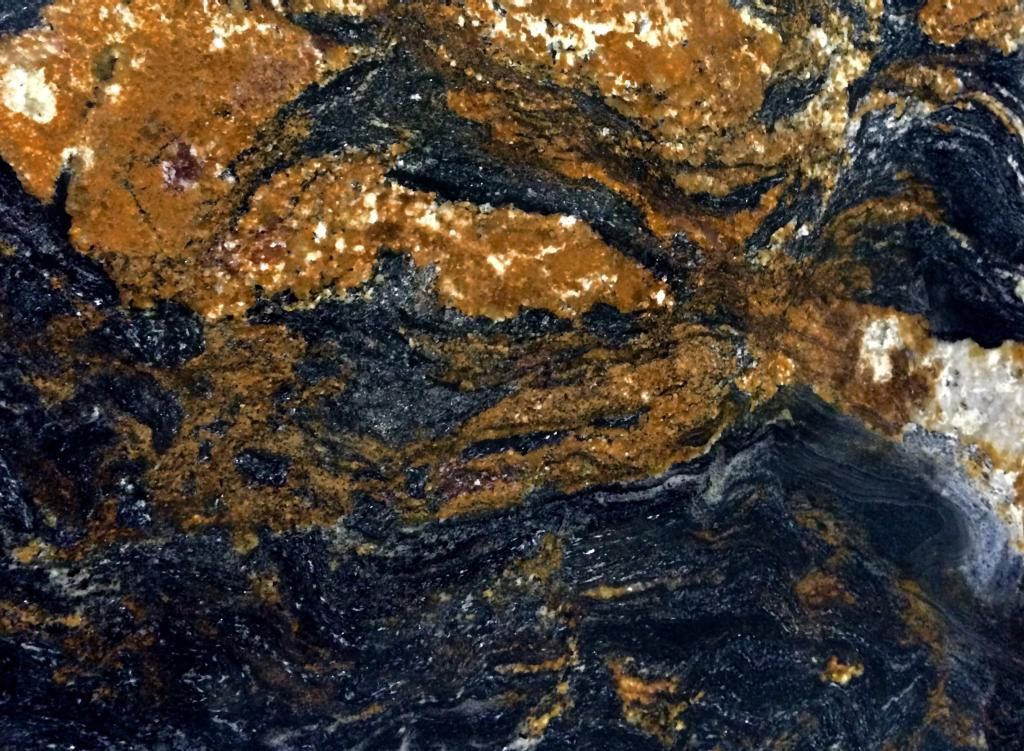
Haha. Not my granite.
You are using an out of date browser. It may not display this or other websites correctly.
You should upgrade or use an alternative browser.
You should upgrade or use an alternative browser.
Biohazard
- Thread starter Teeth & Tires
- Start date
-
SNKEBIT
Spending $$ on Mopars
Dammit!!!!!!!!!!
??
So, uncle Dan storytime: I kind of dislike the Rustoleum enamel + clearcoat treatment finding it too brittle and generally fragile for the automotive interior. I have really developed a fondness for Krylon's Dual. So when I knicked the paint on this shift collar, I redid it using the Krylon product.
First challenge was the cold weather. overcame that by curing the piece in the BBQ but on the first go 'round, the part tipped over and screwed up an otherwise lovely finish. So I had to sand it down and start over. Of course, sanding took away the textured finish so now I'm shooting a perfect gloss coat. In order to get the scratch completely out of the finish, I had to paint, sand, paint again 3 times. Real pain. Some days were so cold and/or windy I couldn't spray at all and it just happened that my company opened a new facility which ate up a bunch of time along with the holidays, finding a house and going through the associated nut-roll...ugh. But today, I finally finished it up. Got a good gloss base down and to mimic the texture, careful dusted the piece by holding the spray can a good distance back. I'm satisfied with the turnout but sure would have liked to have taken less time on it.
First challenge was the cold weather. overcame that by curing the piece in the BBQ but on the first go 'round, the part tipped over and screwed up an otherwise lovely finish. So I had to sand it down and start over. Of course, sanding took away the textured finish so now I'm shooting a perfect gloss coat. In order to get the scratch completely out of the finish, I had to paint, sand, paint again 3 times. Real pain. Some days were so cold and/or windy I couldn't spray at all and it just happened that my company opened a new facility which ate up a bunch of time along with the holidays, finding a house and going through the associated nut-roll...ugh. But today, I finally finished it up. Got a good gloss base down and to mimic the texture, careful dusted the piece by holding the spray can a good distance back. I'm satisfied with the turnout but sure would have liked to have taken less time on it.
So, uncle Dan storytime: I kind of dislike the Rustoleum enamel + clearcoat treatment finding it too brittle and generally fragile for the automotive interior. I have really developed a fondness for Krylon's Dual. So when I knicked the paint on this shift collar, I redid it using the Krylon product.
First challenge was the cold weather. overcame that by curing the piece in the BBQ but on the first go 'round, the part tipped over and screwed up an otherwise lovely finish. So I had to sand it down and start over. Of course, sanding took away the textured finish so now I'm shooting a perfect gloss coat. In order to get the scratch completely out of the finish, I had to paint, sand, paint again 3 times. Real pain. Some days were so cold and/or windy I couldn't spray at all and it just happened that my company opened a new facility which ate up a bunch of time along with the holidays, finding a house and going through the associated nut-roll...ugh. But today, I finally finished it up. Got a good gloss base down and to mimic the texture, careful dusted the piece by holding the spray can a good distance back. I'm satisfied with the turnout but sure would have liked to have taken less time on it.
Dan,
Spent the extra money to get the original type Suede from TCP global. It was a 2 part urathane that hardened extremely well and is very chip resistant. Sorry you have had all the issues!
SNKEBIT
Spending $$ on Mopars
wasn't your granite.
#granitethread, lol
Your granite is much cooler looking than the first one!!! I've never seen that design before and I'm a real estate agent!!
And your column looks great. It was a lot of work but the paint looks great...the texture looks good.
And your column looks great. It was a lot of work but the paint looks great...the texture looks good.
SNKEBIT
Spending $$ on Mopars
Oh no!!!! You chipped the paint!! Curses. rotest:
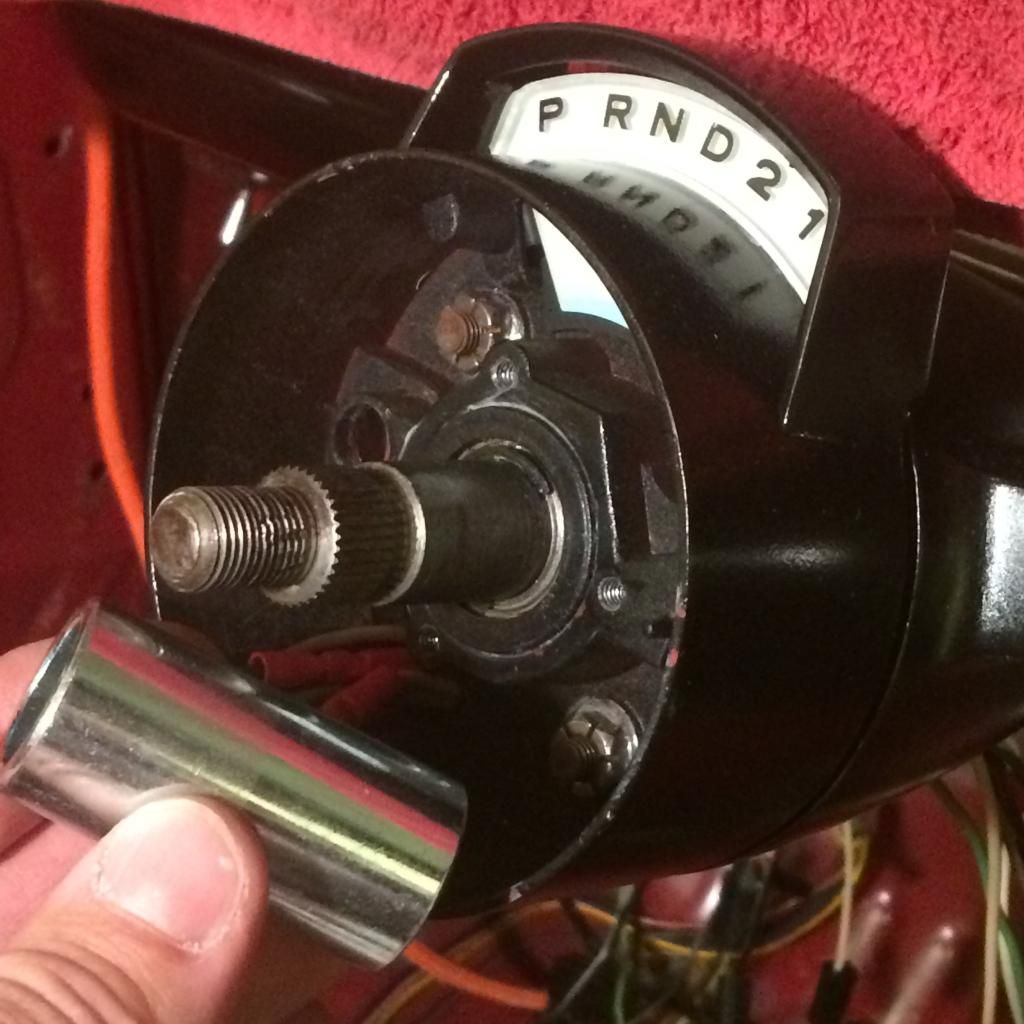
btw, I used a socket. A crappy one. lol
btw, I used a socket. A crappy one. lol
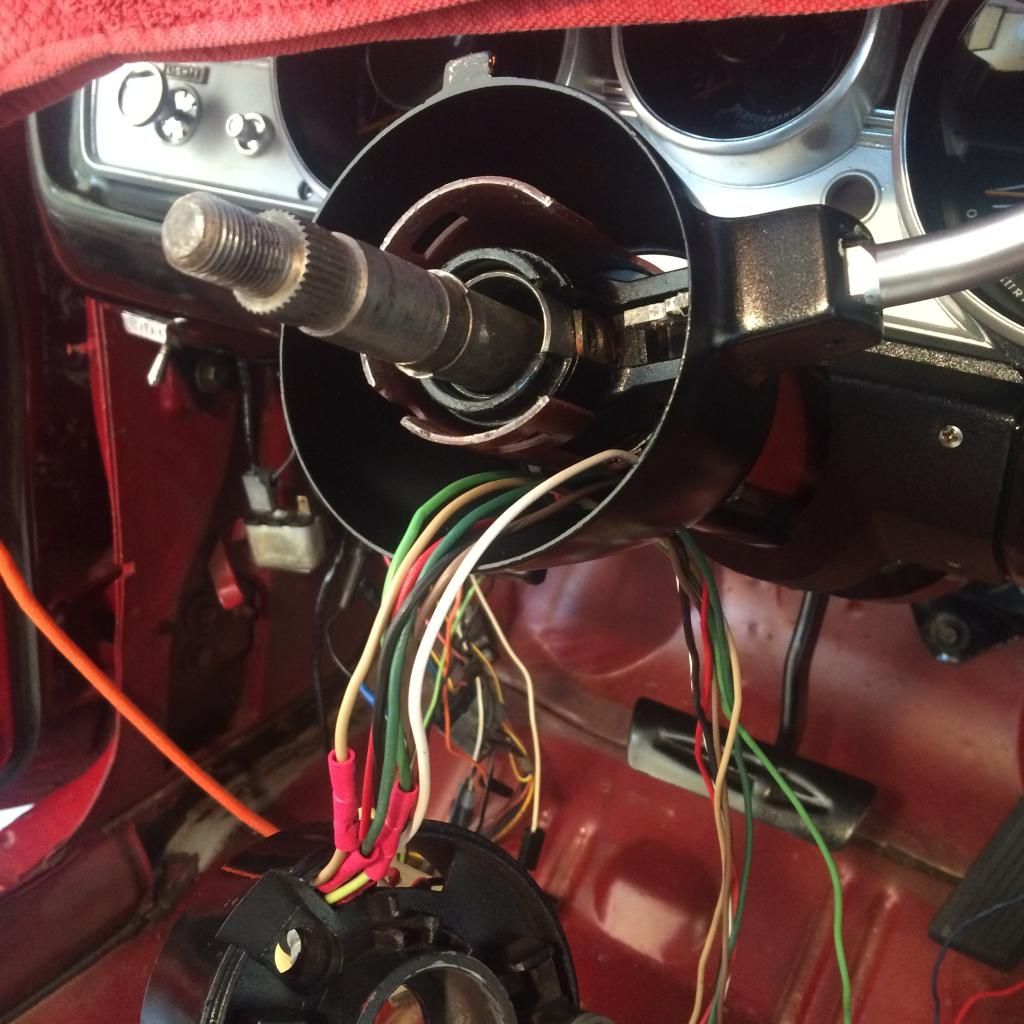
None of my sockets would clear the threaded part of the steering shaft.
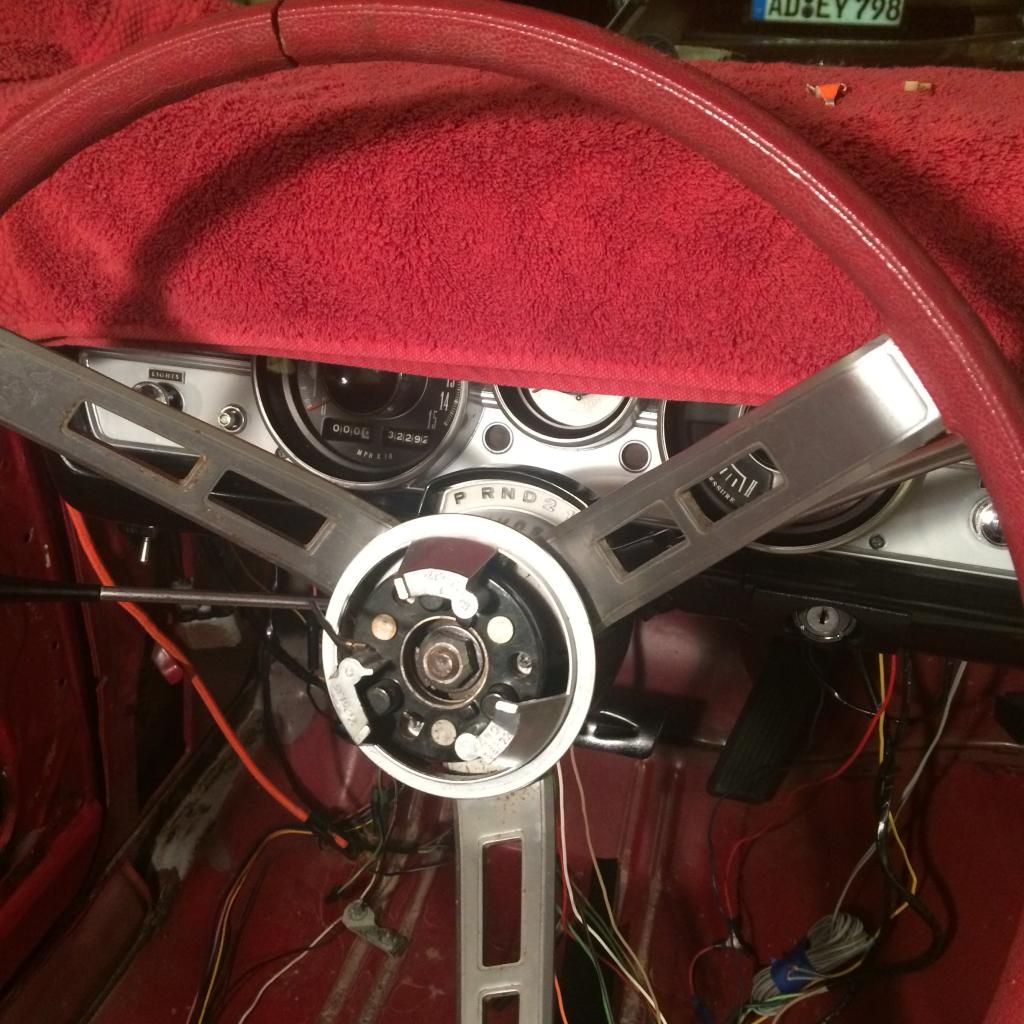
So I gave up on the gear pointer. After dropping it down into the housing four times, I finally got it set in place. (who knew this would be so tough) but then it wasn't bent correctly to drop down over the PRNDL. After fiddling with that too much, the tip broke off. Aggravating.
So, minus the pointer, here's the completed steering column.

So, minus the pointer, here's the completed steering column.

SNKEBIT
Spending $$ on Mopars
Awesome job!!!!!!!!!!! rayer:
needsaresto
Well-Known Member
- Joined
- Nov 13, 2004
- Messages
- 7,603
- Reaction score
- 266
Getting close if it's exhaust time! Initial startup and all that fun smoke....
Will be sure to stay upwind and send the missus out of town for the weekend.
Currently, in the process of boxing up the fish's garage.
Currently, in the process of boxing up the fish's garage.
needsaresto
Well-Known Member
- Joined
- Nov 13, 2004
- Messages
- 7,603
- Reaction score
- 266
Aint moving a *****? Oh well,I hope you will be happy in the new place. We could do with a move to a more friendly location too.
This move will be a snap. We never fully unpacked from the move to NM.
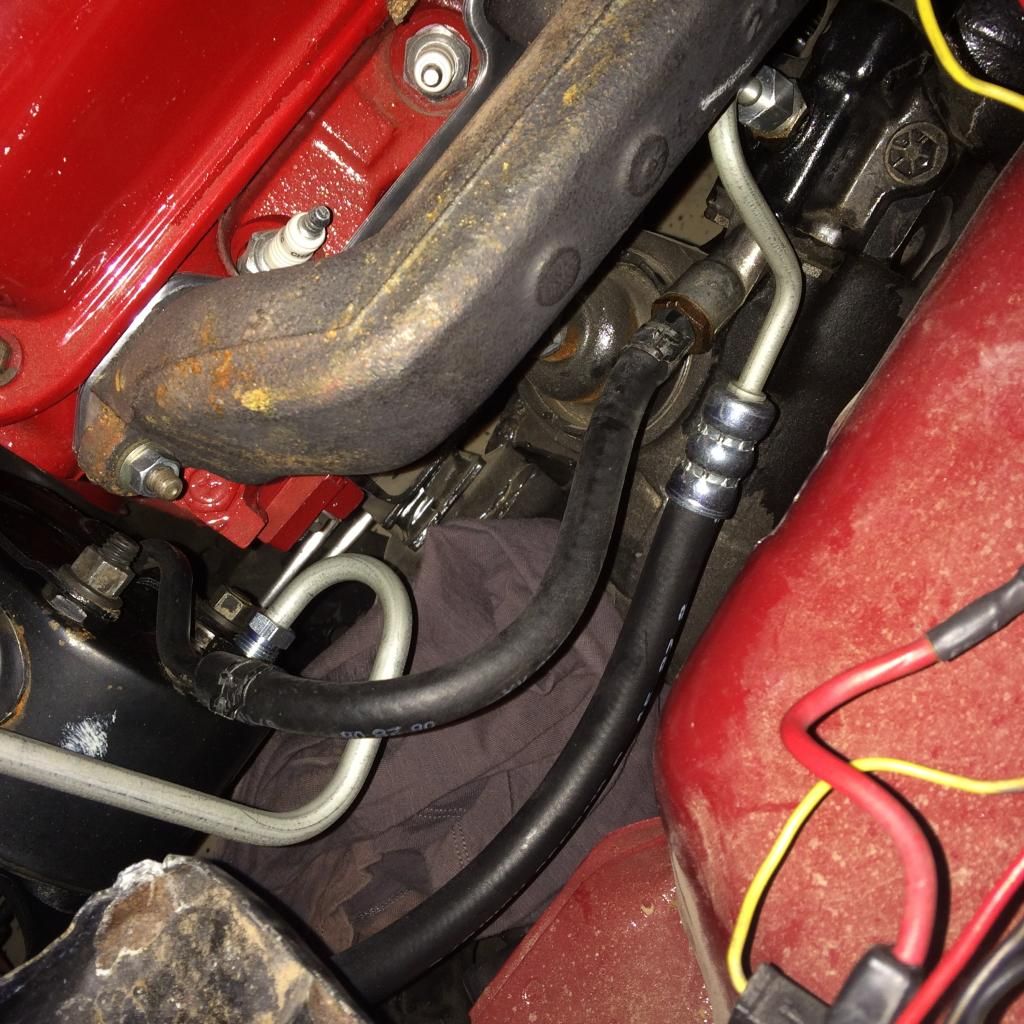
Getting the car ready for the flatbed meant bundling up my dangling wire harness and getting some loose items out of the cabin. While mucking about under the hood, I decided to pull out one of the adjustable hood bumpers. I still have replacement rubbers in the bag but wanted to see just how brittle the old ones were and, holy cow - they may as well have been made of charcoal. I had to pinch them with wire cutters and they pretty much crumbled off from there. Naturally, before screwing the metal part back in, I had to clean it. 
Who doesn't love before-n-afters?
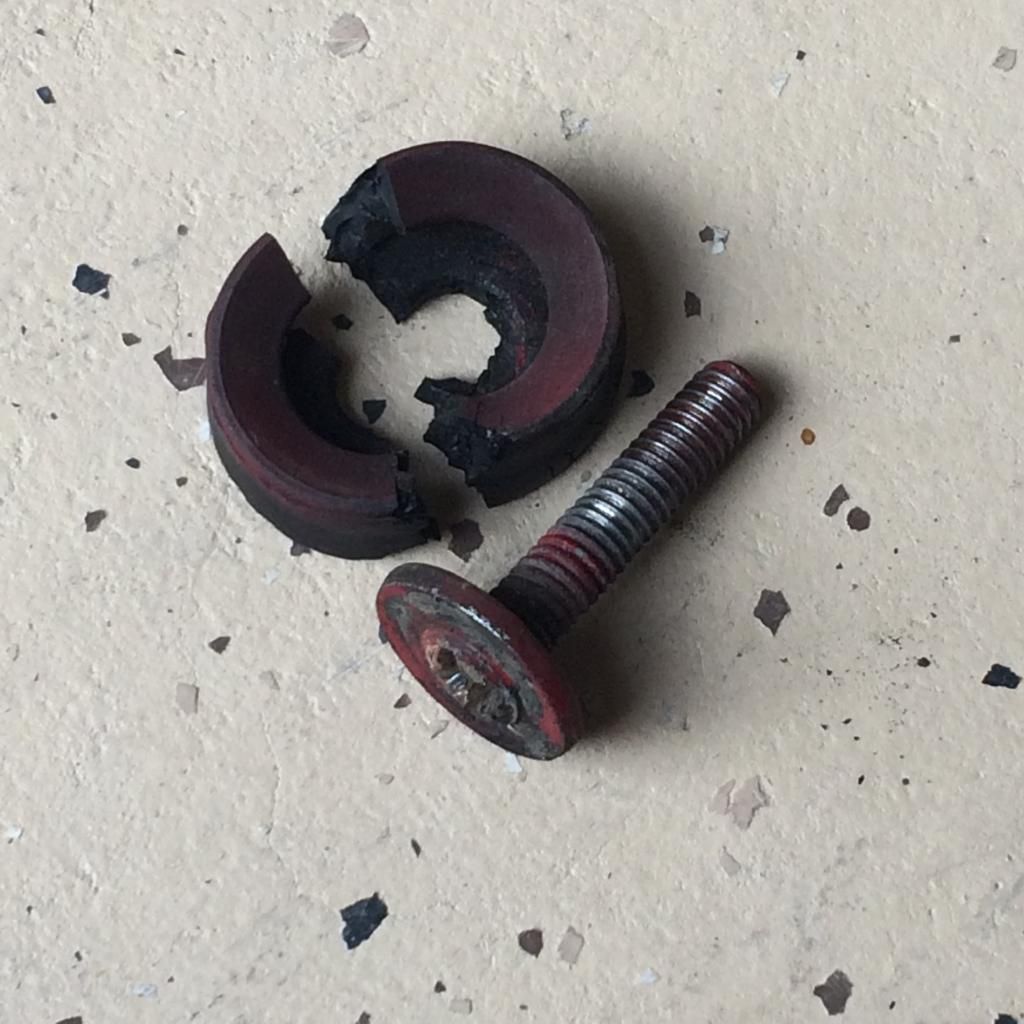

Who doesn't love before-n-afters?


SNKEBIT
Spending $$ on Mopars
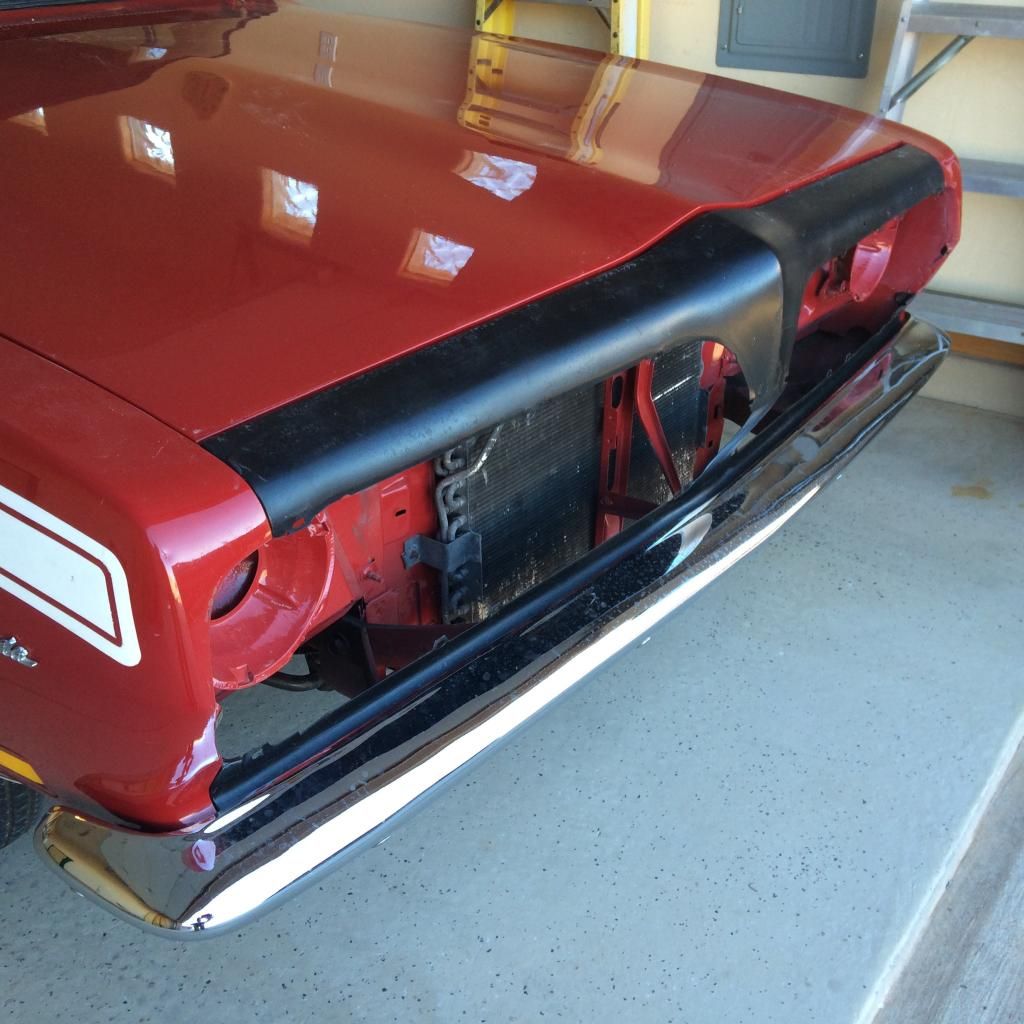
Ok, NOW I think the car is flatbed ready.
Are you really sure?!?!?!?!?!?!???:glasses7:
-

