My [Ideally] Authoritative Auto to 4 Speed Documentation Thread

-

MN1968Valiant

In College's Stranglehold
Joined
Sep 26, 2009
Messages
88
Reaction score
1
Location
Eden Prairie, Minnesota
Okay, guys. I wasn't entirely sure what to do with this thread since it's really neither a restoration documentation nor a troubleshooting issue, but I figured I would go ahead and put it in the 4 speed forum. So my plan for this thread is to document my complete four speed conversion in my A Body. Hopefully when I am done this thread can then serve as a fairly definitive resource for any future people that aspire to grab gears and want to undertake the conversion project.
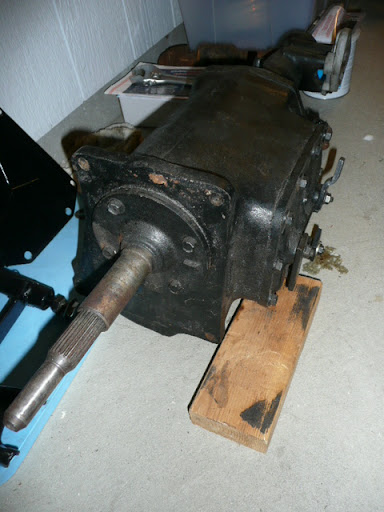
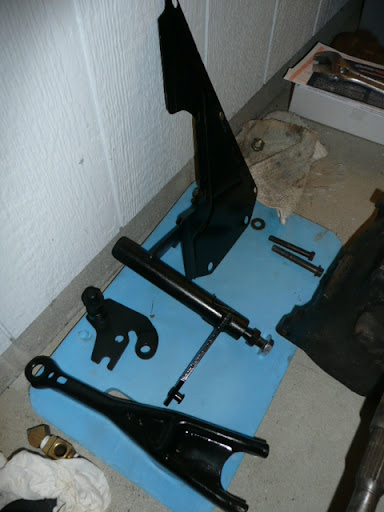
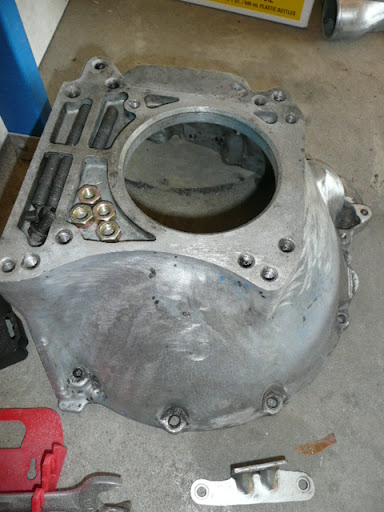
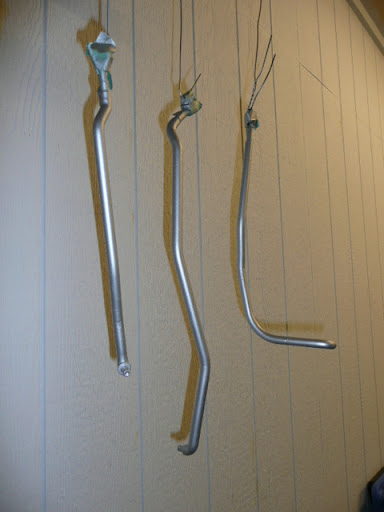
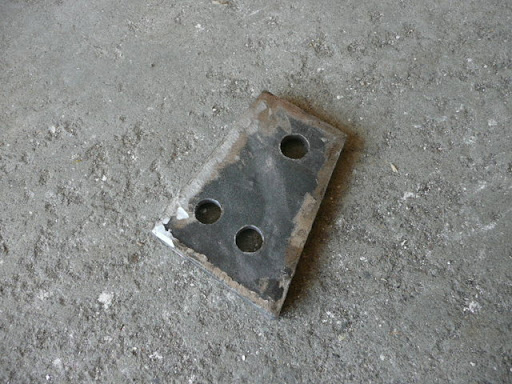
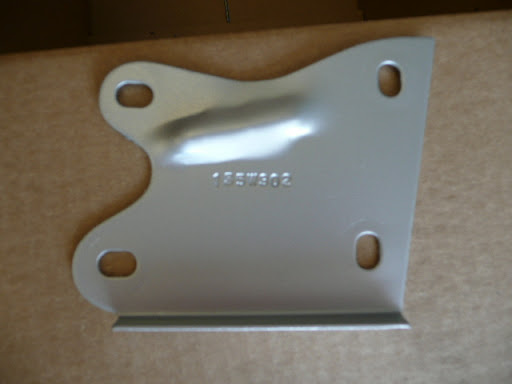
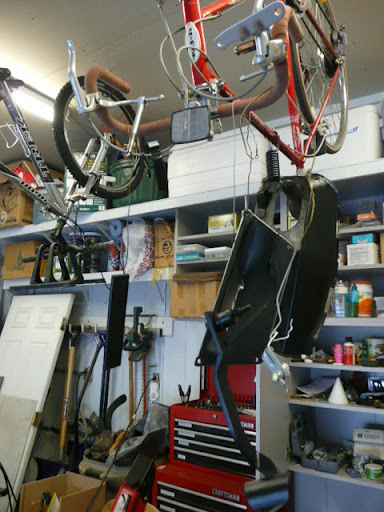
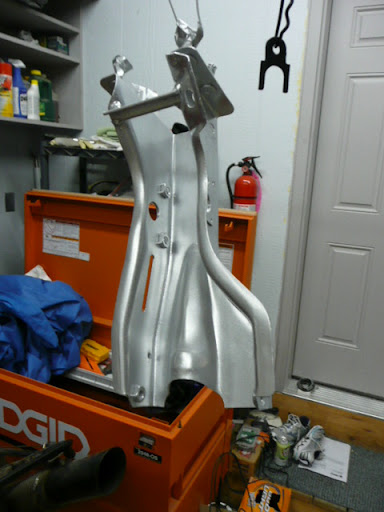
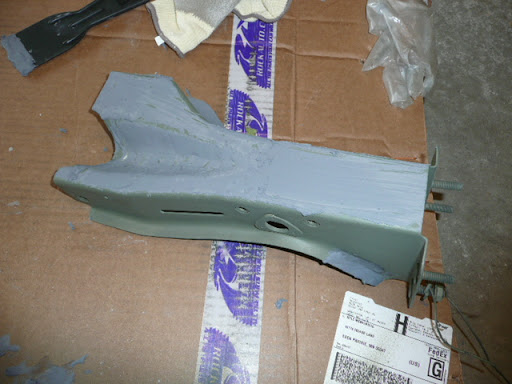
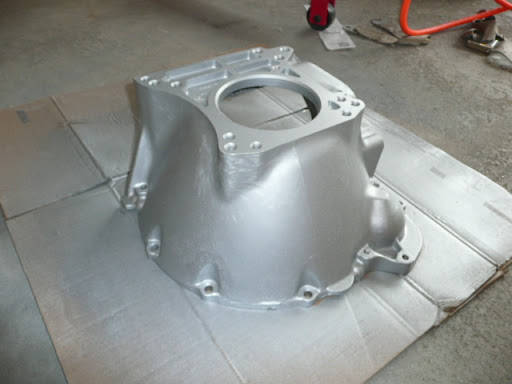
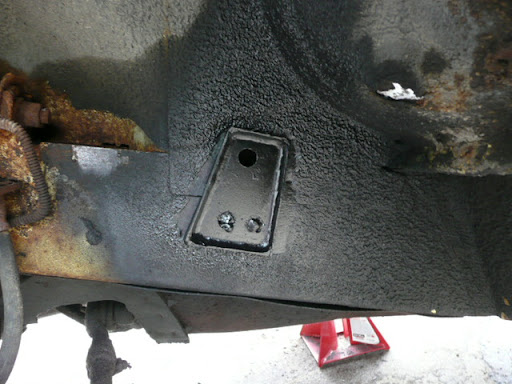
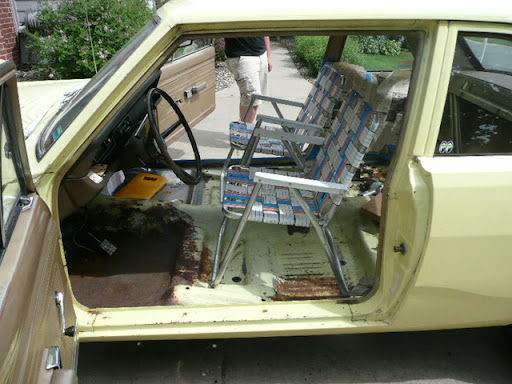
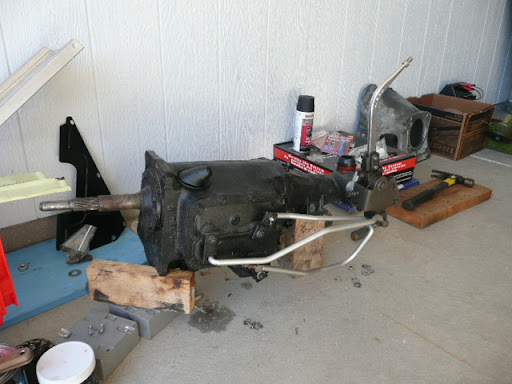
Thus far I'm not too far into my conversion...until I'm done with my first year of college in a few weeks I have simply been preparing for the swap by accruing all the parts necessary and working on cleaning up and restoring some of them.

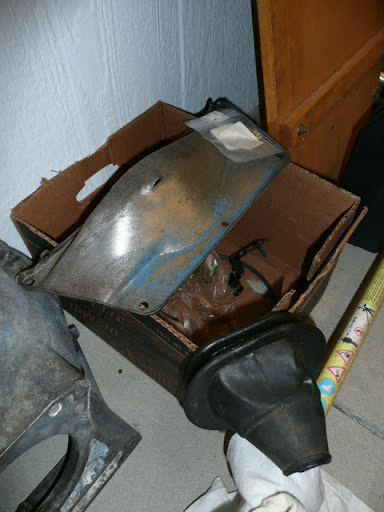
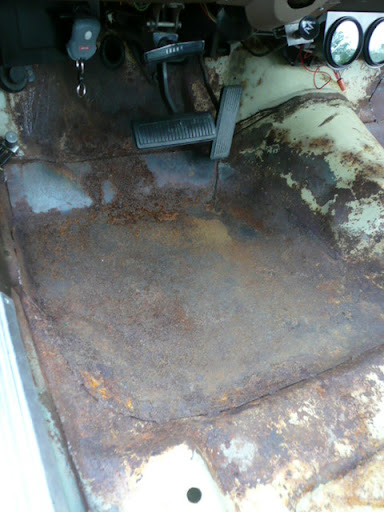
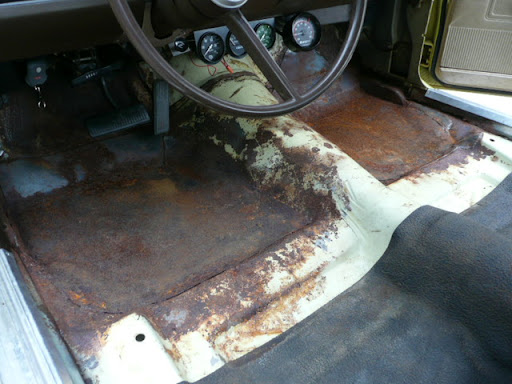
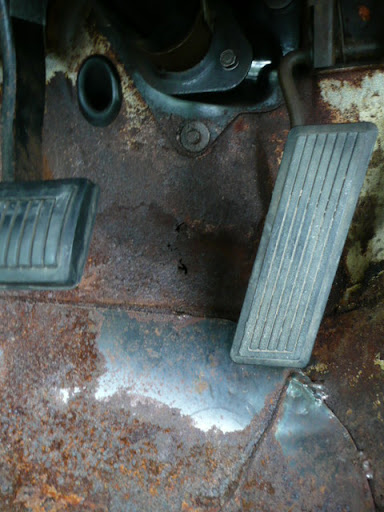
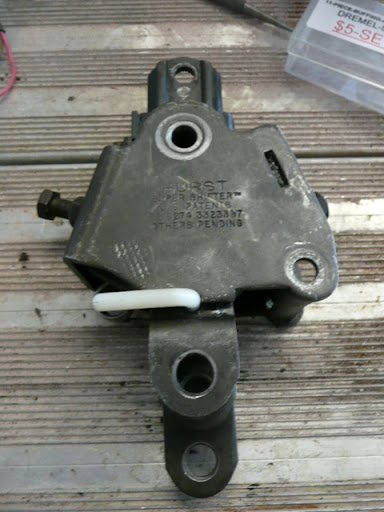
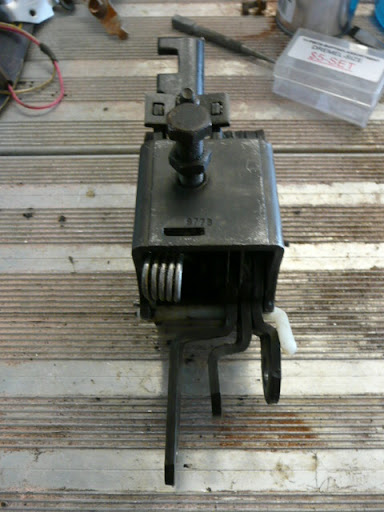
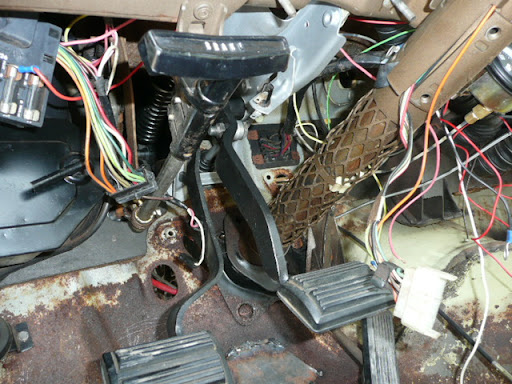
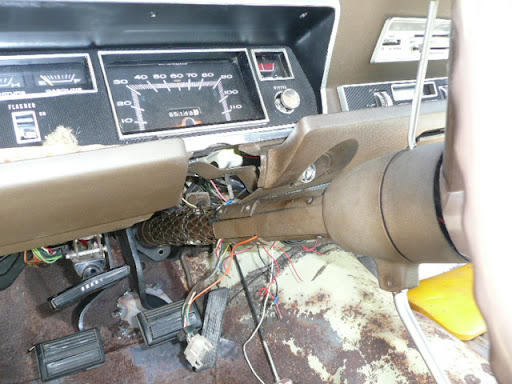
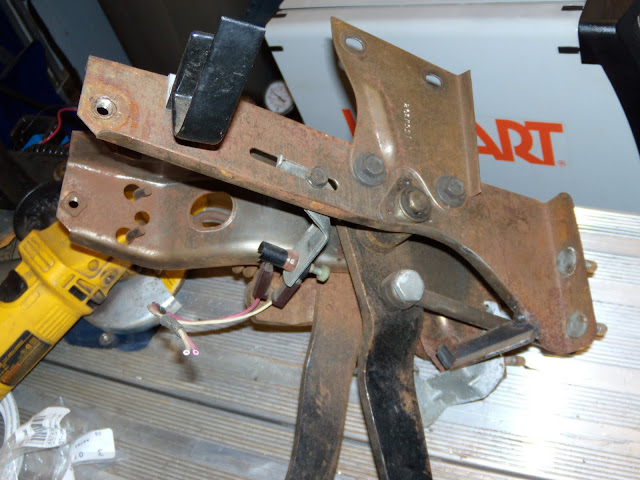
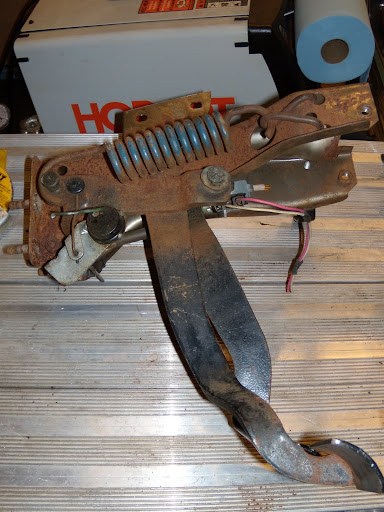
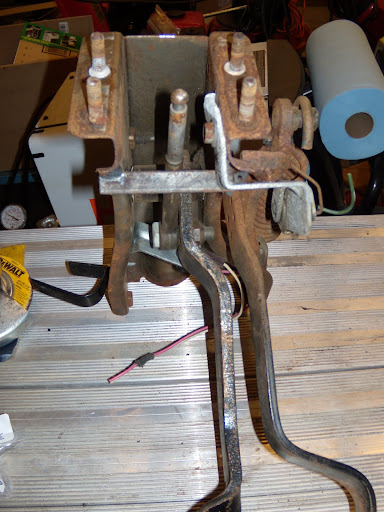
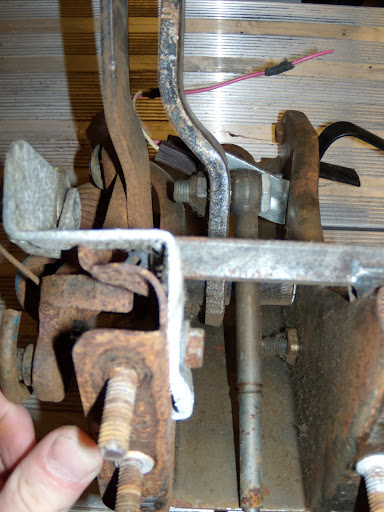
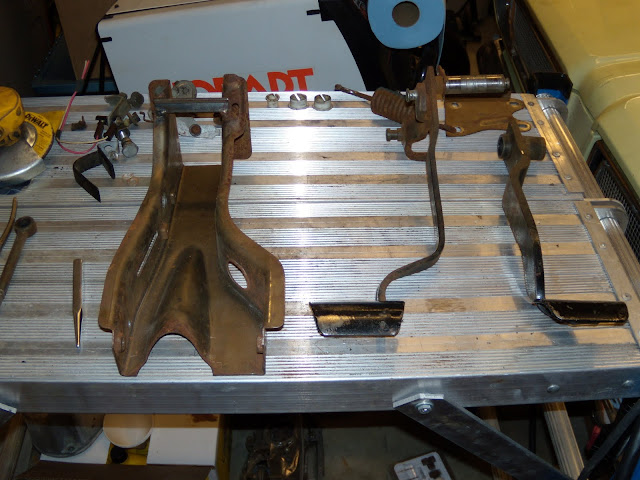
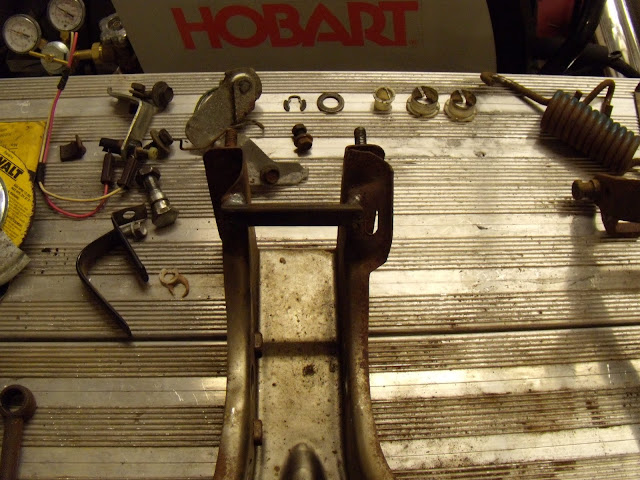
These first pictures chronicle the tear down of my pedal assembly in preparation for blasting, repainting, and reassembly. I'm a little behind in starting this thread since I've already got a fair number of miscellaneous pieces cleaned up and ready for install, but I'll post these pedal pictures tonight and hopefully get some other ones up later this weekend to give a better picture of exactly where I'm at.

DSCN0002.JPG

DSCN0003.JPG

DSCN0004.JPG

DSCN0005.JPG

DSCN0006.JPG

DSCN0007.JPG

DSCN0008.JPG

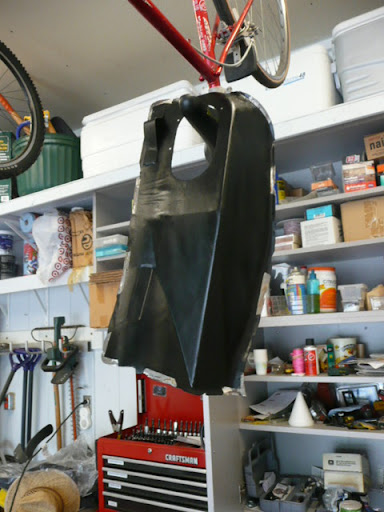
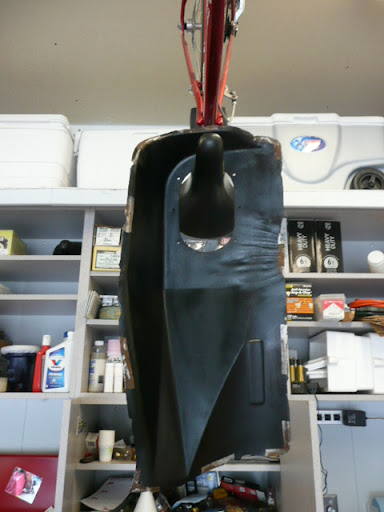
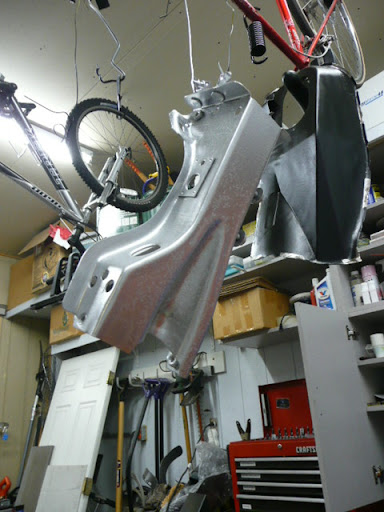
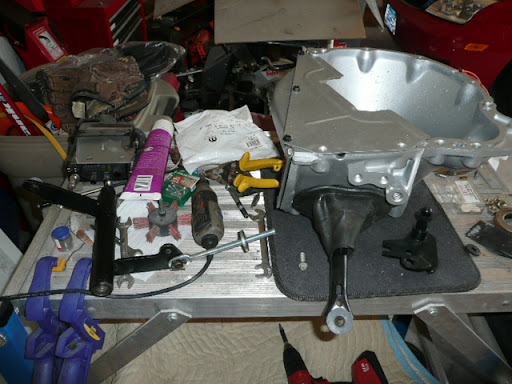
[EDIT] Update: I'll FINALLY put up some more pictures tomorrow of more of my parts that I've been working on to get ready for the swap! It took me a while to find my own digital camera...the pictures from above were taken with a buddy's camera.
 
Well, as I promised yesterday, here are the new pictures of more of my swap parts!
P1010183.JPG

Resurfaced 122 Tooth Flywheel
P1010184.JPG

Pressure plate from my clutch kit
P1010185.JPG

The rest of my clutch kit
P1010186.JPG

Pilot bushing from the clutch kit as well as an undersized one (PN PB-286-A) from Pioneer, Inc.
P1010188.JPG

Rebuilt 833 OD Tranny
P1010189.JPG

Miscellaneous rebuilt/refinished parts
P1010191.JPG

Clutch fork boot and a bottom cover yet to be painted
P1010192.JPG

4 Speed Hump and Seam Sealer
P1010196.JPG

Bellhousing and mounting hardware
P1010199.JPG

Painted Shifter Rods
P1010200.JPG

P1010202.JPG

Frame rail bracket that I made
P1010204.JPG

First refinished pedal assembly piece
 
Shoooooot. I pulled my front seat quick this afternoon to look at placement for the shifter hump. I knew already that my passenger side floorpan had been done [somewhat roughly], but when I ripped out the rubber floor mat completely this is what I found. I guess I'll be putting in some new floor metal before I start cutting any out to install the shifter hump...
P1010207.JPG

P1010208.JPG

P1010212.JPG

P1010211.JPG

The last picture is the biggest bummer. Although the patches themselves are pretty hairy, they are at least solid still. This junk behind the brake pedal can be poked through with a finger, so it NEEDS to be done in the next few weeks.

Does anybody know of a blooming money tree anywhere in the Minneapolis area? :cheers:

[EDIT]
On a lighter note than rotten floor mat backing and rusty pans, I'm pleased with how the repaint on my shifter hump went. The unpainted tabs all around the lip are where I'll weld it. I'm not going to fully weld the hump in case I ever get rich and decide I want to build an all-out drag car with an automatic.
P1010215.JPG

P1010214.JPG
 
Will you be using carpet? I don't know if you can get the rubber mat for a 4-speed, I know I couldn't for my 66, it originally had the rubber mat, switched to a 4-speed and it won't fit. I am actually glad I switched to carpet, looks way nicer! Besides, that damn rubber mat is why my floors were rusted, it doesn't breathe like carpet.
 
I actually haven't even been able to find new rubber mats from anyone. I kind of like the bare bones look of it as compared to carpet, but I'll probably pick up some new carpet at Mopars in the Park. Hopefully I'll be able to get a show special or something...
 
The bare bones look is cool and is what I wanted but you will be happier with carpet. Is your carpet the same as a Dart or Duster? Should get a deal at the show.

Picture 509.jpg
 
Yeah, it's just standard 1967-1974 or 76 A Body 4 speed carpet. It'll be nice not having to pay shipping on some things (for once!) on the things I buy at the show.
 
Well, it seems that lately my old Schwinn Varsity has turned into a veritable tree of 4 speed parts! The only things missing from it are the pedal bracket and the clutch pedal. I'll probably paint those by the end of this weekend, and after that it's time for reassembly. Good thing I took some reference pictures to remember where all those different bolts go!
P1010216.JPG
 
I've just finished the same deal, and I re-used the original rubber floormat.
I heated it gently with a hairdrier so I could stretch it up a little and now it fits fine on the side, only on the rear of the hump the mat doesn't cover the hump, but that doesn't matter to me cause the bench covers that area, so it's not noticable when driving. I can make a pic if you want?

Antoon
 
Antoon-
I wish I could keep my rubber mats and stretch them over the hump, but they were already ripped up. And from the floor pan pictures above, you can see the havoc that the rust wreaked on the backing pad of the mats. Unfortunately, then, I had no real better option than trashing them. So I'll be switching to carpet after my swap. Thanks for the offer for the pictures, though.

As far as an update to my progress goes, I have all the parts of my pedals painted. Just waiting for the pedal bracket to dry, and then it's reassembly time. In the mean time, here are pictures of my Hurst Super Shifter that I finished rebuilding this afternoon. I probably should have taken pictures of the whole unit apart, but the thought didn't occur to me. Oh well.

P1010223.JPG

P1010224.JPG

P1010225.JPG


[EDIT] Here are a couple pictures of the pedal bracket. I'm not the hugest fan of how shiny the Rust Tough brand aluminum color spray paint is, but the thing's going under the dash so I can live with it.

P1010227.JPG

P1010228.JPG
 
Hi your conversion looks like it's going very well. I'm doing the exact same thing in a 71 duster 340. I'v managed to collect most all the peices. I was wondering if you would do me a favor, and measure each of you shifter rods. I have two sets but both seem too long. I'm thinking they are possibly for a B body or E body. Thanks John
 
John-
I just measured them. The 1-2 rod is about 12.5" long, the 3-4 rod is about 17" long, and the reverse rod is about 14" long. Keep in mind these are F-body rods for a 1976 833 OD, but I hope the dimensions can be helpful at least as a reference.
 
I'm doing the same conversion on my '71 Scamp....Please fill me in on this "pedal bracket" you've painted silver....I'm accumulating parts as well, and I've never been told about this bracket....Is it the same as an auto car....The best I can see, the pedal assembly should be a direct swap with the auto brake pedal.

Here are a couple pictures of the pedal bracket. I'm not the hugest fan of how shiny the Rust Tough brand aluminum color spray paint is, but the thing's going under the dash so I can live with it.

P1010227.JPG

P1010228.JPG
 
Wow. It's been too long since I last updated this thread. Thankfully I'm finally done with my first year of college, so now it's time to get REAL work done. :thebirdm:

Anyway, here is a little bit more of what I've done lately to prepare for my swap.
I painted another inspection shield that I had aluminum-color to match the bottom cover I will be using. Also, I degreased and painted the shifter mounting plate for the transmission.
P1010253.JPG

I also did change my mind about the pedal bracket. The more I looked at it, the more I hated its shiny color and all the pitting on the top of it from rust. Now it's primed, and once I sand down the glazing putty I'll paint it the darker cast-aluminum color that I used on the shifter mounting plate.
P1010254.JPG

I just painted this bellhousing, and I think it came out great. Spray painting aluminum color evenly over bare aluminum is pretty tough, as I found out.
P1010255.JPG

Lastly, I plug welded the frame reinforcement bracket for my Z-Bar the other day. My buddy did the first weld in the hole on the right, but I did the weld on the left. Not bad for my first time plug welding, I don't think.
P1010257.JPG


That's all for now. Not a huge update, but I'll hopefully get a few pictures up soon once I reassemble my pedals.
 
Hey what car is that bellhousing for? is it /6 bh????
 
Well, I'm starting to see a little bit more progress as I finish painting and start getting things really ready to go into the car. I finished painting, assembled, and installed my pedals the other day.

Out with the old...
P1010330.JPG

and in with the new!
P1010331.JPG

P1010332.JPG


I also had to go for a short maiden voyage in the neighborhood to make sure the brakes worked all right with the new pushrod. Shhh...don't tell the cops!
P1010333.JPG


Lastly, here is a completed picture of my bellhousing.
P1010334.JPG
 
I know these aren't the most exciting update pictures, but I figured I would show them as further evidence of my progress. It feels so great to see things coming together--no matter how minuscule the progress appears.

Z-Bar with some linkage attached
P1010335.JPG


Shifter linkage mocked up on the transmission. It's a good thing I mocked this up before installation time because using the aftermarket Hurst Super Shifter instead of the OEM Hurst unit changed the alignment of my reverse rod, and I had to cut more threads on it to get the rod to fit. Phew!
P1010336.JPG
 
Will you be using carpet? I don't know if you can get the rubber mat for a 4-speed, I know I couldn't for my 66, it originally had the rubber mat, switched to a 4-speed and it won't fit. I am actually glad I switched to carpet, looks way nicer! Besides, that damn rubber mat is why my floors were rusted, it doesn't breathe like carpet.

Exactly!! My floors were roted to death and it was a California car too because of that rubber mat.
 
-
Back
Top