Show us your home made tools

-
Simple but one of the best things I ever put together. Makes the mezanine I put in the shop so much easier to use. The winch is a cheapo HF unit counterbalanced with a spare weight from my JD mower. Slides on a 20 fit I beam. Electric supply wire feeds from a pulley sliding along a wire mounted on the ceiling to the side.
Dang fingers on the lens again lol.

View attachment shop lift.jpg
 
I use one of those winches to hold my powder spray rack, an old cast iron security door with the glass removed. I can hang parts on it from wires, or use it as a table for larger flat items like valve covers and intakes.

View attachment 012 - Copy.jpg

The only thing I'd like to modify is that it's centrally anchored so it swings a bit; a couple bungie cords hold it where I need it when it's down. Billy, being 6'5, walks into the remote control so he added a hook for it to the main beam too. I can still reach it ... when I jump. :-D
 
Hi Leanna, hey just lookin at that nice big oven - curious, what's the longest piece that will fit?
(I've thought of powder coating trim pieces for a blacked out look).
 
Both 727 and 904 clutch drum compressor.

Made from 1"x1/4" flat bar and 3/8"16 all thread. Works like a top!

Got the idea from the Torqueflite A-727 Transmission Handbook by Munroe

Also, 1/4" x2" flat bar with 7/16" slots machined on each end to bolt to the front of either BB or SM trans case to mount a dial indicator to check end play. Got that from the same book as well.
 

Attachments

  • IMG_0497.jpg
    114.6 KB · Views: 3,209
  • IMG_0498.jpg
    76.1 KB · Views: 3,221
  • IMG_0499.jpg
    62.9 KB · Views: 3,192
  • IMG_0500.jpg
    61.2 KB · Views: 3,176
Hi Leanna, hey just lookin at that nice big oven - curious, what's the longest piece that will fit?
(I've thought of powder coating trim pieces for a blacked out look).

The big oven is 7 x 4 x 3 and 6'9" is about the longest piece I'm comfortable putting in there. It has a 3" central trolley channel in the ceiling for motorcycle frames, bumpers and stuff. Thanks for asking Idaho!
 
Just had to add this tool I made today -a homemade control arm bushing puller .Total cost in materials $10.59 . I used a 2"W X 3"L threaded pipe with cap.Drilled hole off center ran allthread down the middle . Tighten the nuts and the bushing slides right out! Didn't take too much effort either. I did soak the a-arms in evaporust overnight.Should work just as well to install the new bushings .
I made this tool and it works great!!
 
This is a great thread! I love to see the ingenious ideas people come up with. Very talented folks. I must admit that I’ll be stealing a few deigns!!
I make a lot of tools not ‘cause I’m coming up with a bitchin’ idea that nobody has thought of, but rather ‘cause I hate spending money on stuff I can put together myself. Most of the tools I make are nothing new. I’m just too darn cheap to buy them. Hahaha
Here’s a few of my home made tools…

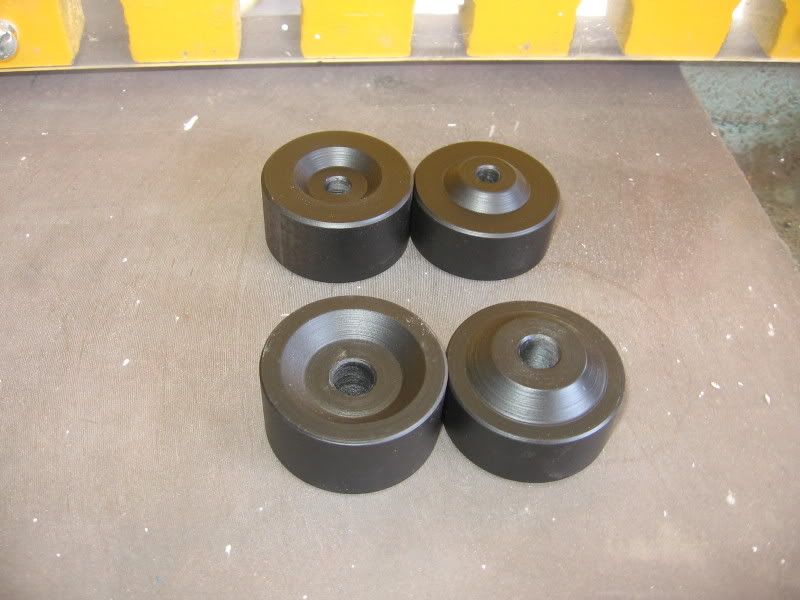
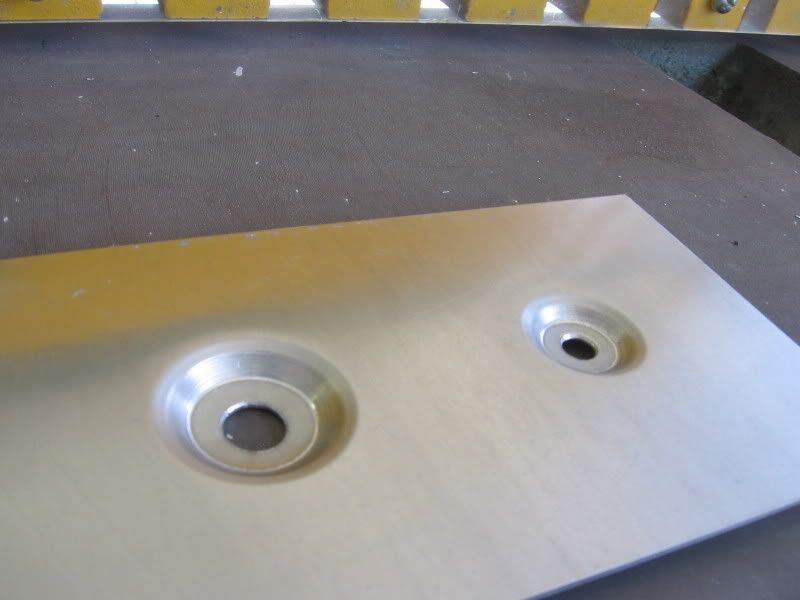
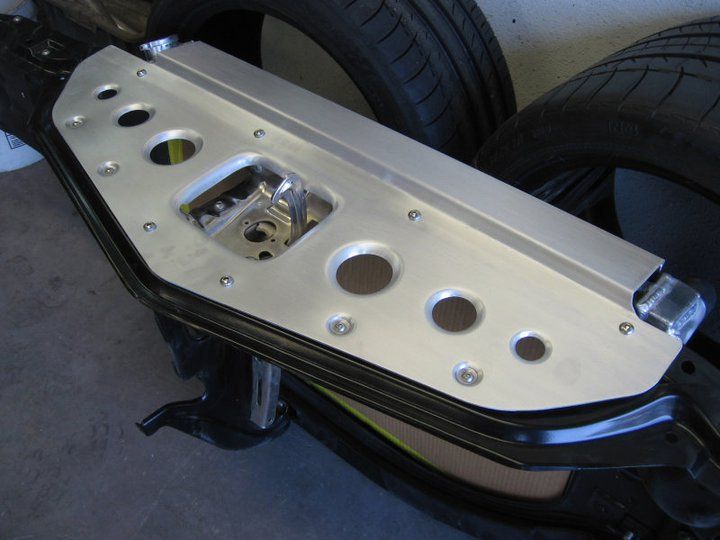
Dimple Dies for recessed hardware…

IMG_2921.jpg


IMG_2919.jpg


EC032.jpg


Dimple dies for an actual dimple…

IMG_1836.jpg


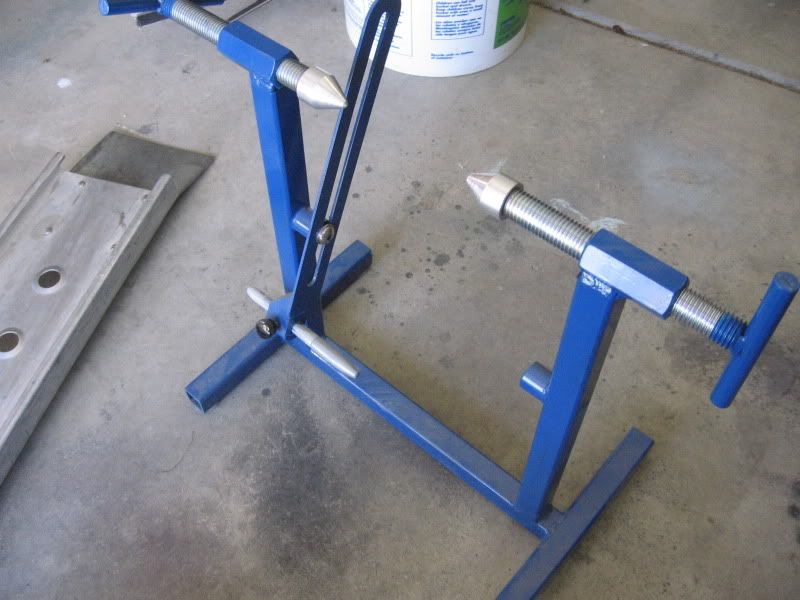
Wheel truing stand…

IMG_3899.jpg


Planishing hammer…

IMG_2687.jpg


IMG_2689.jpg


IMG_2690.jpg


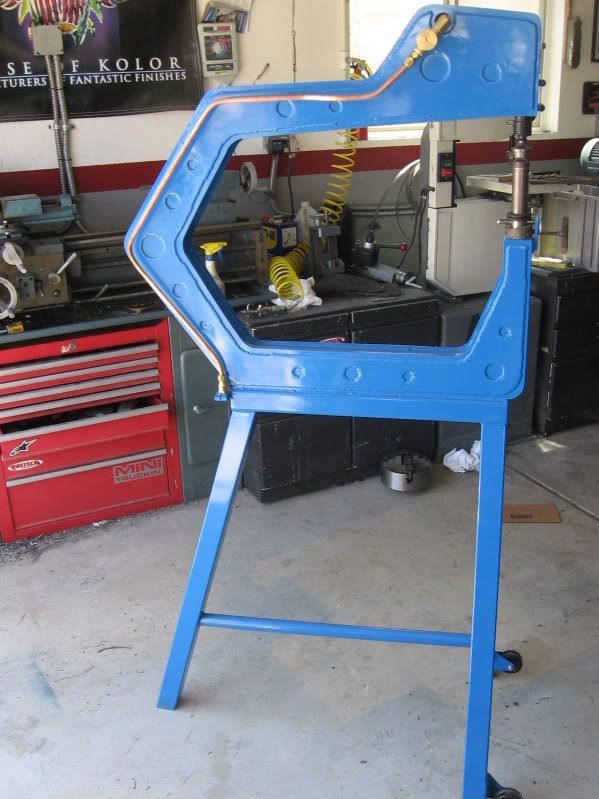
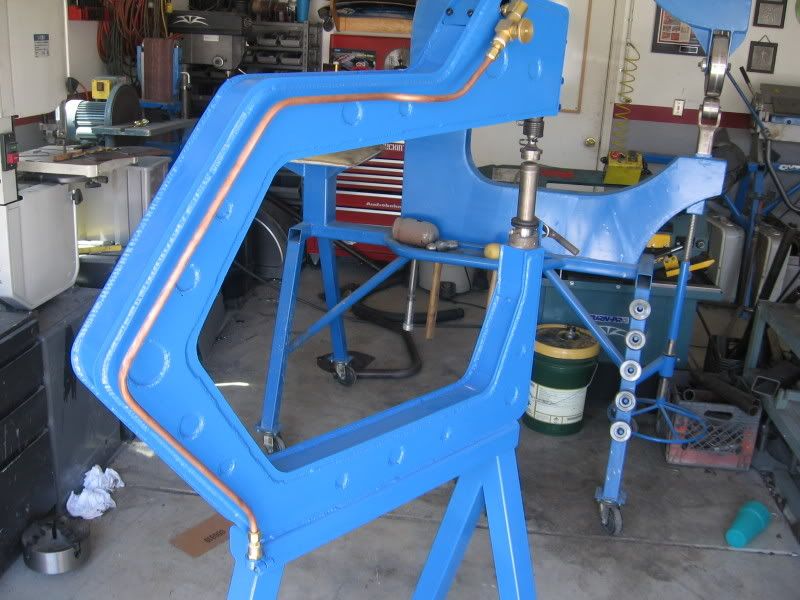
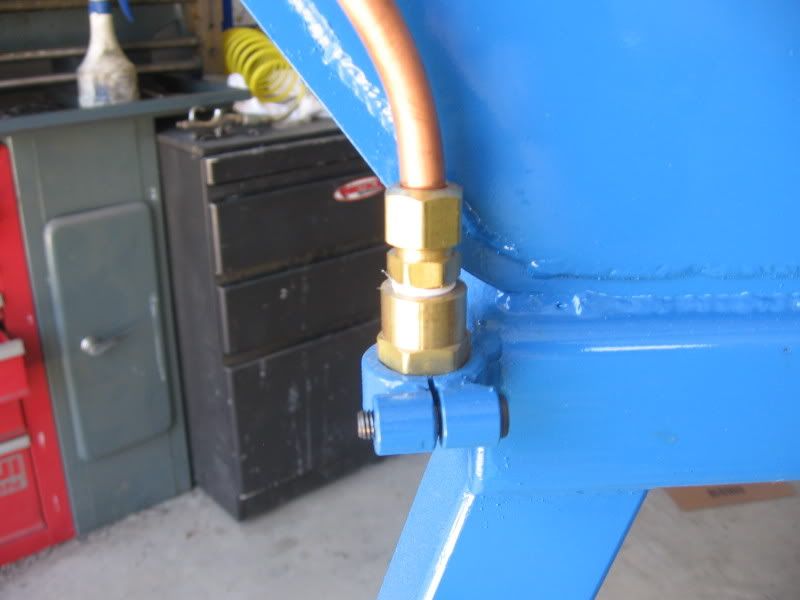
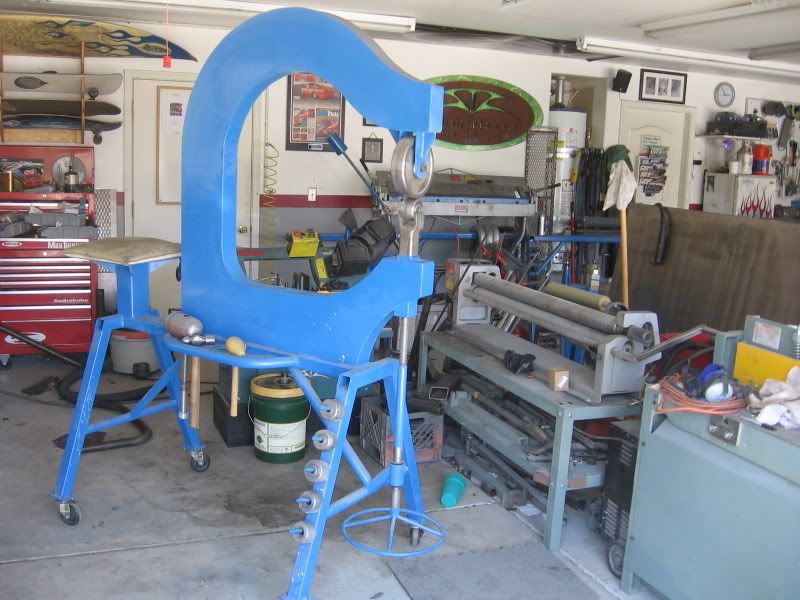
English Wheel…

IMG_2683.jpg


IMG_2684.jpg


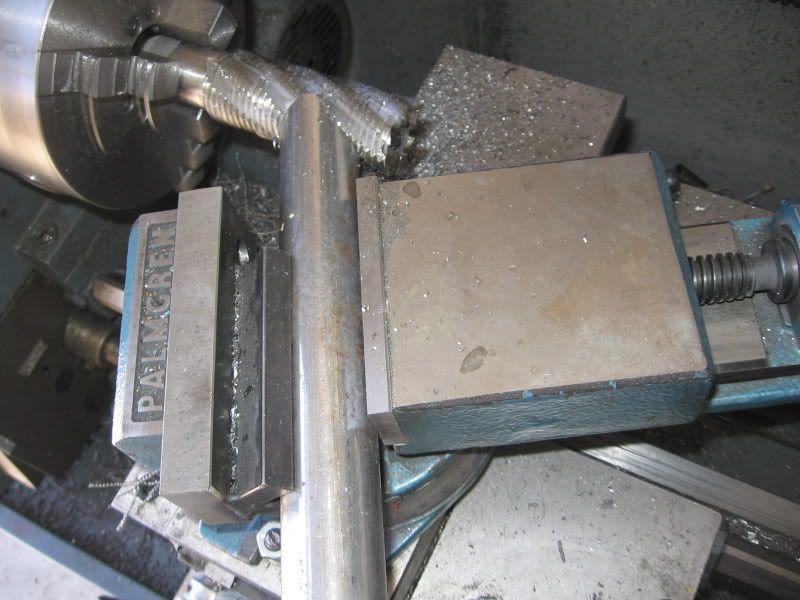
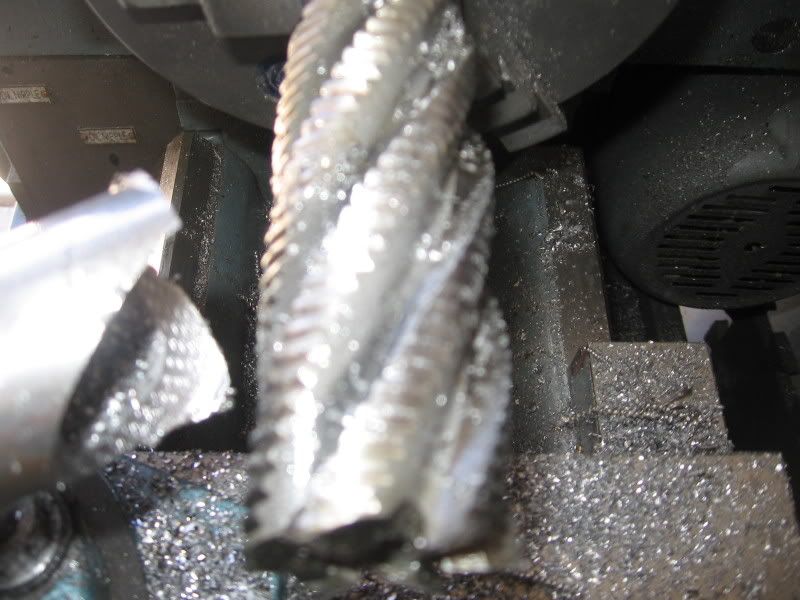
Tube Notcher attachment for the lathe. I love this one. When I was shopping for a tube notcher I realized that the machines I was interested in were nothing more than a mini lathe with one purpose. So I found a 360 degree Palmgren swivel vise and made a V-Block on the clamp surface at center of the lathe spindle, self centering the tube to be notched. Then made provisions to attach it to the cross-slide. The result: a fast way to perfectly notch tubing at any angle. I use roughing end mills and hole saws for cutters.

IMG_2691.jpg


IMG_2693.jpg


IMG_2692.jpg


IMG_2694.jpg
 
Impressive. I think I'll declare you the king of this thread :)
 
Thanks guys! But like I said... I just build what I dont want to buy. LOL. Not a whole lot of original ideas here with my tools. Only every once in a while do I come up with an answer to a problem. Unlike a lot of what Ive seen on the previous 6 pages. Lots of cool, ingenious stuff!!! You guys are the "kings"!!
 
Thanks guys! But like I said... I just build what I dont want to buy. LOL. Not a whole lot of original ideas here with my tools. Only every once in a while do I come up with an answer to a problem. Unlike a lot of what Ive seen on the previous 6 pages. Lots of cool, ingenious stuff!!! You guys are the "kings"!!

Original ideas are great, but it still all counts IMO. I too could have bought some of the tools I made but making a tool is fun and challenging.
 
Some very cool stuff Adam:cheers:
C
 
Cool. Not fair though, I don't have a laser cutter :)
 
Plasma is fun! Shootin sunbeams :D
 
Here are a couple of photos of the tool I made to measure/adjust the ride height on my 67 Darts.

View attachment RideHeightTool.jpg

View attachment RideHeightTool2.jpg

The tool is made of scrape that I had around the shop.

I used a 1/8" x 1 1/2" x 16" piece of flat strap for the base.
The uprigths are 1/4" black iron pipe spaced 13 7/8" center to center welded to the base.
The short one is 5" long.
The tall one is 7" long.
I tapped the top inside of each upright with a 3/8" x 16 tap.
I used two pieces of 3/8 x 16" all thread 4" long threaded into
each upright with a wing nut.
To measure the ride height, loosen each wing nut and turn each all thread rod down to clear the lower ball joint and the bottom of the torsion bar blade.
Then slide the tool under the lower ball joint and torsion bar blade and turn each rod until they touch the bottom of each and tighten the wing nut.
Slide the tool out and measure from the end of each all thread to the bottom of the strap.
The subtract the number to get your ride hieght.

Herb
 
[quote="Dart67";1969931155]Here are a couple of photos of the tool I made to measure/adjust the ride height on my 67 Darts.

View attachment 1714609620

View attachment 1714609621

The tool is made of scrape that I had around the shop.

I used a 1/8" x 1 1/2" x 16" piece of flat strap for the base.
The uprigths are 1/4" black iron pipe spaced 13 7/8" center to center welded to the base.
The short one is 5" long.
The tall one is 7" long.
I tapped the top inside of each upright with a 3/8" x 16 tap.
I used two pieces of 3/8 x 16" all thread 4" long threaded into
each upright with a wing nut.
To measure the ride height, loosen each wing nut and turn each all thread rod down to clear the lower ball joint and the bottom of the torsion bar blade.
Then slide the tool under the lower ball joint and torsion bar blade and turn each rod until they touch the bottom of each and tighten the wing nut.
Slide the tool out and measure from the end of each all thread to the bottom of the strap.
The subtract the number to get your ride hieght.

Herb[/quote]

Nice job Herb. Measuring the ride height isn't easy to do accurately using a tape measure. Sure looks easy with your tool.
 
Everyone that's ever rebuilt a 8-3/4 differential knows how heavy and cumbersome they are. I have done a few and doing them in a bench vise isn't easy and you have to be real careful they don't fall out because it's real hard to get a vise clamped down on them to where it holds due to their shape. So I got to thinking, I have this engine stand setting there doing nothing most of the time. It would be great if I had an adapter to bolt a 8-3/4 pumpkin to it so I could easily rotate it when I need to instead of manhandling them in and out of the vise. It's not the prettiest because I used materials on hand. In fact the angle is part of an old garage door track rail so it has a few extra holes in it but it's real strong and didn't cost me anything. It's real compact too so storing it when not in use is a breeze. The only thing I had to buy was the piece of pipe and it was less than $10
 

Attachments

  • Differential adapter 001.JPG
    158.1 KB · Views: 2,616
  • Differential adapter 002.JPG
    157.3 KB · Views: 2,527
  • Differential adapter 003.JPG
    141.8 KB · Views: 2,506
  • Differential adapter 004.JPG
    141.6 KB · Views: 2,465
Here is a big "F'n" tool I made tonight. I think it might be Mopar specific. After I cleaned it up, I lengthened the "handle".
Care to guess what it is for?
C
 

Attachments

  • DSC01392.JPG
    122.8 KB · Views: 2,473
  • DSC01394.JPG
    106.9 KB · Views: 2,464
-
Back
Top