1966 Valiant Signet Convertible Resto

-
Dave ,you`re making the pros look bad. Nice job, I wish my painter was as meticulous as you. I had a case like yours where paint was peeling off in sheets. The silver lining was that it was only under the hood but after taking the car back to have it repainted they chipped the cowl in two areas. Once they fixed the cowl they then chipped the hood, so now it`s back in the paint shop again. Whew!!!
 
Quick update. Been busy with my new Dart and was working on getting Doug's headers in Ruby (red valiant). Need to get the shorter clutch fork and other pieces to work with the 10.5" clutch.

So, on the convertible I have nearly all the removable panels finished in primer that has been wet sanded to 600 grit. Next will be a uniform sealer coat of 20-50% reduced black epoxy like in the previous pictures. It should lay down really flat with it being reduced. After that I'll wet sand the epoxy with 800 and then shoot my basecoat then 3 coats clear.

I'm wondering if I should wait on sealing all the parts until I get the quarters and the rest of the car to the same stage (primer 600 wet before sealer epoxy) due to the recoat window. Anyways, I should have some color to show in the next coming weeks. I have some small parts I want to do first as practice to see how my basecoat covers and play with the clearcoat.

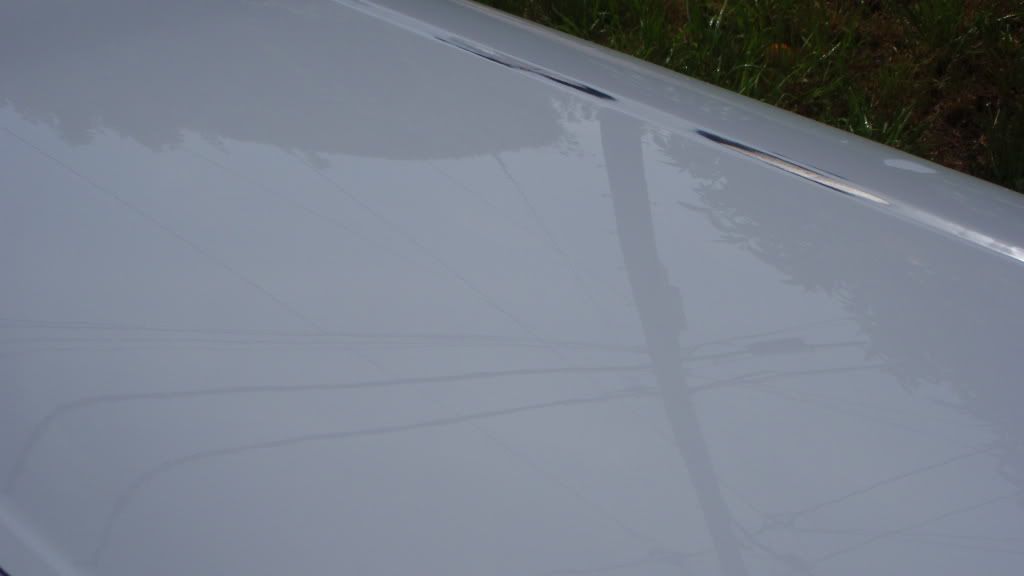
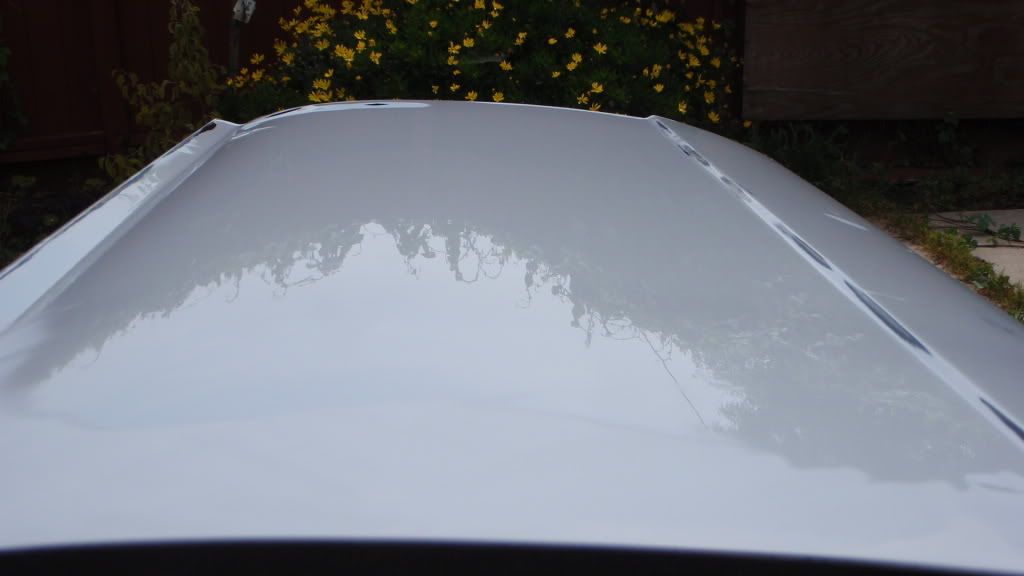
I'm getting pretty excited. The primer looks amazing when water is sprayed on it to show the refection. I'll post a picture of that later
 
Dave, I would wait to put any base on due to the fact that it's metallic. Panel painting metallic is not recommended to to the fact that you might not get the flakes to lay out uniformly. I recommend you get the whole car ready to paint, reassemble the car,deck lid,doors, hood, spray the base inside & out, jambs & all, let it dry, dissassemble & clear everything. This way you wont get tape lines like I have on my car. Any questions call me
 
Dave, I would wait to put any base on due to the fact that it's metallic. Panel painting metallic is not recommended to to the fact that you might not get the flakes to lay out uniformly. I recommend you get the whole car ready to paint, reassemble the car,deck lid,doors, hood, spray the base inside & out, jambs & all, let it dry, dissassemble & clear everything. This way you wont get tape lines like I have on my car. Any questions call me

Lost the PM that had your number on it. Could you send it again.

I wish I had enough room in my garage to do a complete all over, but my garage is not quite deep enough. The benefit for me is that I won't feel overwhelmed or rushed by doing a complete. I can take my time while paying extreme attention to the details. Like having all the parts (especially with a metallic) hanging in the same “attitude” as it is on the car. This is anal but I'm also keeping a spread sheet on when I sprayed, exact gun distance, gun pressure, surface/shop temp, humidity, solvent temp, amount of coats, reduction, etc. Consistency is the big word here because I'm a newbie and I'm sure my spraying will improve.

I will probably shoot the base with the doors on that way I don't get inconsistent film build between the back of the door to the quarter panel because of painting the jams. Leaving the fenders off helps me with painting the hinges too. I like the idea of clearing everything off the car. Just wish I had a bigger garage.


My plan may/will change as I learn more and get more advice I'm sure.

I will call you soon or see you at the Fling. Whichever comes first :-D
 
everything looks great. i hope my valiant will look this good some day. keep up the good work. ill keep an eye out for you at spring fling.
 
This is anal

I don't believe anything is anal when it comes to prepping and painting. You've got the right idea in doing everything with extreme care. Pros know that, but since there is less money to be made if they take such care they learn where shortcuts have the least effect. You have the luxury of taking all the time you desire. I can't wait to see the outcome. Nice work!
 
Well here are a few of the primed doors wetsanded to 600 with water on it.

If I can lay down the base and clear good then this is what I'm after. Only better :)

This is only primer too :cheers:

66valiantbodywork039.jpg


66valiantbodywork041.jpg


66valiantbodywork042.jpg
 
Looks great, Dave! Keep up the good work. I admire your patience!
 
HAHA I live right down the street from you! Your car looks awesome man. Keep up all the good work, meticulism is the key:thumleft:
 
HAHA I live right down the street from you! Your car looks awesome man. Keep up all the good work, meticulism is the key:thumleft:

Ah okay. Your Dad came by a week or so ago. Any luck getting your car fixed. You should stop by some time. I did see you driving by one day. Nice looking car. Keep hanging around this site and you will learn a lot.

Dave
 
The doors look great Dave. I would put more than 3 coats of clear if your gonna use the balsa wood to wet sand it down. I put 4 coats over the car, 2 over the stripes, let it set for week, blocked it with the balsa with 1000k, put 2 more coats ove the stripes, then 2 more over the whole car. then hit it the balsa with 1000k, then 1500k. then buffed the car out.
 
The doors look great Dave. I would put more than 3 coats of clear if your gonna use the balsa wood to wet sand it down. I put 4 coats over the car, 2 over the stripes, let it set for week, blocked it with the balsa with 1000k, put 2 more coats ove the stripes, then 2 more over the whole car. then hit it the balsa with 1000k, then 1500k. then buffed the car out.

Yep, like we talked about I'm going in a similar direction with extra clear.

3 coats clear. Cut with 400-600. 3 more coats clear then 1500 then 2000 then maybe 2500 then buff and glaze.

Check this guy out when you redo the Duster. Awesome products. One of the best epoxies on the market. So easy to sand too.

http://www.southernpolyurethanes.com/homepage.htm

Here is the web forum for the products as well

http://spi.forumup.org/index.php?mforum=spi

Dave
 
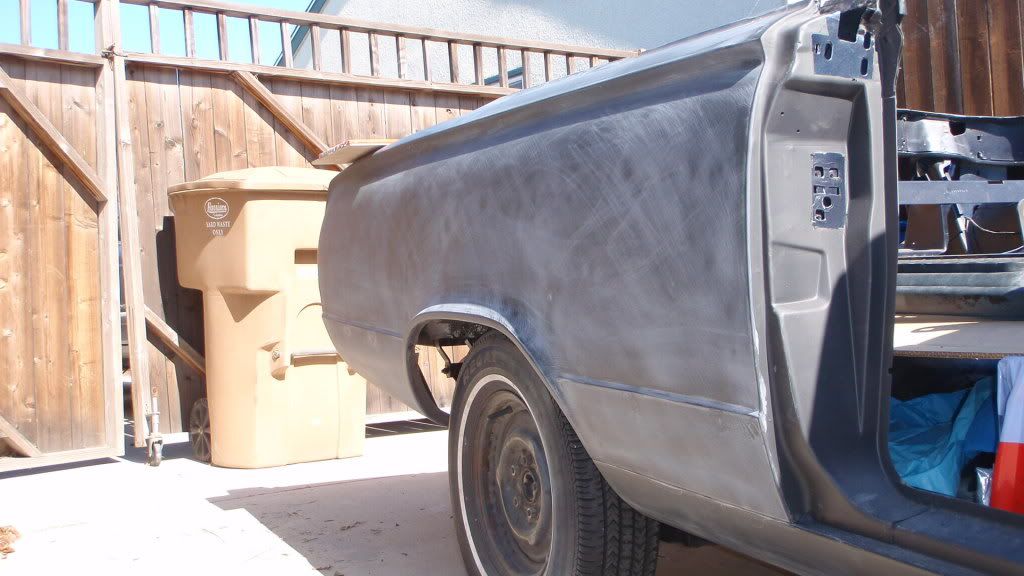
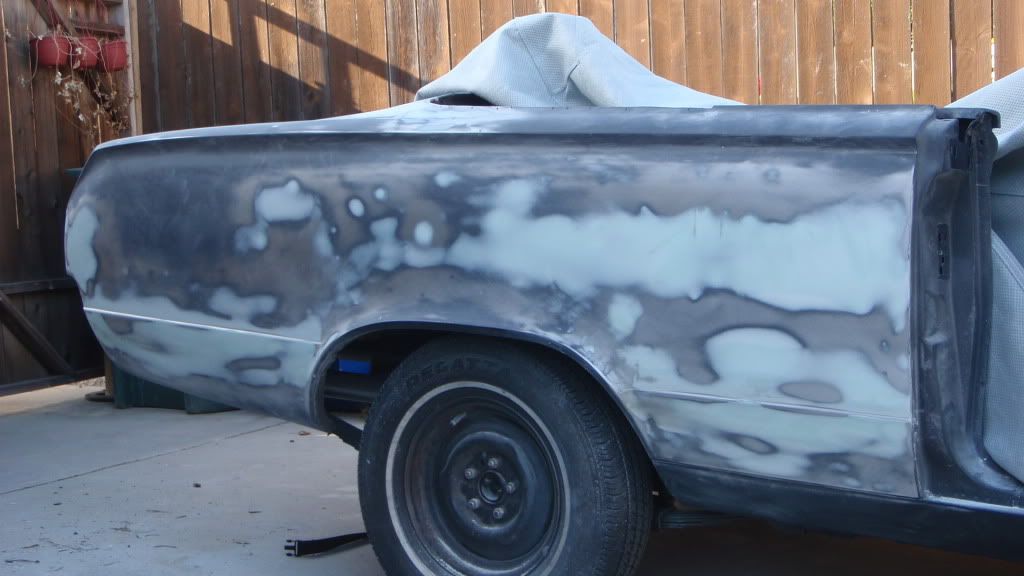
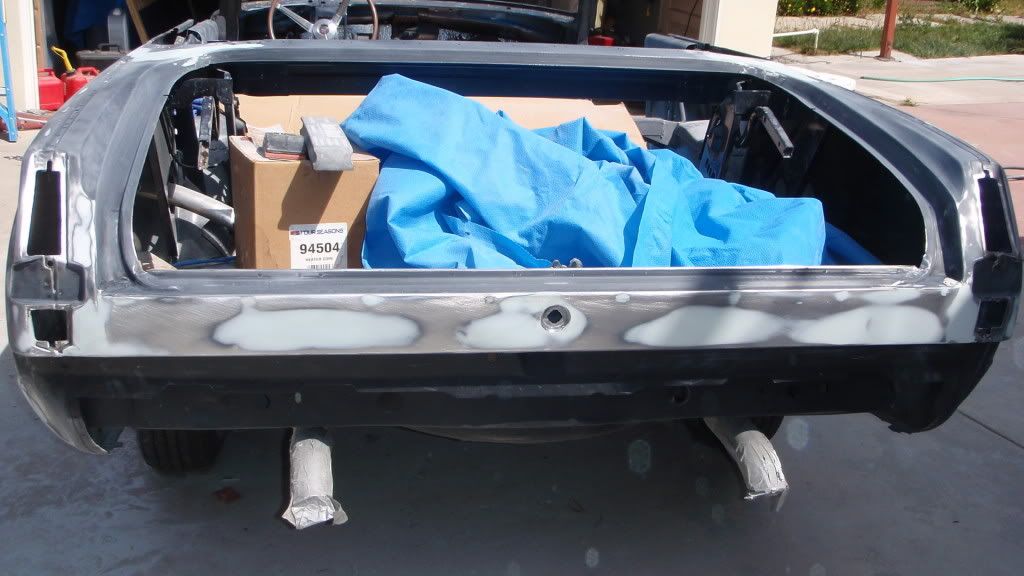
More work done today. Got the rear passenger quarter panel blocked out with filler. The lower body line is a PITA due to the welded trim holes and minor metal warping.

Scuffed the old epoxy to find the low spots. Then Evercoat Rage Extreme and then Evercoat Metal Glaze. Blocked down to 180 grit. Got er straight enough to seal with epoxy and then shoot some G2 polyester primer. :blob:

66valiantbodywork046.jpg


66valiantbodywork050.jpg


66valiantbodywork052.jpg


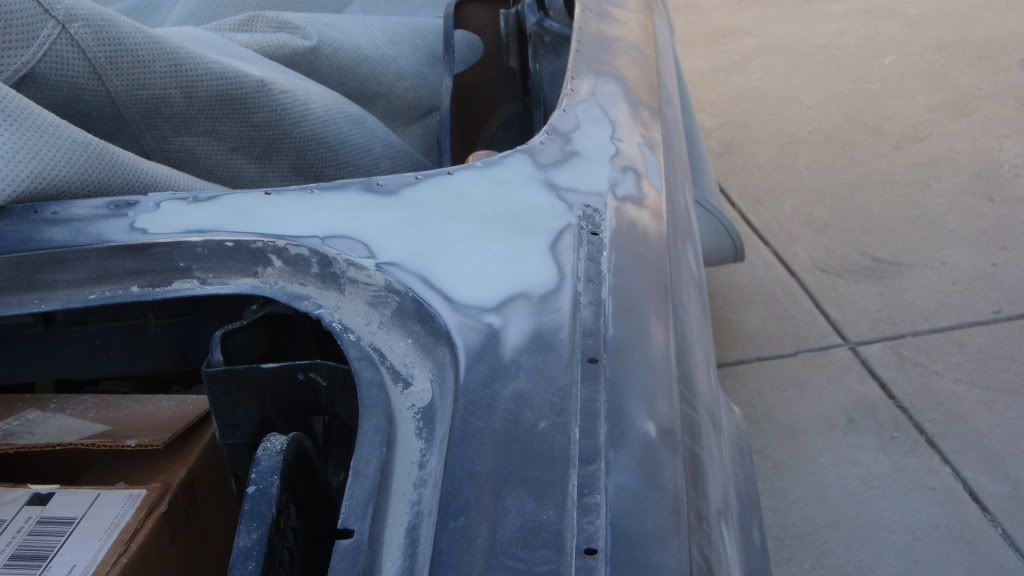
Filler over the leaded seam from the factory. The factory did a terrible job blending these areas. Much better now.

66valiantbodywork053.jpg


Until next time :salute:
 
It was a beautiful weekend... Did you make any more progress?
 
It was a beautiful weekend... Did you make any more progress?

No progress this weekend. Had to work all day Saturday. Today I was in LA getting a 360 motor and drivetrain ready to be pulled out on Monday. It was gorgeous here for sure.

You can come by this Wednesday if you like. I should be in the backyard behind the RV gate working on the convertible quarter panels. Your Dad knows where I live.

Dave
 
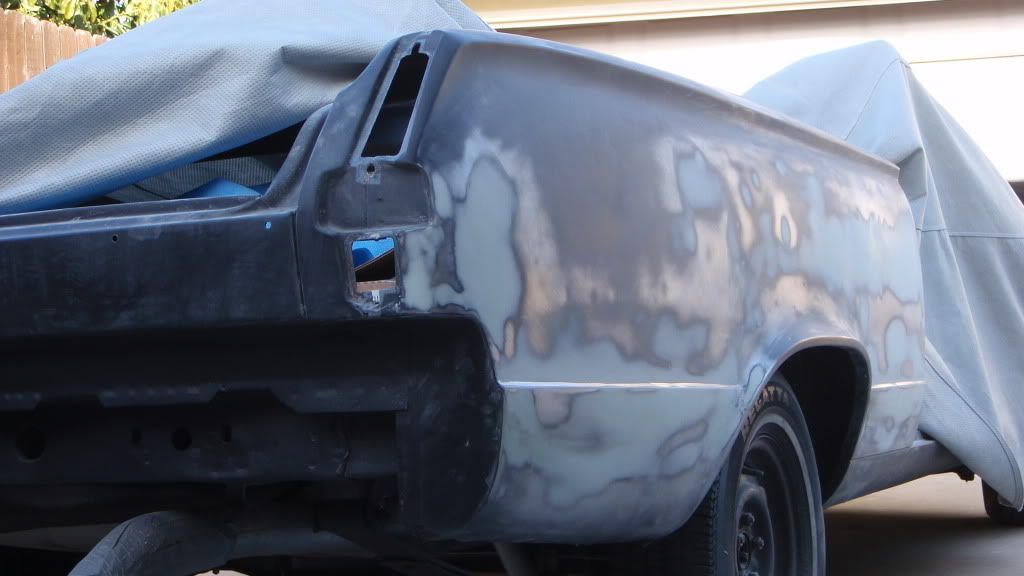
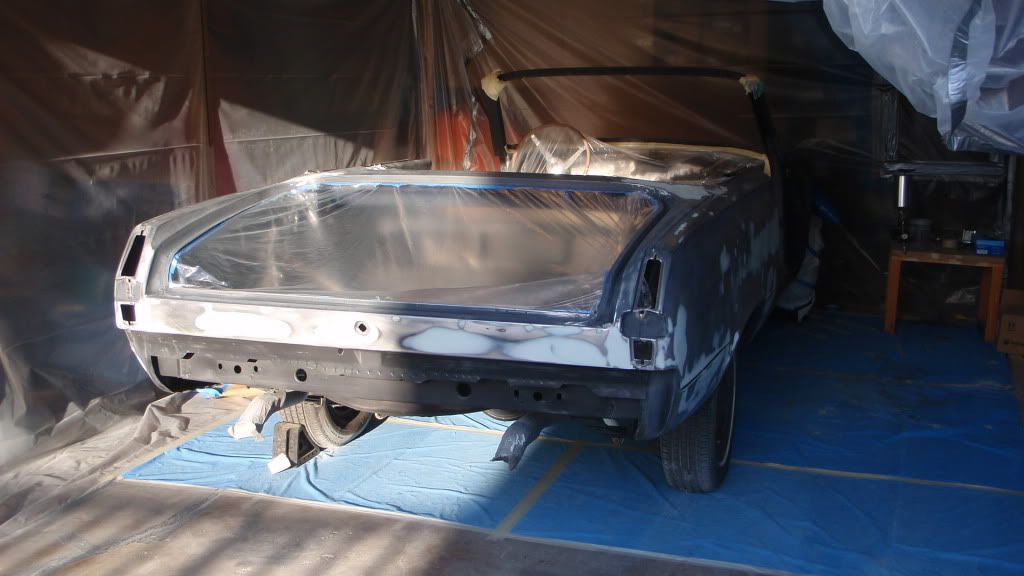
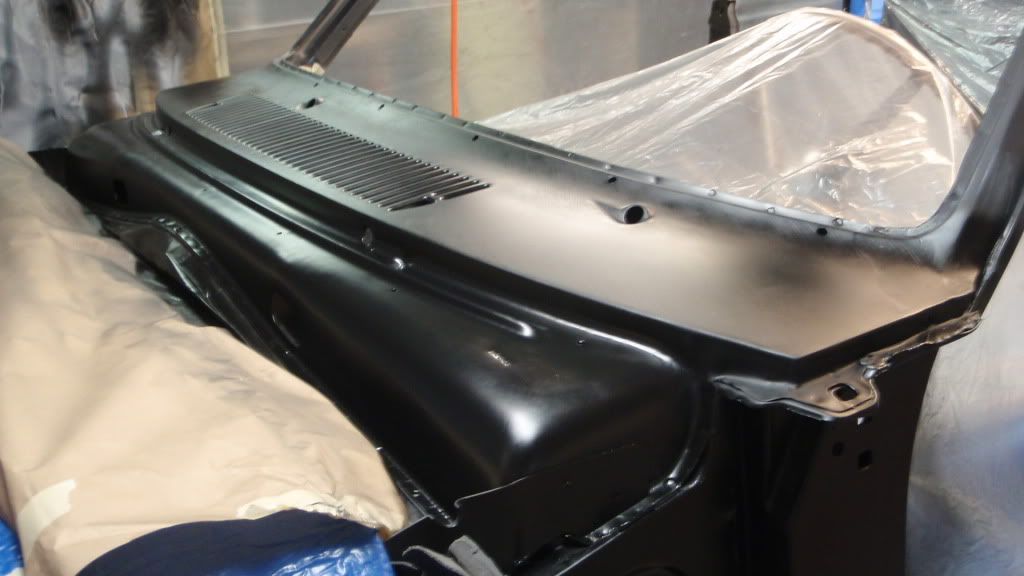
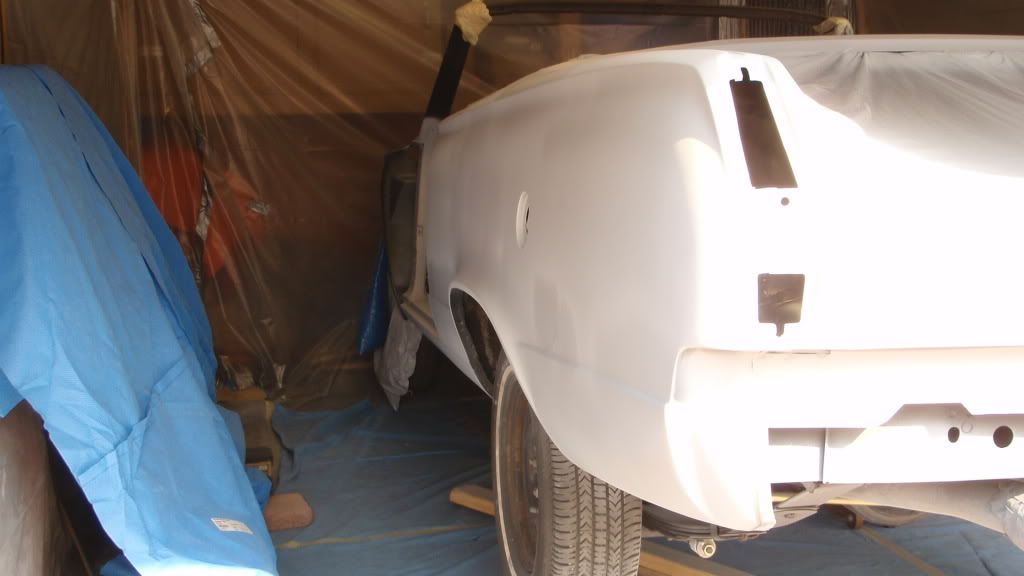
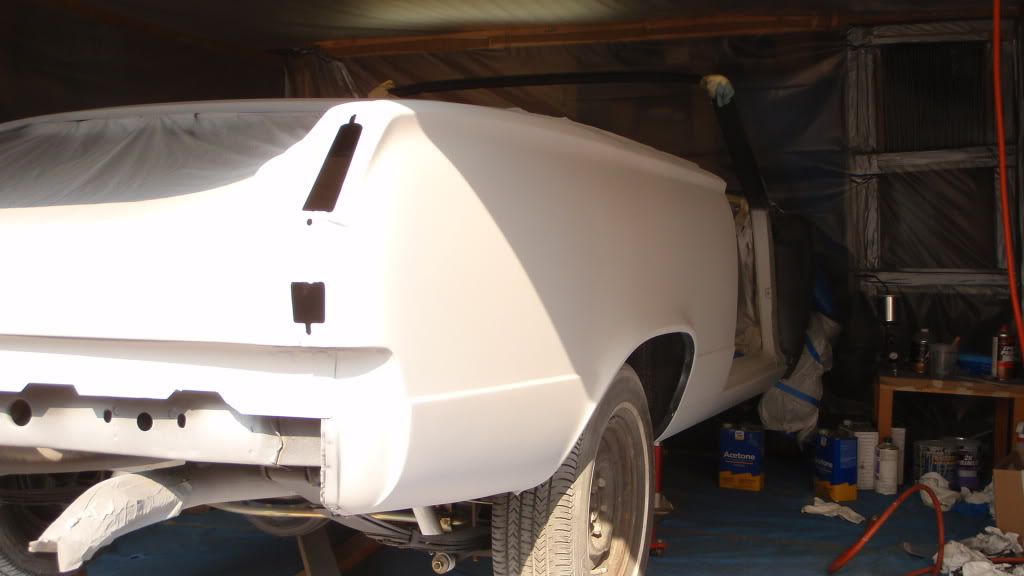
Nothing major but I got a bunch of work done over the last 3 days. I managed to finish the quarter panels, rockers, cowl, door jams and welded up the trim holes on the tail panel. Then I got some epoxy on the body to seal all my filler work and cover any bare metal spots. I am pooped.

The drivers side quarter took me 2 solid days to get it just about perfect. It was hit in an accident at one point in time and it was almost impossible for me to hammer out the dent. I did managed to get a dolly that fit into the gap inside the trunk. Smoothing rounding that sucker out was a *****.

I used the Rage Gold at the rear where the quarter was hit because it's a little thicker and is easier to apply when trying to repair or do major filling on a vertical surface . I used the Rage Extreme for the rest.

Wednesday I will hit the car with some G2 Featherfill poly primer and start blocking that out. I'm getting closer.

66valiantbodywork054.jpg


Almost ready for epoxy
66valiantbodywork058.jpg


Trim holes welded up nicely. Helps to put a little piece of copper behind the holes to prevent warping and having those darn MIG wires poking through.

66valiantbodywork059.jpg


Masked up and ready to shoot. I did put the car on blocks so I could reach under the rocker panels
66valiantbodywork060.jpg


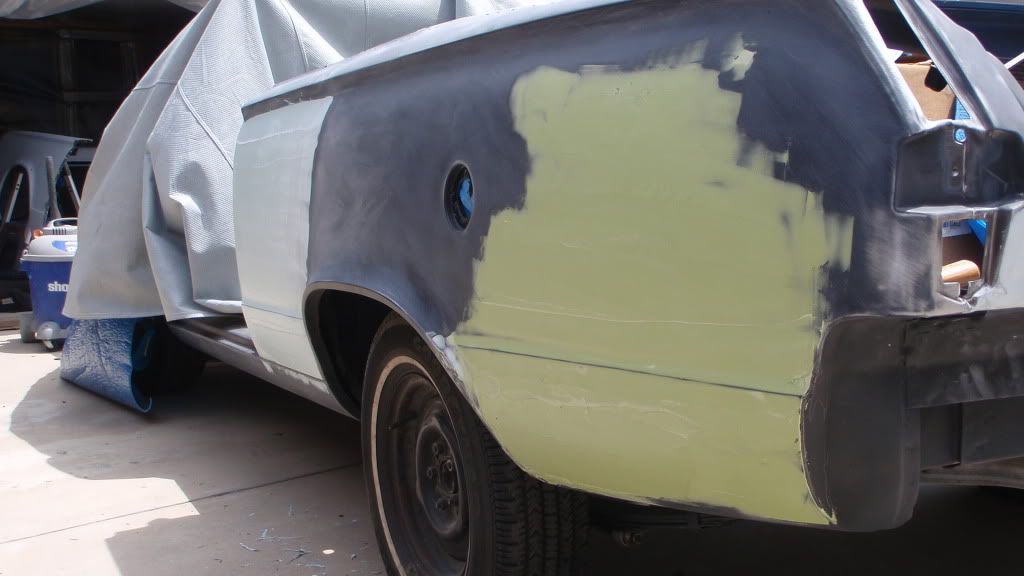
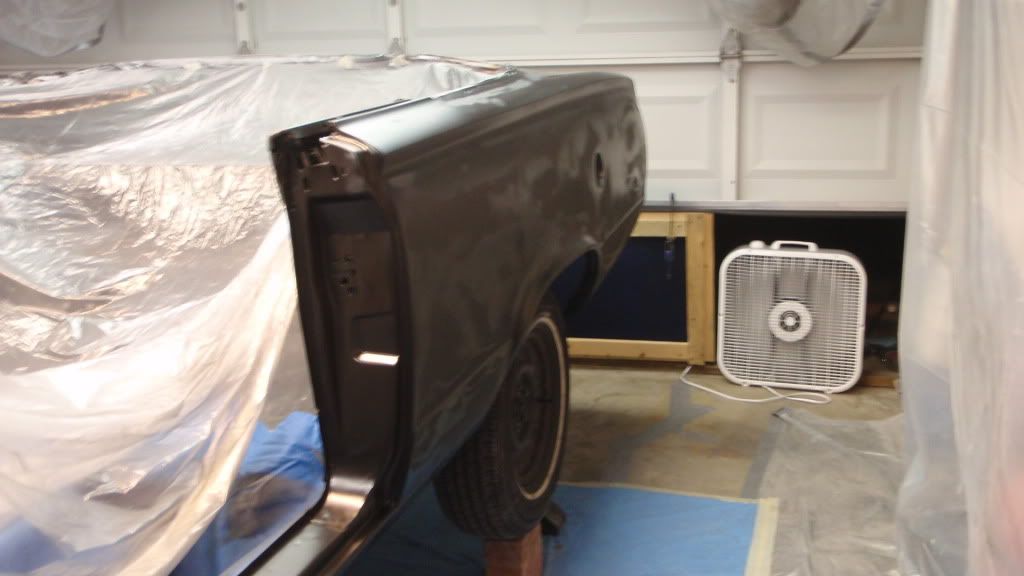
Epoxy on the body
66valiantbodywork065.jpg


As you can see the filler soaks up the paint quite a bit. I didn't get fancy with the booth today. Just threw a box fan by the garage door. Works just fine. No problems with dust either =D>

66valiantbodywork066.jpg
 
Looking good. Amazing effort. People call me anal but you are the KING!!:salut: lol.

I spent yesterday afternoon finishing the bc/cc on my Dart and will be checking out this thread more often when you get to the wet sanding and buffing of your clear. My local guy does great work and I'll be checking back in with him about a pad he uses that has amazingly fine grit. He loves it because it makes buffing short work.

I plan on reshooting clear on one door but then it's all down hill from there.

Keep up the good work.:thumbup:

Thanks man. It was by no means perfect but all the little flaws will be picked up with the poly primer and lots of 3M dry guide coat. :toothy10:

You should check out this website for wetsanding, buffing and detailing. It is an awesome site with tons of really good information and recommendations on products.

I imagine I'll will have about 40-50 hours into the wetsanding and buffing stage to get it where I want it. Really good products are what make the difference. http://autopia.org/
 
More pics. Mostly so I can keep track of how things are going :)

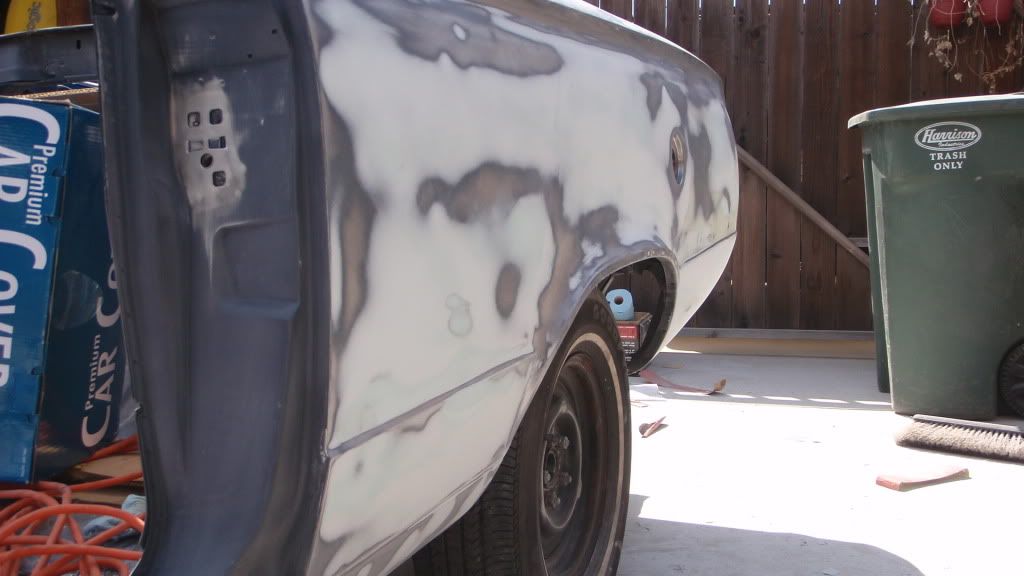
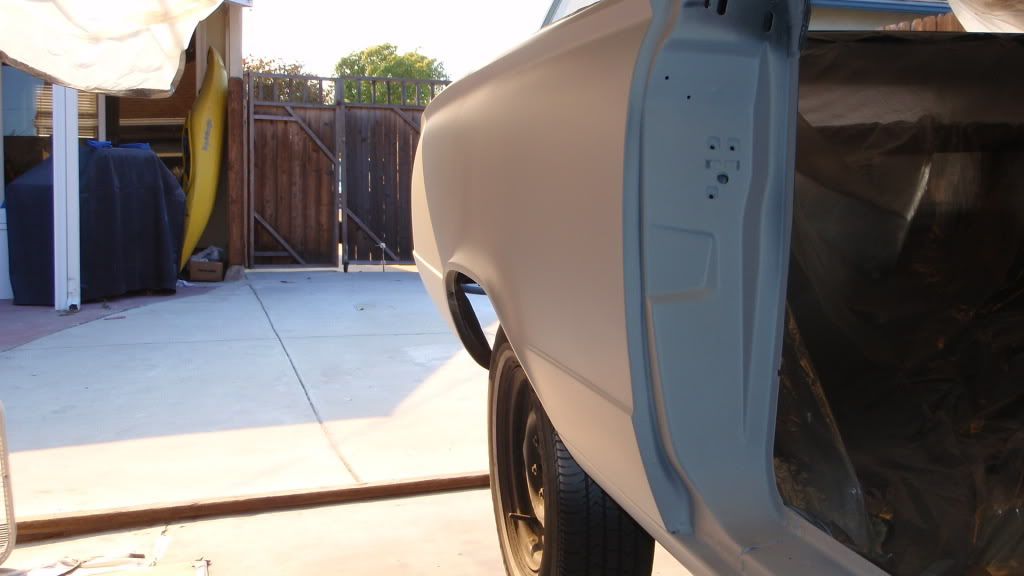
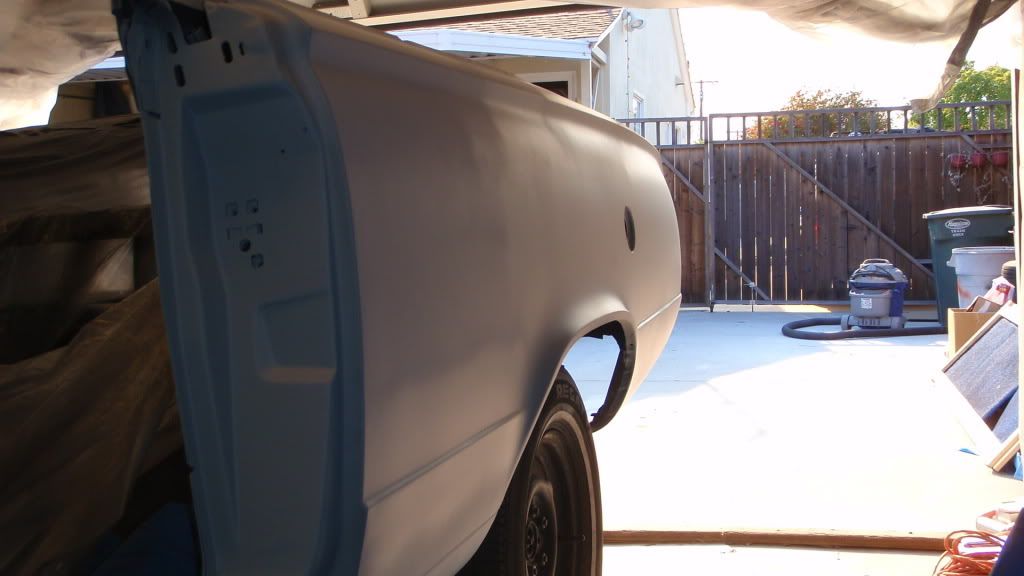
Poly Primer. Blocking and regular 2K primer this weekend. Let the sanding to the nubs begin.

66valiantbodywork069.jpg


66valiantbodywork070.jpg


66valiantbodywork071.jpg


66valiantbodywork072.jpg
 
Dave,your doing a great job!Wish I had your patience to do bodywork!Will you be doing the painting?

Thanks man. I am going for it all. Basecoat, clearcoat and all the cutting, buffing and polishing. After my last experience I have very little trust in someone else doing it the way I want it done. I will make mistakes of course but I can correct them or at least I have someone that can come help me. Nice thing is that I have the patience to do it right and cut no corners. Except I'm leaving the engine bay for later.
 
-
Back
Top