1970 Swinger 340 Hemi Orange 4 speed

-
I went with the full quarters and outer wheel wells Randy and needed the trunk floor drops, also needed a new gas tank mine has a number of big dents in it. Also got the wheel well mouldings, I didn't know who's mouldings I should try so might as well try AMD's. Unfortunately I wouldn't have needed any of the sheet metal except for an early 80's teenage self inflicted wound in the form of some flaring of my quarters for some bigger tires, hey it was a different time, dumb ***!!!

Sounds like a pretty solid car! Haha my car had the wheel well lips cut off in the back and someone siliconed the quarters to the inner wheel well tubs to prevent them from flapping in the wind, and the rest of the car was sculpted with chicken wire and filler.. Quarters, rockers, fenders and doors. I bet they spent weeks building the car from filler!

I have that socket if you want to borrow it I can send it to you.
Jim

Thanks for the offer Jim! I will PM you if I have troubles getting them on with my crescent wrench.

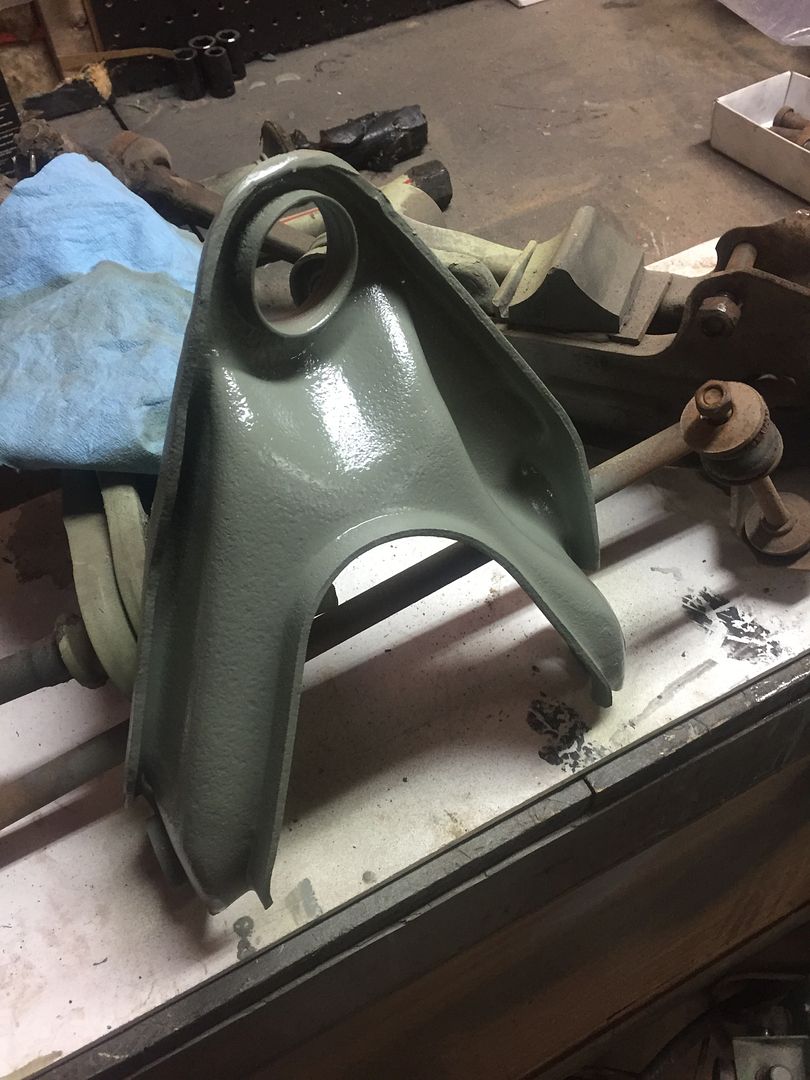
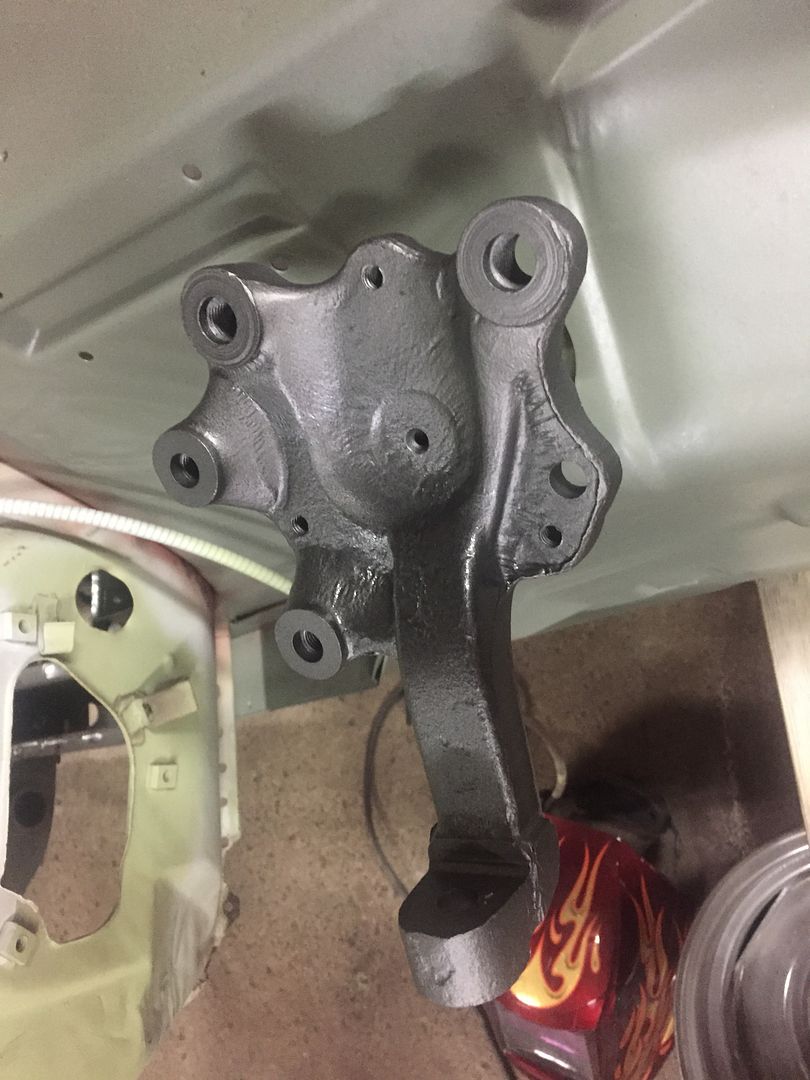
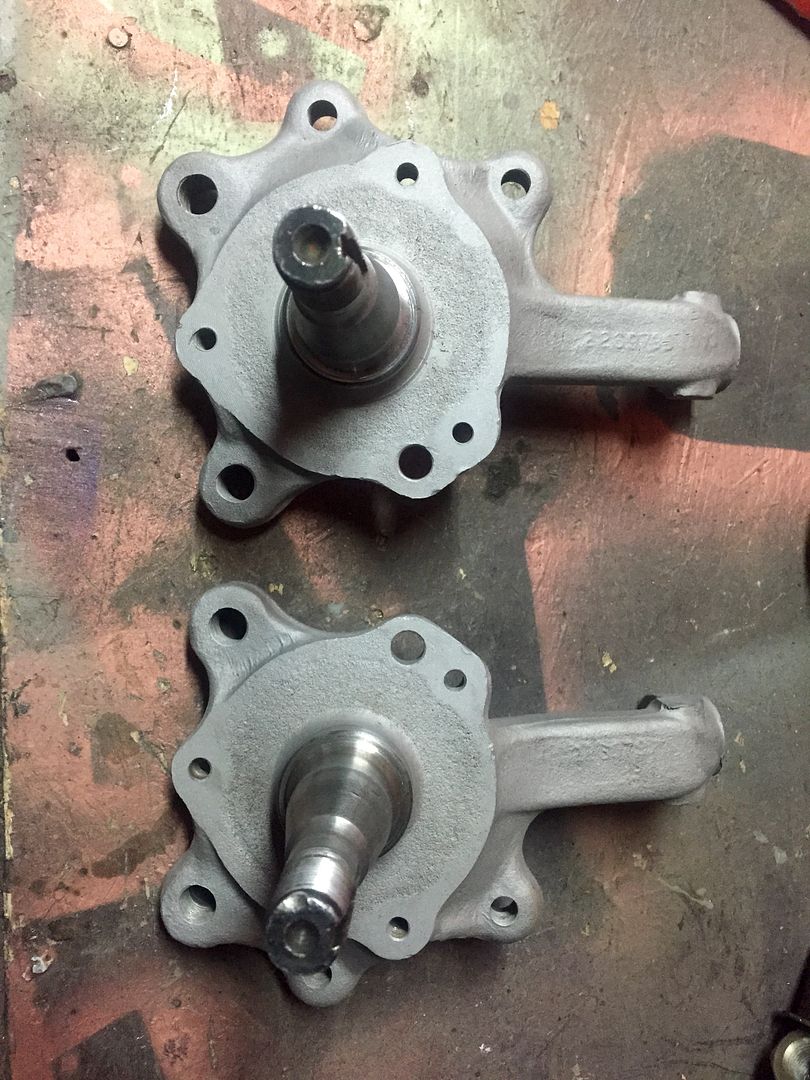
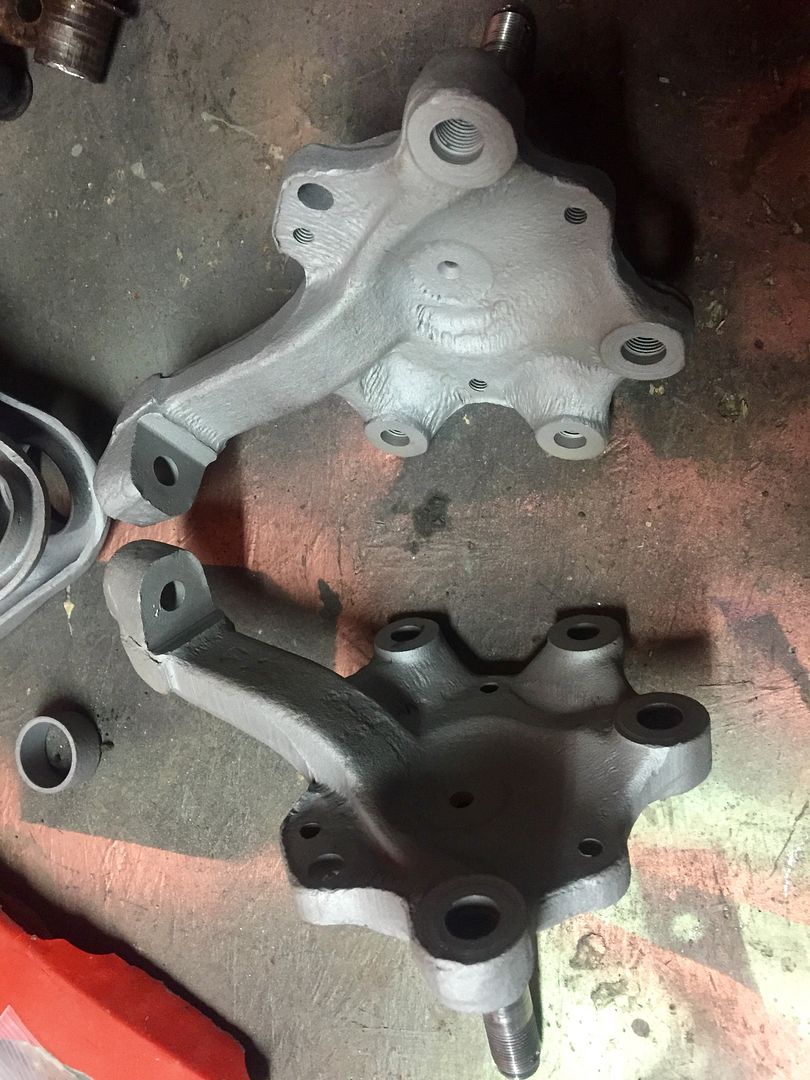
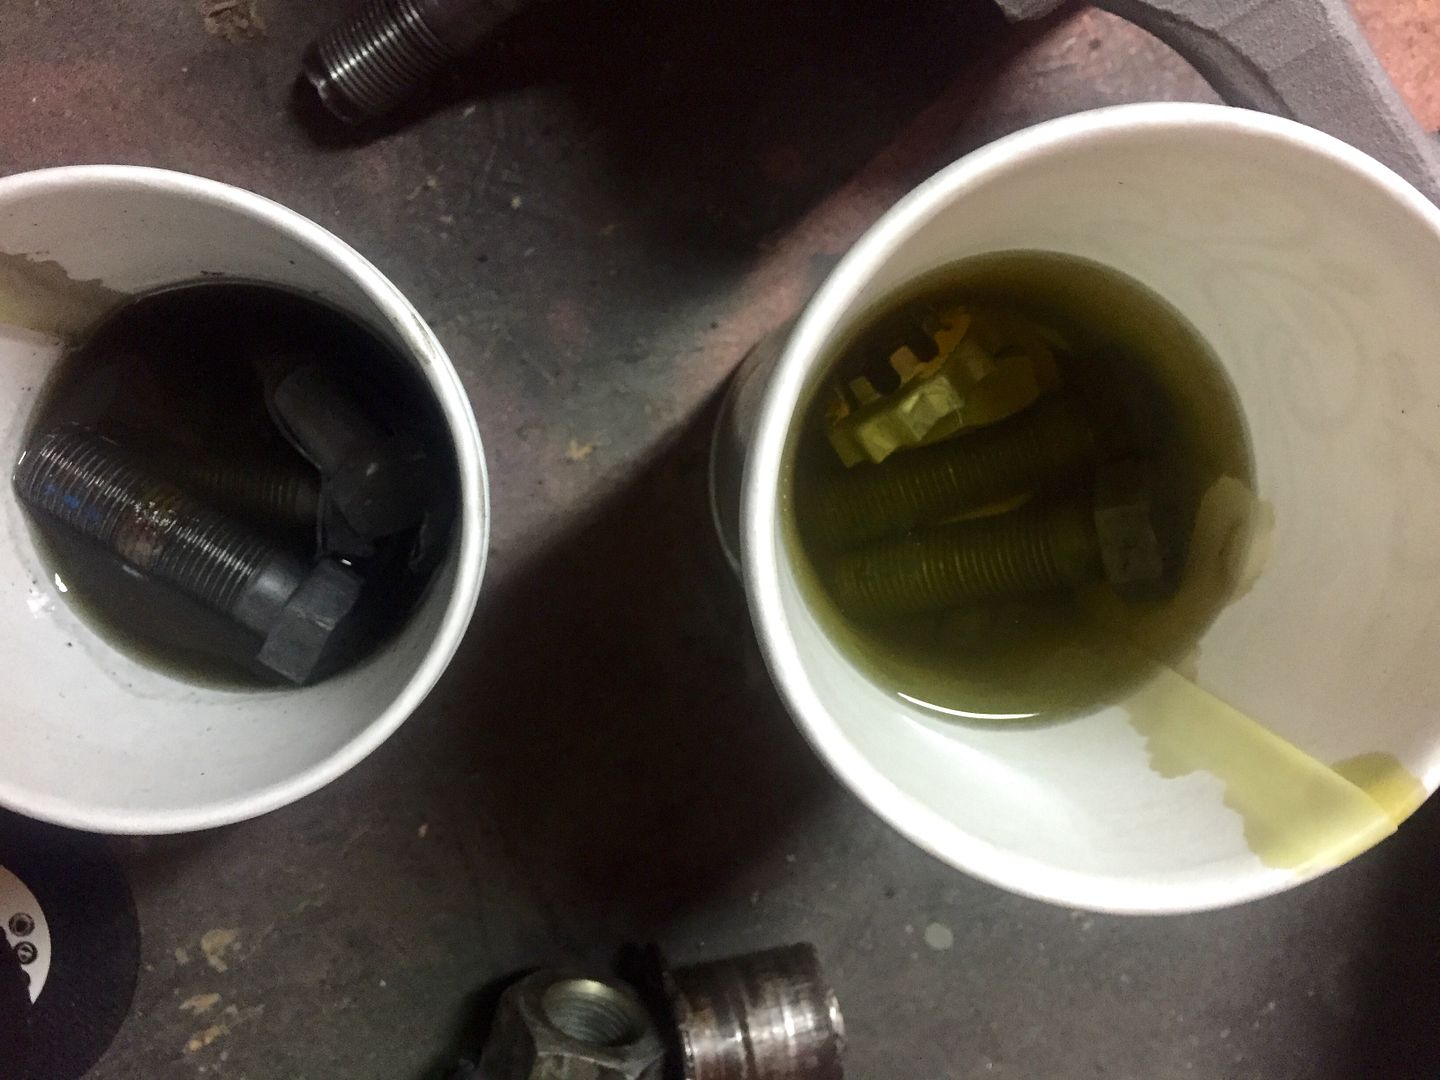
I got the spindles blasted and the bolt hardware soaking in evaporust. I will take a tap and die and clean all the threads too.

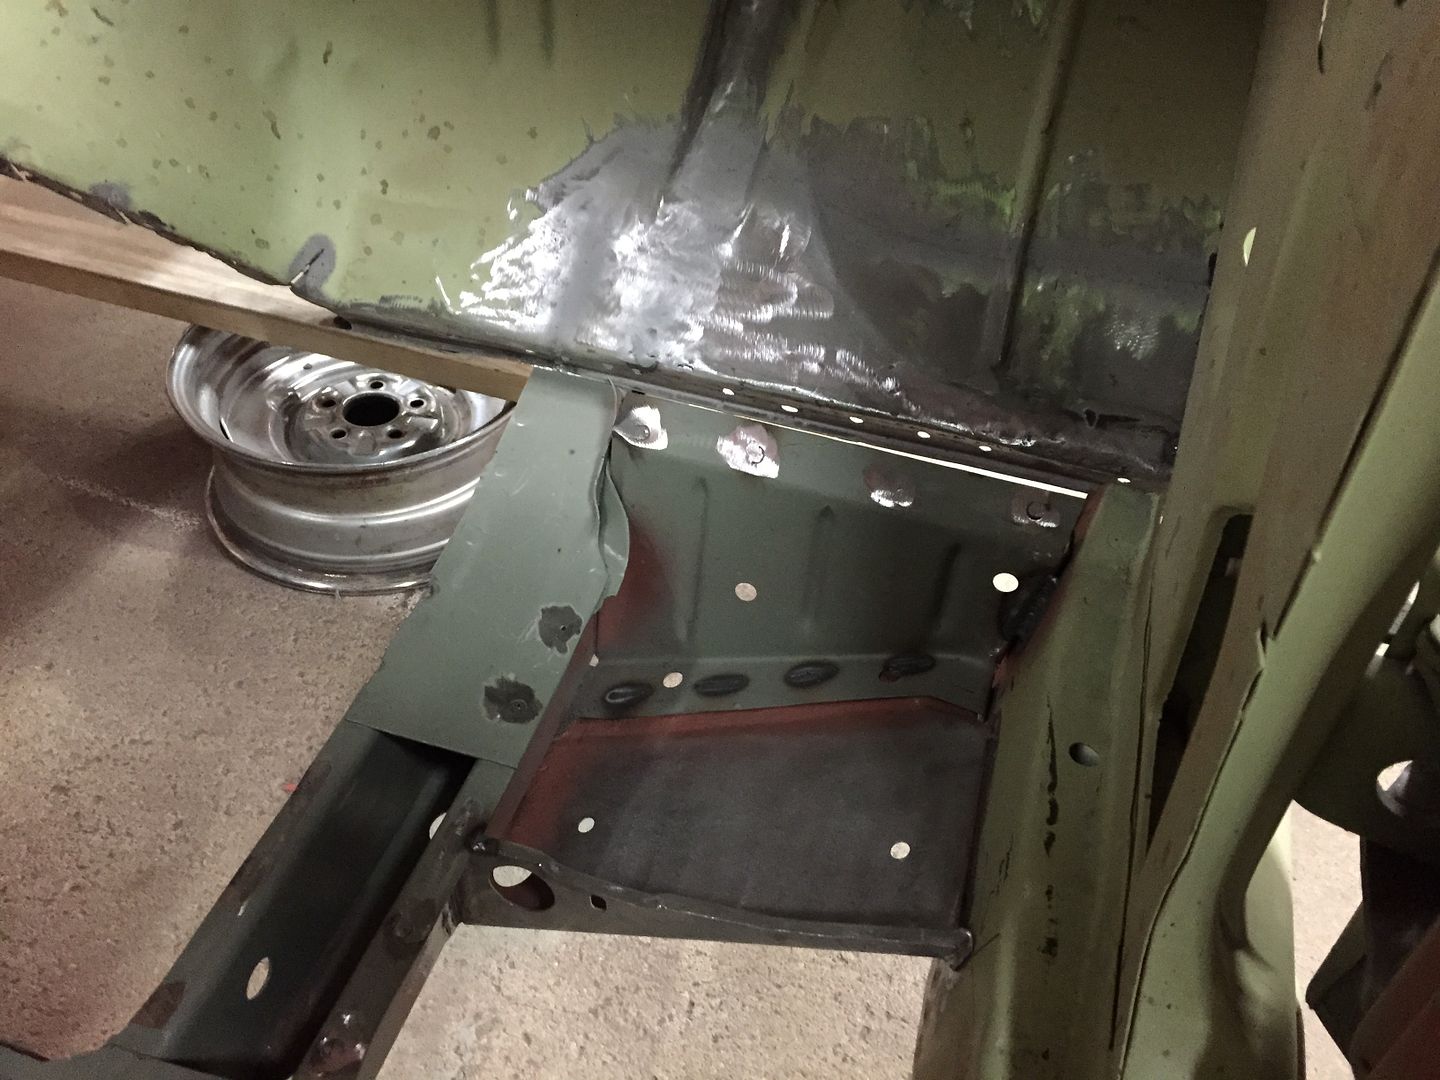
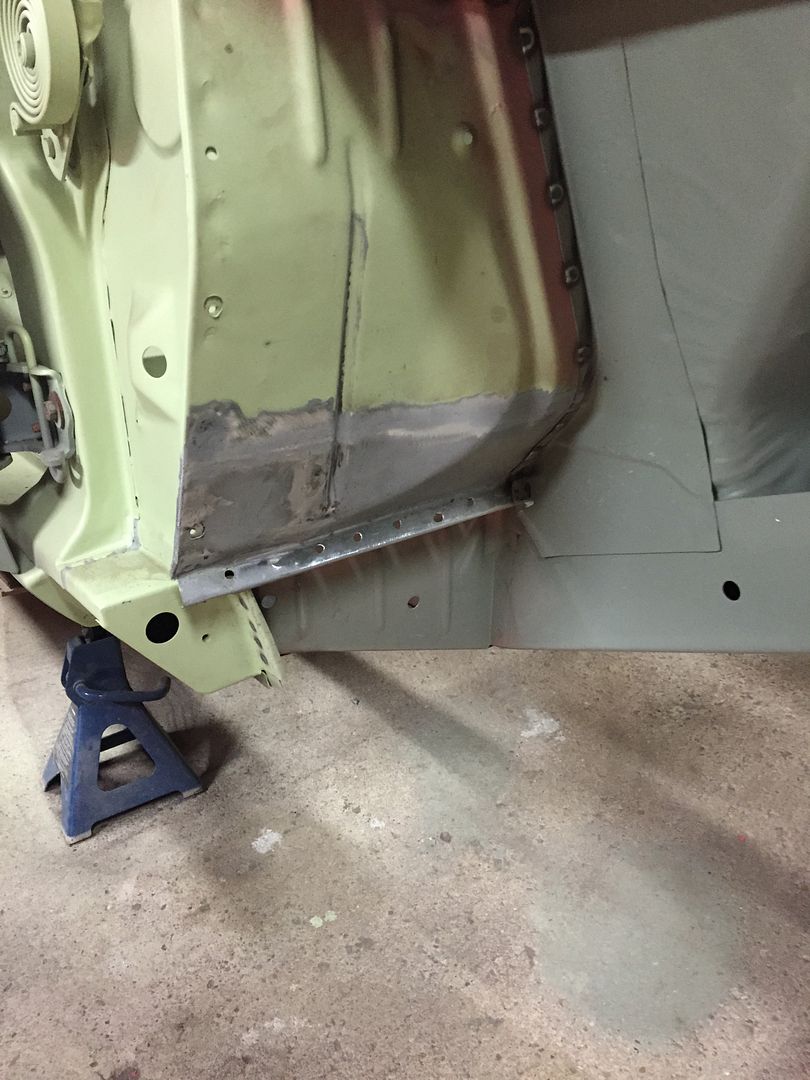
 
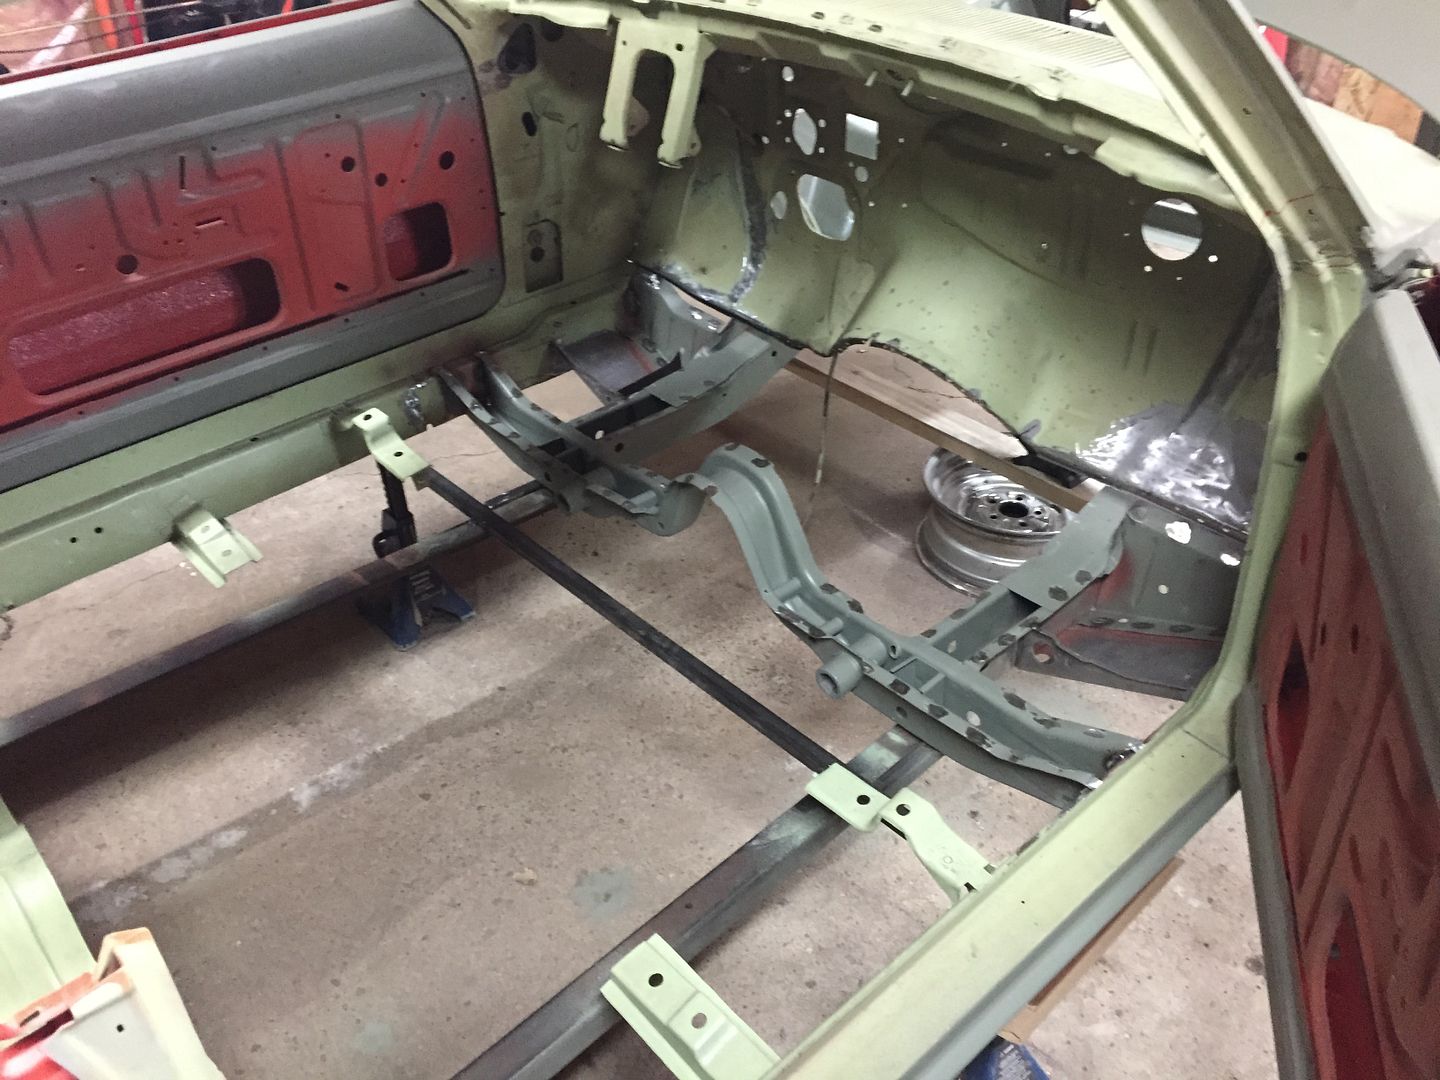
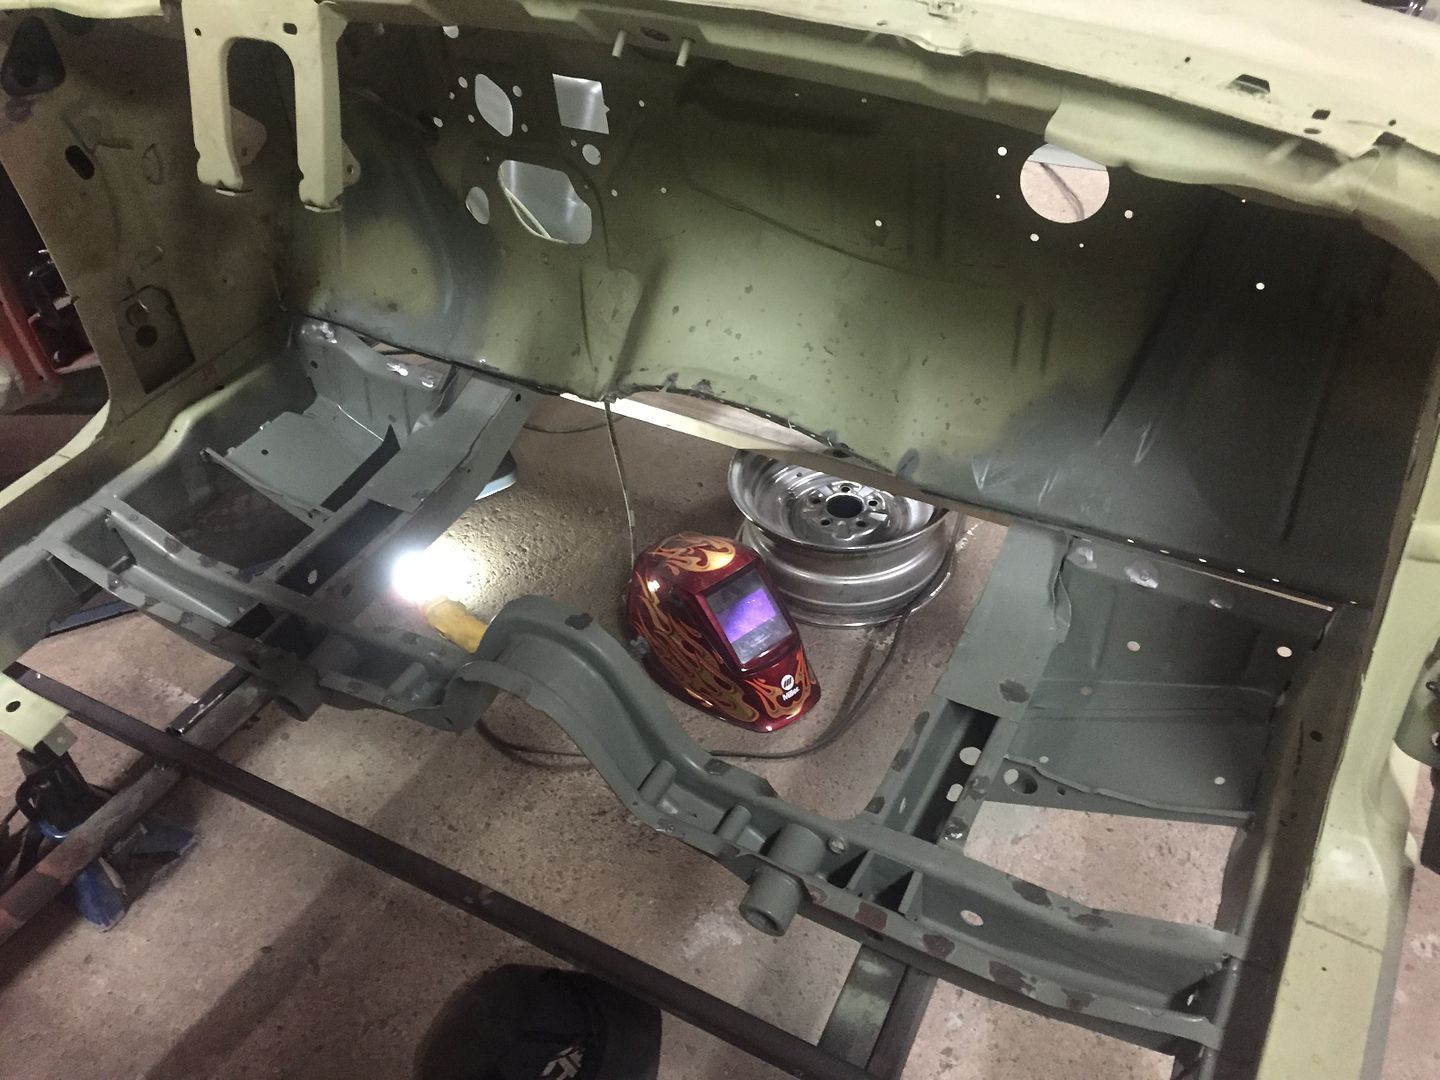
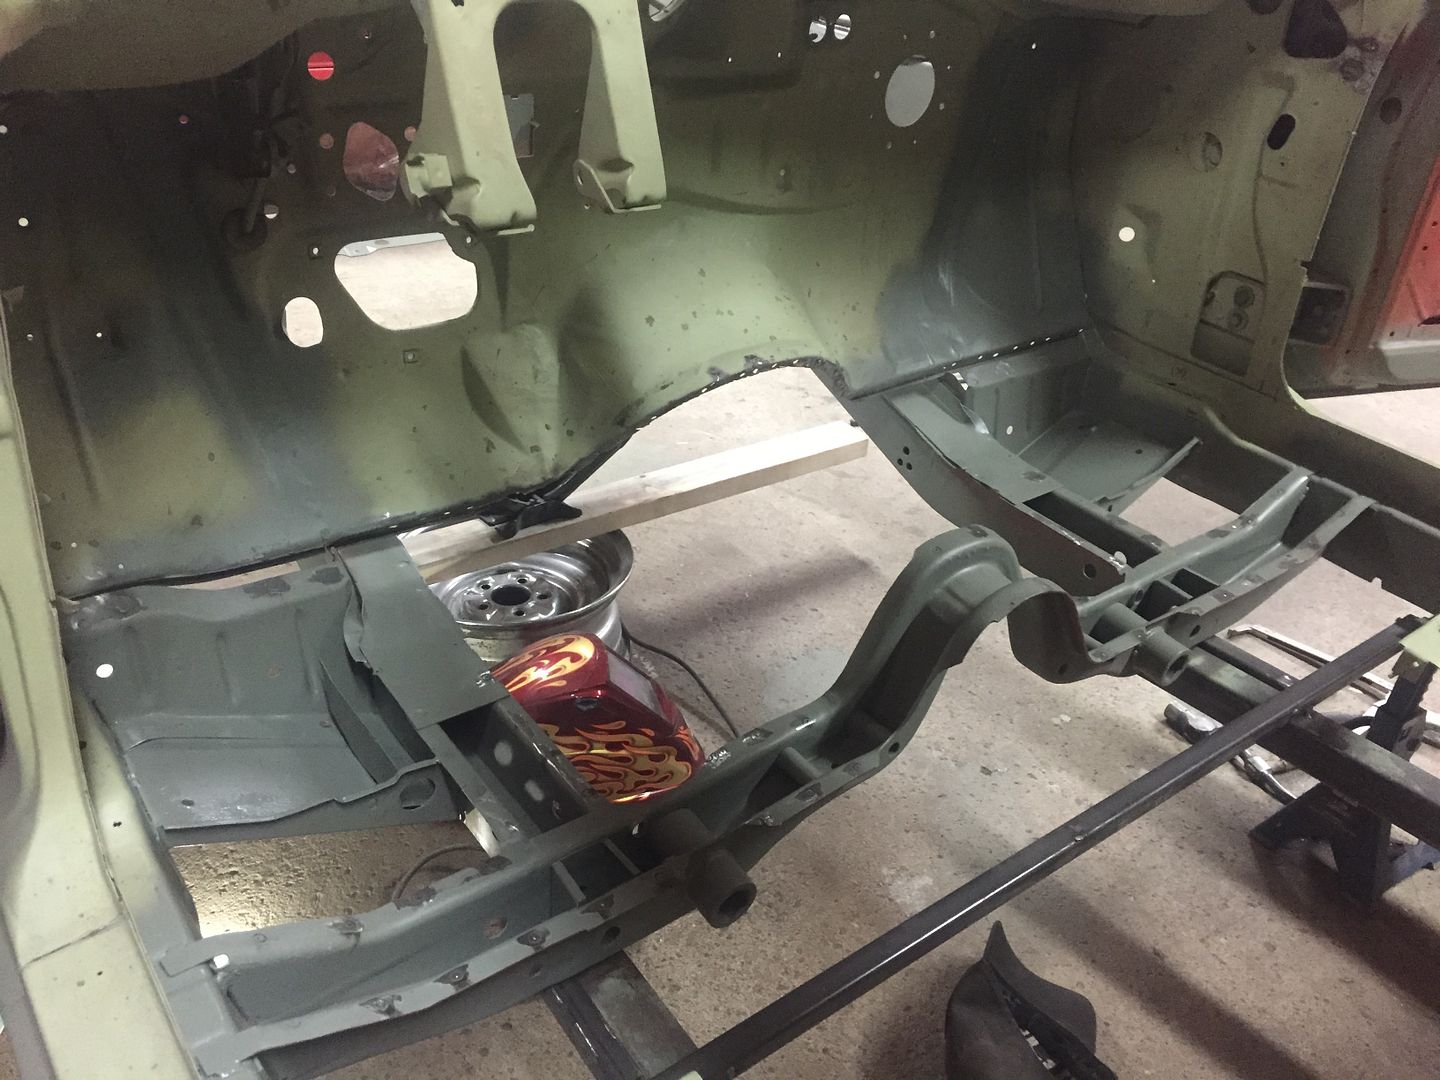
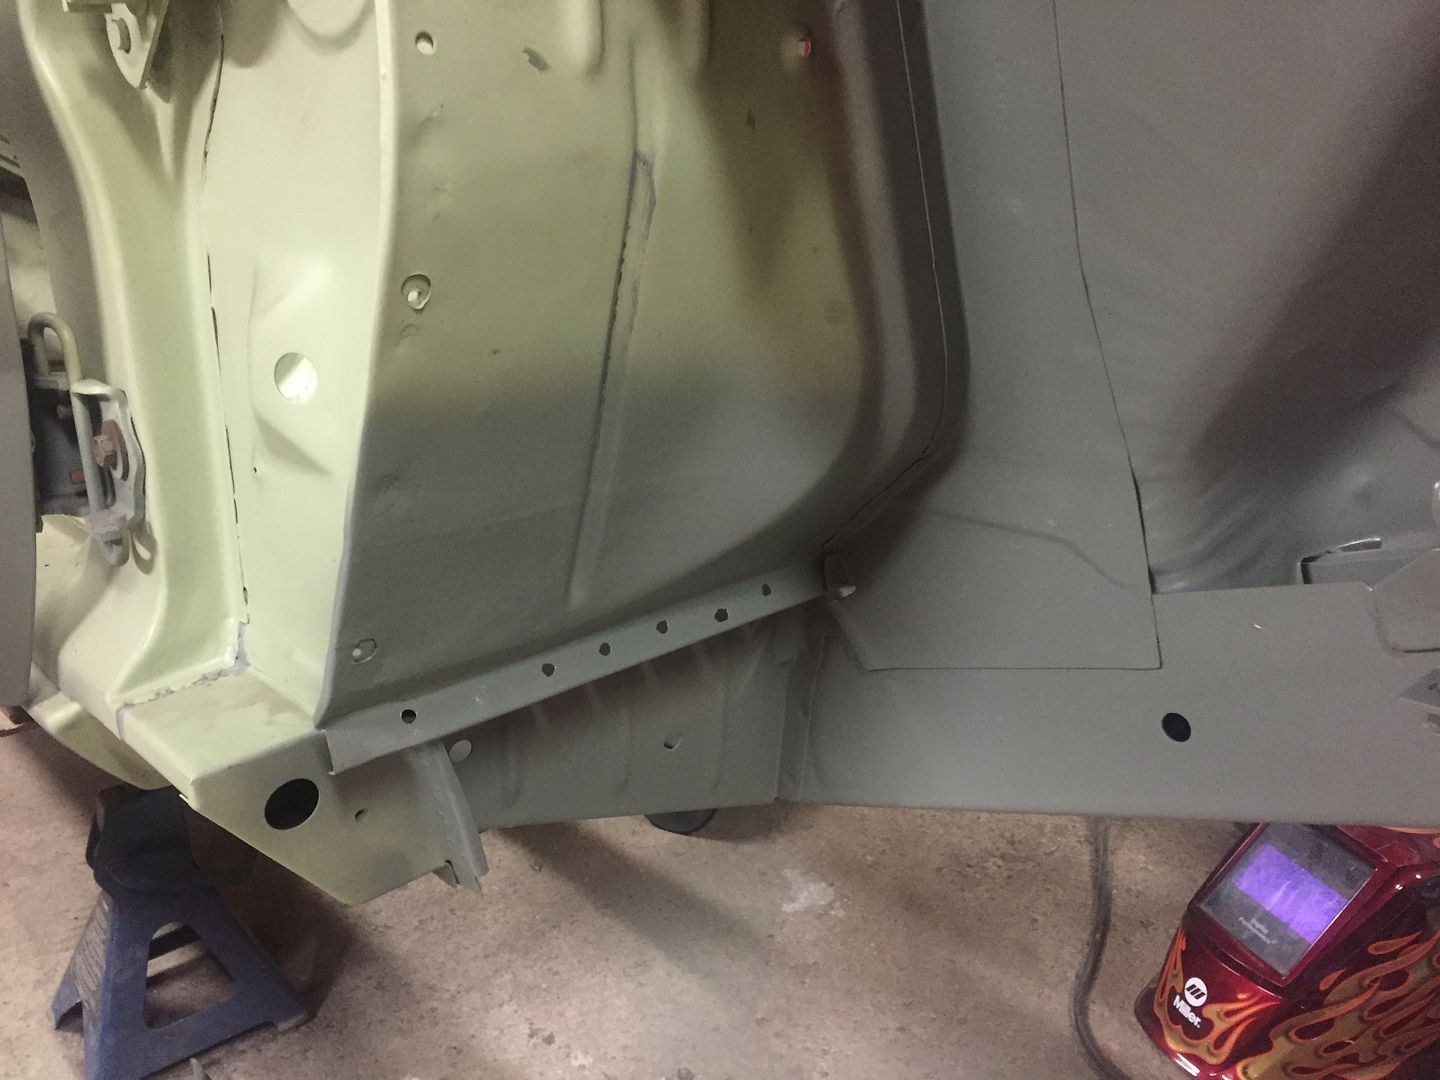
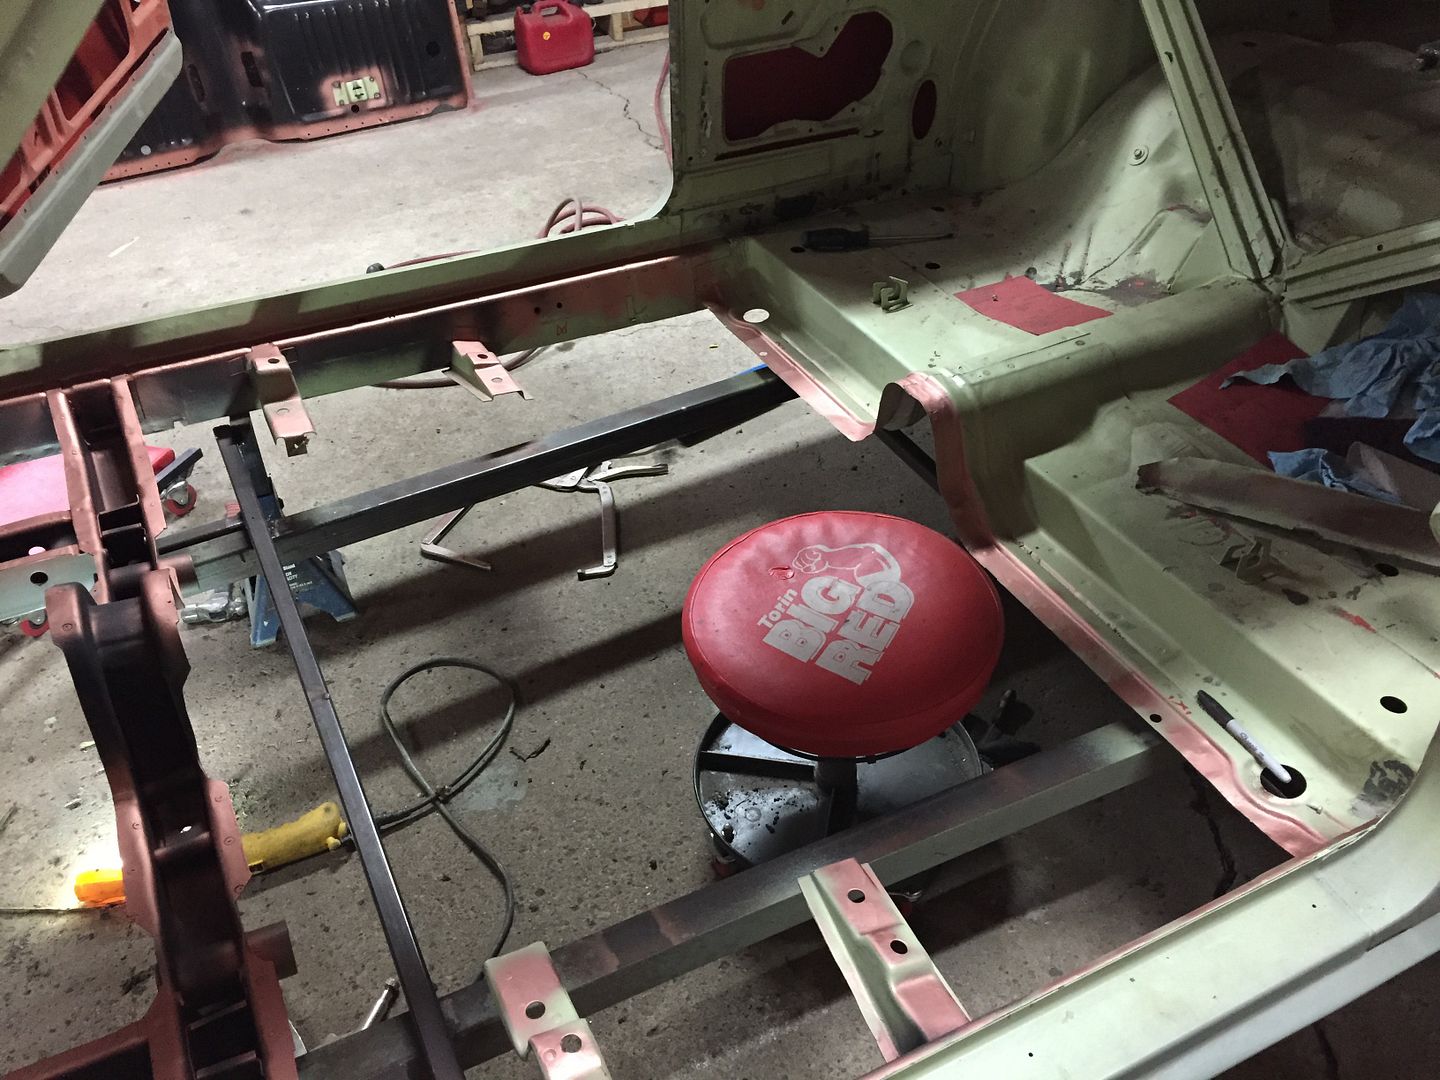
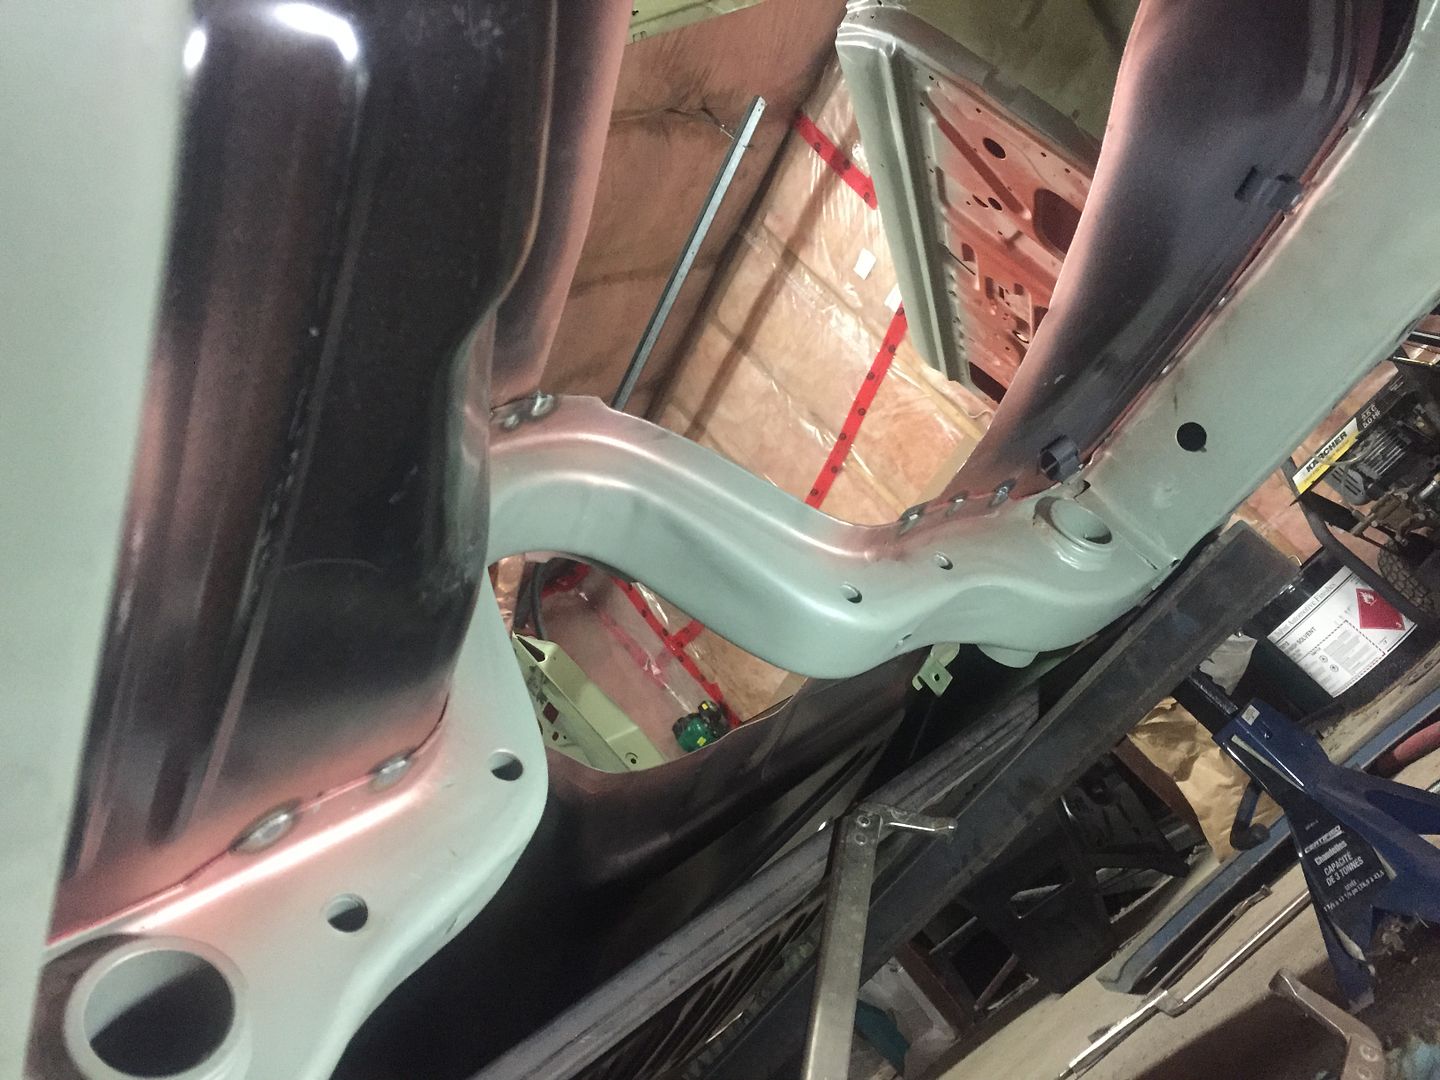
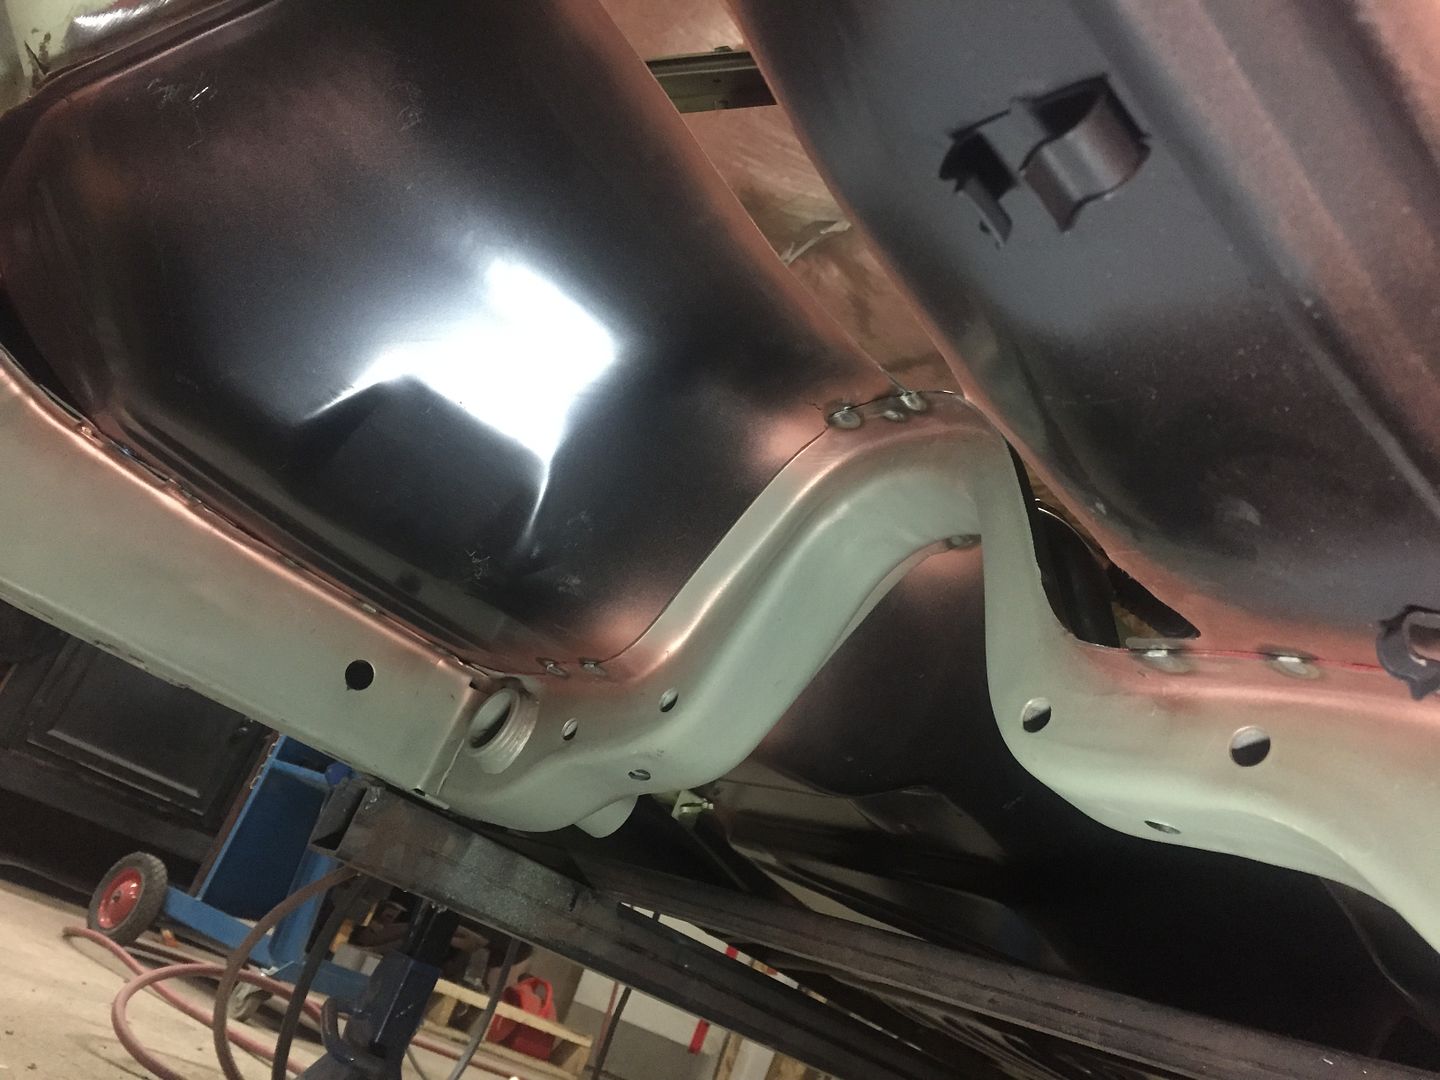
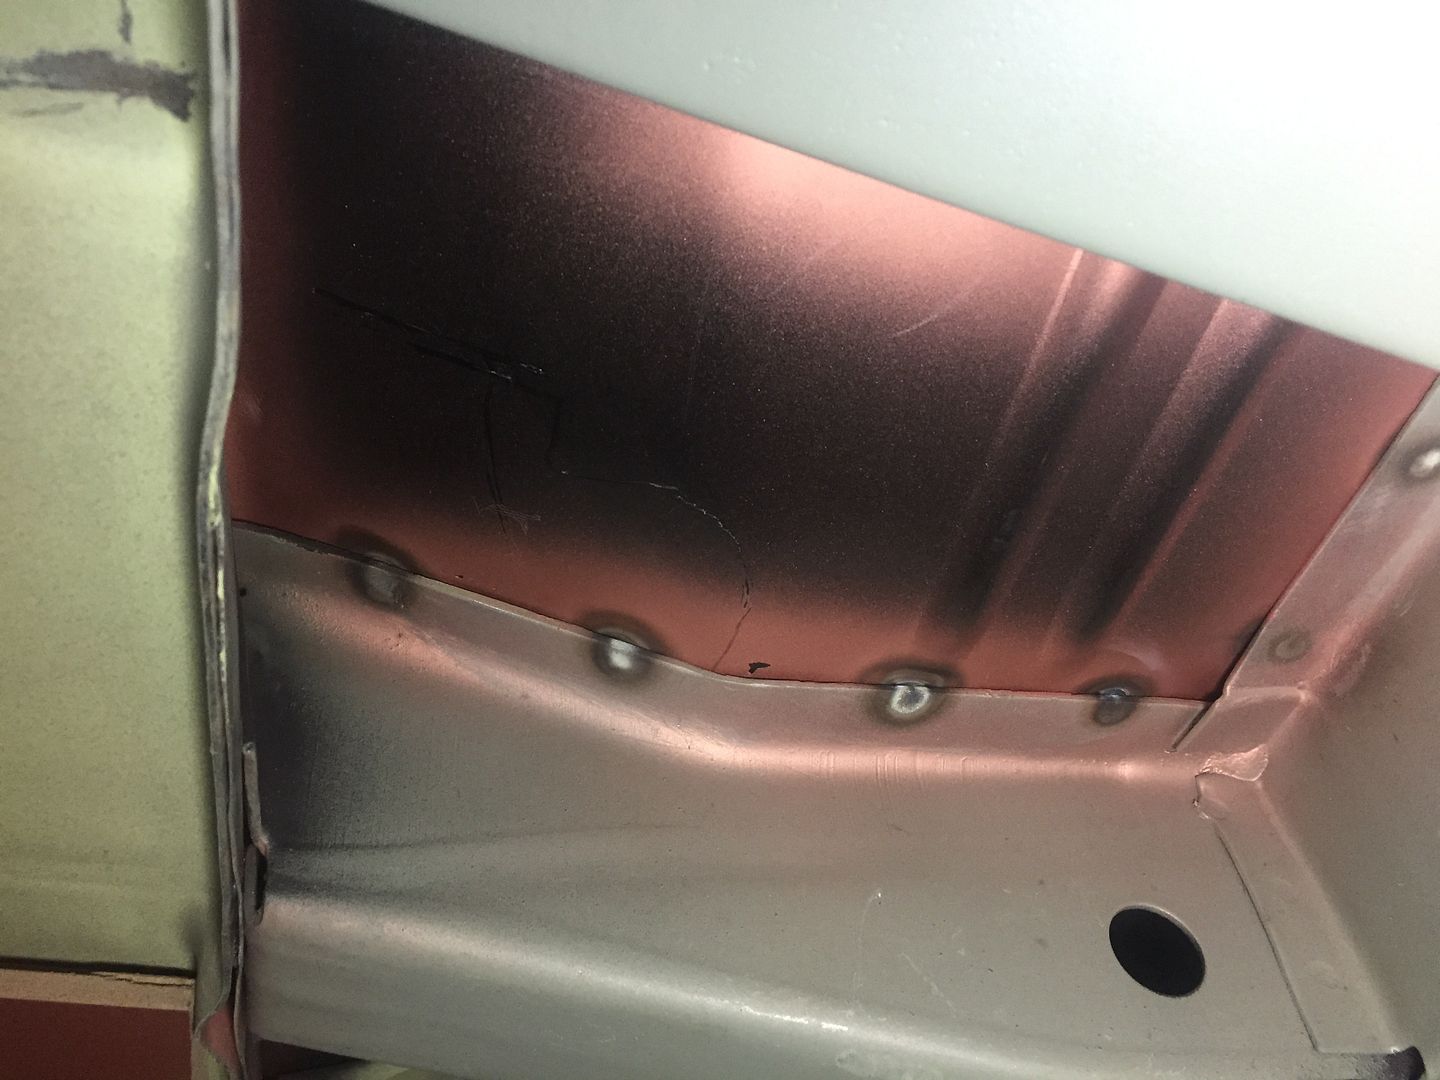
Torque boxes are in and firewall patch is complete. I am going to wait on welding the torque boxes to the inner rocker, so I can fit the floor pan to make sure they're tight againt the pan. I also welded the temporary subframe connectors back to the front frame rails and removed all the bracing.. Now it's time for the floorpan!


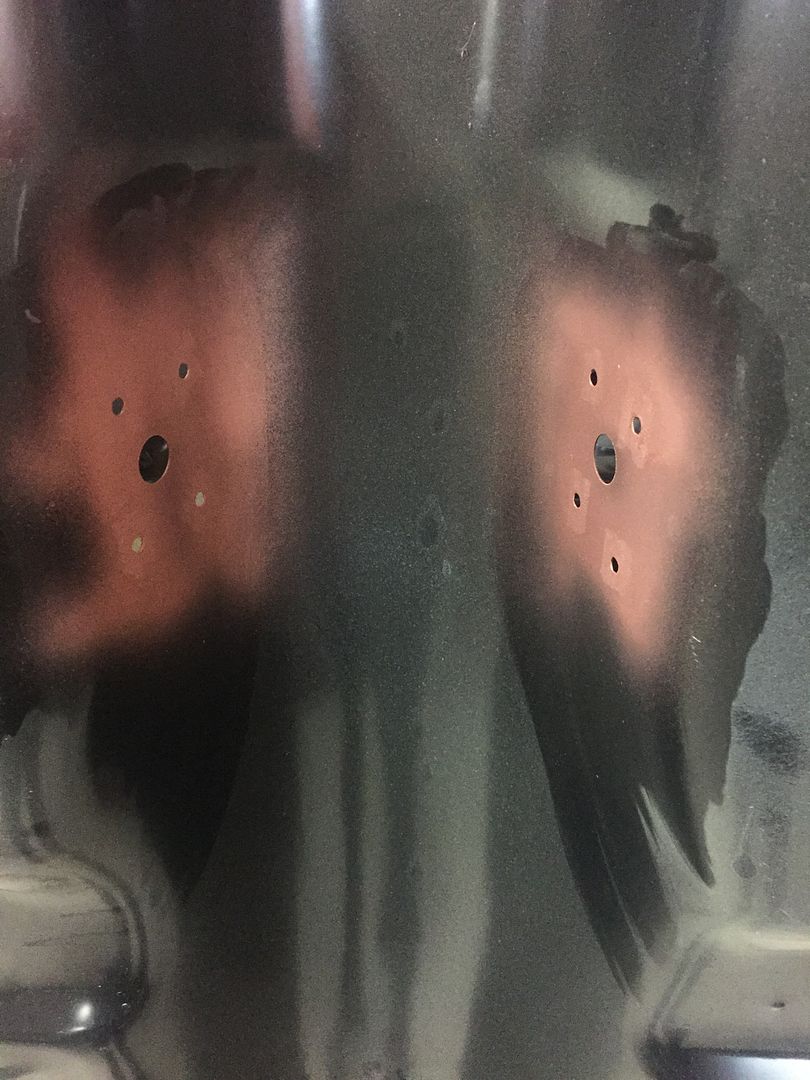
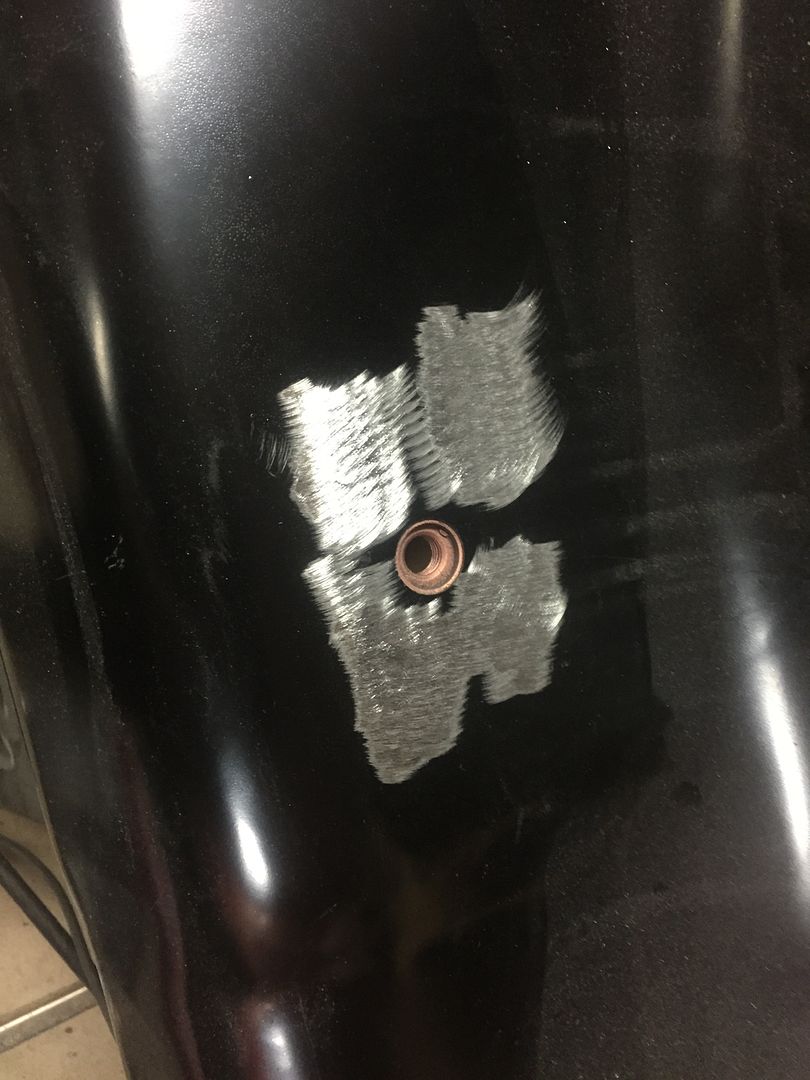
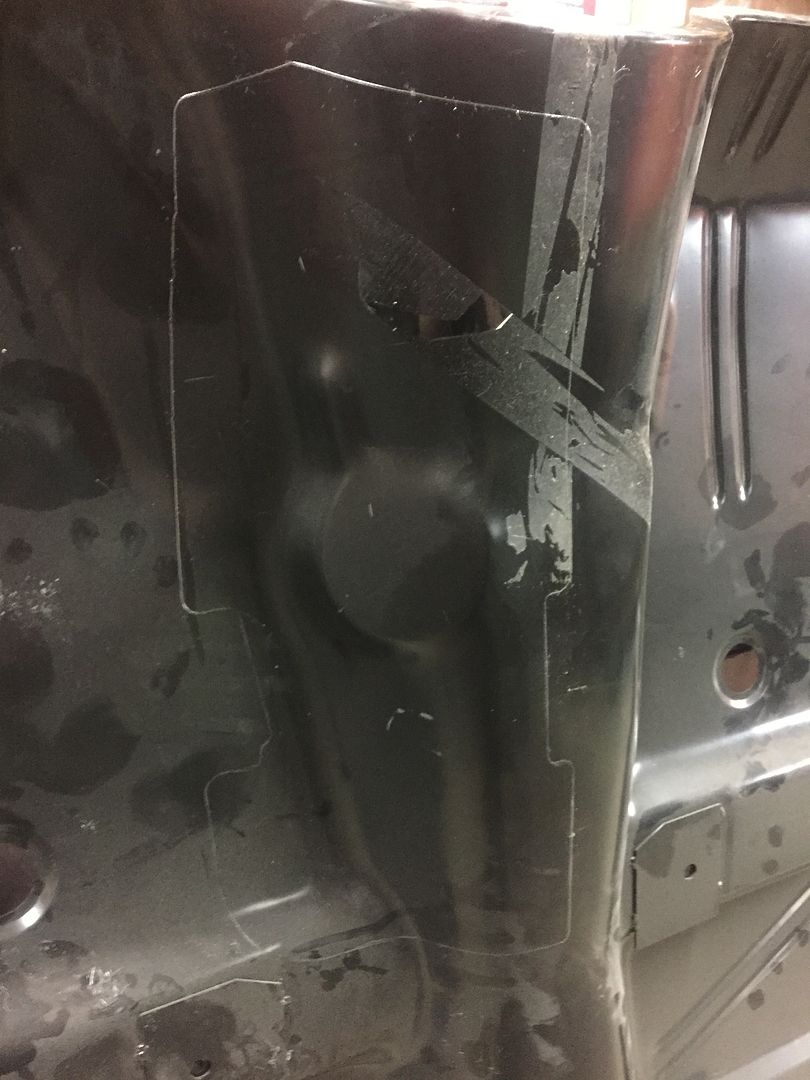
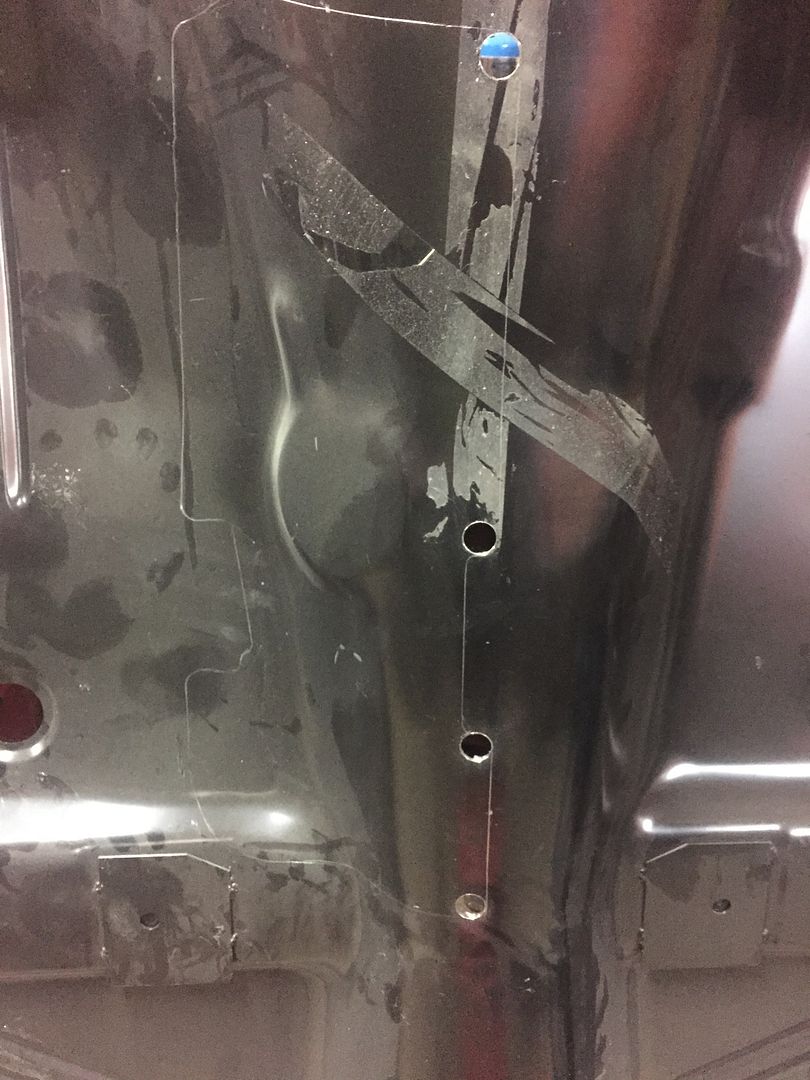
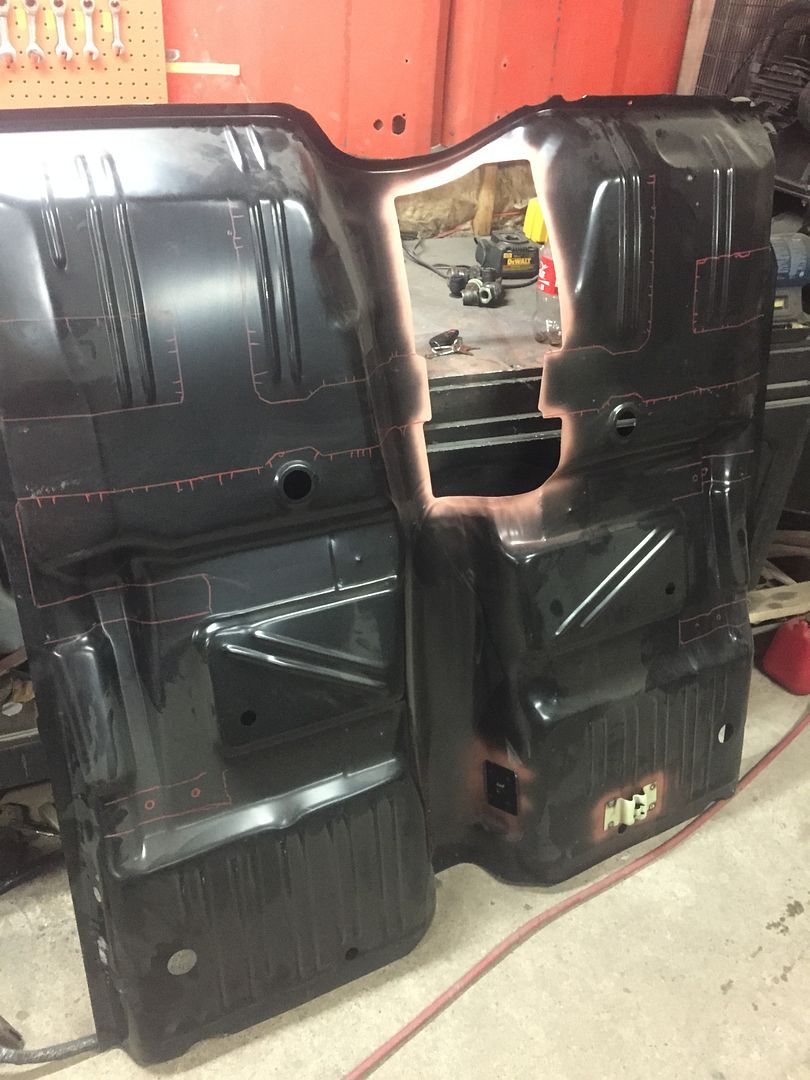
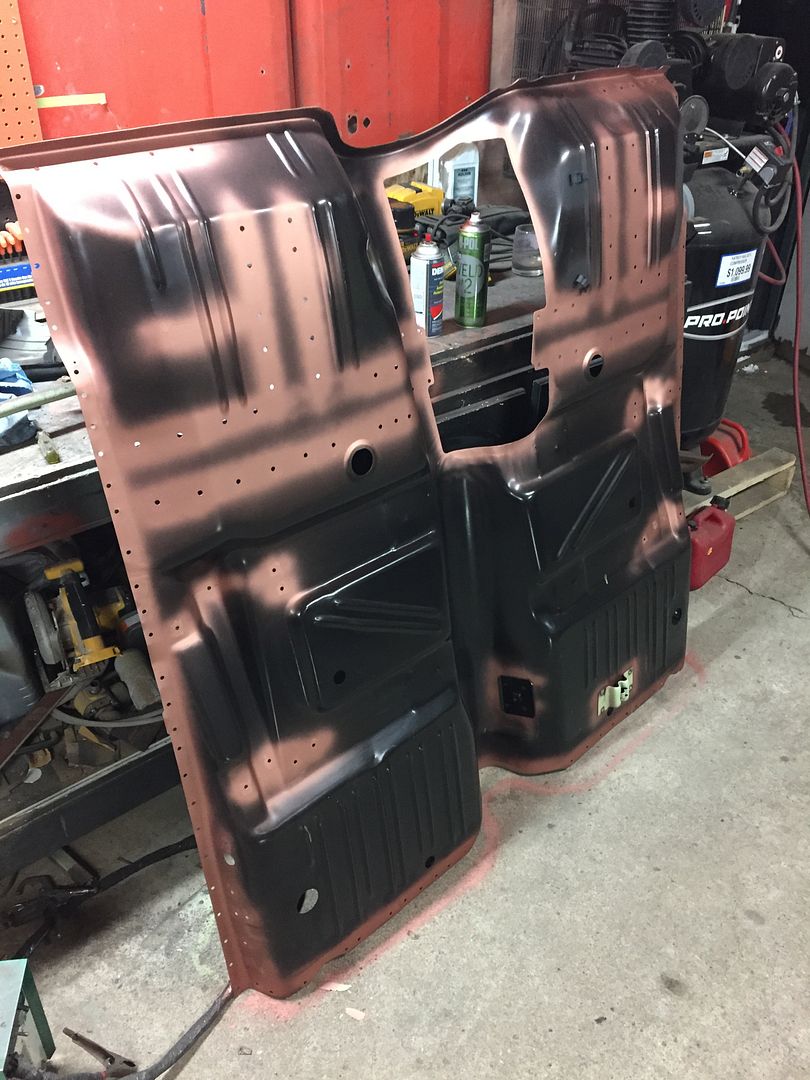
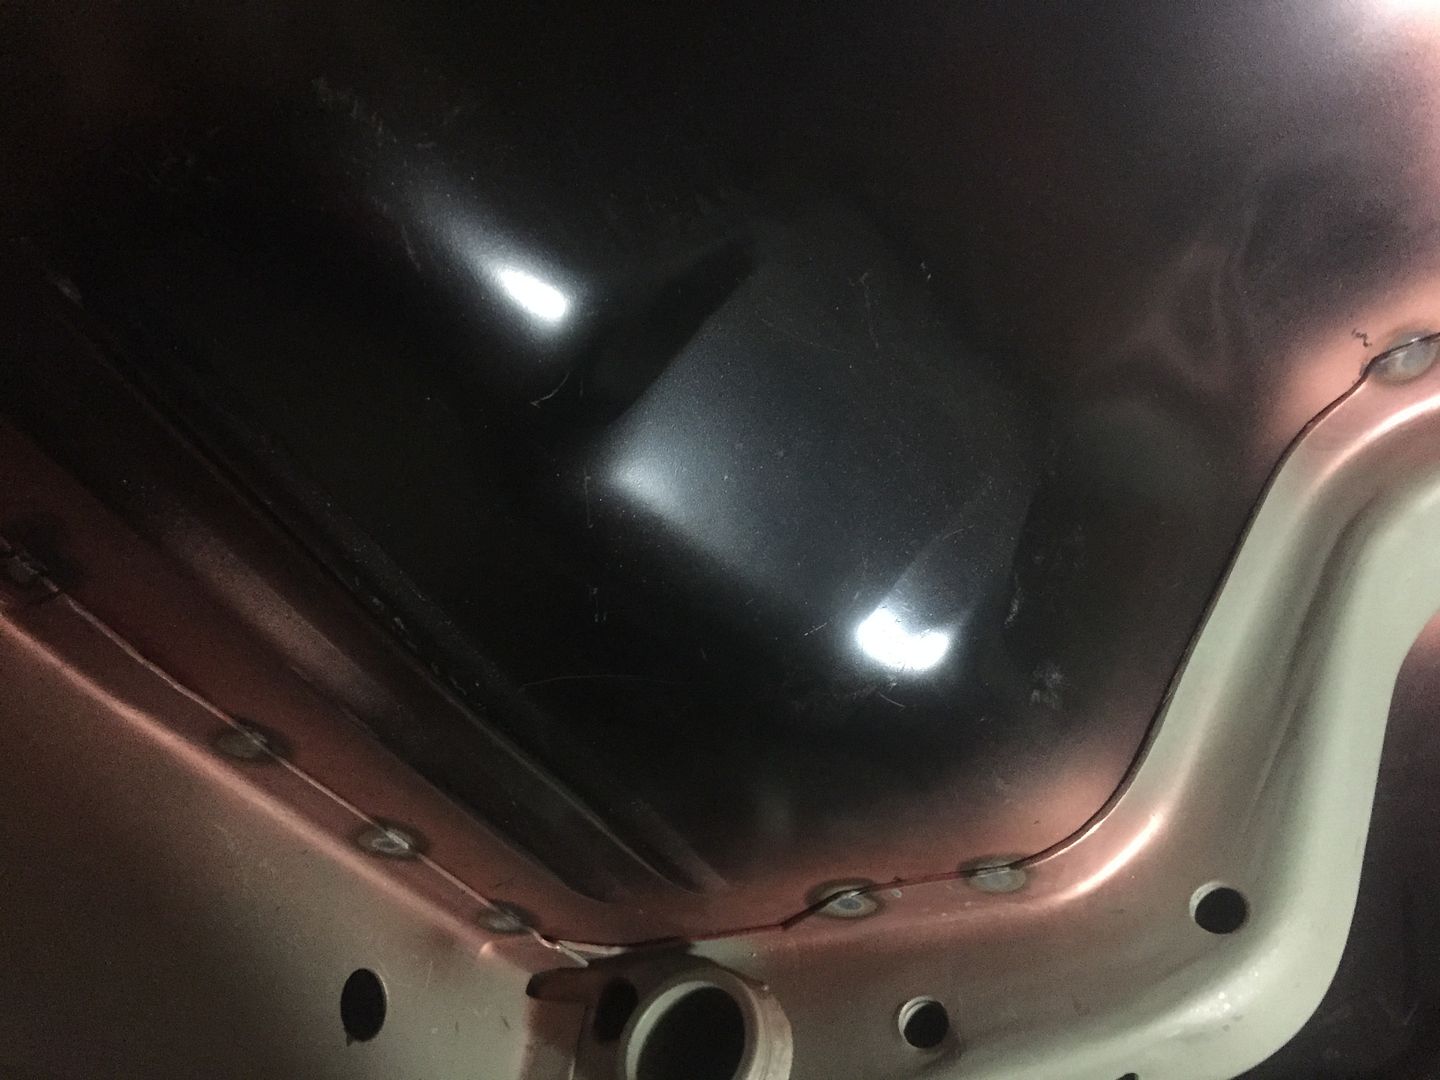
I am going to test fit the floorpan again and re mark it so I can drill all the holes for plug welds, then cut out the hole for the four speed hump, weld in the emergancy brake cable bracket, speedometer cable brackets and seatbelt brackets. Then I'll epoxy all the bare metal, paint everywhere I can inside the frame black, weld thru prime it and then weld the new pan in.. That's the plan anyway!
 
Mad skills brother..... Mad skills!!!

Thanks!

Looking forward to seeing that floor go in.....

Me too! Next weekend I will start with the floor pan, never had a chance to work on it today but I cleaned the garage up a bit.

I love threads like this

Keep up the good work:burnout:

Thanks!

Very inspirational!

Thanks! Hopefully it gives people inspiration to save the rusty ones.
 
I started working on the floorpan today and got a lot done.. As usual here are a bunch of pics!


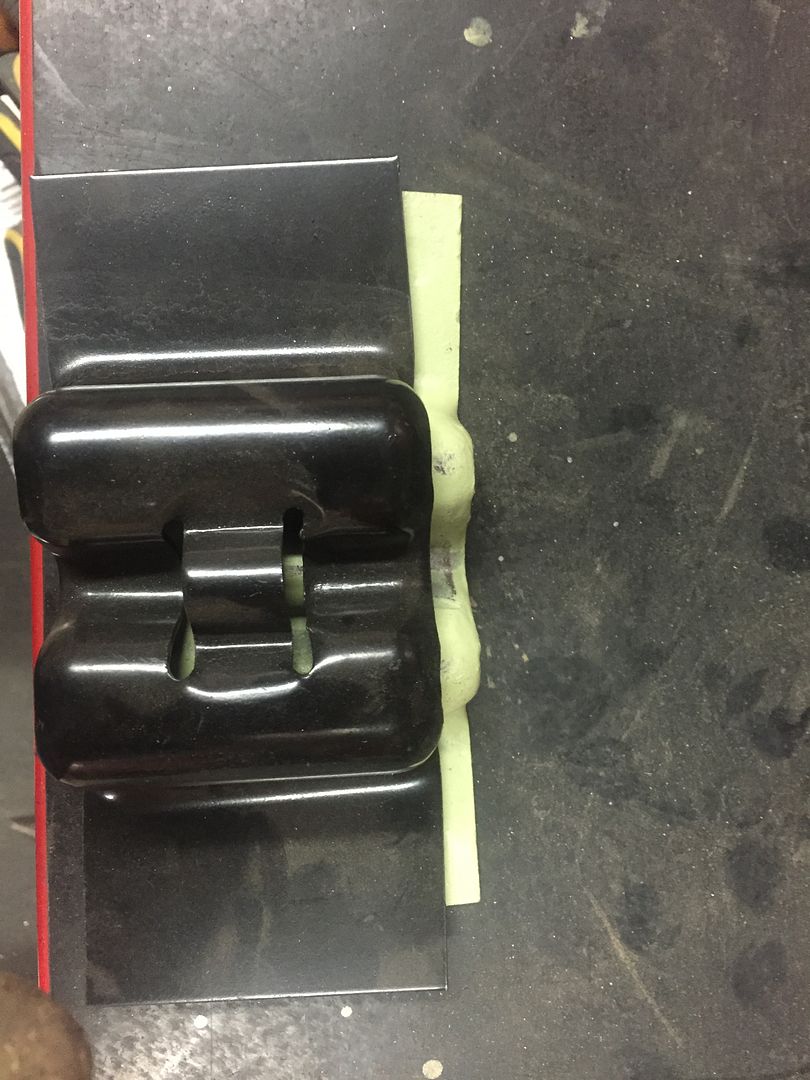
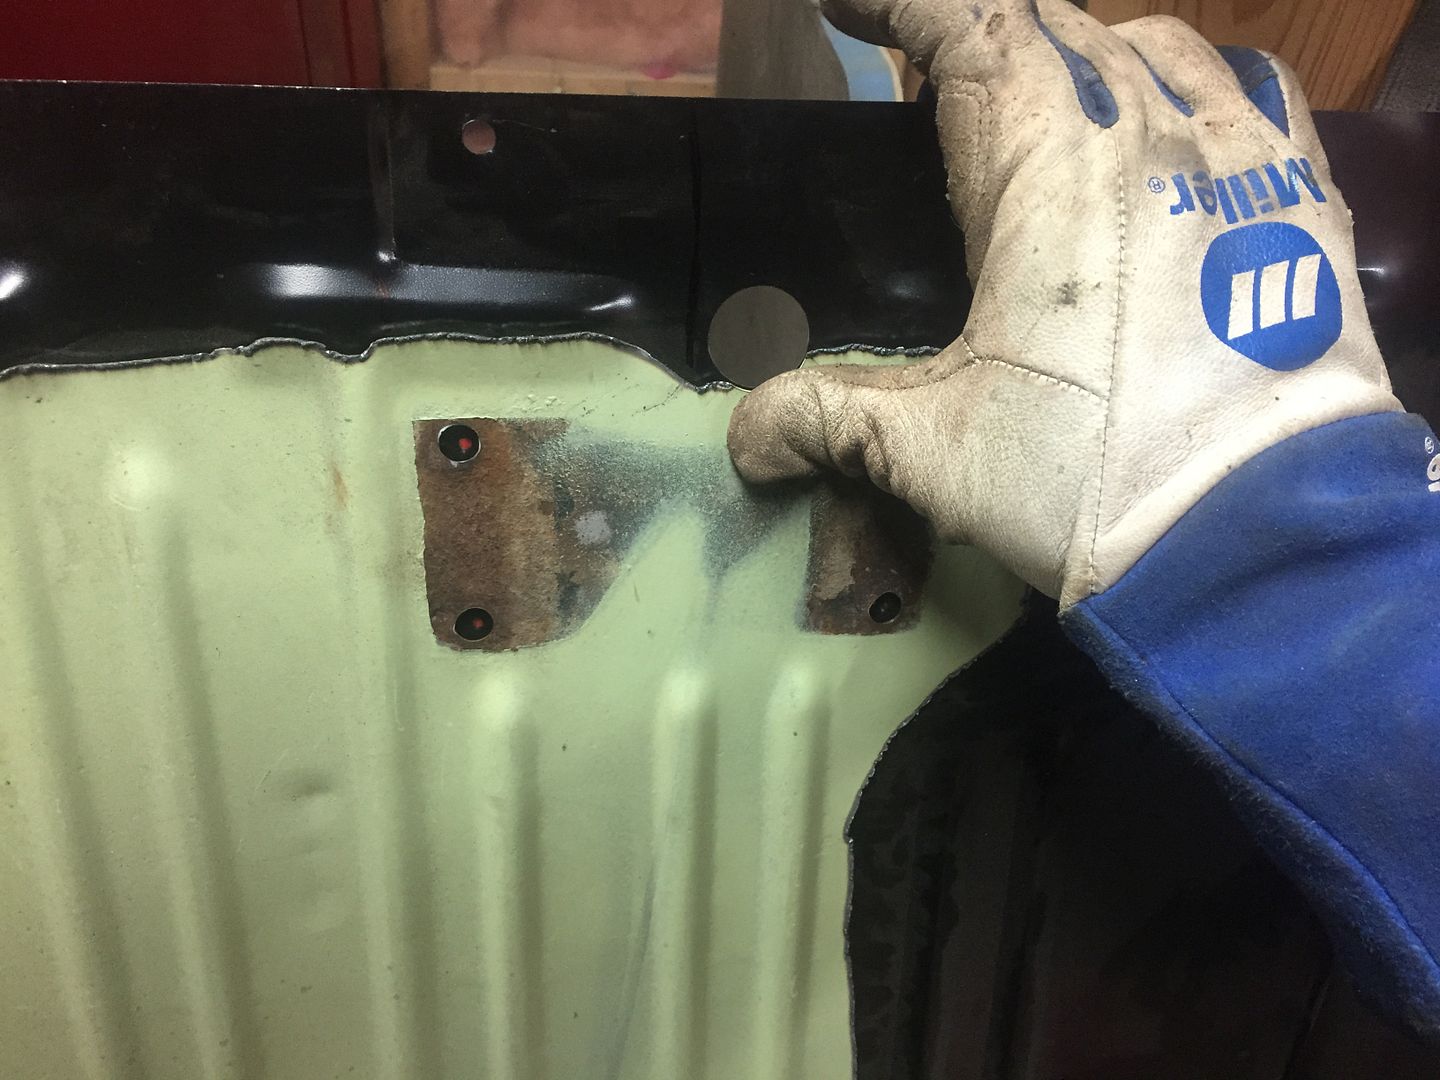
The AMD emergancy brake bracket was a lot bigger than the original one and would have stuck down pretty far, so I reused my original one since it was in perfect shape. Here is the comparison..


Looks like your getting a lot done Randy, if you don't mind my asking do you still have the template for that you cut out of your old floor for the hole for the shifter hump, I'd sure love to get that from you if you haven't thrown it out or when you don't need it anymore. Danny
 
Looks like your getting a lot done Randy, if you don't mind my asking do you still have the template for that you cut out of your old floor for the hole for the shifter hump, I'd sure love to get that from you if you haven't thrown it out or when you don't need it anymore. Danny

Hey Danny, I keep all the templates, since you never know when you're going to get another project. If you want to borrow it or any other template you might need, just send me a PM and you can come grab them. I have the hood cutout one from Greg and pretty much every other piece for a Swinger (emblem locations and misc brackets)
 
Hey Danny, I keep all the templates, since you never know when you're going to get another project. If you want to borrow it or any other template you might need, just send me a PM and you can come grab them. I have the hood cutout one from Greg and pretty much every other piece for a Swinger (emblem locations and misc brackets)

Awesome Randy, I will get a hold of you when I'm ready to trim out my hole to the proper shape, thanks.
 
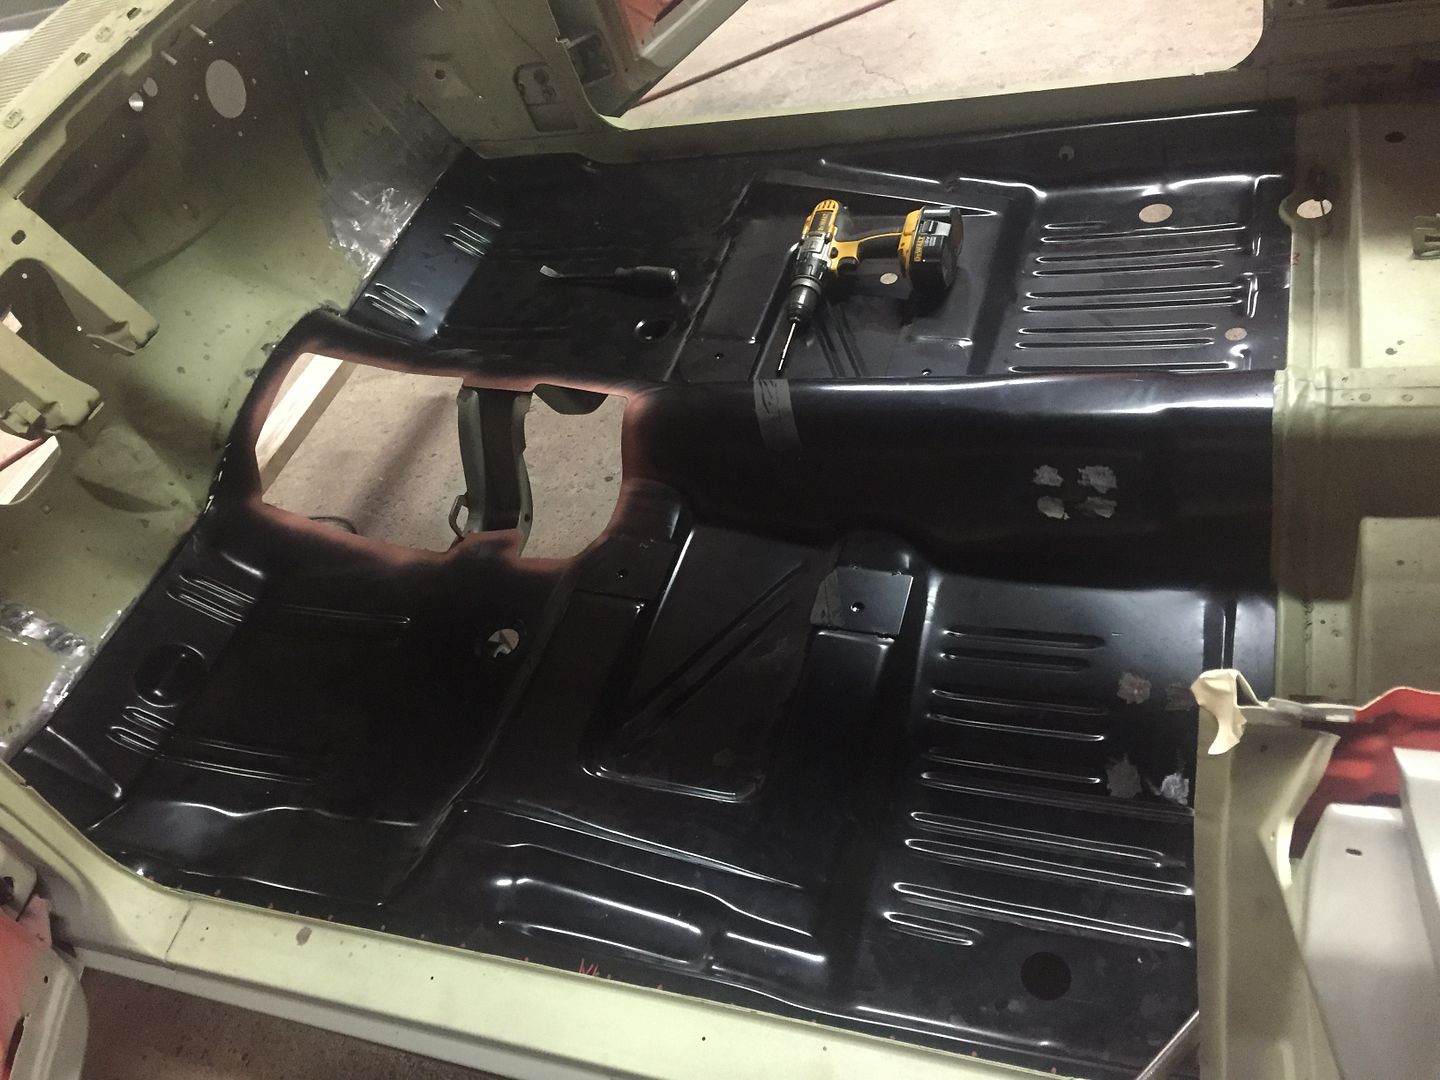
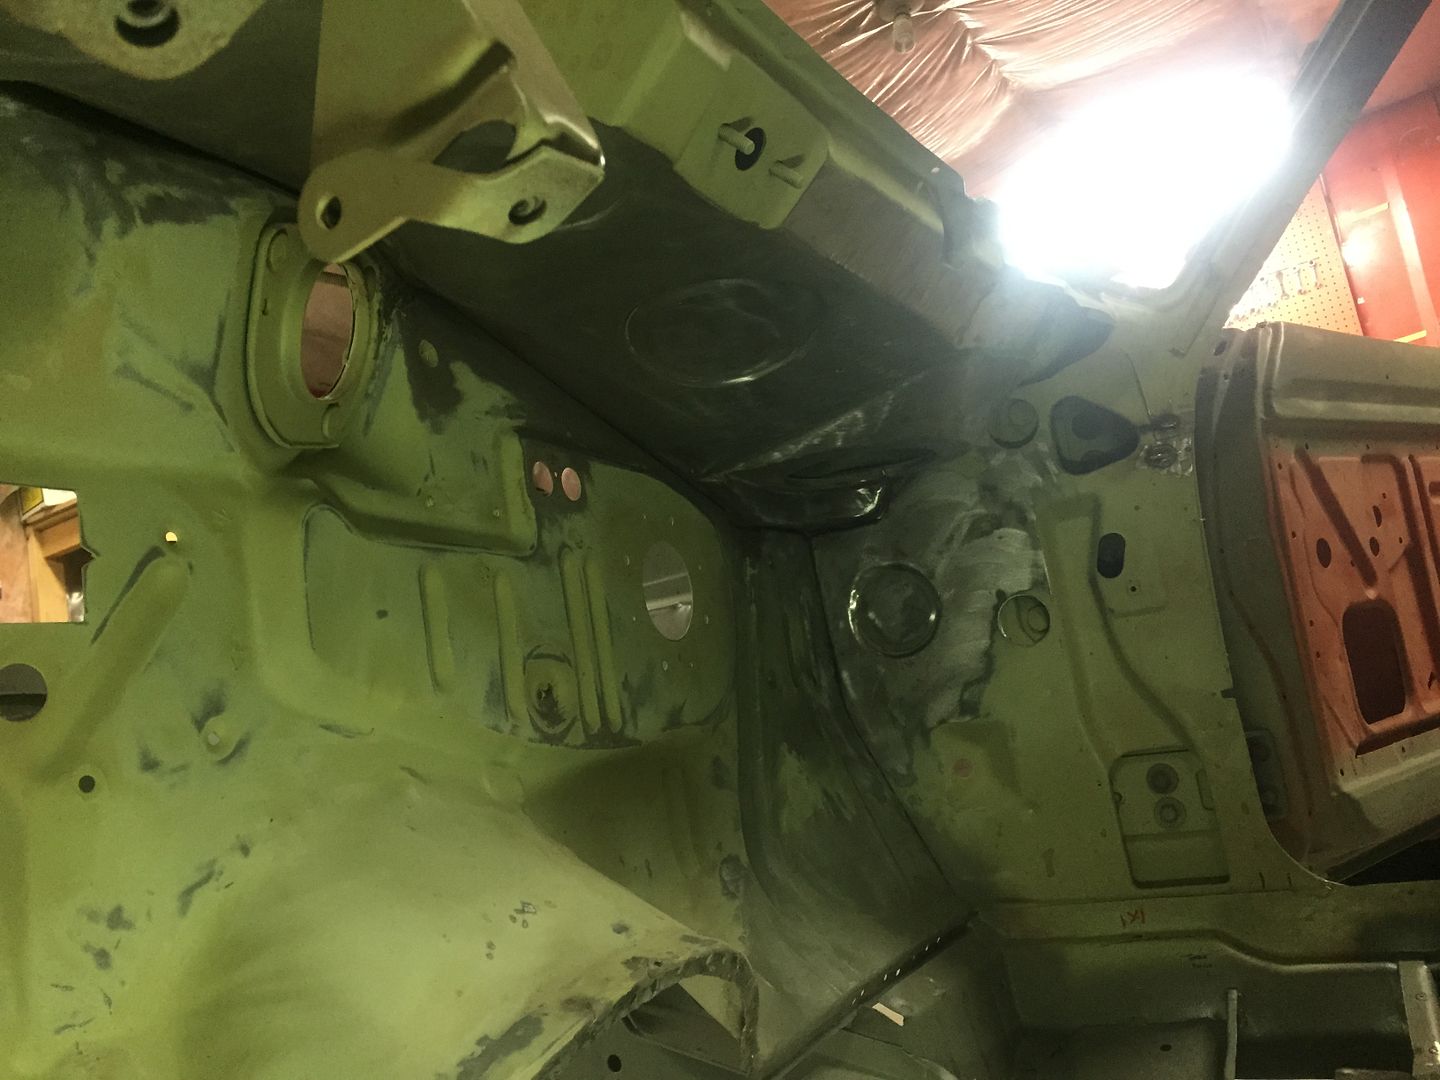
Yeah it fits perfect! It has a few little issues at the firewall, but that's from someone taking a hammer to the transmission hump pinch weld flange.. It will be a pretty easy fix tho.

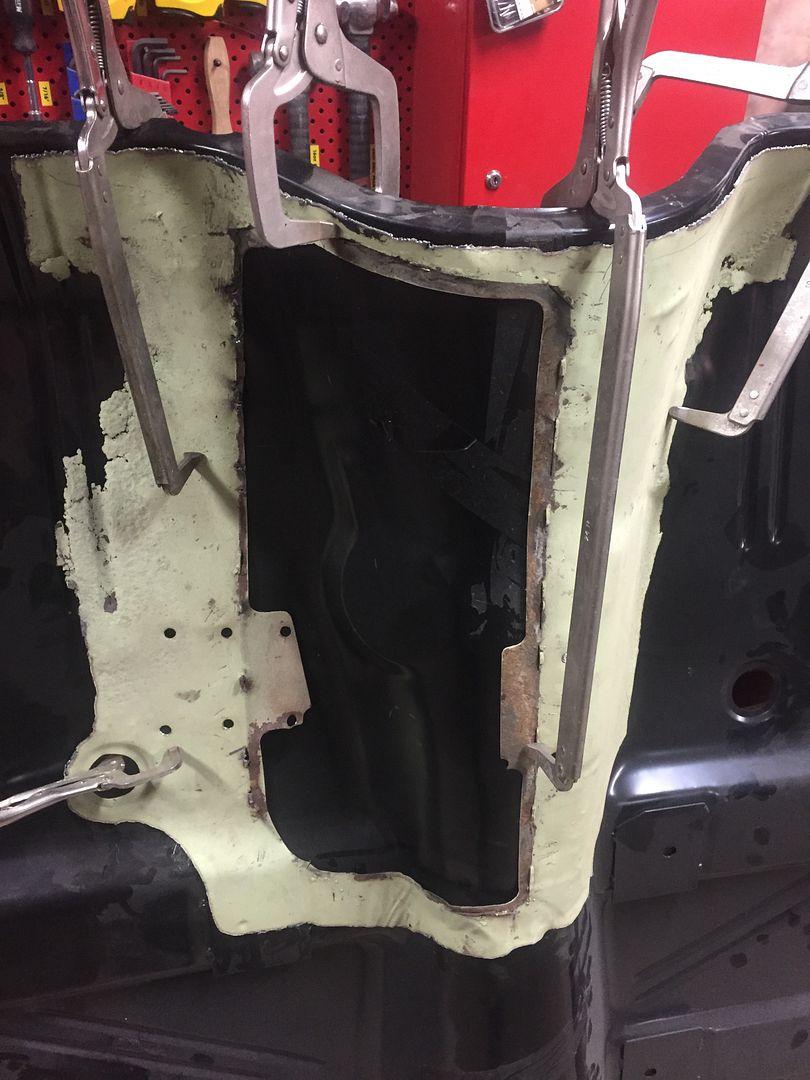
I've been spending some time during the week prepping inside the firewall and bottom side of the cowl. Getting that seam sealer out is a PITA!! I'm glad I dug it out because it was failing in spots and had surface rust behind the sealer. They put it over bare metal, so no wonder why it rusts!

 
A lot of time and love is being put into this car and its going to be just Beautiful when its all done I hope to restore my dads Swinger someday to the level you are doing yours keep up the good work my Friend
 
Randy,
It's amazing the amount of work and money we put into these A-bodies and back in the day they cost under $4,000. LOL LOOKIN GOOD!!!!!
Jim
 
Good stuff! Keep up the good work! What an inspiration to the rest of us.
 
A lot of time and love is being put into this car and its going to be just Beautiful when its all done I hope to restore my dads Swinger someday to the level you are doing yours keep up the good work my Friend

Thanks!

Randy,
It's amazing the amount of work and money we put into these A-bodies and back in the day they cost under $4,000. LOL LOOKIN GOOD!!!!!
Jim

Yeah I wish I had a time machine! i have the poster of the original advertisement.. "If you can find a hotter performance car for less than $2808 buy it!"

Good stuff! Keep up the good work! What an inspiration to the rest of us.

Thanks!!

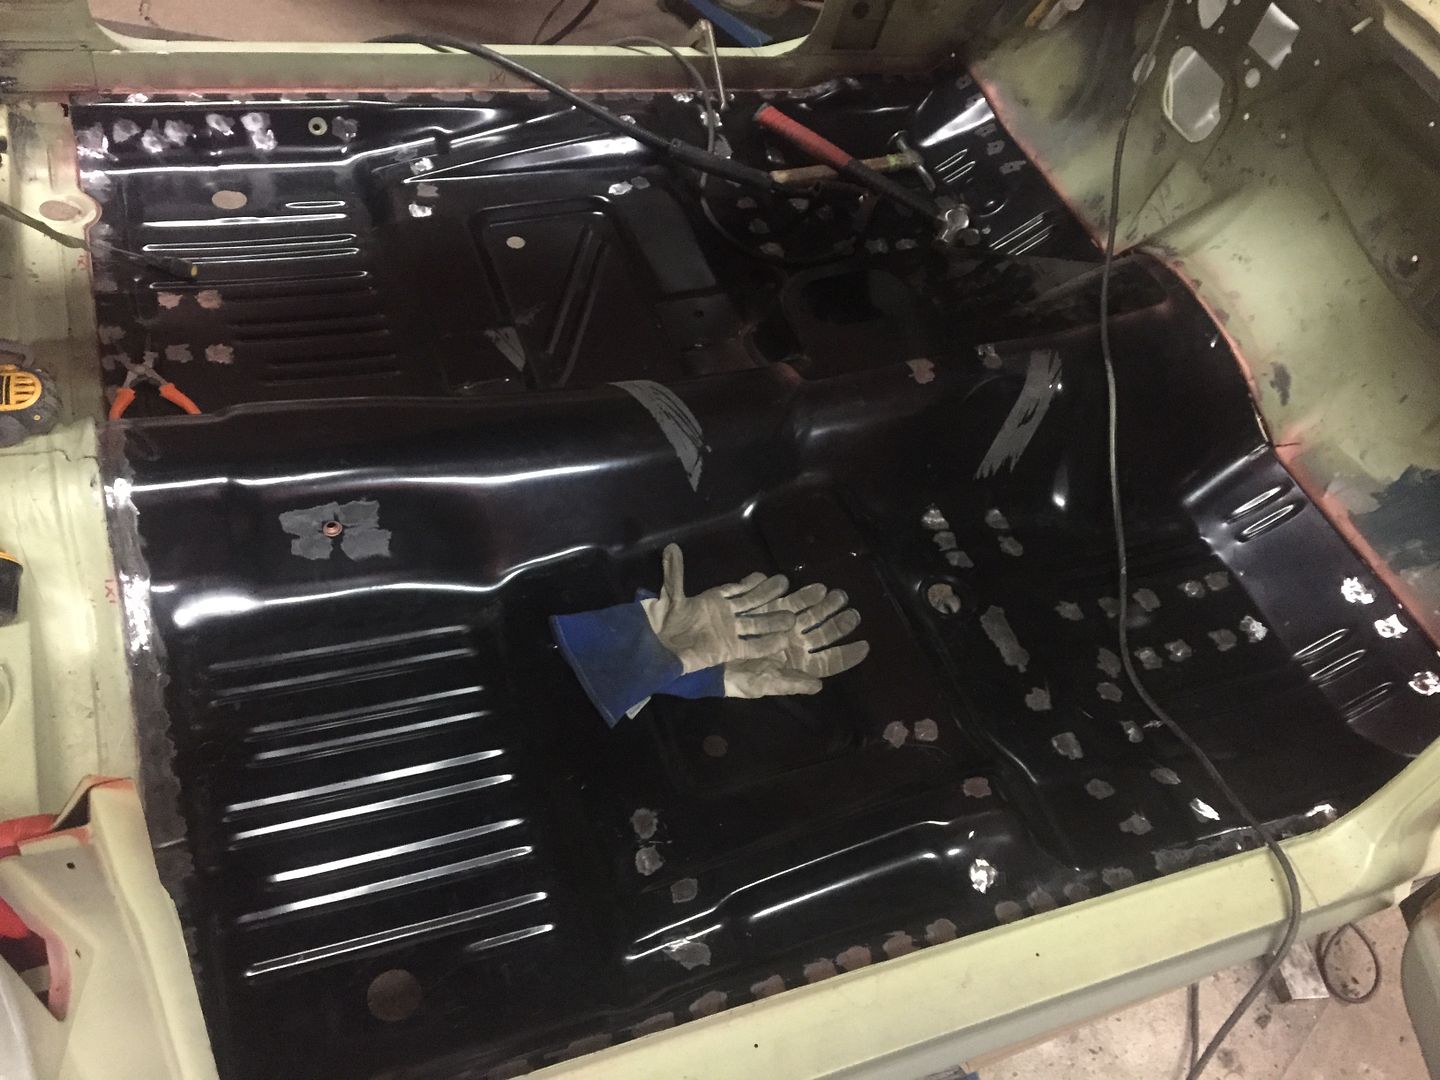
I got the floorpan all prepped and ready to be welded in.. Tomorrow I'll start welding it in. There are a lot of plug welds to do!


Thanks guys!

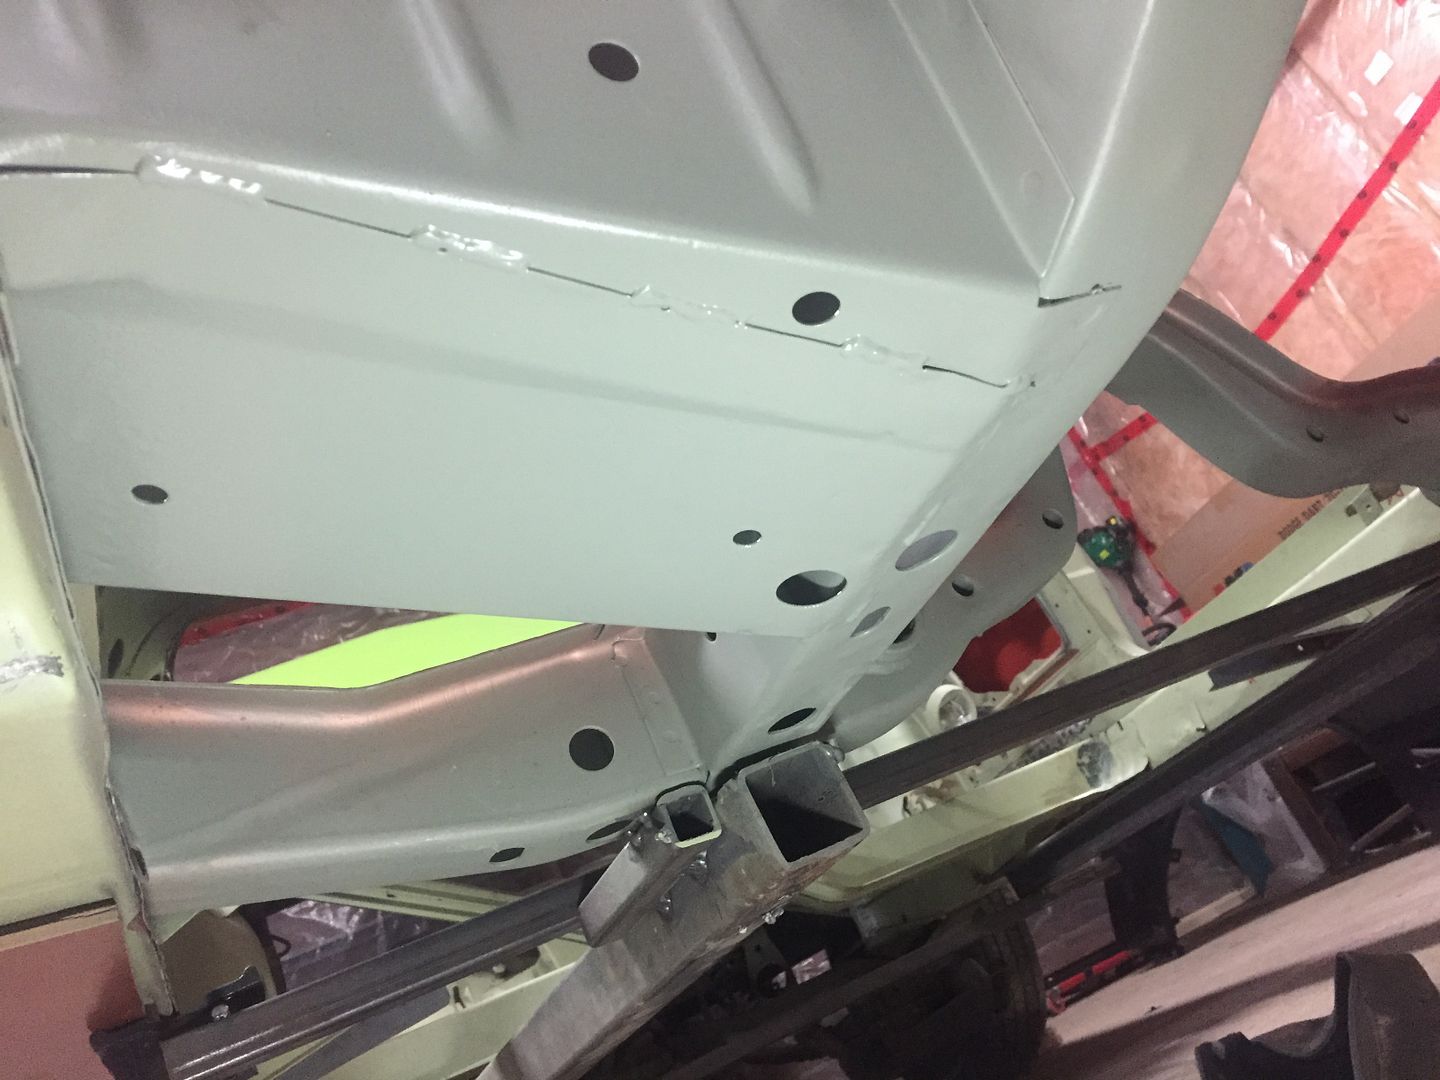
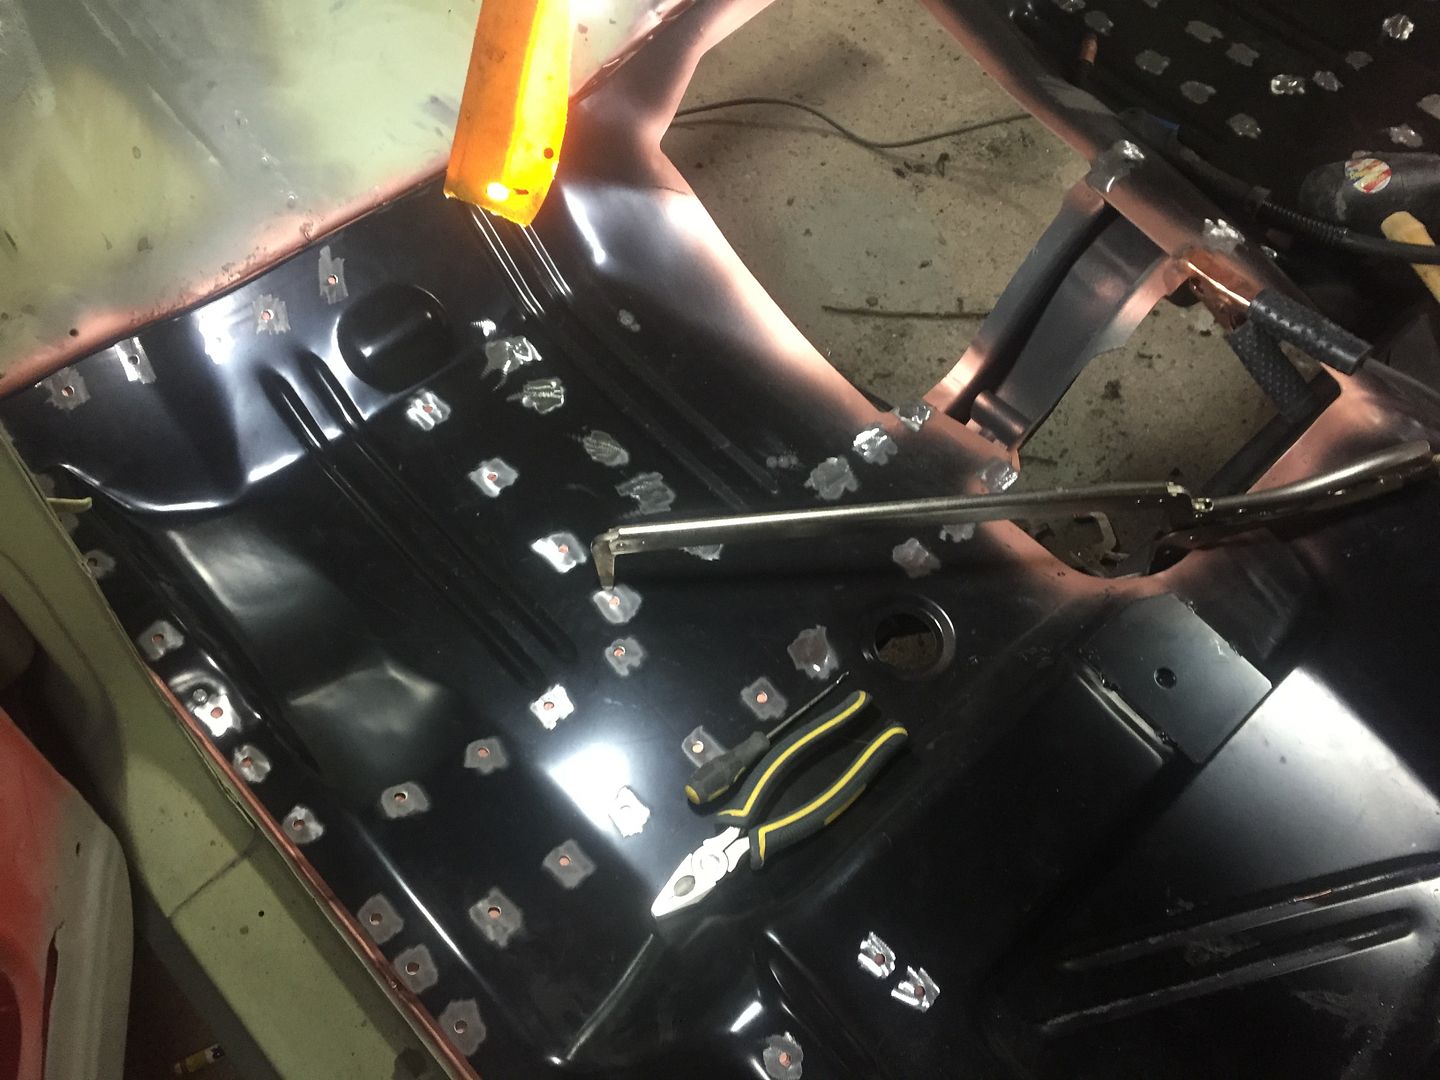
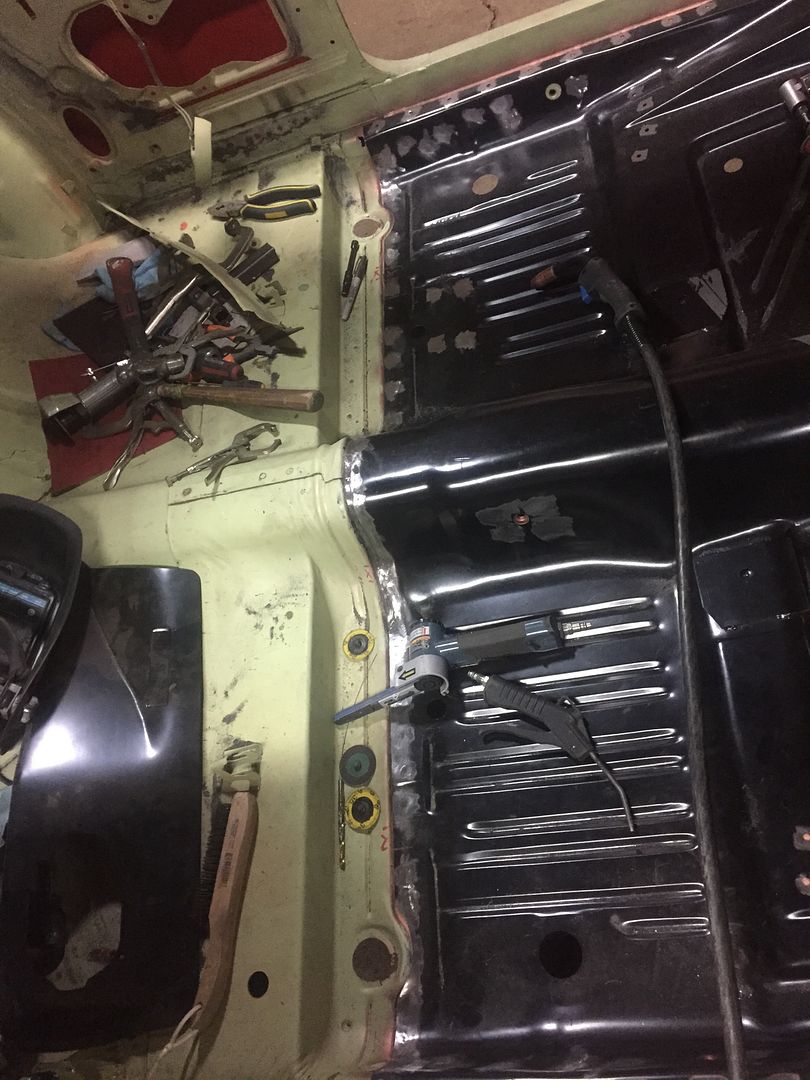
I started welding the floorpan in today and got the pan welded to the crossmember and rails. I worked from the middle out and got it fitting perfectly.. Tomorrow I'll continue on the rear part of the pan working from the middle out and then the pan to inner rocker. The firewall area will be last. Here's a few pics.. Just this area took all day because I wanted it fitting tight to the crossmember, all the other areas should go quicker. I am also on my second bottle of welding gas, so hopefully I can finish all the metal work on this tank.


x2

Awesome work!!!!

Thanks!!

Almost done.. A couple more plug welds on the drivers front pan area and then the firewall, not looking forward to that part so I'll probably save it for the weekend.


Welded solid around the driveshaft hump just like it was originally.
 
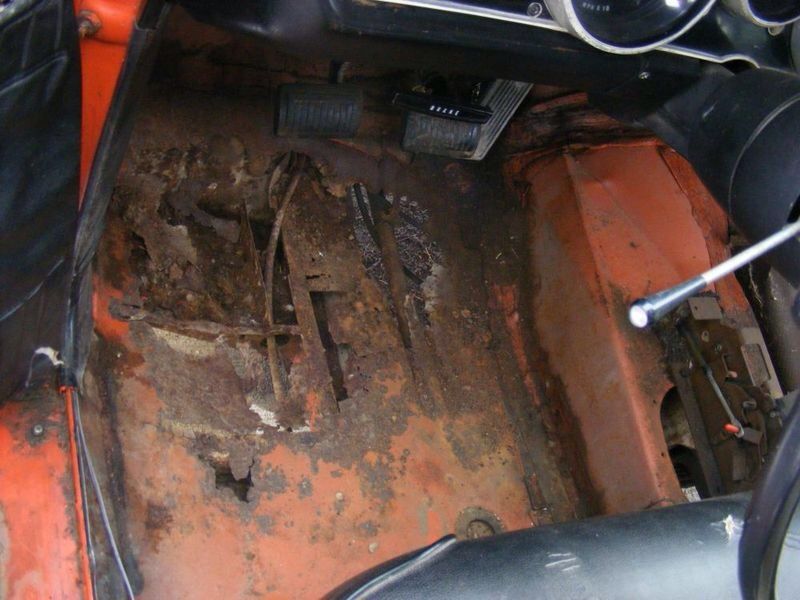
Here is the worst part of the car, I checked the frame rail and torque box on this side with a screw driver and scraped all the rust away and it's 100% solid. I was worried when I first saw te rust there but it's nothing serious. The rest of the pan is mint but it will be getting the full floor pan replacement since I don't like patching in panels.

C47DC92B-8B87-45E2-BCA6-403984549CC5-696-0000004253D6A624.jpg


Oh at one time in its life someone stuck an auto in it but I have all the four speed stuff. Once I reinforce te car and cut out all the rust ill send it off to the blaster!

Is that from a windshield leak? Or maybe the dog box on the drivers side?
 
Is that from a windshield leak? Or maybe the dog box on the drivers side?

I don't think the upper cowl area leaked on the drivers side. Same goes for the windshield. The upper cowl and windshield area are in perfect condition with no rust. The wiper pivots showed no signs of leaking either when I was disassembling the car. I think that rust was from winter.. A lot of cars rot here from getting in the car with snow covered boots and constantly having the carpet and underlay wet/damp rots the floors out in a hurry. I'm sure this car was driven in the winter at least half of its life.

The passenger side pan was rusty too, but that was a combination of the upper cowl seam sealer failing and a bad heater core.. And most likely damp carpet thru it's life from a passenger.
 
-
Back
Top