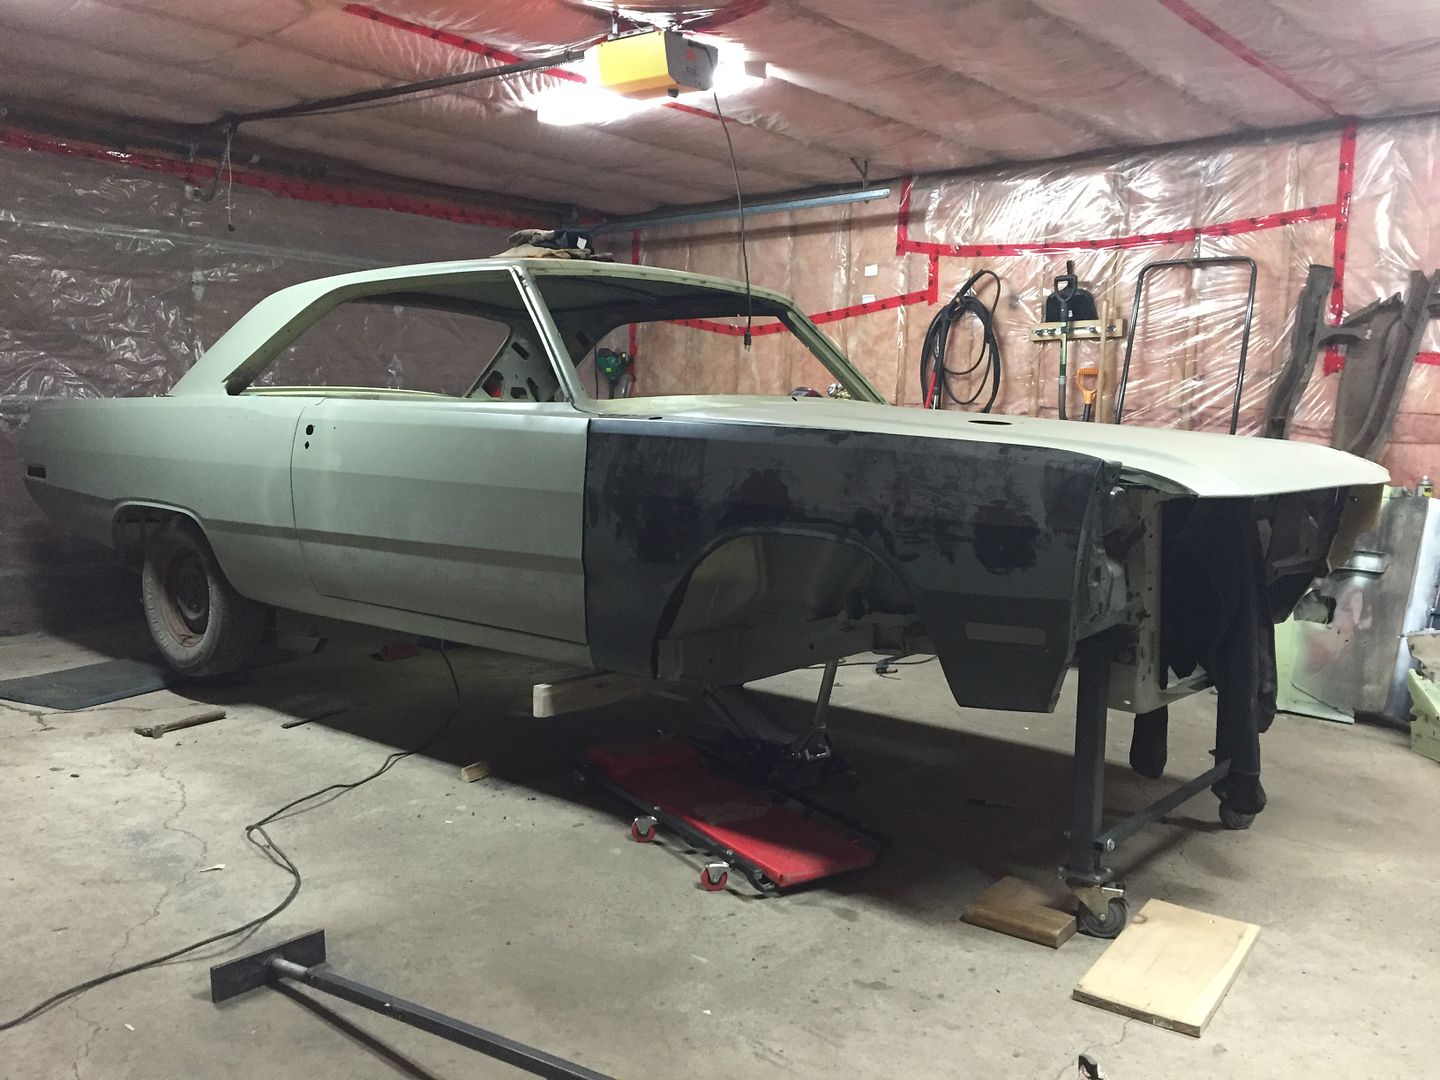
1970 Swinger 340 Hemi Orange 4 speed

-
hemiorangeswinger... I am speechless. I just watched your whole thread this morning. You have a gift. Im sure you have learned from your father and thats such a compliment to him. i have a 70' swinger 340 4-speed also (numbers matching with build sheet). it needs all you have done (maybe more). i bought it from its original owner back in 73' (I was 17 then). I sold it after I had it a few years then and bought it back about two years later. Have had it ever since. Been wondering if it was possible to save her (lots of memories)...your thread has given me hope (not that i have anywhere near your skills). One question...when you discovered the front frame rail rust, what not replace the frame rails separately (AMD makes them) instead of replacing the entire front clip. I ask this because my dart has rust on both front and rear frame rails as well as the torsion support (my dart also need front inner fenders). Would you advise me to do the same and try to find a complete front clip?
Im from just south of Pittsburgh Pa. Thanks again for taking the time to make this thread.
Your dad must be proud. God Bless!

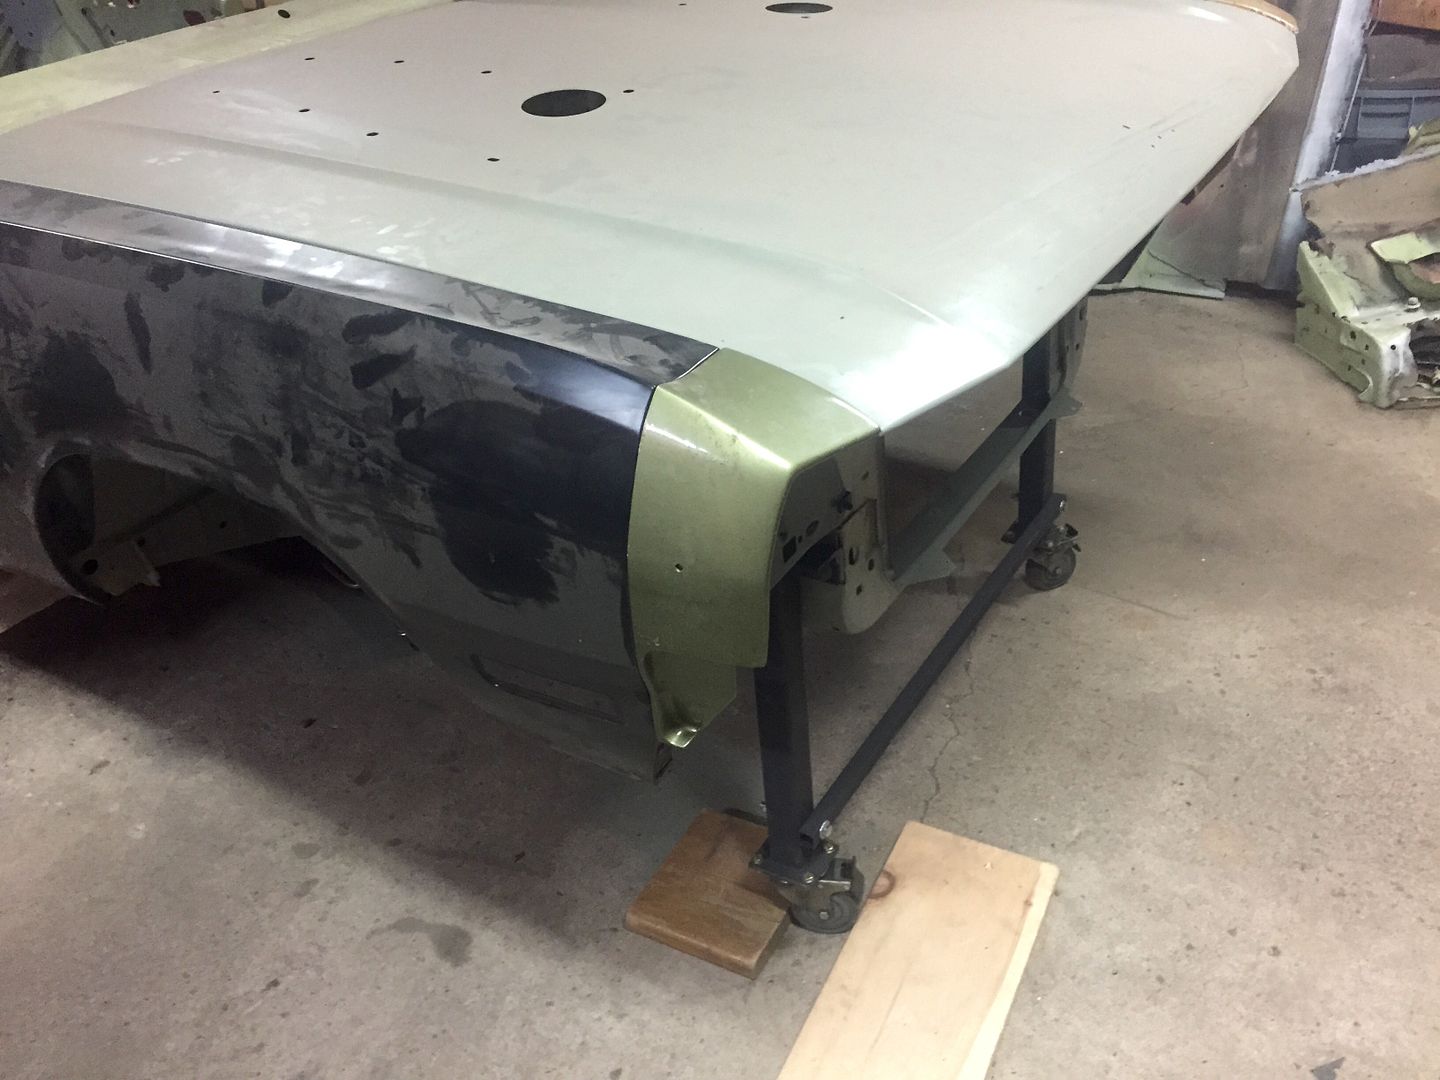
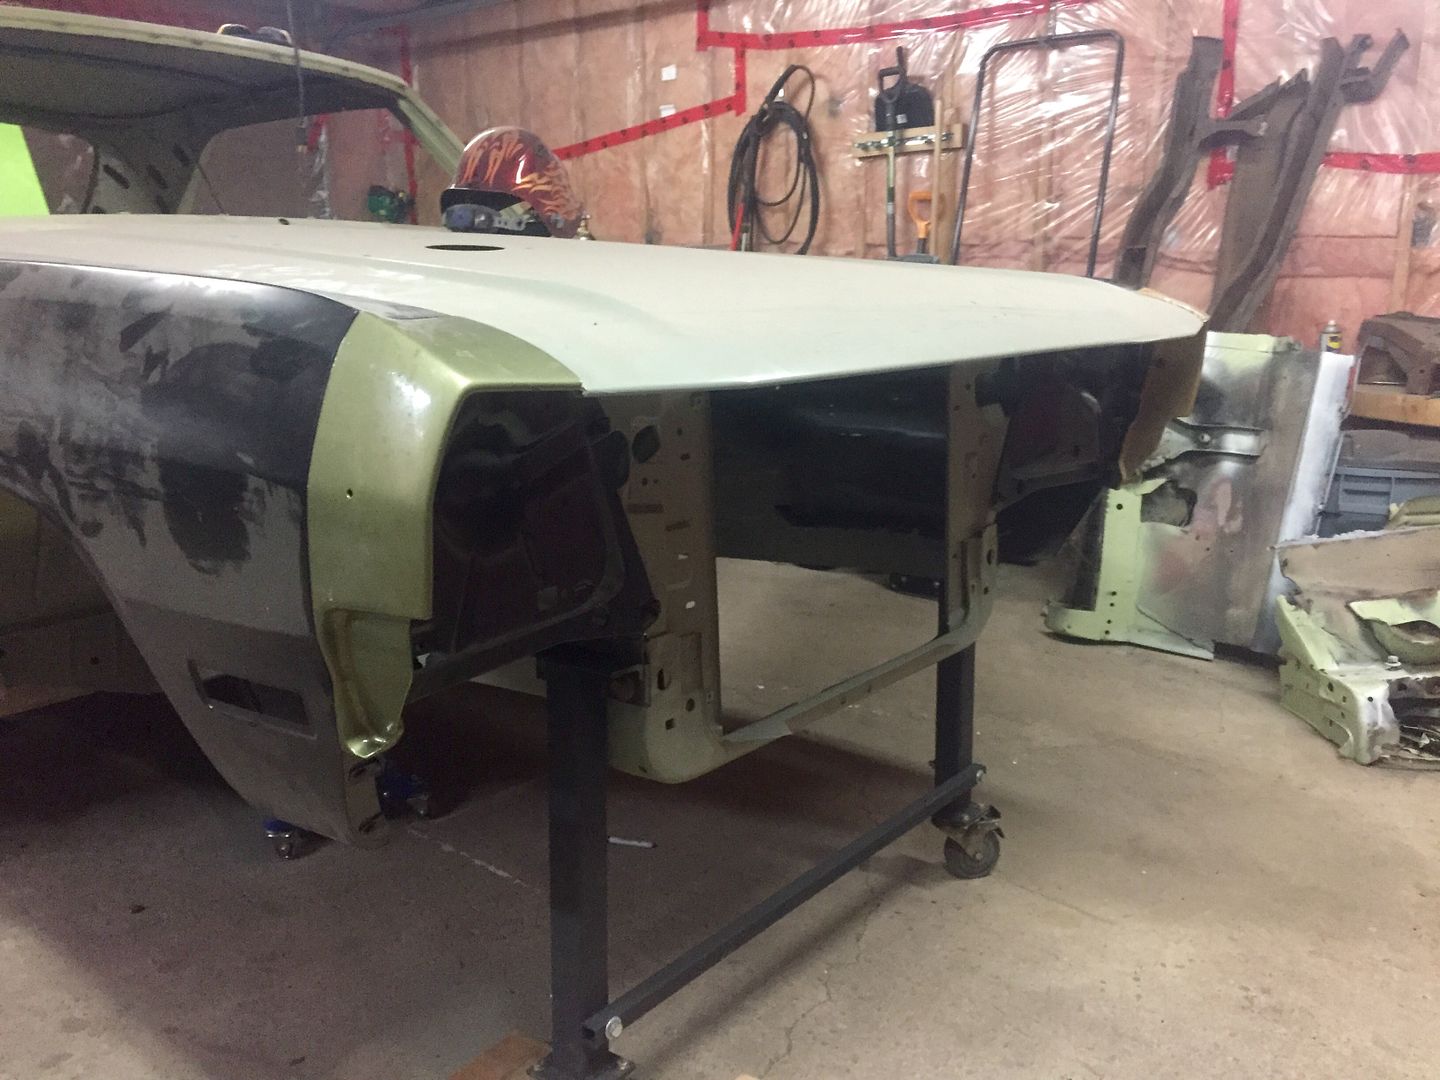
Thanks for the kind words! I am glad this thread has inspired and motivated you to fix your Dart. I do have my dad to thank for teaching me how to do bodywork, he's one of the best. I don't believe AMD makes front frame rails, they do however make rear frame rails and the torsion bar crossmember. IMO it's a whole lot easier to clip the car.. Especially if your inner fenders, frame rails and crossmember are rotten. There is a lot less room for error if you clip it all at once like I did.

You've had your Dart for a while, it's definitly worth saving! Do you have any pics?

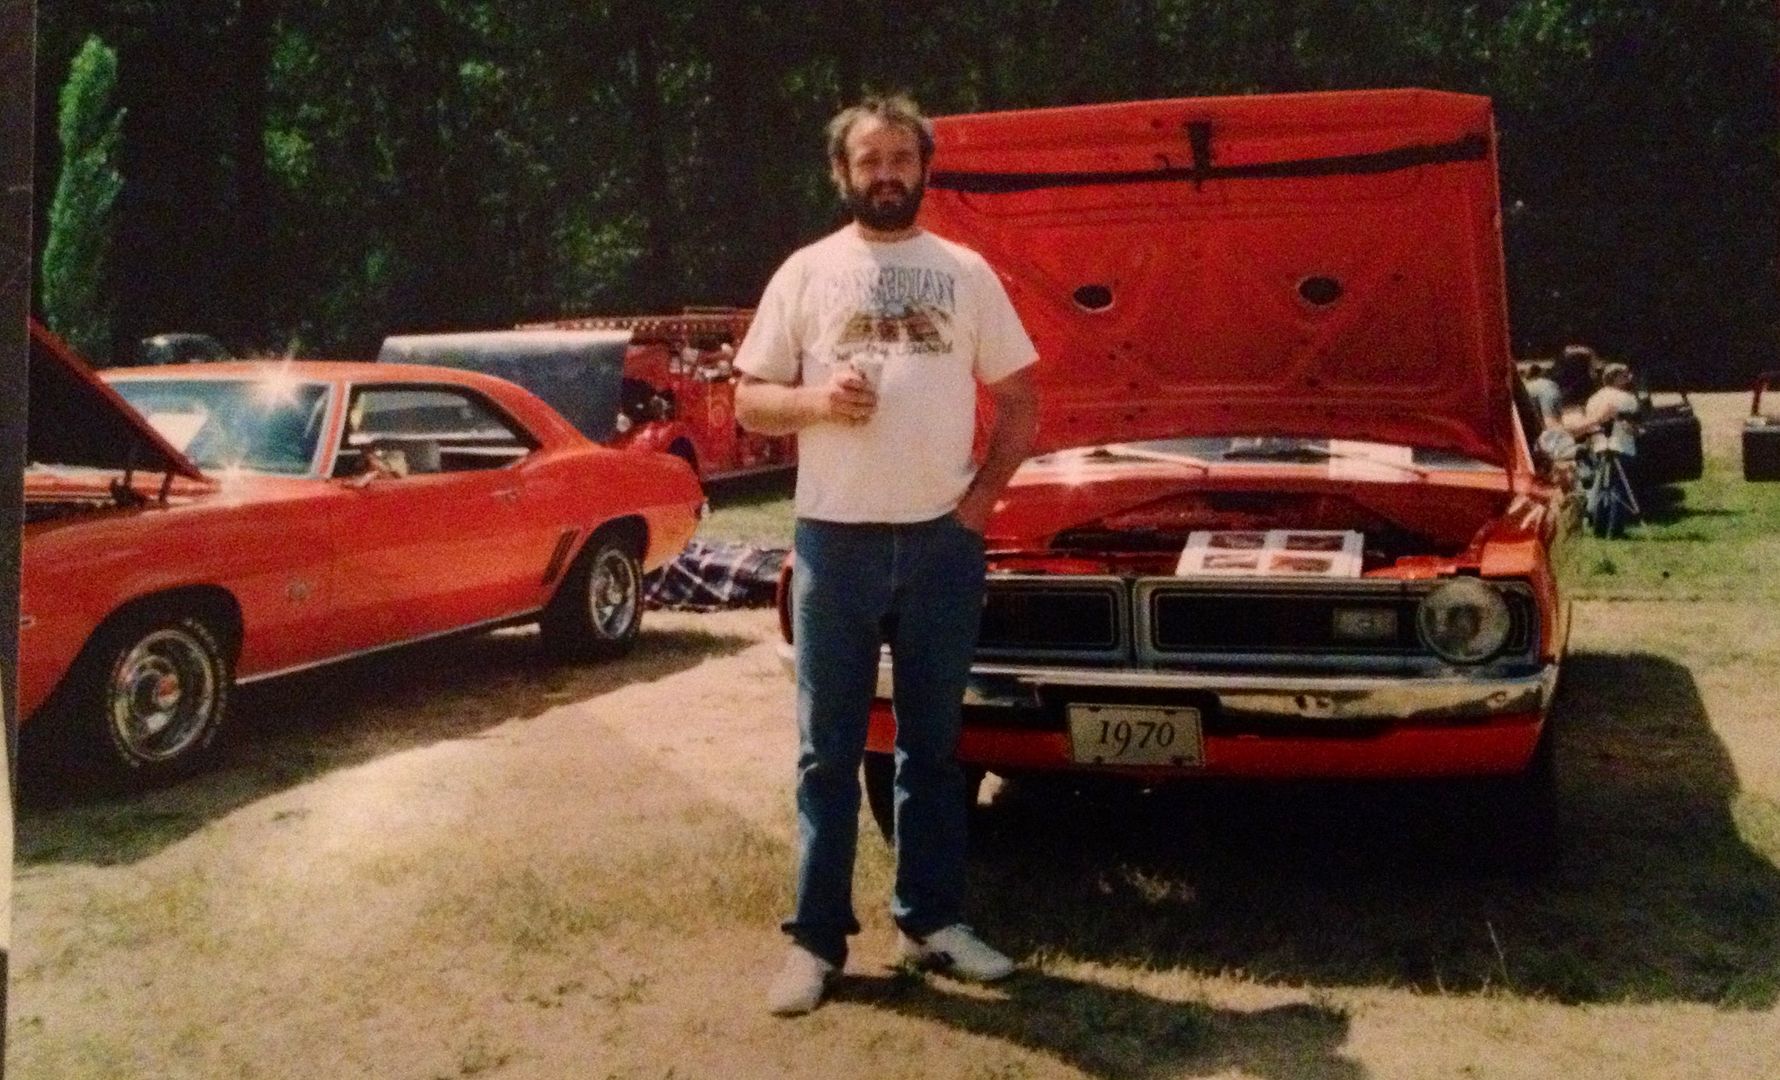
Here's My Dad with his old Dart Swinger 340 (early 90's)


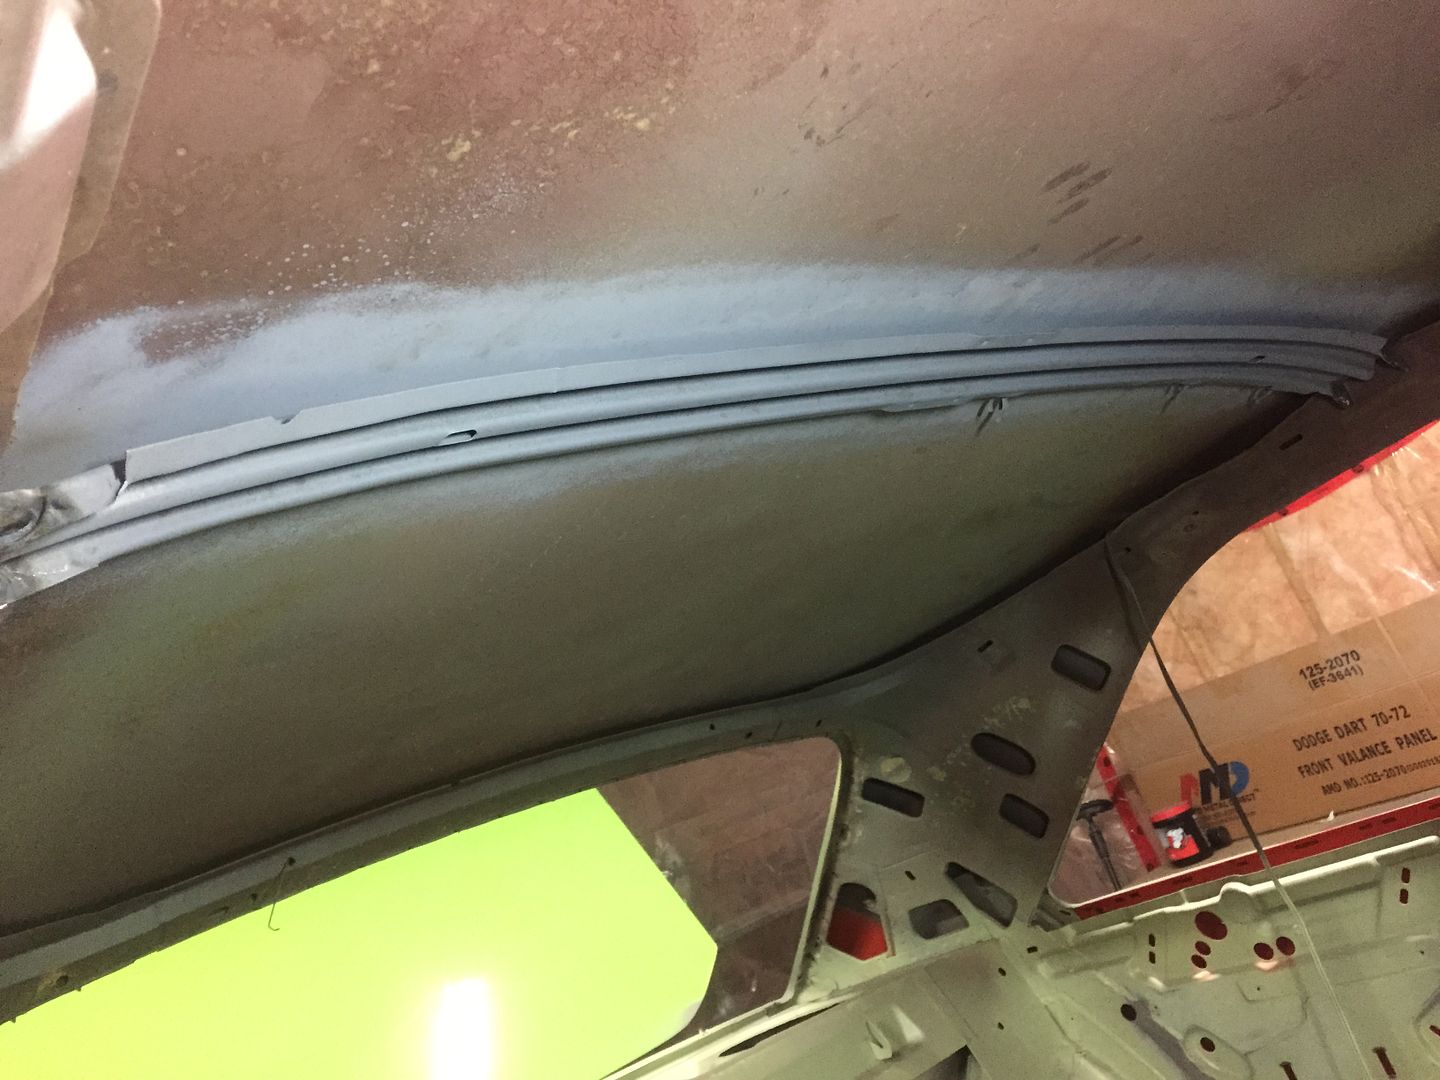
I got the new roof support welded in.


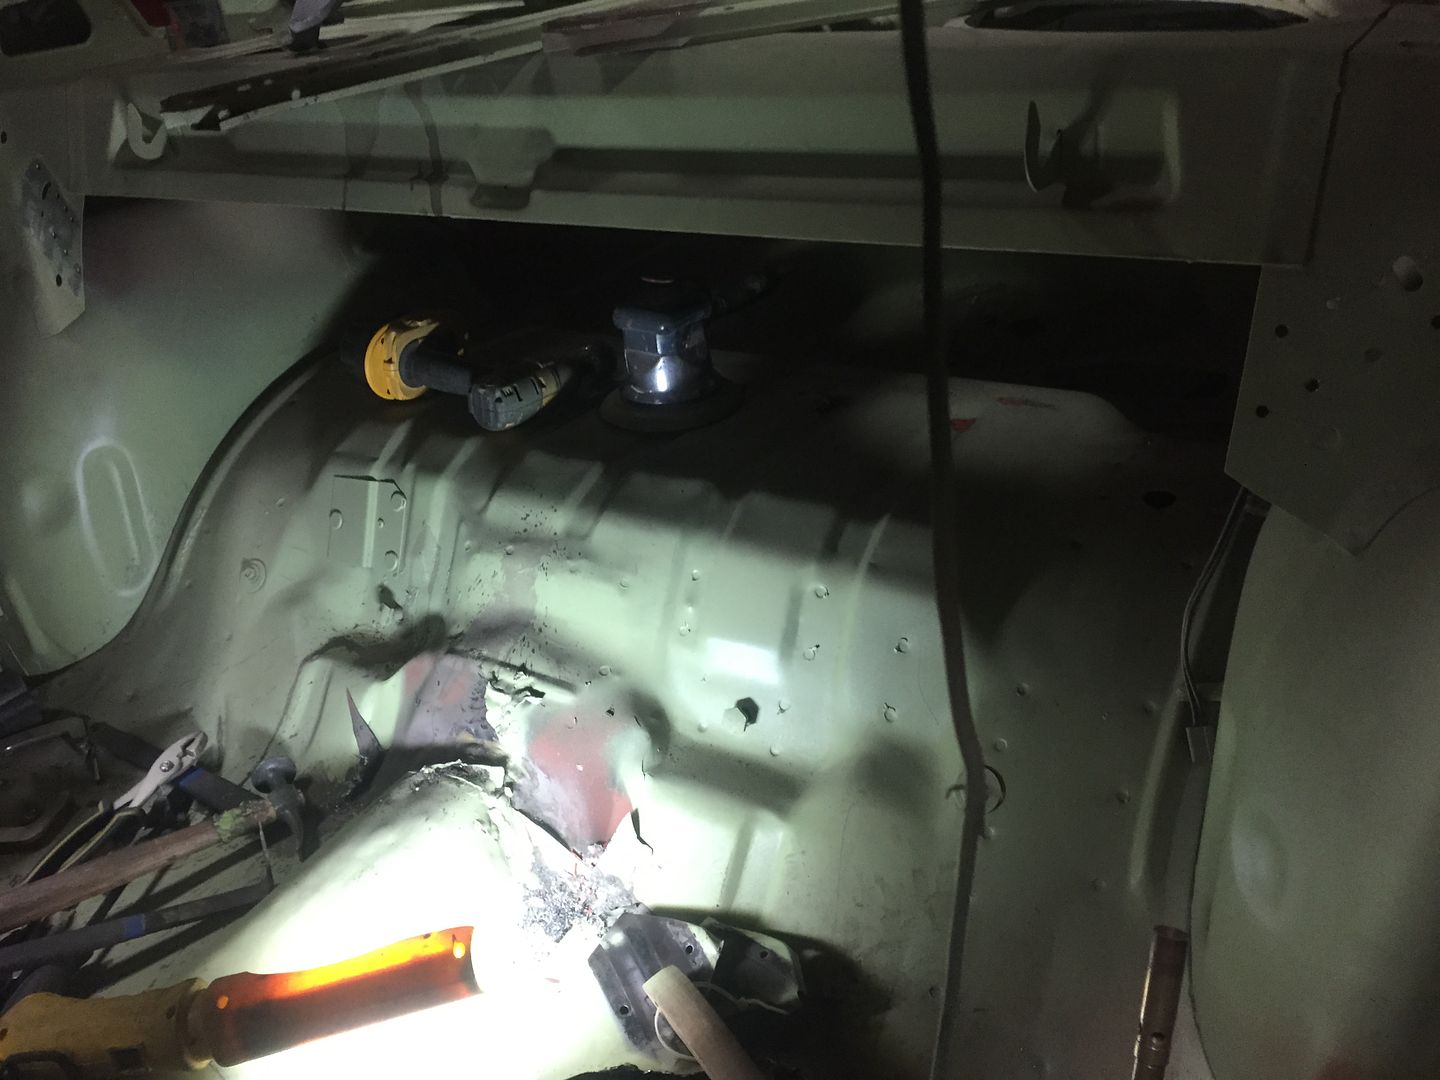
Also got the rear cross braces cut out and part of the floor support removed.. This area is a little worse than I thought.. I have my Dad coming over this weekend to help me straighten the floor area out since it's beyond my abilities.


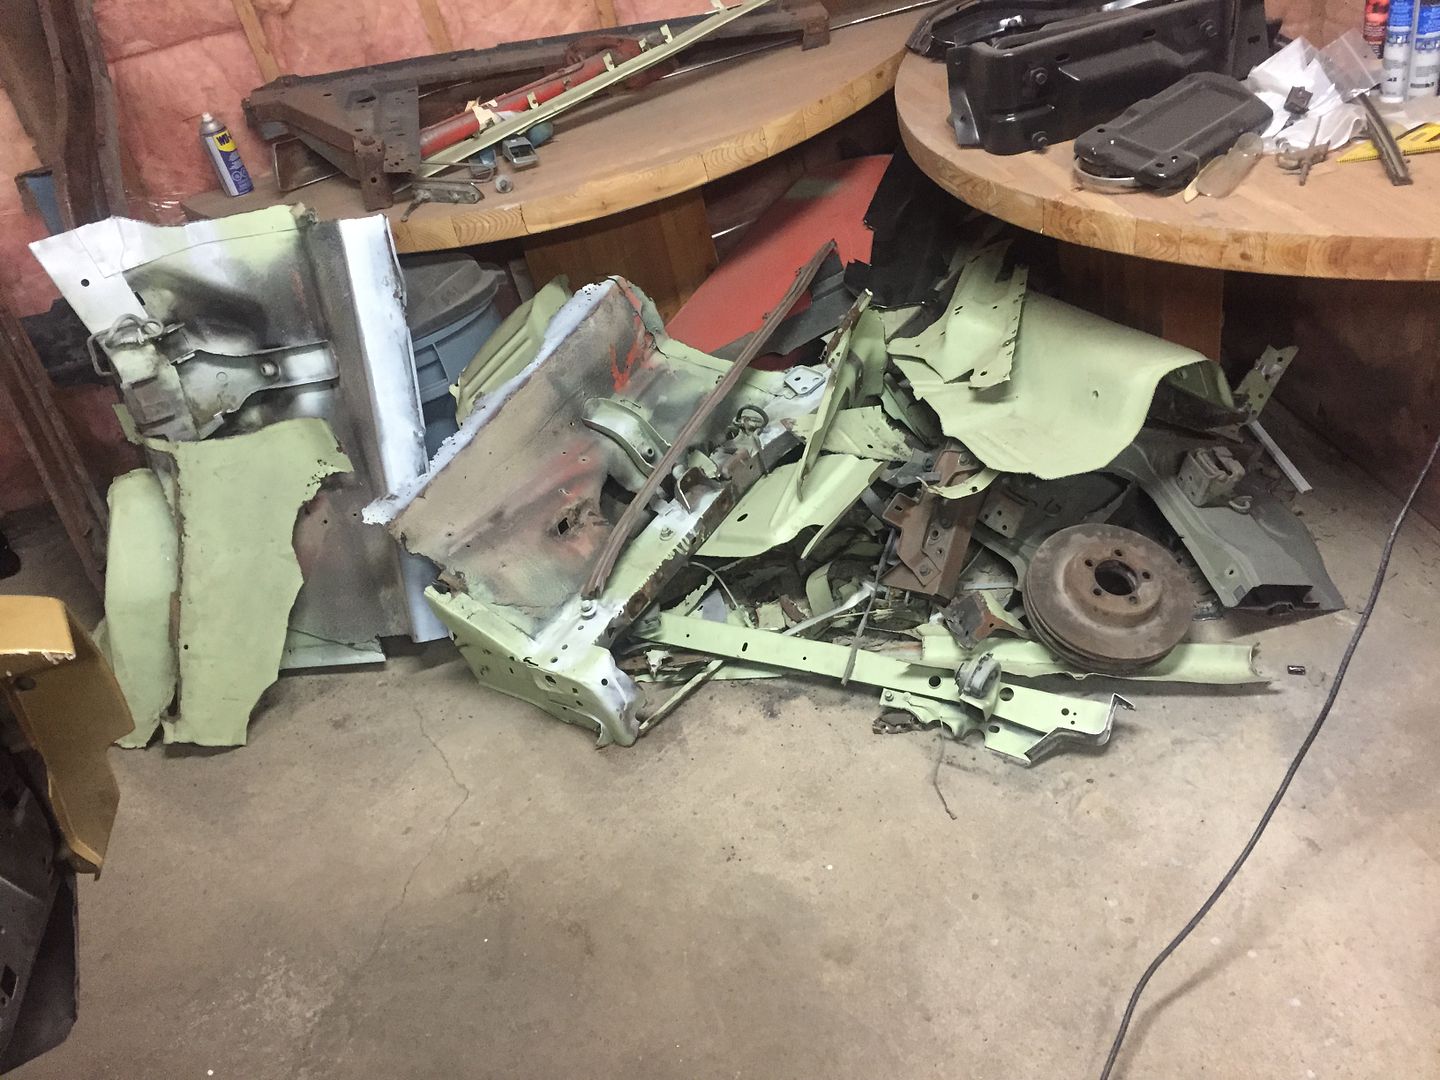
The pile is getting pretty big!
 
not really any other than the ones ive posted here before. These still have the radial tires. looks much better now with the bias plies

That's such a nice Dart!


That looks like a nice piece! Nice to see all these parts getting reproduced, it'll definitly save a lot of cars. It Even has the pinion snubber mount on it..
 
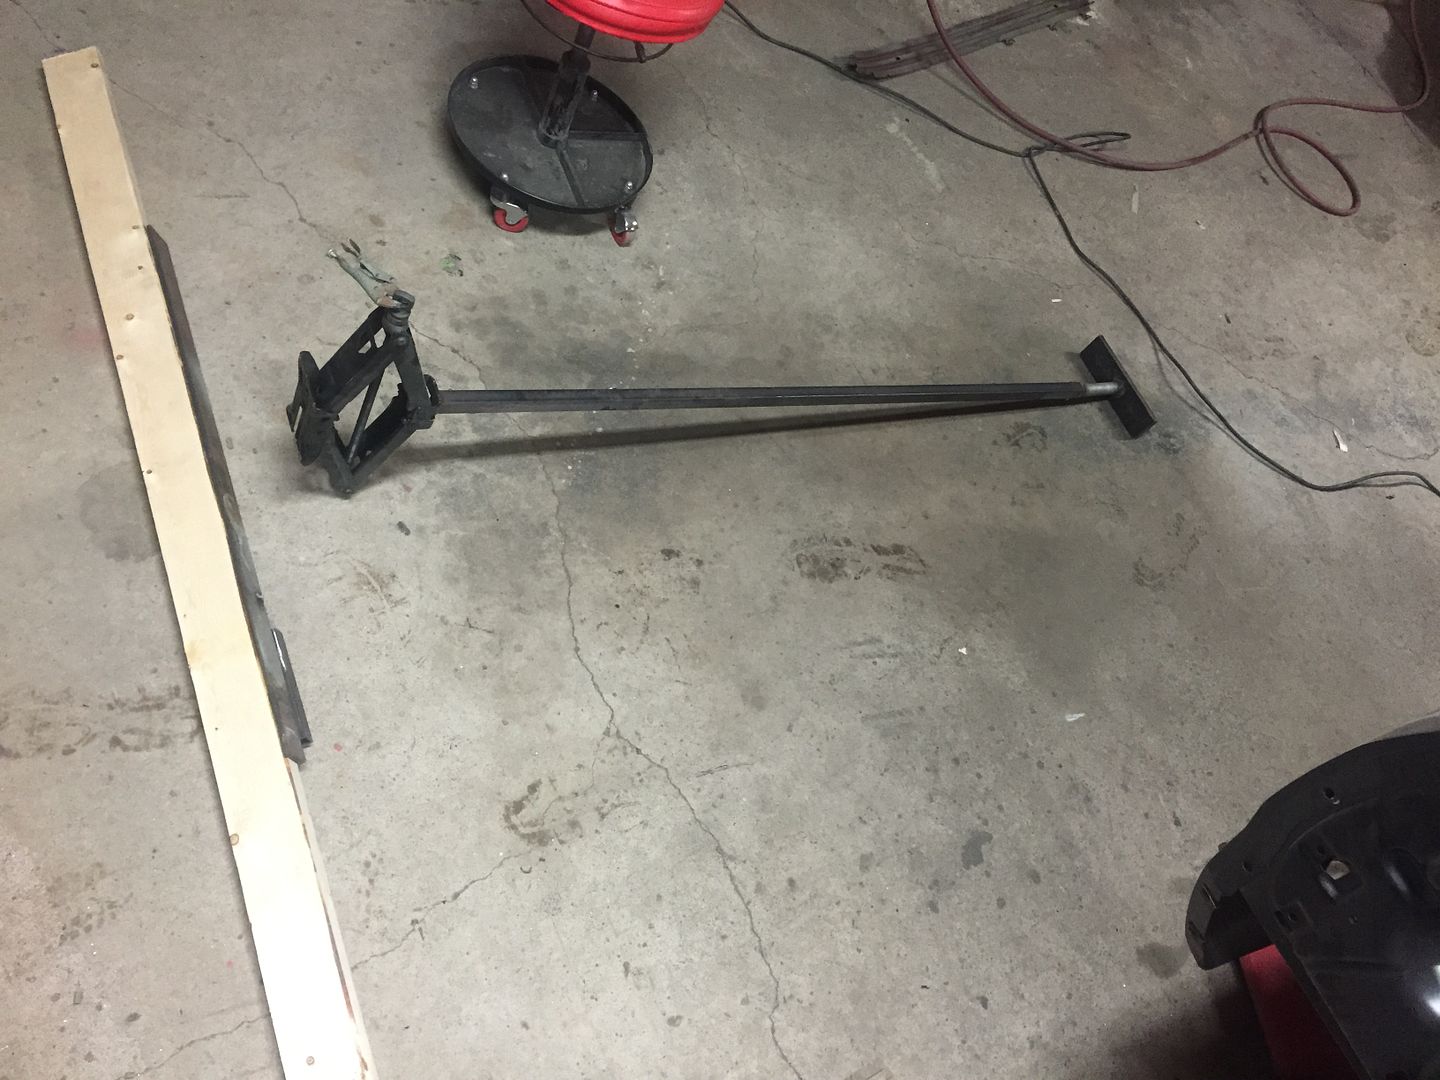
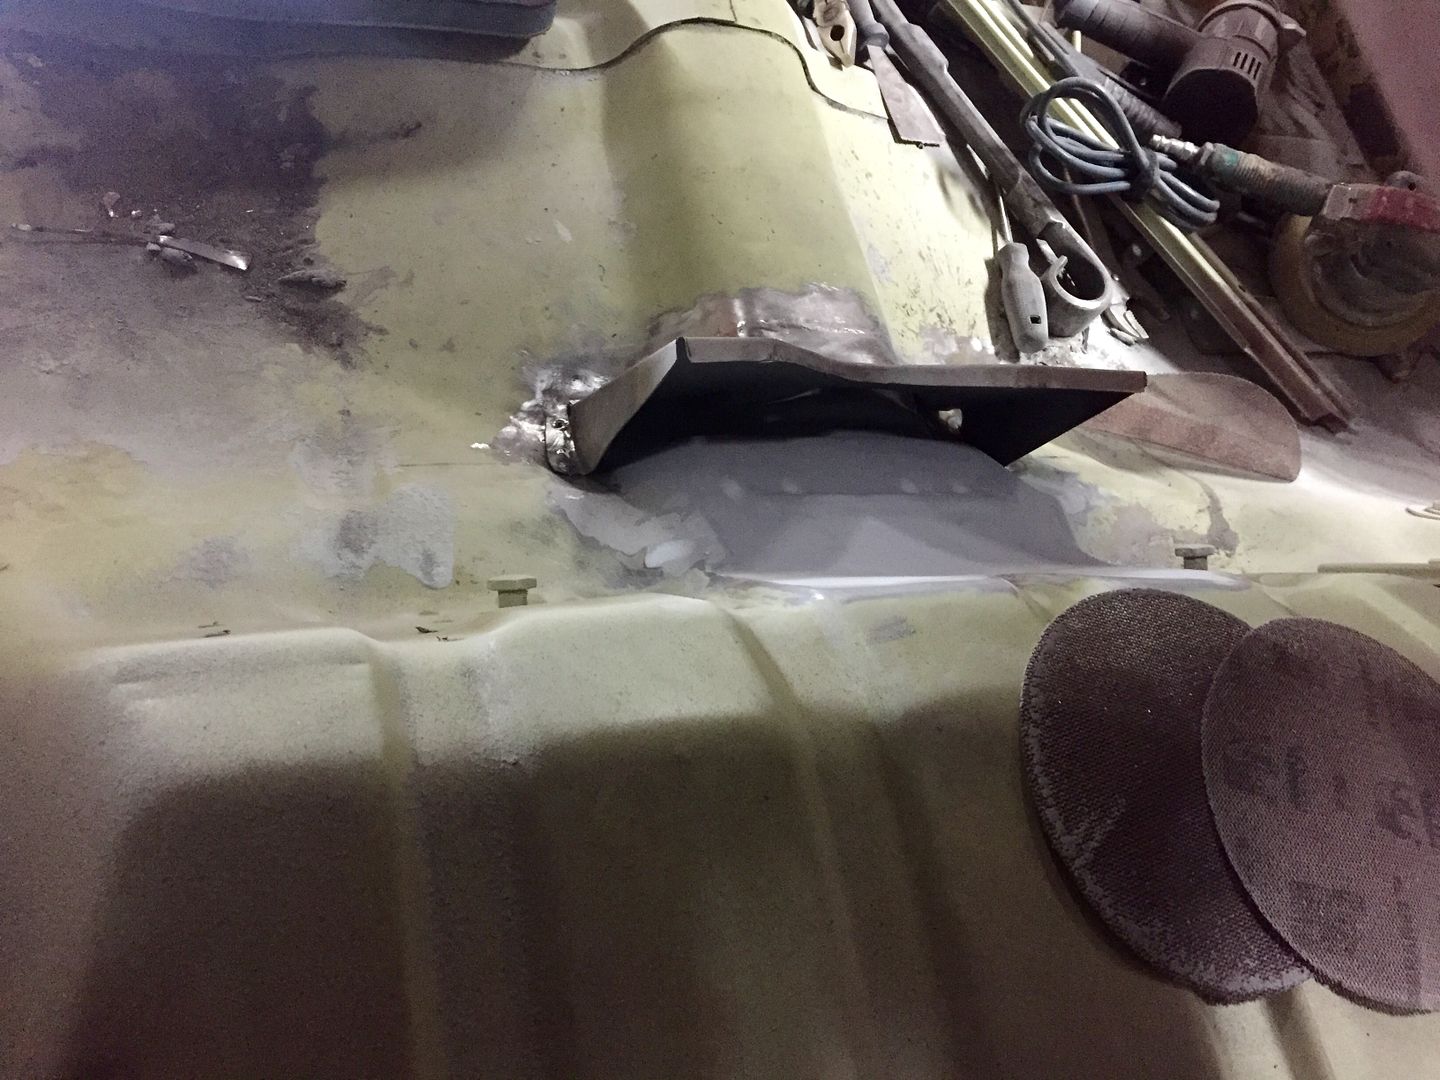
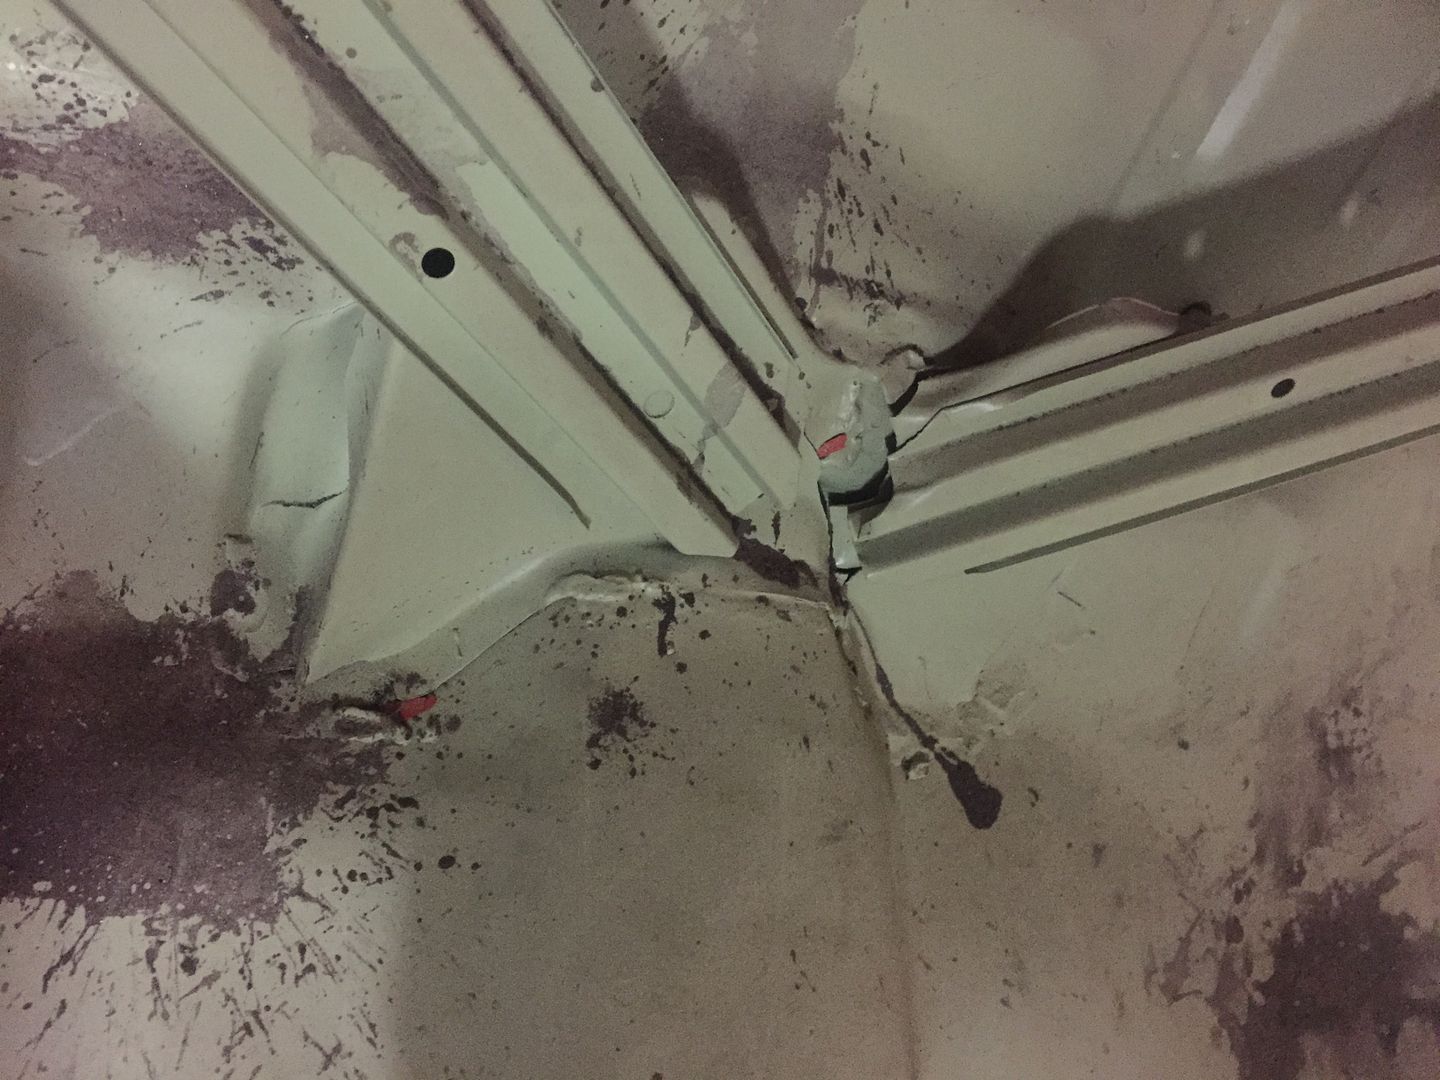
My Dad came by today and helped me get the rear seat pan area into shape and I'm amazed he got it! It was shoved up about 3" we made a custom tool to keep pressure on the area while he hammered it into shape. The rear pinion snubber mount fits perfectly now. There is still some hammer and dolly work to do and a lot of cleaning up (I hate getting rid of brazing) to do from previous shotty repairs. I also have to weld some stress cracks up and then it's ready for the new pinion snubber mount and floor brace to be welded in.

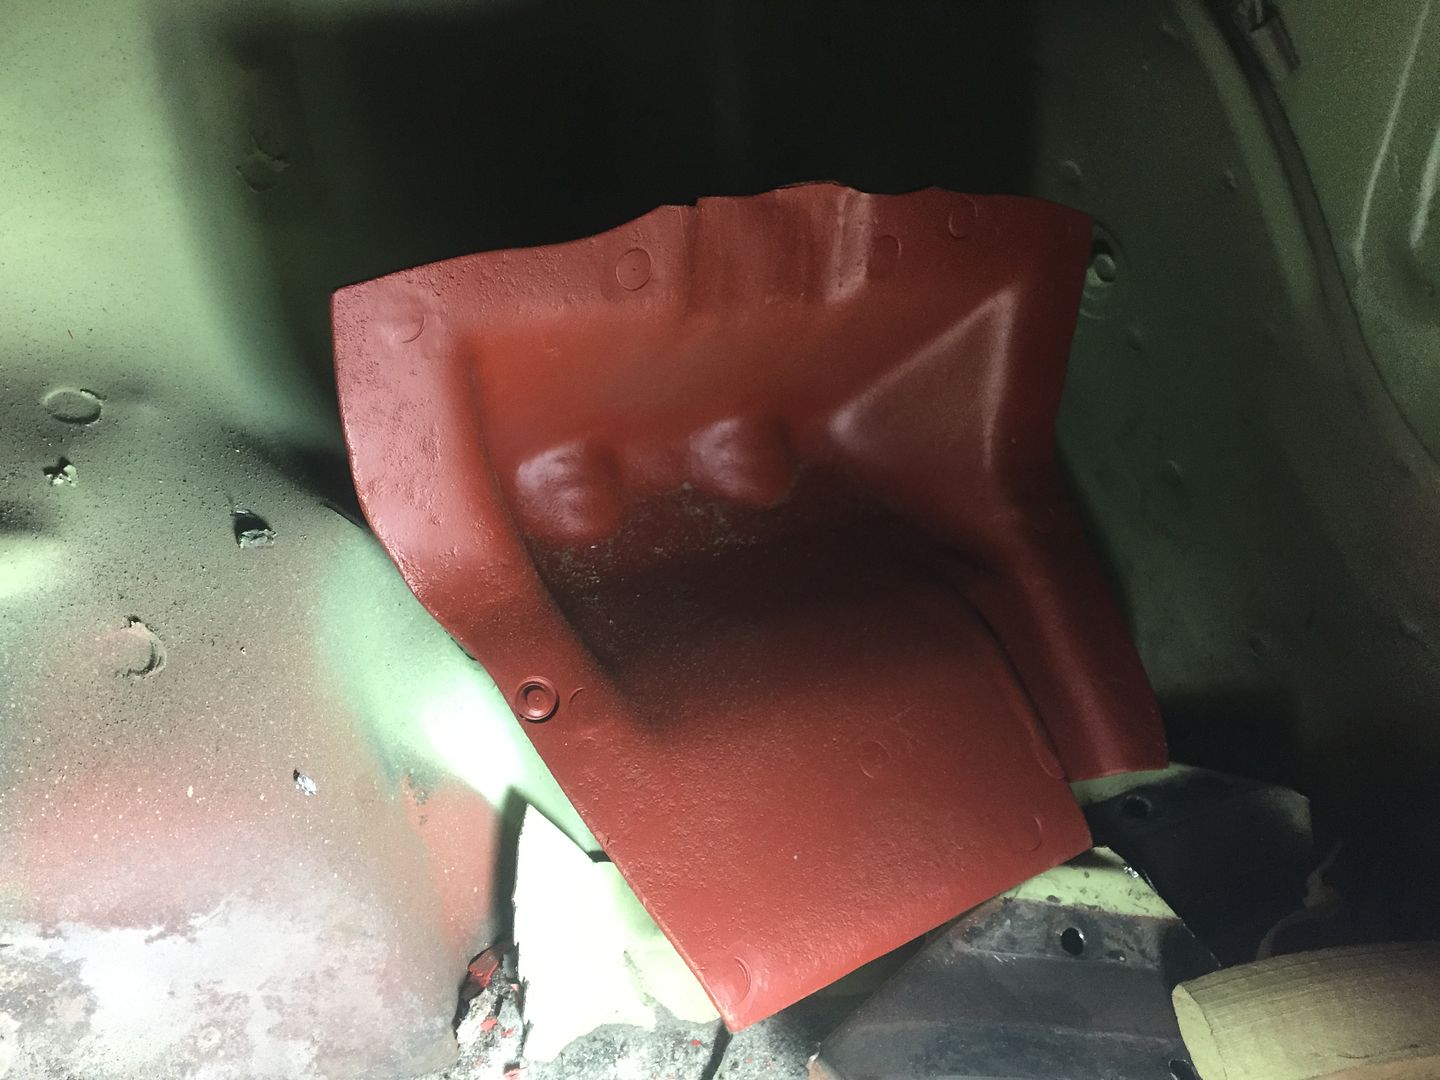
Tomorrow I will continue on this area and get it done so I can then weld the new floor wiring covers in and re epoxy the whole floor pan area and move on to the cowl.

My truck jack saves the day again!


Again AWESOME!!! You are what this hobby is about! Keep up the great work!!
 
always great job and meticulous! just looking at your scrap pile, the 4 speed bracket is on the old frame rail - not sure if your front clip had one as not shown in photos. also check brake T prop valve if still on rail as needed for disk brake cars.

I pay for my bodywork but here is my 72 Canadian Special last month. fender, doors and deck lid are on but have not seen as of yet!
 

Attachments

  • side with paint.jpg
    30.2 KB · Views: 781
Hey...got my car in garage and on the lift. I'll get some more pics as I pull engine and tranny. Thanks again for the thread (and motivation to try).
 

Attachments

  • image.jpg
    57.6 KB · Views: 736
Can you tell me where you got your front clip please...it looked like it was in good condition. Thanks!
 
As always, very nice work !!! =D>=D> Hey you could probably build a new Honda or two with all that scrap metal.
 

Attachments

  • CB09B538-1C86-497B-AEA2-AA02D584ED09_zps2vckexjd.jpg
    47 KB · Views: 726
always great job and meticulous! just looking at your scrap pile, the 4 speed bracket is on the old frame rail - not sure if your front clip had one as not shown in photos. also check brake T prop valve if still on rail as needed for disk brake cars.

I pay for my bodywork but here is my 72 Canadian Special last month. fender, doors and deck lid are on but have not seen as of yet!

Thanks Joel! Good eye, I still have to remove that bracket and weld it to my car (I am keeping all my old metal) I do have the t bracket as well. Wow! That car is looking great! Where did you get that car from? I bet it had a hard life like mine if it's from Canada. The work looks top notch!

Hey...got my car in garage and on the lift. I'll get some more pics as I pull engine and tranny. Thanks again for the thread (and motivation to try).

It's looking good! You've got your work cutout for you, but if you do it one piece at a time it'll come together... It's only metal. I have not received any pics from my email yet? You should start up a resto thread on here once you get started, I'd like to see your progress.

Can you tell me where you got your front clip please...it looked like it was in good condition. Thanks!

I got my sheet metal from Lee Robinson (that's his username on here as well) from California. He parts a lot of cars and is a great guy to deal with, he went above and beyond helping me get the clip up here. I'm sure if you PM him on here he'll have a lot of the metal you're looking for, and if not I'm sure he'll get another car to part out.

As always, very nice work !!! =D>=D> Hey you could probably build a new Honda or two with all that scrap metal.

Thanks! Haha I'm sure it could.. That pile is starting to consume a good part of my garage. I see your car is coming along great!!

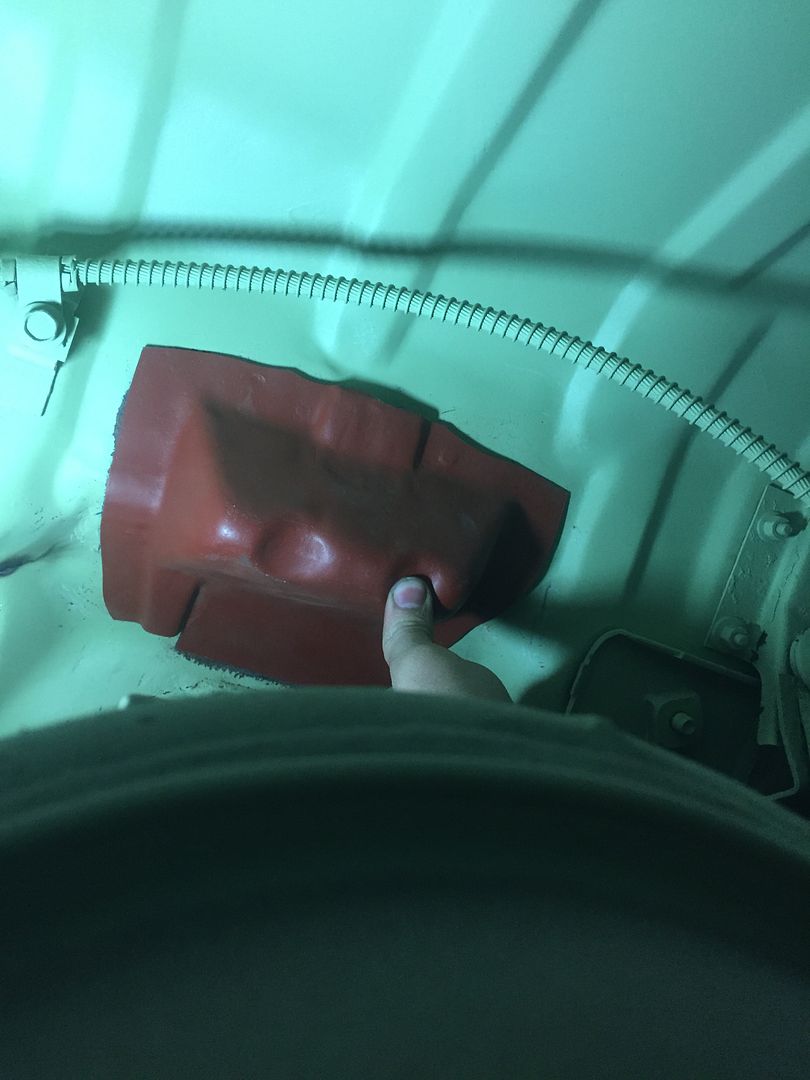
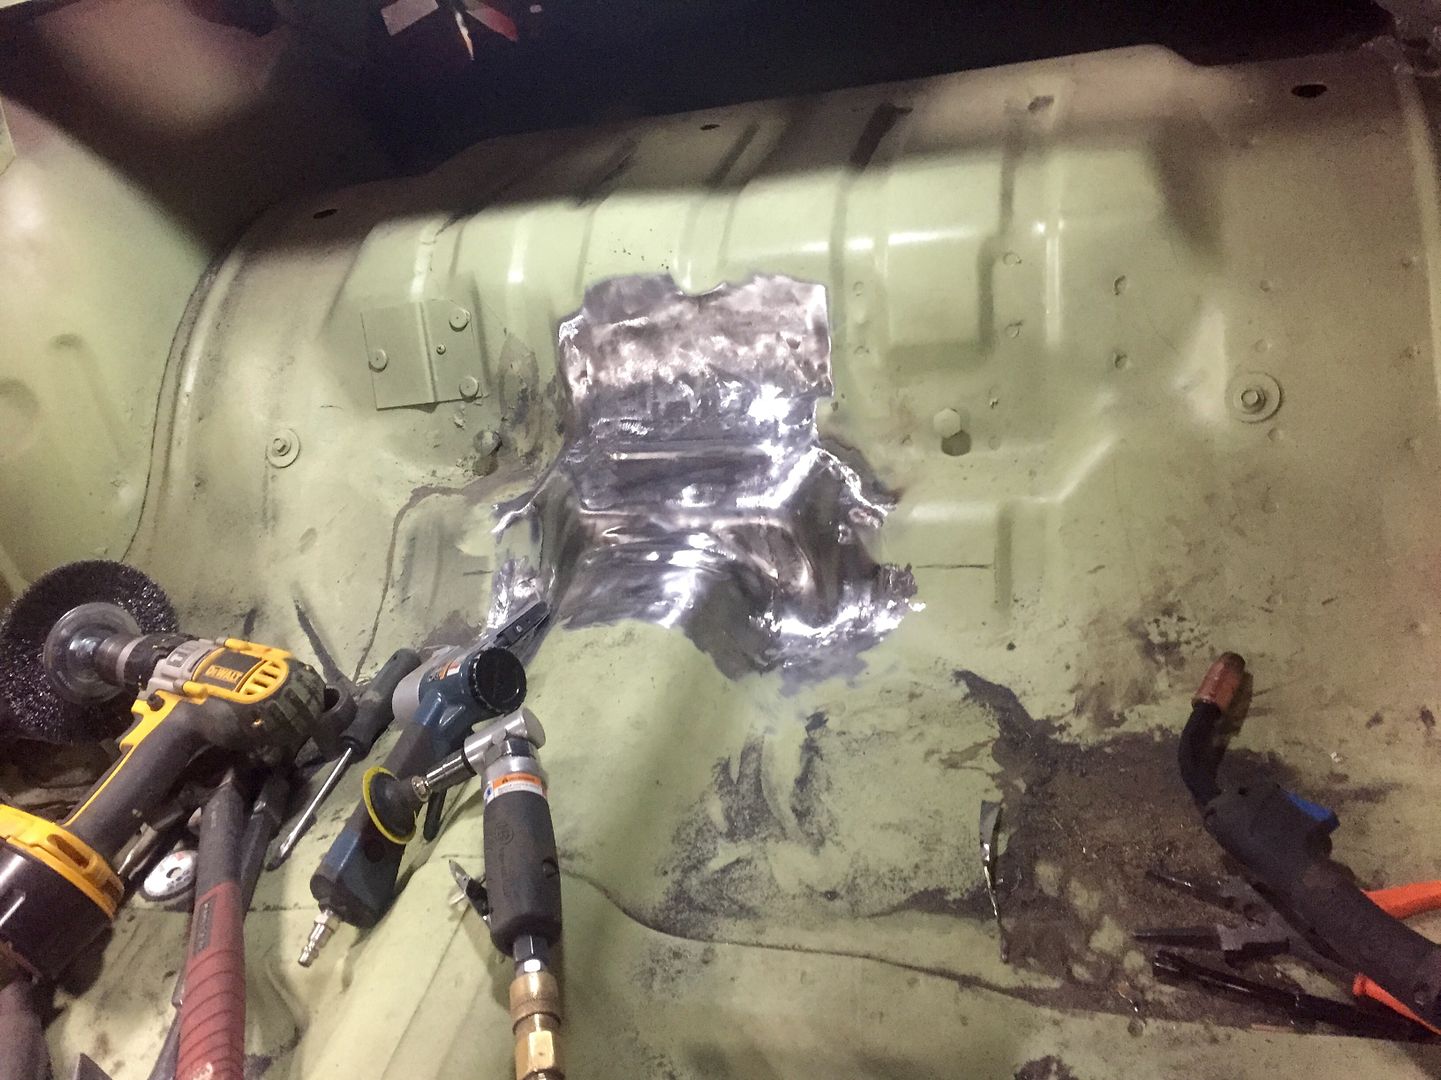
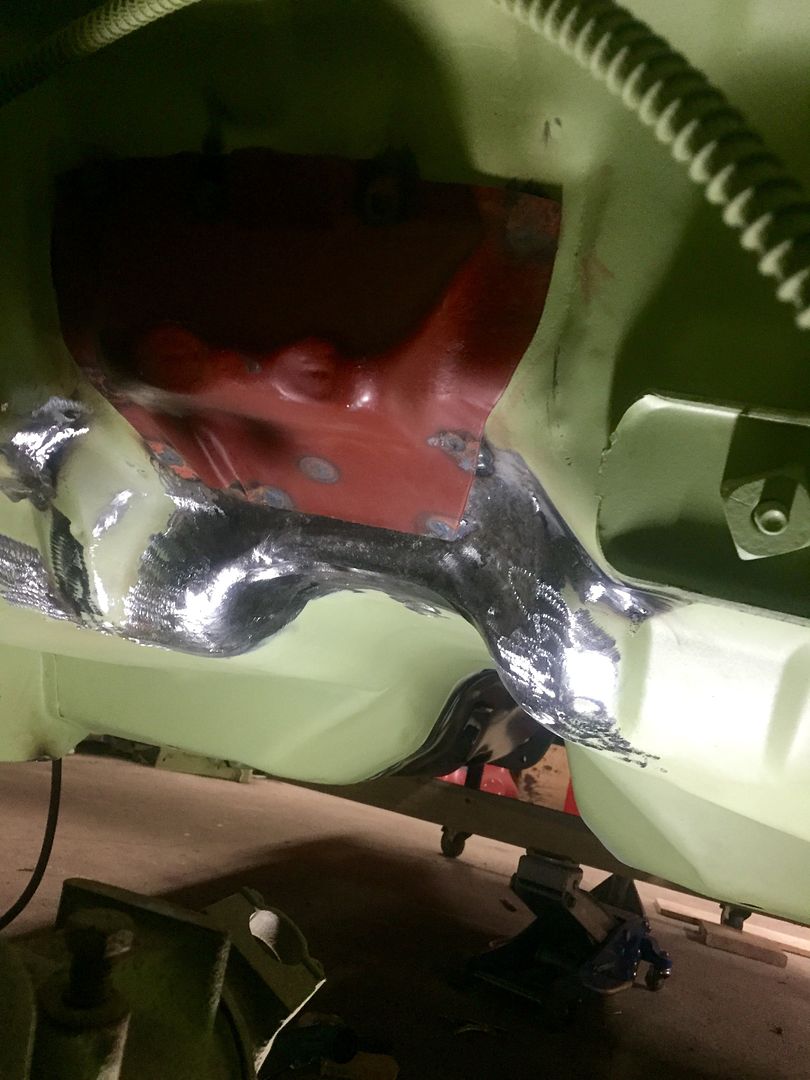
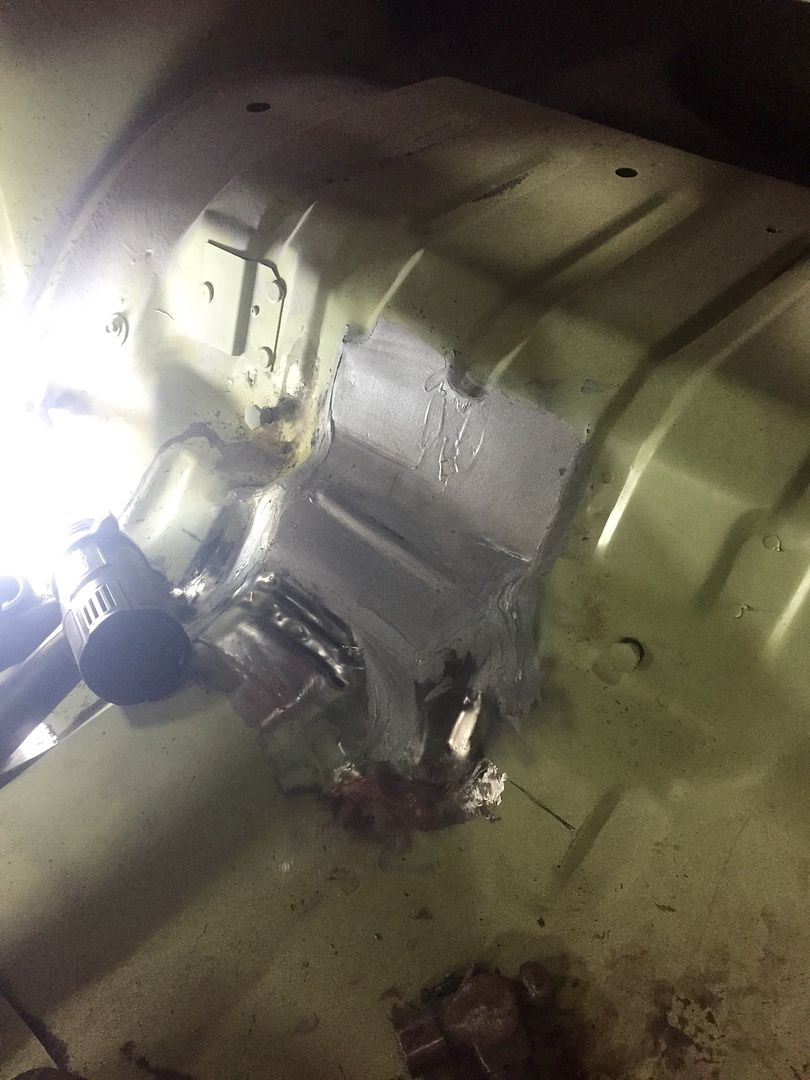
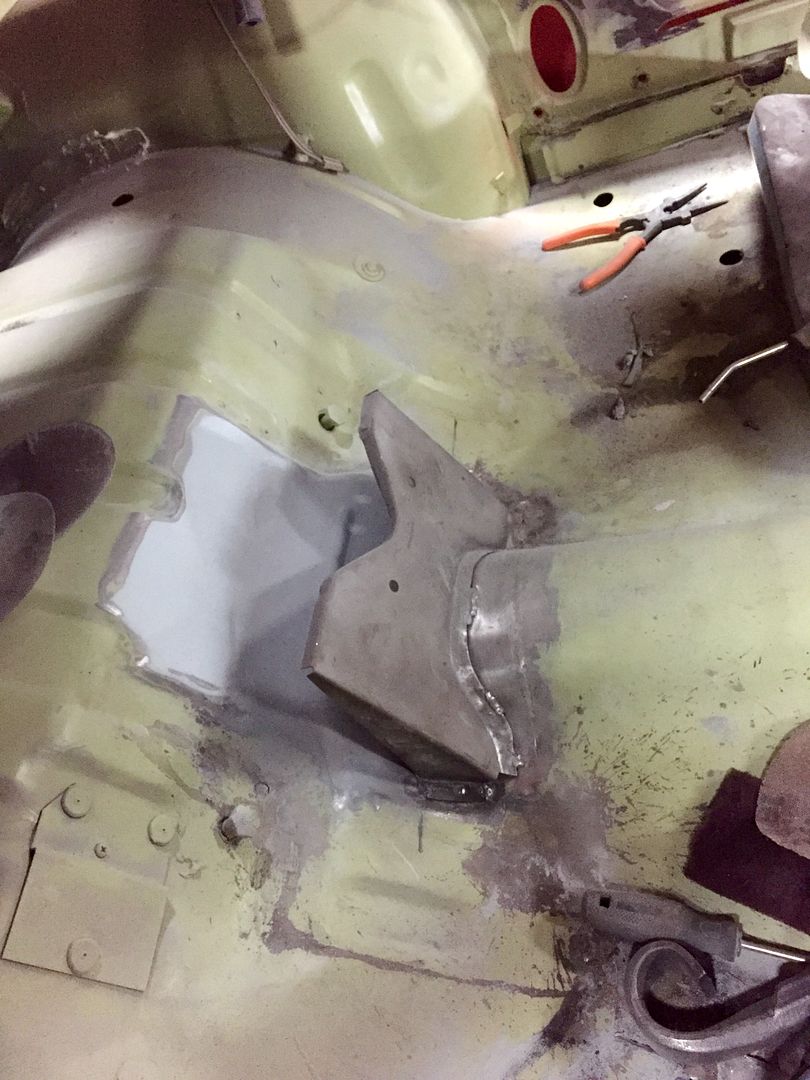
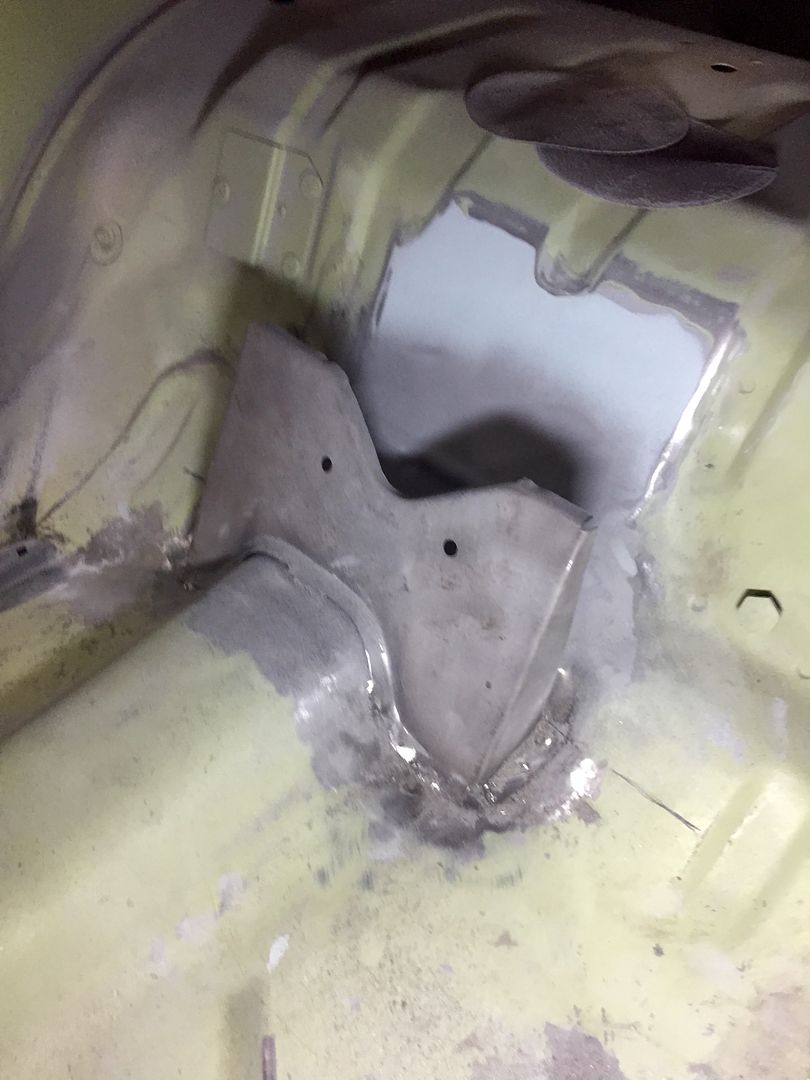
The pinion snubber area has been quite a battle but it's almost completed. I couldn't get all the brass out since I don't have an oxyacetylene torch so I butt welded in a piece that I removed from my parts car. It is now nice and solid, so tomorrow I'll weld in the floor support, cross braces and all metal my butt weld seams and it'll be ready for epoxy.

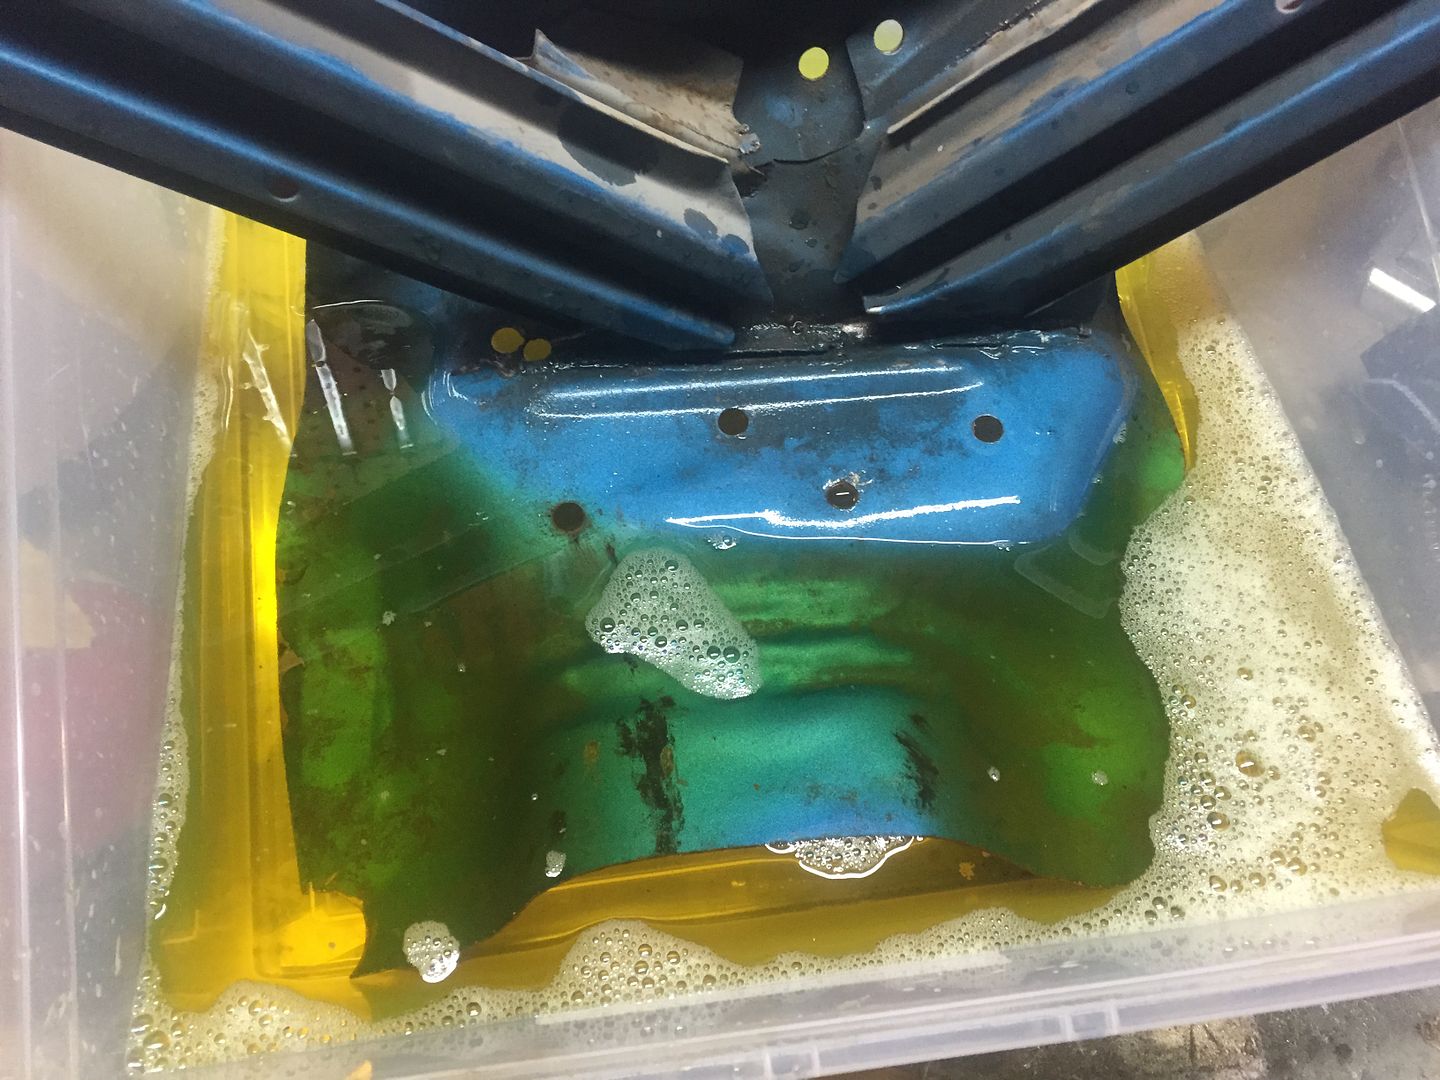
Soaked in evaporust since the bottom was rusty.


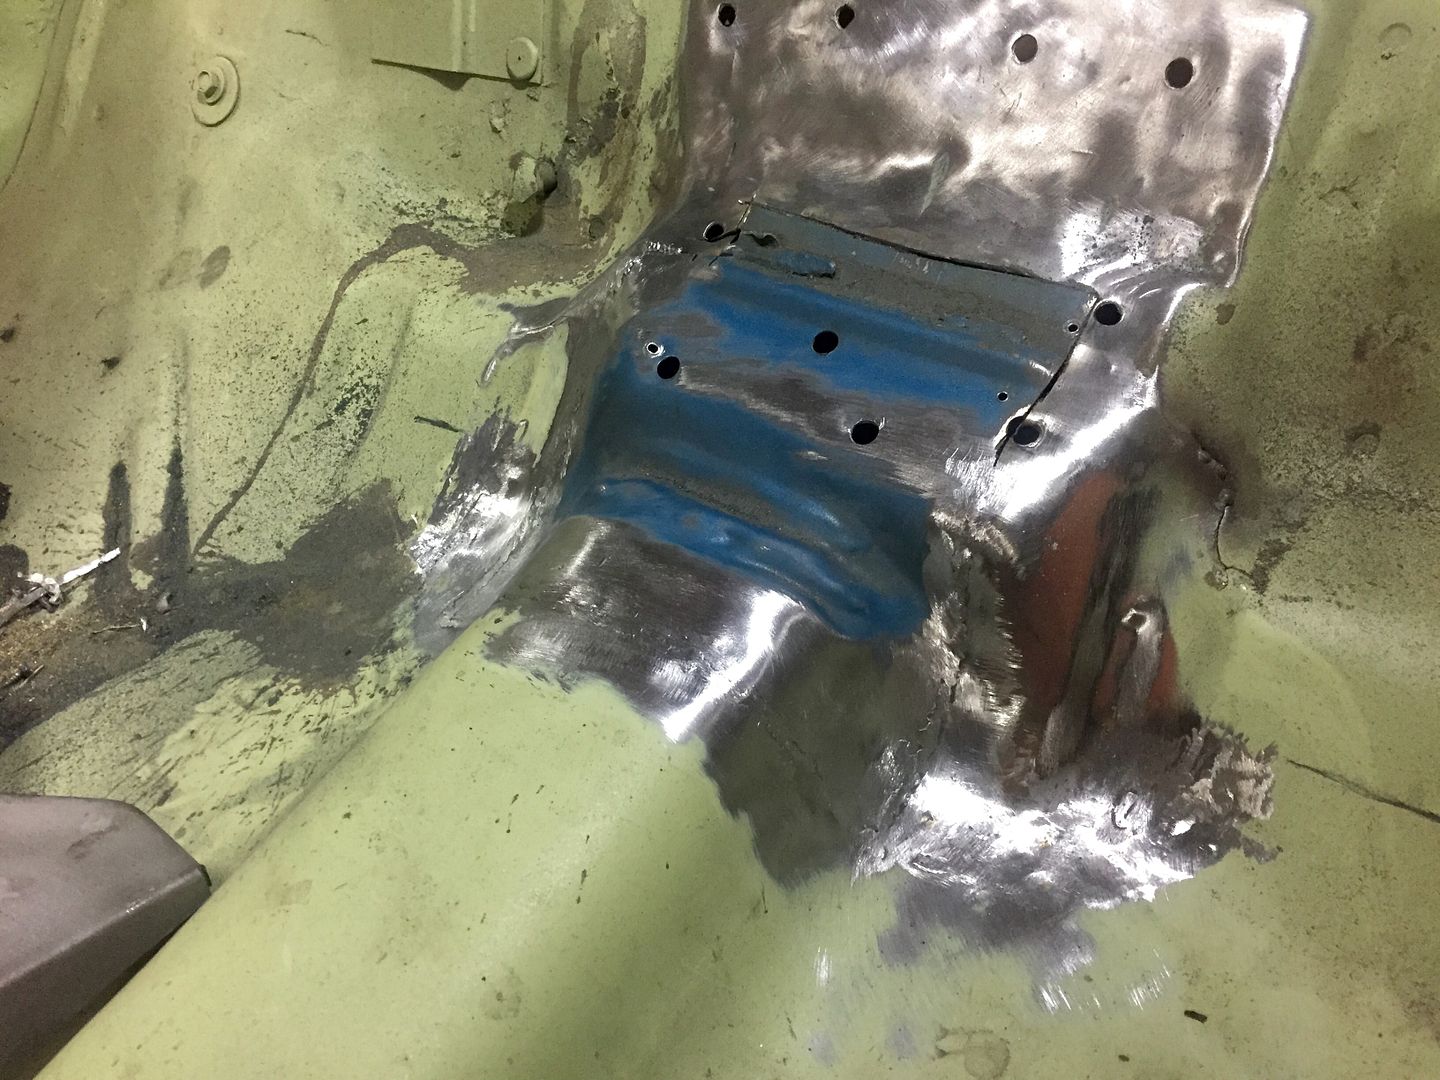
Sectioned in piece.


All welded in. Left some profile on the top side of my welds to ensure that the strength was still there.


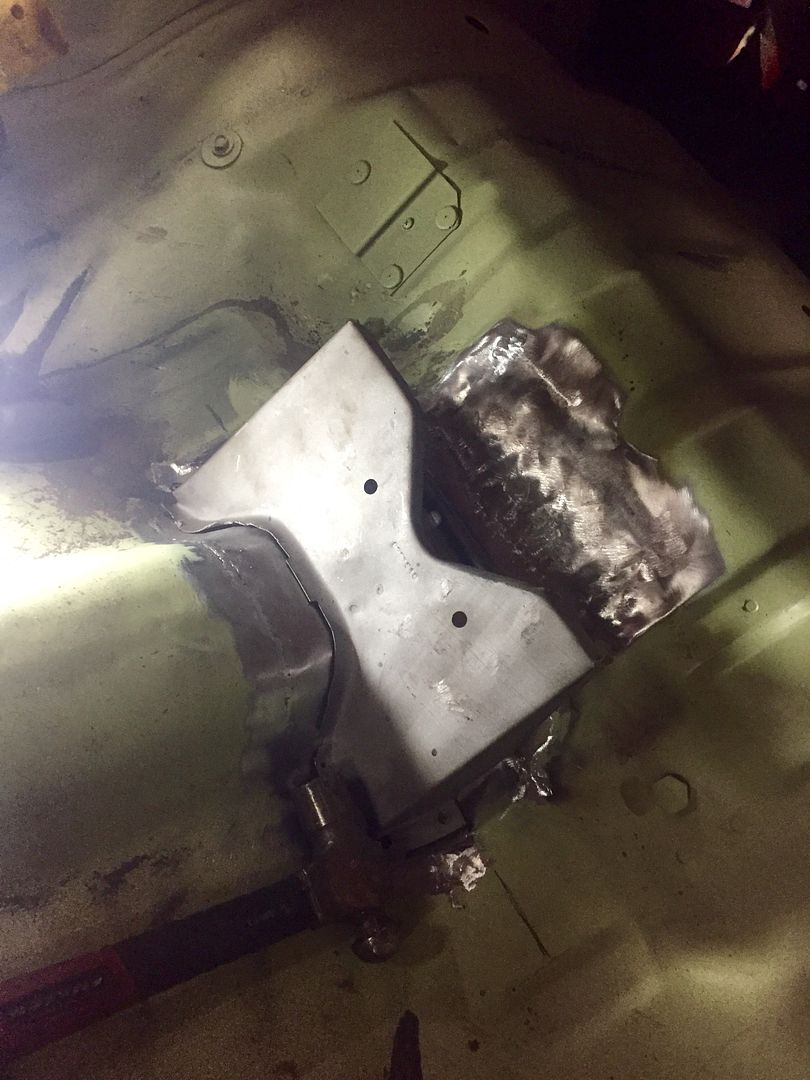
Support fits perfect.


All ground down and new pinion snubber mount welded in.
 
Skim coat of all metal.


Tomorrow I'll weld the cross braces in and do a little more filler work and it's finished! This was a tricky area to repair since it was bashed in so far! Now I can weld the floor wiring covers in, do a bit of filler work and epoxy then it'll be officially done.. For the pan area at least.

Here you can see the floor pan was shoved up all the way to the top of the reinforcement plate (about 4")
 
May I ask what gun and tip size you use to spray the epoxy primer. I don't think I can get the same Glasurit 801-703 you using...any other recommendations for epoxy primer. Also what did you do to the metal after you blasted it before you primed it? I'm going to start blasting a little with some crushed glass media soon. All I have left to remove from the car is the under dash (main) wiring harness, heater box, pedals and master cylinder. The frame rails (fr. and rr.), torsion crossmember, torque boxes, rear crossmember all need replaced.
Thanks again for your thread and help here...it's the only reason I'm even thinking of doing this project.

I believe it's a 1.4mm tip. I have a devilbiss paint gun and a SATA mini that I use. I heard southern polyurethane epoxy primer is pretty good.. PPG also makes a really good epoxy, I think you can still get DP90 in the US. I had it sandblasted with glass beads so it etches the metal with no need of sanding for epoxy. If you use glass sand, you just blow it off, wax and grease remove/tac it and it's ready for whatever topcoat you use. Good luck with the resto! I'm sure you'll be getting a lot of metal from AMD too..

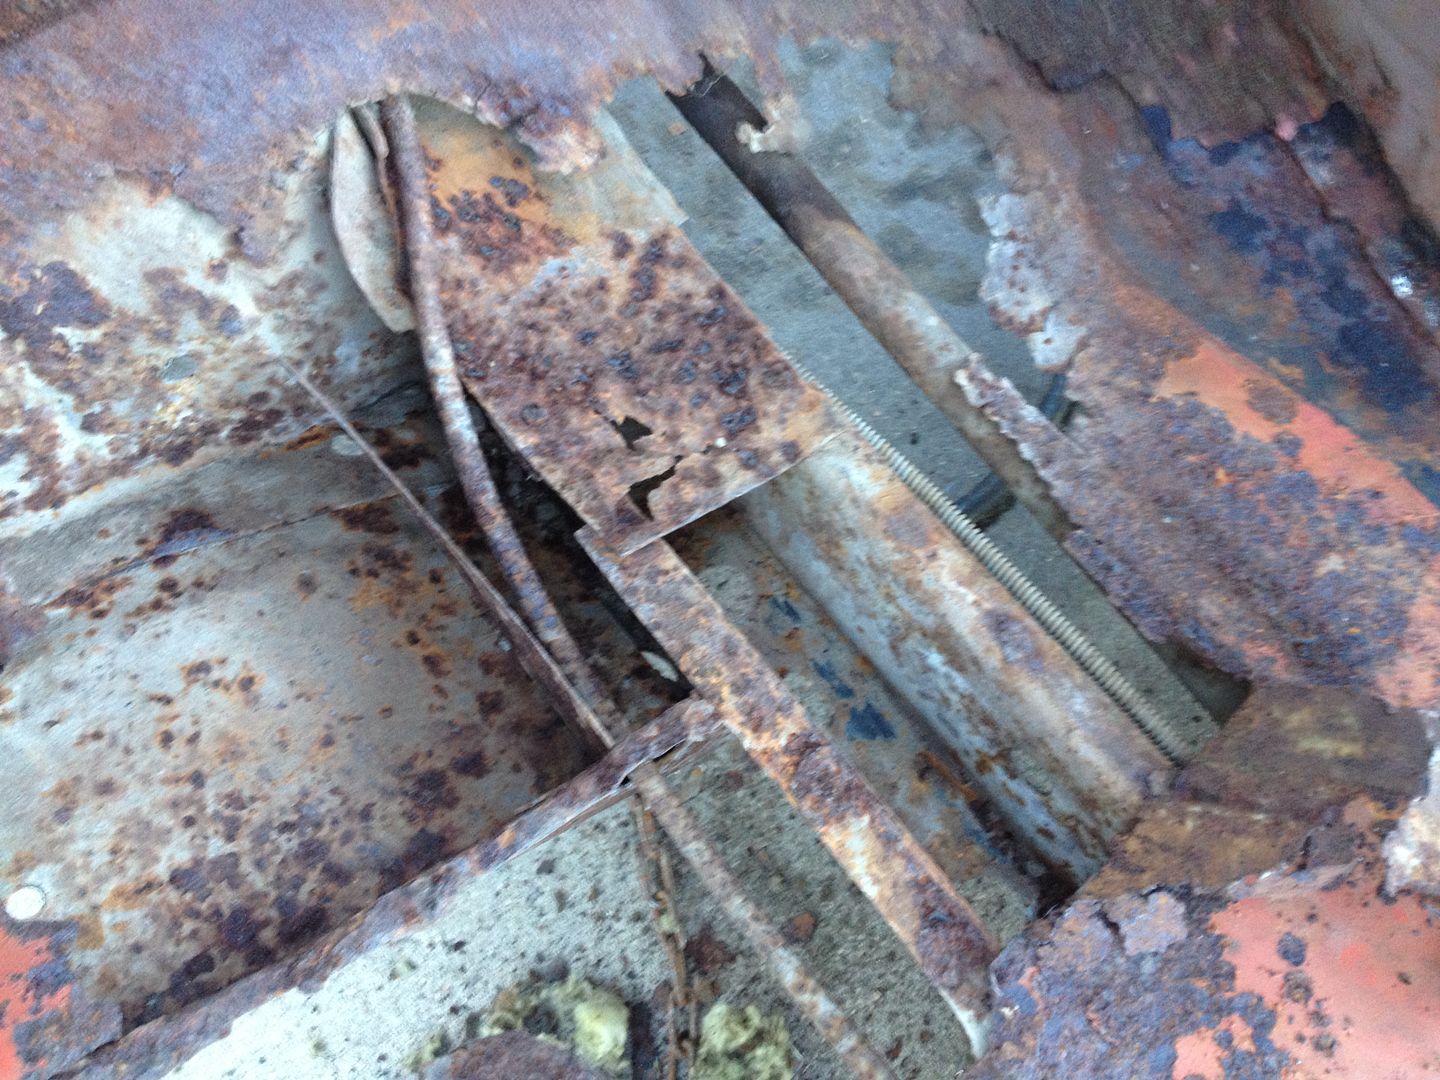
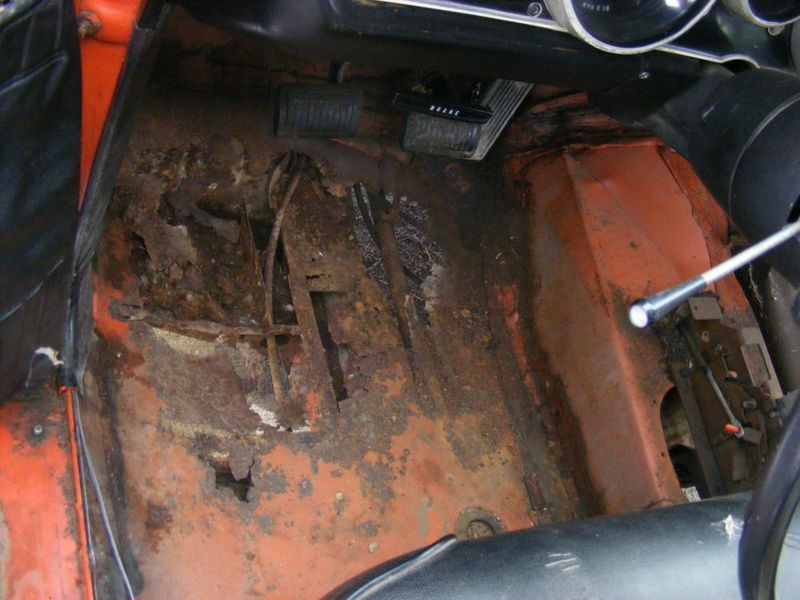
Here's a few more pics of the nasty stuff...


You definitely got your work cutout for you, but once you get at it you'll see it's pretty straight forward. Just brace it good and replace one piece at a time so it doesn't get overwhelming and you lessen the chance of body alignment issues..I found this method has worked great for me.
 
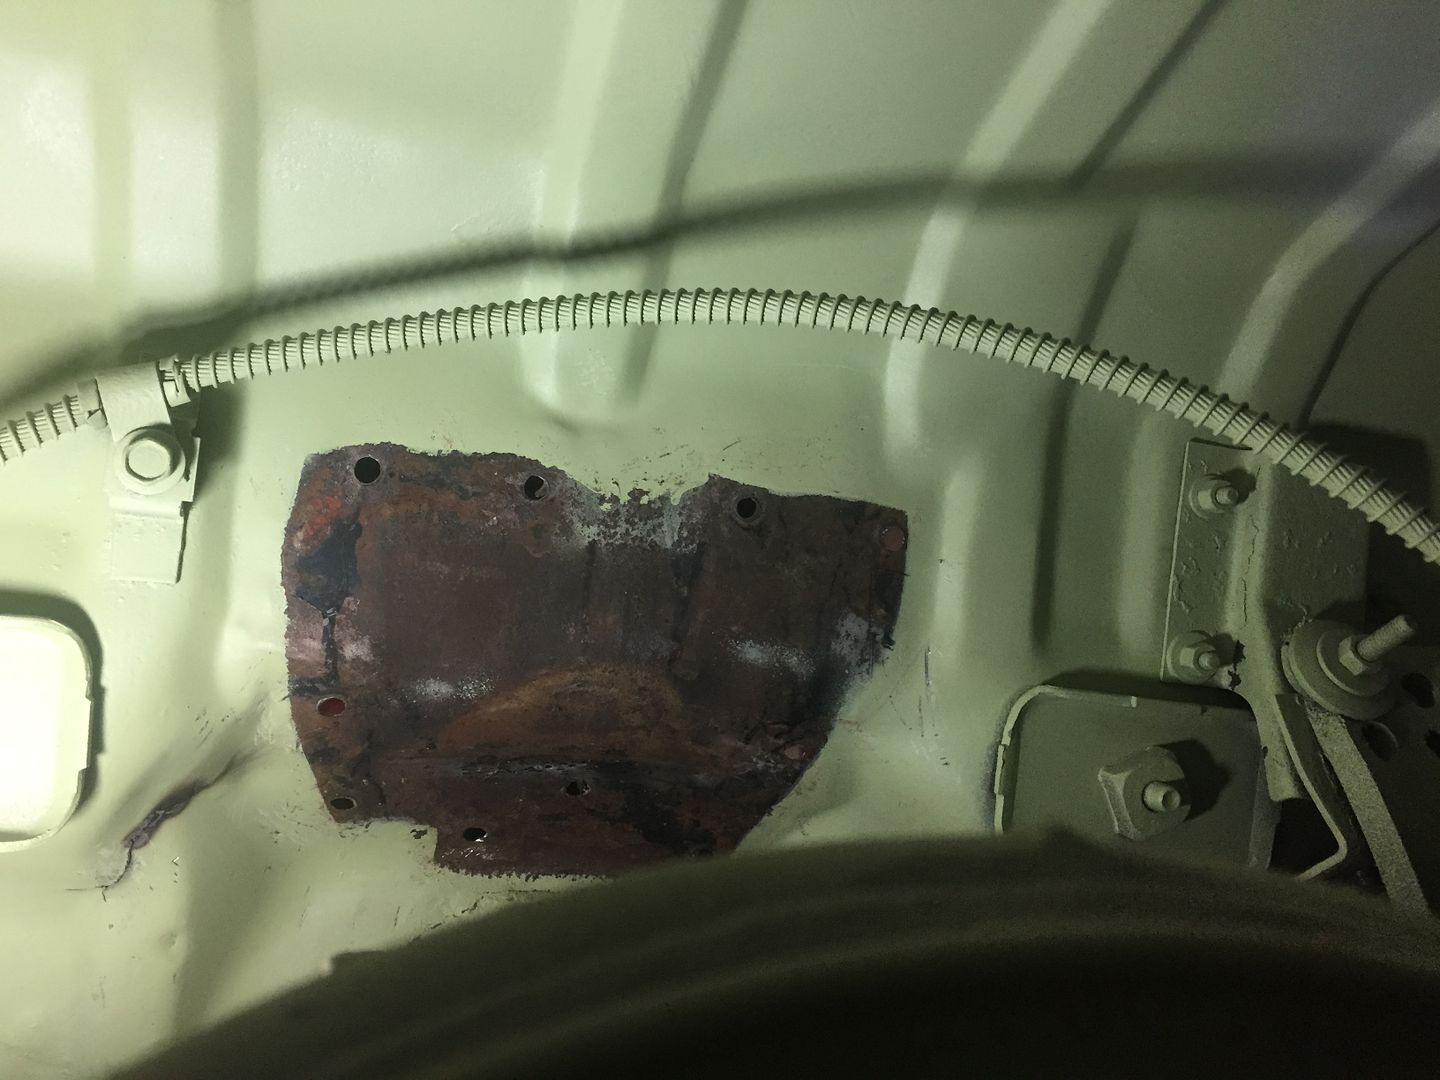
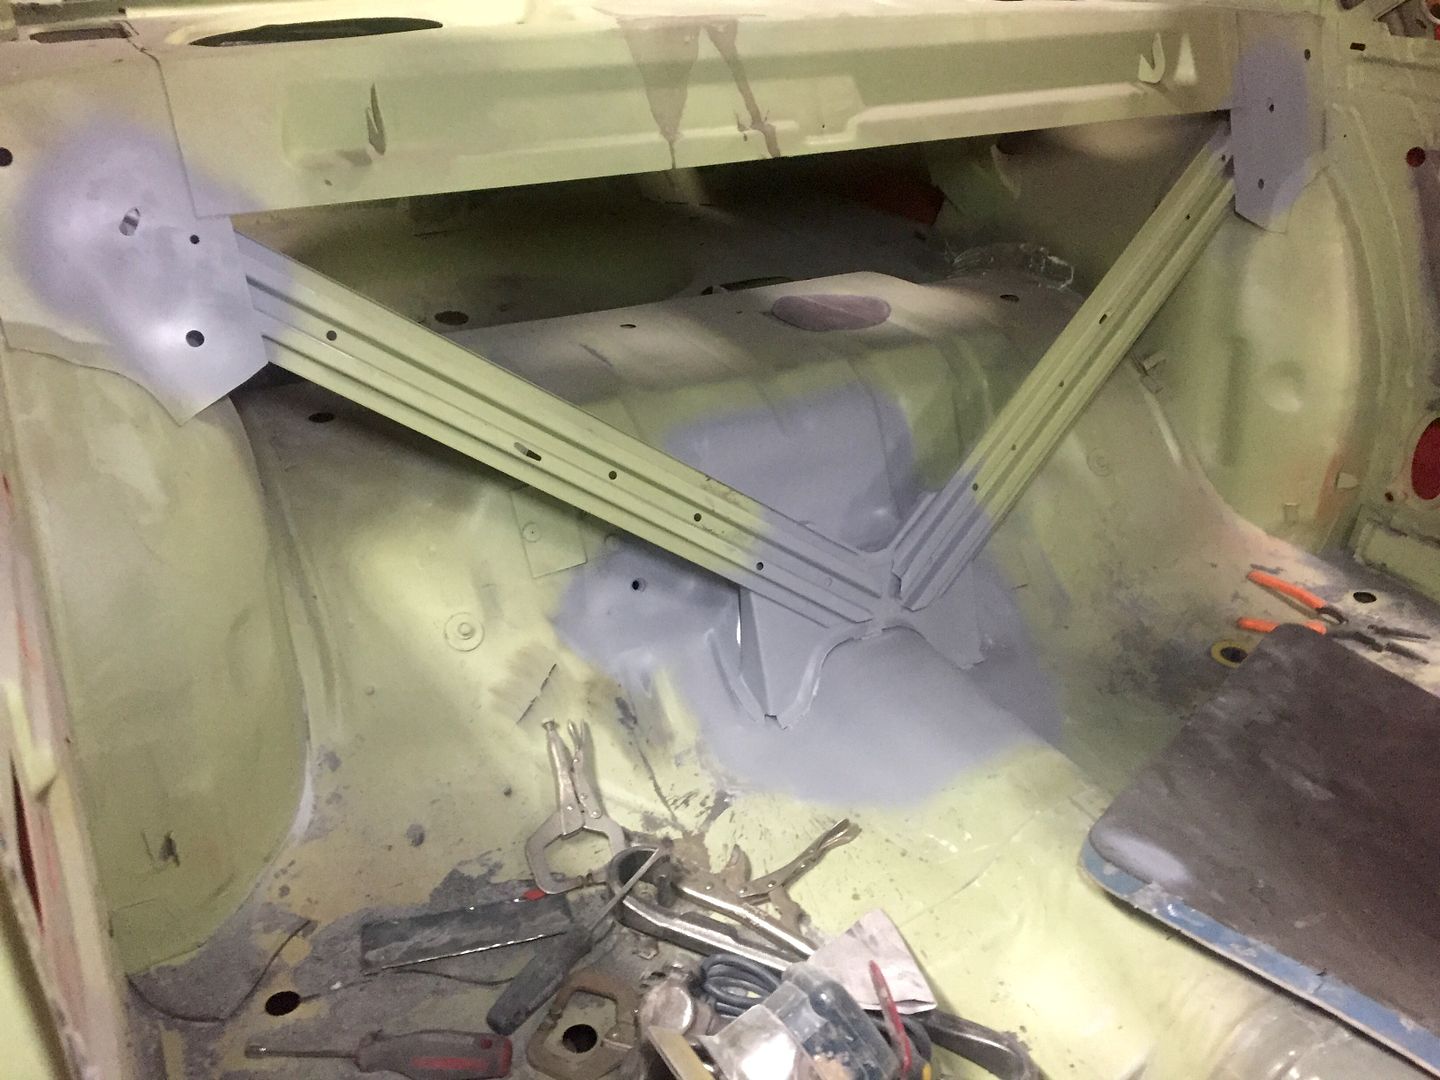
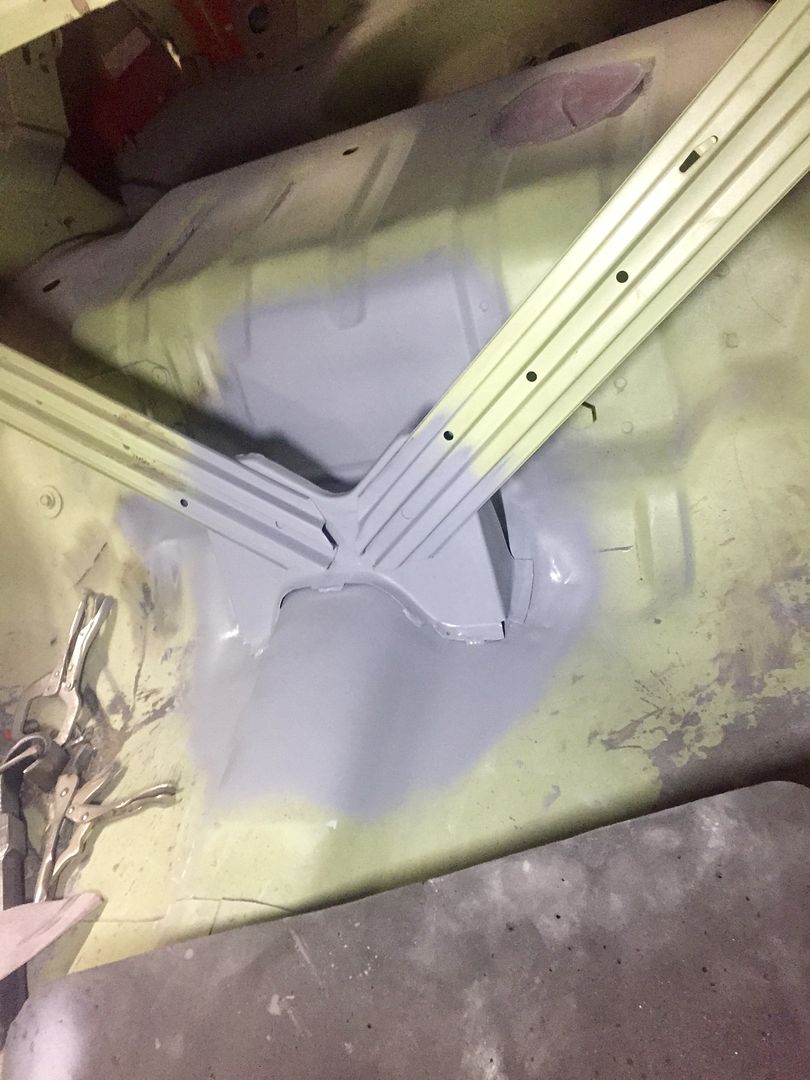
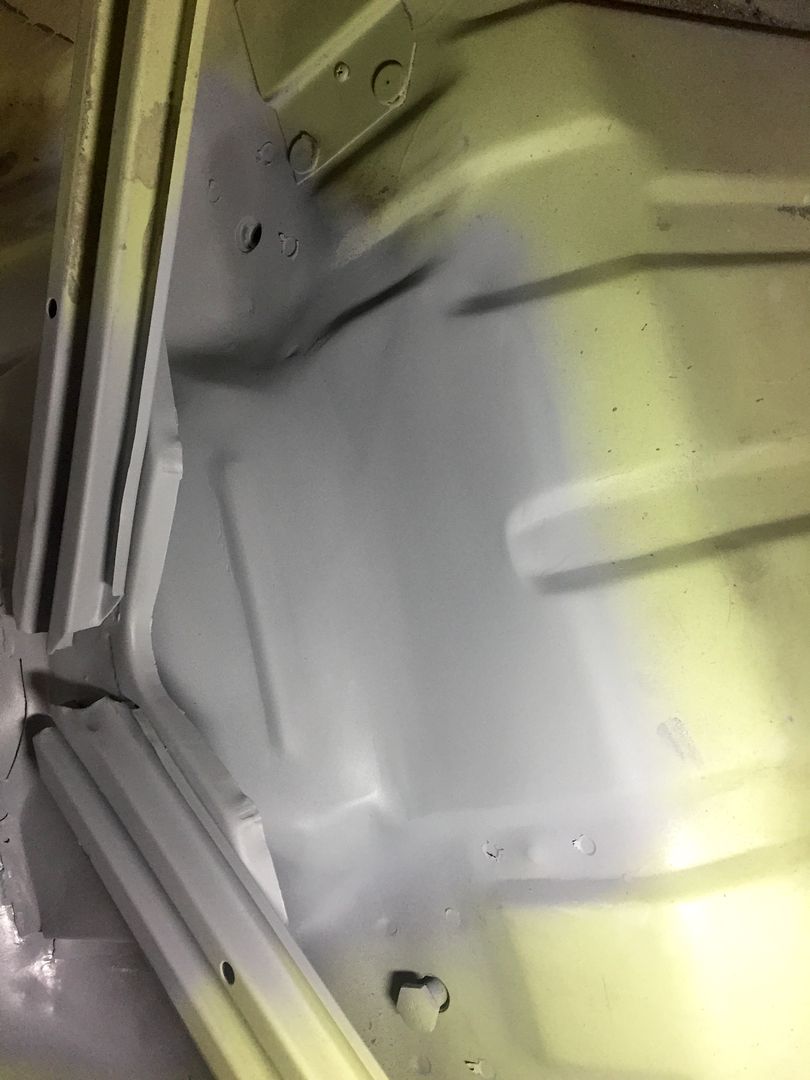
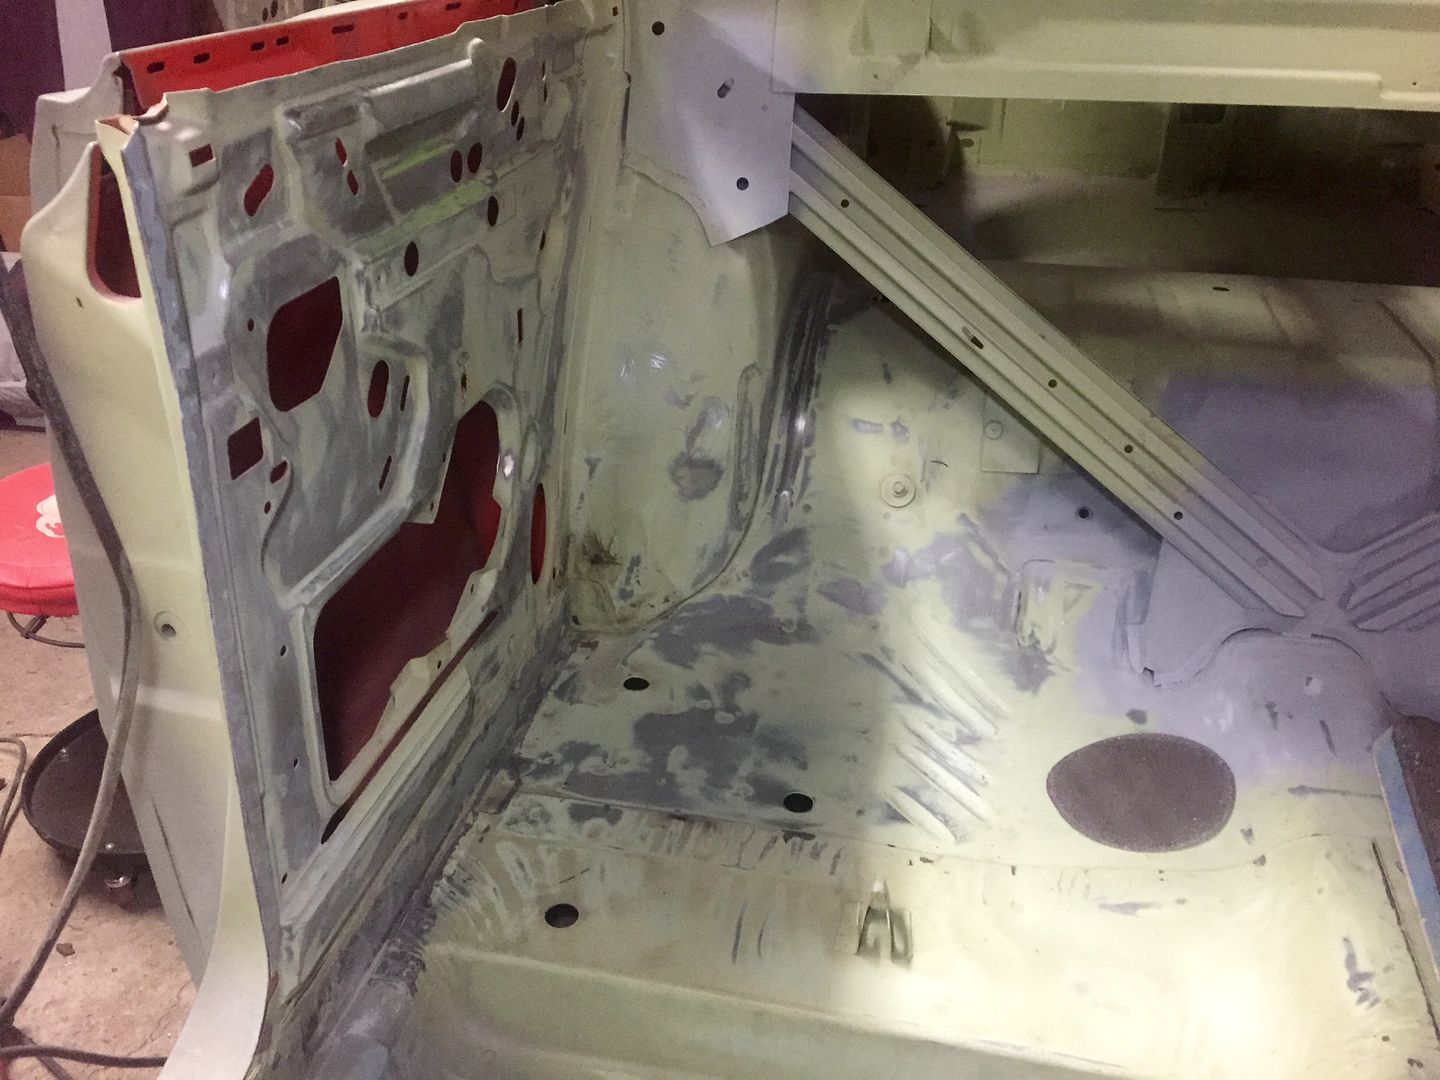
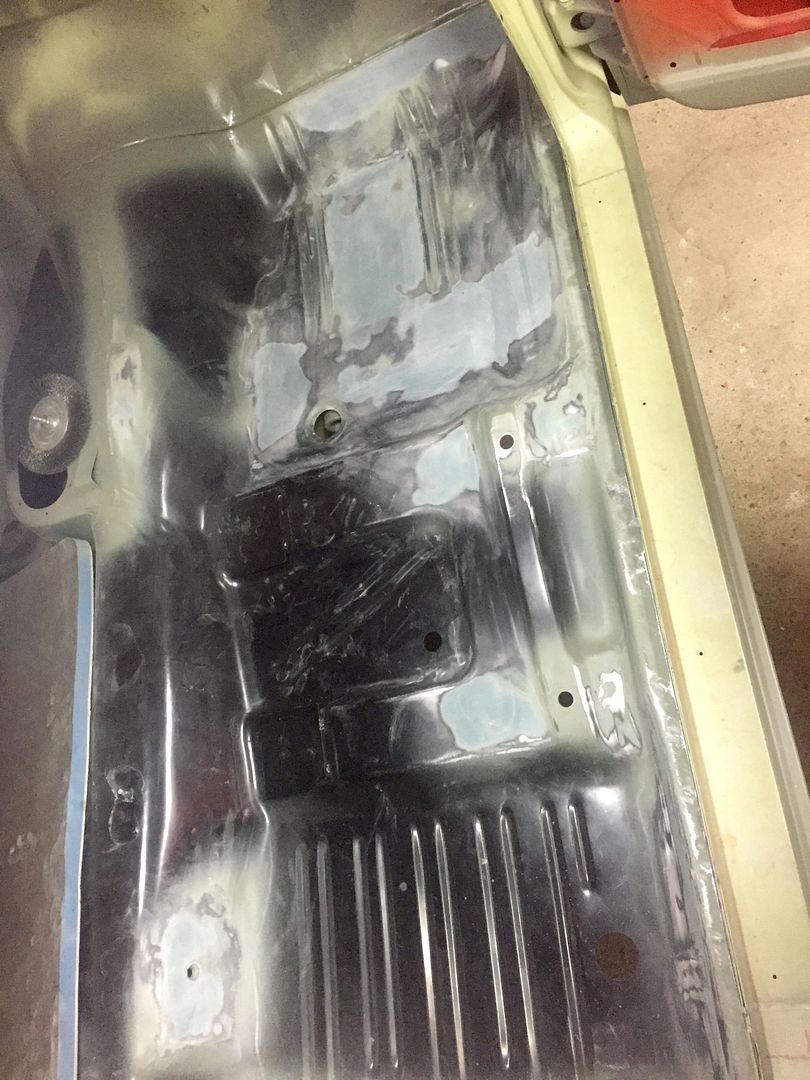
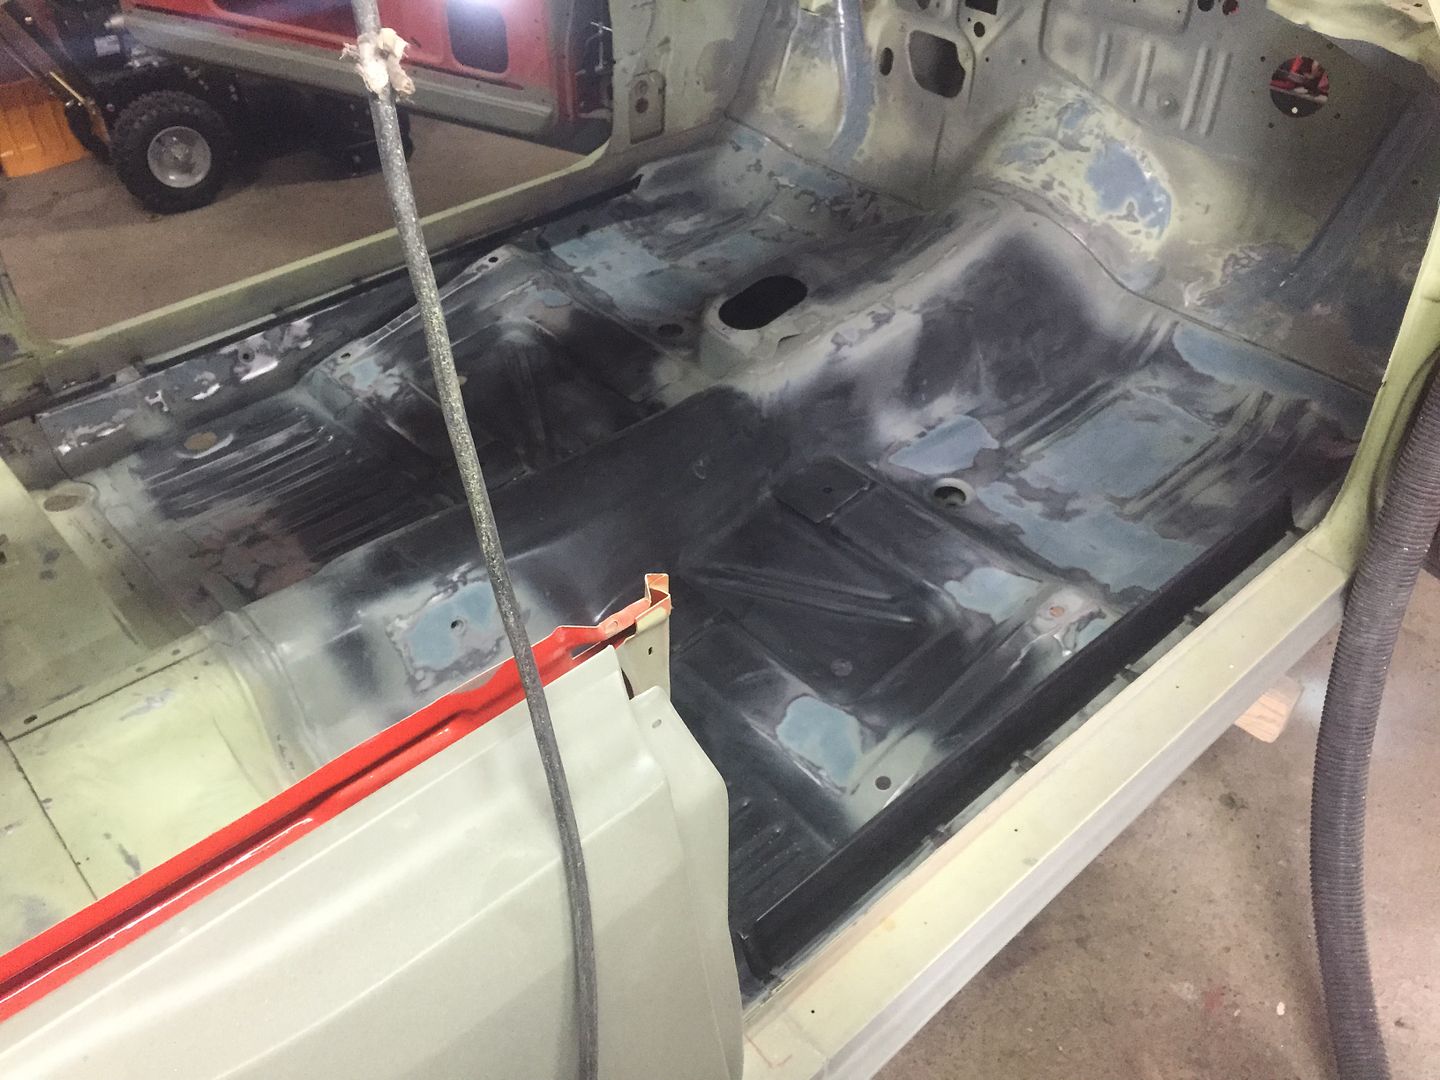
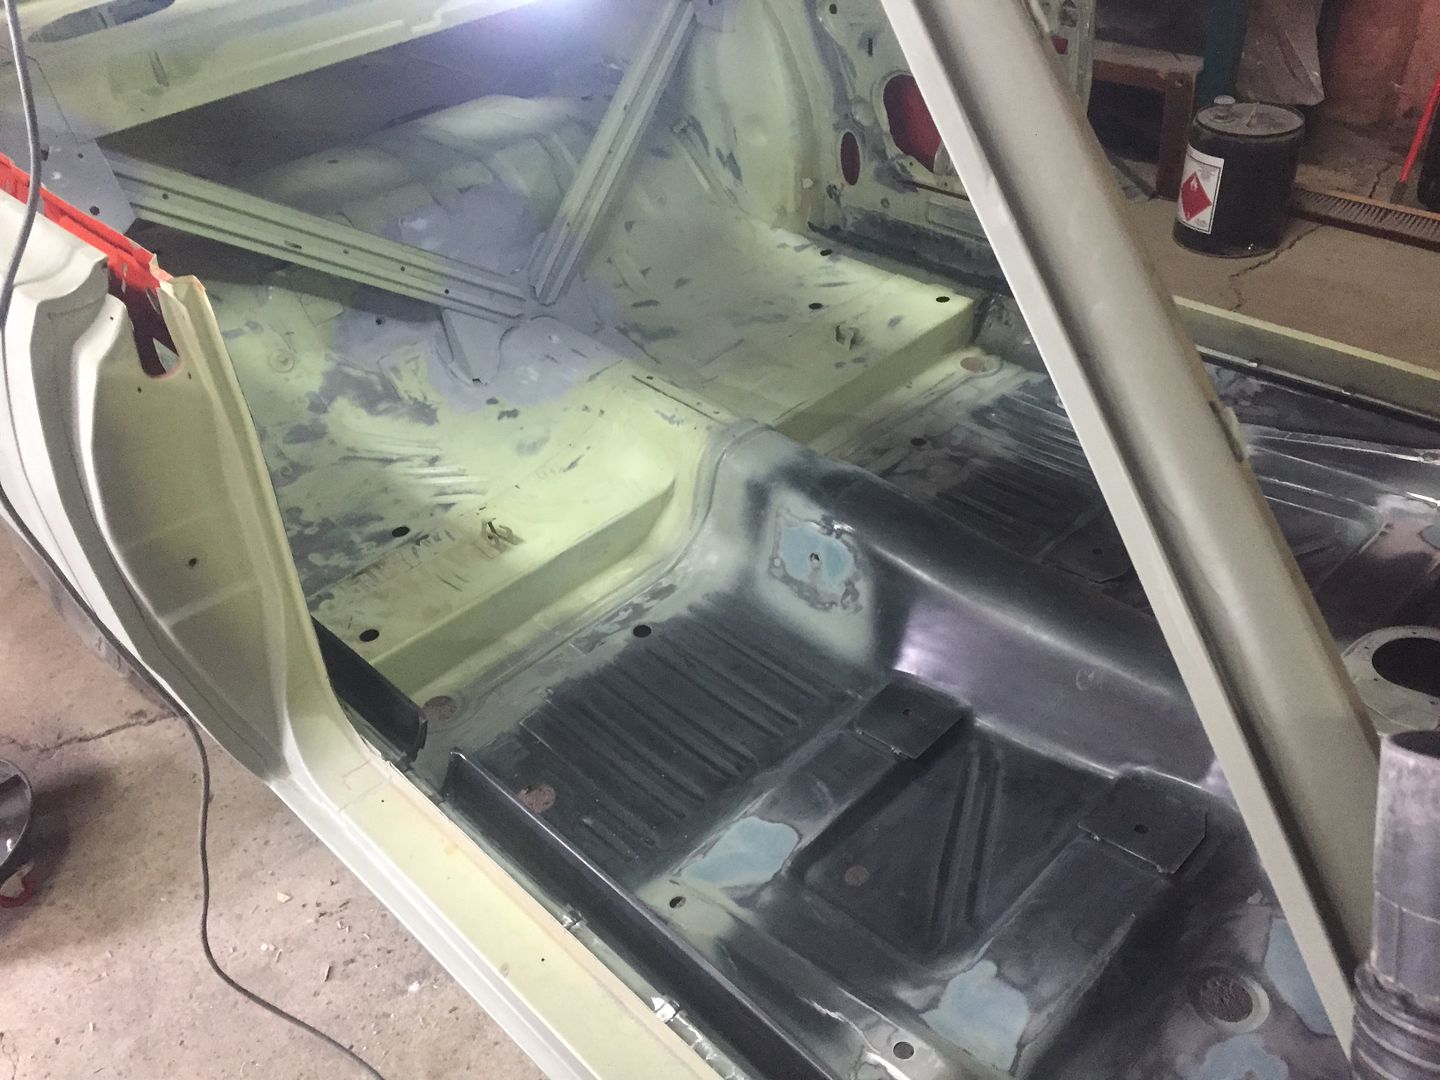
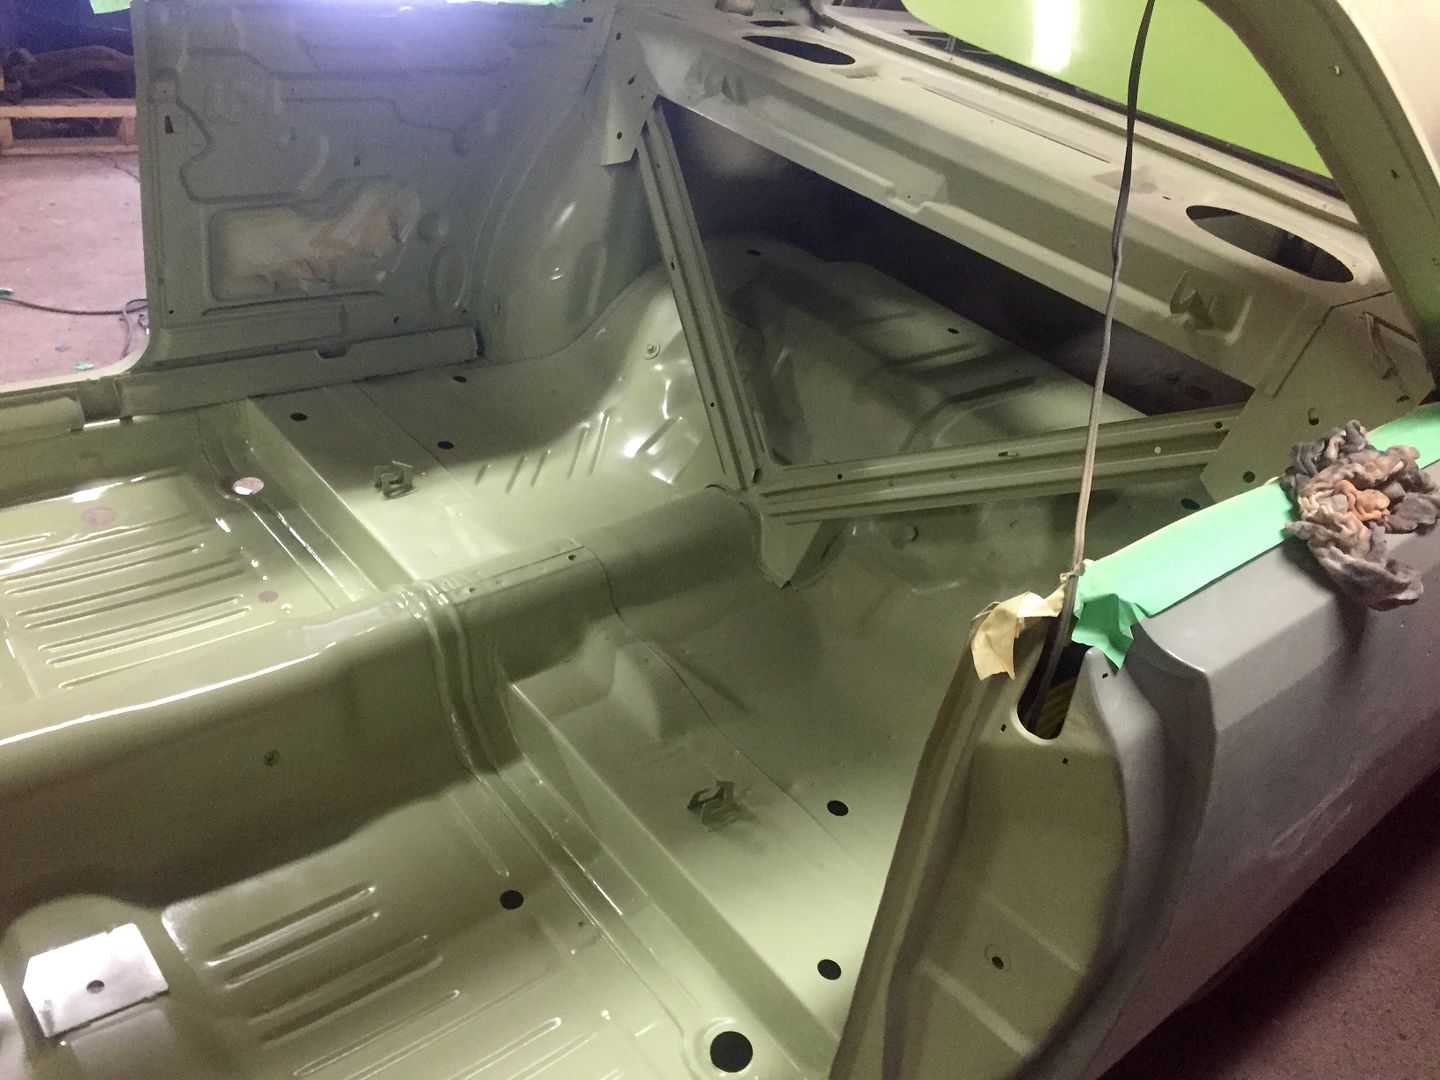
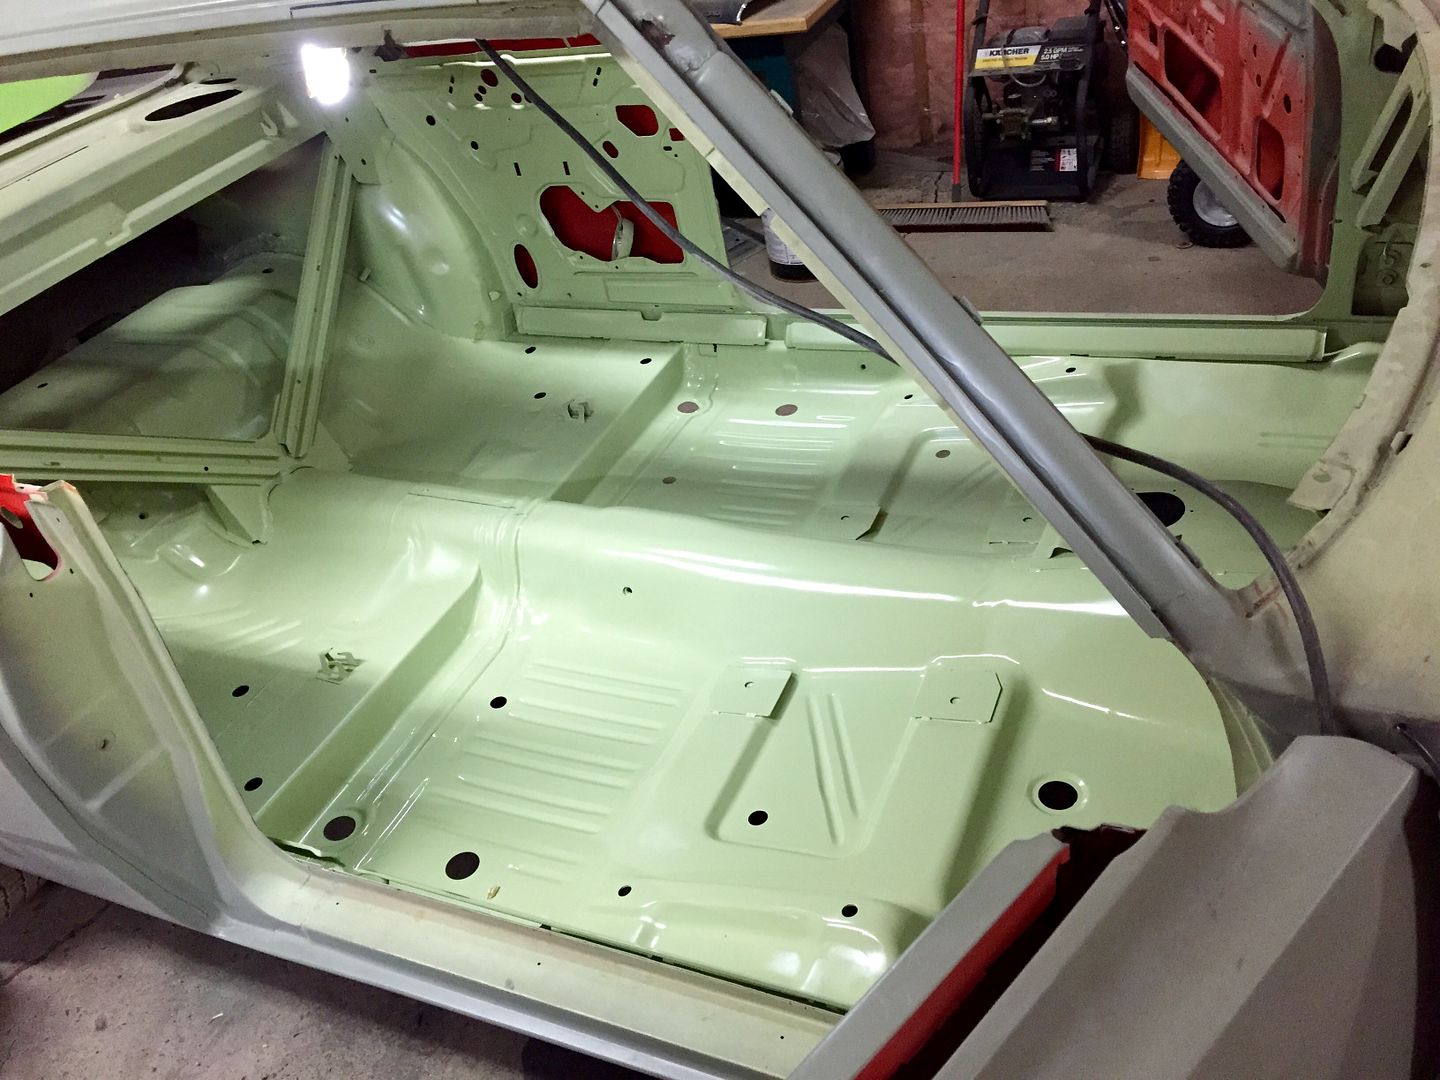
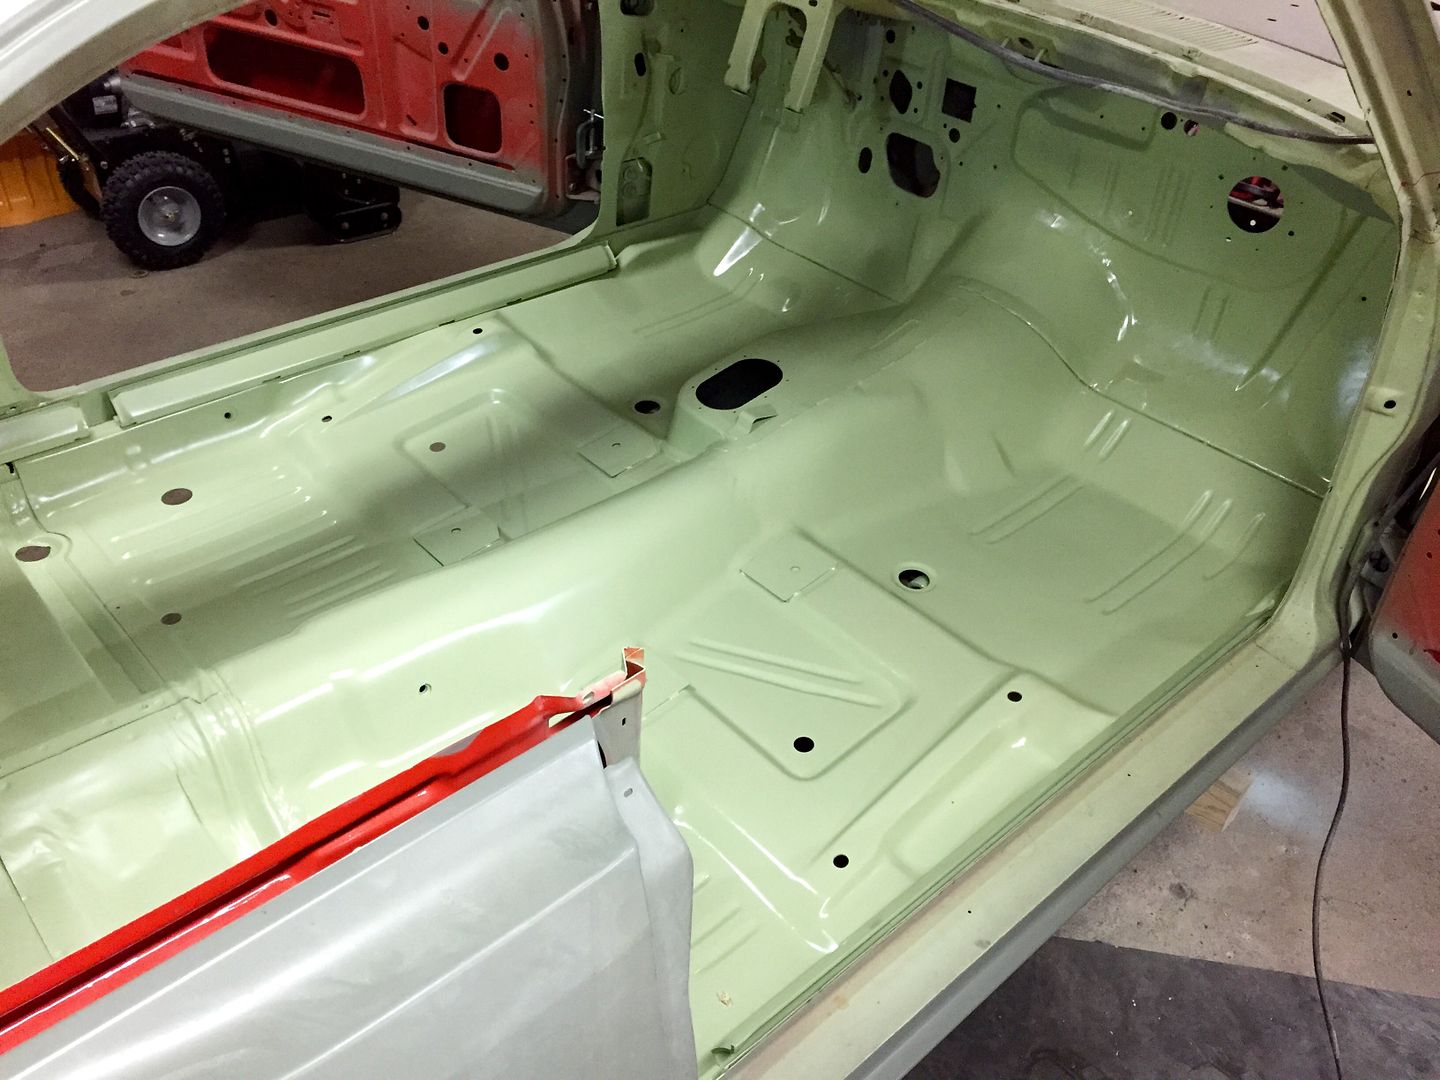
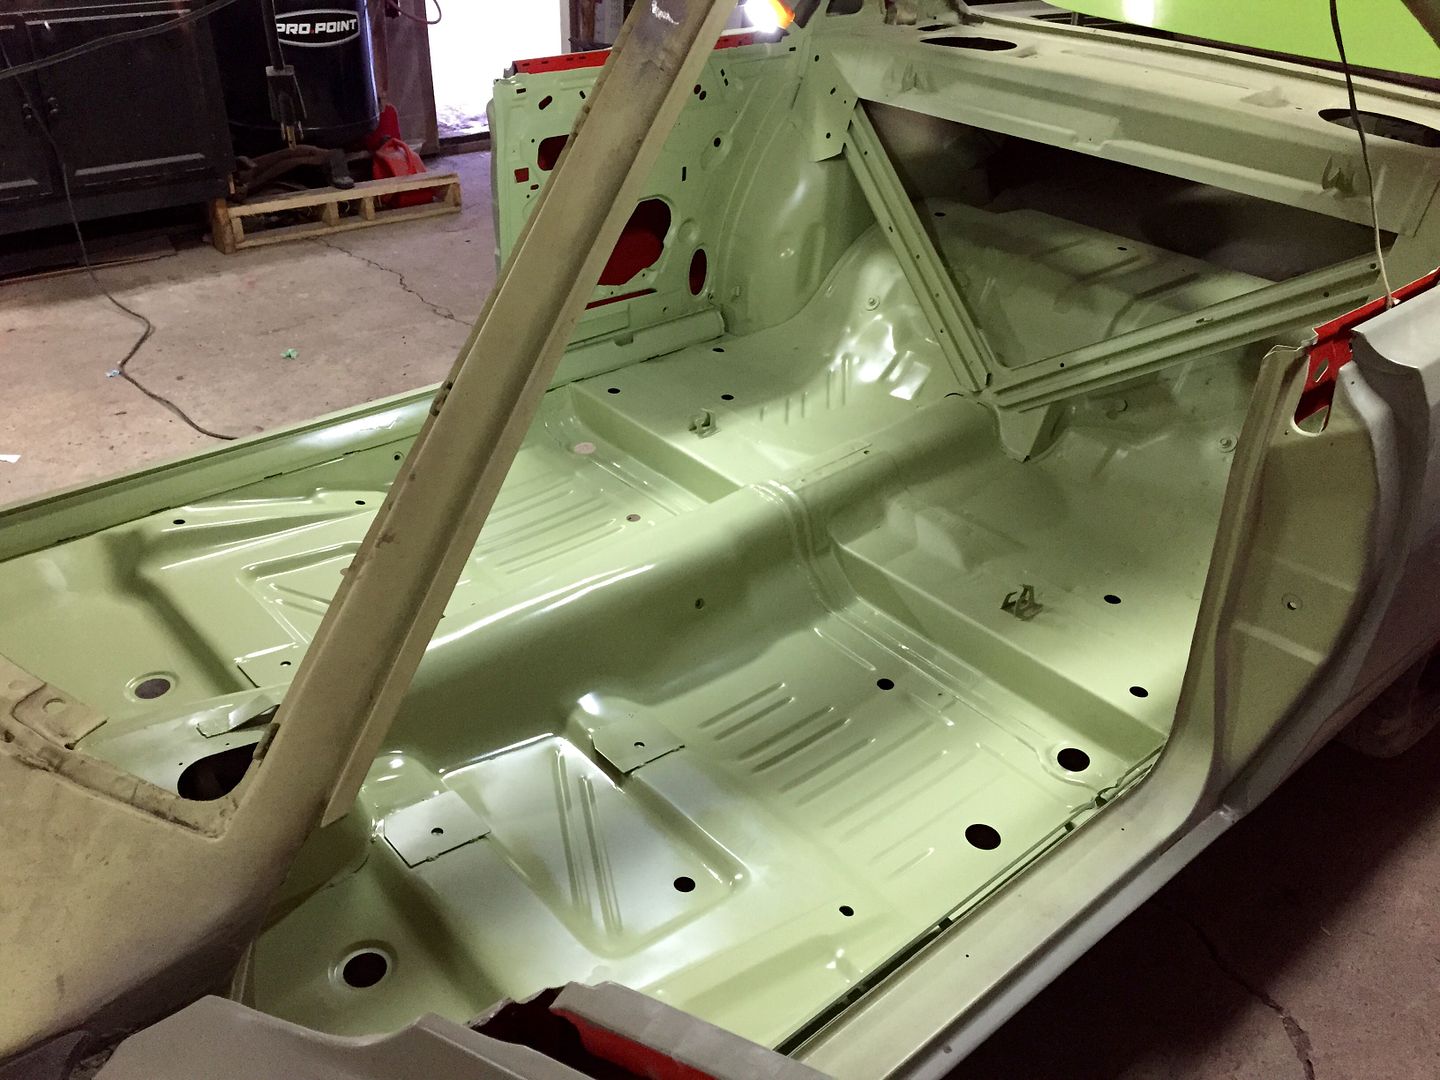
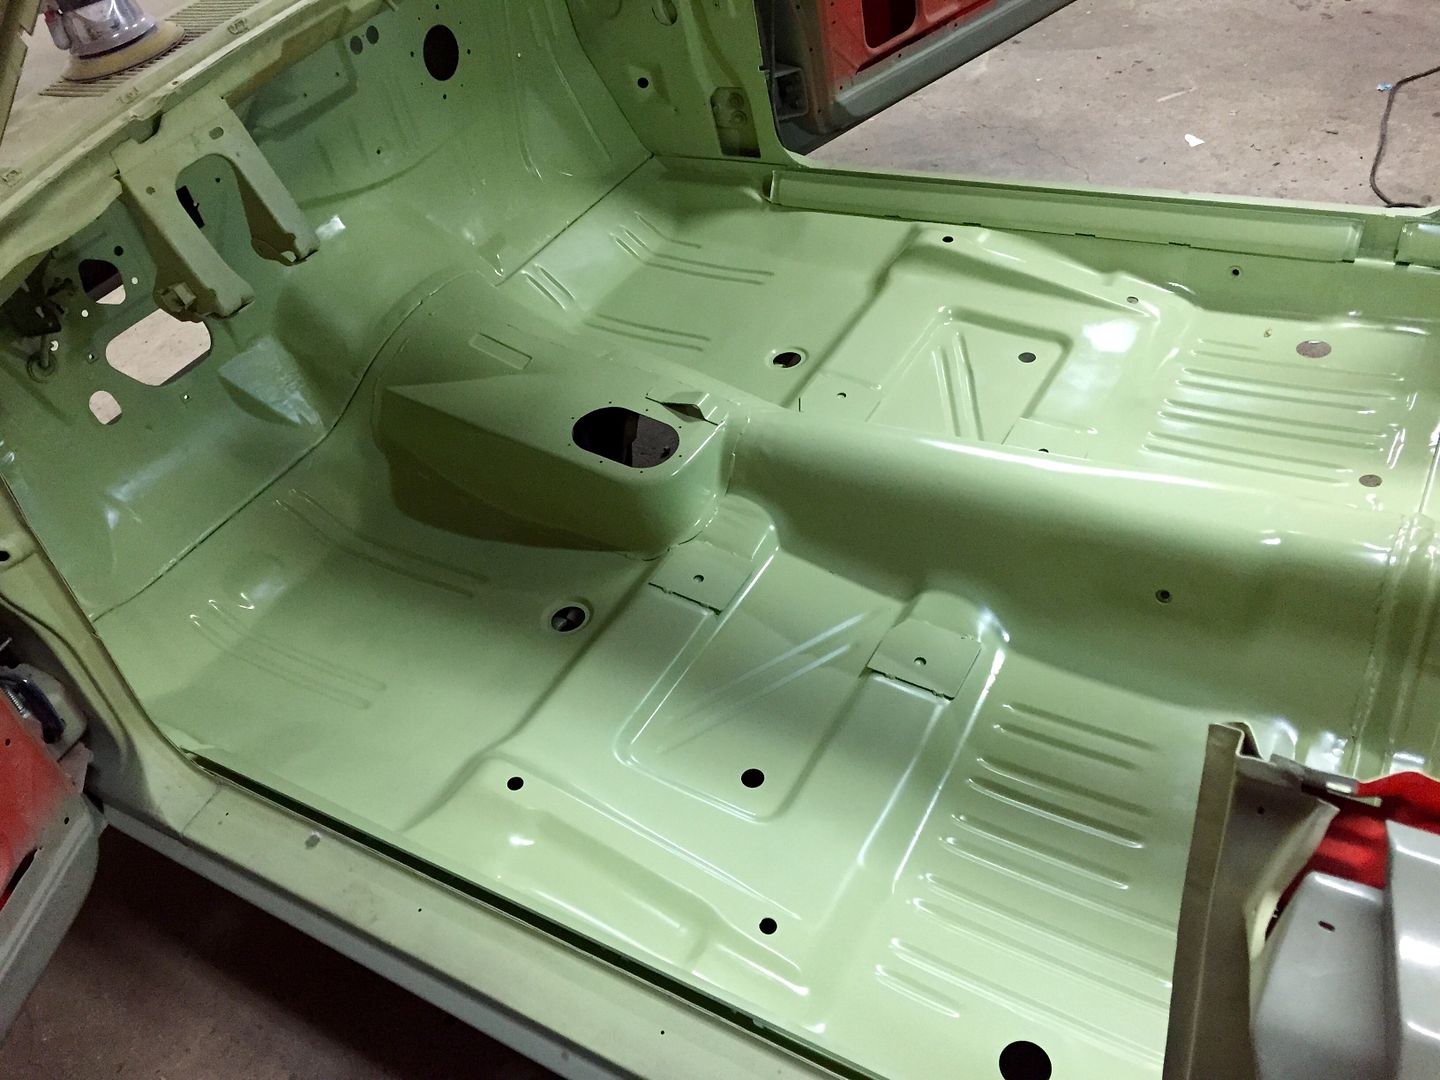
Finally got the rear floor pan area done and in high build primer! Now it's on to the floor pan bodywork, floor wiring covers and epoxy and I can finally move on to the upper cowl.


I also got my passenger side fender extension. Thanks Joel!


Thanks again for the info... I emailed you more pics, hope you get them this time. I know I have a lot of questions and I appreciate you taking the time to do this thread and a ser my questions. I plan on starting a thread once I begin the restoration.
Like I said before...you have a gift for metal work...your car is looking great!!!

Thanks! I sent you an email back (I got it this time!)

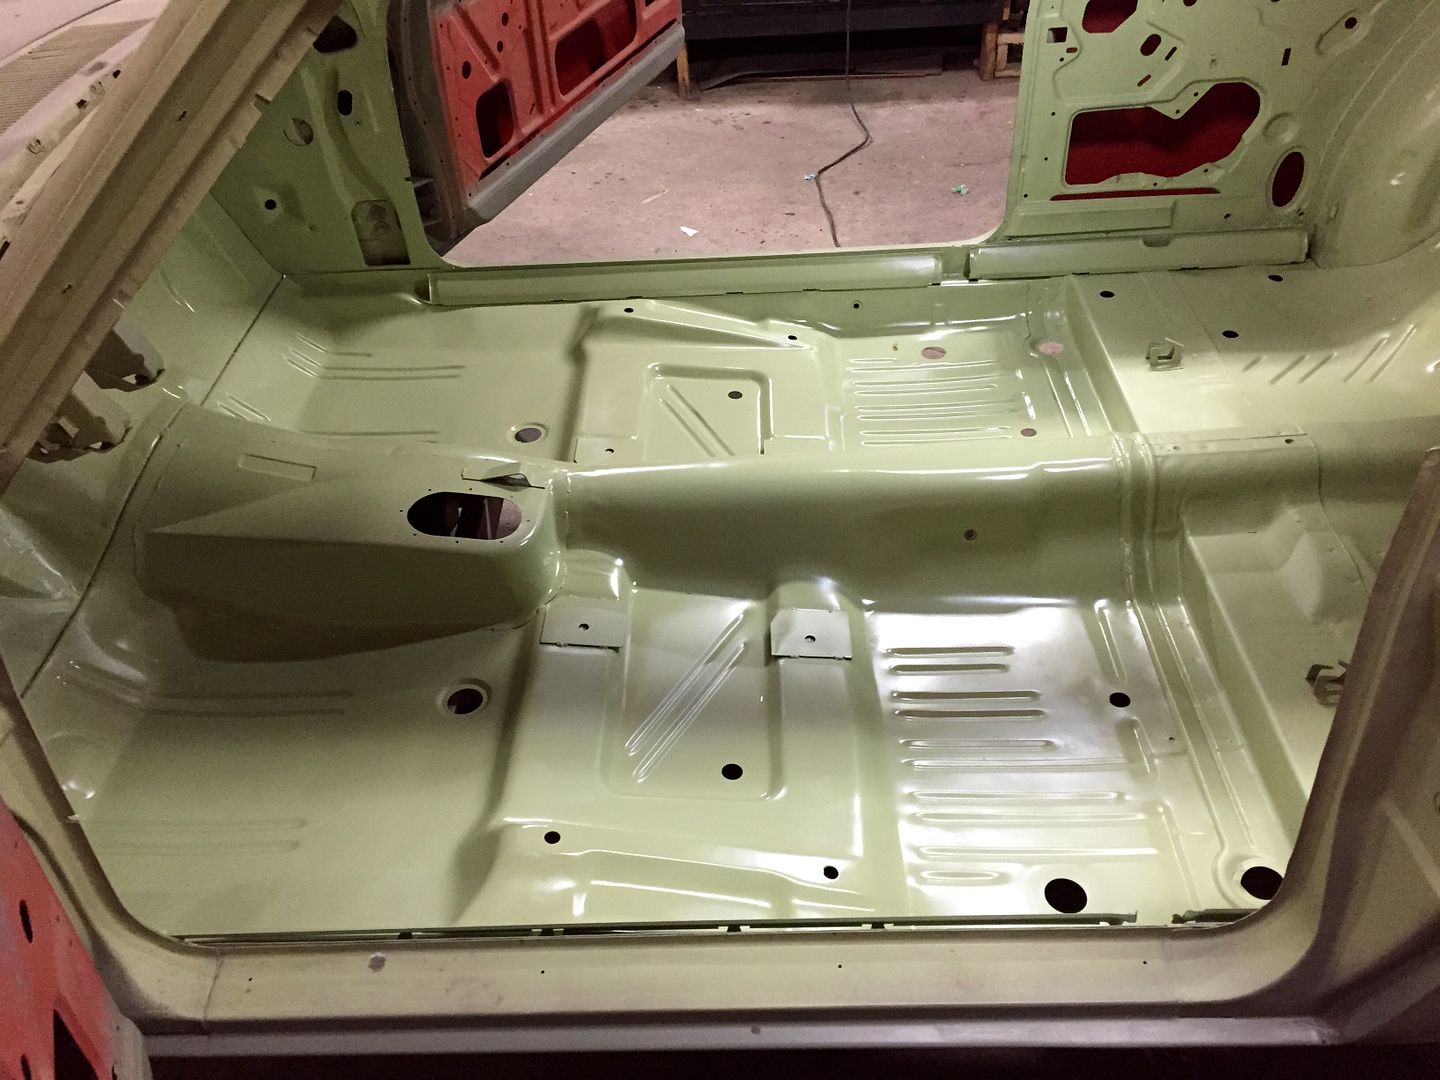
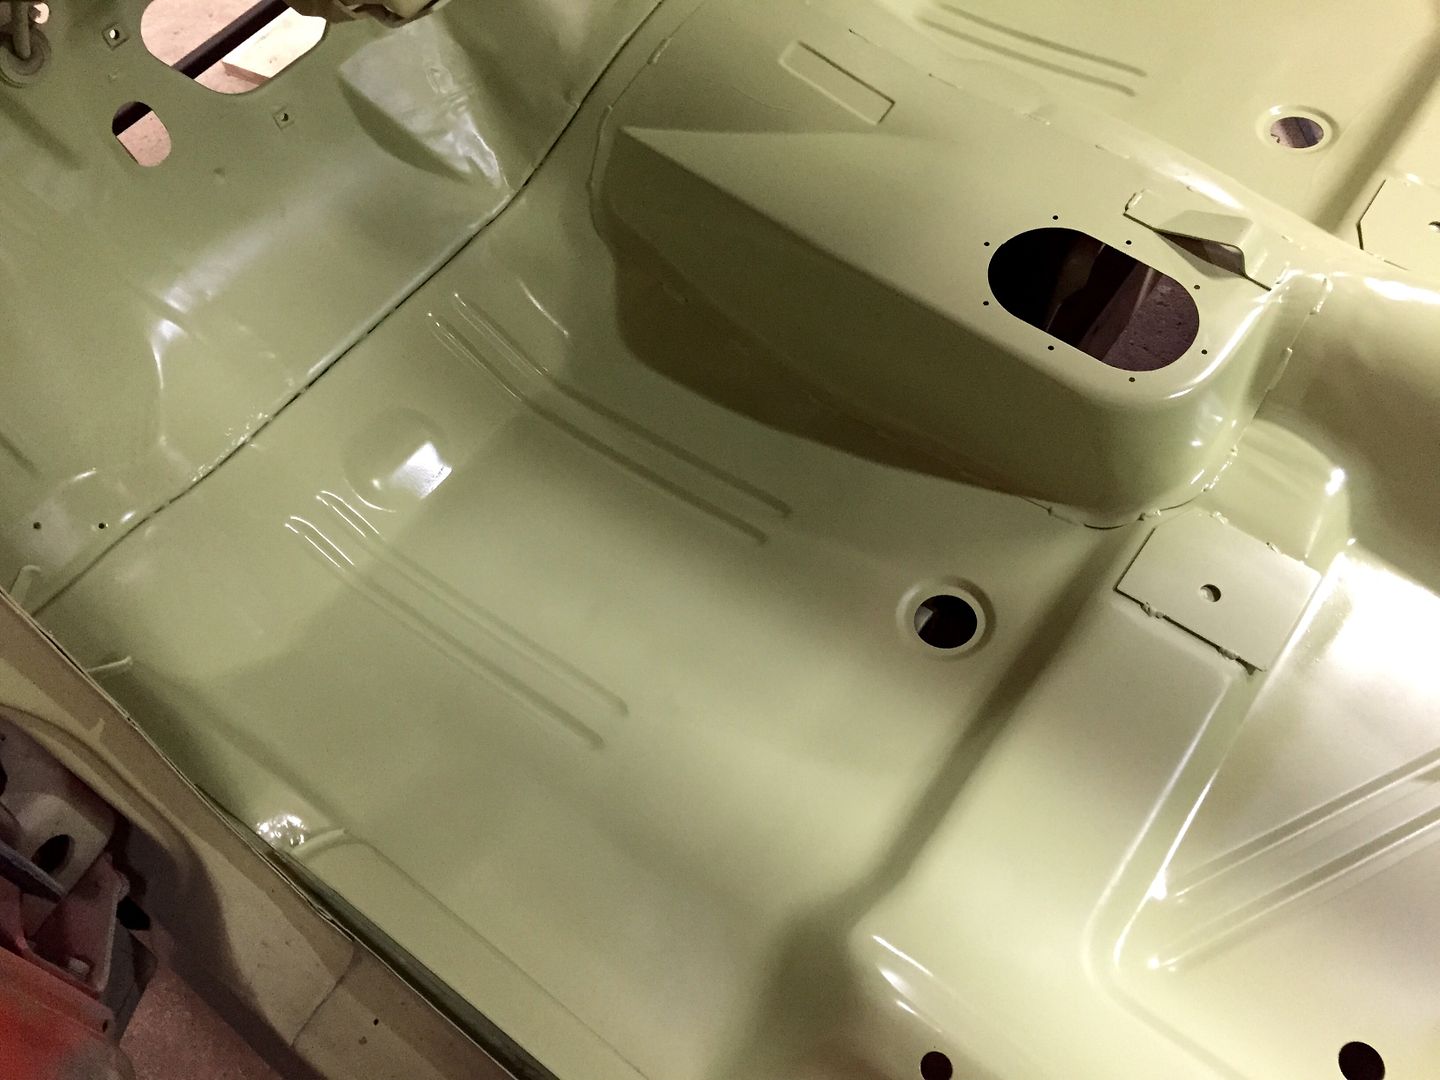
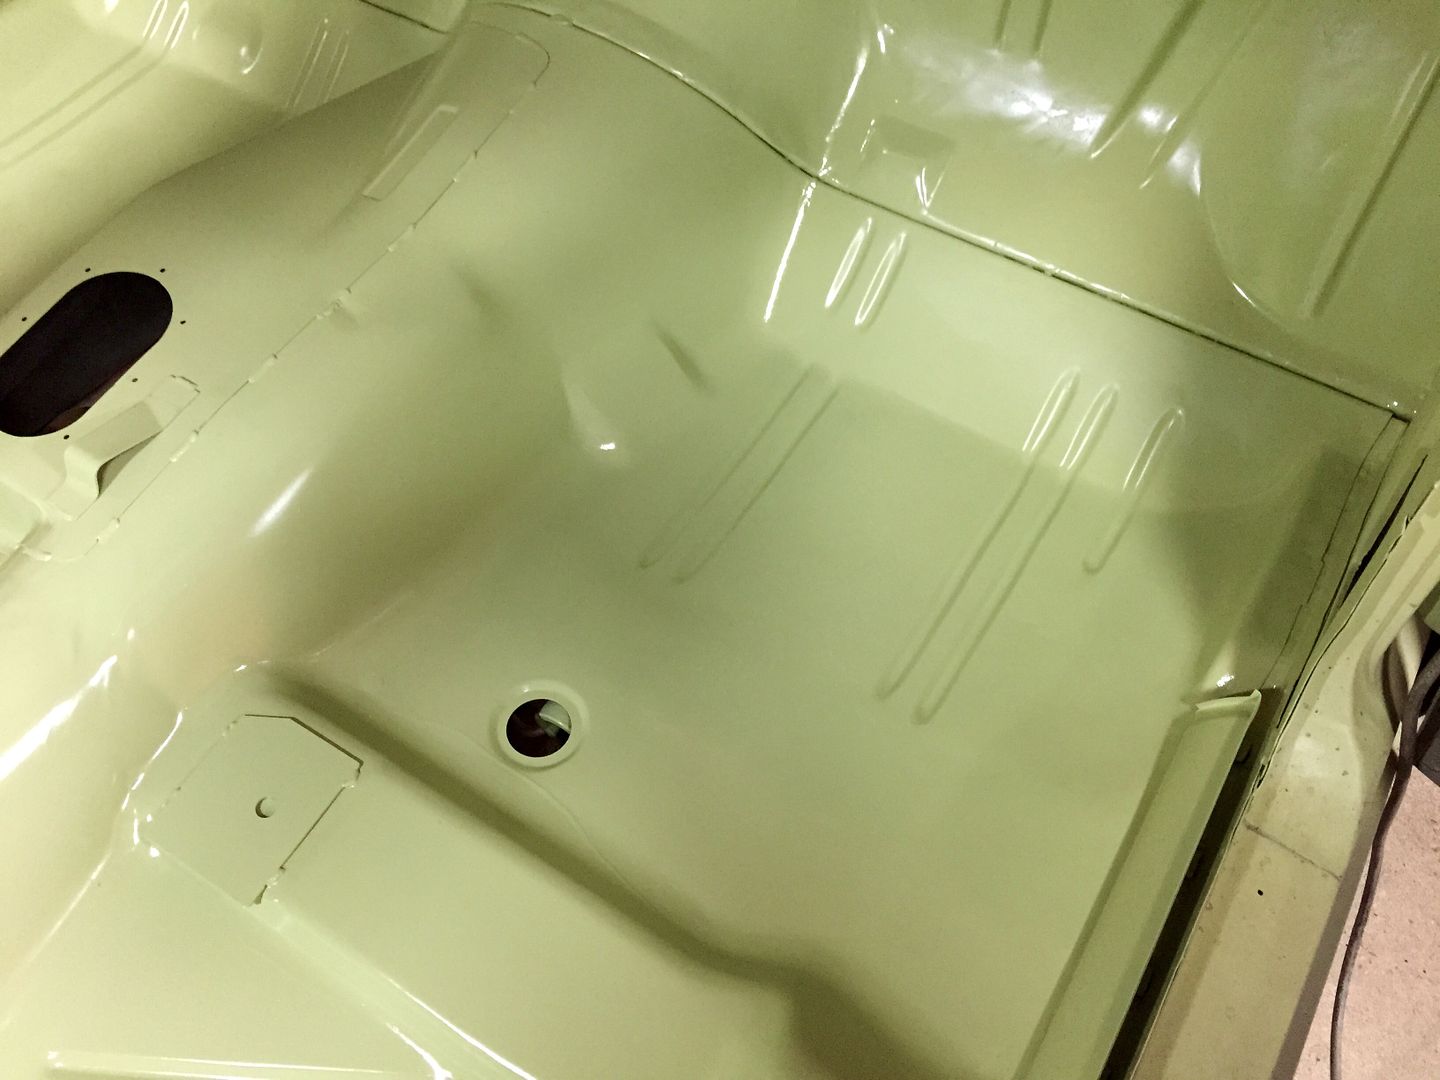
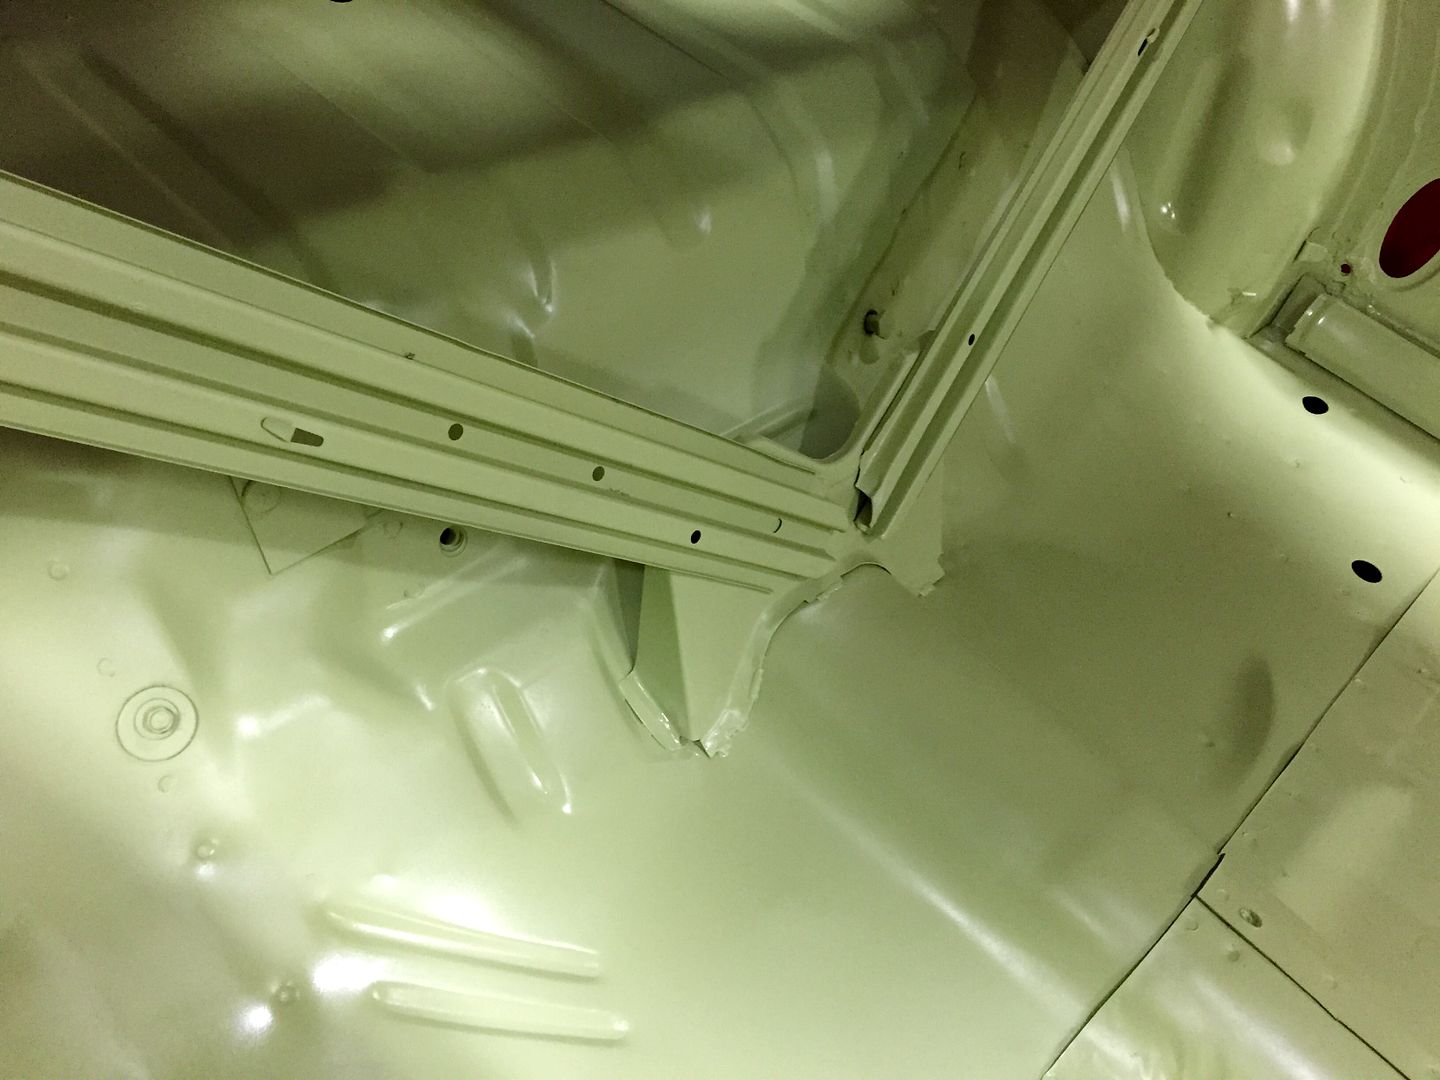
Just finishing up the floor area and prepping it for another complete coat of epoxy.. Looking forward to seeing the pan area all one colour.


Made a part 2 video.

[ame]http://youtu.be/OUn63VdALhA[/ame]

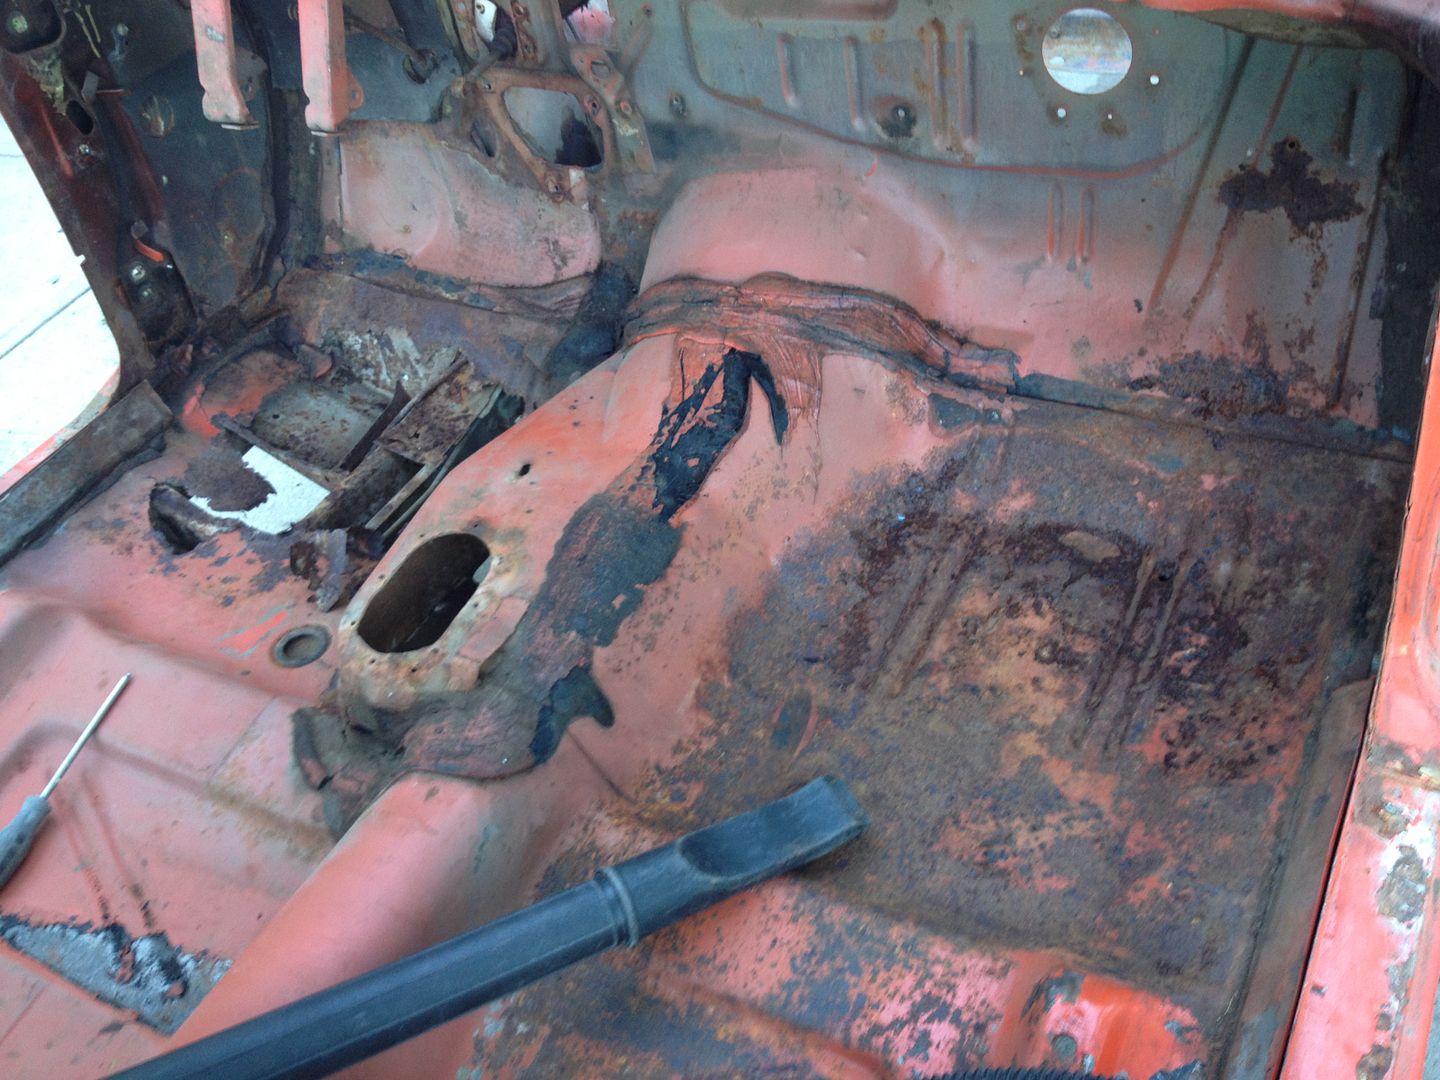
Here's a few before pics of the floor pan... I'm gonna need a few gallons of brushable seam sealer to recreate that original mess! Haha
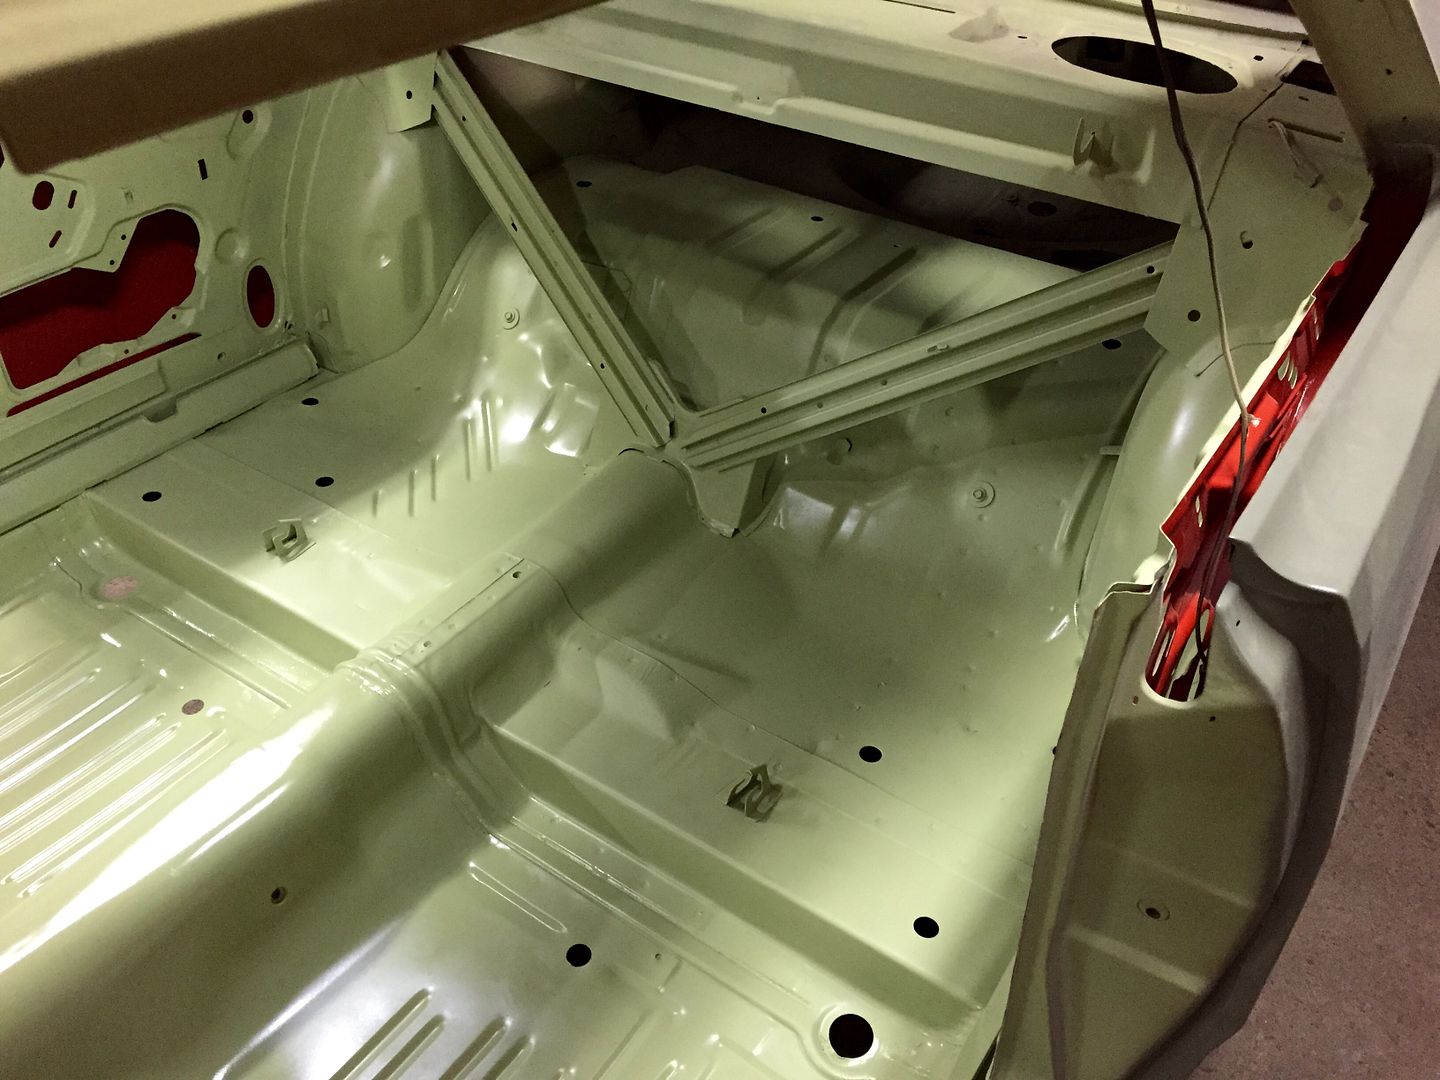


Hemiorangeswinger, hats off to you. Good work and I look forward to watching the Youtube segments as well. I think it is great that you are using your skills to save that H code car. There were something like 13000 of them made in 1970. it sounds like a lot but I think ( just guessing) that half of them are left and out of that half, probably half need restored. I look forward to following your build as I am also putting mine back together. I didn't have as much metal work as you though. But my car is basically at the same stage, in epoxy primer ready for prep and paint. Keep up the good work, there are many of us cheering you on!!
 
-
Back
Top